Model originally uploaded to Thingiverse at https://www.thingiverse.com/thing:4555965.
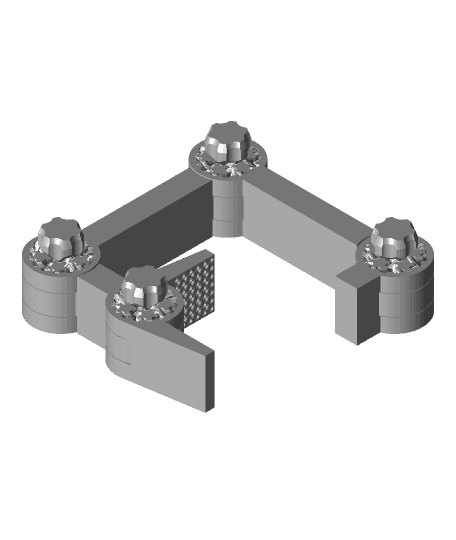
I've been wanting to create a fully actuated robot arm using print-in-place techniques for a while. Here is the first stage, a simple toy knocked up real quick like, sorry for the scad - it's a real hatchet job.
In future I'd like to progress to an improved version with elbow mounted pancake motors or similar leading onto a more precise version incorporating some kind of bearings (preferably common 608 type) and an anti-backlash mechanism (eg. spring).
At least this will give the kids something to play with as I iterate the design.
Similar to my previous gearbox designs, print at 0.2mm layer height and ensure there is a 1-layer gap in the ring gears after slicing. Use a sharpened spatula, razor or hobby knife to de-laminate the 1-layer gaps (watch fingers and listen for the "crack"), then turn the knob just a little to get the gears moving (these knobs are a little small, a 14mm socket might give a bit more leverage) taking care not to break the knob off, once you see a little movement, work it back and forth gently rather than apply more force. Now "crack" the jaws apart manually by back-driving by a few mm (there should be a little backlash) or give the elbow a tap with a rubber mallet. Now all the parts are free, it will be a bit stiff at first but opening and closing a few times will loosen it up. Then apply petroleum jelly or lubricant of choice to gears and work it in (again by opening and closing a few times).
