
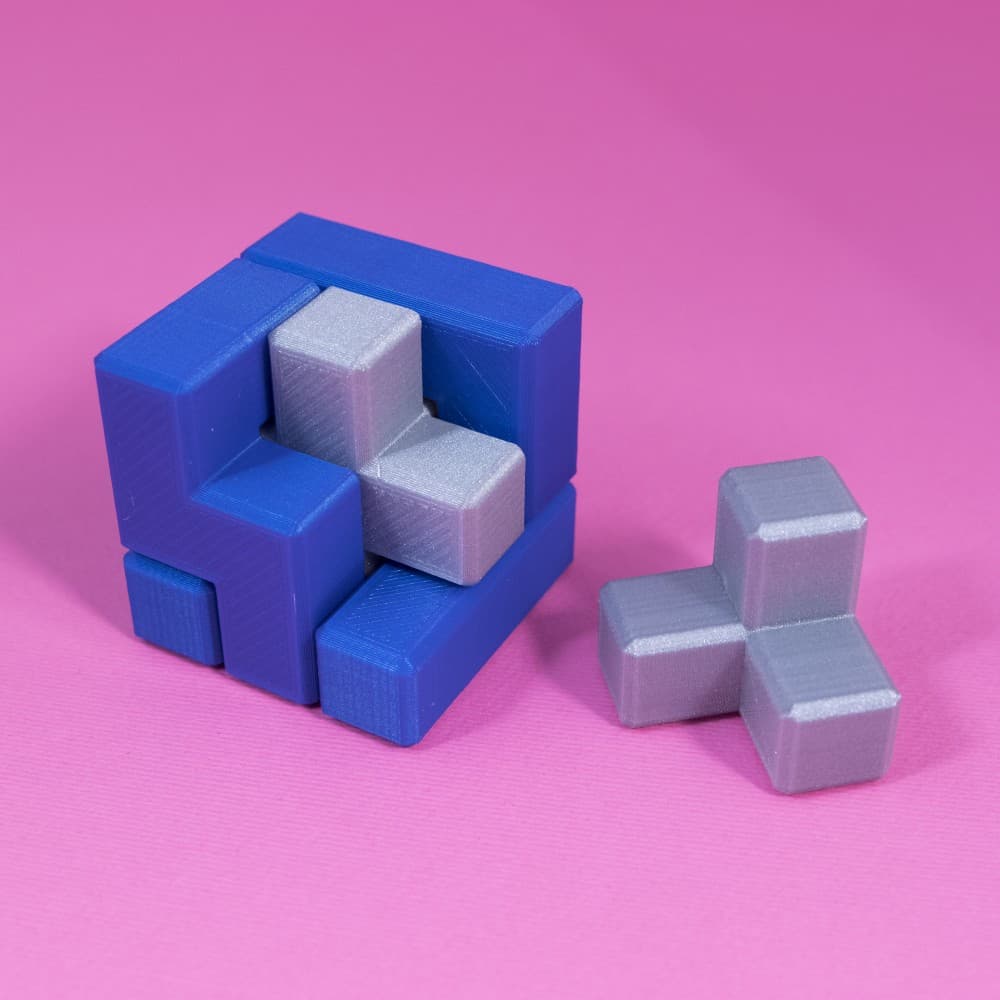
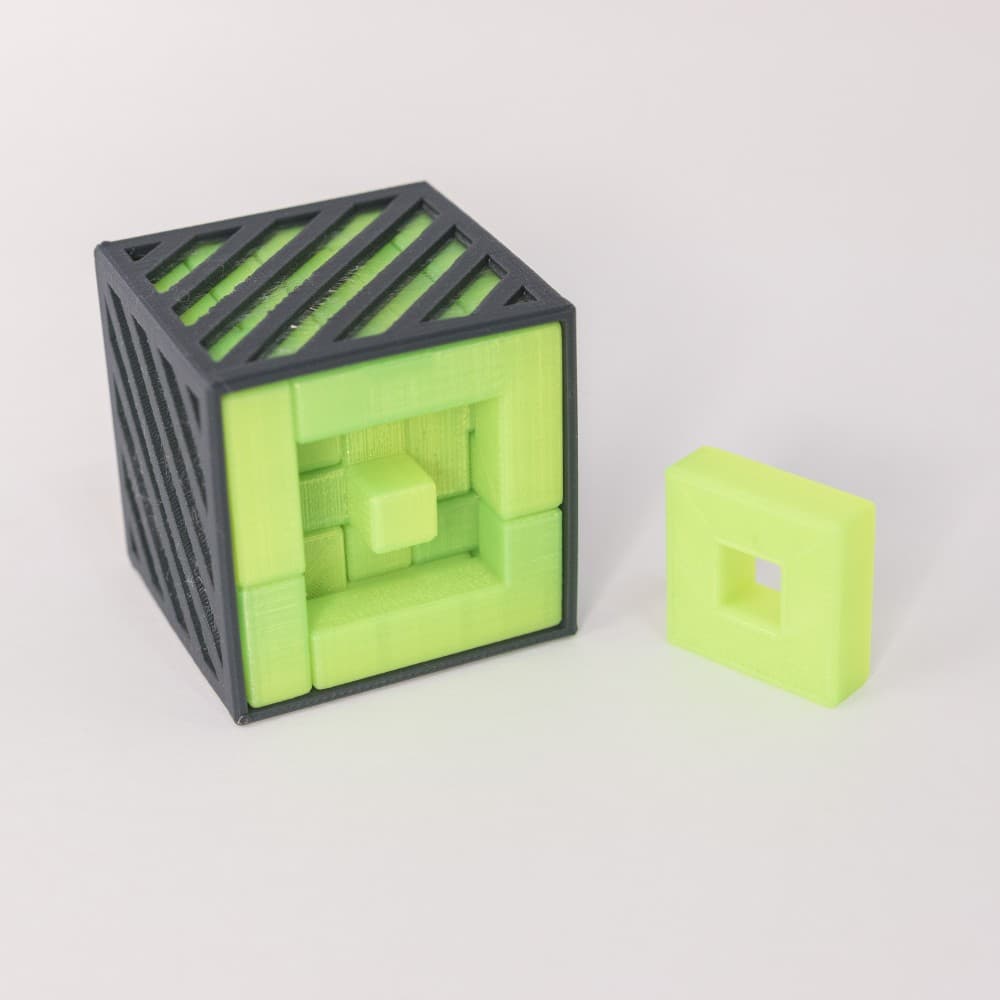
Puzzle Cube
Model originally uploaded to Thingiverse at https://www.thingiverse.com/thing:4176562.
Functioning Hellraiser inspired puzzle box using my own planetary gearbox core.
The Lament configuration - art by artist064 "The original Lament Configuration was created by Simon Sayce for the original Hellraiser movie".
Please take care with sharp blades - more than one person has shed blood over this thing, see comments.
Print at 0.2mm (at least the core - it is designed to produce a 1-layer gap between the ring gears and is sensitive to layer height) and carefully separate ring gears with a sharpened spatula, flat razor blade scraper, box cutter or similar. Print parts A and B separately (around 13 hours each). Ease the core (wider tabs first, careful of orientation and alignment of the narrow tabs) into the end of the "claw", they will need to flex a little.
Enable Support Interface at 100%, Touching Buildplate with overhang of 85 degrees. This will give a nice solid disk to support the raised dial for parts A and B which can be pried off. Part C does not require support. (Cura)
I'd also recommend "breaking in" the core by giving it 5 minutes on a drill or Dremel tool to spin the gears. They will be quite stiff at first but soon wear in to move freely. Similarly the sliding parts might need a light sanding or at least operated back and forth a bit to loosen them up.
Bitmaps were converted to black and white using Threshold filter in GIMP then traced using InkScape, simplified using "Flatten Bezziers" extension before being exported as SVG for import into OpenSCAD. OpenSCAD struggled importing multiple SVGs, so individual faces were added to separate cubes and combined using MeshLab (more info).
TinkerCad was used for the final intersection (subtract the negative from the artwork cube) as everything else I tried crashed or made a mess of the mesh.
Most versions of this artwork have the gold detail raised, personally I prefer the negative as it preserves most visual detail when slicing for FDM. Painting gold followed by sanding back the raised edges allows for low painting skill required.
Assembly video - Jump to the end to see the finished product in action. Since added a spring-loaded spacer to make it "pop" open.
Puzzle Cube
Geometric 3D Puzzle, 3D Puzzle Cube, 6 pcs. Puzzle, for Game Lovers, Special Gift, Mind Games
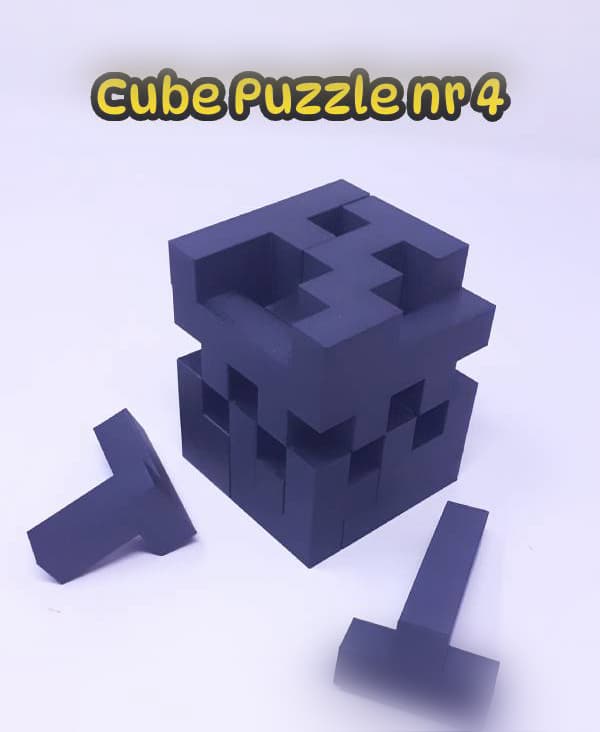
Cube Puzzle nr 4

Cube Puzzle nr 3.

Cube Puzzle nr 2.
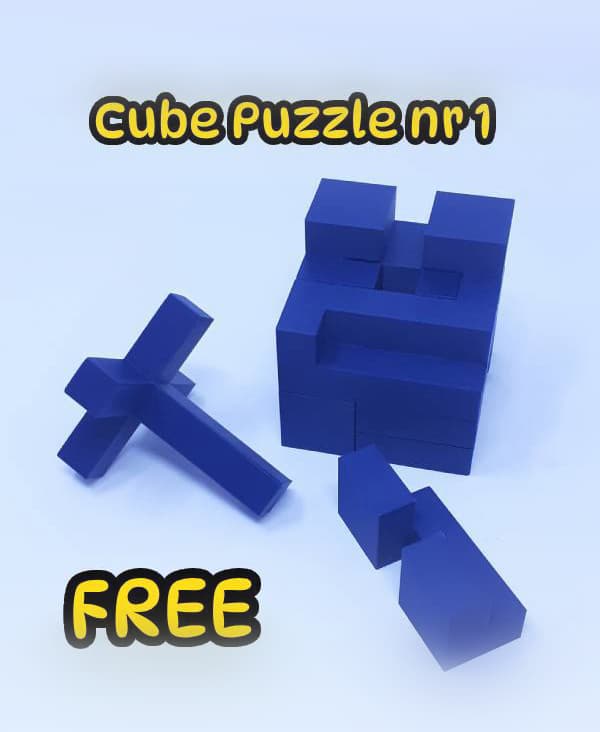
Cube Puzzle Nr 1
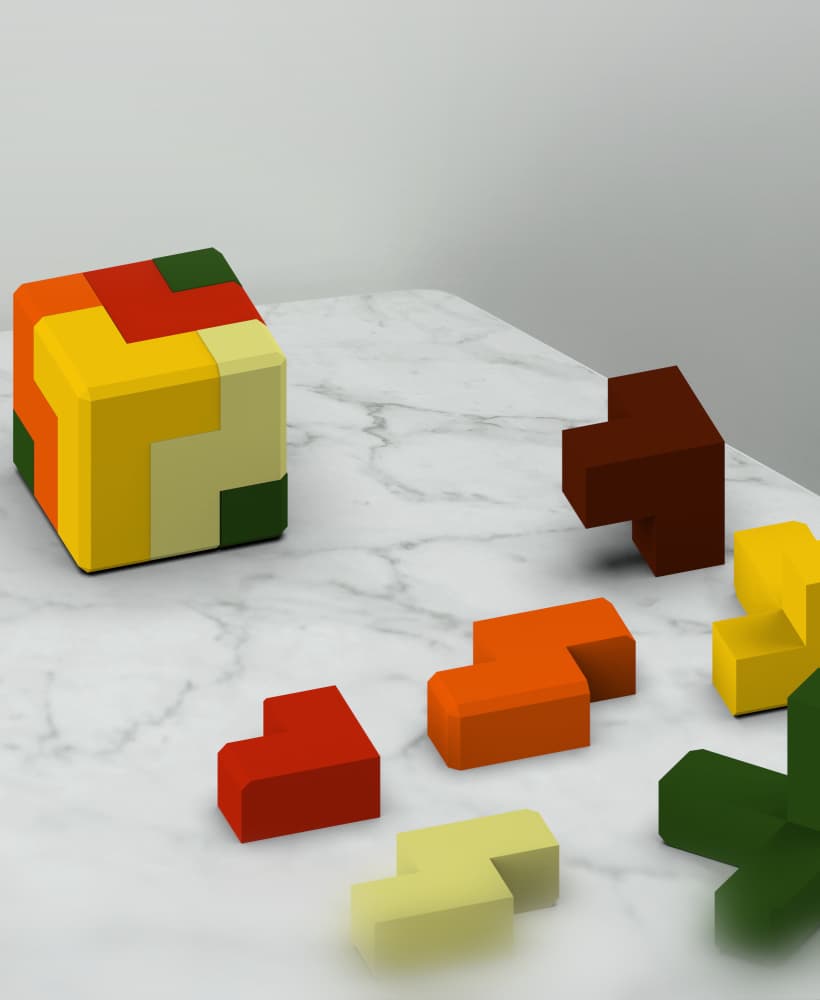
Cube puzzle (x6), create 6 small cubes or combine 4 pieces of each set for 1 big cube

rubkis cube wall art rubix cube puzzle wall decor gameroom decoration
3x3 Puzzle Cube

4x4 Puzzle Cube "Bedlam"

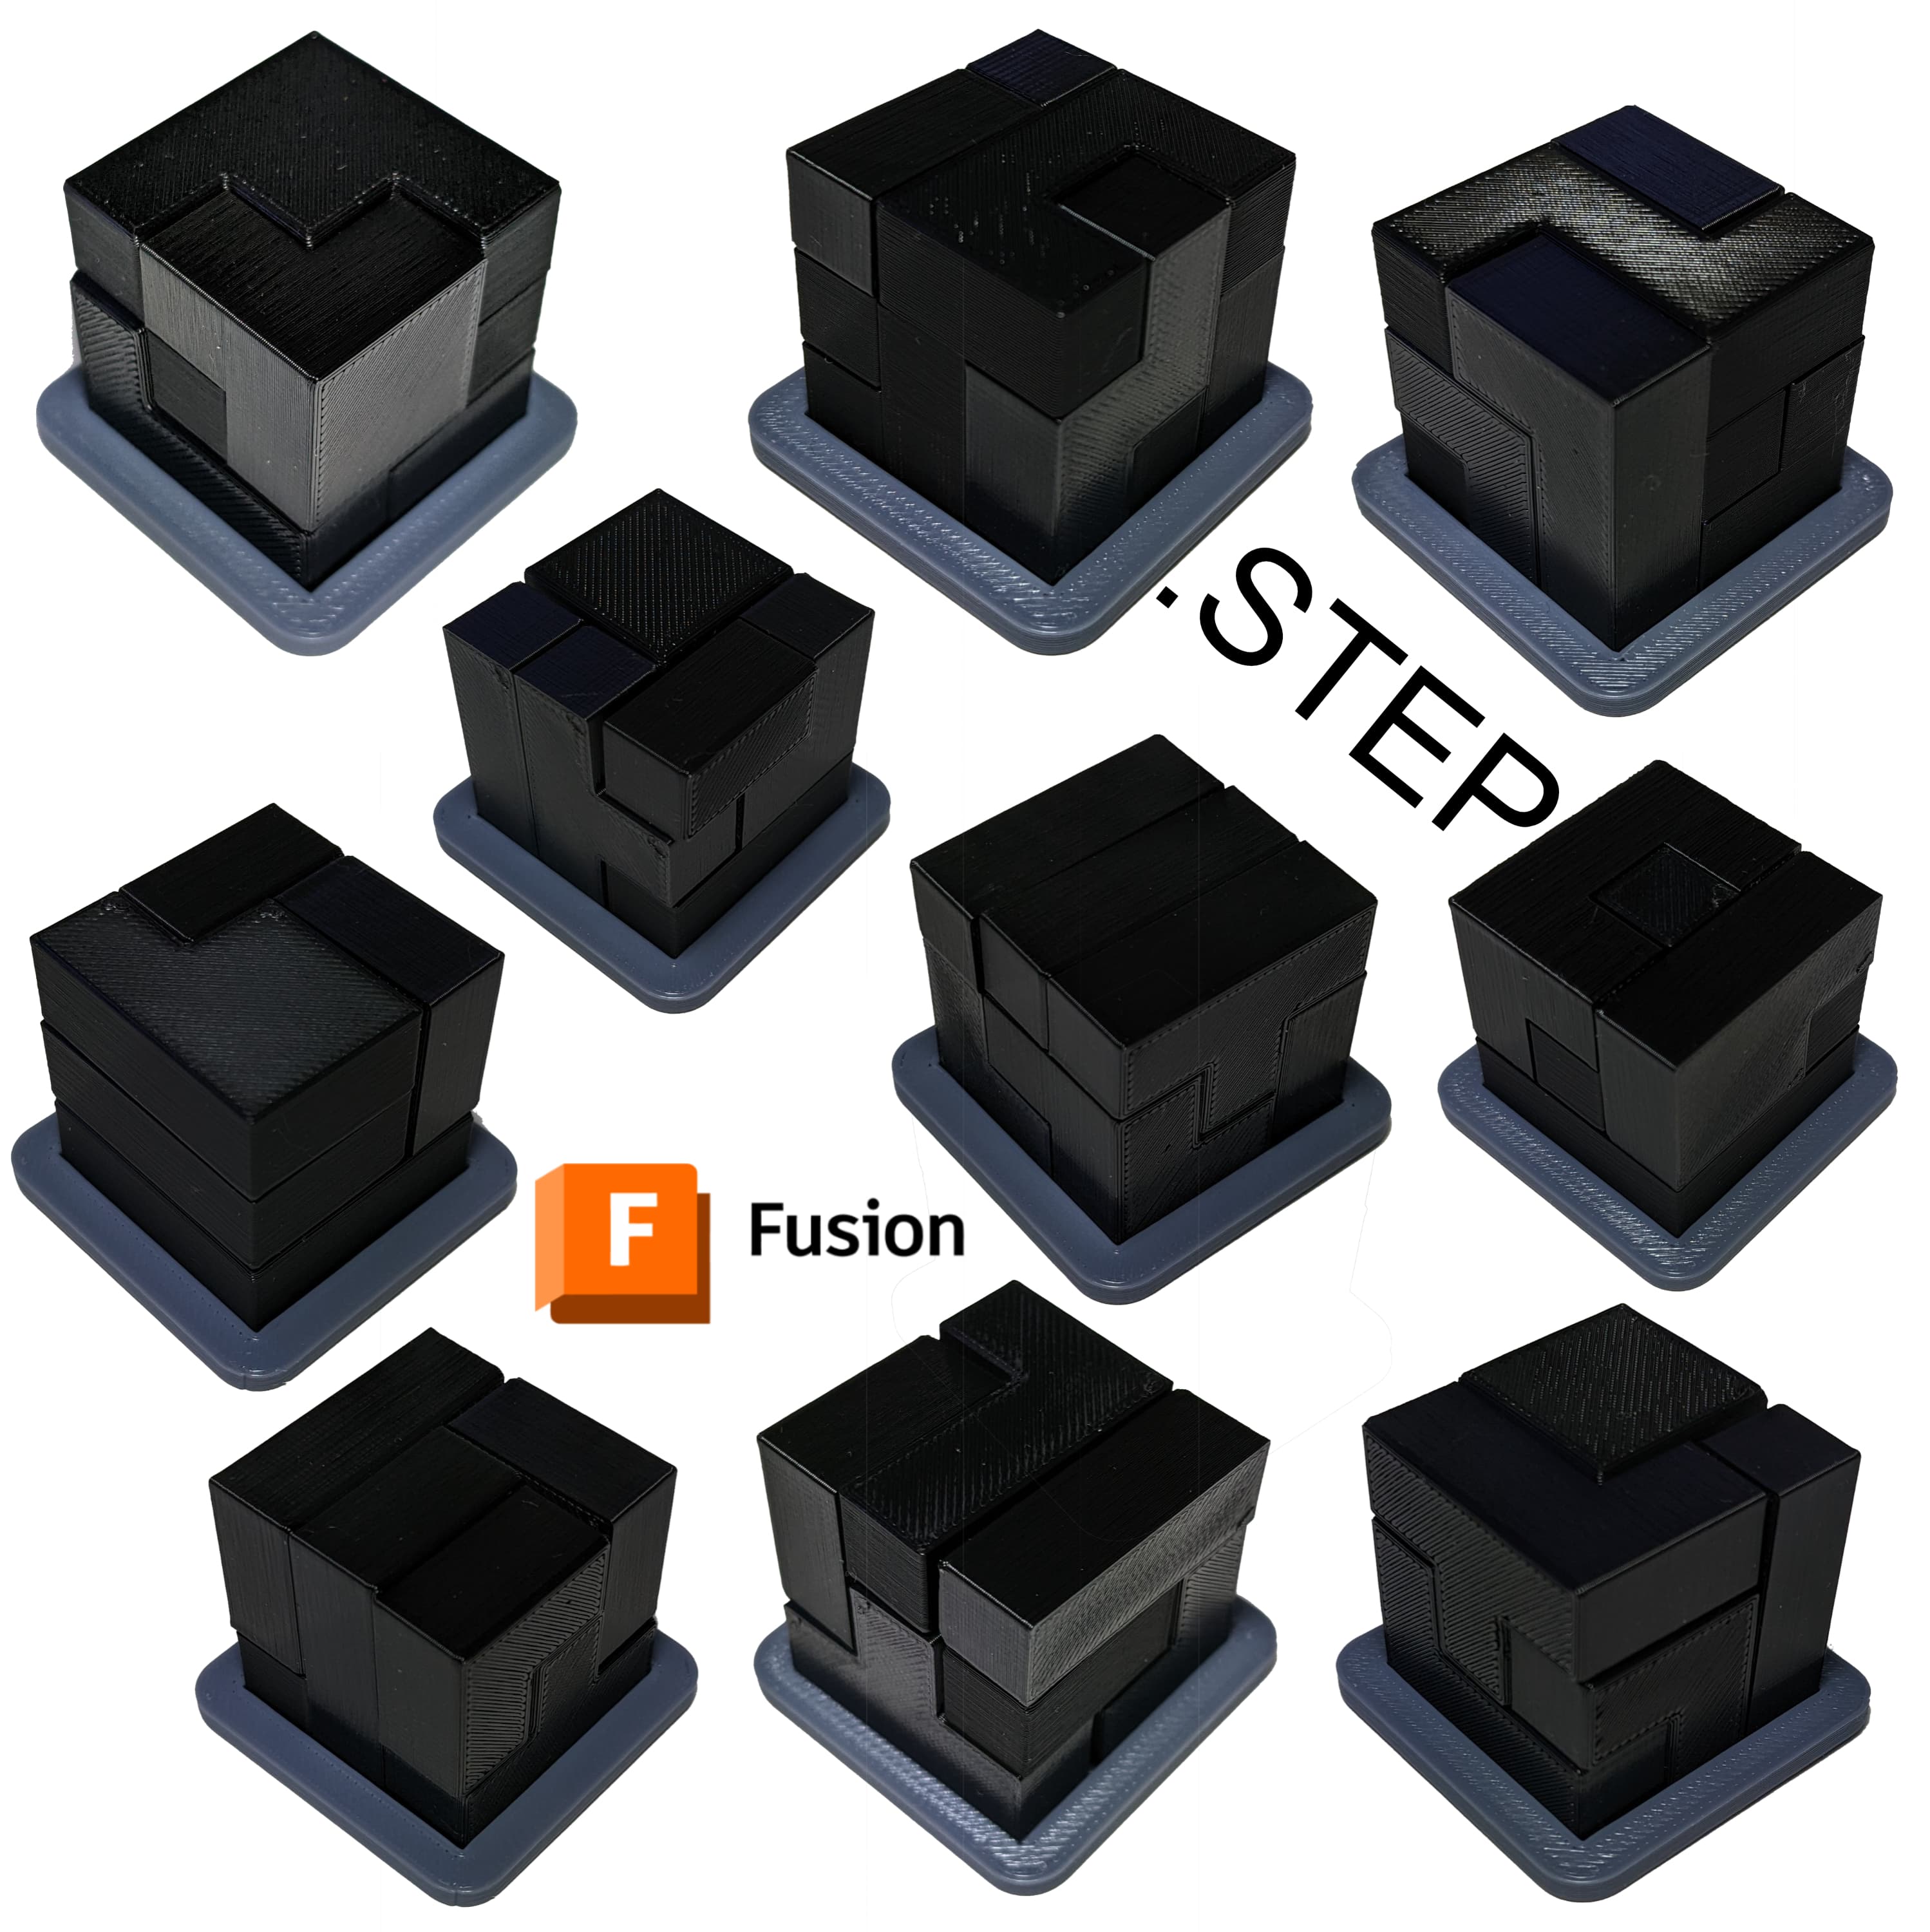
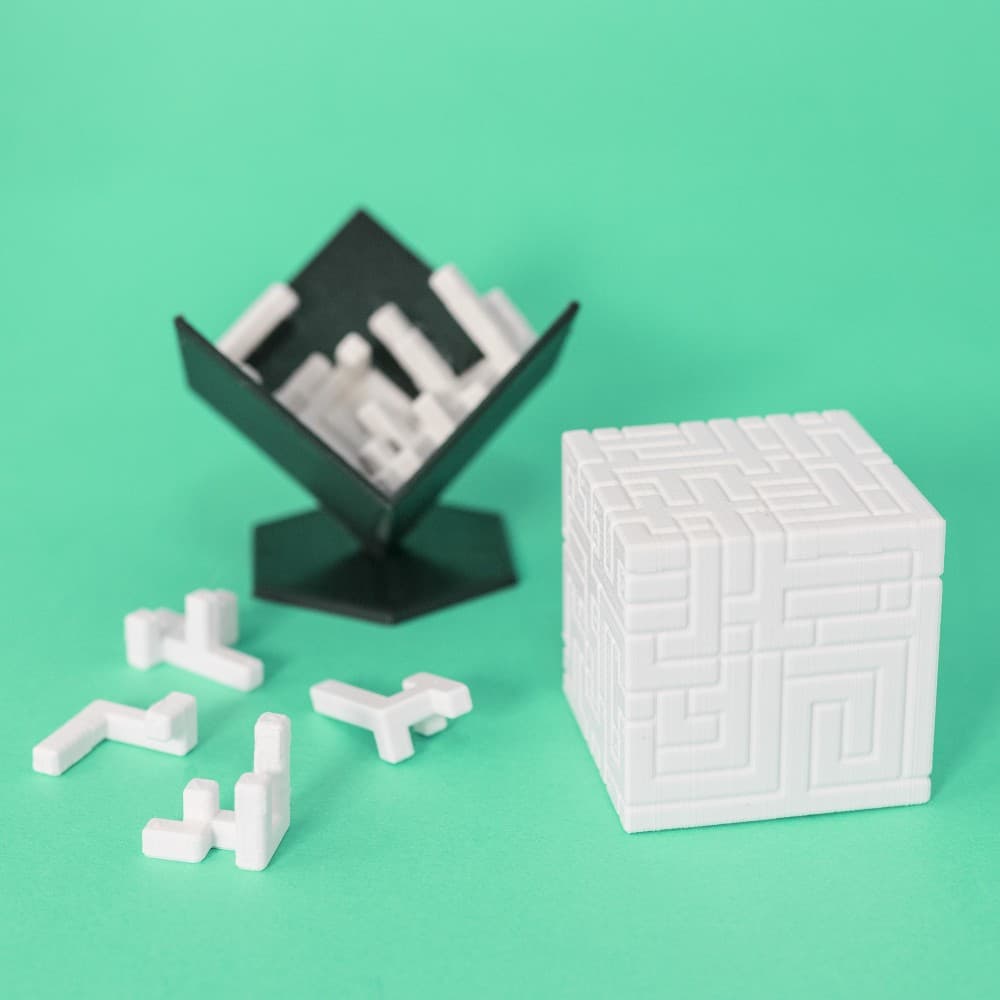
Cube Puzzle – 22-Piece Geometric Assembly Challenge

rubiks cube wall art gamer wall decor rubix cube puzzle wall decor
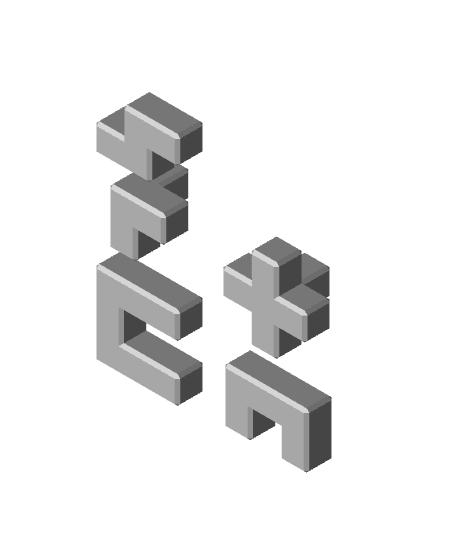
Puzzle Cube

Asymmetry Cube Puzzle
Puzzle cubes 3x3
5x5 Puzzle Cube
S U P E R C U B E // 10x10 Puzzle Cube
.JPG&w=3840&q=75)
Soma 3x3 Puzzle Cube

Donut Factory Puzzle (Deconstructed) // 2x2 Twisty Marble Puzzle (24mm inner cube)

3Dom Cube - Puzzle Version 4 - Intermediate
