


.png&w=3840&q=75)
Our new Nintendo Switch spinning card storage. Easy to print and not complicated to assemble. You can see the process of assemble in photos step by step. To complete the design you will need:
-
Magnets: You will need 22 magnets per card storage. The magnets that I am using are 5 mm Width and 3 mm Height.
-
Bearings: One bearing on the bottom.
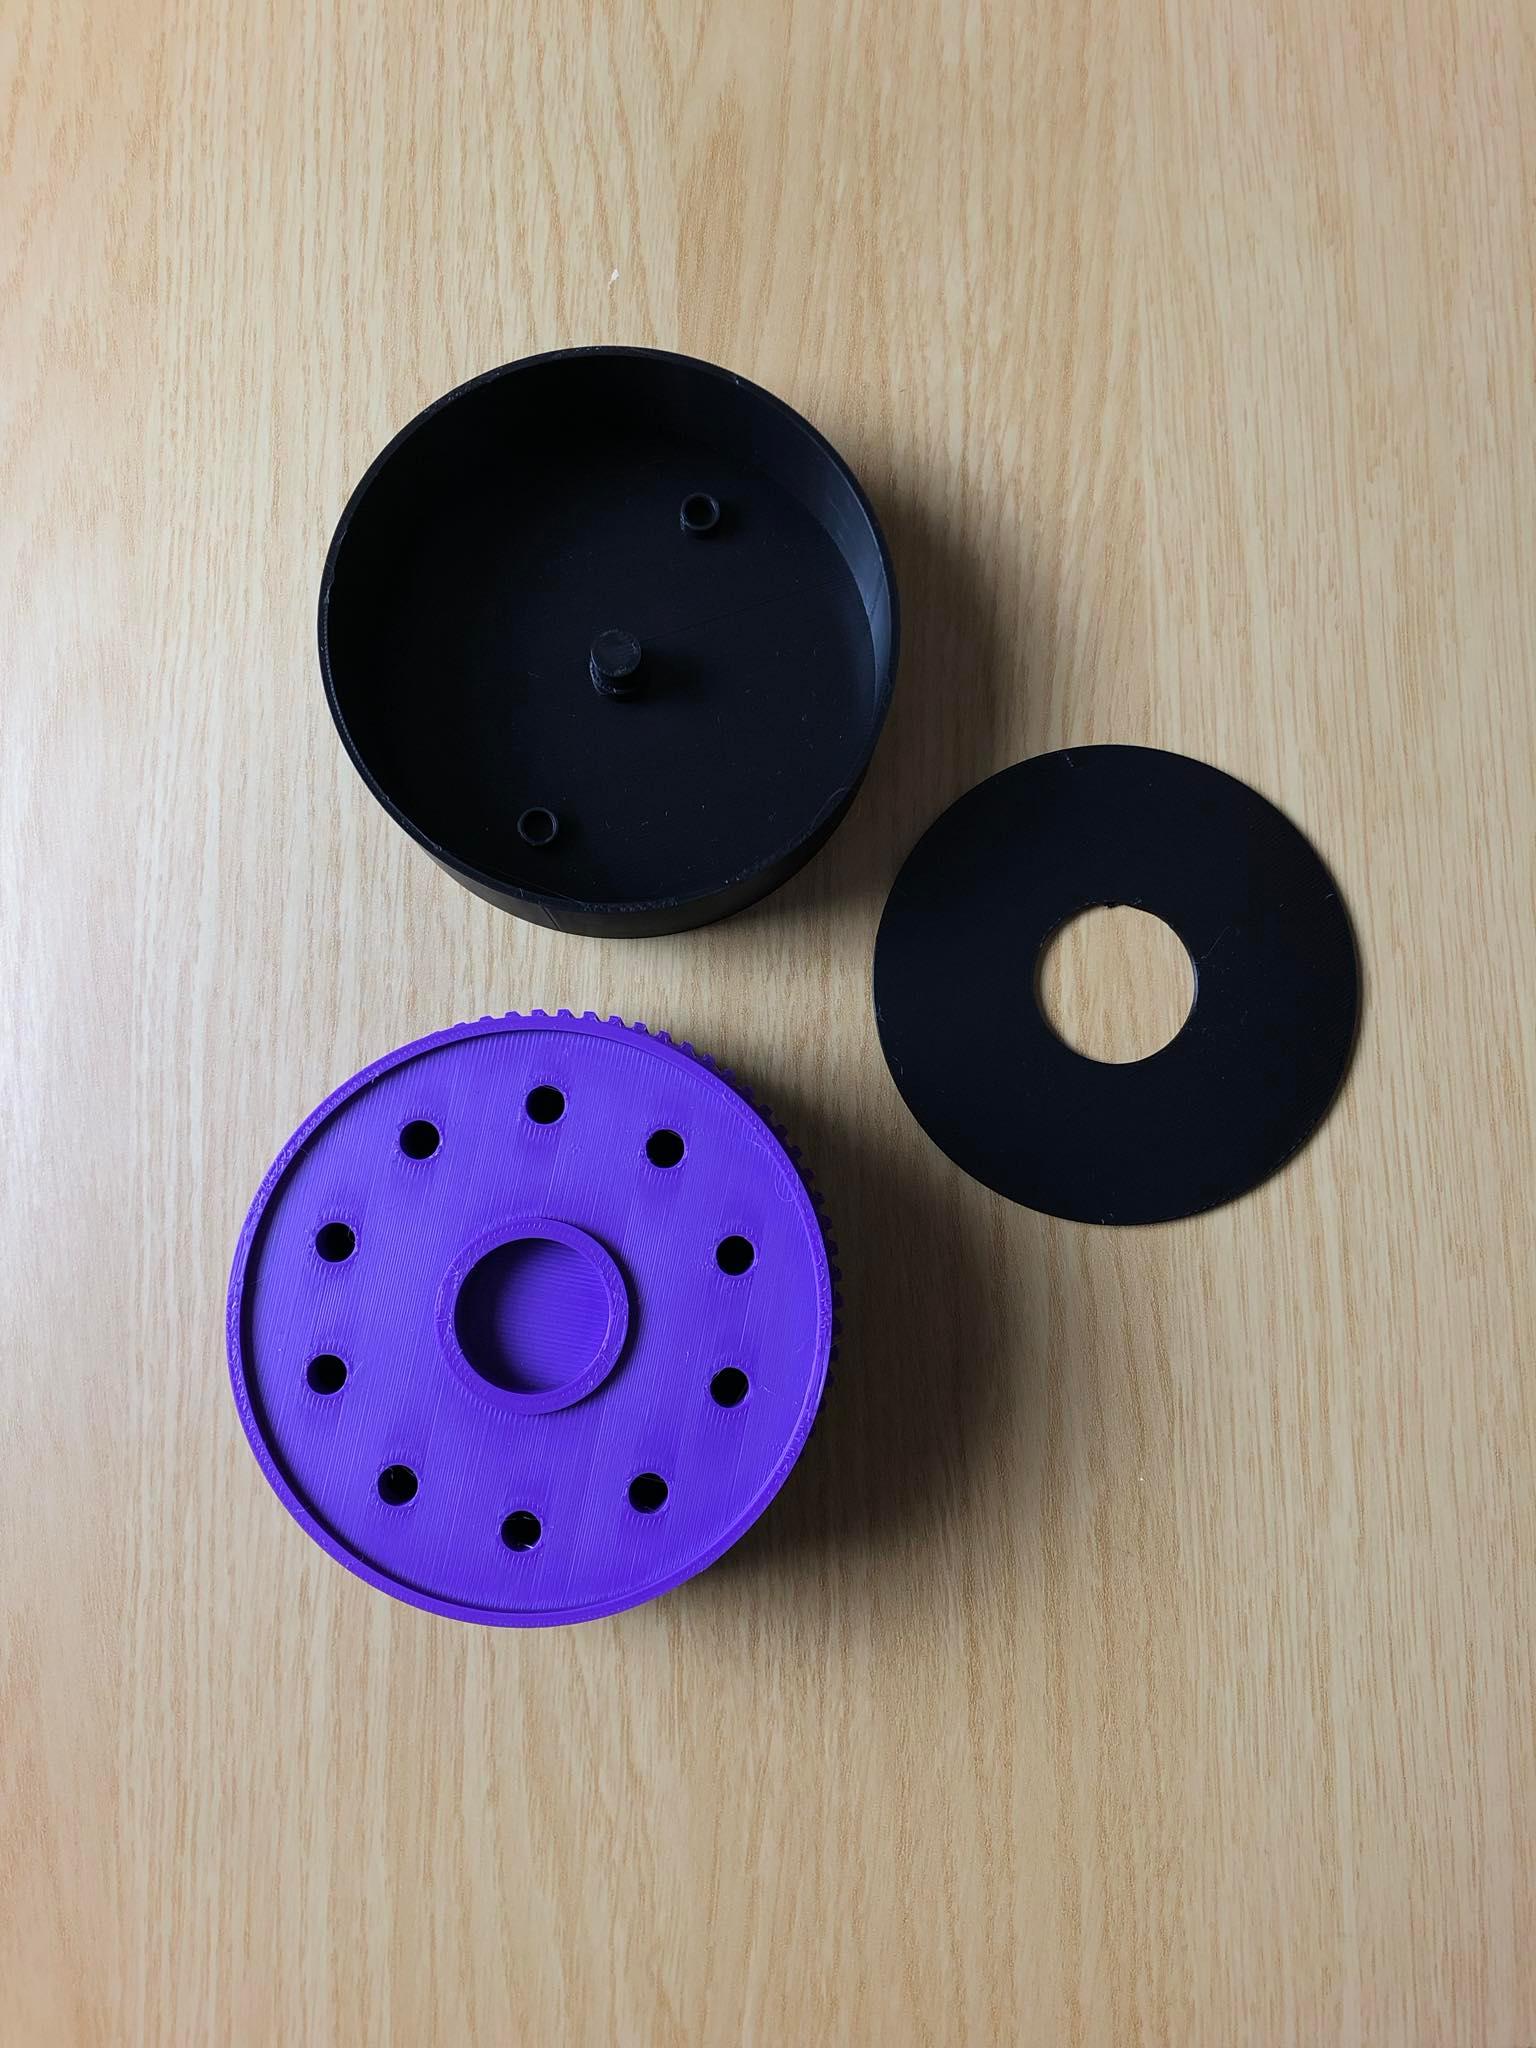
STEP 1: Insert 2 magnets per slot as shown in picture. All the magnets need to be inserted into the slots on the same side.
STEP 2: Lock the magnets with the ring so they are not coming out of the slots.
STEP 3: Insert the bearing into the slot. It may need some pressure to put it into place and lock it.
STEP 4: Insert the two magnets as shown in the picture. You need to make sure that the one magnet is attracting and the other one is retracting. You can check this by moving other magnets above them.
STEP 5: Lock the two parts (Bottom and Top) together with some pressure. Insert the cards, spin and enjoy!
Credits to ForgeCore for the Concept Idea!