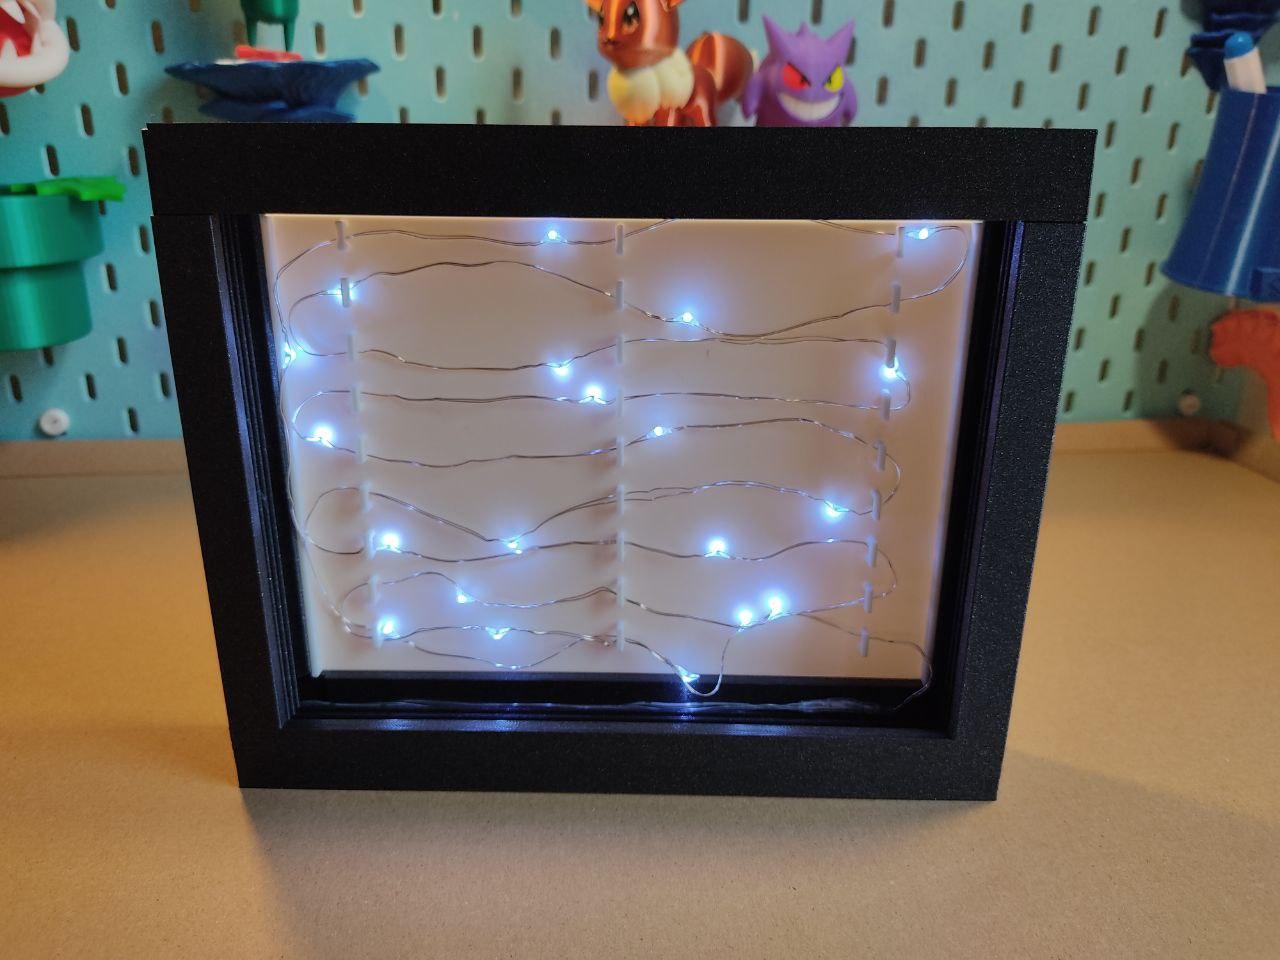
Box with hangable LID and LIGHTS
At last, here it is. It took us hours of design and testing, but it's finally here, and we can share it with you! The compact light and shadow box, wireless, and with a wall-hanging board.
We love the concept of shadow boxes because it aligns well with our style and allows us to explore creativity.
Taking inspiration from various light and shadow boxes, we decided to design a box with a set of requirements:
compact able to house battery-powered lights that it could be wall-mounted that it could accommodate 6 plates (the optimal number for us) easy to print and assemble compatible with other maker's plates We believe it's a good idea to try to unify the existing shadow box designs and those yet to come! We would love for other makers to design and create works within this theme.
For example, our box accommodates plate designs created by "The Crafty Maker," and our plate designs fit in his boxes. This way, those of you who like light and shadow boxes will have twice as many possibilities to make them.
So, we started from scratch on a design that took us quite some time to finish and be satisfied with.
The lightbox consists of 4 printed pieces:
Box structure Hangable top cover Bottom cover Backplate for the lights We've included a short video here that explains how to assemble it:
https://www.instagram.com/p/Cygxqd8rk0e/
For the assembly process, please keep the following in mind:
The box structure has a front and a back. The back is slightly triangular since it accommodates the backplate for the lights. The top cover has an arrow indicating the direction in which it should be assembled. The bottom cover should be placed carefully. The box structure has two rails for sliding it. We recommend pressing the battery firmly against the inside of the box before putting on the bottom cover. The backplate for the lights goes in the triangular part of the box structure, not in the slots intended for the plates. Once the lights are in place, the excess cord can be tucked into the lower part of the slot for the sixth plate if it's not being used. If it is being used, simply place it behind the lights. For the lights, we have used the following:
Printing settings:
Nozzle diameter: 0.4 mm Layer height: 0.25 mm Perimeters: 2 Top and bottom solid layers: 4 Prints with no supports
All Quimicafeina designs are protected by Copyright Law. By downloading, you have no right to sell or distribute any digital files or reproductions from those files.
To get access to exclusive designs or for a commercial license to sell the physical prints of the files, you can join our thangs club or support us on patreon.


