
.png&w=256&q=75)


EnderXY Triple-Z
Join the EnderXY community on Reddit:
https://www.reddit.com/r/EnderXY/
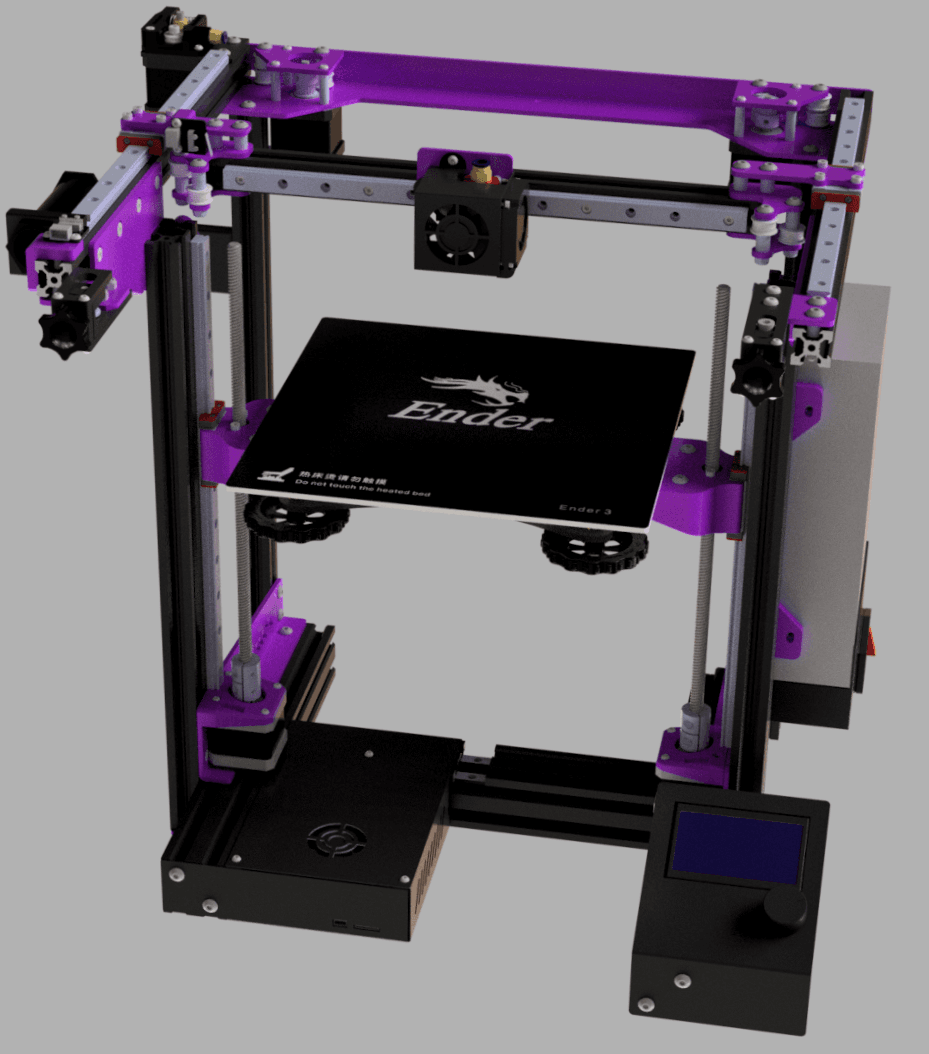
This upgrade will require a mainboard that has 3 independent stepper drivers available for Z (I use an Octopus board).
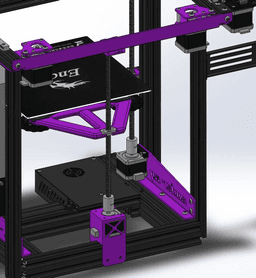
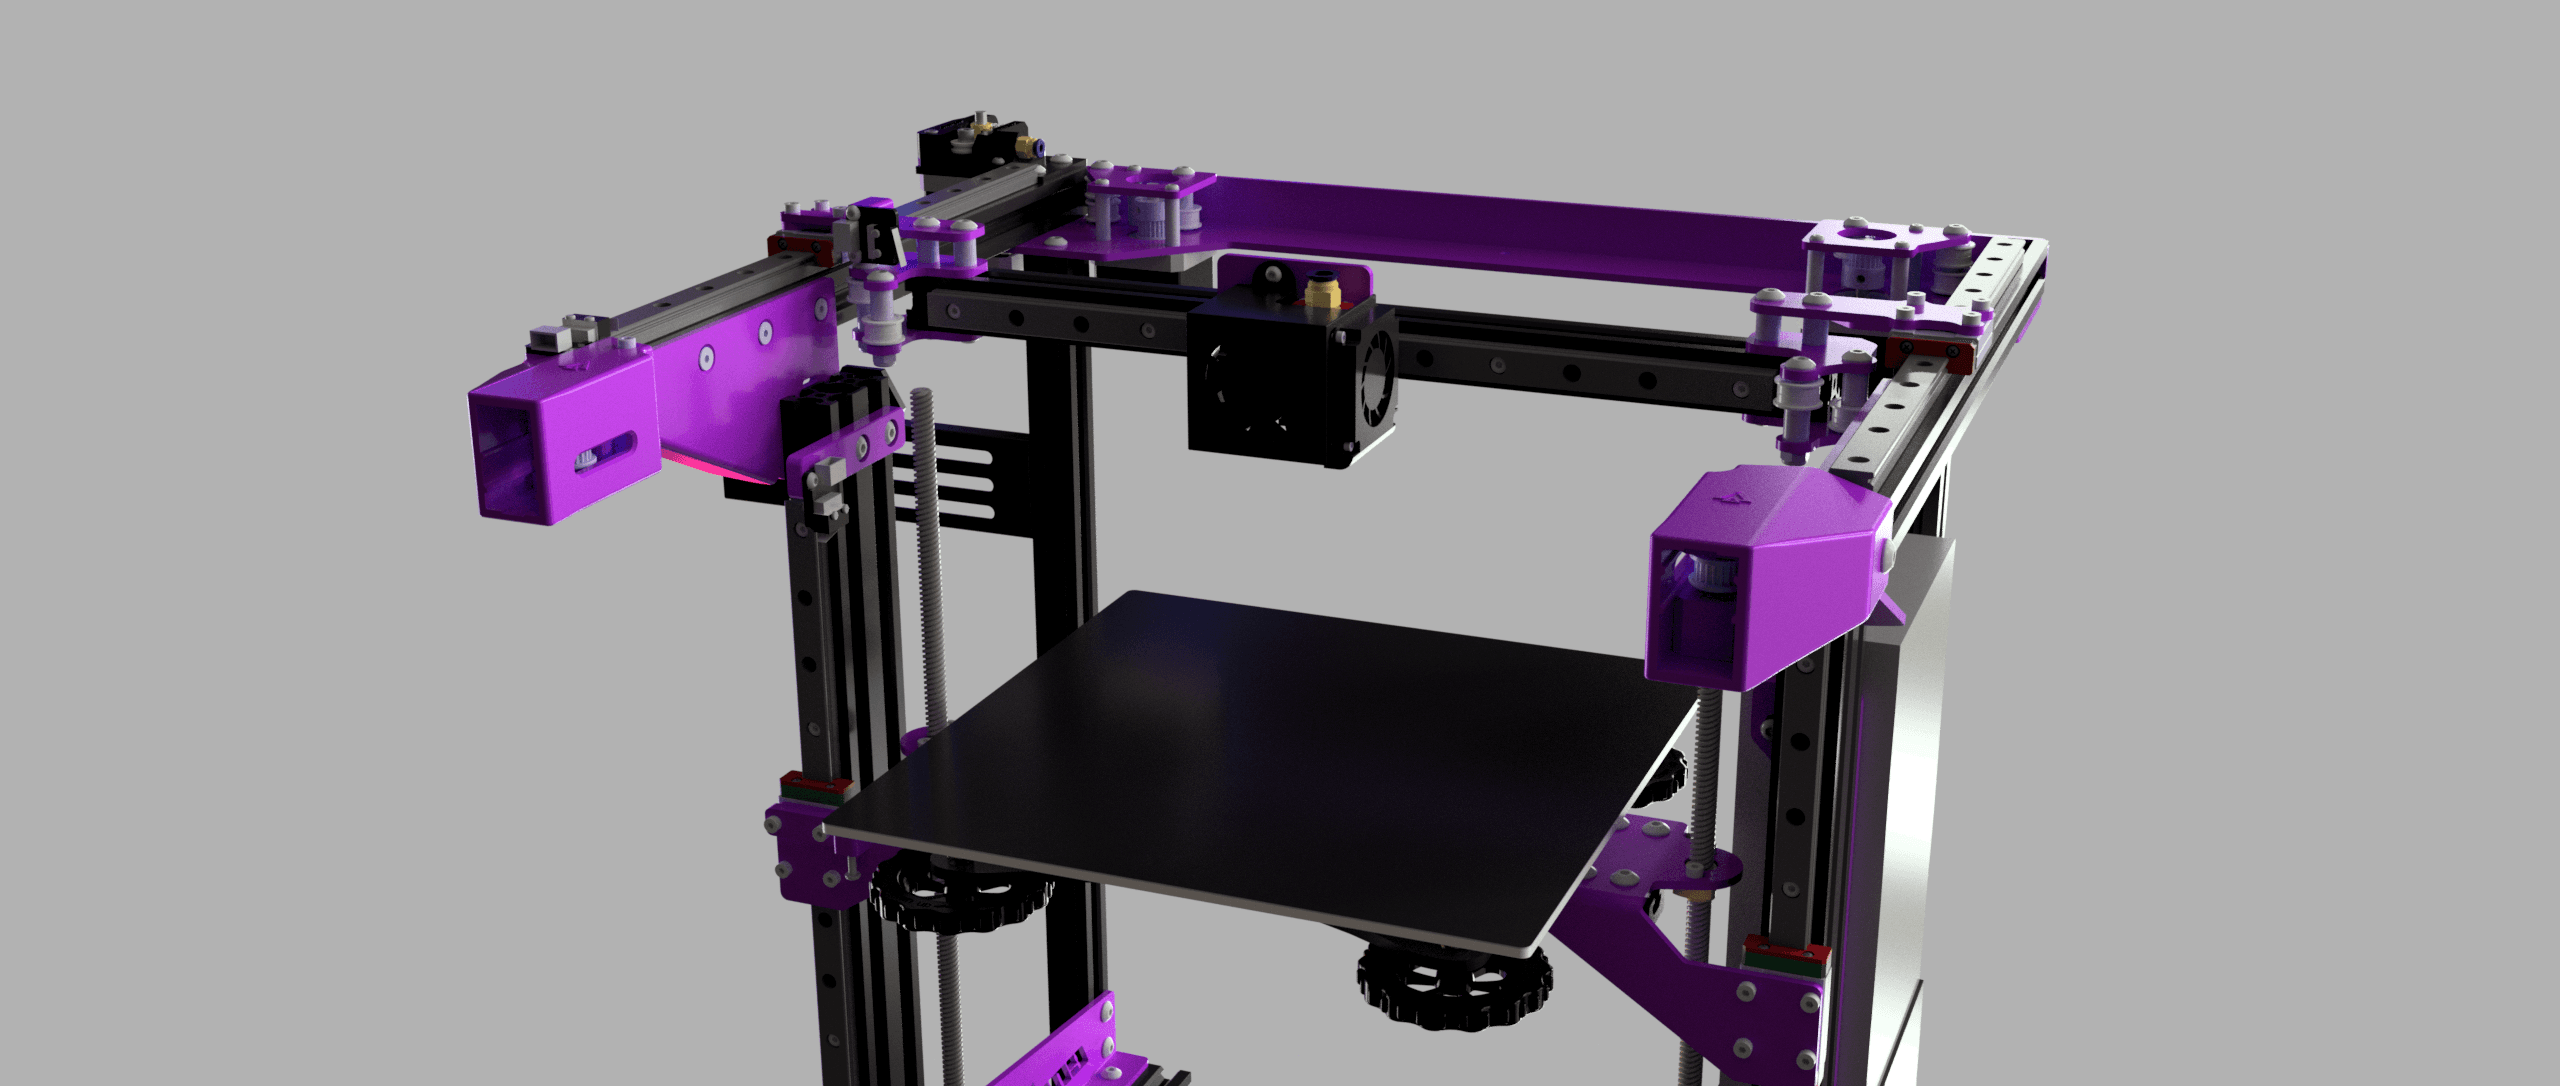
Fixes the main issue with the EnderXY were the bed will slightly tilt forwards and backwards as it moves the Z axis up and down due to the linear rails being offset to the leadscrews.
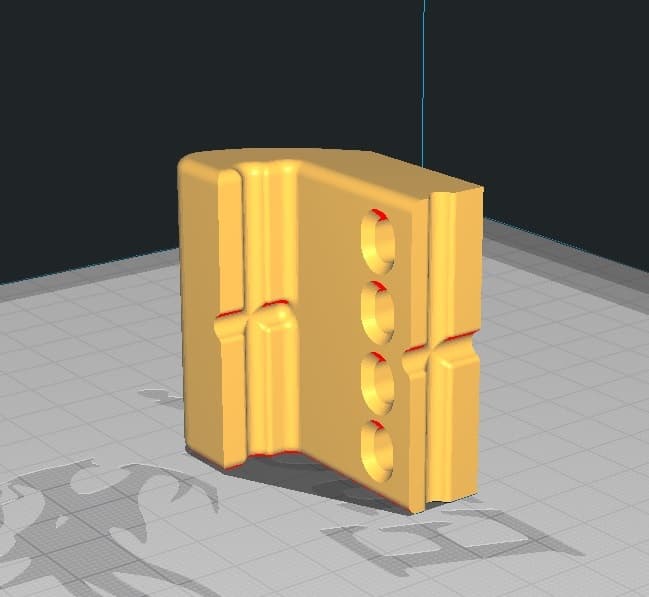
I've oriented the parts to how they should be printed. The only part that requires supports is the "Triple-Z Upper Brace".
Update:
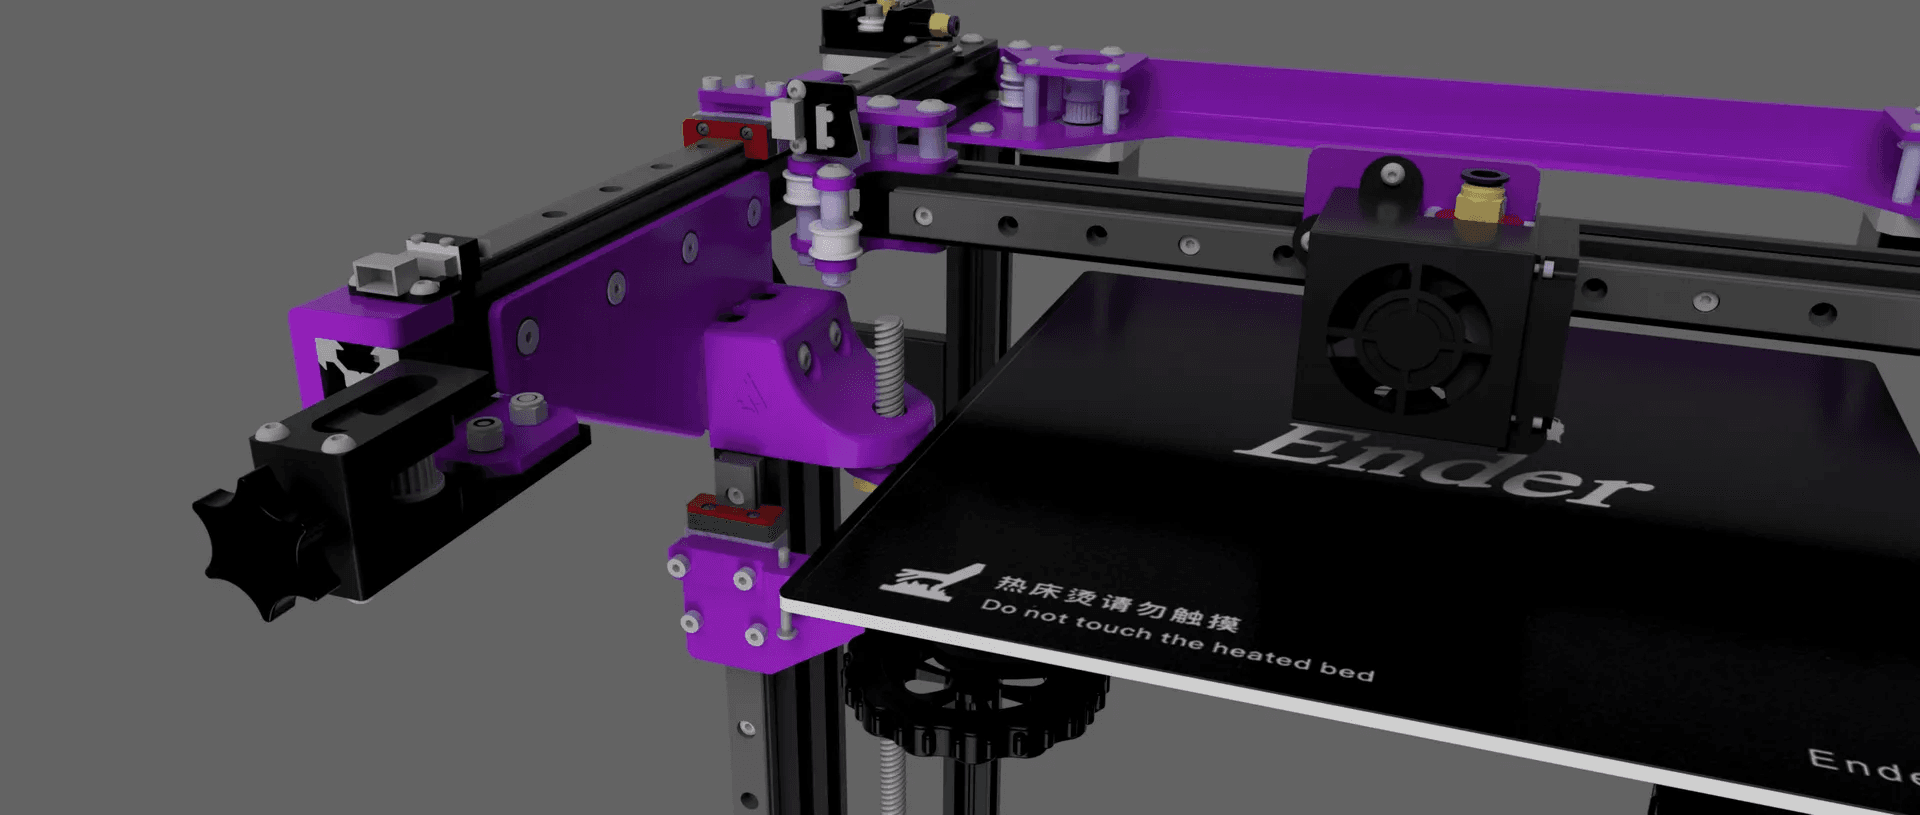
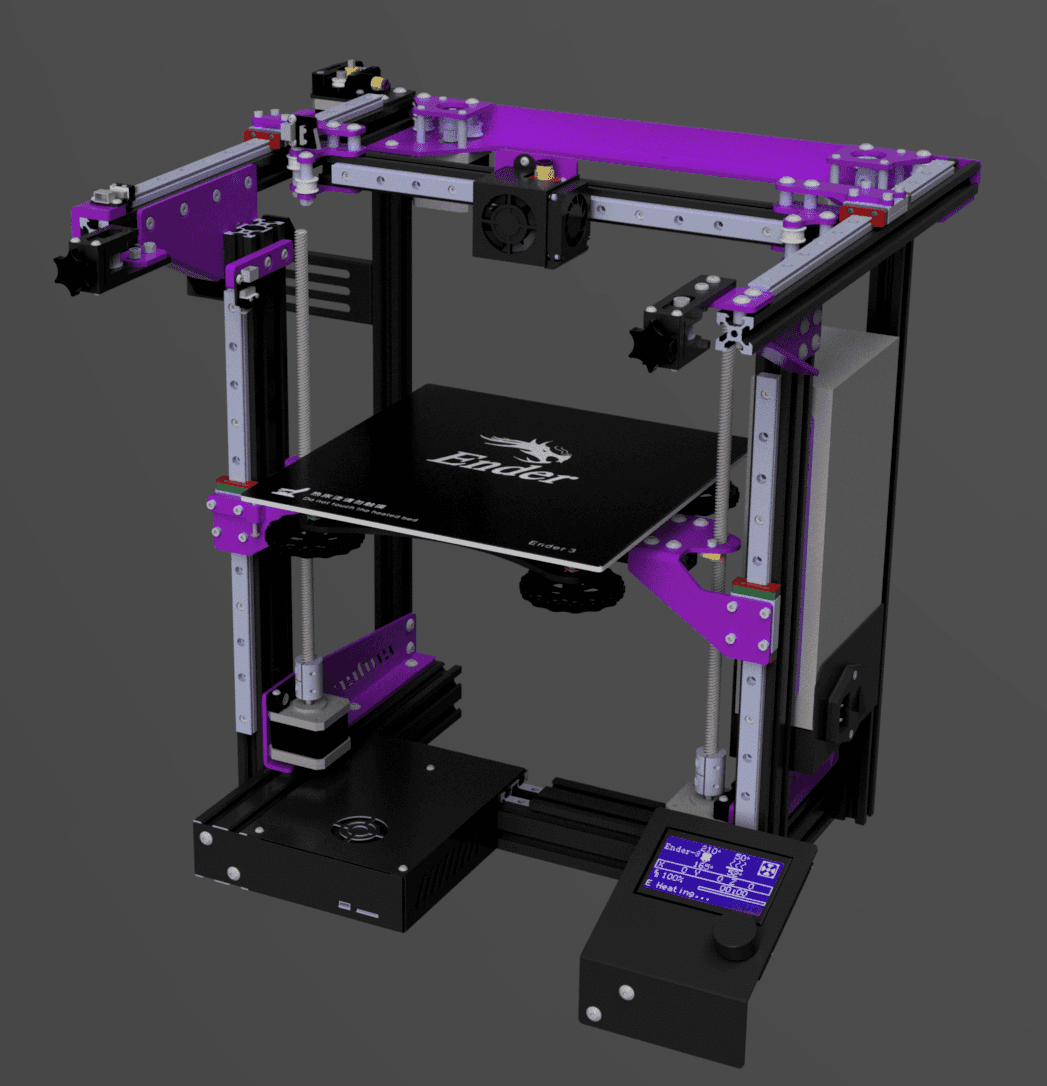
Added optional arms to replace the stock ones to improve bed rigidity even further. These have supports built in (Check the last image and carefully remove the red parts after printing). Does not work the the stock LCD location. For the optional Z brackets you will remove the stock Z brackets, 1010 extrusions and bed adjustment knobs on the front.
Pre-release video: https://www.youtube.com/watch?v=AyYgVXCnr1U
Key Points:
- Greatly improves the rigidity of the bed.
- Improves leveling procedure.
- Reduced sag on the Z axis.
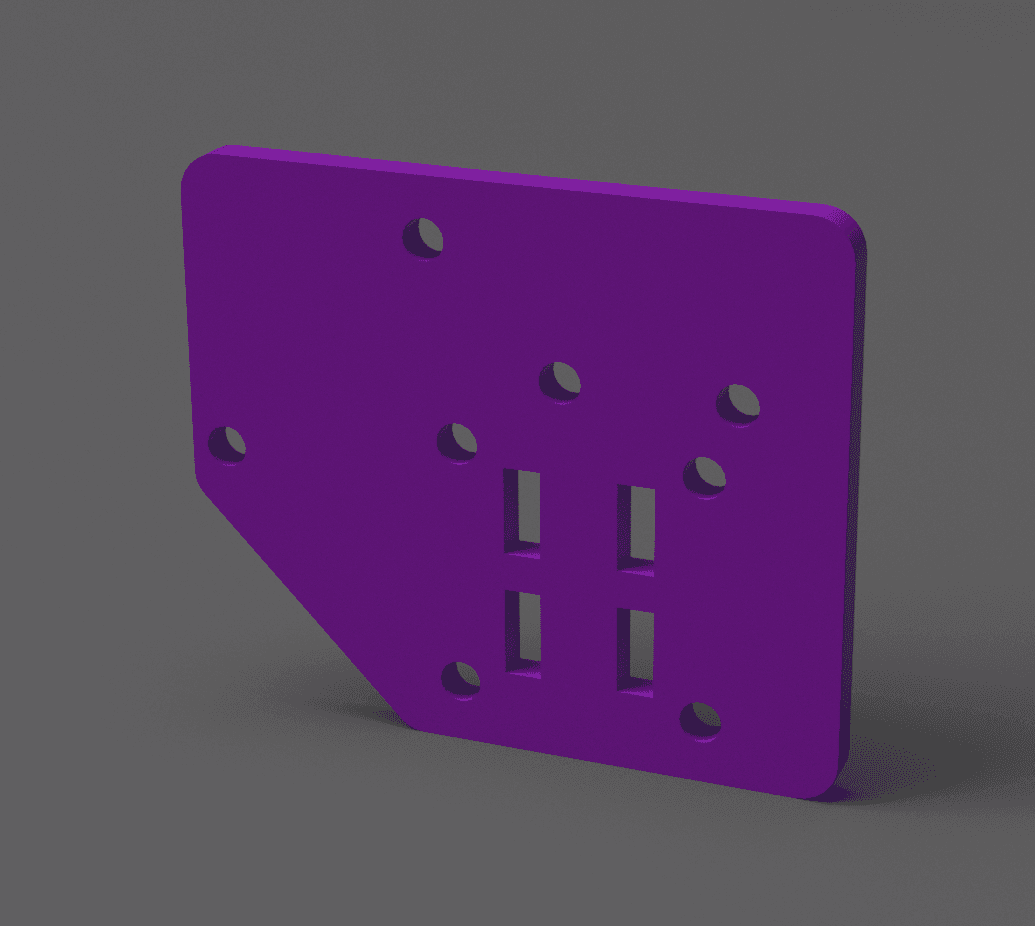
- Uses original bed adjustment knobs and screws to attach the printed carriage plate to - the original carriage plate.
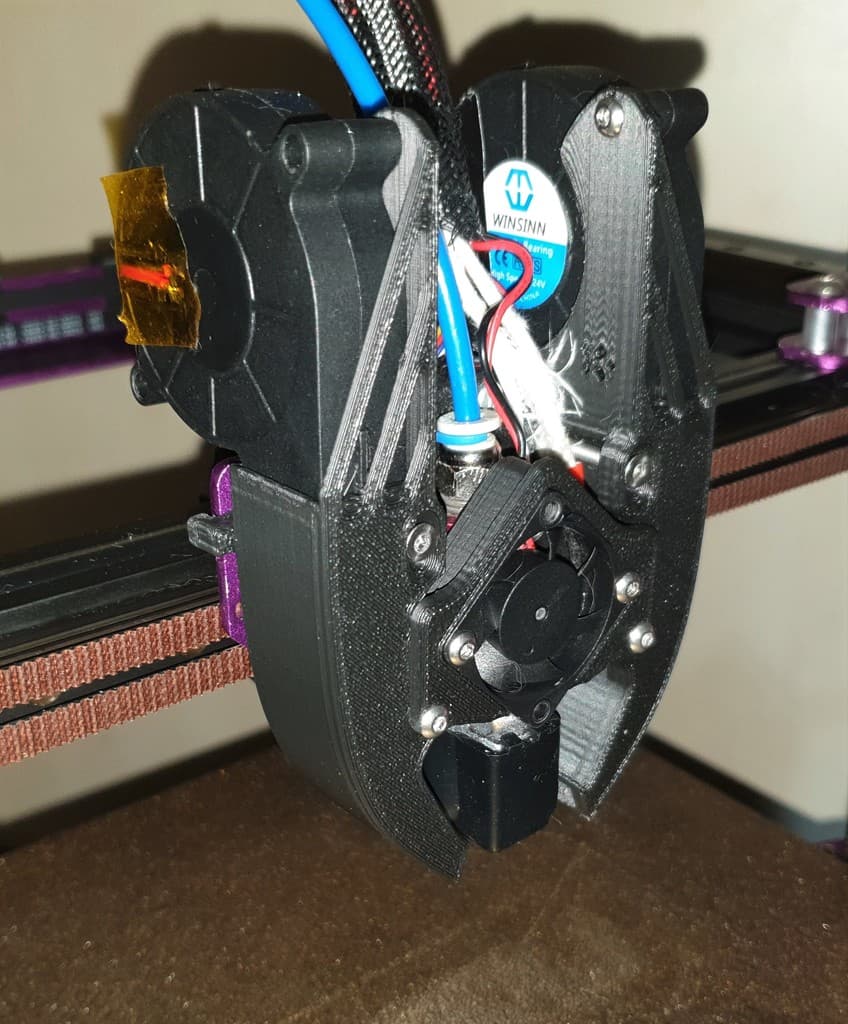
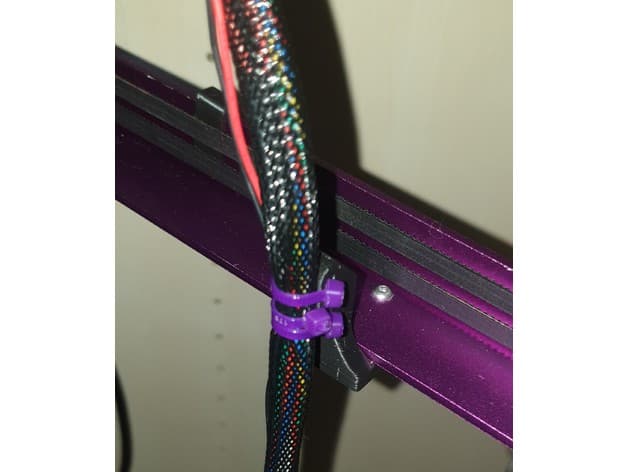
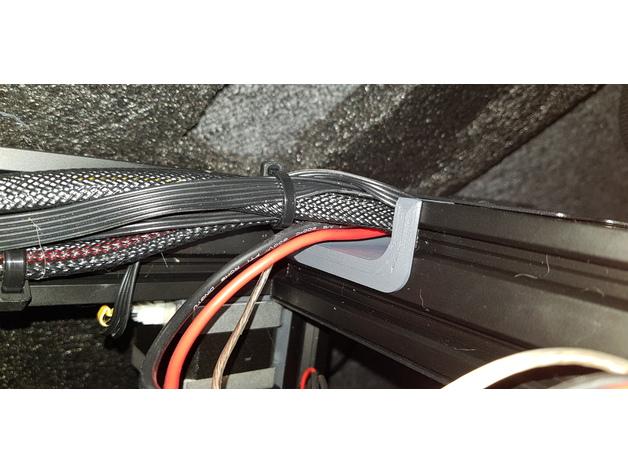
- 2 tie wrap locations to hold wire harness.
- (Optional Carriage) 2 adjustable bolt locations to easily align steel sheet at rear.
- (Optional Z Brackets) Improves rigidity even further.
Required Hardware:
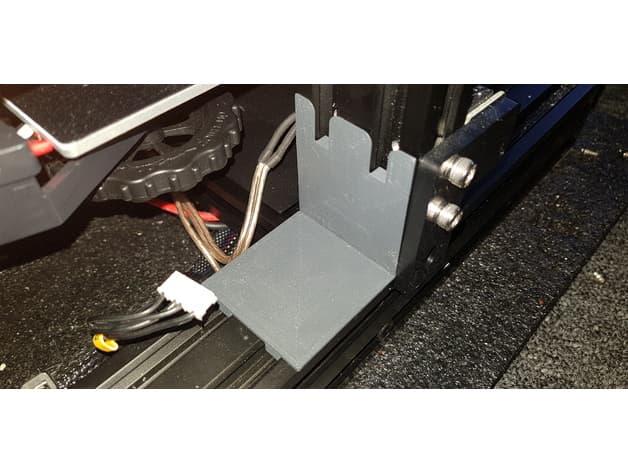
- 1x 330mm or 370mm 2040 extrusion (Image #4)
- 1x 42-34 stepper motor
- 1x 300mm leadscrew
- 1x T8 leadscrew nut
- 1x 5mm to 8mm shaft coupler
- 1x 608Z bearing (Image #7)
- 4x 10mm M3 screws (Printed carriage plate, printed upper brace)
- 4x 6mm M3 screws (Motor)
- 4x 6mm M5 screws (Printed motor mount)
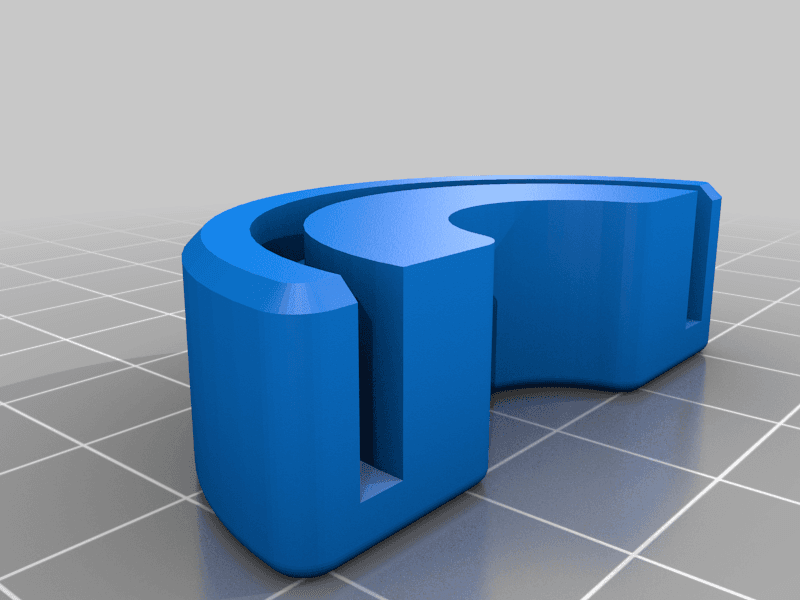
- 1x M3 x 4mm x 5mm thread inserts (Printed upper brace (Image #6))
- 4x M5 T-nuts or spring nuts (Printed motor mount)
- 1x Stepper motor cable
- (Optional Carriage) Requires 2 square M3 nuts.
- (Optional Z Brackets) Requires 2x M5 nuts.
Klipper Settings:
[z_tilt] z_positions: # Left -23, 118.4 # Right 251, 118.4 # Rear 117.5, 302 points: # Front Left 29, 50 # Front Right 210, 50 # Rear 123.5, 225
*These will need adjusting slightly depending on your probe offsets. The video above shows it probing where the Z Rods are, but the settings above is what I use to probe the front.
EnderXY Triple-Z
EnderXY - Bed Wobble Begone
EnderXY - Z-brace
EnderXY CAD Model (Unofficial)
Citadel - Dual 5015 for EnderXY
EnderXY - Better Belt Tensioners
EnderXY Stock Backplate
EnderXY Rear Cable Guiide

Ender-3 SD Card gap filler
Kusba X Mount for Satsana Dual 5015 fan duct
Ender-3 Z-motor spacer / support
Hakko FH-300 to T12 Adapter
Mazda Mx5 Mk1 Mk2 Wiper cap cover
Parkside Hand Drill Vice Jaw Extensions
Ender-3 Cable Protector

Penguin - Hatchling

Ice Cream Narwhal - Hatchling

Skeleton RattleSNEK

8x8 MU - MultiBoard Octagon Plate - 4x Ironing Stack

Star Cookie Tadling