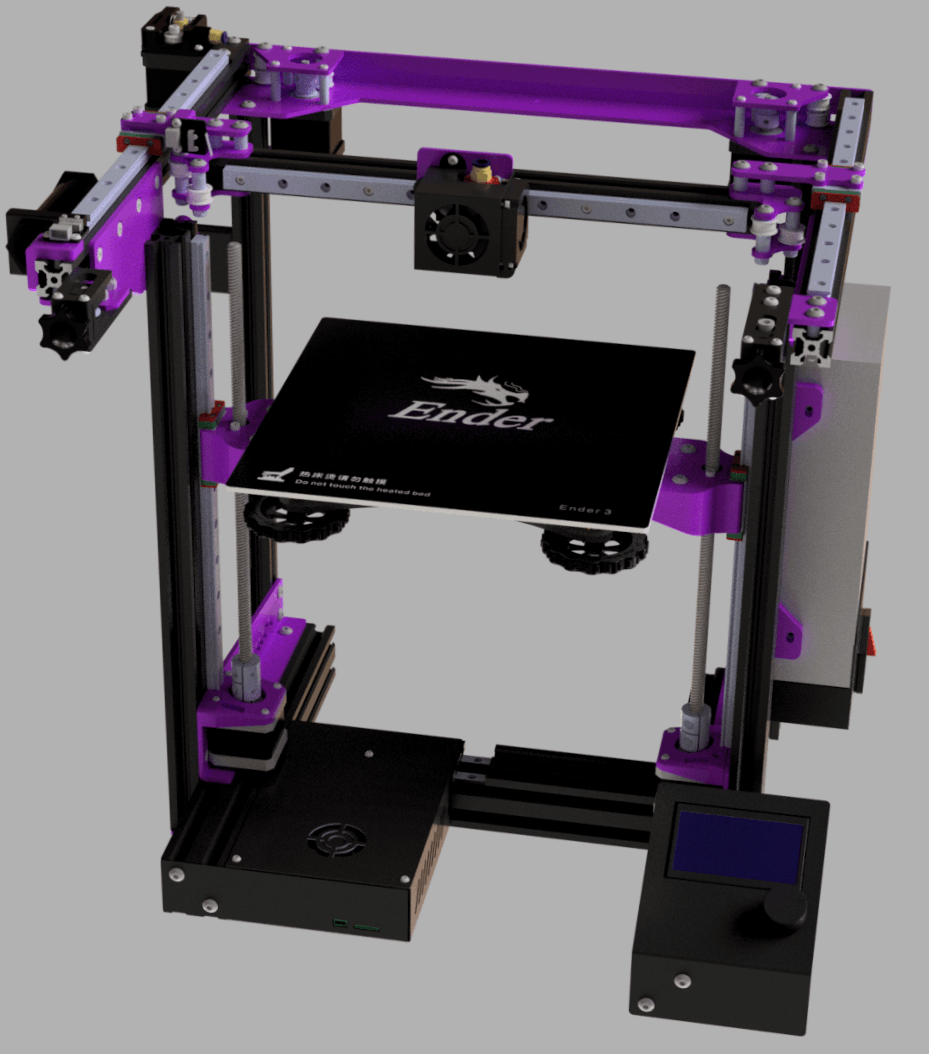


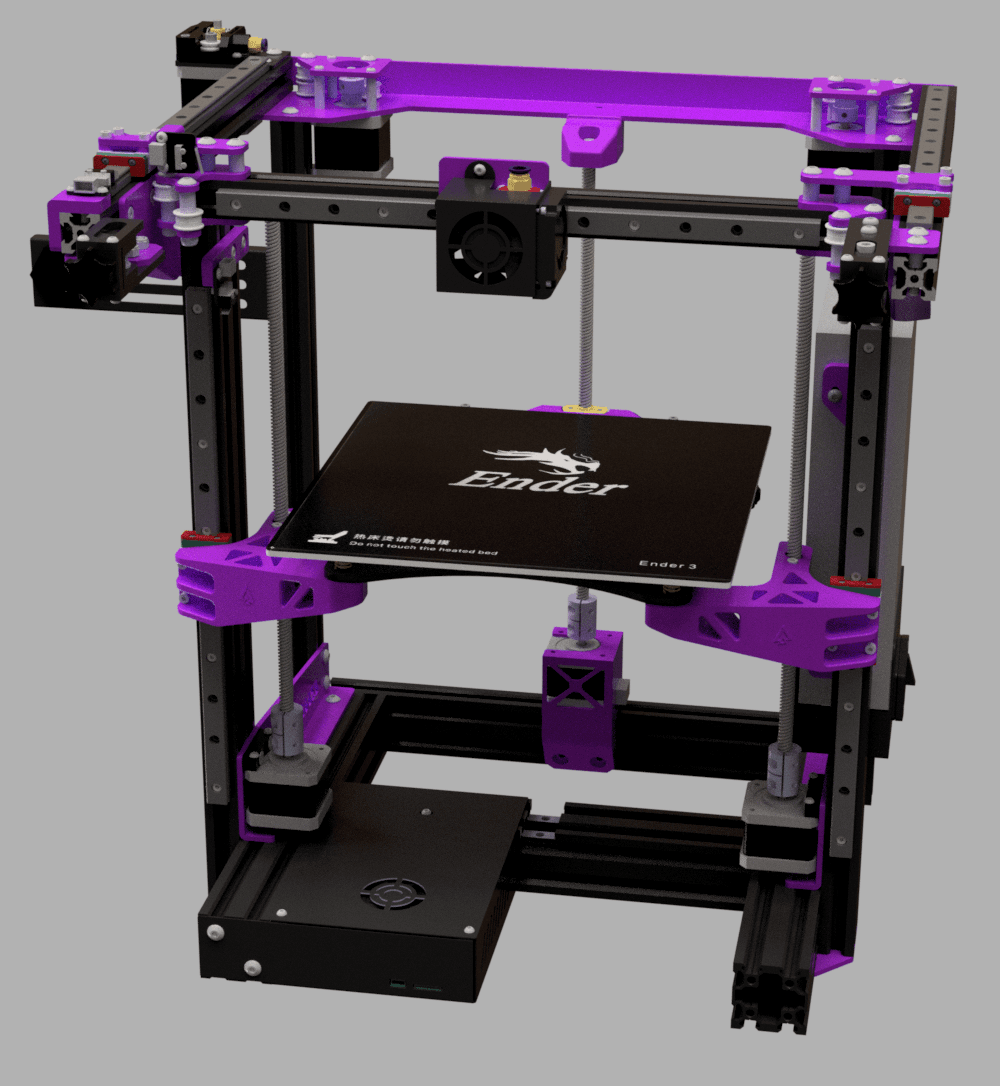
EnderXY - Bed Wobble Begone
Join the EnderXY community on Reddit: https://www.reddit.com/r/EnderXY/
I've made this as I've received a few messages on here asking if there was a way to fix the bed wobble without using triple-z. This is untested as I use triple-z, but it should work and fix the issue completely.
Remember to print 2040 linear rail guides before dissasembly to make the installation easier, I've included some to print (atleast 2).
You will lose 10mm on X as the motor had to be shifted, effectively moving the bed back 10mm so that the linear rail and lead screw are parallel, though this also depends on the thickness of the toolhead you are using.
Note: If you are using the printed bracket and location designed by belt3dprinterkit then you will have to flip the bracket (check pictures).
Motor mount (Pic 7):
- 4x M3x15mm (Socket or Pan head)
- 4x M3x10mm (Socket or Pan head)
- 4x M3x13mm (Socket or Pan head)
- 4x M3 spring nuts (Re-use stock)
Arm (Pic 4, 5, 6):
- 8x M3x8mm (Socket or Pan head)
- 8x M5x8mm (Re-use stock)
- 4x M3x13 or 15mm (Socket or Pan head)
Z-endstop mount (Pic 8):
- 1x M5x8mm (Pan head)
- 1x M5 spring nut (Re-use stock)
- 2x M3x6mm
- 1x M3x18mm (Adjustment)
Dissassembly:
- Remove heated bed from bed carriage.
- Remove stock arms (P4L/P4R in the manual) and 1020 extrusions.
- Remove 1020 extrusions from stock arms (P4L/P4R in the manual).
- Remove linear rails and carriage
- Remove motor.
- Remove Z nut from lead screw.
- Remove lead screw from coupler.
- Remove coupler from motor.
As screws cross paths there is a very specific order that has to be followed for installation.
Linear rail and carriage installation:
- Use 2040 linear rail guides to align the rails.
- The rail should touch the lower brackets (P3L/P3R in the manual).
Motor installation: Connect mount to 2040. Connect motor to mount. Add Z rod coupler.
Arm installation:
- Connect arm to MGN12H (top bolts ONLY).
- Connect Z nut to arm.
- Connect arm to MGN12H (bottom bolts ONLY).
- Connect 1020 extrusions to arm.
- Connect lead screw.
Z-endstop mount:
- Follow the picture.
Remember this is untested until I get confirmation but I'm pretty sure there won't be any issues.
If you'd like to support my work you can here https://ko-fi.com/supavitax
EnderXY - Bed Wobble Begone

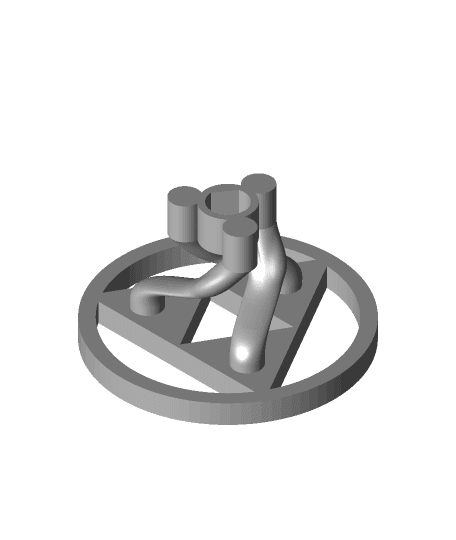
Christmas Balls with Stems
EnderXY Triple-Z
.png&w=3840&q=75)
Fire Lion God STL | Egyptian Myth 3D Print | Fantasy Bust
Articulated Duck
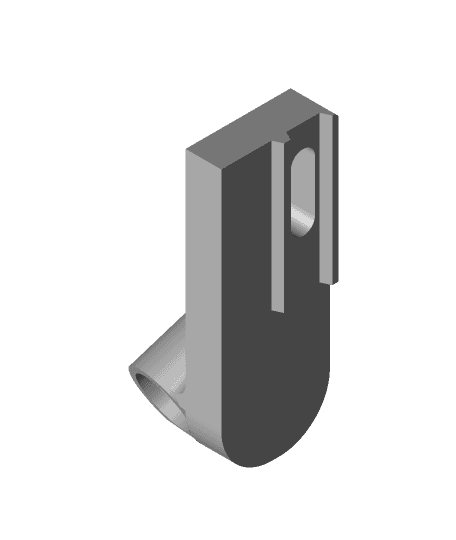
Herome BLTouch 7mm endoscope mount
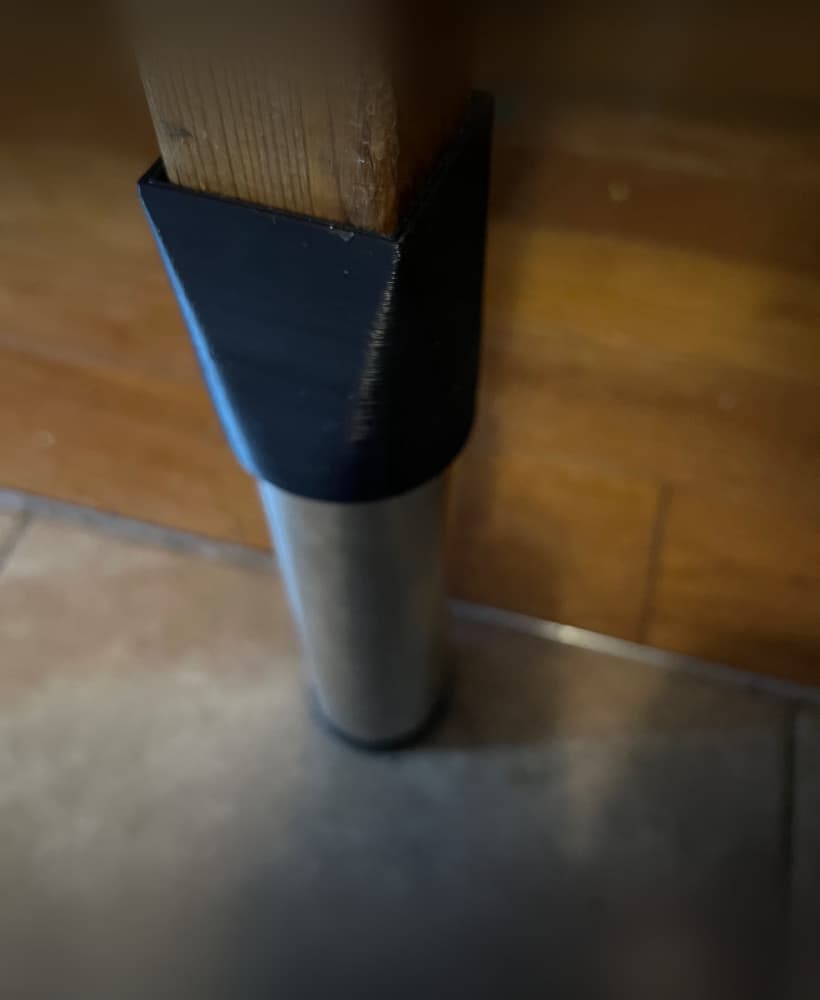
Square‑to‑Round Furniture Riser
![Salted Butter Clicker [Bonus!] 3d model](/_next/image?url=https%3A%2F%2Fstorage.googleapis.com%2Fproduction-thangs-public%2Fuploads%2Fenhanced_images%2Fv1%2Fa7bef254-55e5-457d-a161-80d8f8be0195%2Fbutter5.png&w=3840&q=75)
Salted Butter Clicker [Bonus!]

Closed Spiral Christmas Ornament

Mini Meal Clickers + Mini Collab x SugarPaws3D

Nintendo Switch Game Shelf Update!

Filament Feeder System for Ender-3 V3 KE
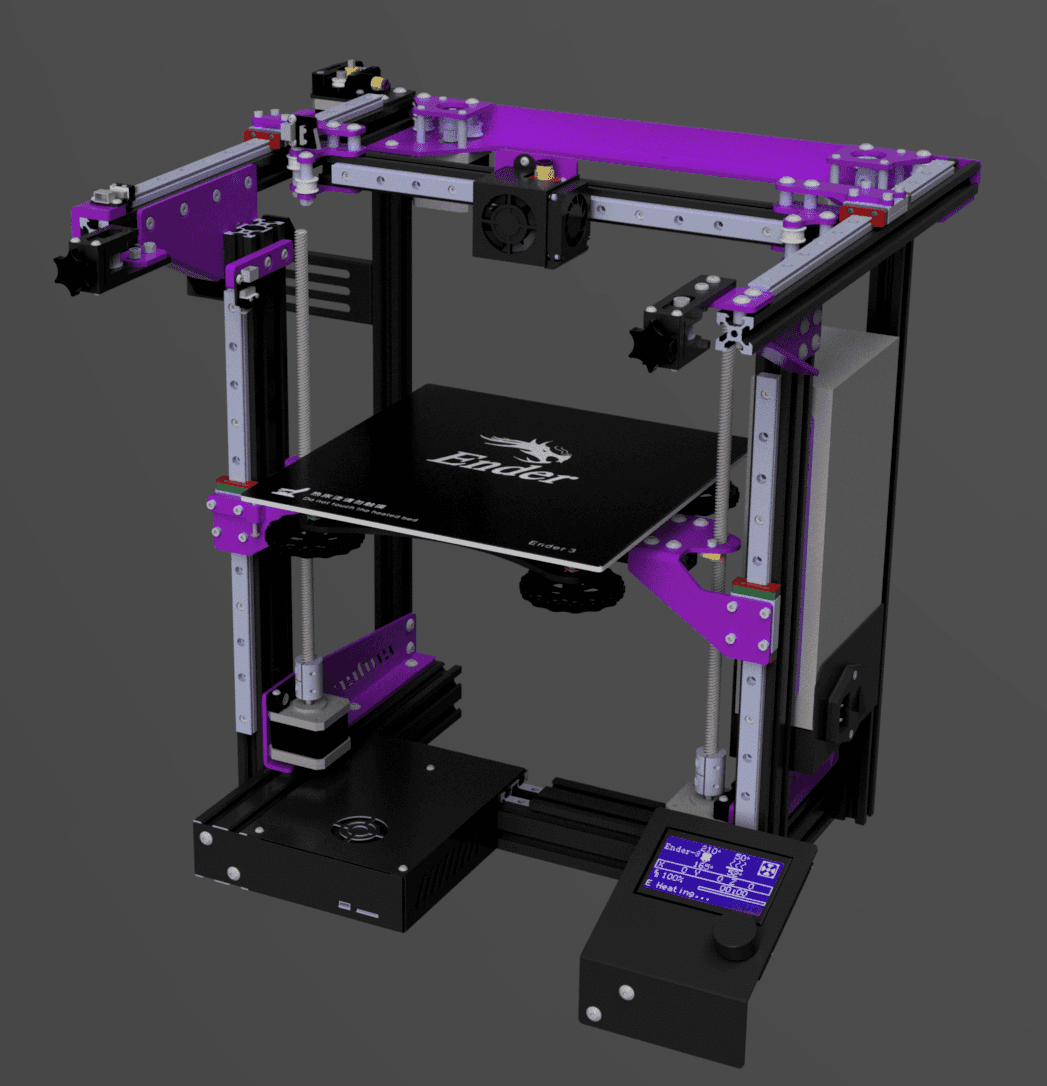
EnderXY CAD Model (Unofficial)

Collapsing Middle-Finger

The Grinch Middle Finger
Triforce X Axis wheel for Anet or similar printer (Nema 17 5mm Shaft)
.png&w=3840&q=75)
Articulated Zombie – Print-in-Place Undead - Members Exclusive
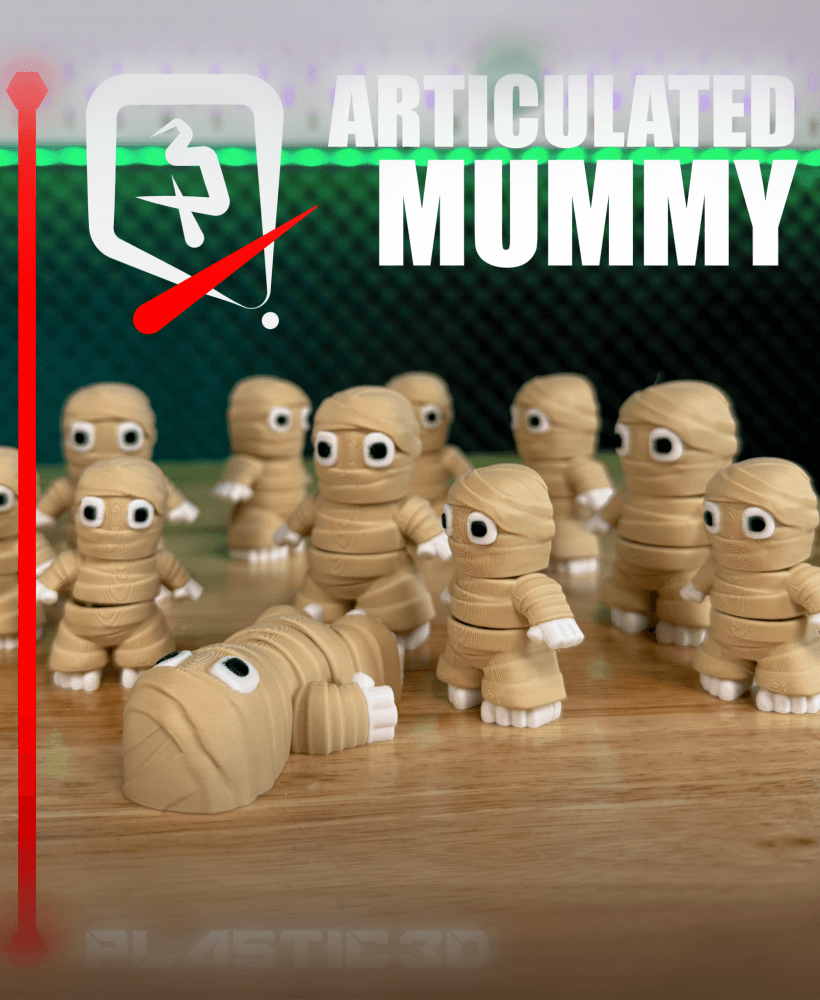
Articulated Mummy – Print-in-Place Wrapped Wanderer - Members Exclusive

Henriegga – The Chocolate Egg-Laying Chicken
Collapsing Middle Finger - Zombie Edition
