CR-10 FANG & A HALF with backplate. Easy print and install.
bysmilingimpact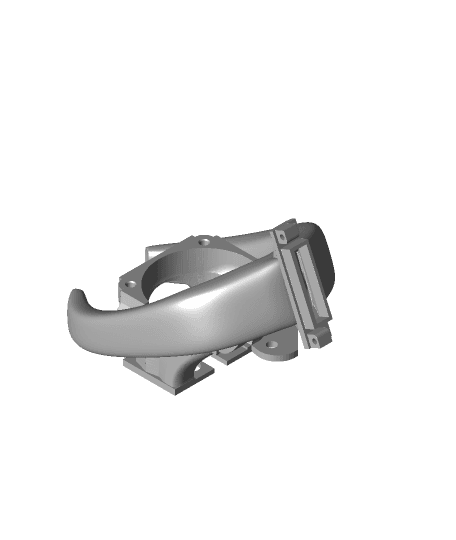
Model originally uploaded to Thingiverse at https://www.thingiverse.com/thing:2843375.
FOR: CR-10 and possibly other machines (such as Tevo Tornado).
GOALS: Make fang easier to print and install, and more secure without requiring end user to acquire any other hardware.
DISCUSSION: The stock CR-10 fan mount is fine but I thought I would like to try the very popular fang for a little better visibility. Well, I printed it and didn't like the way it came out. So I set about to see if I could make it a little easier to print and install. The biggest problem I ran into was the inside the fan mount where it attaches to the hot end pieces are (for me) too small, hard to print and fragile. Plus even if it does print (mine broke every time), the stock hot end screws are too short to attach through the additional material (maybe I got short screws?) Anyway I edited the mesh (there were some odd um... elements to it and adjusted all but 3 of the mounting holes for a better fit.) Don't get me wrong, like I said great design, I couldn't have come up with it that's for sure, I am just trying to make it slightly more friendly to print and use. This is what I came up with.
OTHER: Since the OEM blower is pretty weak having two ducts might actually be counterproductive. Enter the half fang, because why waste the time and plastic?
(terrible) INSTRUCTIONS: Remove fan mount and fans (OEM total 10 screws). Remove heat sink (OEM 2 screws). Install fang by passing the Bowden tube between the two holes in the rear plate of the fang. Align heat sink screw holes with holes in plate while simultaneously aligning all fang plate holes with those on the X carriage mount while paying attention to the routing of heat block wires. Screw in the two heat sink screws and then the two screws to the left of those on the carriage (use access hole for securing topmost carriage screw). Then attach the heat sink cooling fan (4 screws) use notch on right side for wire relief / routing. Finally, attach the part cooling fan at the top (2 screws).
Feedback always welcome.
Credit to whoever came up with the fang idea, there are so many remixes I can't tell where the original came from. I have credited where I got the mesh I modded from.