


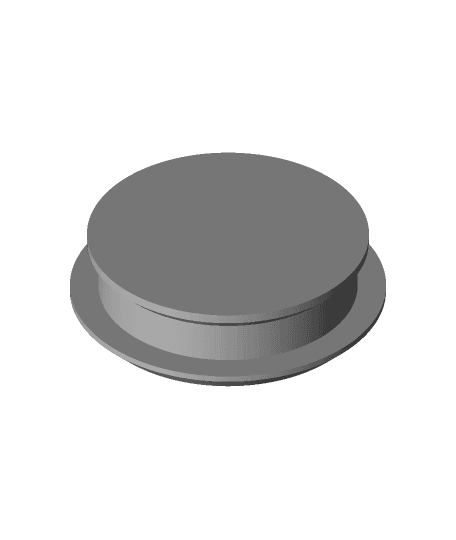
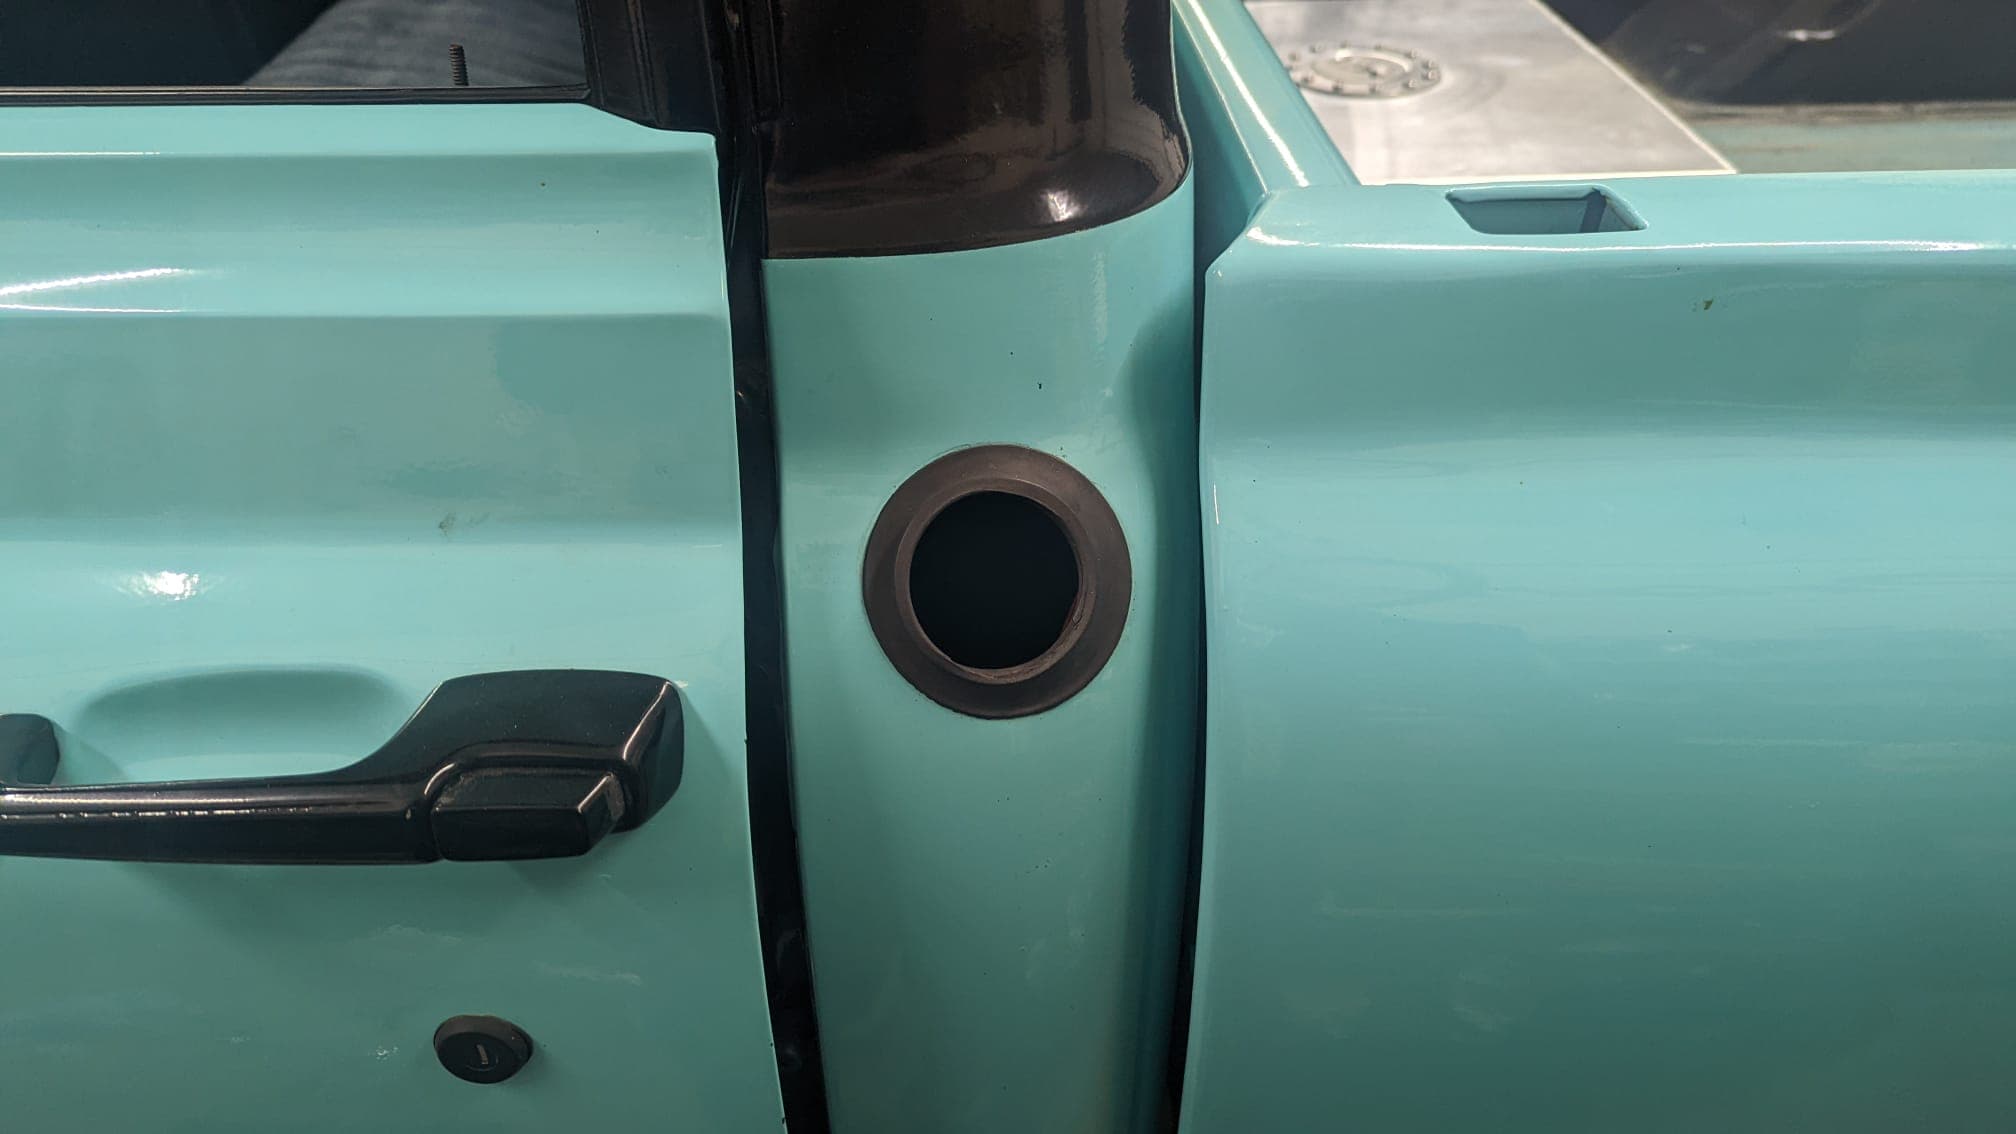
Pontiac Montana Seat Panel Grommet
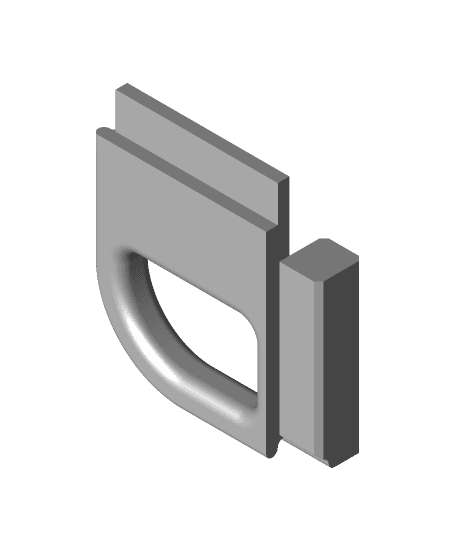
This is a design for a replacement for the grommet/clip which is used to secure the plastic panel to the side of a front seat in a Pontiac Montana. One of the thumbnail pictures shows the original part which is a tubular clip which is pushed into the hole, and has barbs which engage with the internal hole, thus holding the panel in place. The barbs on these clips are prone break off and replacements are very expensive. I tried some designs for a direct replacement of the clip, but they proved to be very fragile due to the material I had available and the nature of the layered printing.
This design replaces that with a custom bolt and nut. The bolt is profiled to fit nicely in the panel and the threaded portion is sized for the internal hold to secure it. The nut has some flats to allow it to fit internally under the seat.
To keep the bolt cosmetically similar to the original, the head is thin and flat and there are no measures to allow it to be screwed in place with a tool. However, the surface is sufficient to be able to grip it for rotation with the fingers, or at least I found it sufficient. If required, a couple of small holes could be added to the head to make it so that a pair of long nosed pliers could be used to screw it in!
The design was originally done in FreeCAD using the Fasteners plugin. The bolt thread is metric M24 with a custom 3mm thread pitch. However, for the type of nut that I wanted, there wasn't a canned flanged nut in the M24 size (EN-1661) so I made an M20 one and used Blender to boolean subtract an M24 threaded length with a custom 3mm pitch and slightly increased the threaded insert for clearance. It would have been a lot simpler if the FreeCad plugin had an M24 nut that would have sufficed. I also used Blender to slice off two flats so that it would fit where it needs to go.
In order to get the nut in place, I found that you had to reach under the seat from the rear. Pop the nut in with your finger tips, oriented correctly for the flats, then screw in the bolt from the outside. It's awkward to be sure, but it is doable unless you have very fat fingers :D
Edit to add: the first version of this broke off when someone heavy sat in the seat. I had only used default line fill pattern @30%. For the second one I changed this to 80% fill with a Tri-hexagon pattern. Also, when I put it into the seat base, I didn't tighten it right up like I did previously. Having it tight means that there is no give and I think that was a mistake.
Pontiac Montana Seat Panel Grommet
Side Panel Grommet TPU.stl

Arctic Cat Ranger Seat Grommet v2.stl

Nissan Door Panel Trim Clips

Phone Multi Widget (and Fidget) now include v1.5
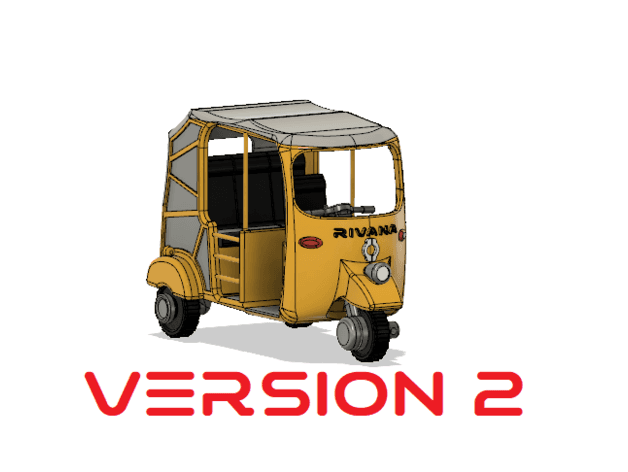
Yellow Tuk-Tuk/ Auto Rickshaw with Movements Version 2

1:8 scale supra Rc car( Electric version)

Ultimate Cable Management Set - 9-Model STL Bundle for 3D Printing

CHRISTMAS ORNAMENTS – SET 2 (Sleigh, Lantern, Star, Snowflake & Tree Bauble)
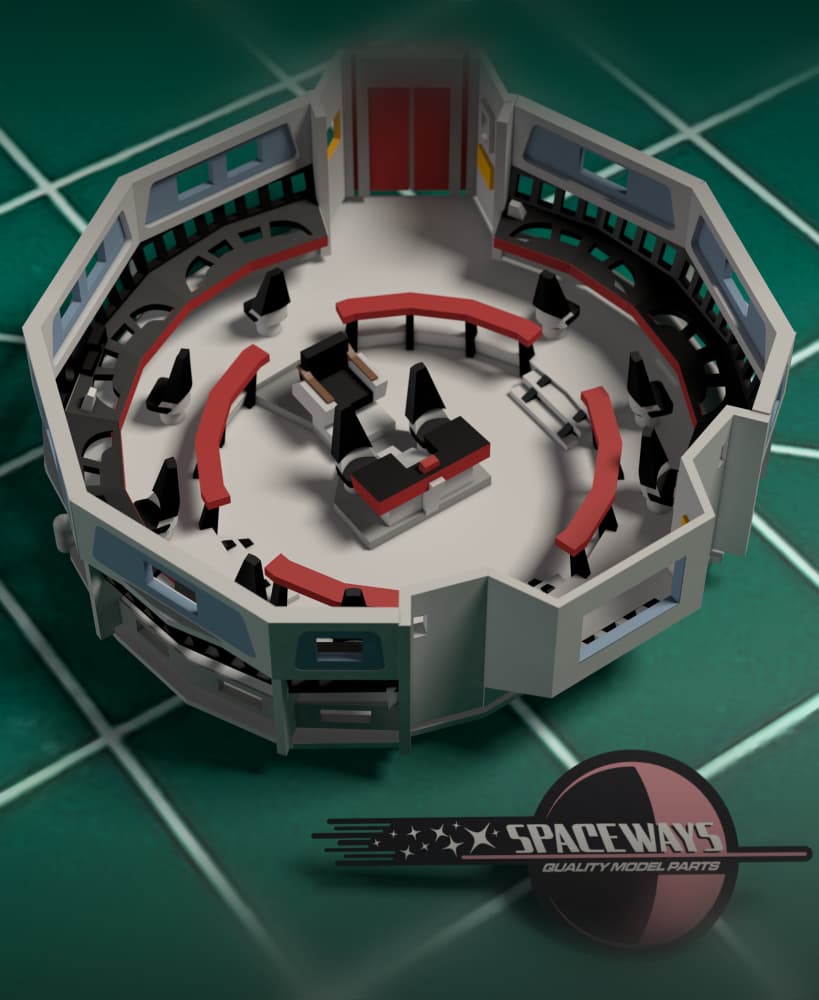
1/350 TOS Bridge Replacement
Honda Civic 2006 centre console USB ports

45deg Mount for 7.8"/299mm wide Solar Panel
.png&w=3840&q=75)
Meshify 2 Compact Resivoir Pump Combo Mount and Passthrough

Dark Skull Throne Dungeon Terrain

1/350 TOS Bridge with Open Turbolift
GMC Truck - Gas Tank Delete Cap
Corner Grommet TPU.stl

Chalet Lamp
1/350 TOS WNMHGB Bridge Replacement

Shoji Lamp - Sen
