Model originally uploaded to Thingiverse at https://www.thingiverse.com/thing:4761779.
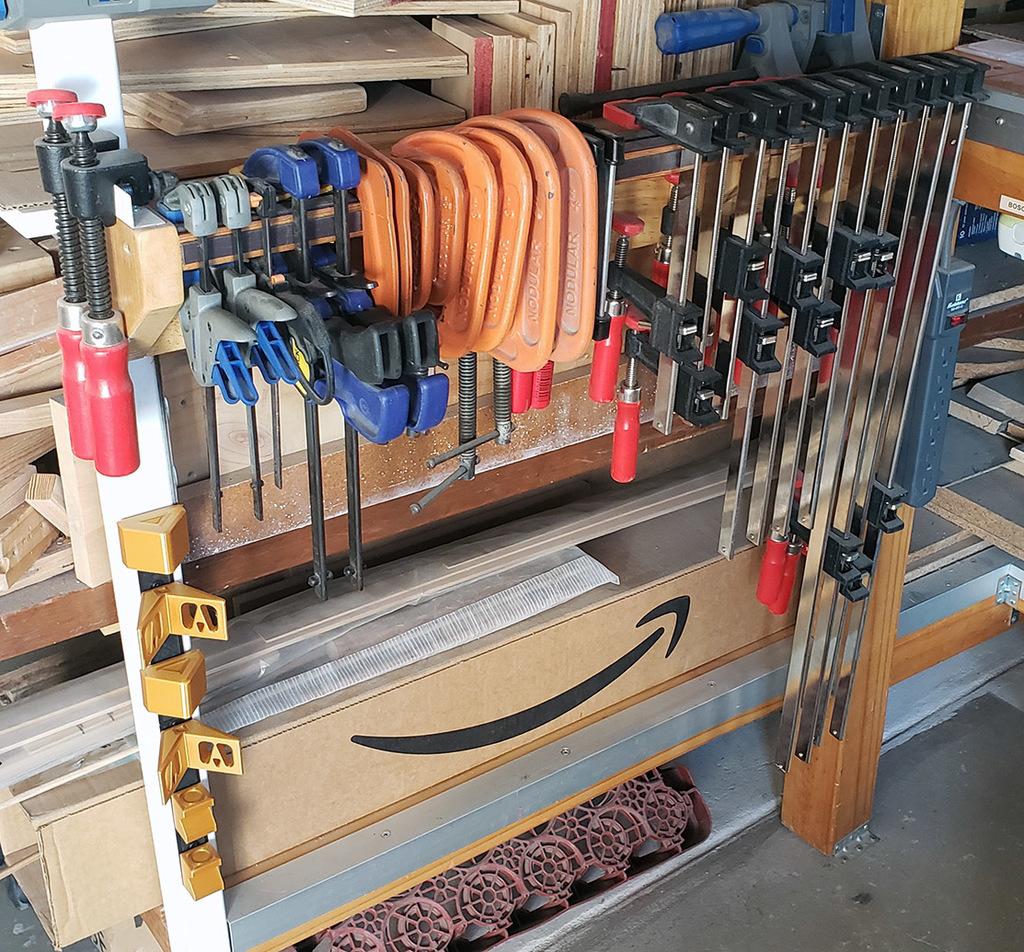
Well, this turned out to be more of a process than I had anticipated… 1- I started with rschoenm / drphysics’ awesome pads that I found here: https://www.thingiverse.com/thing:4749802 and here: https://www.instructables.com/More-3D-Printed-Gadgets-for-Woodworking/?linkId=66574927 2- Then I made a simple horizontal base for them: https://www.thingiverse.com/thing:4750450 3- Since I optimized the distribution to save space on the base, a system was needed to know which pad went where, so I added symbols to the pads and the horizontal base. 4- And just because nothing in life can go as planned, I finally I ended up realizing that a vertical arrangement would be better in my shop. Typical. So… I made a vertical version of the base… Where the symbols were no longer necessary… of course…
Anyway, long story short, you all get a complete set of pads (remixes of rschoenm / drphysics’) and a variety of bases to choose from: one horizontal, as described, that barely fits on my Ender3v2 (without brim or anything, otherwise it won’t) and 2 vertical versions. Why 2? Well, since the vertical version couldn’t be printed in a single piece on my printer anymore, obviously (see step 4), I had to make it in 2 pieces. At this stage I thought I was done and one more model wasn’t going to make much of a difference anymore, so I made a single piece vertical base, for those who have a bigger printer.
But I was wrong: Regarding de 2-piece vertical base... you guessed it... you’ll find 2 versions: my first design had a 0.15mm tolerance at the joint. But after printing it, I found it was too tight and I had to file it quite a bit for it to fit properly. Hence the 0.35mm version. However, I haven’t printed this one since my needs have been met and also, I was about ready to close this chapter at this point.
So, you guys let me know how the 0.35mm version fits. If more modifications are necessary, I can do them and if all else fails, you can print the 0.15mm version. Just get ready to do a bit of filing… The photos are of the 0.15 ver. after filing, so as you can see, they can fit, just a bit more work, that’s all.
Anyway, fingers crossed this was clear enough, and you’re not too dizzy. I hope that this comes in handy to someone out there, and I look forward to your comments. Have a good one ;)
Short video demo here so you can get a feel fo the fit: https://youtu.be/zwCmPq_suHk


