
Dyson Modular Accessory Rack
Model originally uploaded to Thingiverse at https://www.thingiverse.com/thing:2748576.
This is a modular and expandable accessory rack for the Dyson V6 (and other similar models). It can be mounted alongside the Dyson rack without using any of the existing sockets, or it can be used completely standalone. The component parts can be assembled to make all sorts of different racks. You can even add more sockets to it later if you find you need them!
The parts are designed to fasten together with M3 countersunk screws and nuts. The individual components are fairly small, so should be printable even on small beds.
There are several different wall brackets to choose from (a picture is included to aid in selection).
Other hardware needed:
- M3x10 or M3x8 countersunk screws and nuts. Hex head screws will be easier to fit.
- One spring for each button. I used 5.6 x 17.5mm compression springs, which came out of a "Rolson 150 Piece Spring Assortment" set. These were too long so I cut them in two halves, and used half for each button.
Notes:
- These sockets won't accept the rigid extension tube, so that needs to be stored in the original Dyson rack (as shown in the photo).
- Before fitting the button, clean up the edge of the hole and the button to make sure they are both smooth.
- To fit the button, place the spring on the small peg in the body, then add the button on top of the spring. Put one of the pivot pins in place, then gently push the other side of the button until the second pin snaps into place (it helps to slightly bend the wall with a screwdriver as you do this). Mine was printed in PLA and I was able to fit all four buttons without any problems.
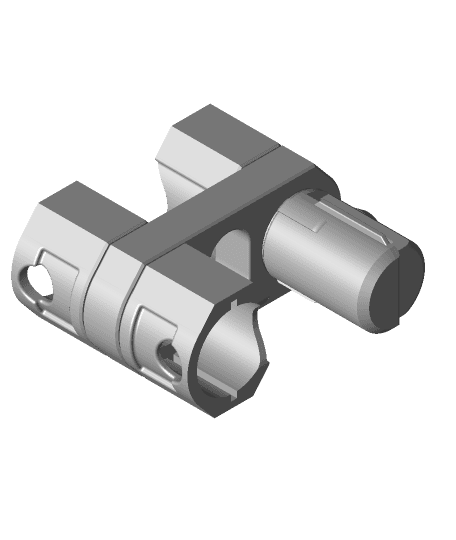
- The joints have a single hole at the bottom, so they can be secured to the wall brackets with a single screw from below (to conceal it).
I fastened some 18x34 wooden batten to the wall with two screws, then attached the 3D printed brackets to that. This means you can have a fairly long run of sockets without peppering your wall with holes!
I've included the SketchUp file which shows some examples of how the parts assemble. Have fun!
I would love to see some other Makes of these :-)

Bottle Rack Modular Type 1.stl

Griffin Gaming Modular Paint Rack - Brush Storage Section

Desk Accessories Modular Stacking Desk Organizer Set with Pencil Cup
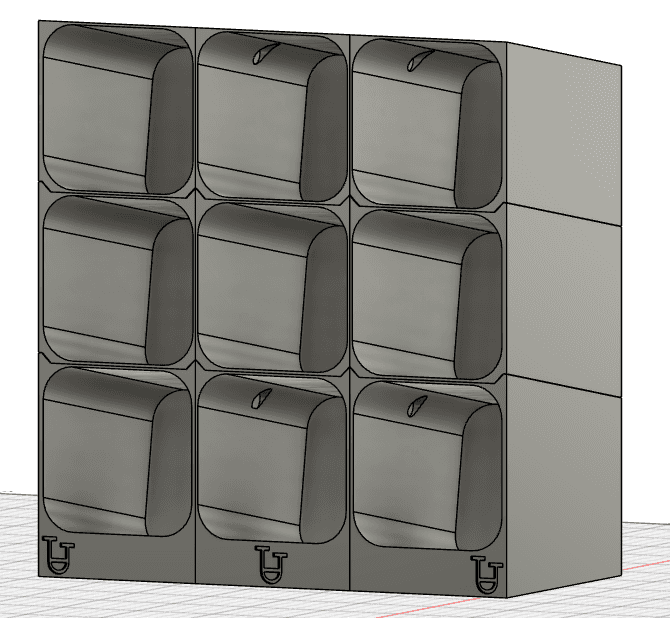
Modular Spice Rack

Infiniframe - modular rack solution
Dyson Accessory Mount/Holder V3 - Single Print
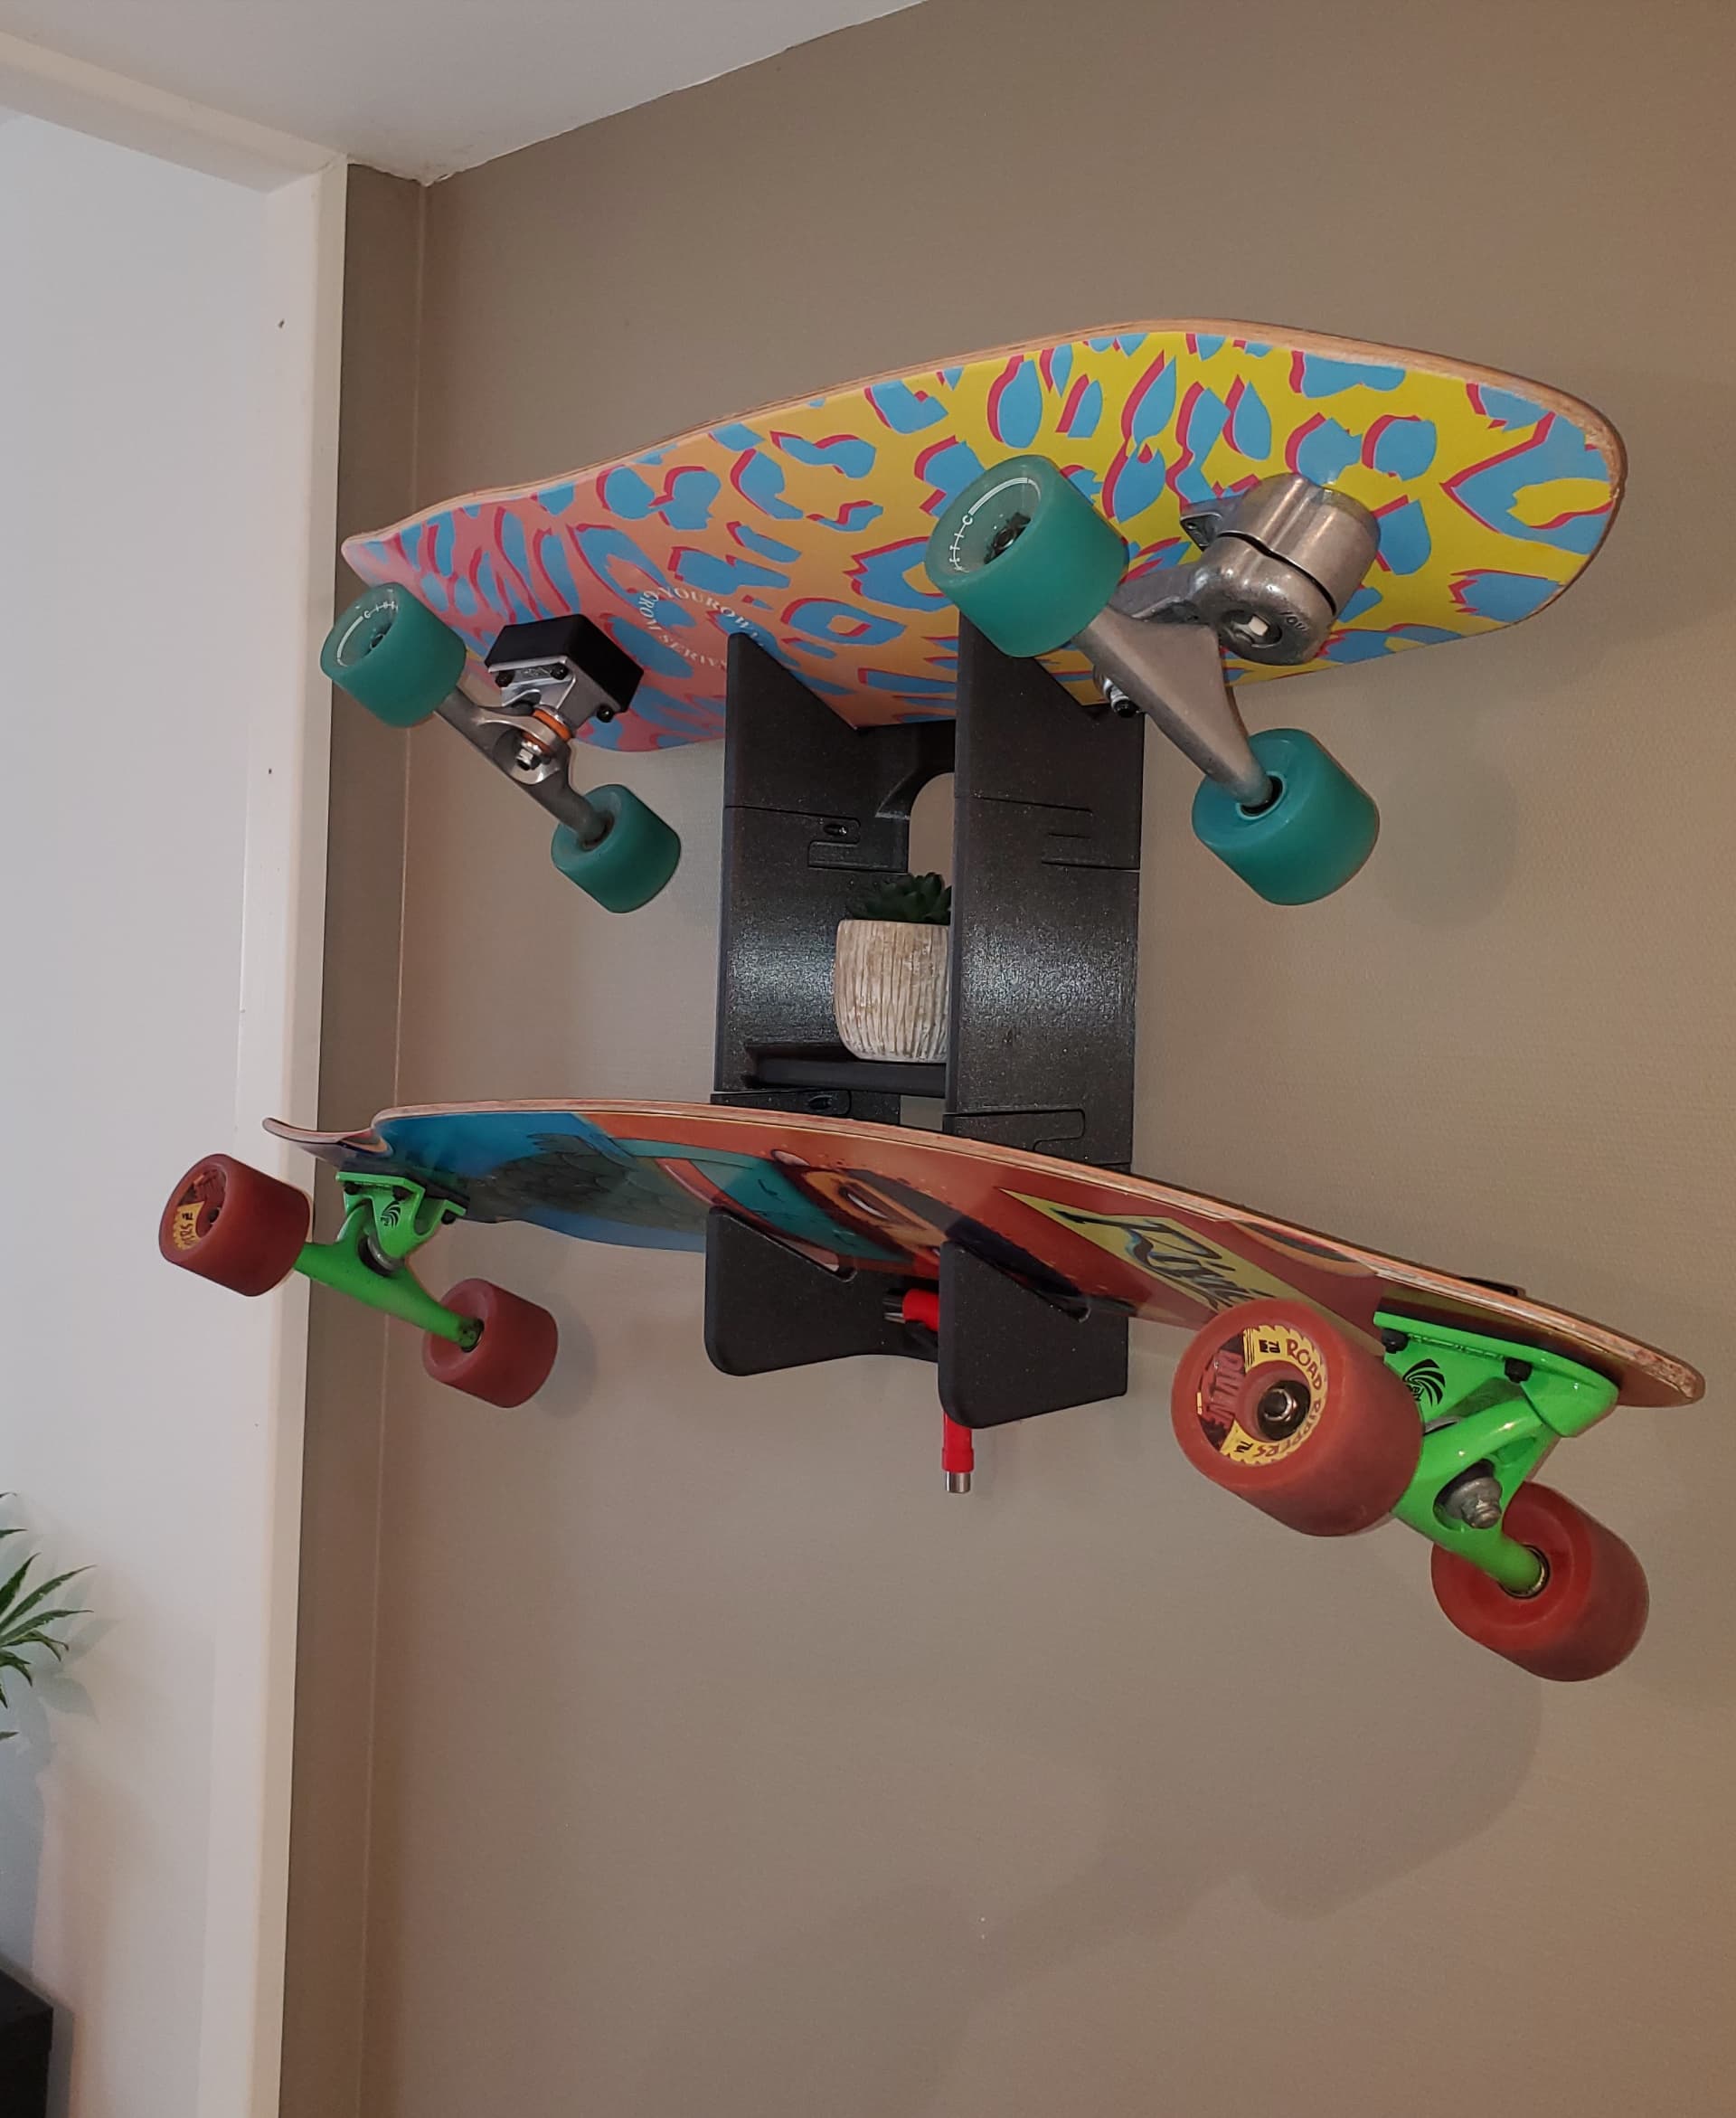
Modular skateboard wall rack

Modular Rack System for 17ml Model Paints

UV-5R Radio Holder for Modular Accessory Mount (MAM)
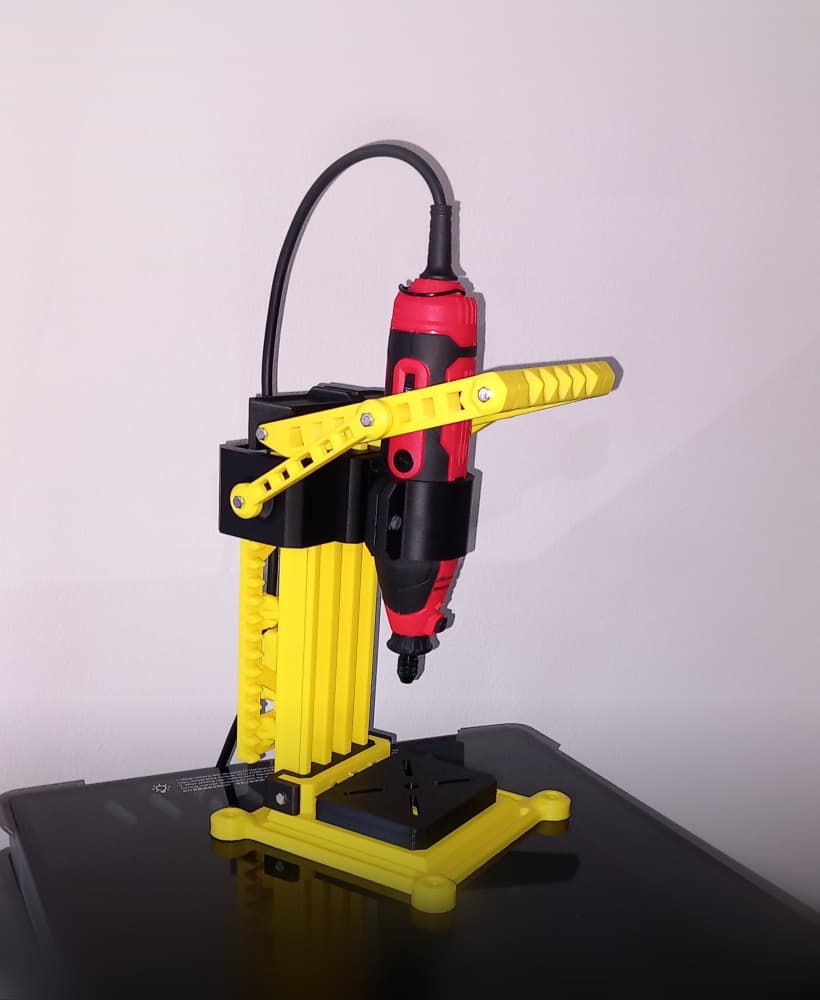
Lil' Lupo Rotary Tool Drill Press w Modular Accessories
.png&w=3840&q=75)
Griffin Gaming Modular Paint Rack - Corner Section - Large Bottles
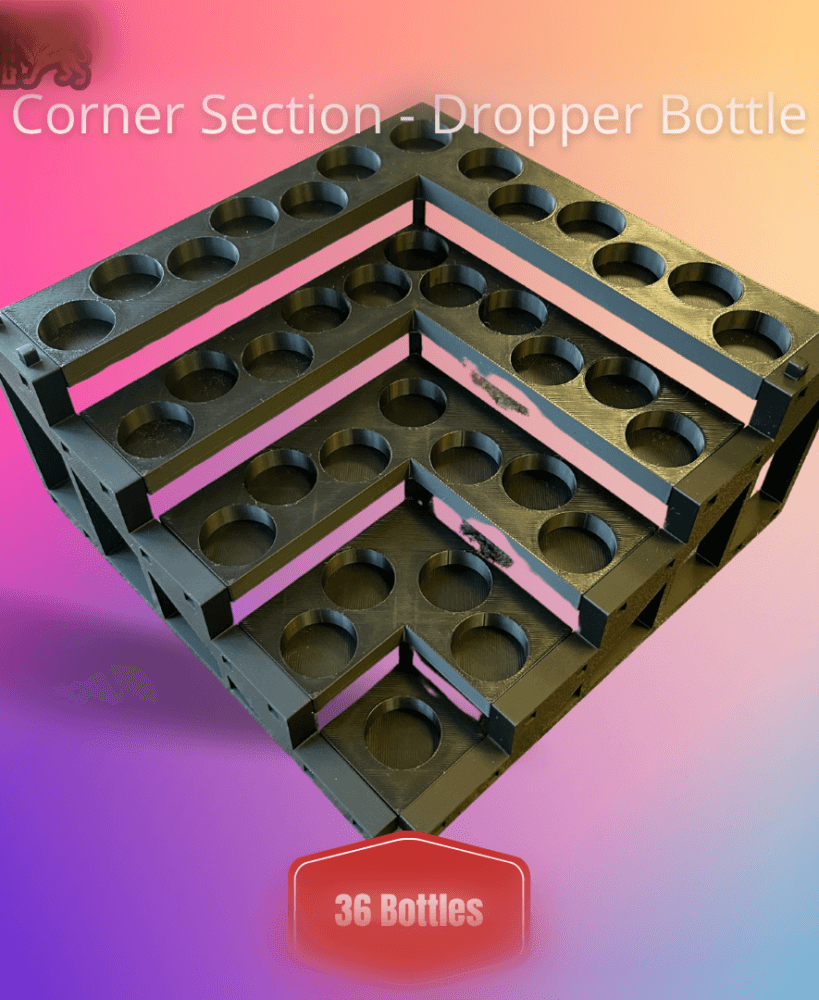
Griffin Gaming Modular Paint Rack - Corner Section - Dropper Bottle

FDMecha Accessory - Modular Area Marker

strength and multistory modular spool rack

Griffin Gaming Modular Paint Rack - Full Section - Large Bottles
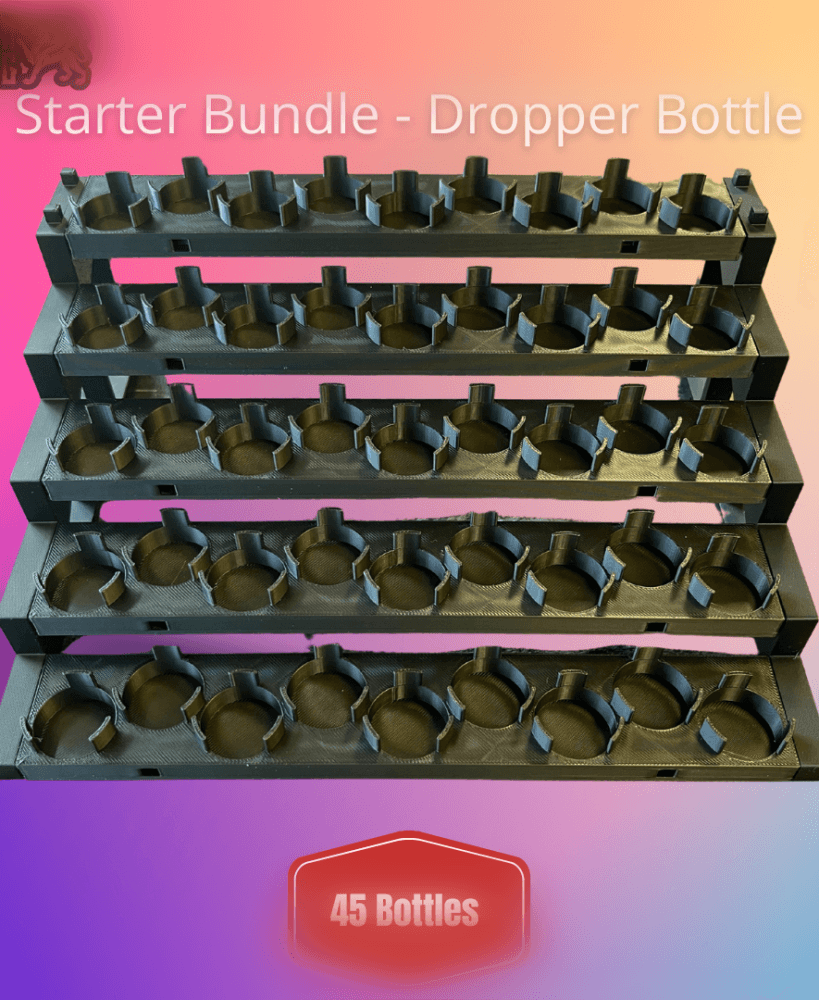
Griffin Gaming Modular Paint Rack - Full Section - Dropper Bottle
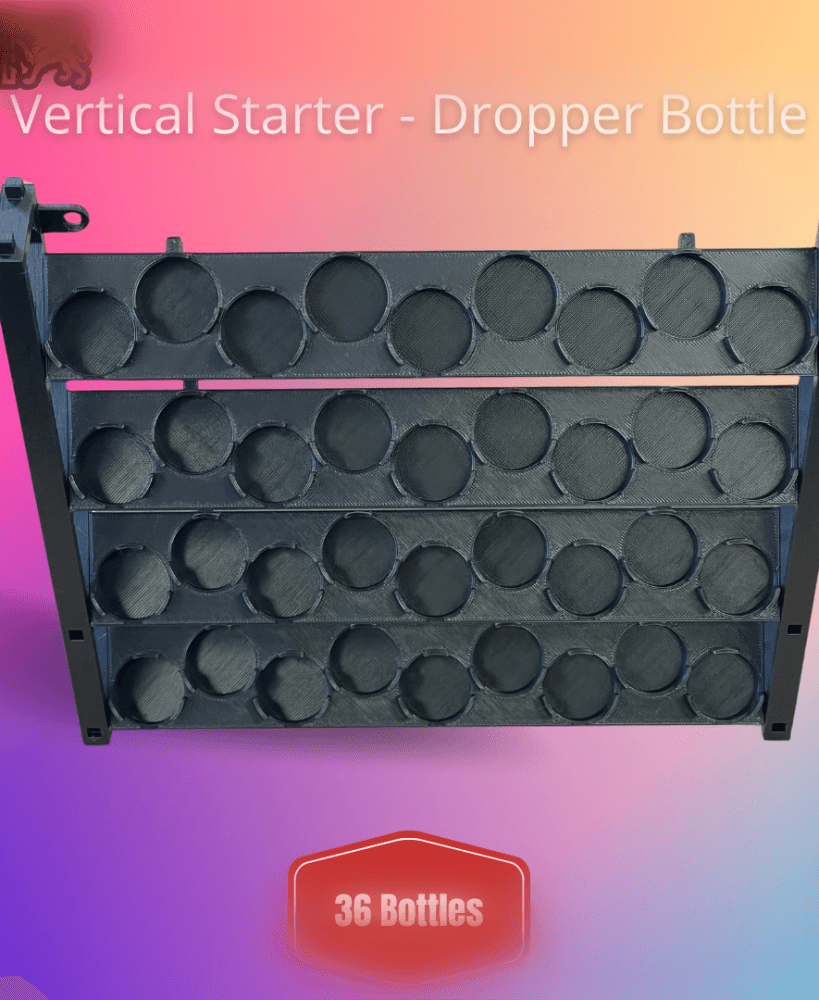
Griffin Gaming Modular Paint Rack - Vertical Section - Dropper Bottle

USB Drive Storage Rack (Modular, Push to Open)
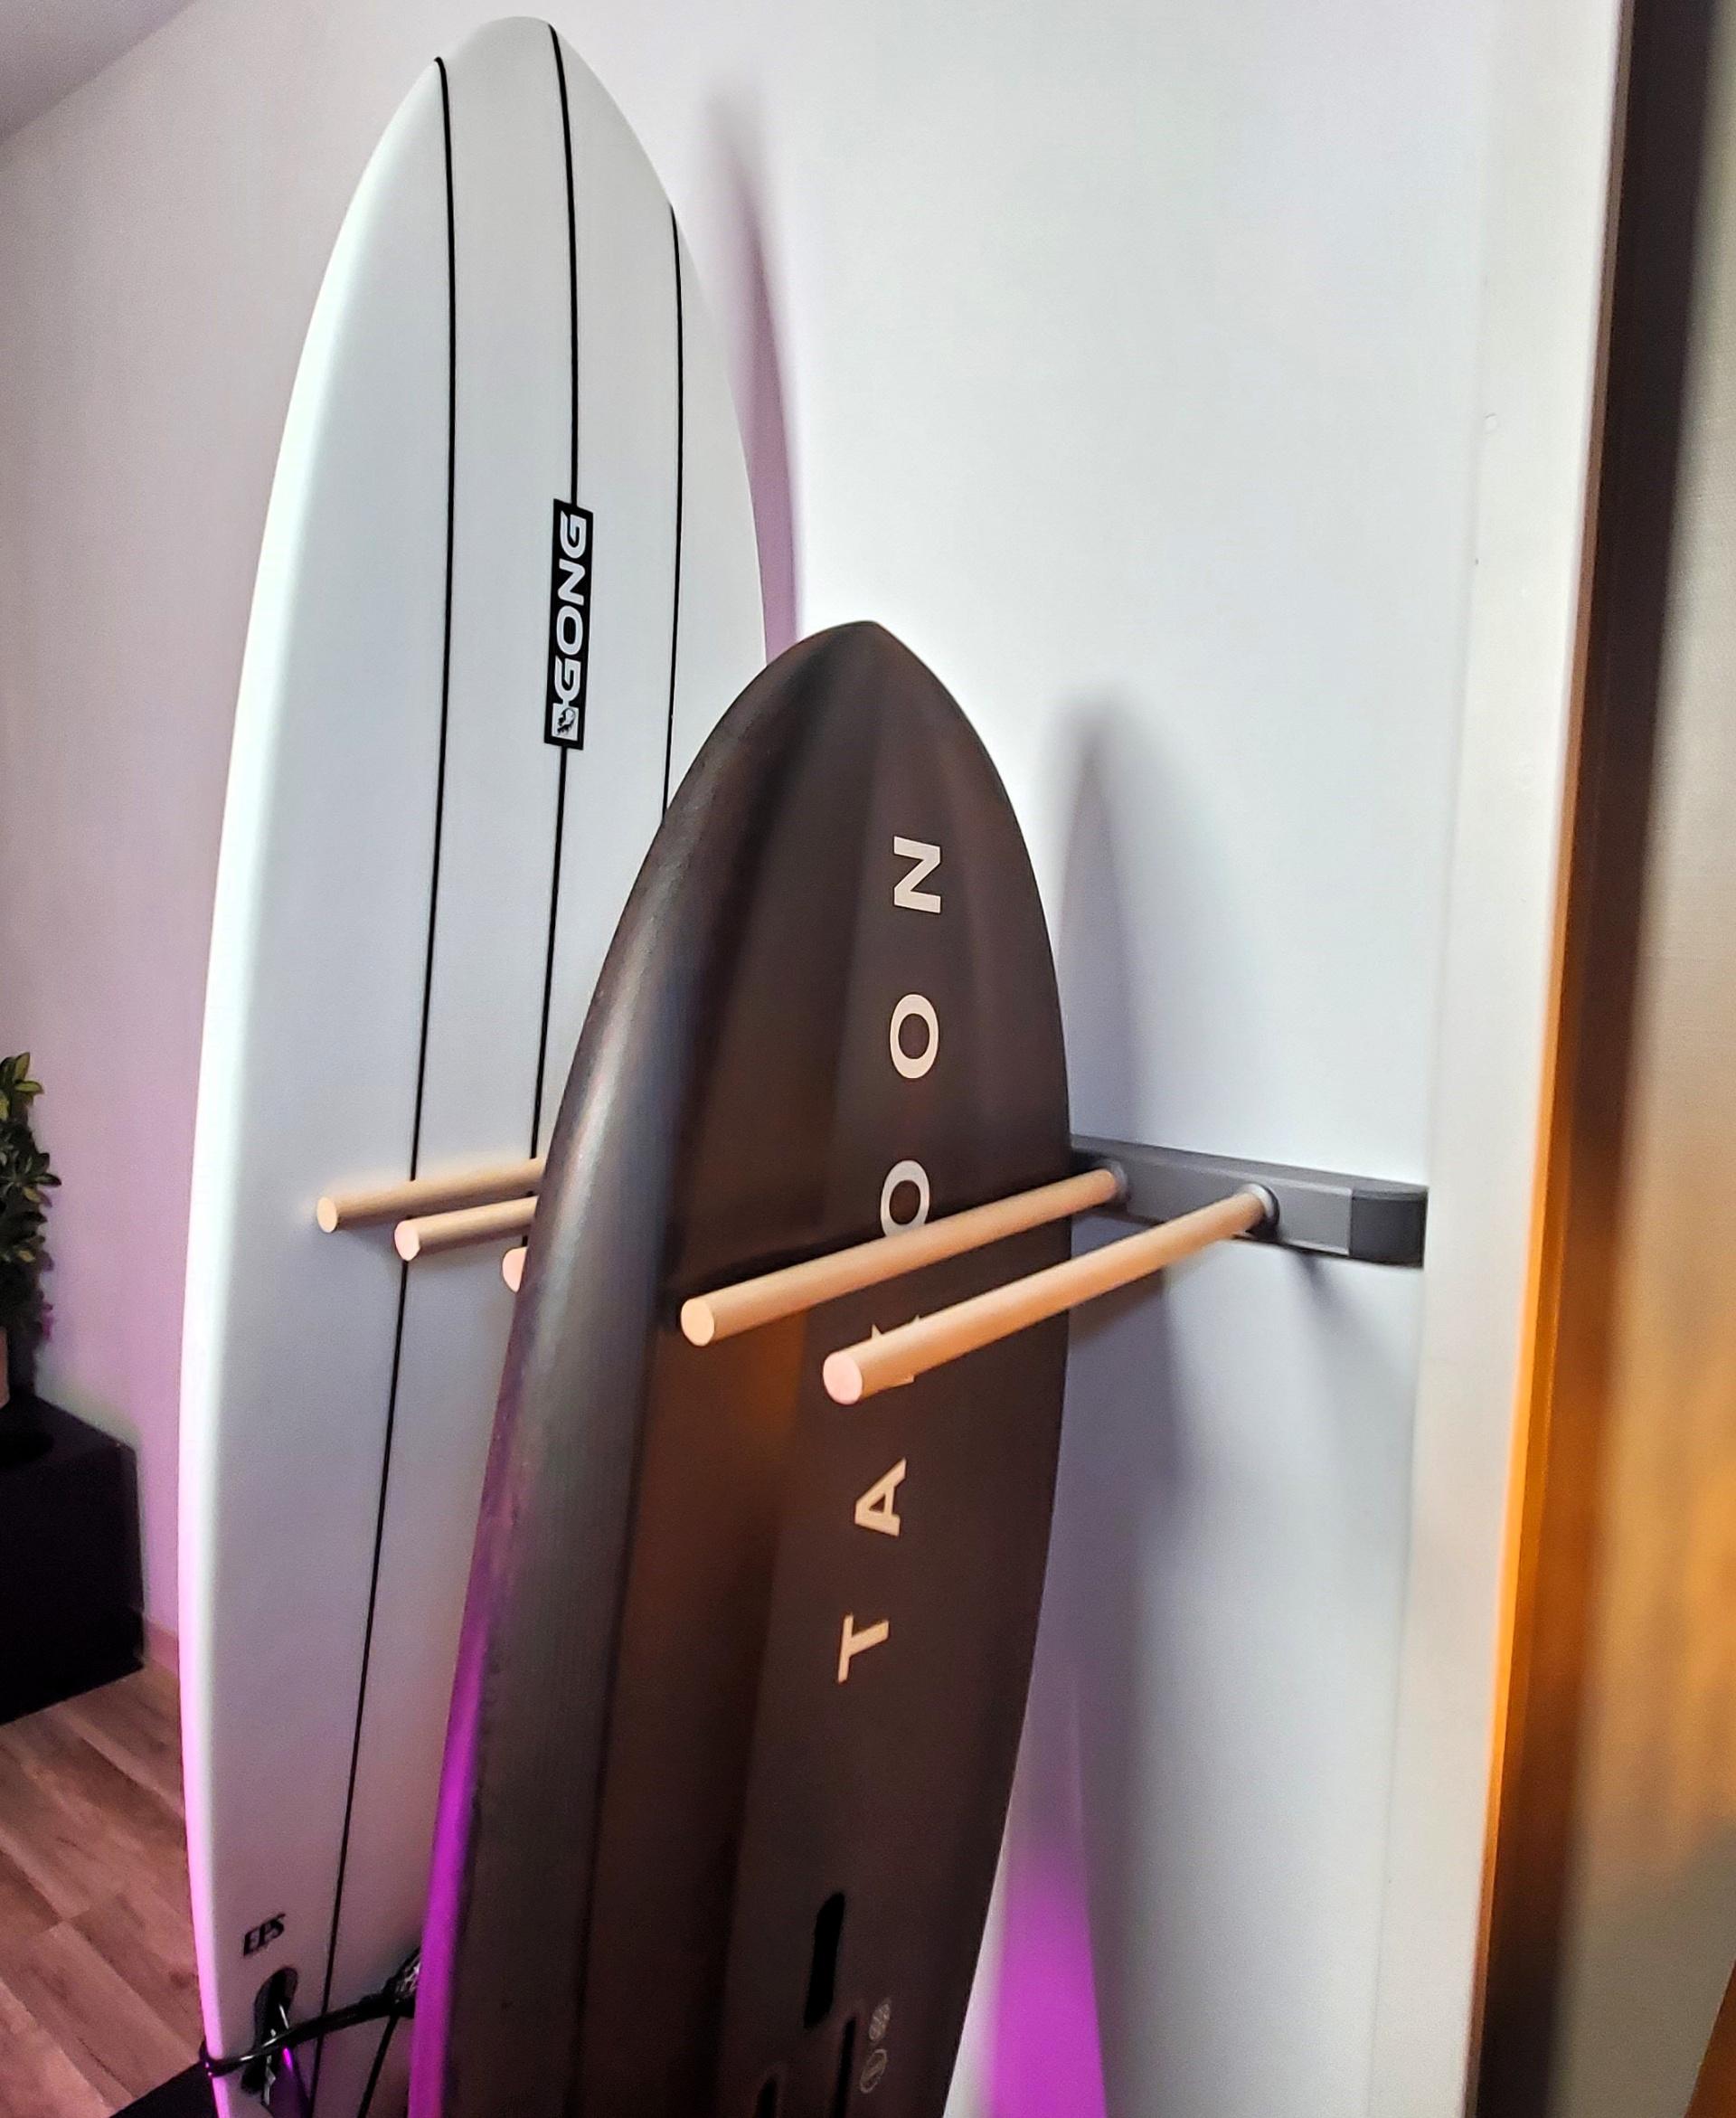
Modular board rack (surf, SUP, wing, ski and more) wall mounted
