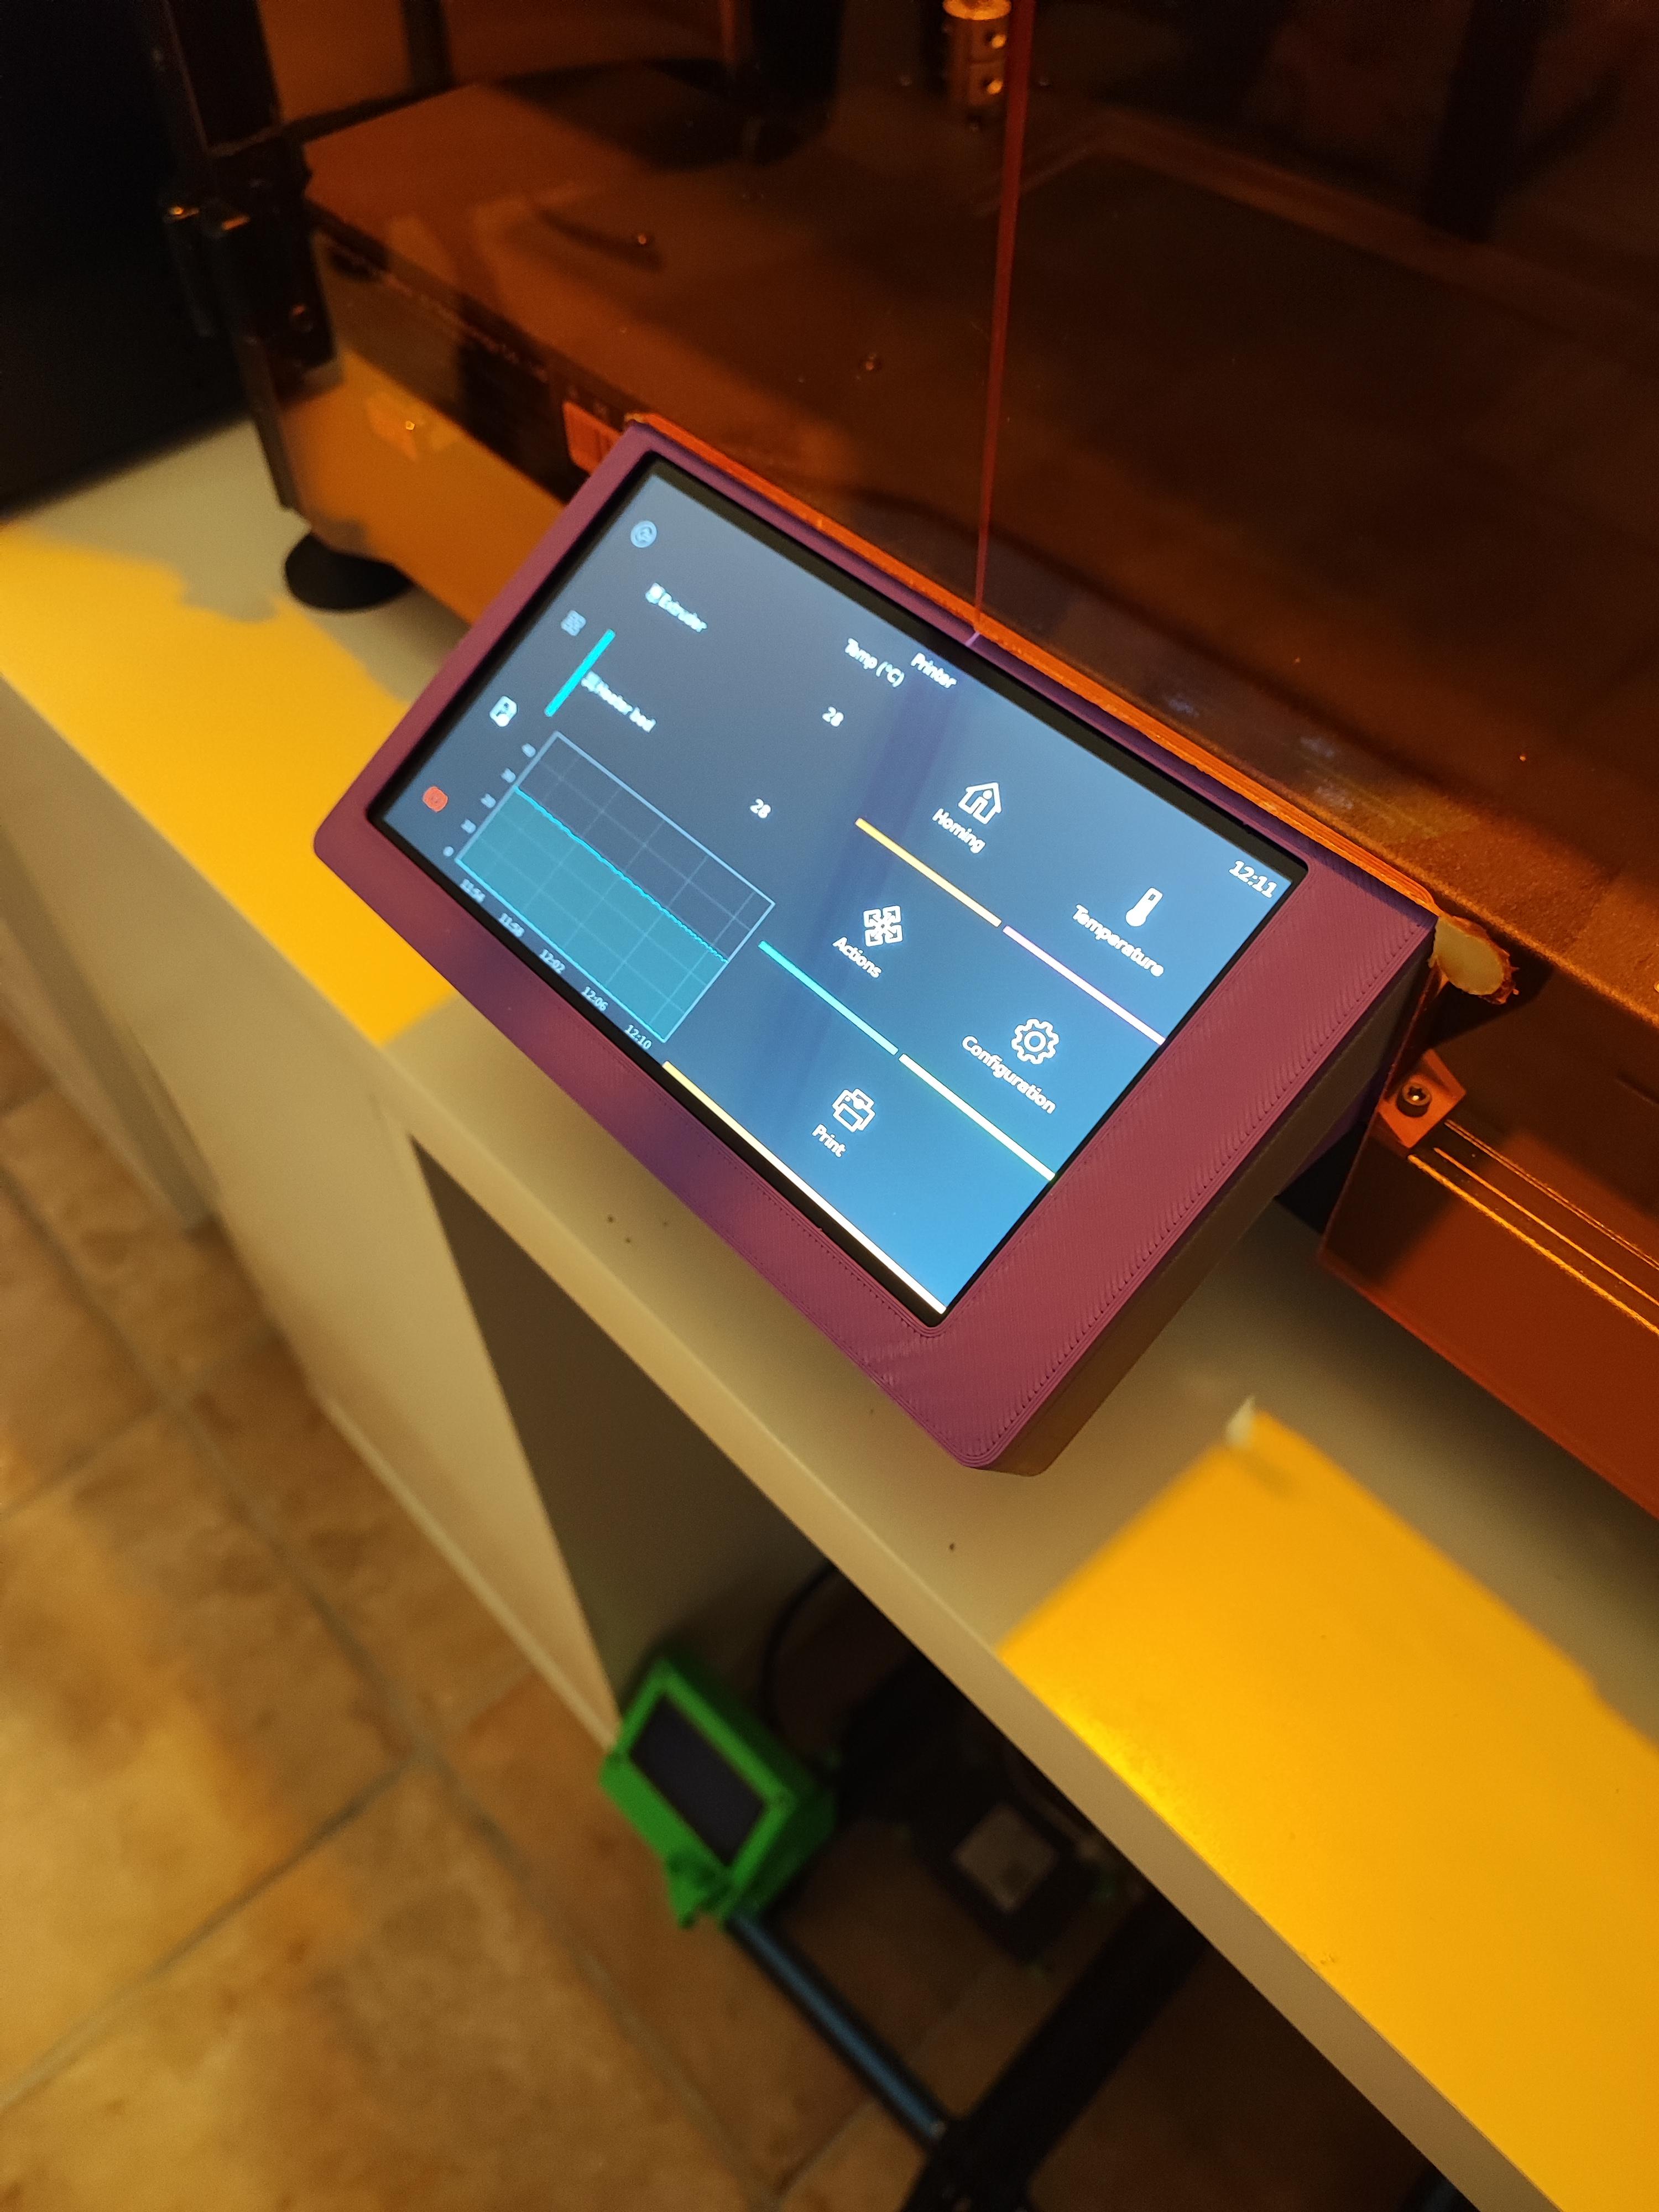
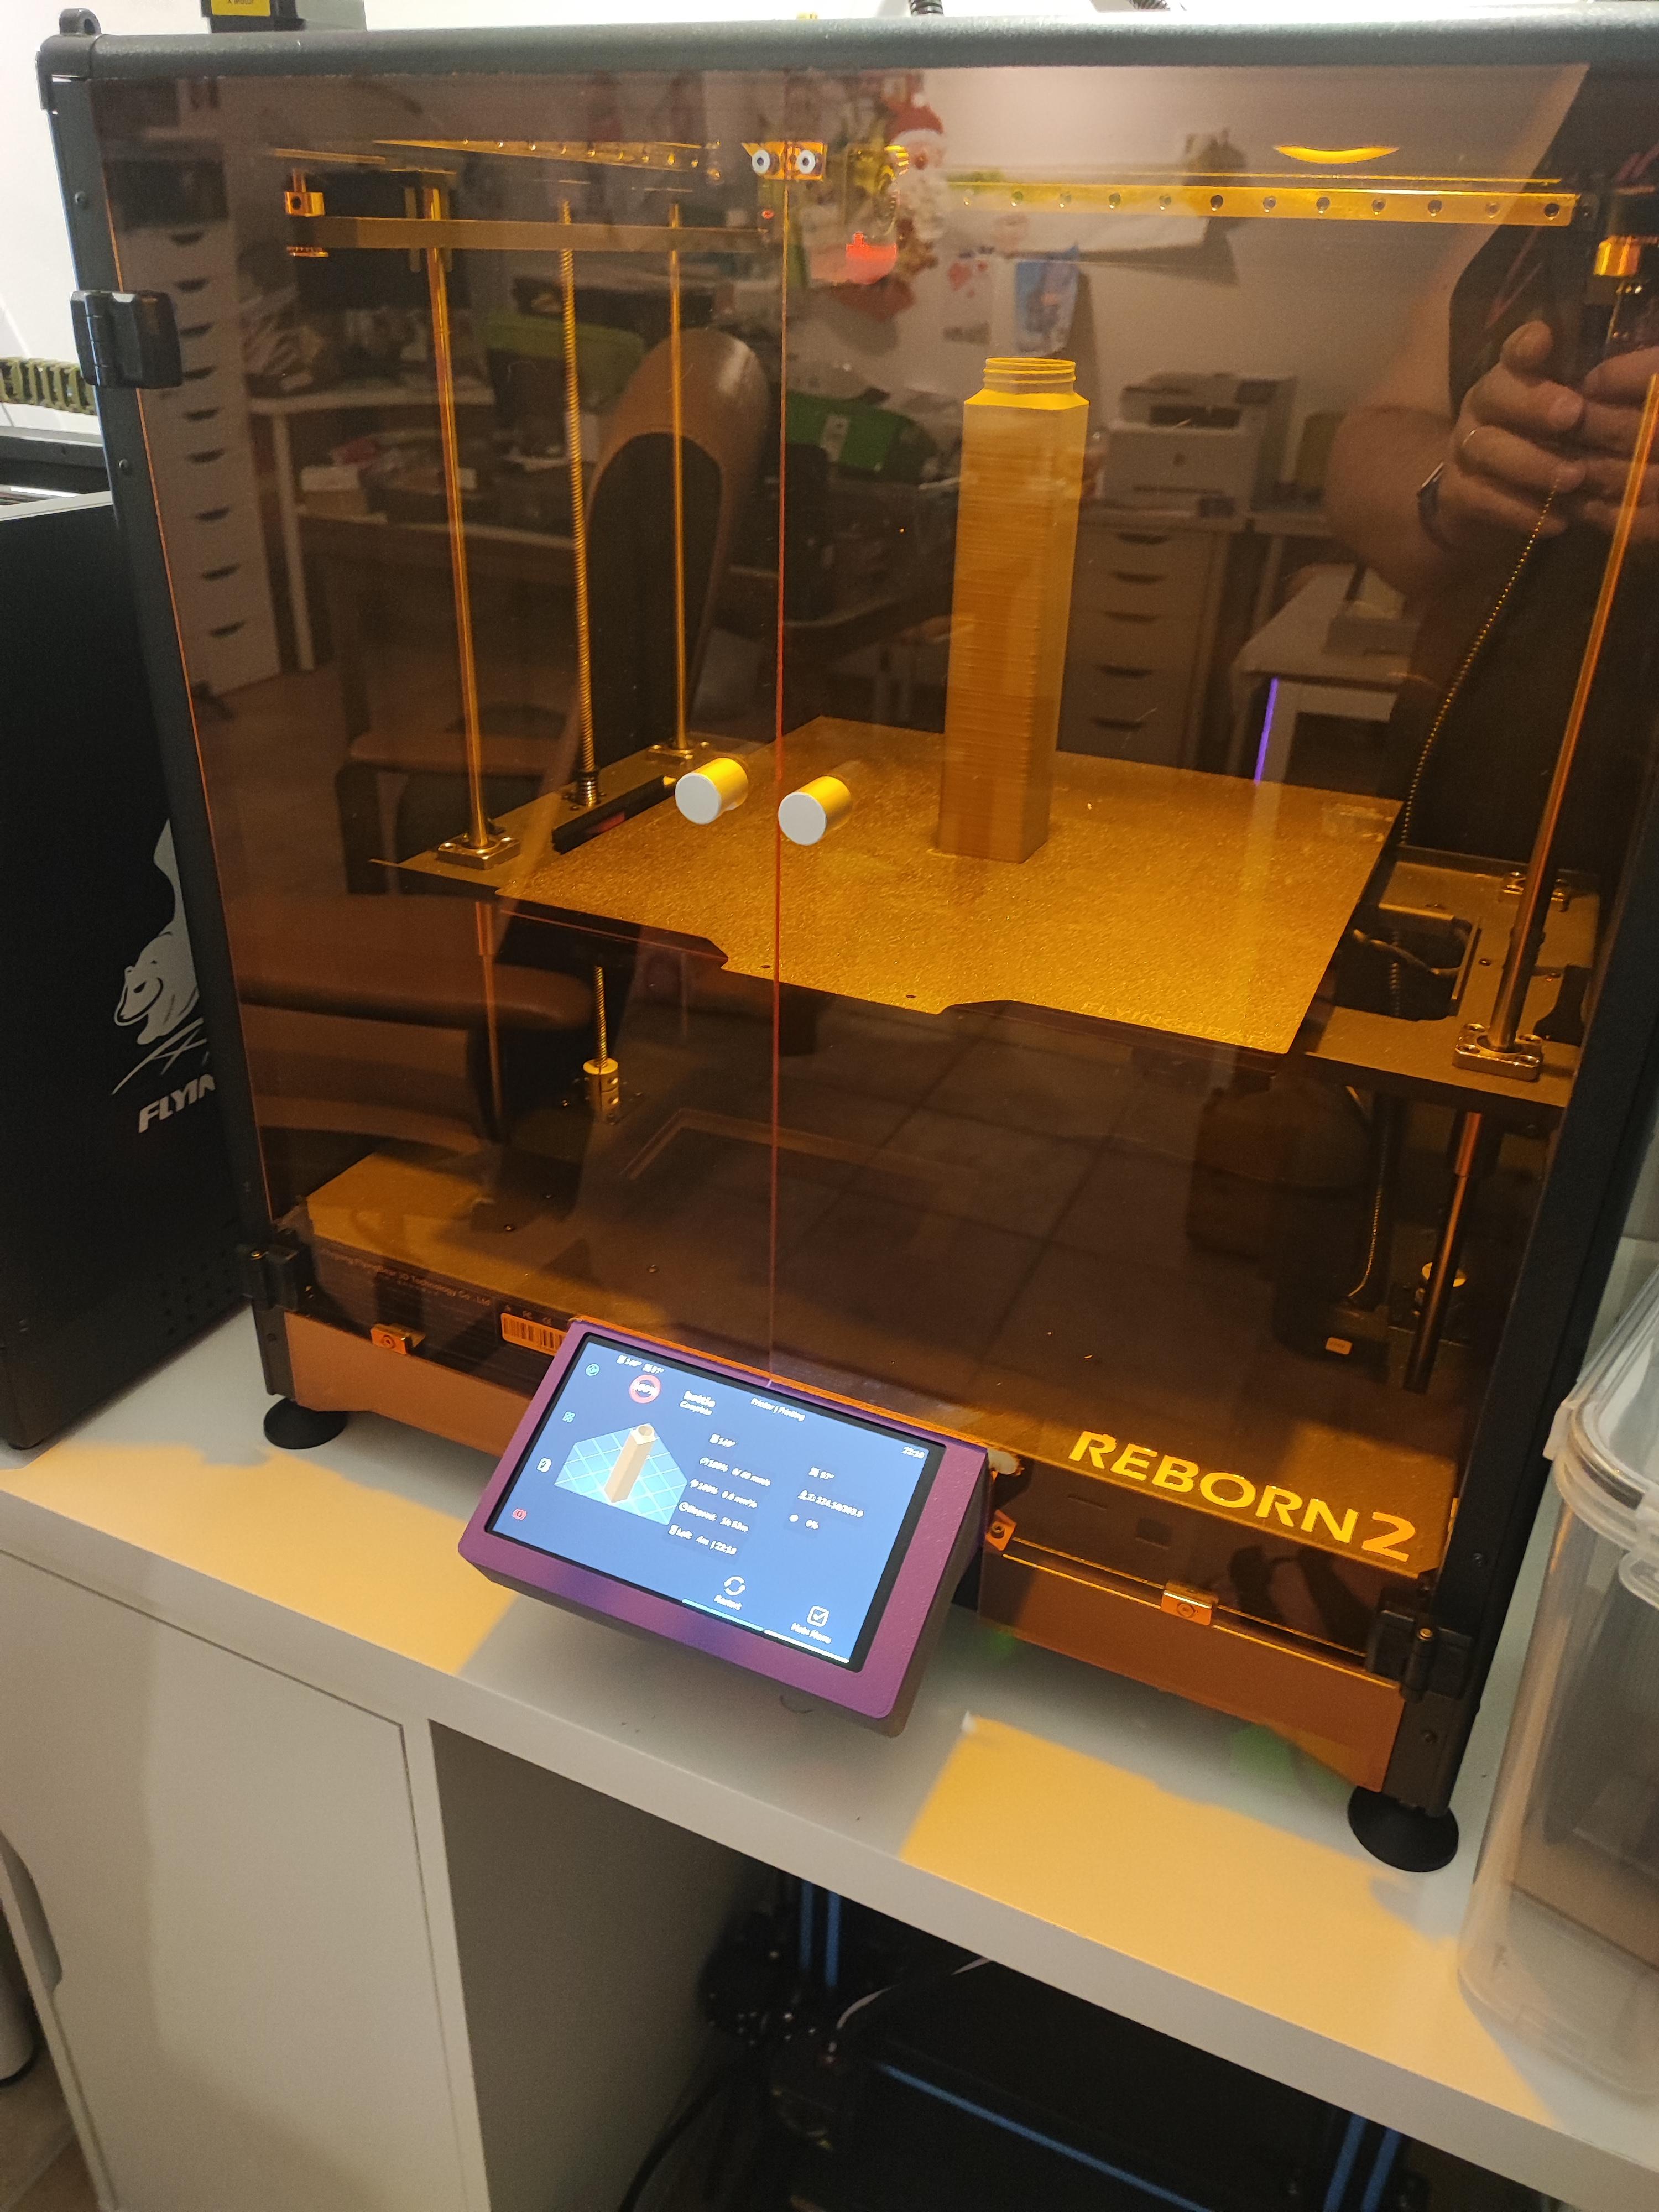
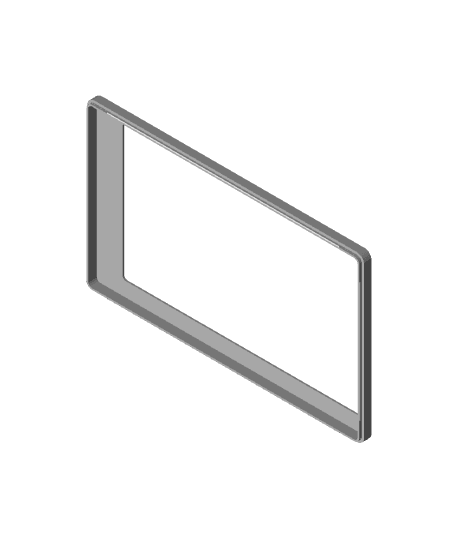
This is a case and mount that replace the original display and relative mount.
Once print all parts, place 4 threaded inserts in the two foots, then screw the foot on the bottom the 4x M3x8 screws, then screw the display in the box with 4 M3 screws.
The top cover simply snap on the bottom, no screws are required. To install on the printer, you need 2 M3 screws and 2 T-nut.
To connect the display to motherboard (Mine is a BTT Manta M8P) you need two 50 cm FPC cables with 90 degree FPC HDMI Connector (mind that the short side is facing up) and a 90 degree USB-C connector for power and touch. On motherboard side I use a FPV straight micro HDMI and a straight USB A connector.
1 Likes13 DownloadsJuly 10, 2023
1 Likes13 DownloadsJuly 10, 2023


