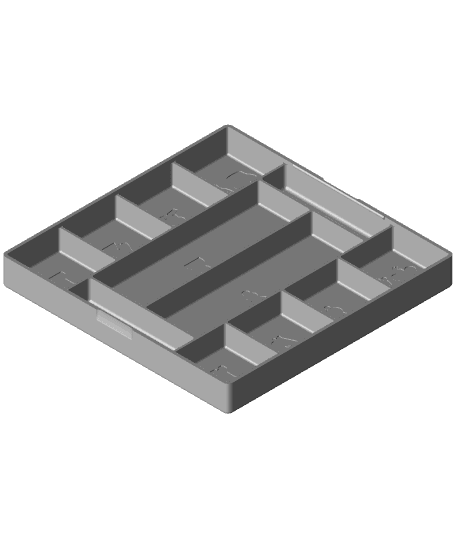
Chess & Checkers & 9 Men's Morris Board (with Storage Box)
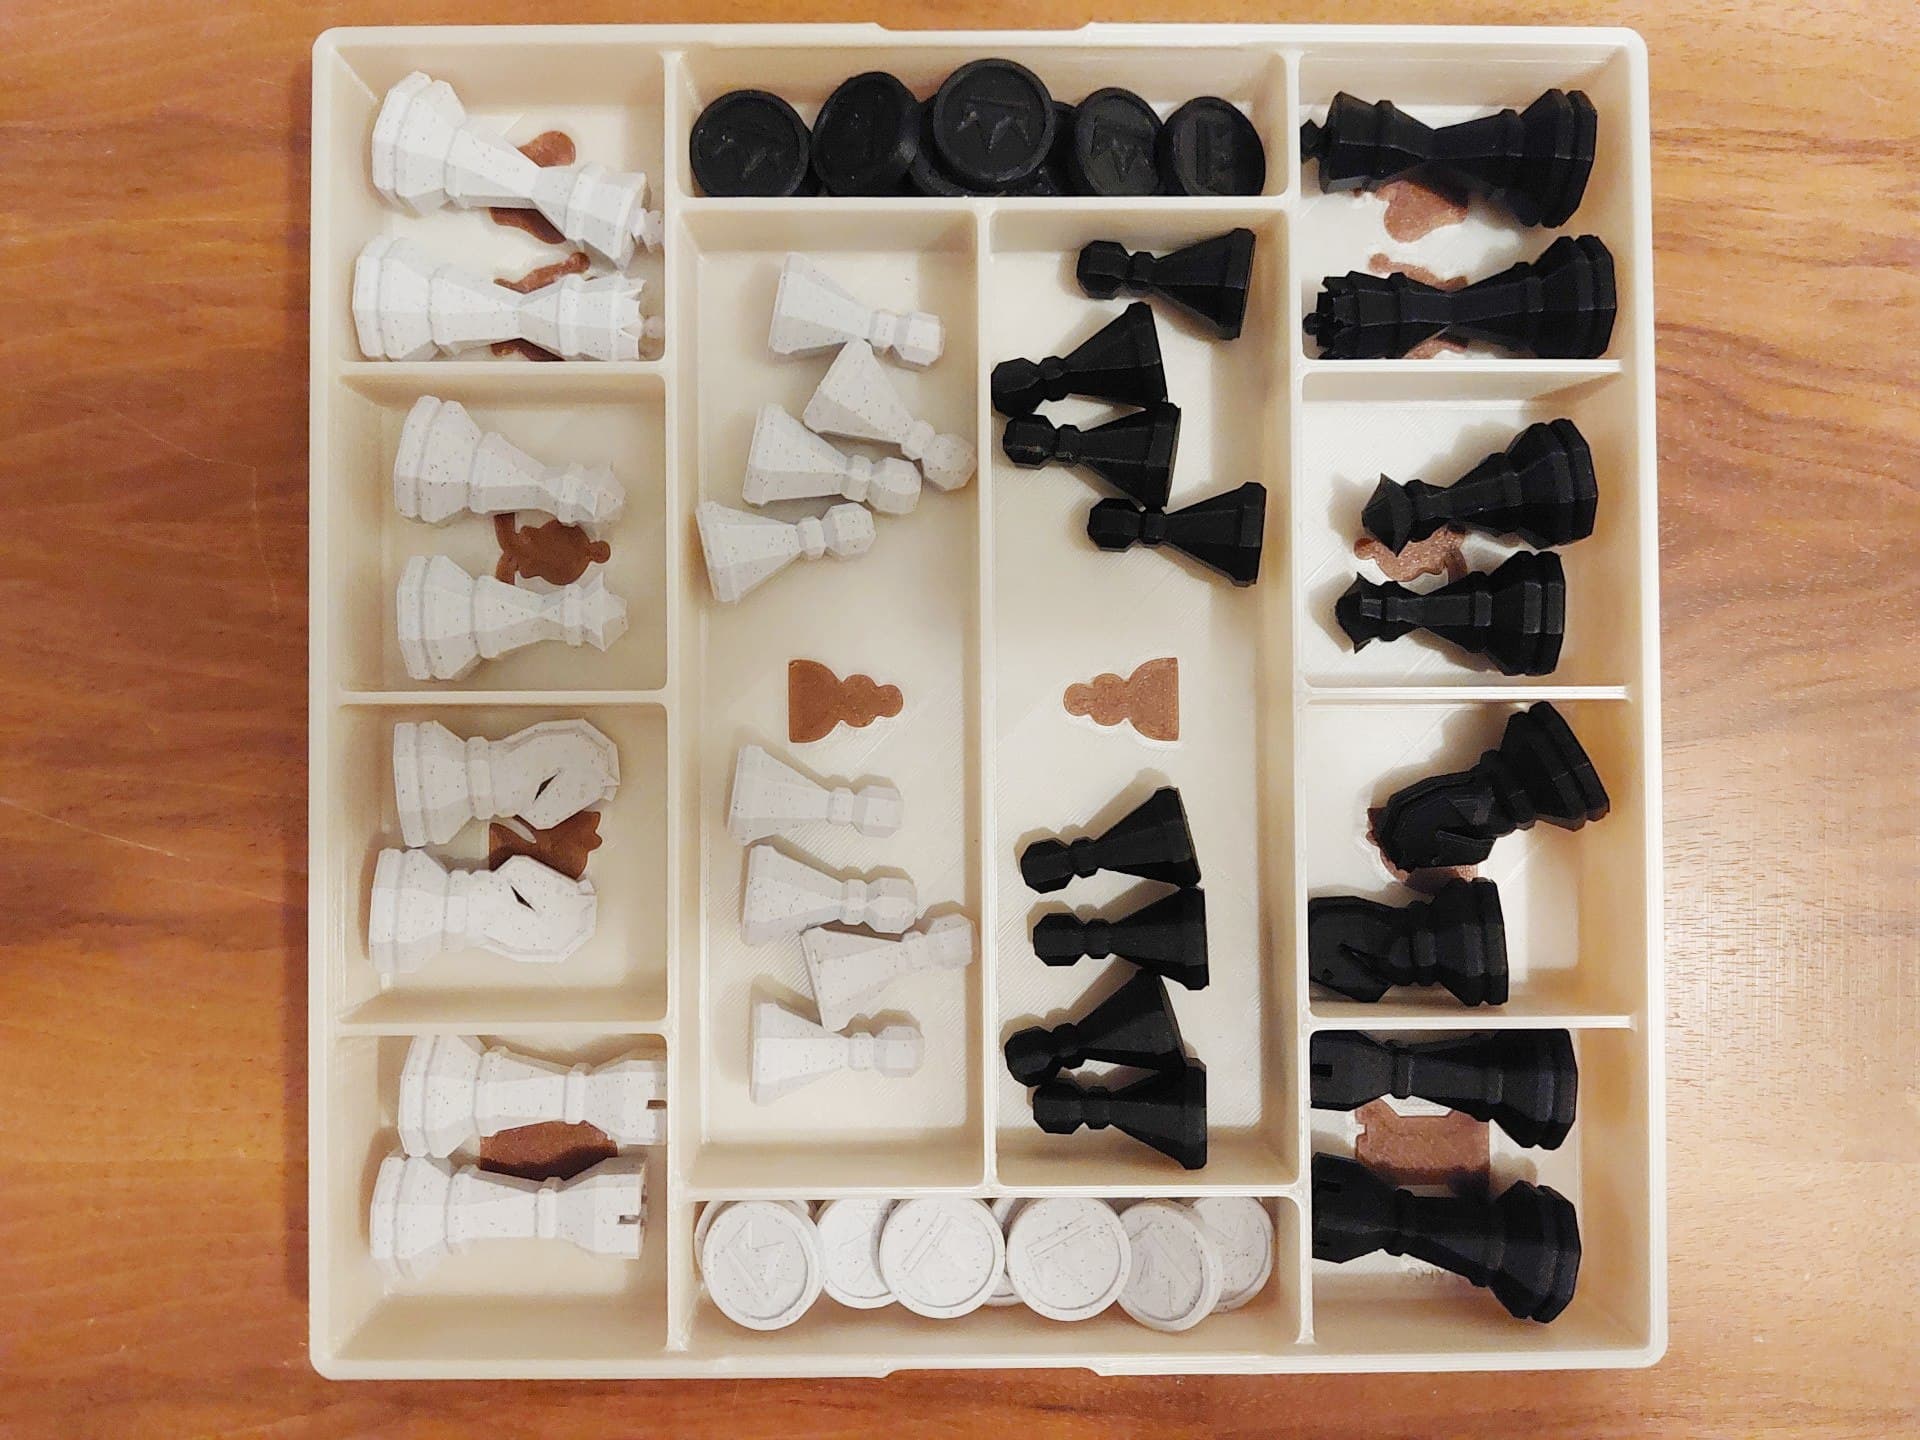
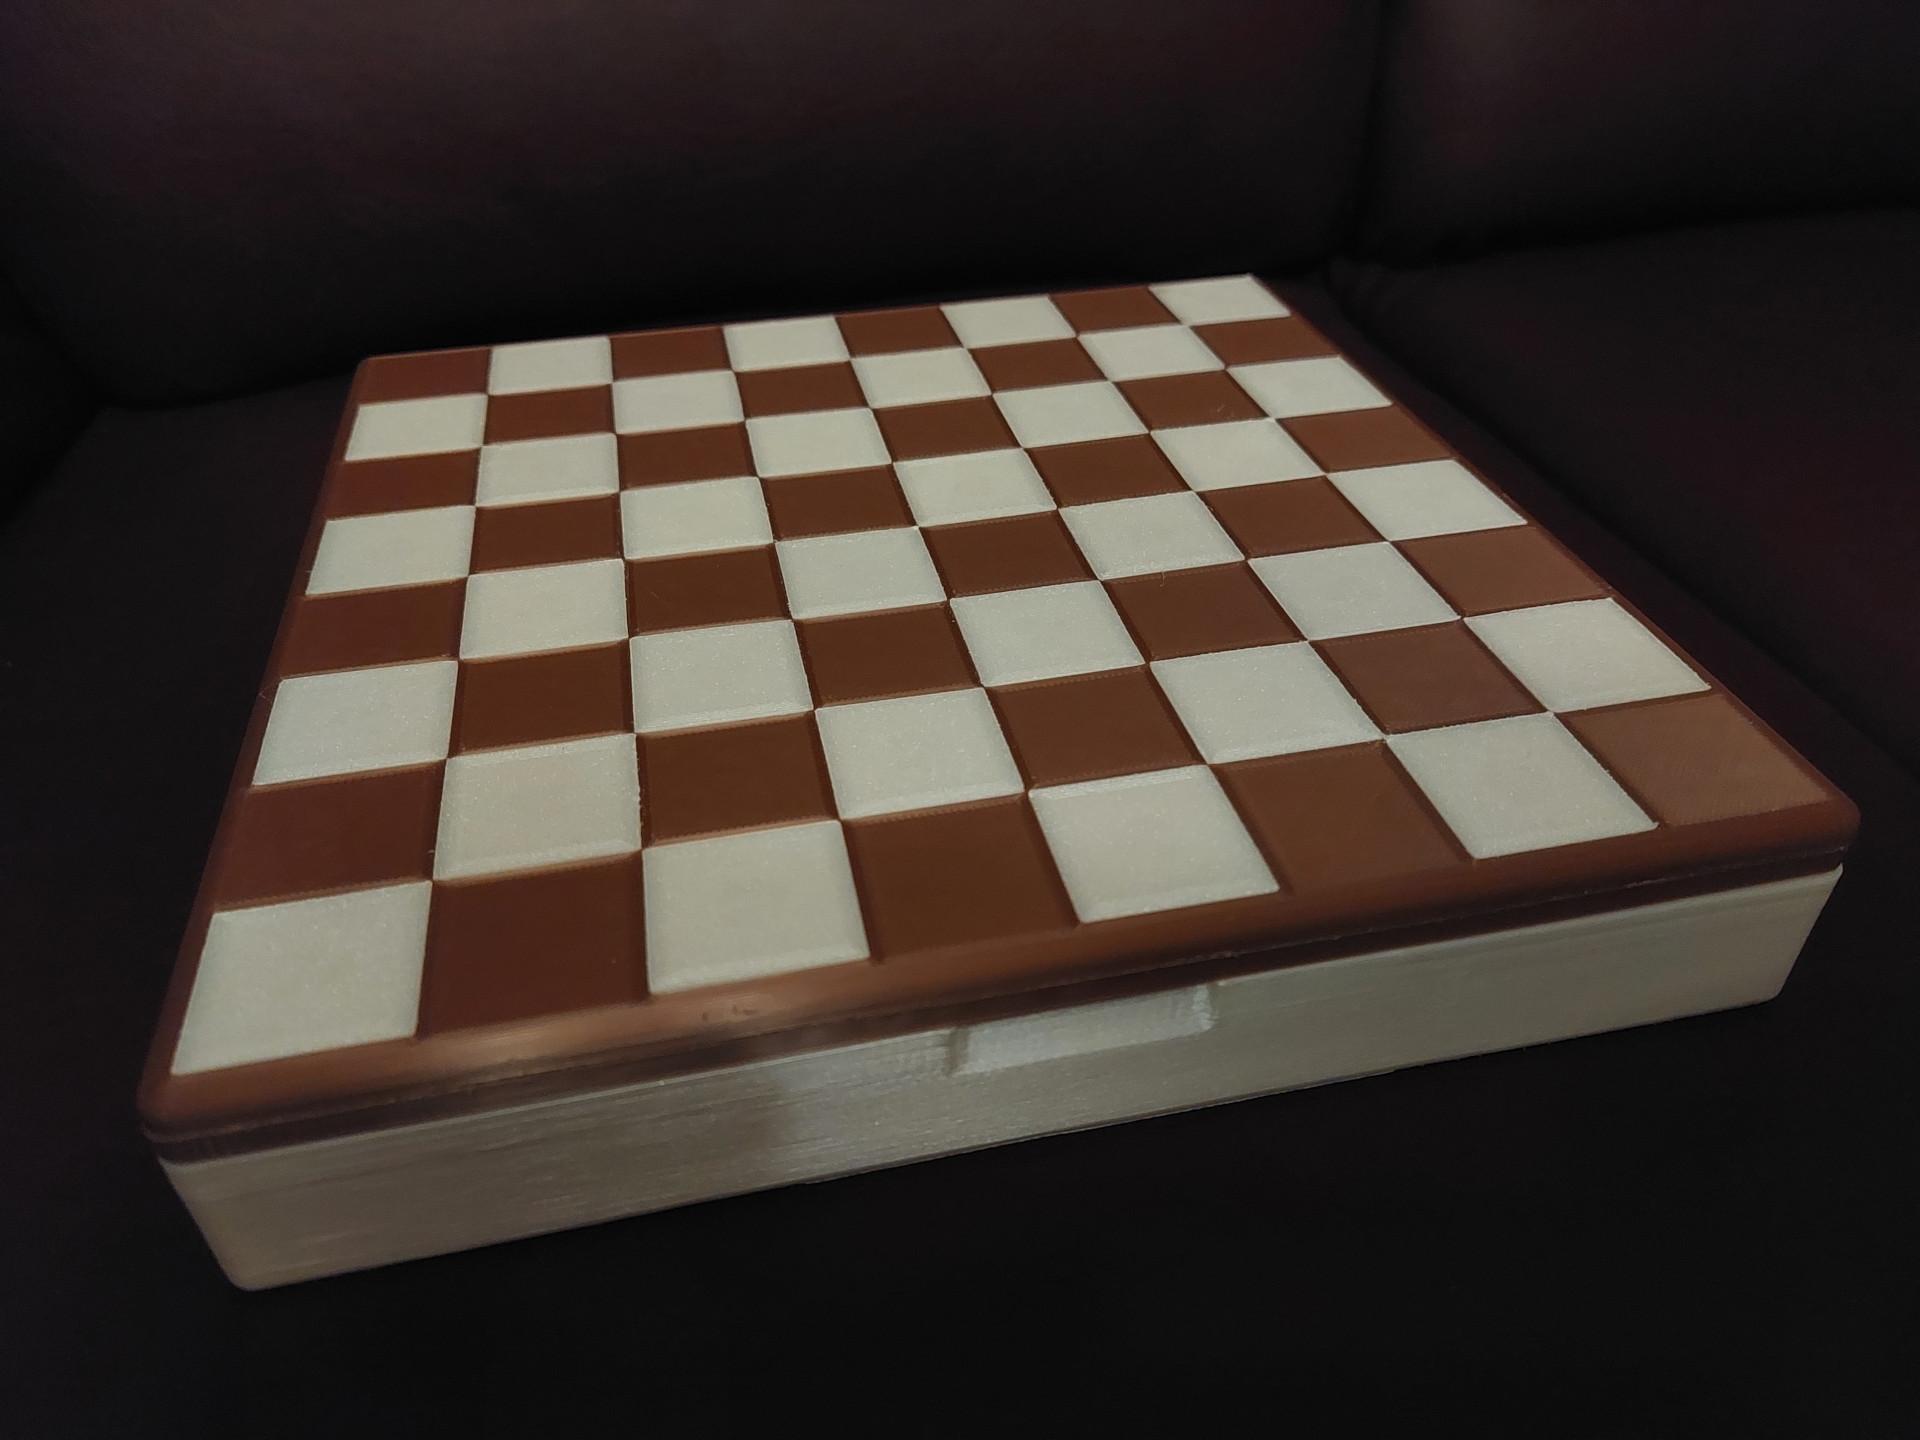
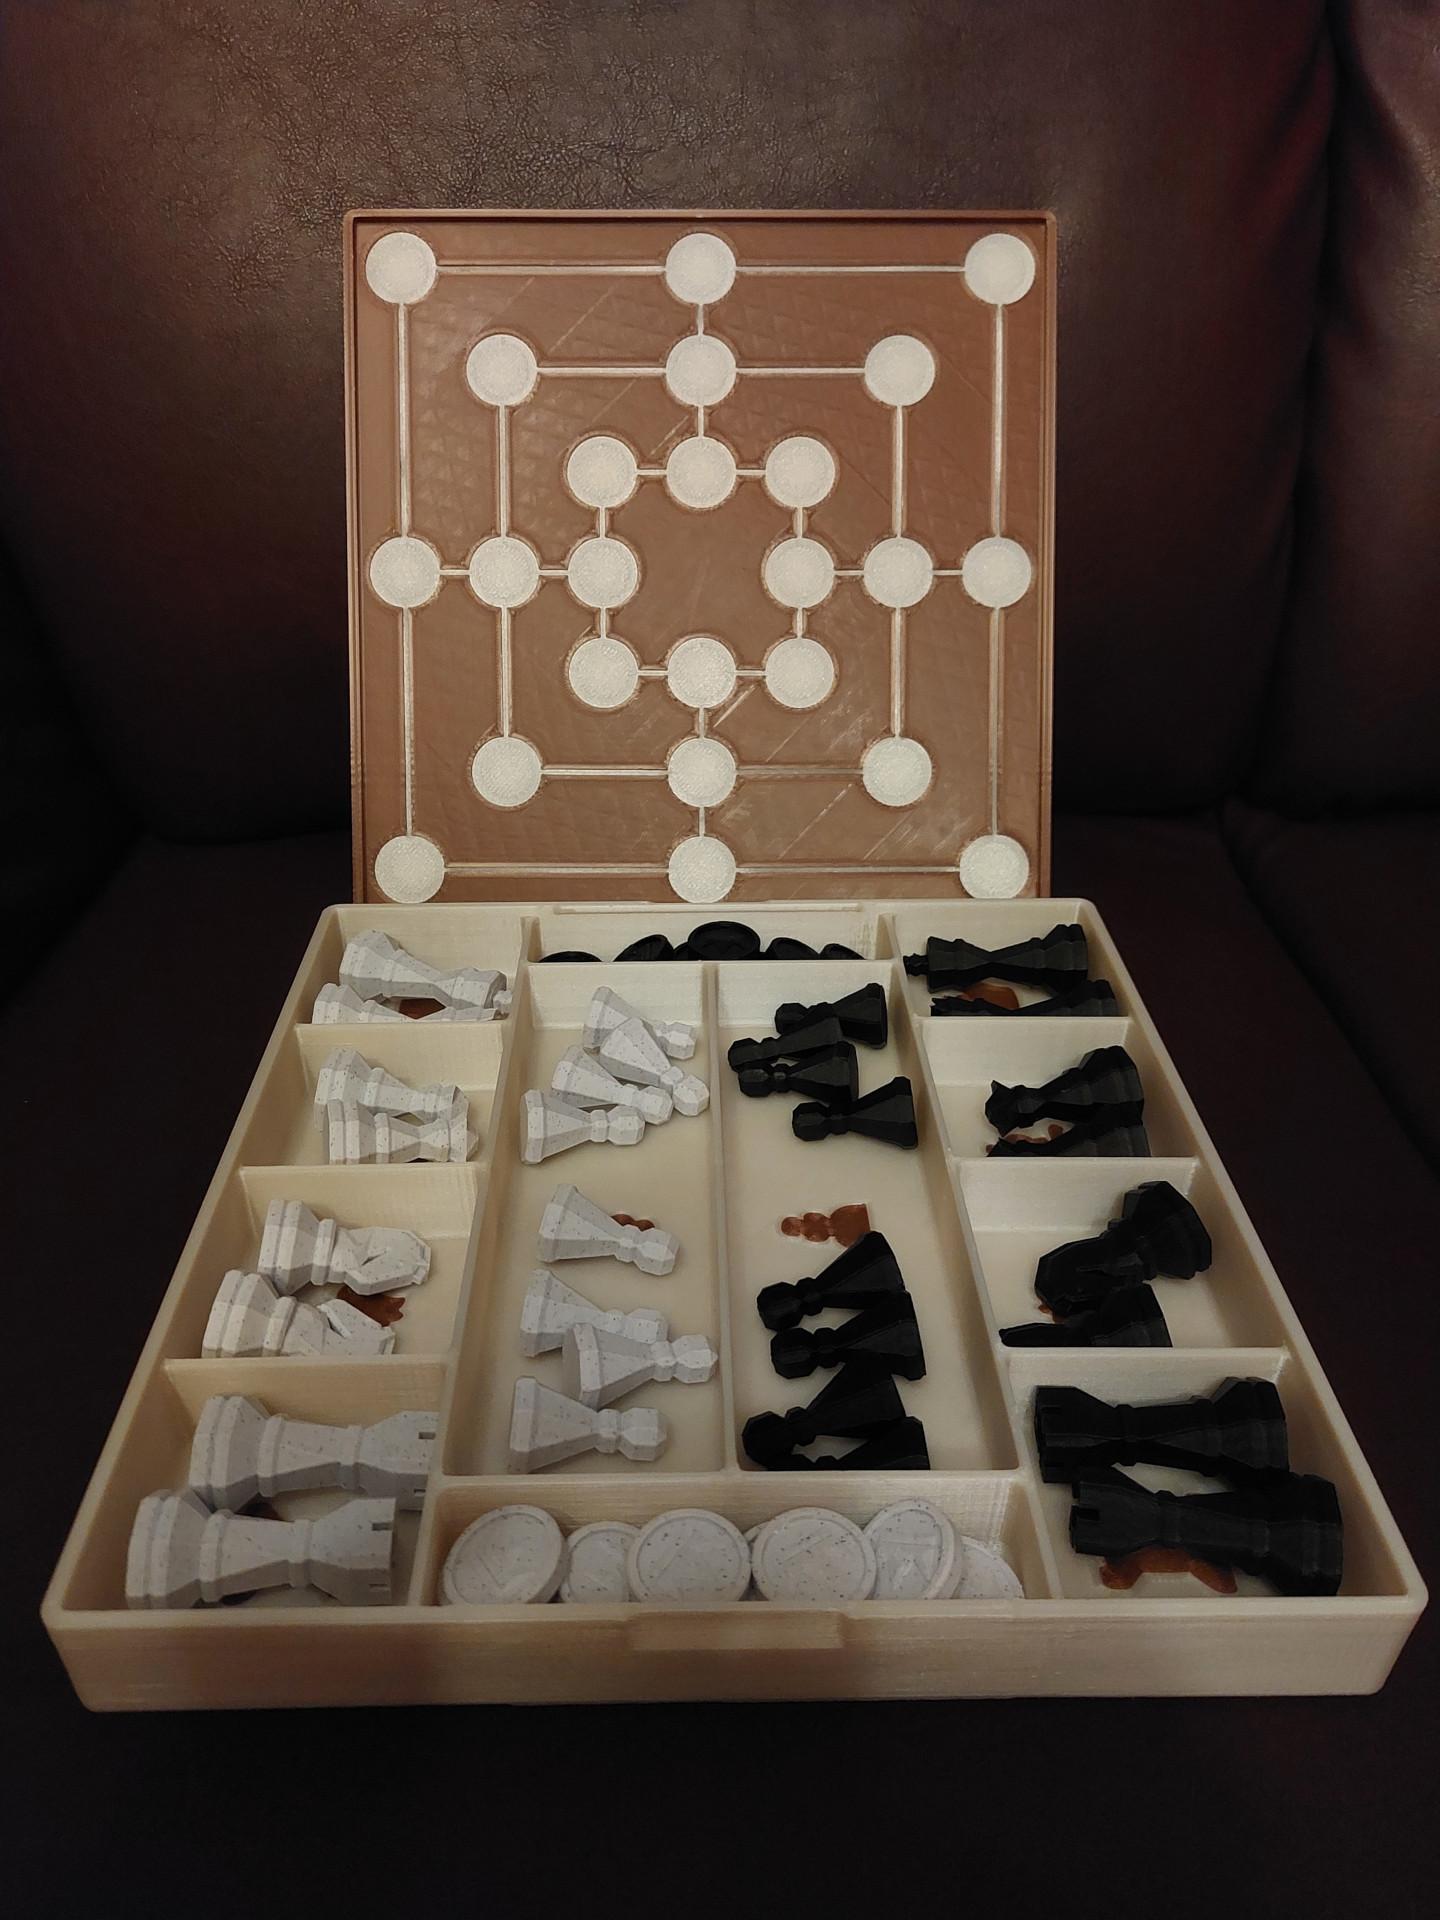
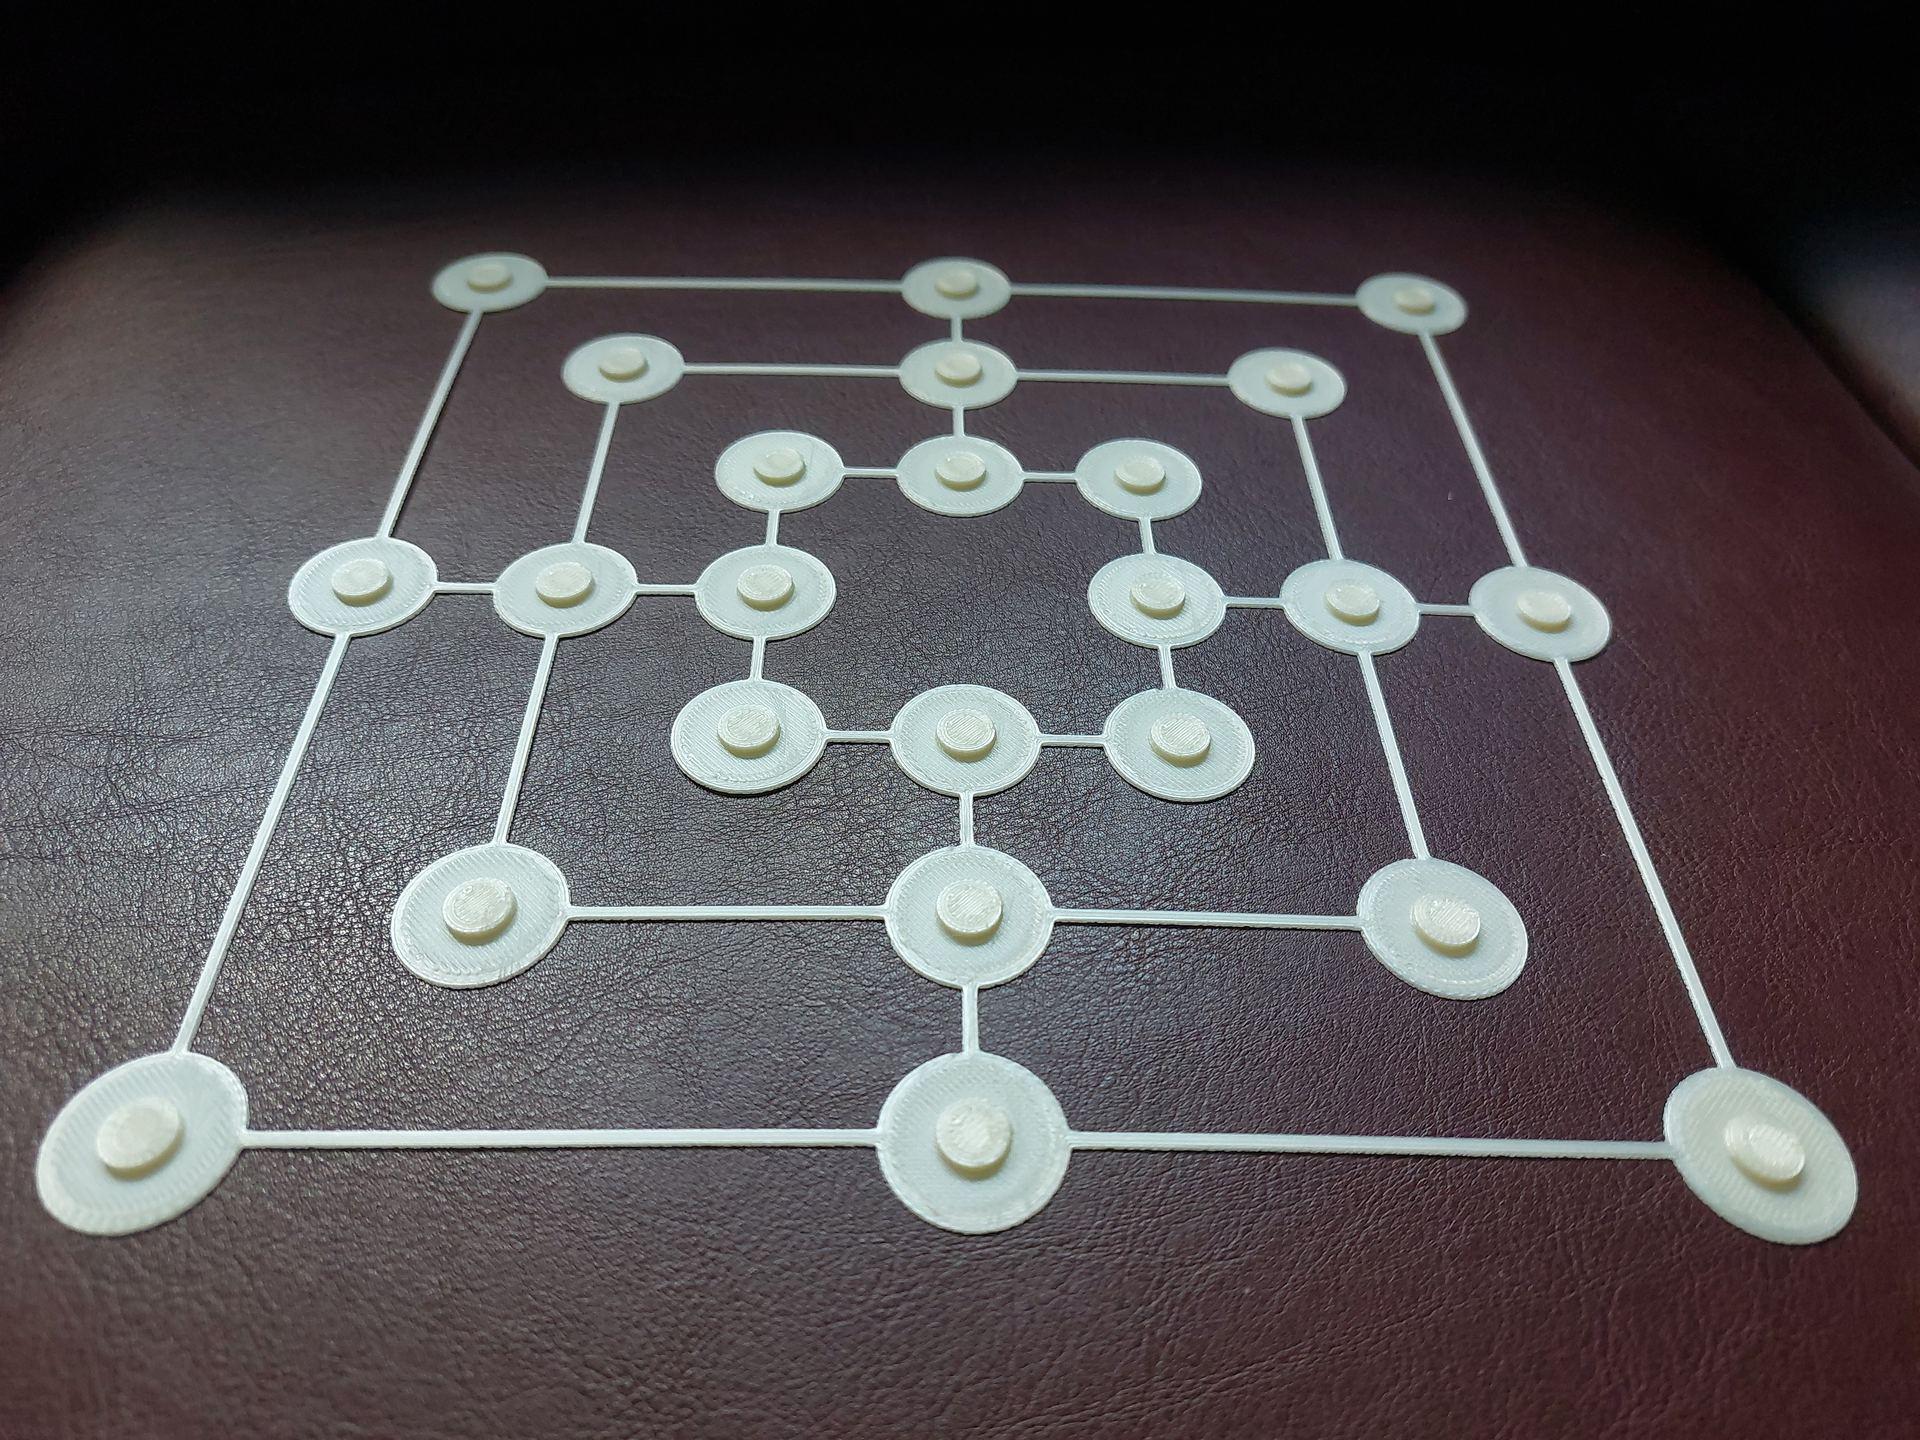
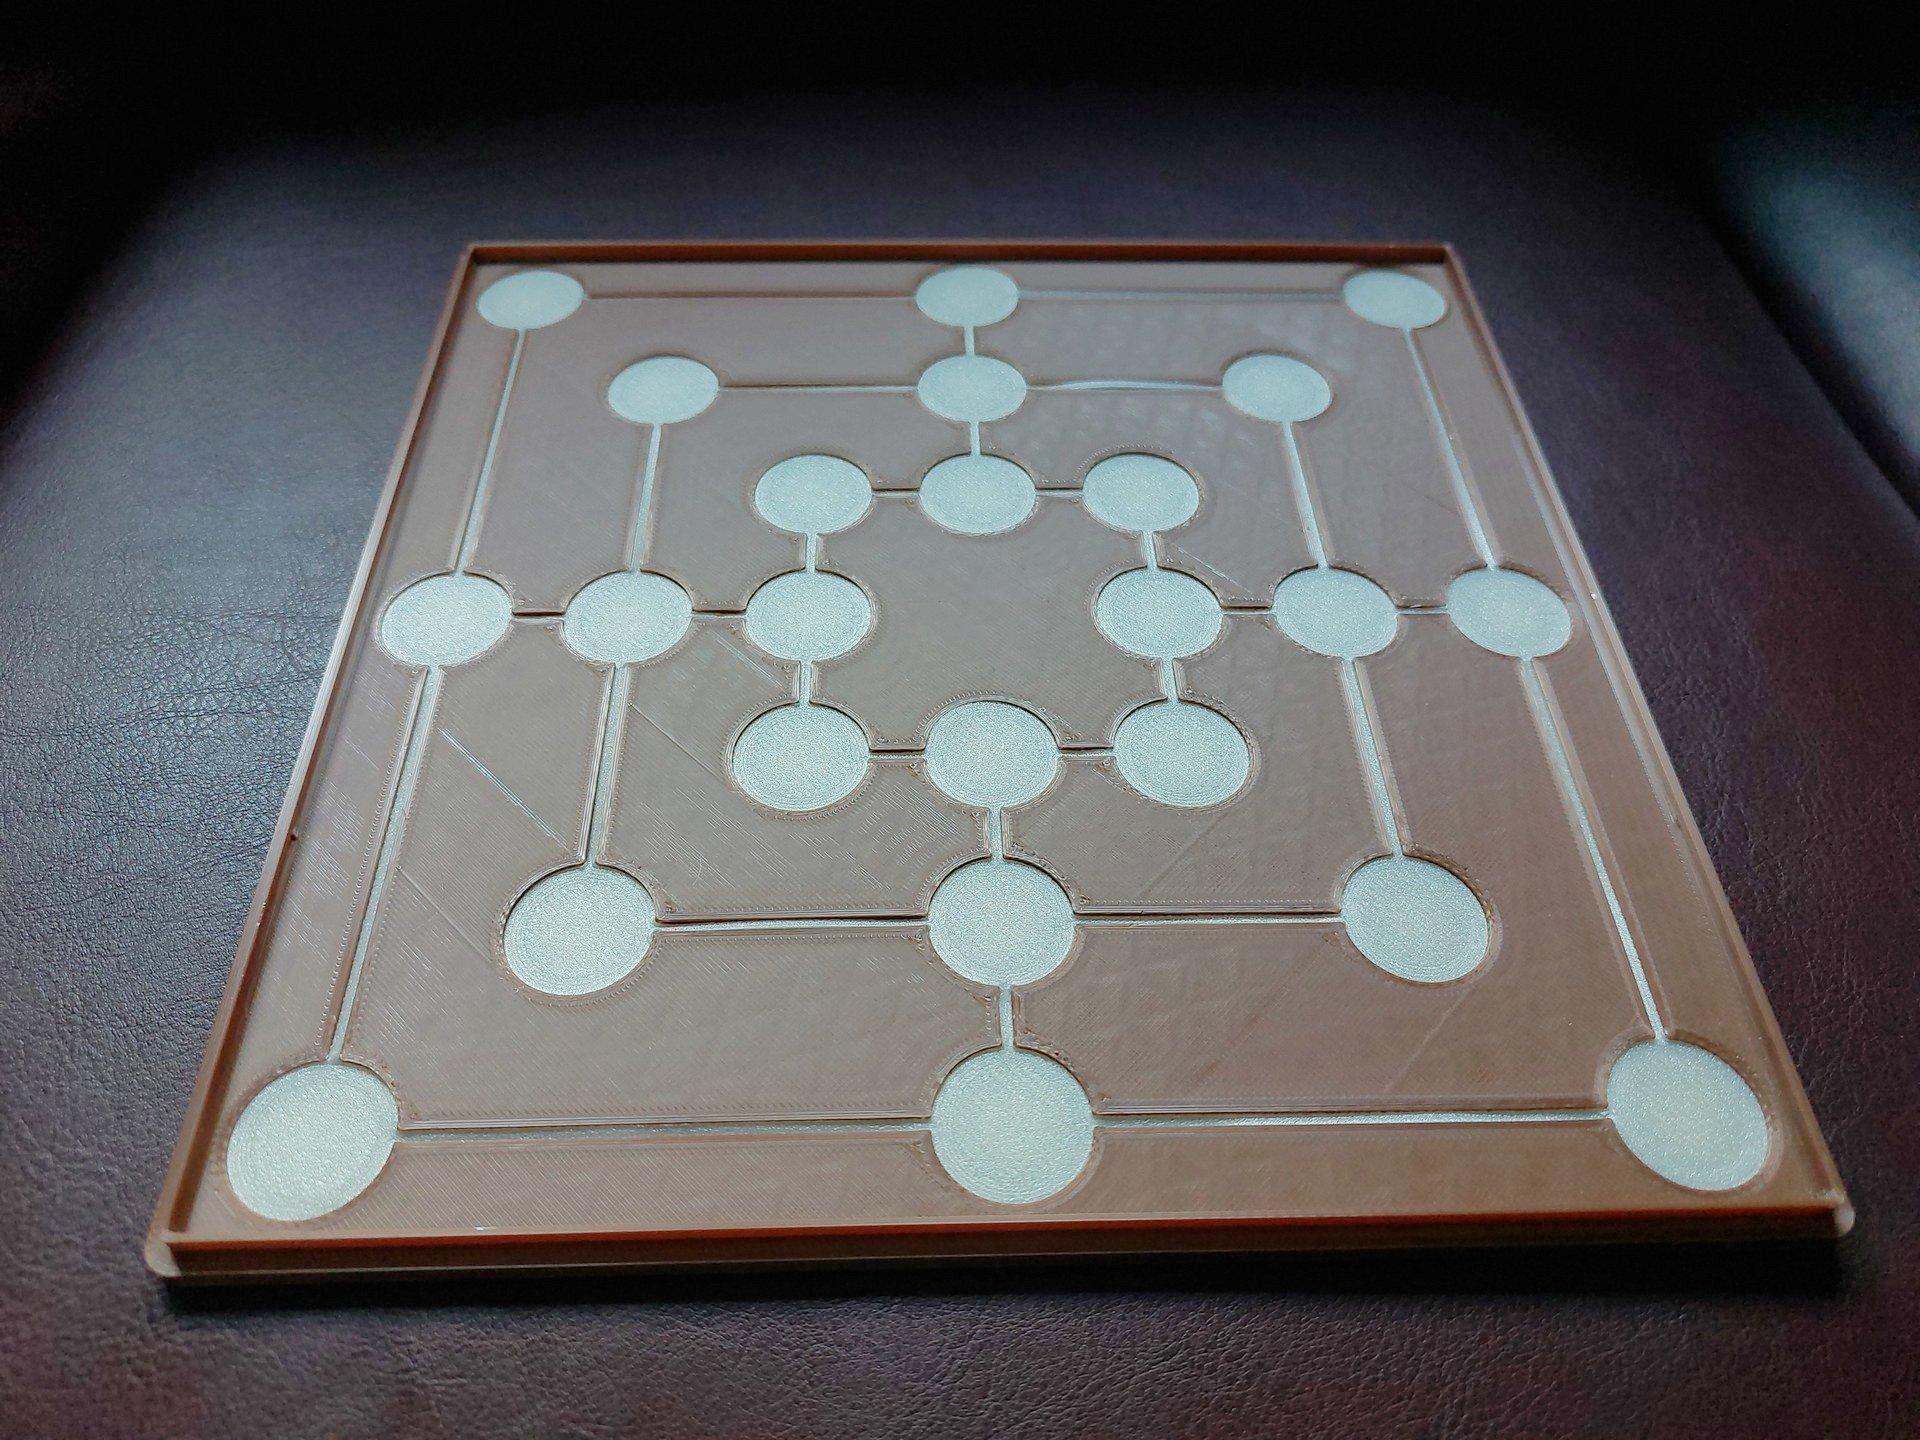
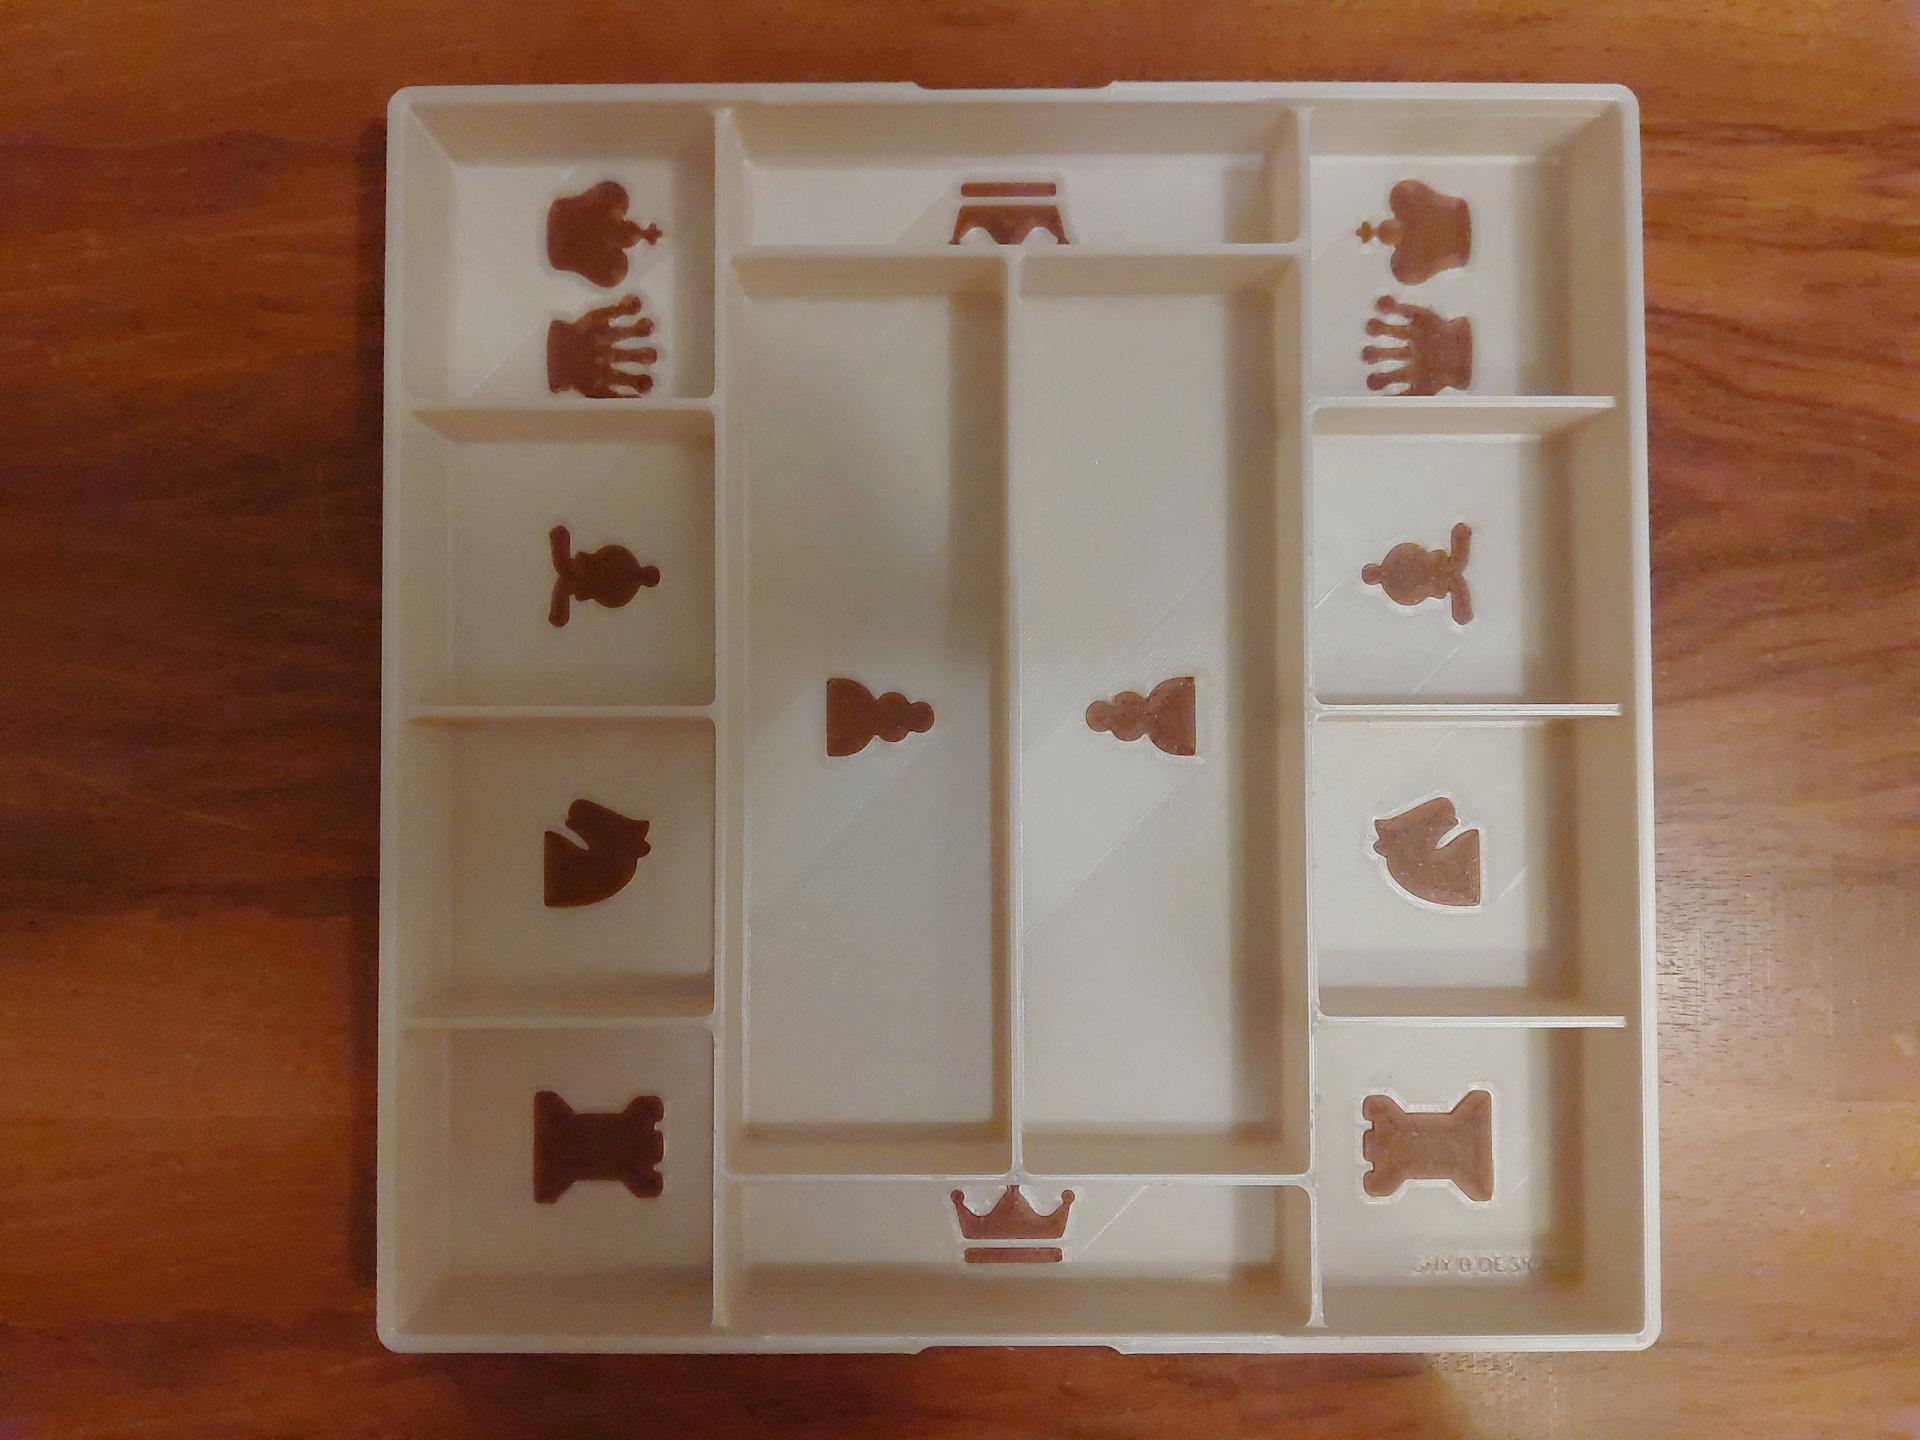
Et voilà, I present to you a box for your chess set and checkers tokens that comes with a chess and nine men's morris board integrated into the lid! But that's not all, it also comes with a checkers token. (No chess set included as of now, please see below.)
PLEASE NOTE:
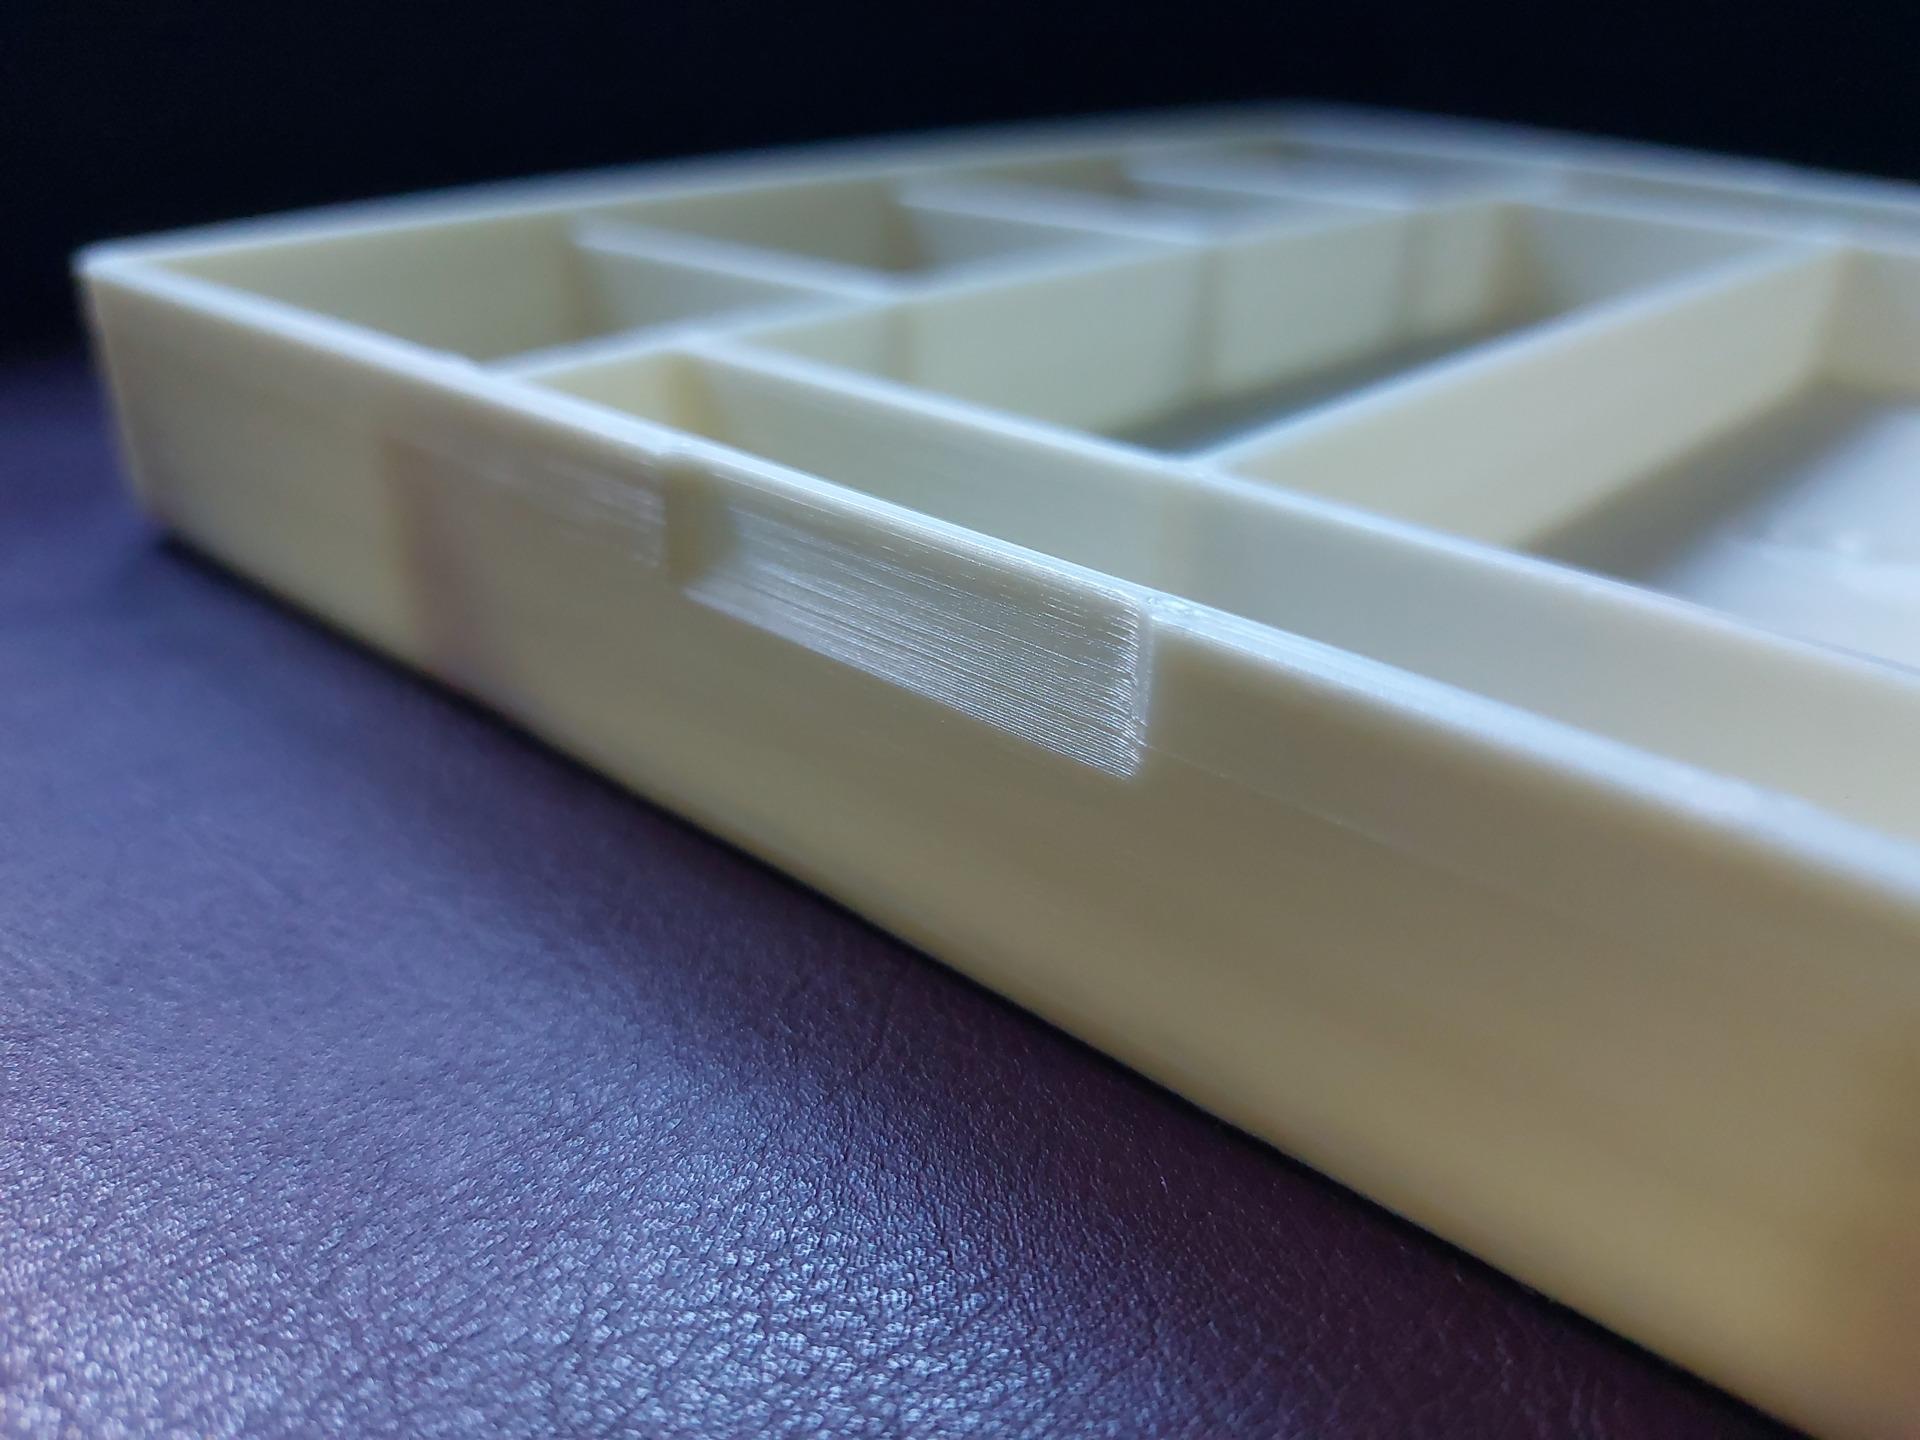
Other than elsewhere, size DOES matter with this design. The box is 250 mm x 250 mm, that is without any brim, which you will likely need. Finally something to put your big machine to good use! (So, my apologies, I am not inclined to split anything to accomodate smaller printers, because I wanted something without any unnecessary seams and/or assembly.)
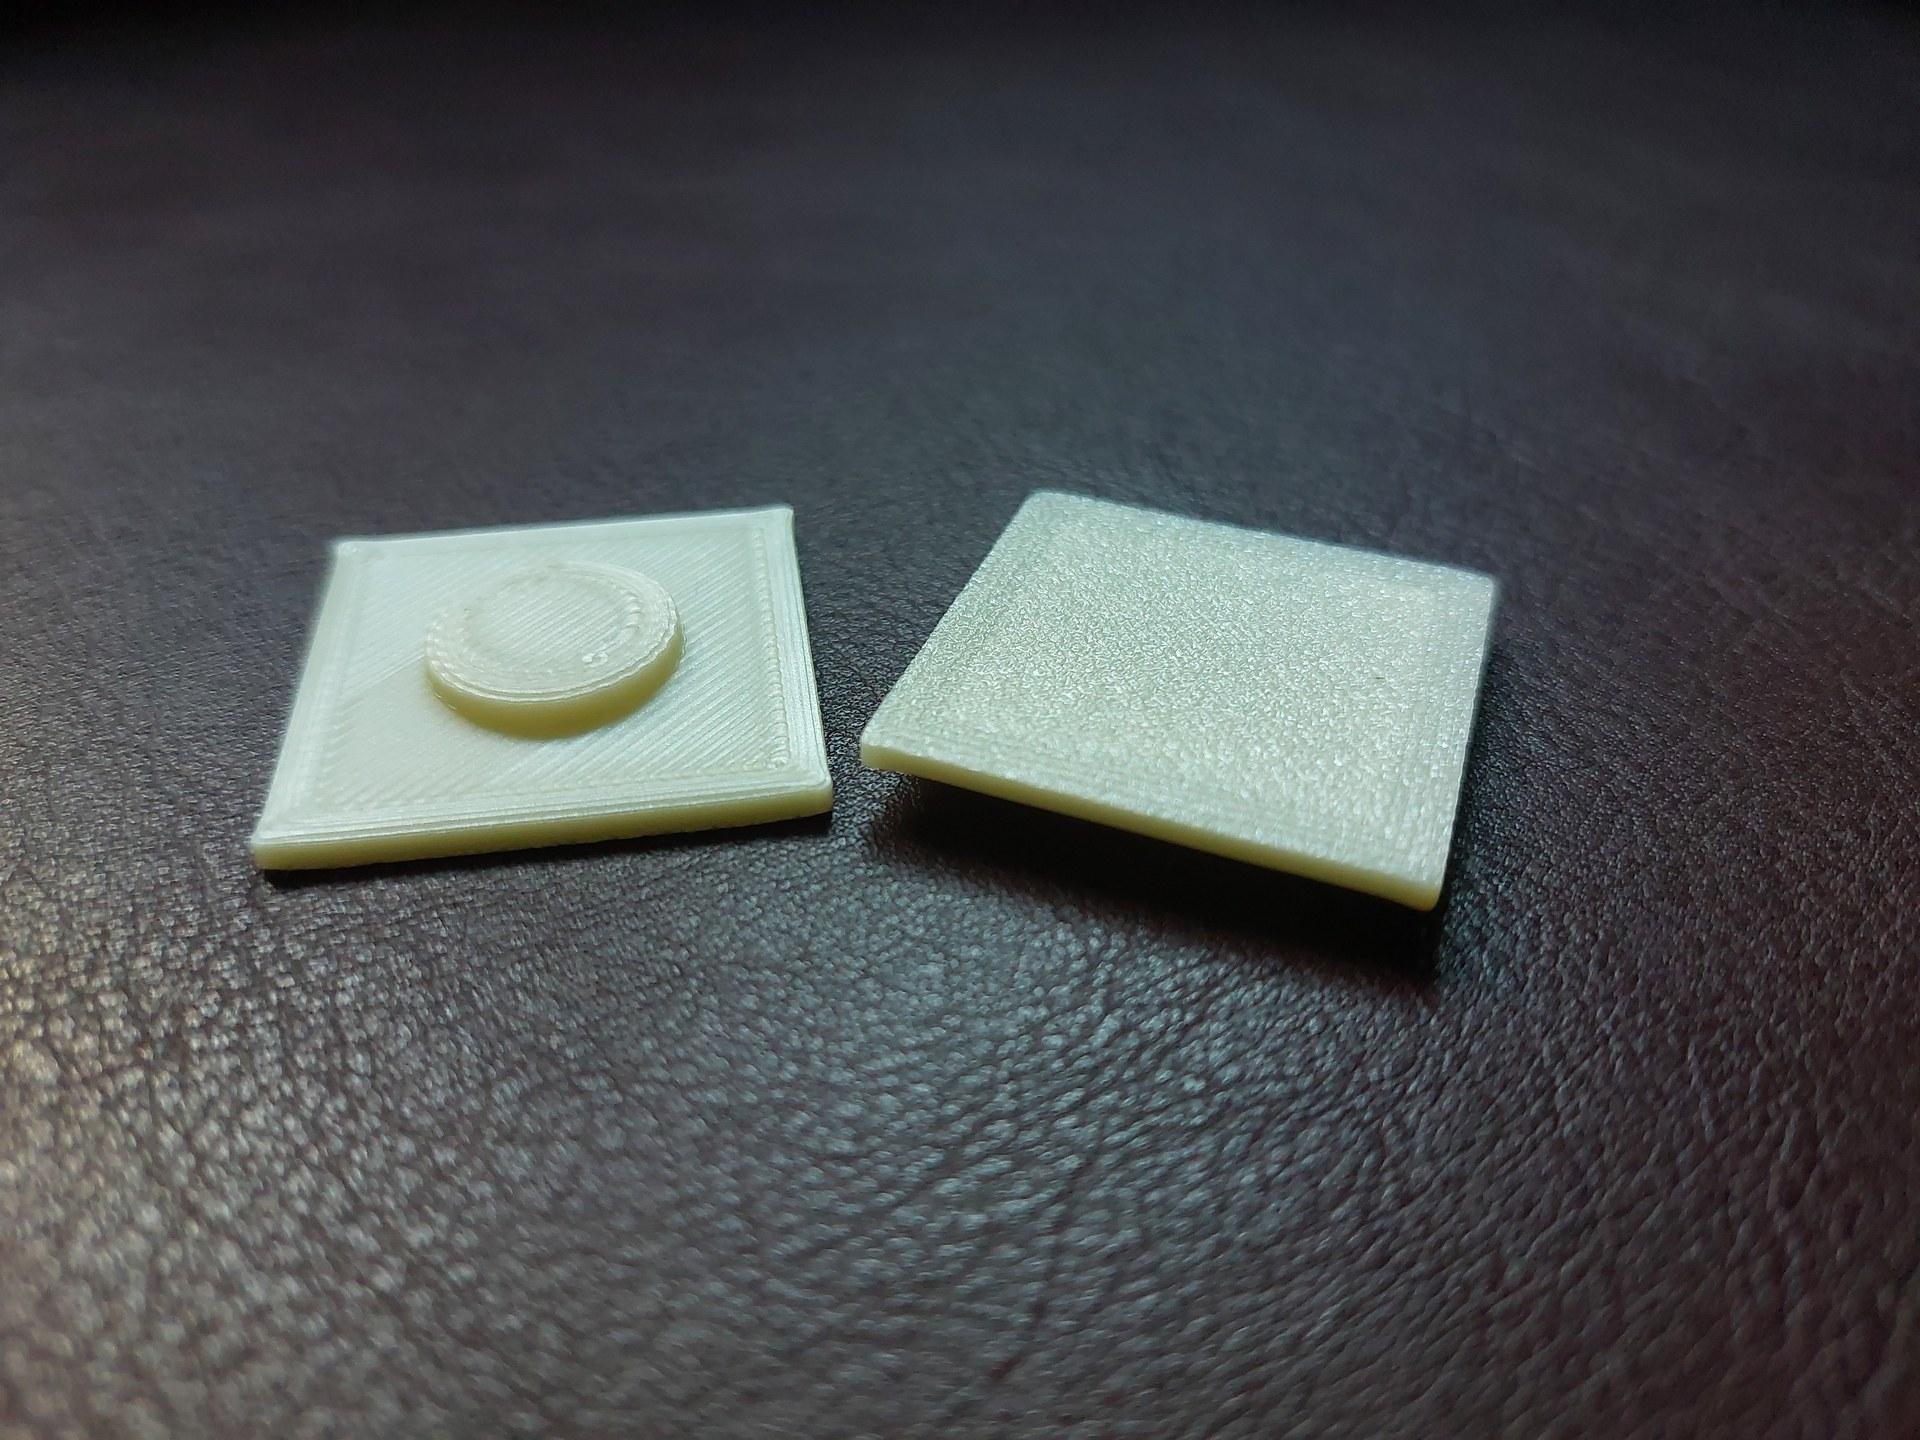
The tiles are 30 mm x 30 mm and will accomodate chess pieces and checkers tokens of up to 24 mm base diameter easily. (Of course, you could use larger pieces if you want some Tokyo subway flair in your chess games.)
The height of your chess pieces can be up to around 60 mm. Larger pieces might result in a re-enactment of the French revolution when closing the lid, including royal beheadings.
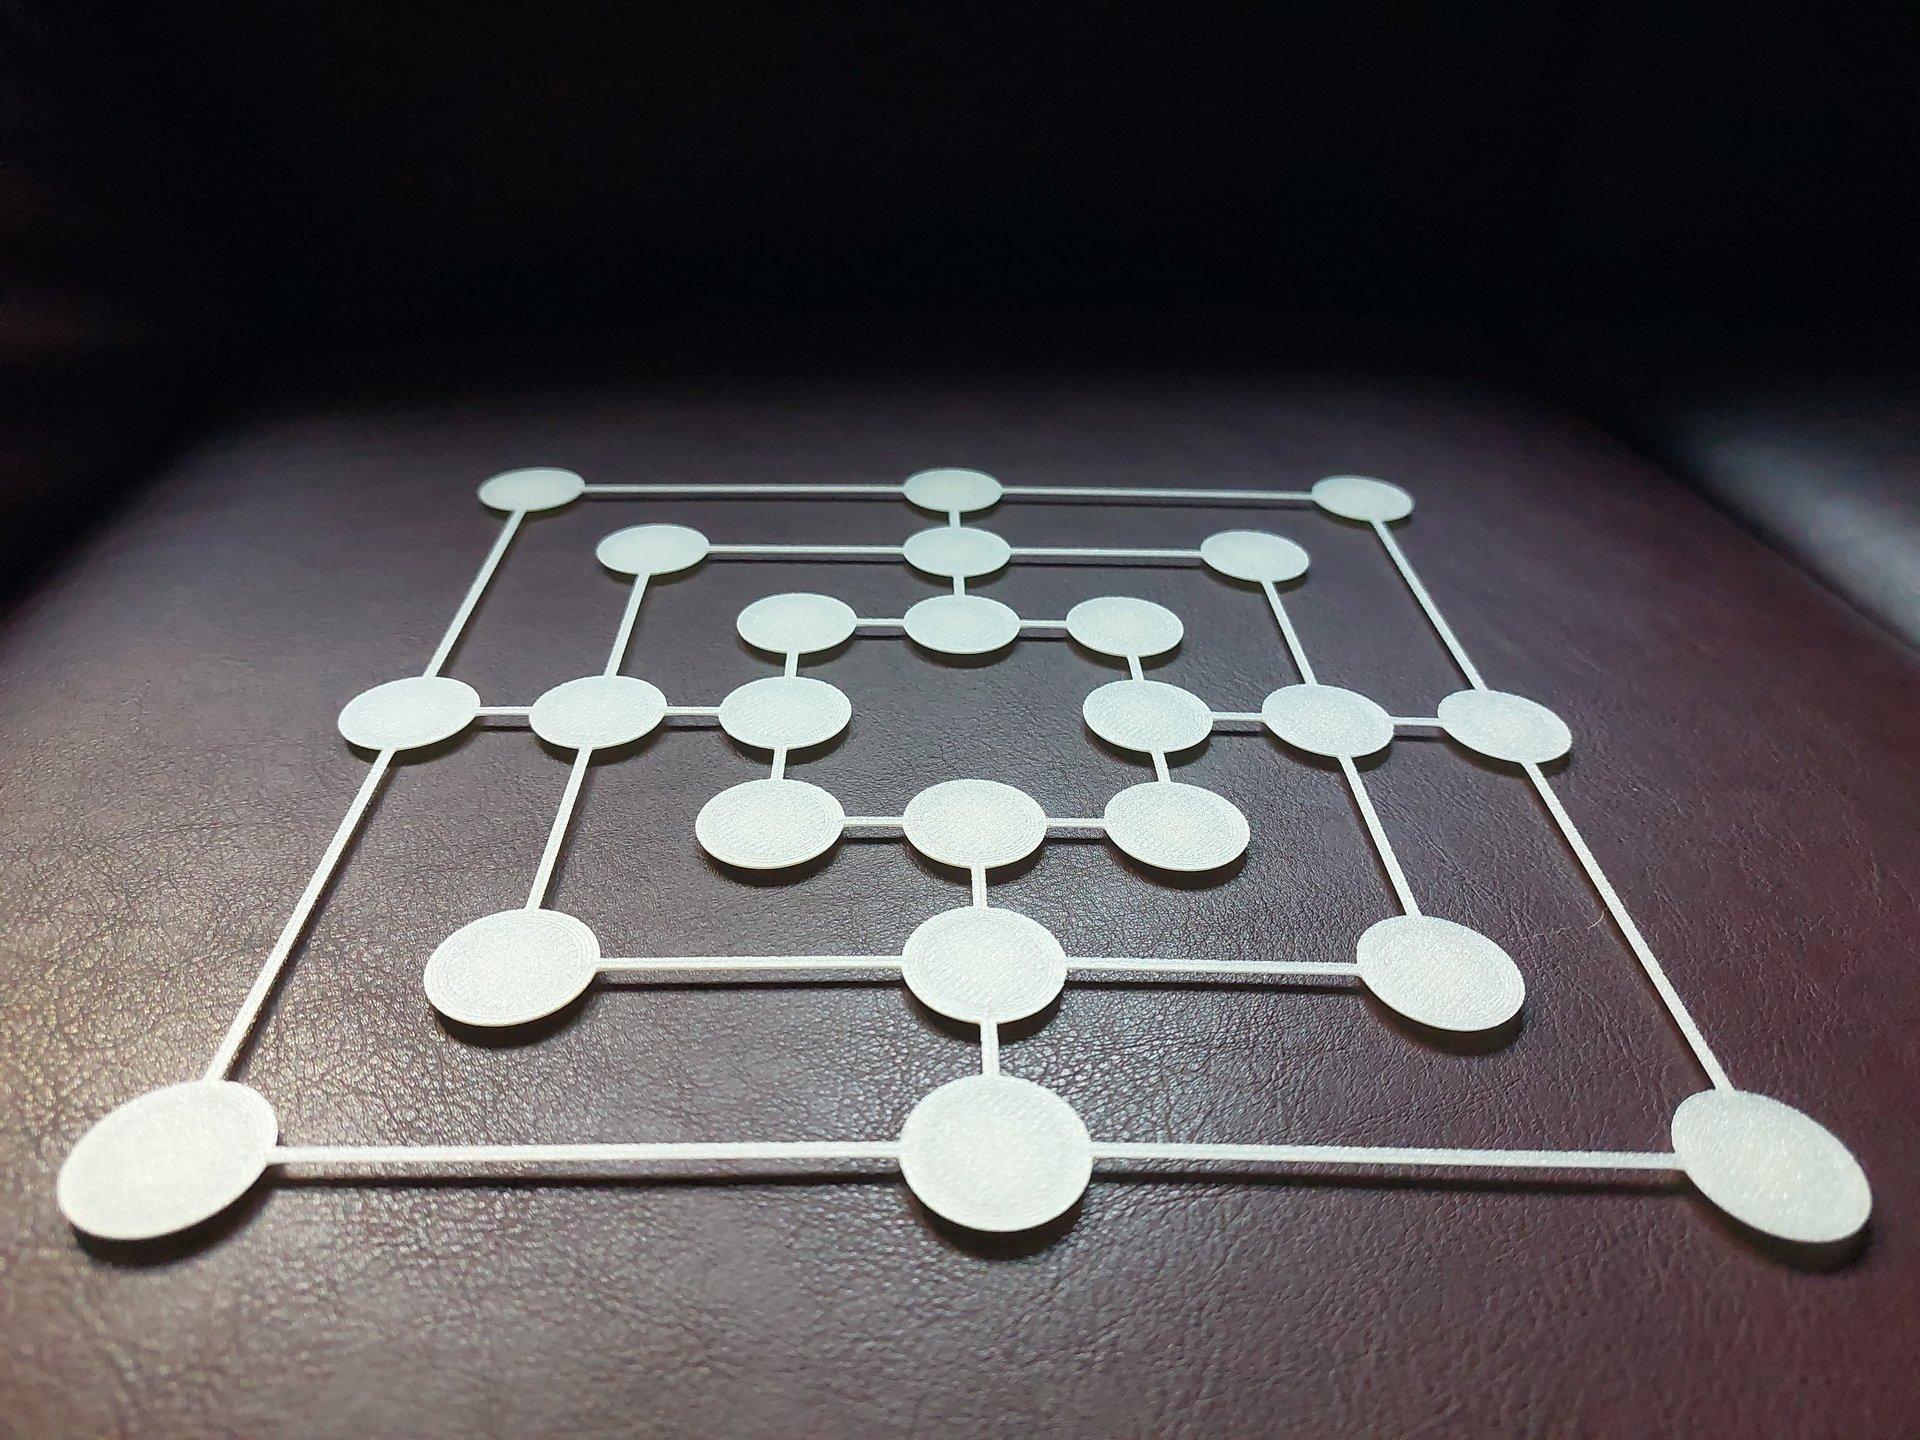
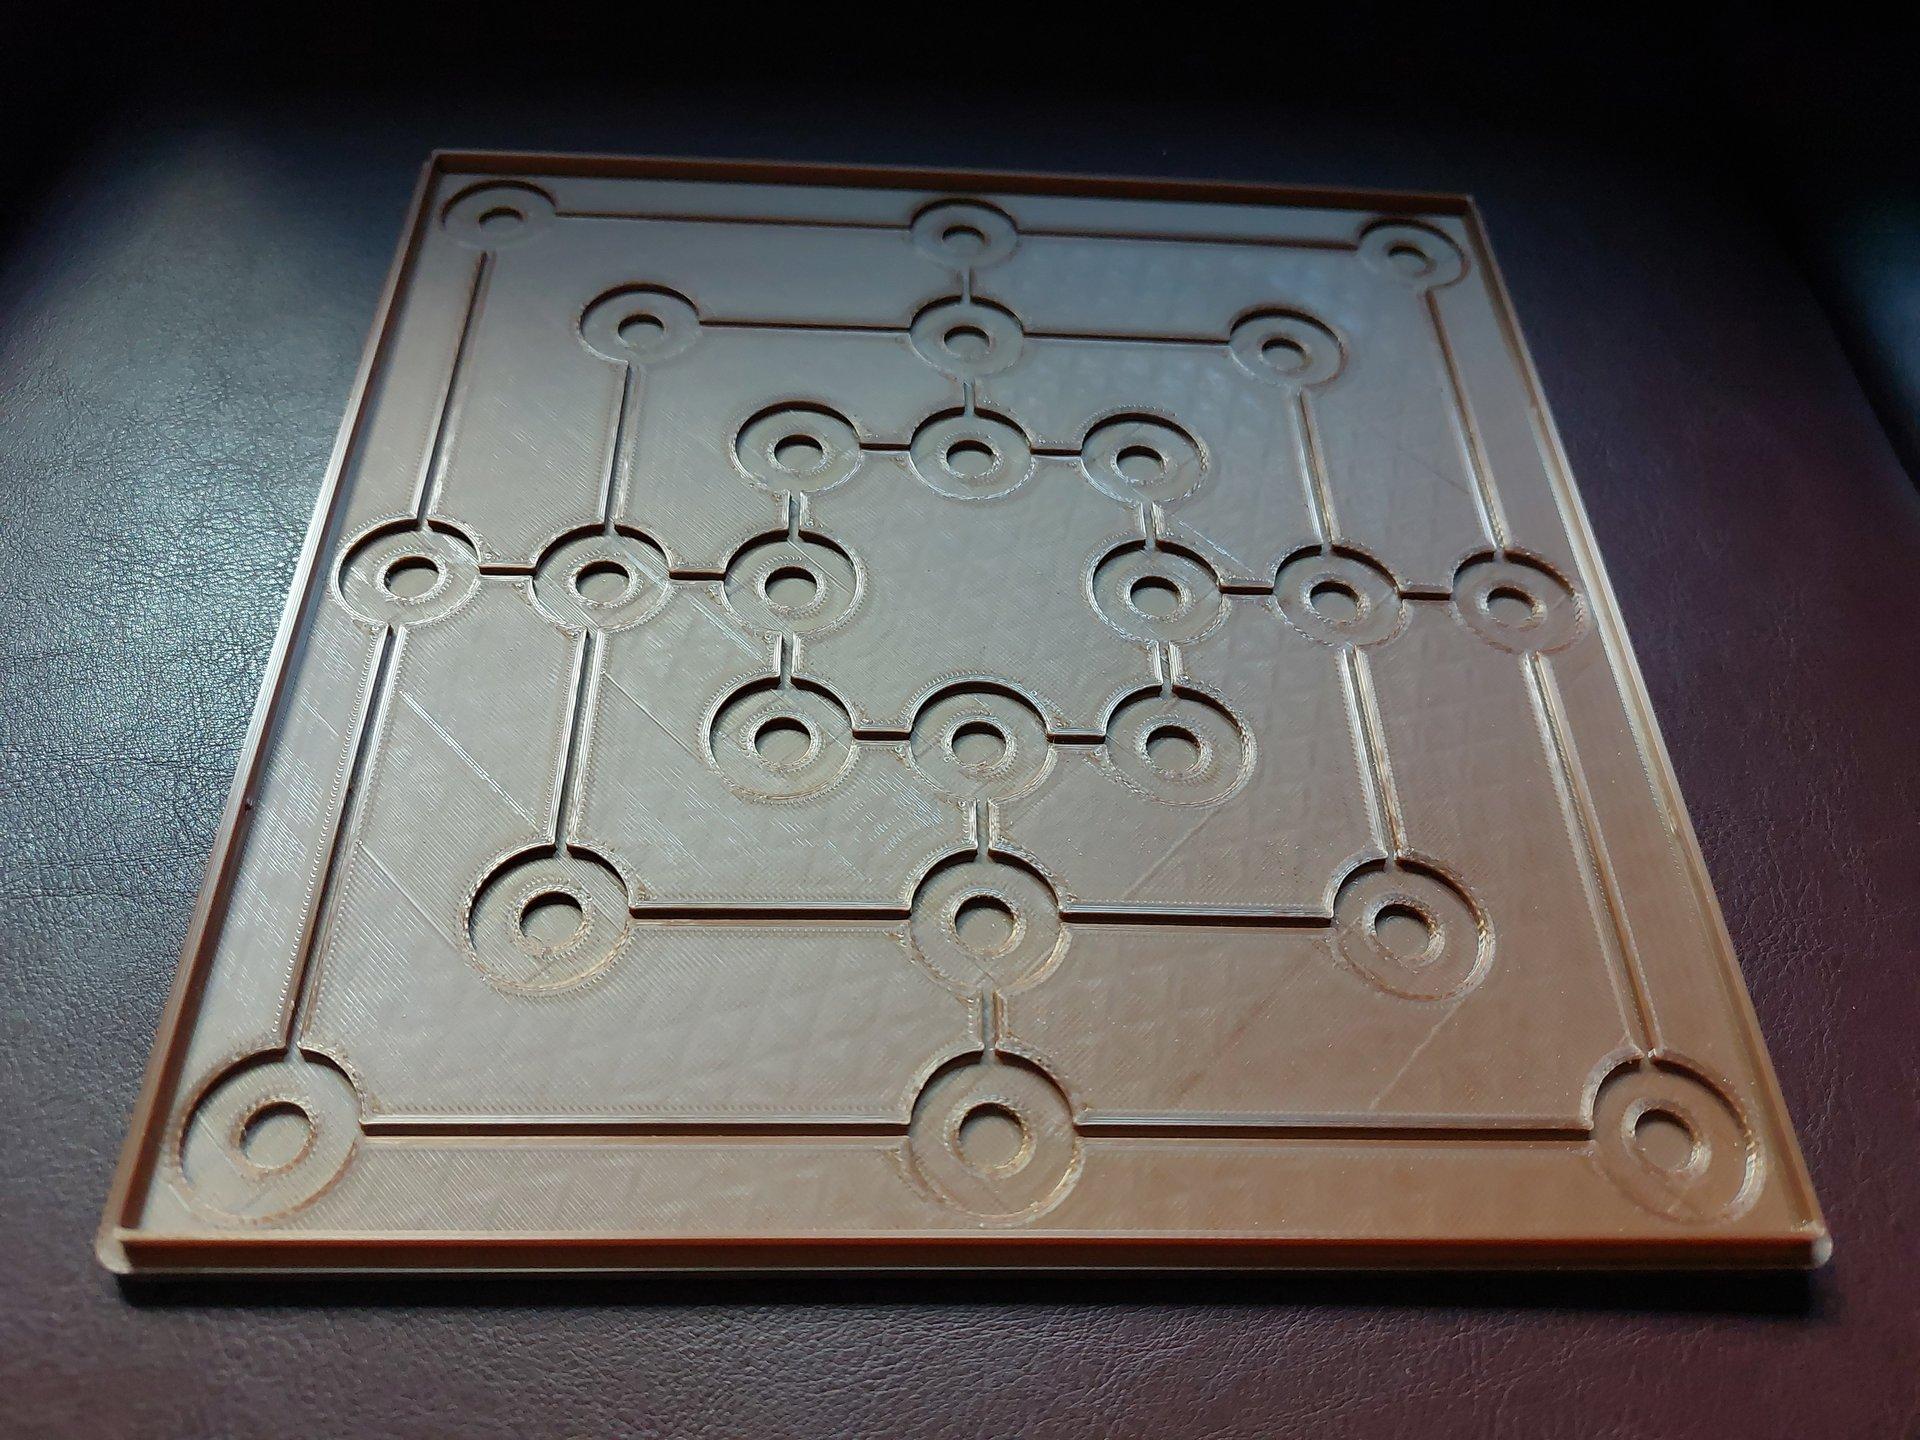
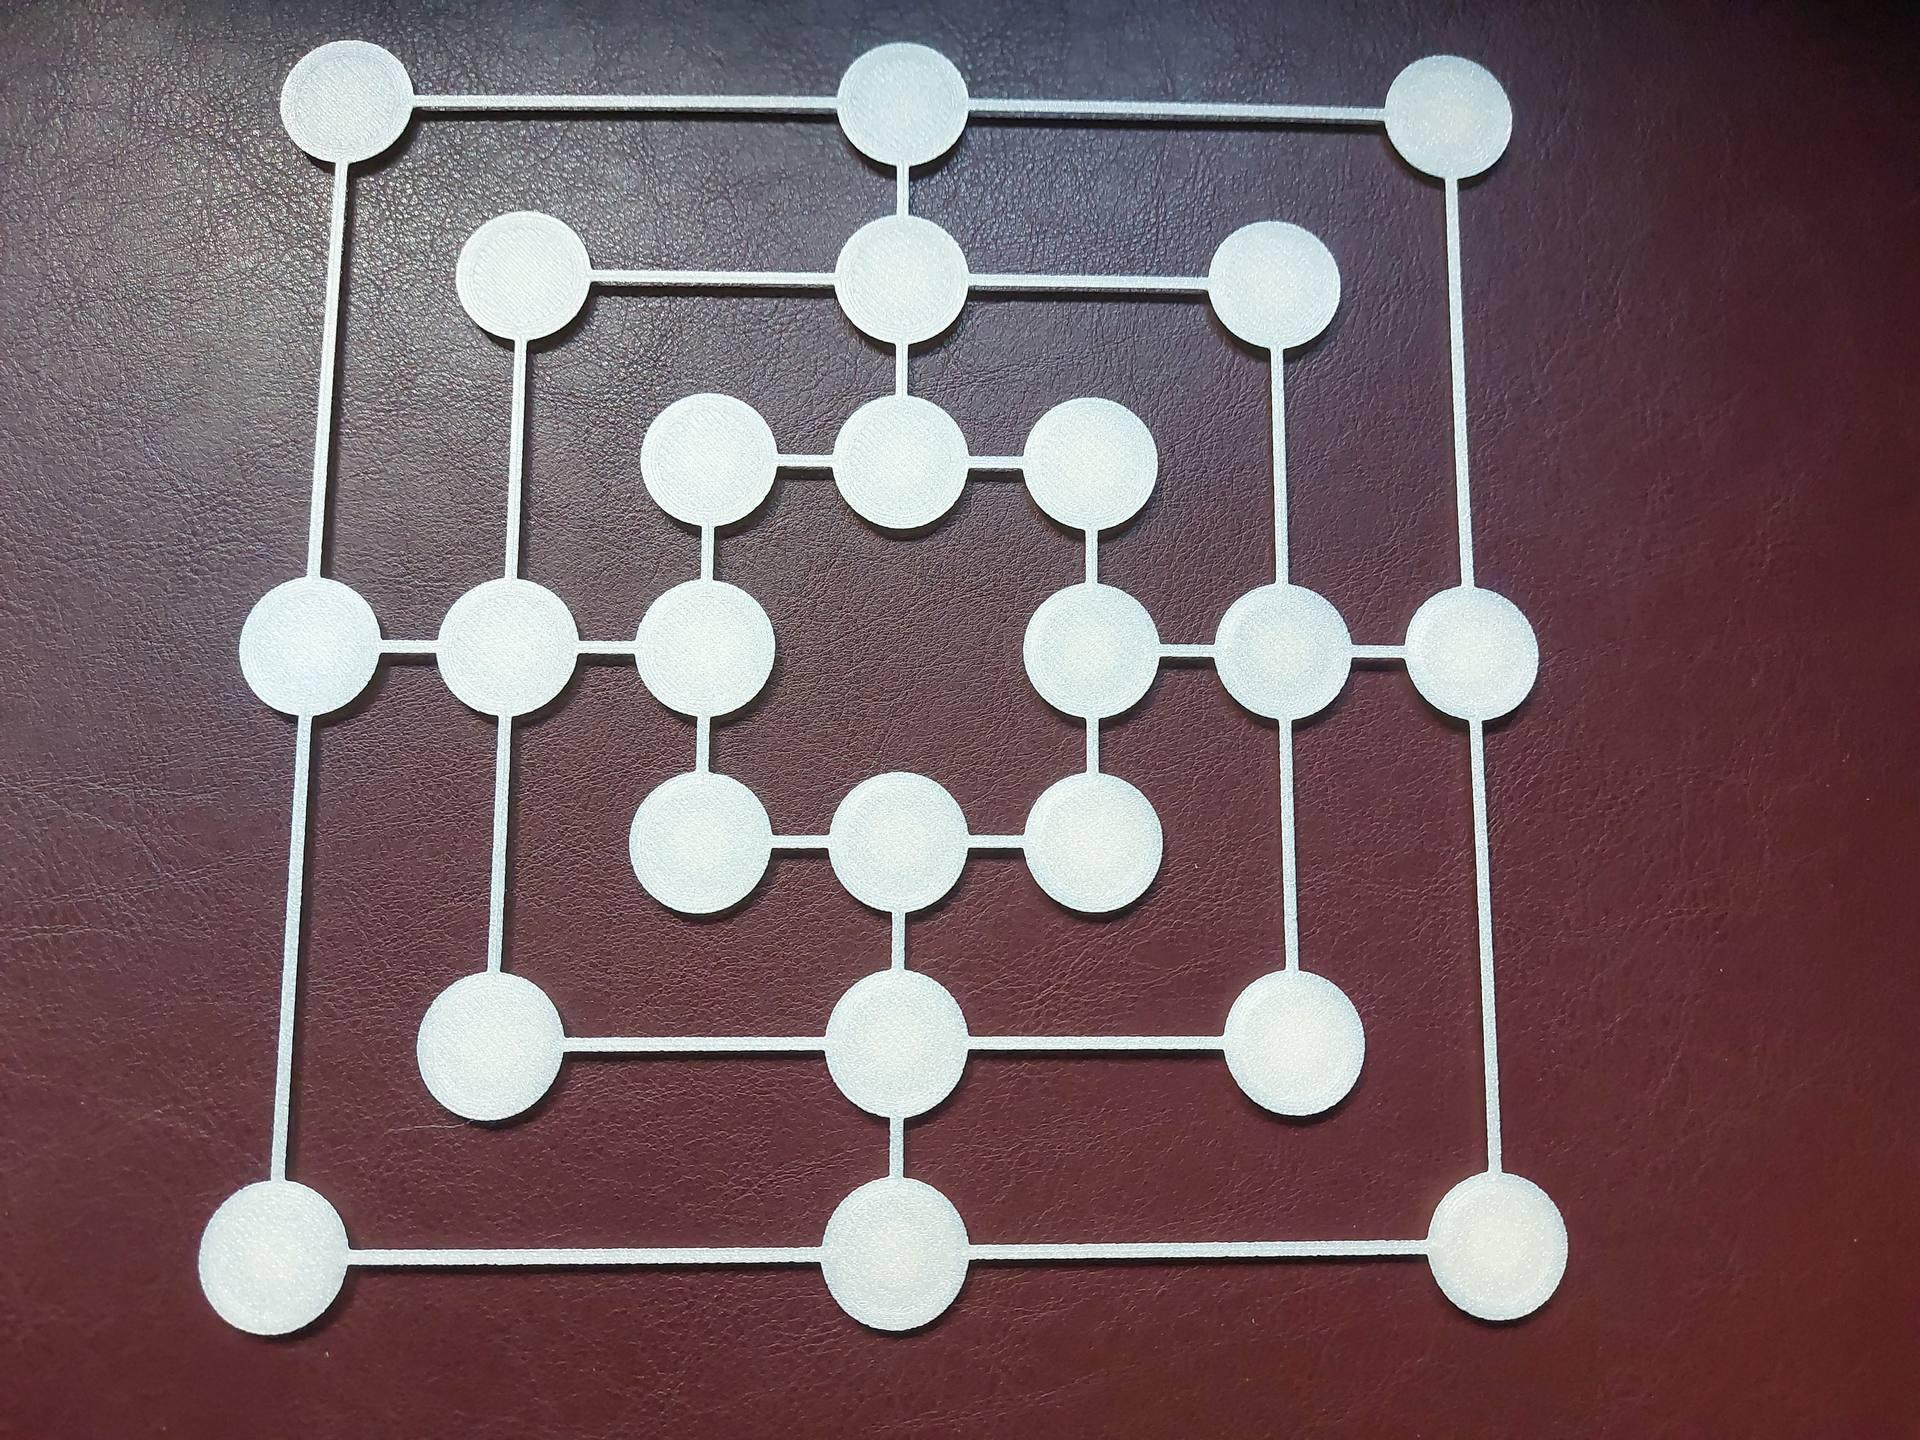
The holes in the nine men's morris board have a 25 mm diameter. The checkers token included here has a 24 mm diameter and will fit perfectly.
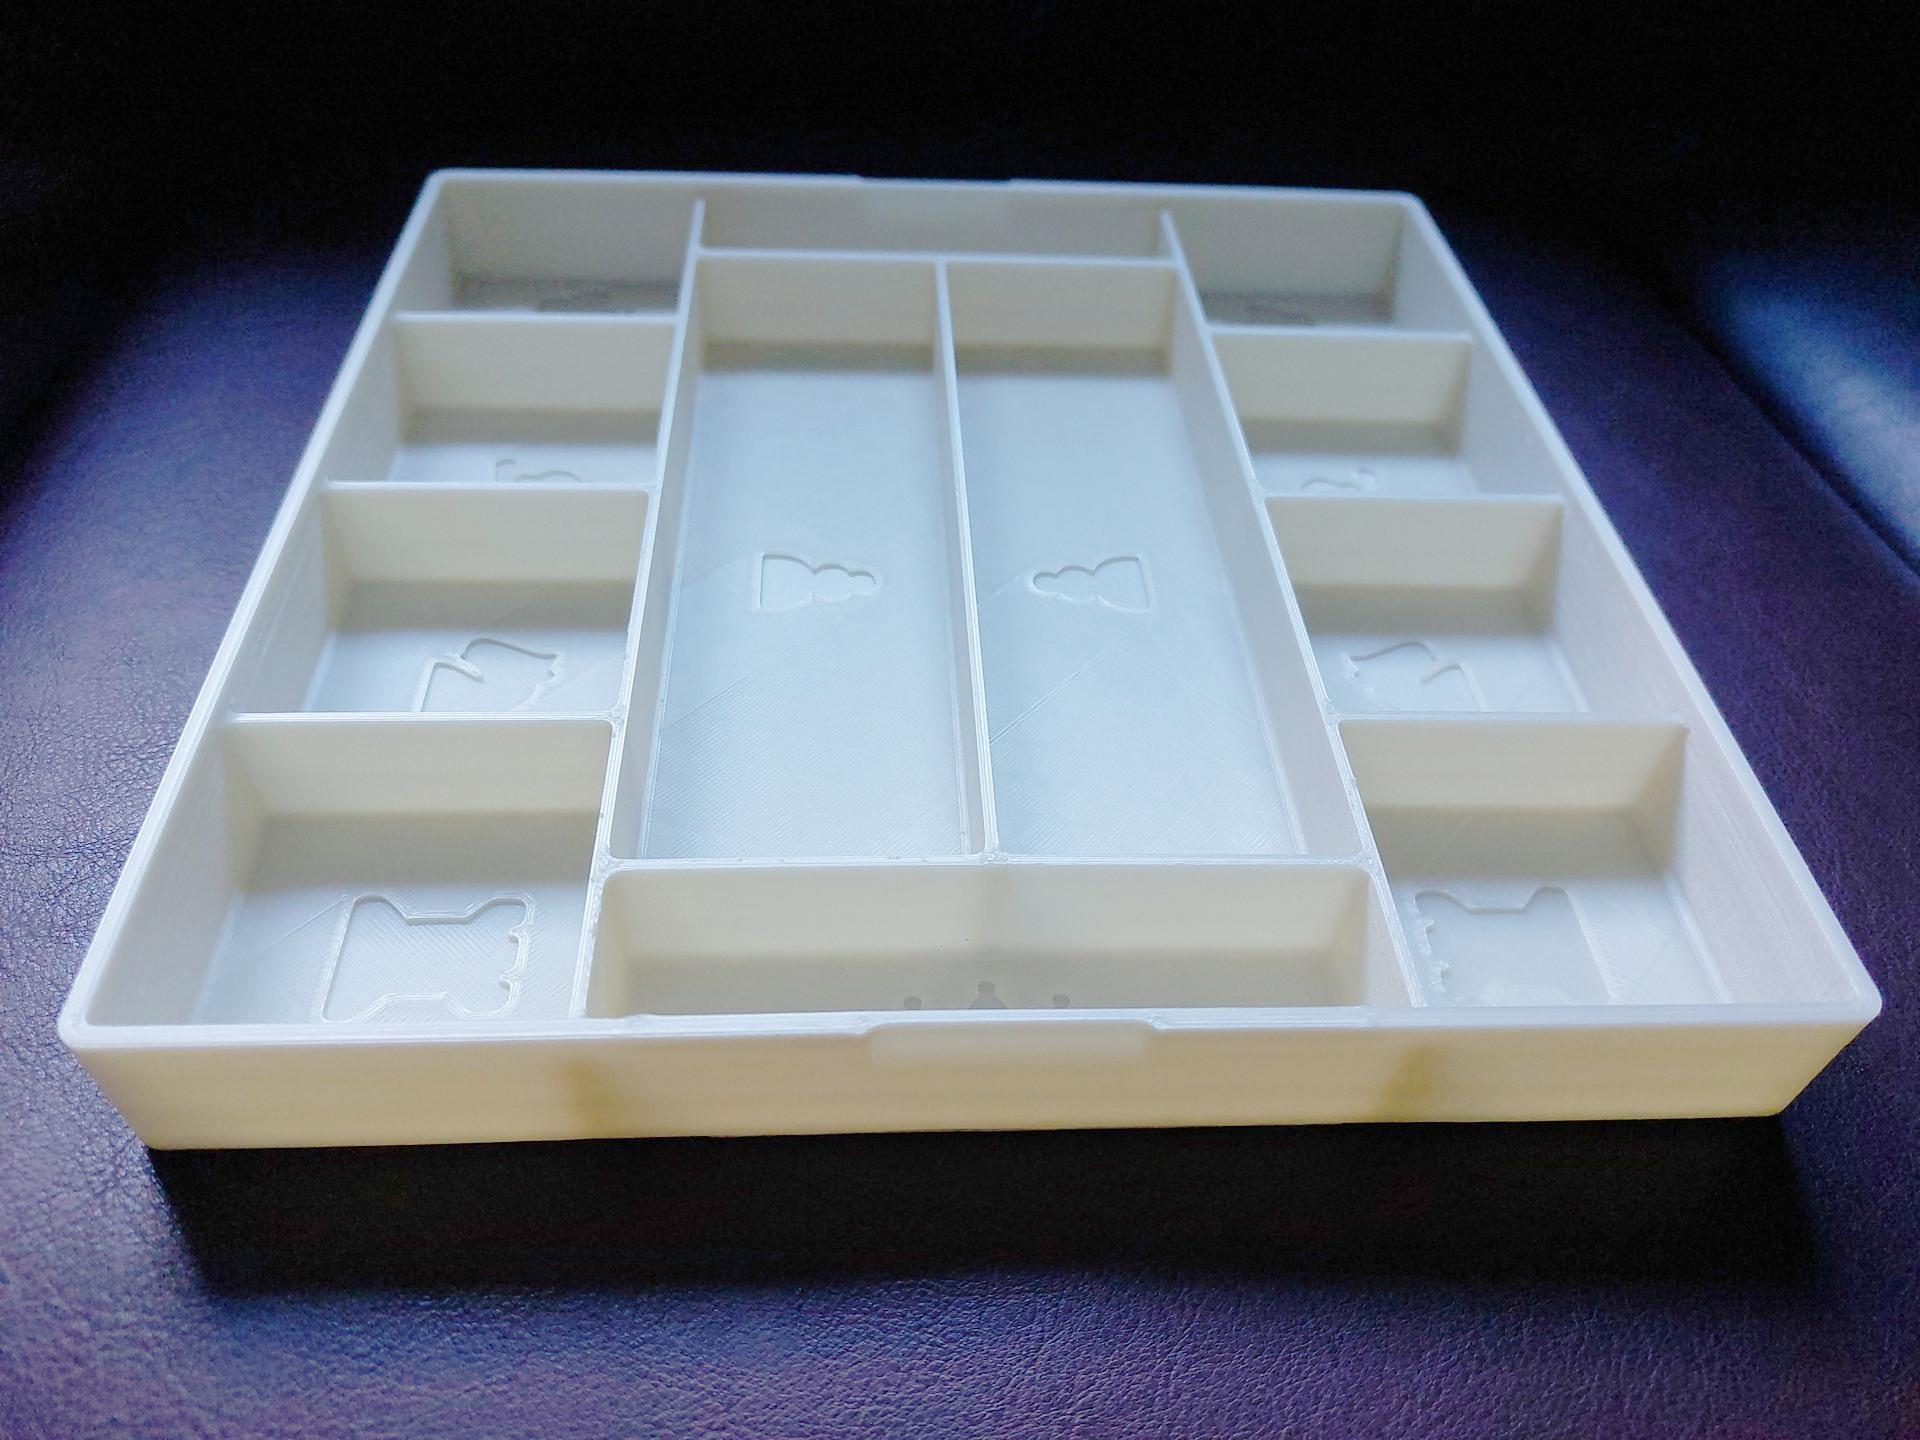
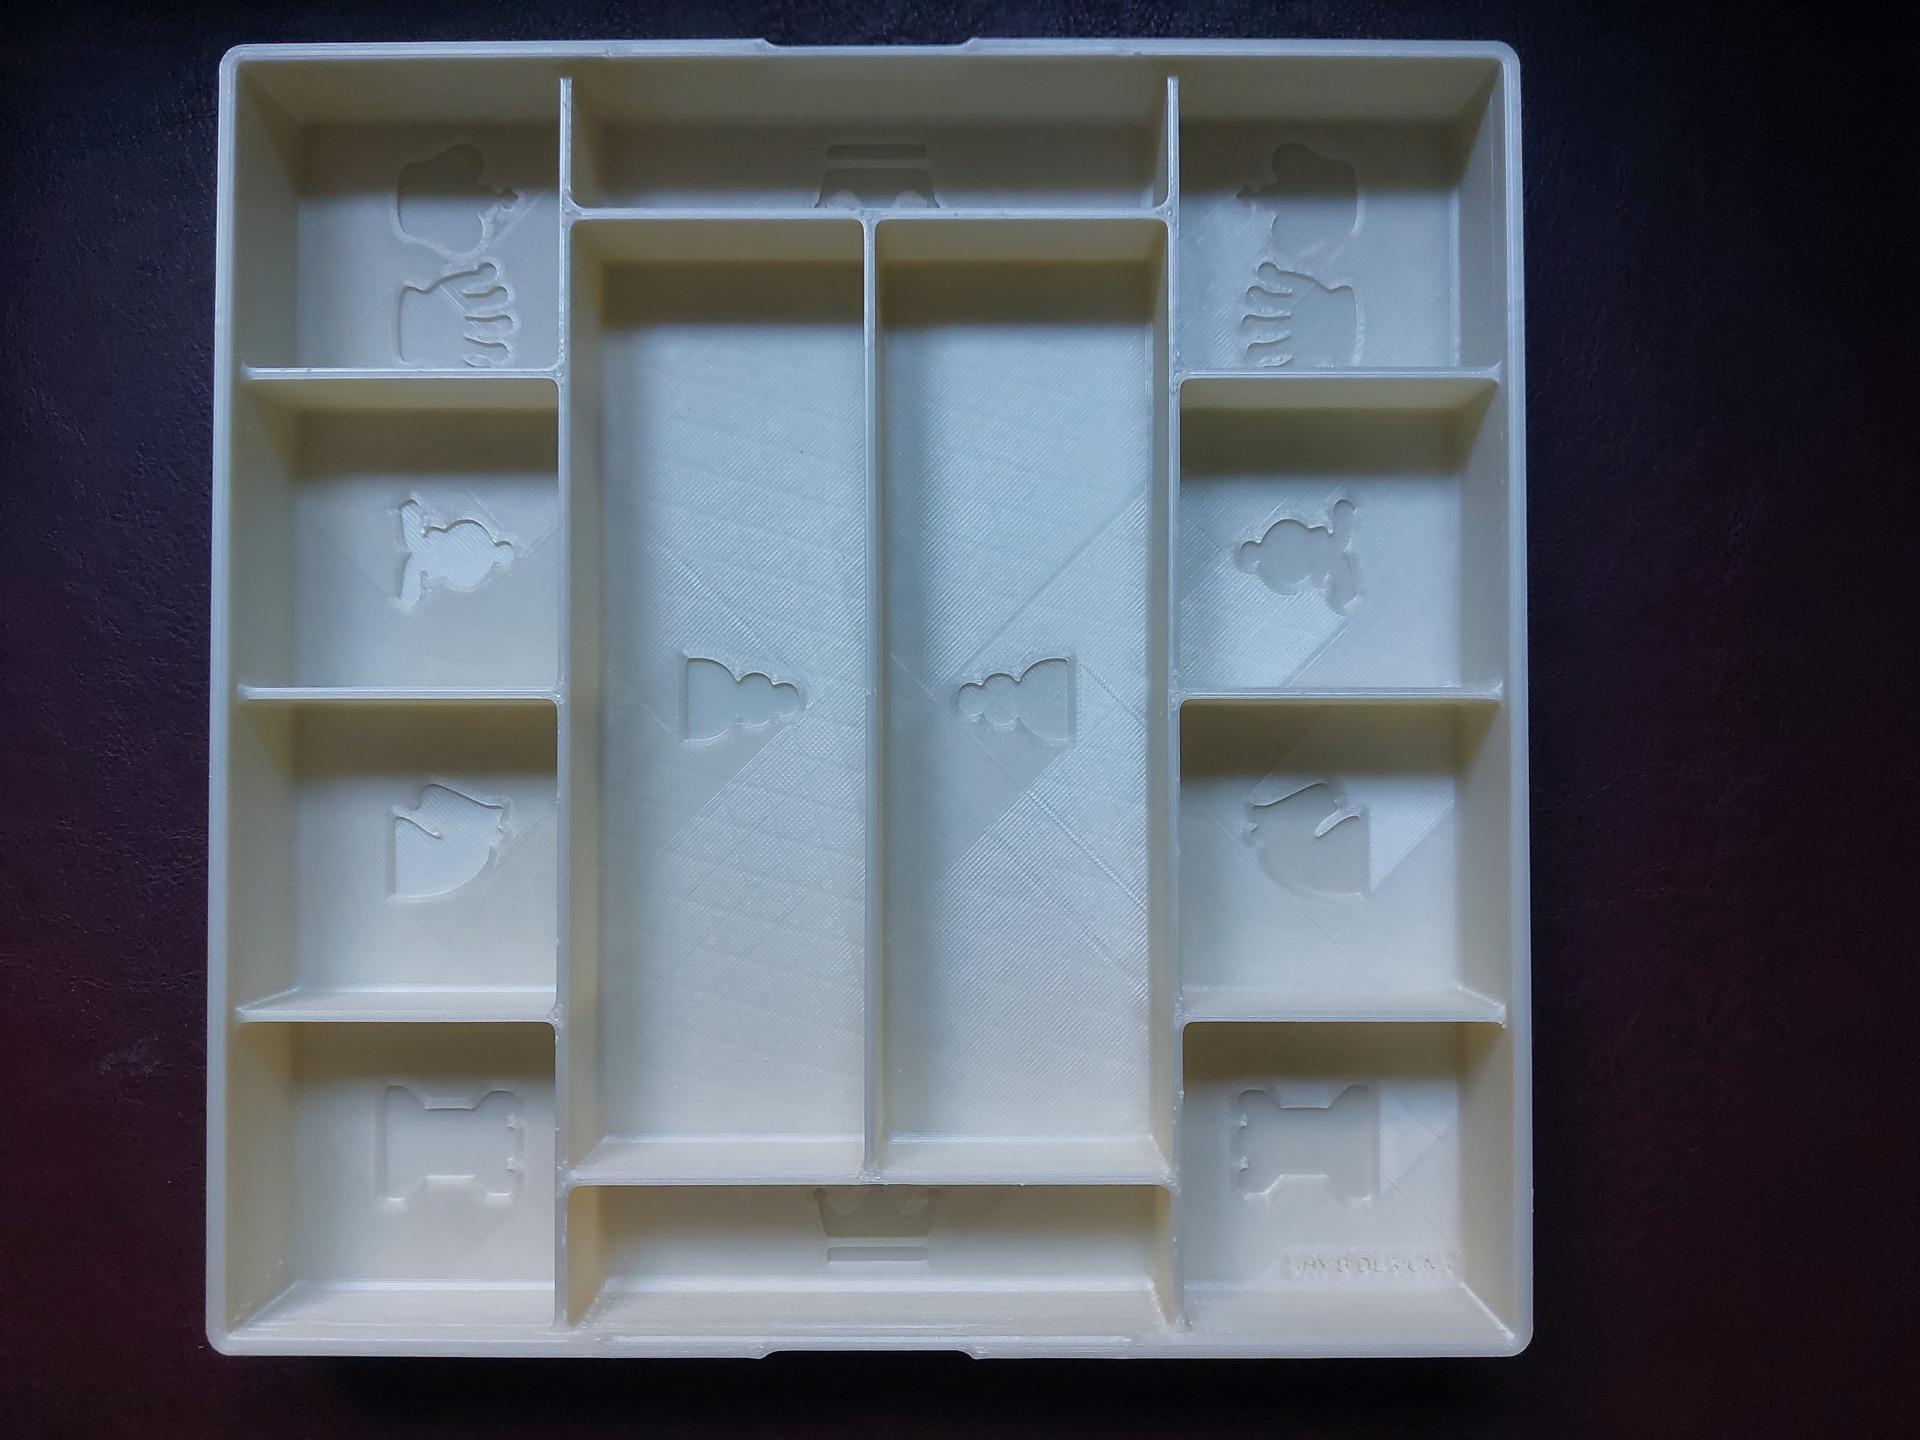
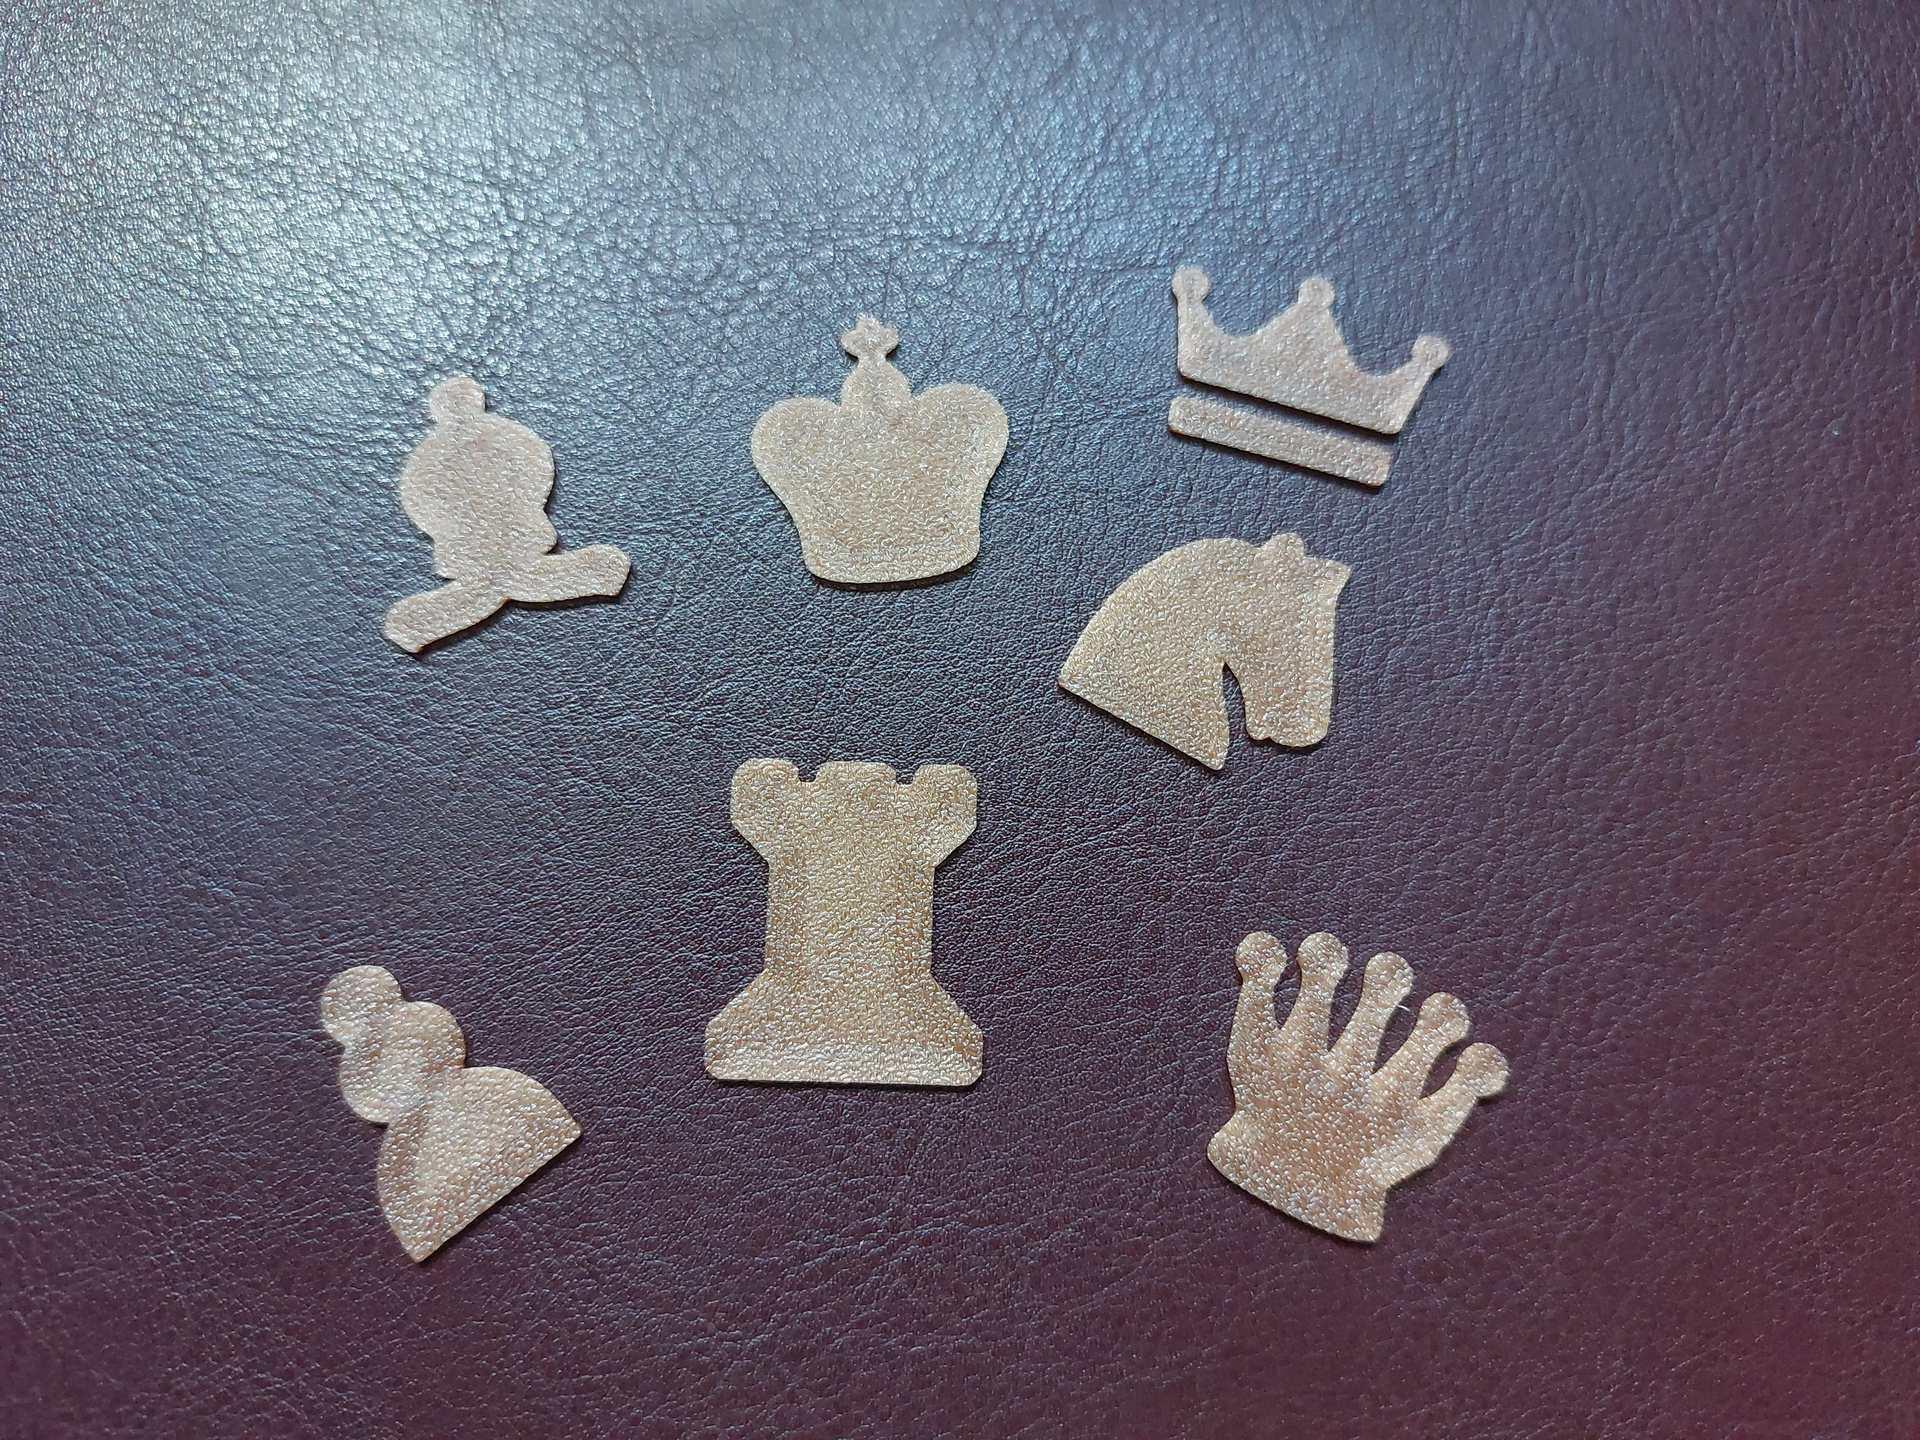
The box bottom inlays are basically optional - you could go without them and not worry about the most fiddly part of the assembly. They have two versions - each has a mirrored one, because that is how I essentially designed them. You will need some glue to make them stick (probably not for queens and pawns.) Please also refer to the post printing section.
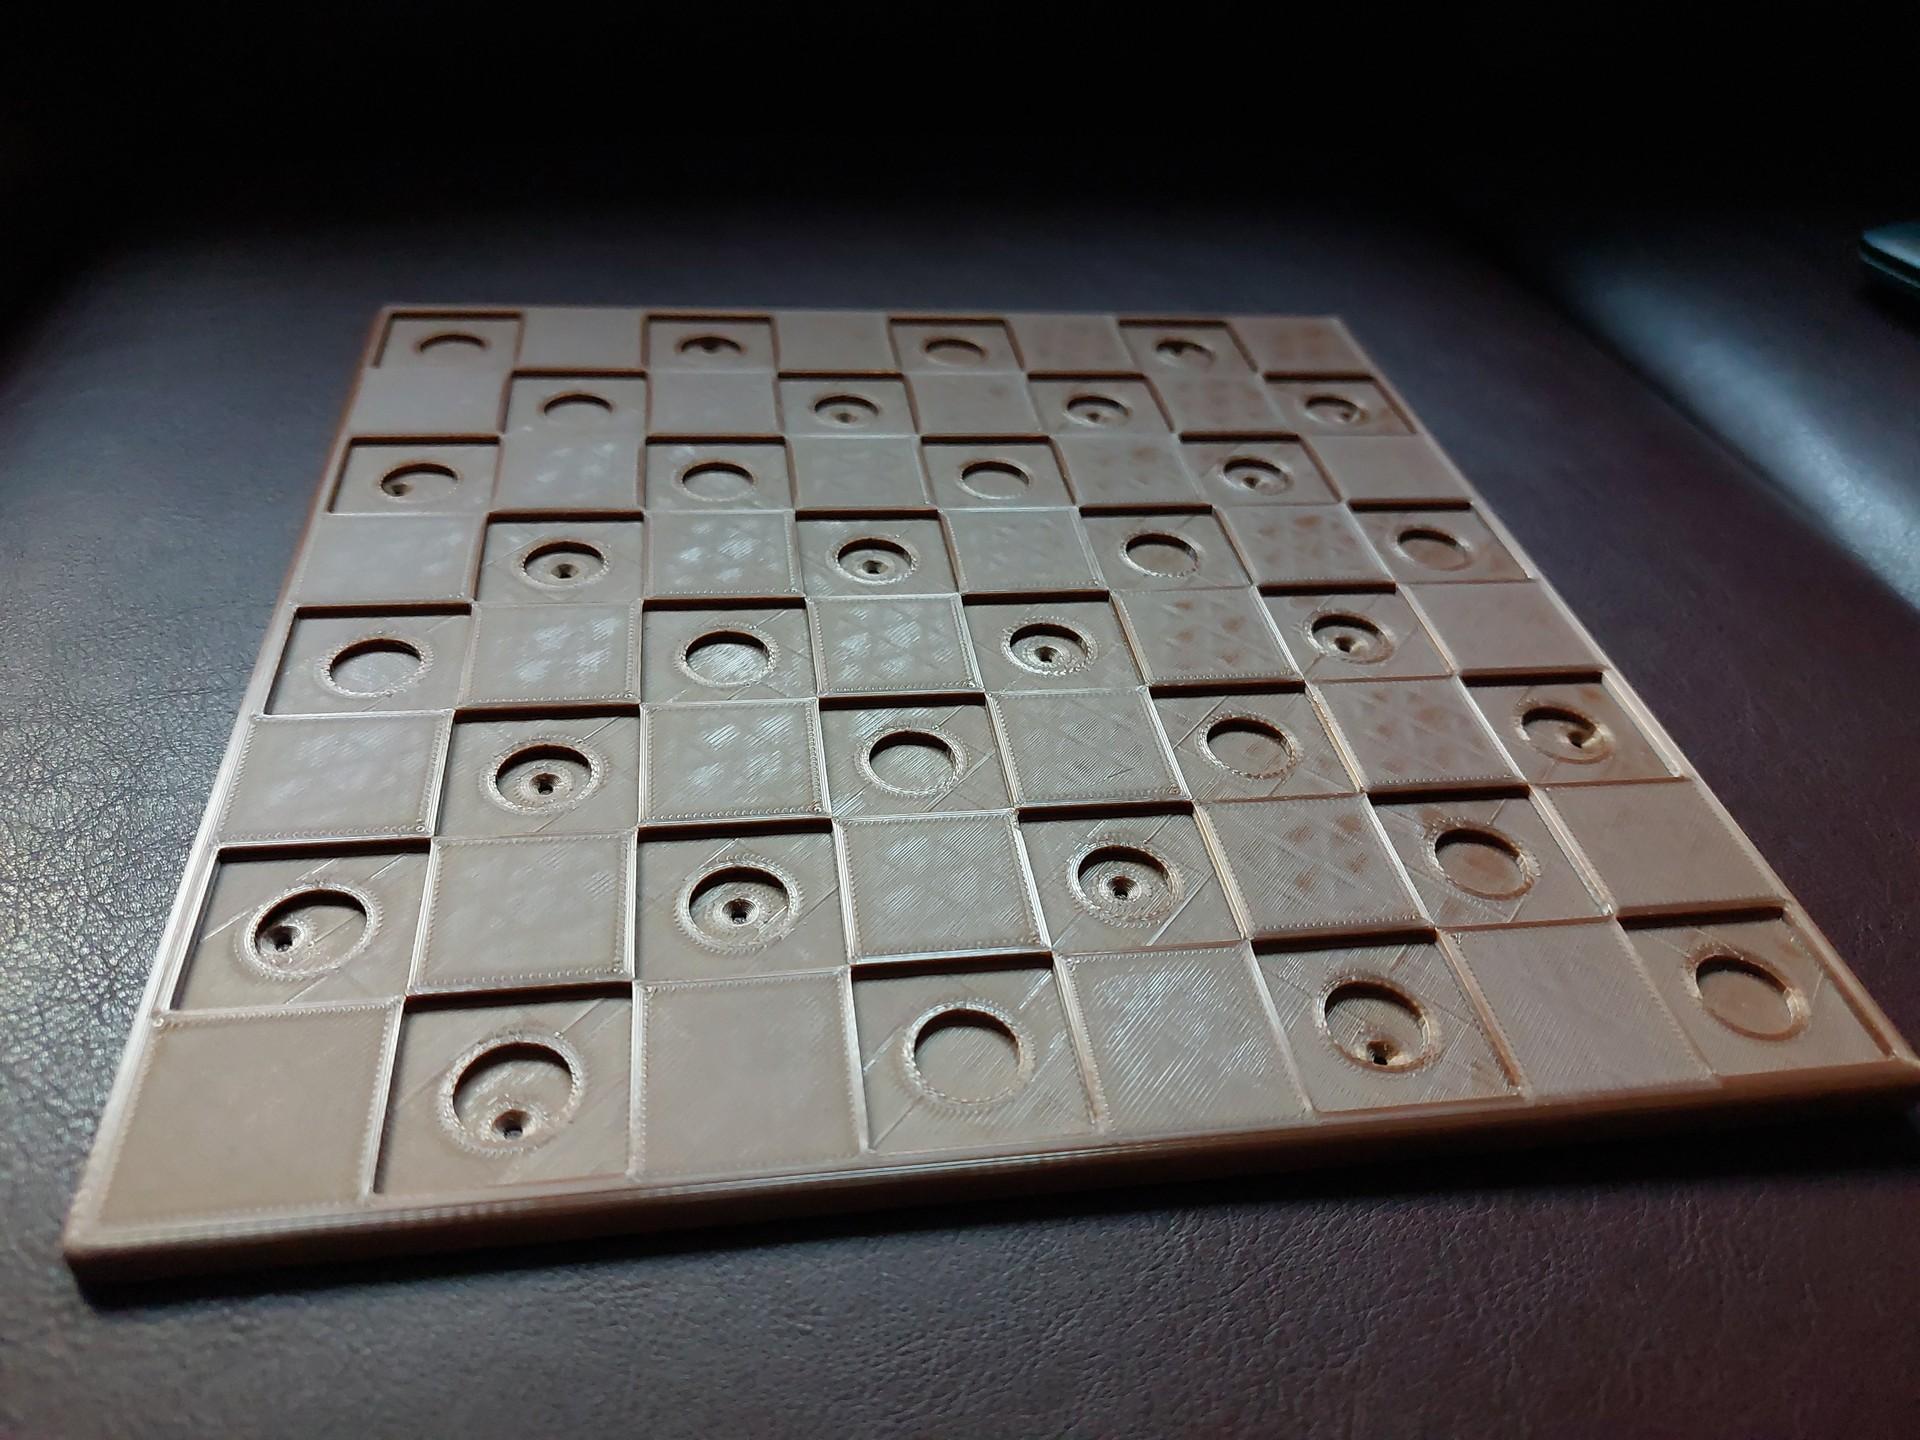
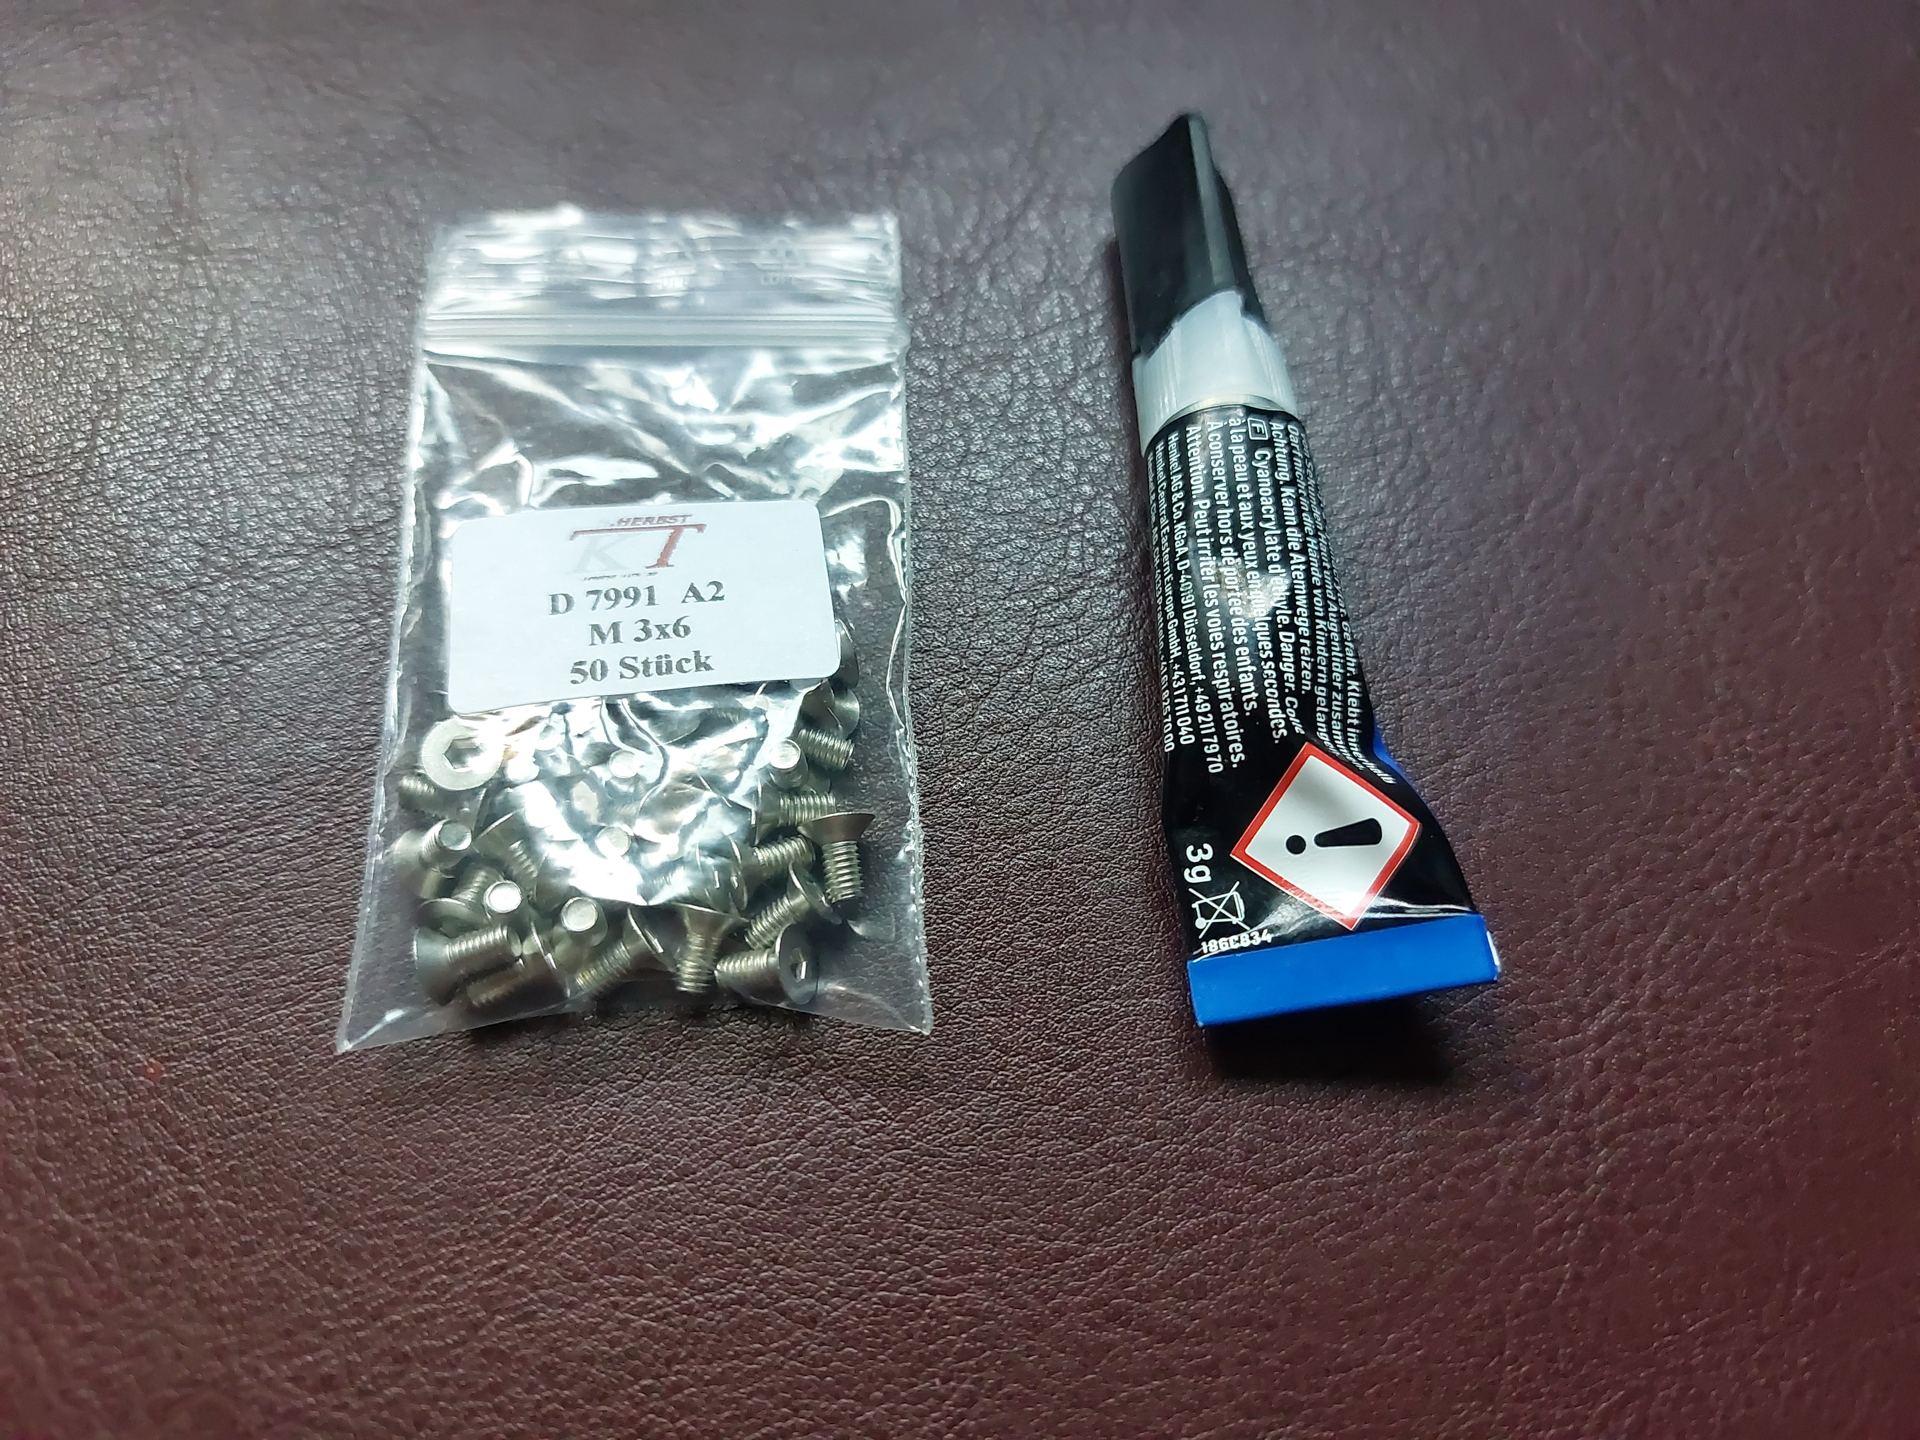
I recommend using M3x6 screws for assembling the lid. While you can use up to 18 screws to feel safe, 12 were enough for me (4 in the middle, 2 in each corner). Alternatively, you can just glue it together.
3D PRINTING SETTINGS Printer: Artillery Sidewinder X2
Rafts: No
Supports: No
Resolution: 0.2 mm
Infill: 20%
Filament brand: Giantarm, Amazon Basics
Filament color: New Brown, Pearl White
Filament material: PLA
Notes: For the box, the upper and lower lid parts as well as the tiles I highly recommend a brim - unless you are ultimately sure of your bed adhesion.
POST-PRINTING
Remove the brim carefully wherever you used it.
The bottom box will not require any further work. (It will occupy your printer for some time, though.)
ASSEMBLE THE UPPER AND LOWER LID PARTS FIRST. (That is, unless you ultimately enjoyed fitting the tiles over the screwholes and love prying them back out. No, that never happened to me. Not a second time, at least.) Pre-thread the screw holes.
The lower lid part will need the following: (1) Ensure the round holes for the nine men's morris inlay are actually round (some sanding/filing may be required, depending on where you placed the seams). (2) The screw holes may need to be widened/pre-threaded some. (3) Take a small screwdriver to fit in the nine men's morris inlay - after sanding the bottoms to ensure they are round. Use force wisely, the inlay is the most delicate part of all. And yes, impatience and anger will lead you to the Dark Side.
The upper lid will need the following: (1) Ensure the round holes for the chess board tiles are round (some sanding/filing may be required). (2) The screw holes may need to be widened/pre-threaded some.
Chess tiles: (1) BEFORE fitting the chess tiles onto the board, assemble the upper and lower part of the lid if you want to use the M3x6 screws (which I recommend). (2) The tiles will most probably need some sanding/filing to make them fit nicely. Glue is optional - I did not need any. (3) If you used screws, you may find the the high profile tiles will need too much sanding their bottoms down. If so, try printing a low profile tile and see if it works better.
There are two inlay types that will likely give you some trouble fitting them into the box - the queens and the pawns. (Fusion 360 would not let me use "offset" on them - if I ever find out, I shall post updated versions.) Some patience, some sanding/filing and some brute force helped me fit them in.
HOW I DESIGNED THIS
So here it is, the very first 3D design I ever started and the second one I have actually finished enough. ;-)
After I had printed the awesome FDM friendly chess set by Chuck McKnight (https://www.thingiverse.com/thing:4168753) and the cleverly designed chess board from PerryT's chess set (https://www.thingiverse.com/thing:40605) plus checkers tokens by armourcraft (https://www.thingiverse.com/thing:2816872), I decided I needed something to stabilize the board and store all the accessories. Hence, a box.
So, I started learning some Fusion 360 (I cannot recommend this tutorial and channel enough - https://www.youtube.com/watch?v=LWiGAs7CGgI&t=933s), got carried away and decided to create a box with a proper lid that would have the Chess / Checkers board on top plus a Nine Men's Morris board beneath, plus a Checkers token matching the box inlay.
I barely stopped myself from designing a chess set for the box, mainly because there is a ton of beautiful stuff out there already.
License
Chess & Checkers & 9 Men's Morris Board (with Storage Box) by Scheibster is licensed under the Creative Commons - Attribution - Non-Commercial license.
