Drawer Slide v2 Alignment Jig - Improved Single Sided
bymatthew.starrmanModel originally uploaded to Thingiverse at https://www.thingiverse.com/thing:4833158.
Remixed the previous drawer slide jig to make some improvements. I previously tried printing someone else's remix that was hollowed out, but discovered the horizontal part was prone to sagging, which throws off the levelness/squareness. It was bending down slightly, due to lack of cross support, throwing the end off by at least one degree. With or without the drawer slide jig I often find myself stacking the drawer slide and a level, to ensure they are installed correctly. At times this becomes frustrating balancing act. This remix corrects those issues.
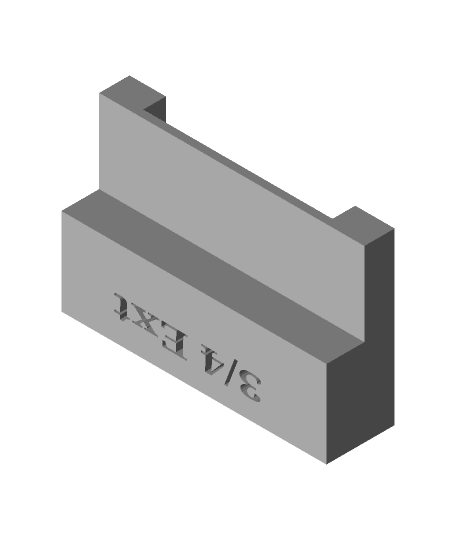
Added a spot to integrate a bubble level. Added an integrated tab to hold/support the a full extension drawer slide during installation. Added an adapter to hold the drawer "member" for installing to the drawer box. Added an adapter to hold a 3/4 extension style drawer slide.
There is an integrated top support for holding the drawer's "cabinet member", and a spot to snap in a bubble level. The squareness of the jig should already provide a level surface, but the addition of a bubble level provides an additional sanity check. There is an insert/adapter for helping to line up and hold the "drawer member". There is an additional (optional) insert/adapter for using with smaller 3/4 extension drawer slides. But because of the protruding front wheel, you'll need to use it upside down :( I don't use 3/4 often, but I'm tempted to cut a section of the jig to provide room for the wheel. Printed with 4 line/wall perimeter (rather than 2), and lower 5% infill. Shorter print time, lower filament use, but the strength remains. (If only using 2 perimeters, than 5% infill will be insufficient). I printed at 0.2mm resolution. The individual Left, right, and adapters require no supports. I printed with brims to help prevent warping during the prints.
Link to the bubble levels I purchased/used: https://www.amazon.com/gp/product/B0153BGY0U I have the bubble level protrude out by 1mm. I think this helps with visibility from different angles.
Note: I've already reworked this into a new double sided design. I personally prefer the double sided design to this one.
