


Modular Filament Swatch (Sample) System
This filament sample or swatch system solves the one problem that nagged me in the past… scalability. With this system, you print a base piece with or for every swatch so you always have the exact right size of container for all your samples. And, because the base (holder) pieces snapped together you can re-arrange them, expand or remove samples whenever you want.
If you don’t know, and I didn’t for a long time, you will really appreciate it if you print a sample of every brand, colour and type of filament you use. You only need to do it once; it is fast and easy. And, later, you will really appreciate being able to compare swatches when you want to colour-match something. I wish I started doing this a long time ago. So start now if you haven’t already.
You can print each set in the colour of the sample or just the card as a sample colour - making all the bases the same. It's entirely up to you. I have also included an optional end wall and an optional middle wall to help separate material types or other categories. The end wall covers up the connector on the last segment.
The cards are 80mm x 40mm so they print quickly but are large enough to make it possible to really see the colours. Each card is 1.6mm thick but has sections to evaluate opacity at 0.4mm, 0.6mm, 0.8mm, 1.0mm, 1.2mm and 1.4mm. The trays are 3mm thick so it leaves a small gap to help grab the sample cards when needed. I also included a detent so the cards do not all fall out as you move the set around.
I recommend writing on each as follows:
- Brand
- Type
- Colour
- Print Date Optional
- Machine it was printed on
As for colour organization, obviously you can do it however you want, but I recommend the following visually intuitive and pleasing sequence:
White → Light Grey → Dark Grey → Black → Red → Orange → Yellow → Green → Blue → Purple → Brown → Specialty Colors (like metallics or translucent)
I am separating my materials into separate sets like PLA, PETG, ABS, etc.
Print Settings
I have left considerable play in the connectors of the base pieces intentionally so that you do not need to worry too much about print quality. I print across many machines and wanted to be sure that regardless of which machine printed the base, they could snap together.
So you can (or should be able to) print these in any material and on any settings. There are some short unsupported runs, so if those give you any issues just clean them up with a knife after printing. But for most printers that will not be an issue.
Brim = No. Support = No. Print orientation = As per the STL/3MF files.
Update 2025-01-21: I have updated the files to include a male and female end wall, so you can tidy up both ends if you choose. This update also resolves the issues with the original end wall not being openable (without renaming it).
Additional Info Visit my blog for more details and other exciting designs: https://www.logicalplanet.com/


Modular Filament Swatch (Sample) System

Logical Lock Box — 4-Digit Programmable Combination Box

Logical Modular Planters
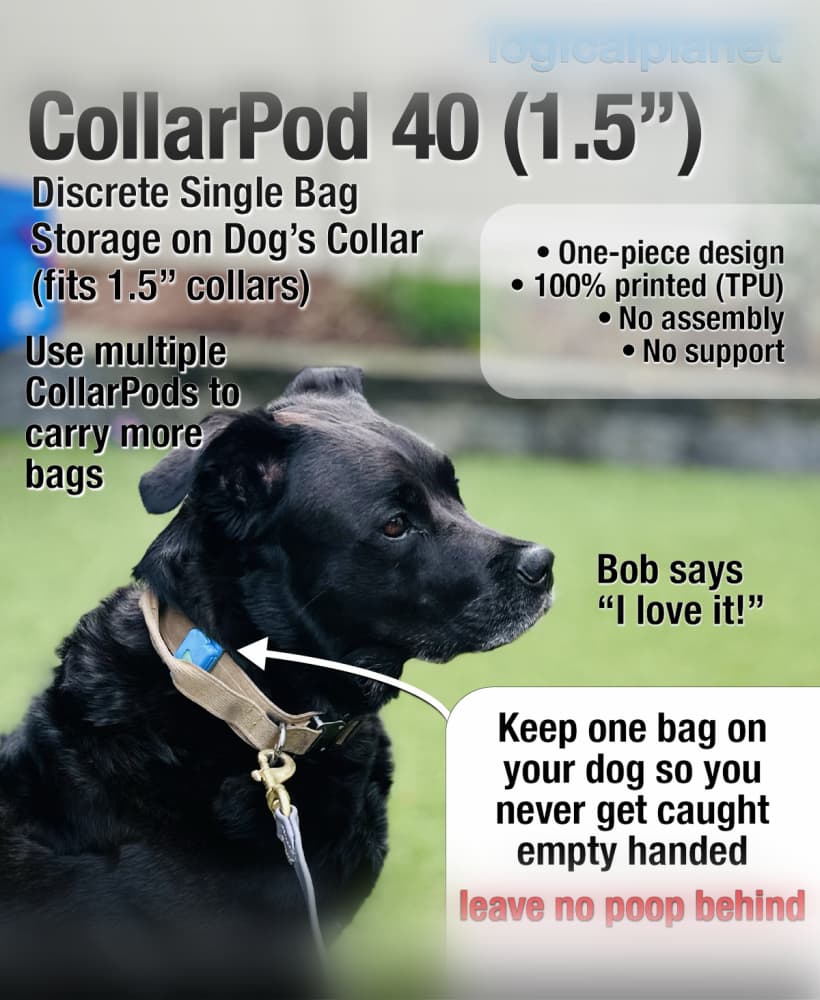
CollarPod 40 - Poop Bag Holder for Dog Collars - 1.5 Inch Collar - Single Piece TPU - No Assembly
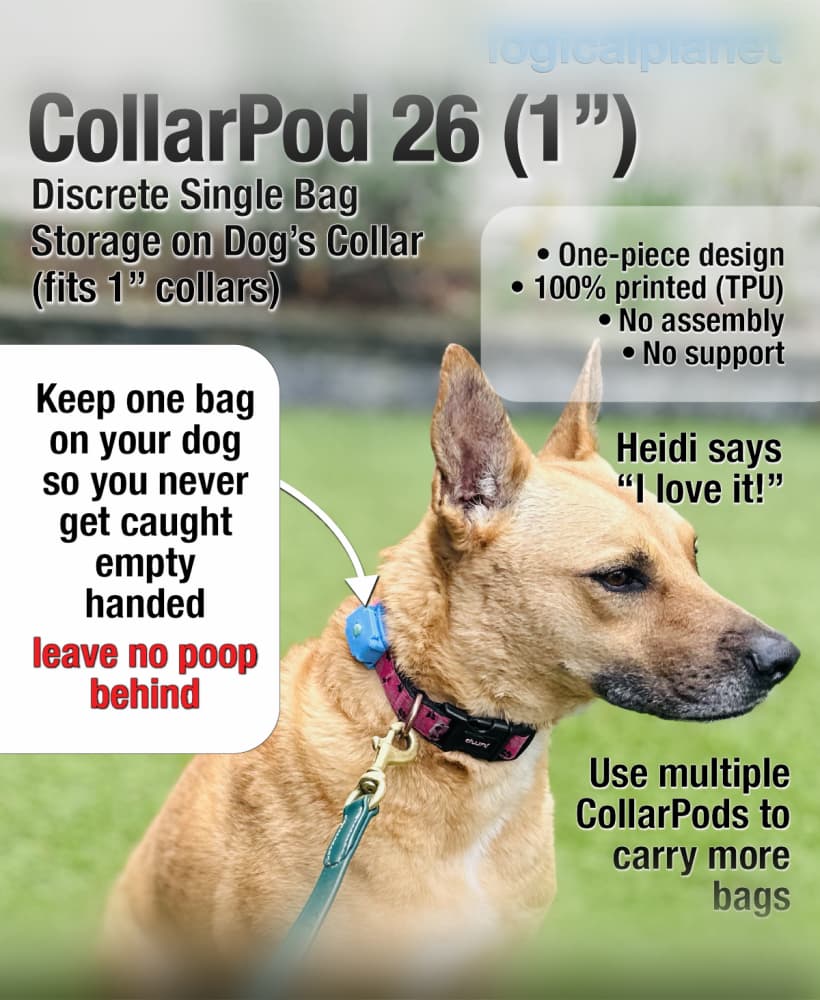
CollarPod 26 - Poop Bag Holder for Dog Collars - 1 Inch Collar - Single Piece TPU - No Assembly
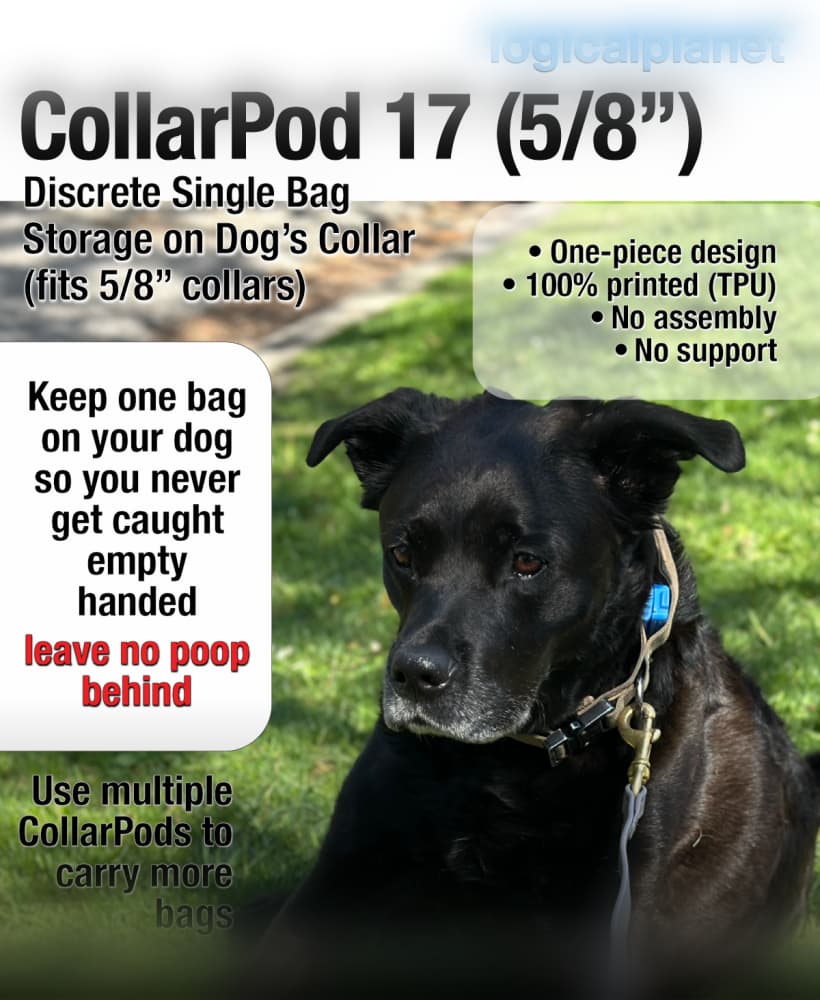
CollarPod 17 - Poop Bag Holder for Dog Collars - 5/8 Inch Collar - Single Piece TPU - No Assembly
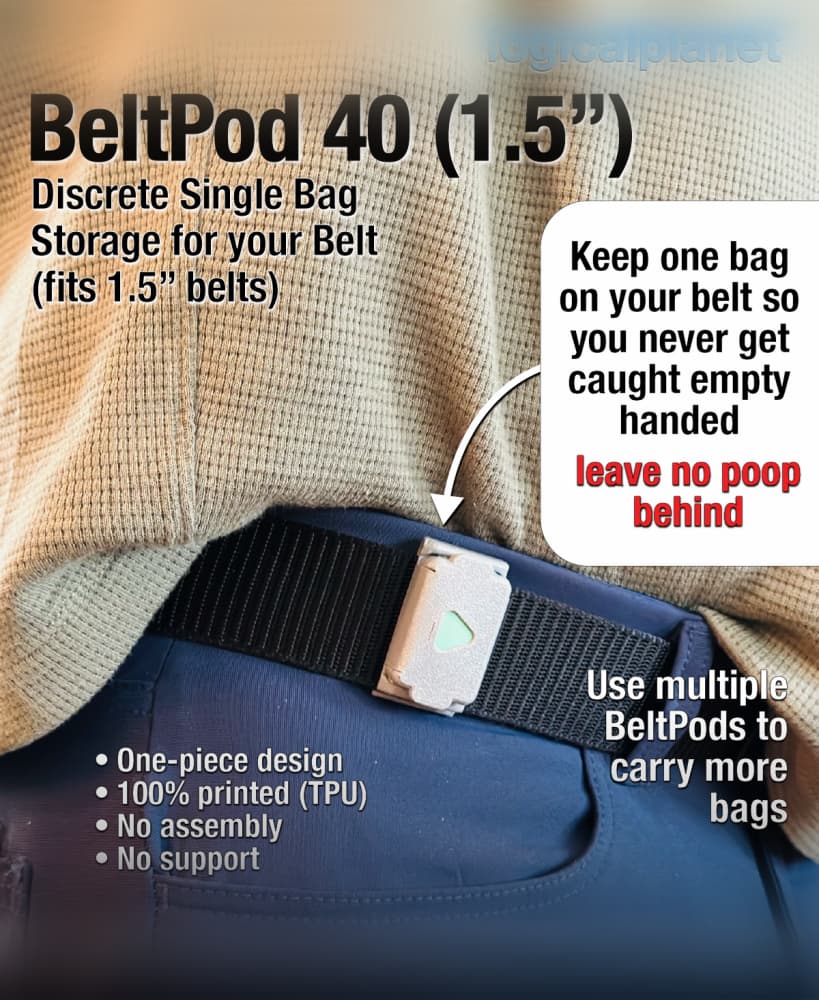
BeltPod 40 - Poop Bag Holder for Your Belt - Single Piece TPU - No Assembly
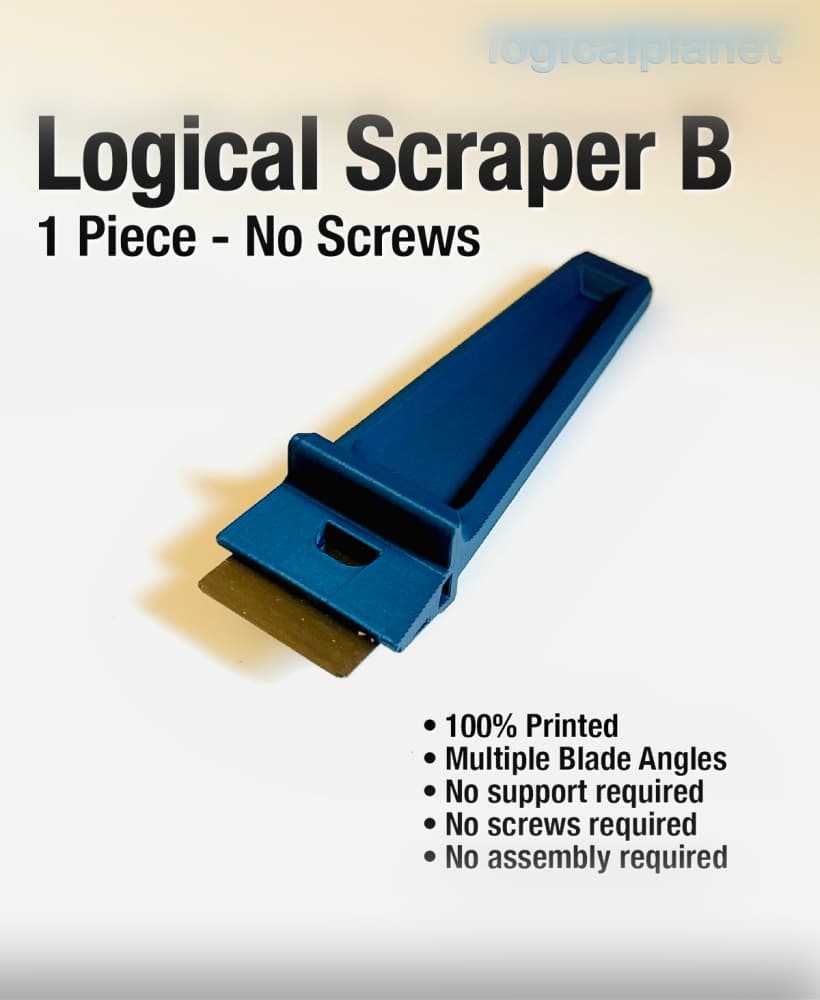
Logical Scraper B - 1 Piece No Screws No Assembly
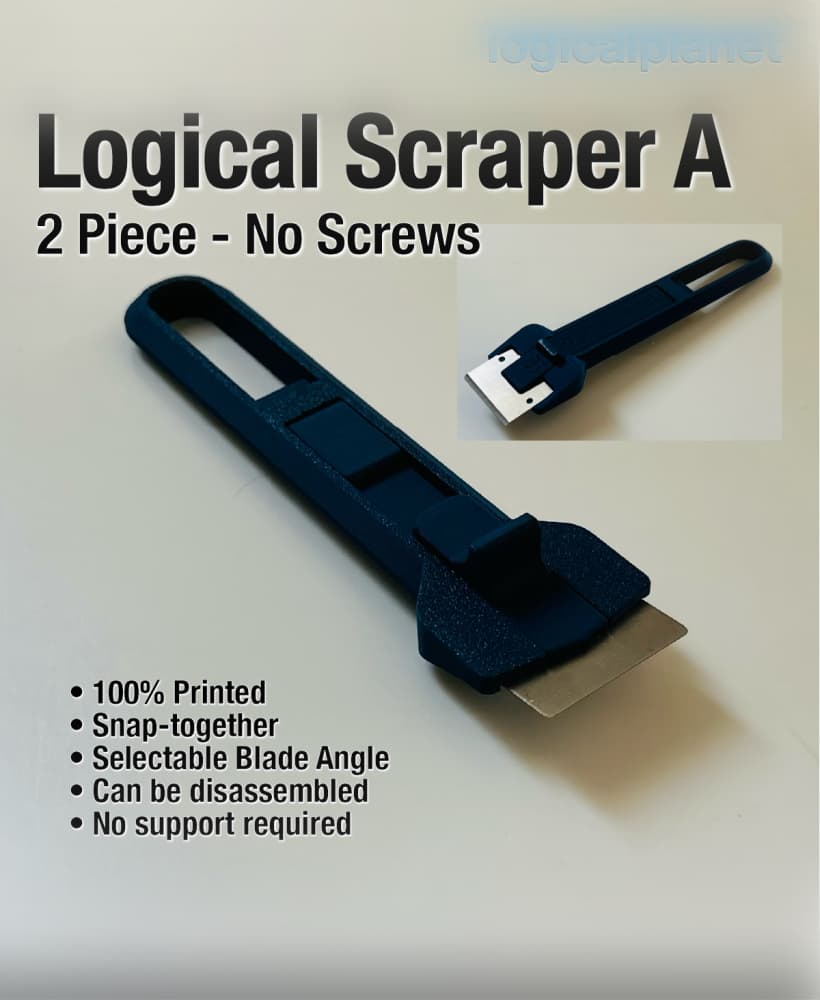
Logical Scraper A — 2 Piece, No Screws
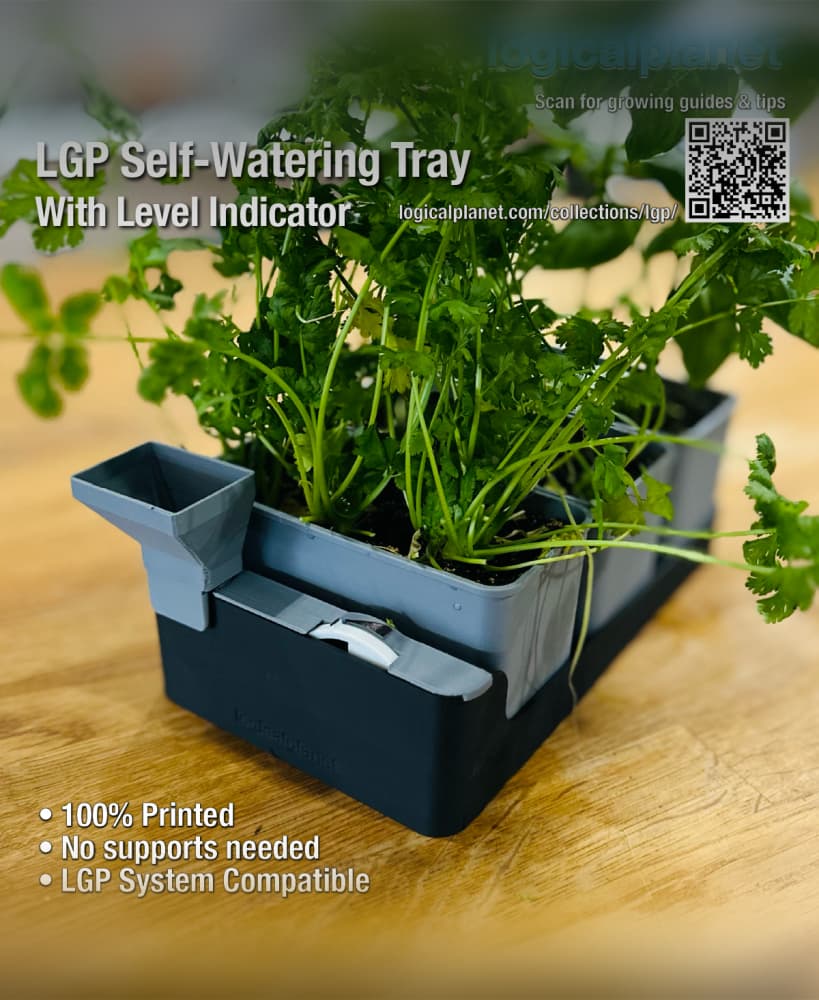
LGP Self-Watering Tray — Modular Bottom Watering Reservoir for the Logical Grow Platform
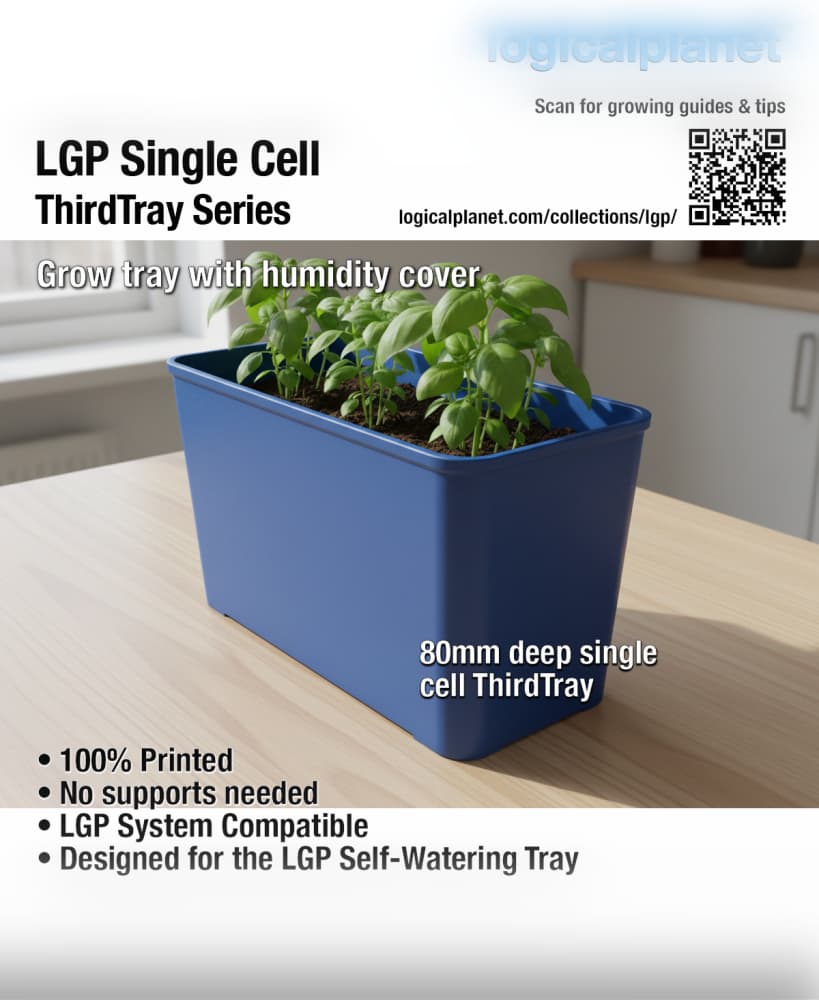
LGP Single Cell ThirdTray — Modular Grow Cell for the Logical Grow Platform
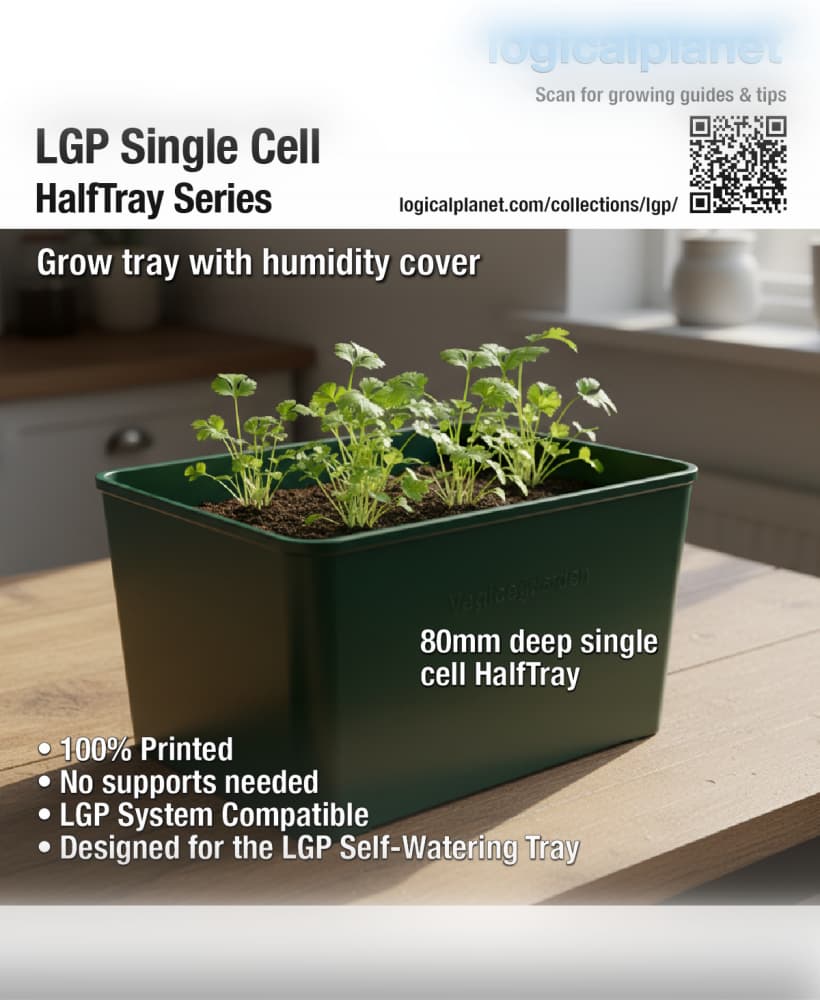
LGP Single Cell HalfTray — Modular Grow Cell for the Logical Grow Platform
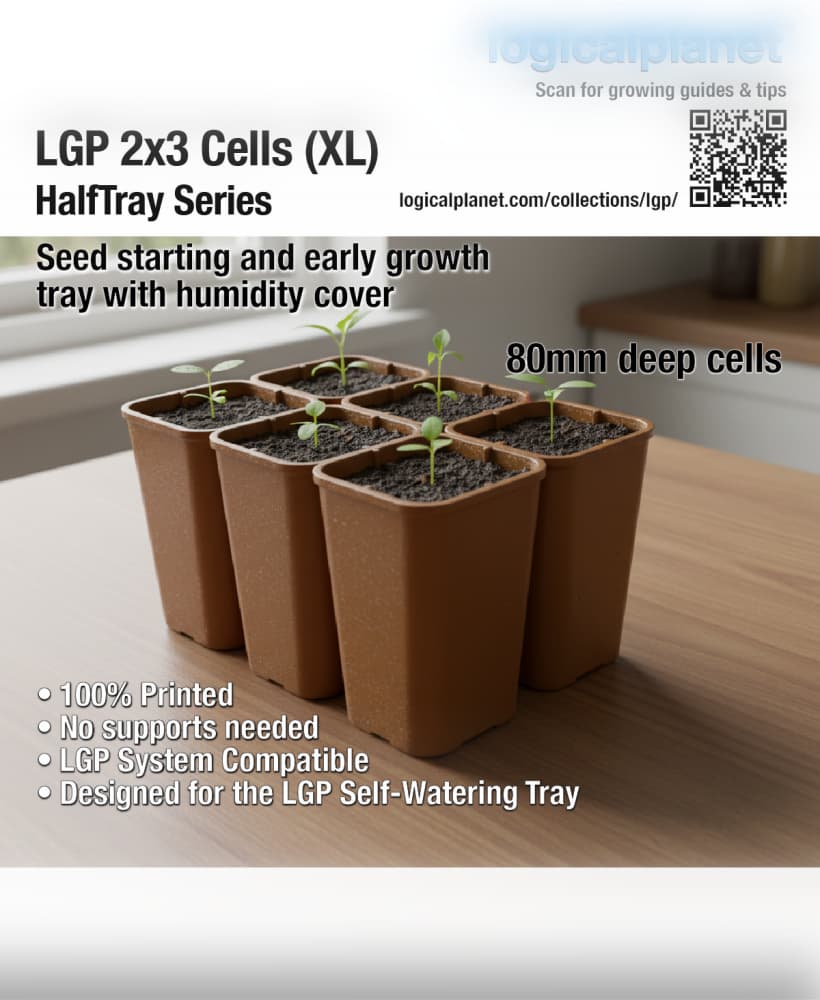
LGP 2×3 Cells XL HalfTray — Modular Seed Starting Tray for the Logical Grow Platform

LPE25 Clampless Quick Connect
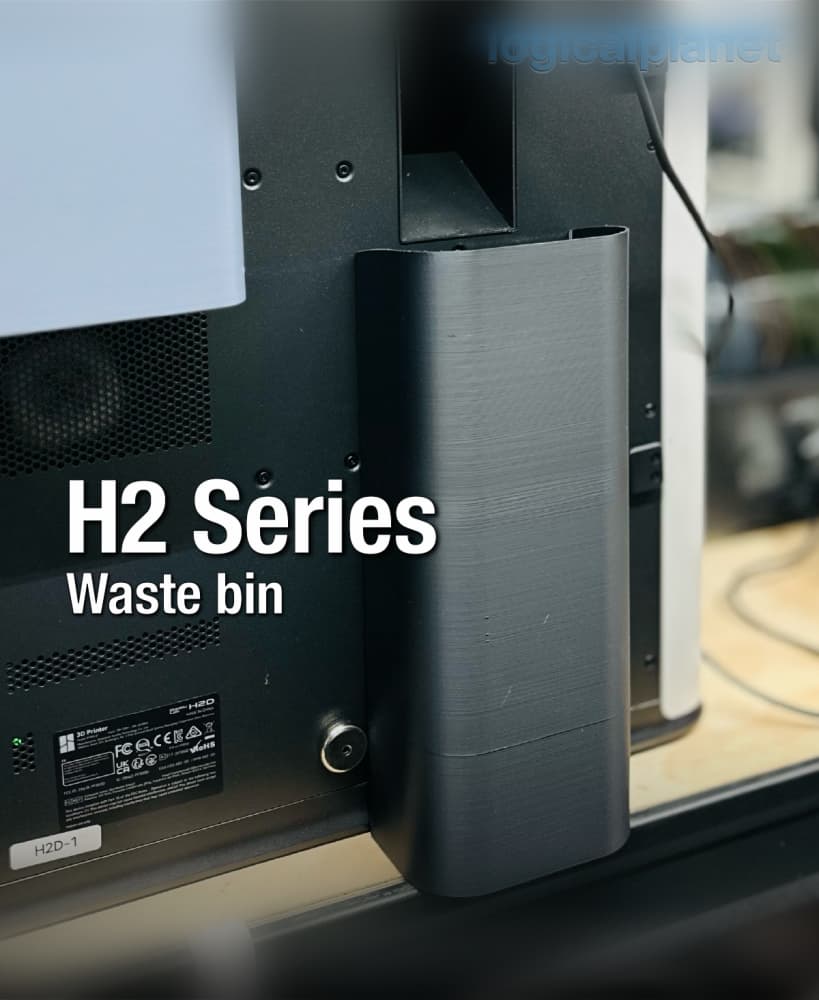
H2 Series Waste Bin
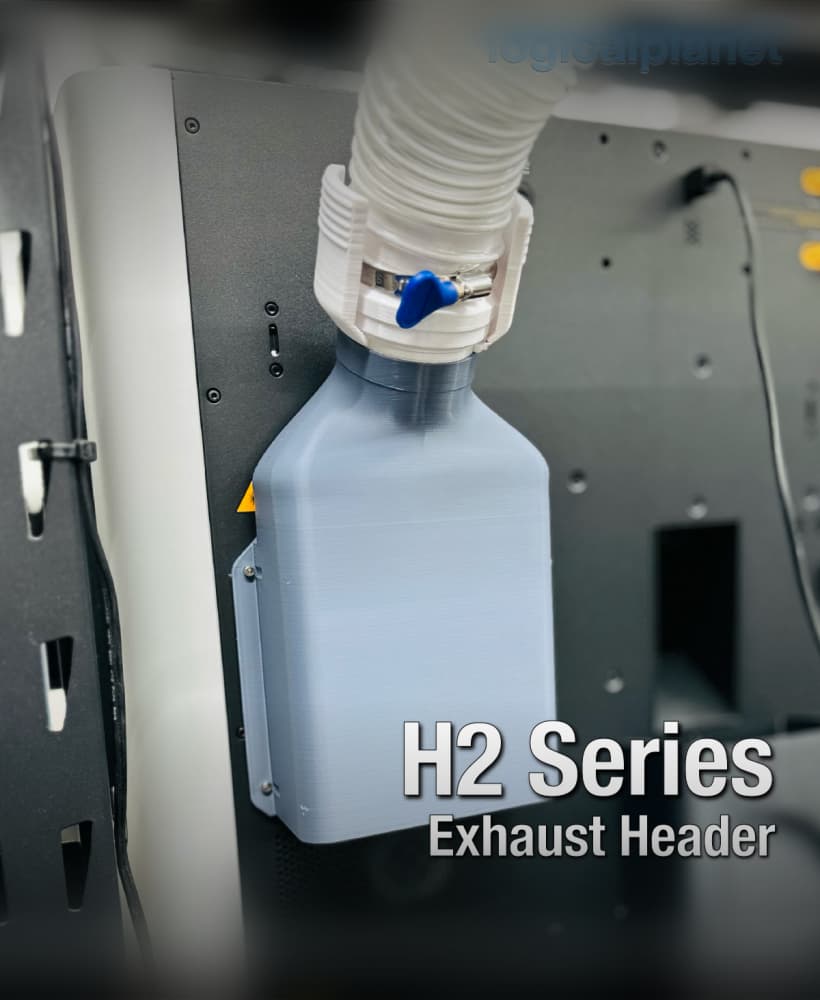
Exhaust Header for Bambu Lab H2 Series Printers

Lazy Susan 120 v3.0
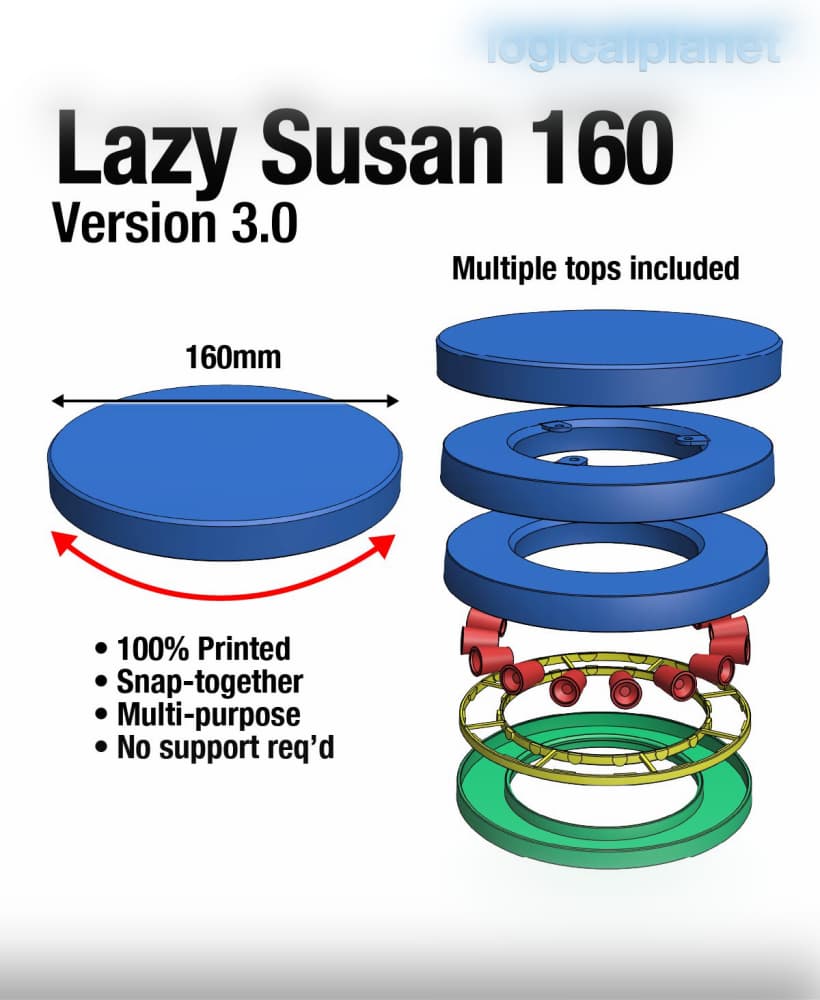
Lazy Susan 160 v3.0
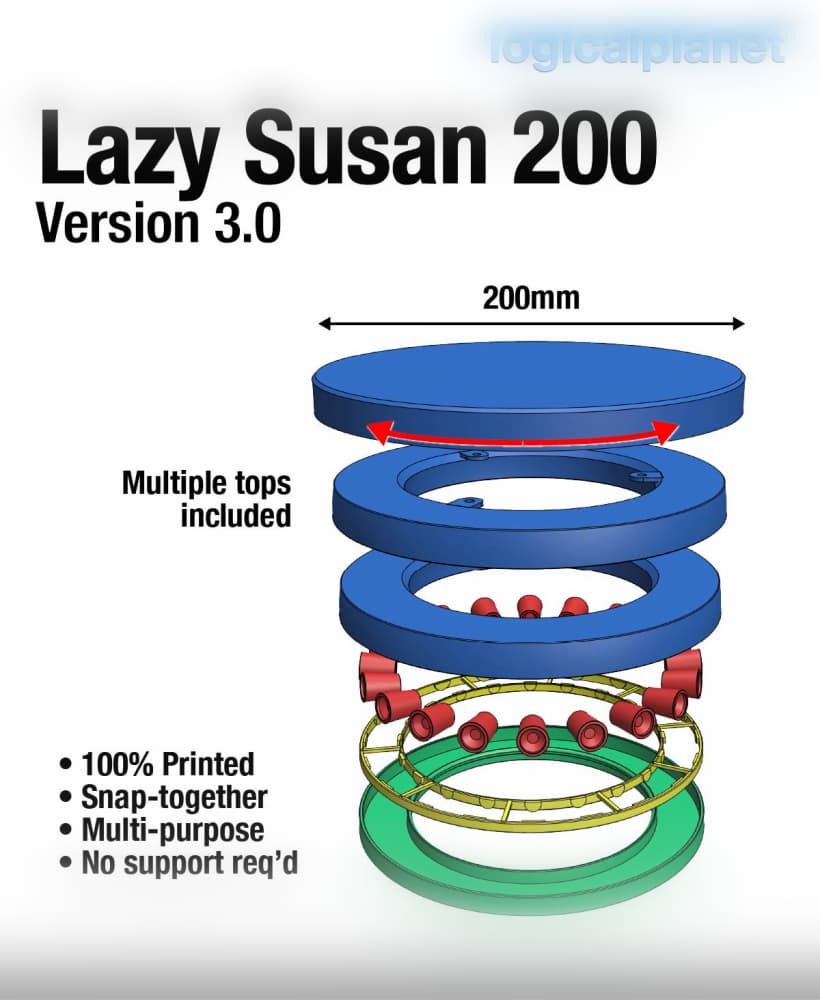
Lazy Susan 200 v3.0

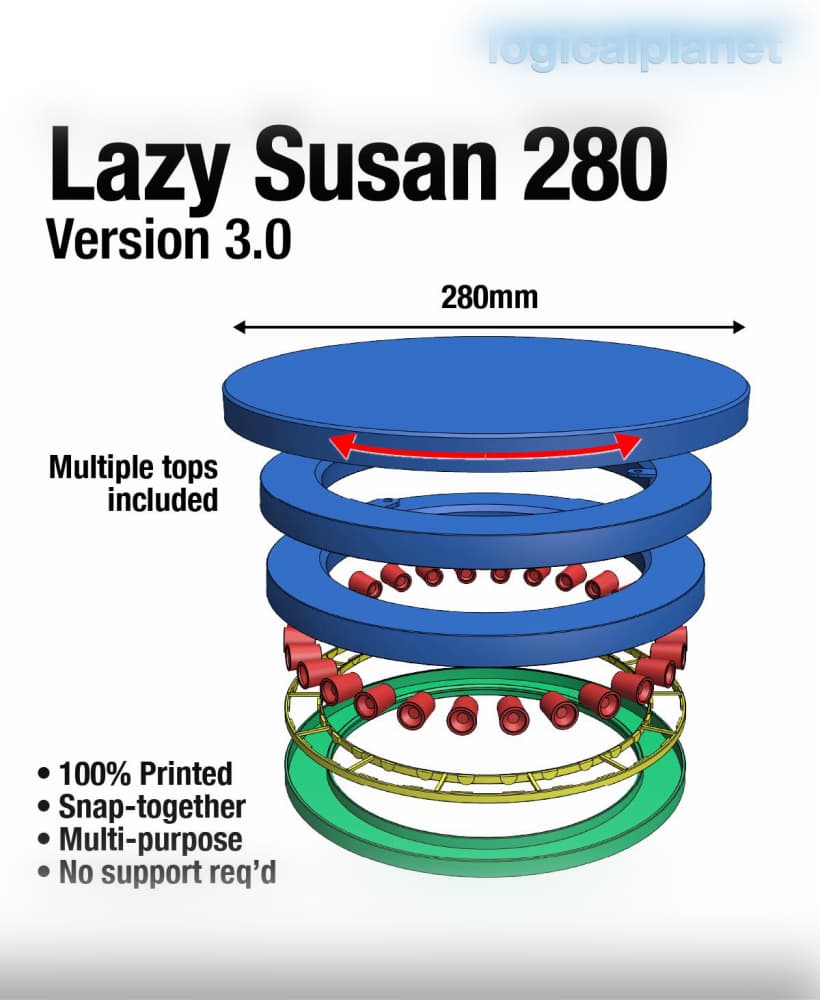
Lazy Susan 240 v3.0
Thank you for posting and your comments. Much appreciated.
The optional wall will not open. To fix this change the file type from 3mf to STL and it will open.
Thank you for posting that. I appreciate you figured out how to fix my error. Thank you. I fixed the issue now and also added a male end wall. So there are now end walls for both ends as well as the middle wall.
Awesome model. I had no interest in making swatches until I found this. Thank you!
It would be nice if the end wall could be reversed to use on the other side so the ends match. Overall this looks great!
Great suggestion, I have added a male end wall. So there are now end walls for both ends as well as the middle wall which can act as a separator if you choose. Thank you for your post and feeback.
Part FilSwaSys 1v00b (optional) wall.3mf do not open.
Sorry for the delay getting back to you. I fixed the issue now and also added a male end wall. So there are now end walls for both ends as well as the middle wall which can act as a separator if you choose. Thank you for your post and feeback.
amazing system