

Atari Joystick Key Chain (with No Key Chain Option)
WARNING: I do not own the rights to Atari or any associated patents/copyrights/trademarks related to their joystick design. Do not sell the print since it may violate fair use or other rules.
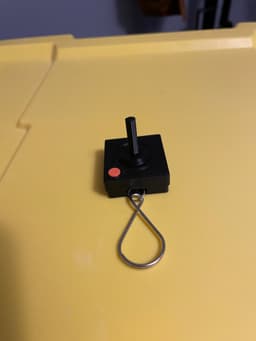
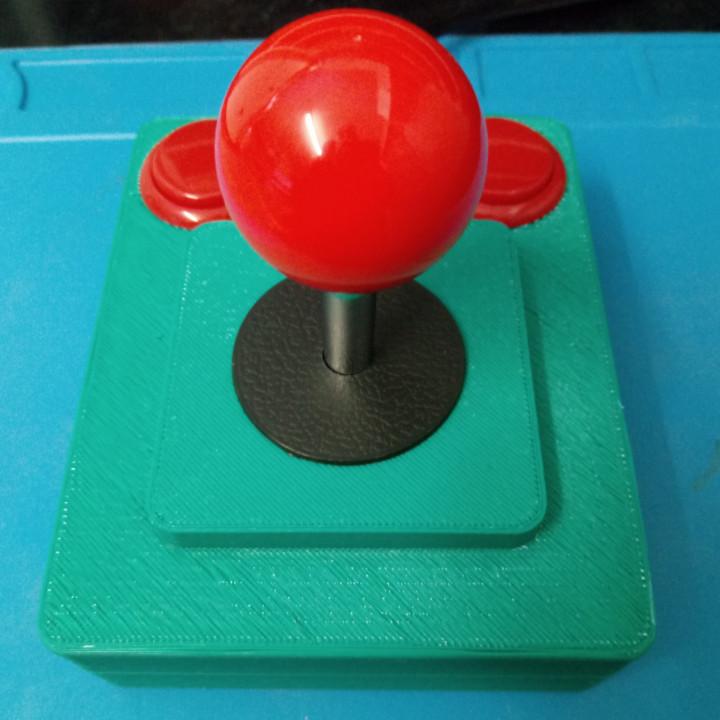
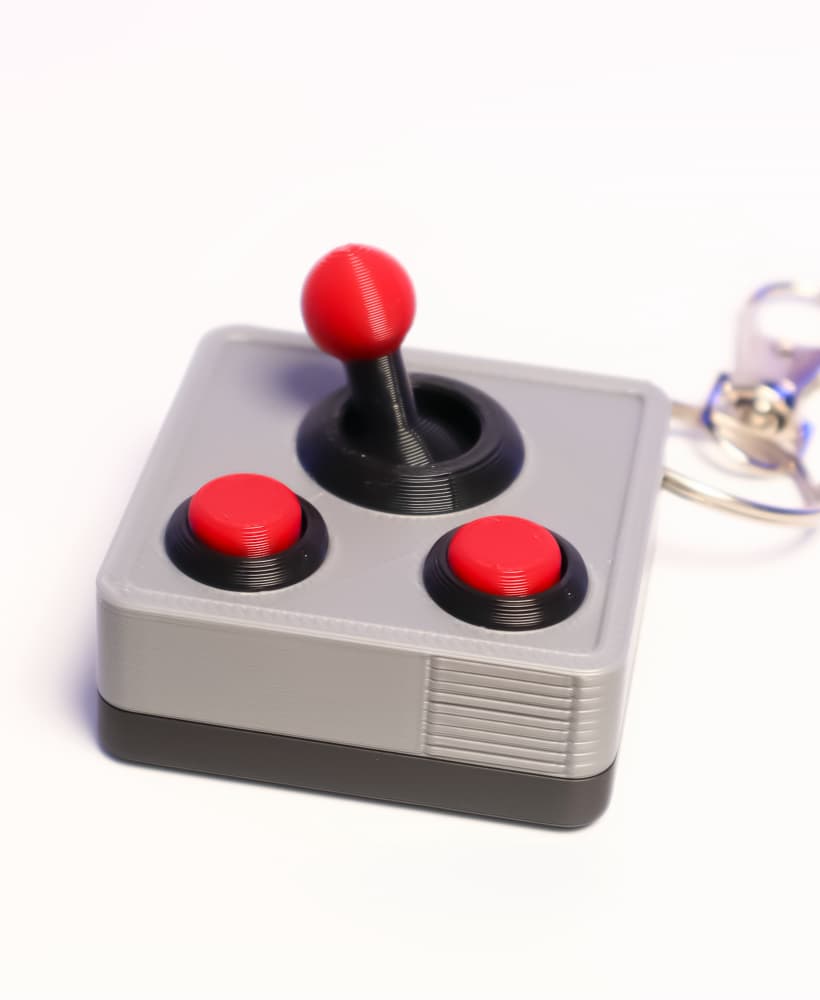
Brief Model Description This is a simple re-creation of an Atari Joystick as a keychain.
Needed Equipment/Parts 9 mm Split Ring (as shown in pictures) or a 9 mm Jump Ring.
20 mm Figure 8 Split Key Ring (as shown in photos), though this was chosen to reduce needing a chain but still allow some mobility of the keychain. This part is optional, as you could select a keychain kit or do a few jump rings or chains and a large split ring.
I purchased a variety pack of split key rings locally (it had regular and the figure 8 varieties in it) and another multi-pack of small split rings from Walmart.
Backstory I had an Atari joystick keychain that broke, so I tried to model a similar one to print so I could always reprint it if it broke again. My design is slightly different in dimensions/sizes, and I took a few liberties with it.
This was my first attempt at designing something in Moi3d. I used the new V5 beta version (fillet features on it work much better than V4).
I created two versions, one with the keychain cutout with the rod for attaching a split/jump ring and one without. You can scale up the one without the cutout if you want a prop. I elected not to do the orange around the base due to the difficulty of printing such a small detail on a small object, and I also did not put the four feet as well to help with printing easier.
Print Recommendations The type of filament shouldn't matter, though I suspect a silk PLA might be too fragile/weak. Print with the bottom of the joystick on the bed.
I used PLA for both colors on the print with a 10% gyroid infill and Archnae generator with a .08 mm profile default (on Orca Slicer) with a .4 mm nozzle on a Bambu X1C. No supports or brim are needed.
I have split out the button and the controller (in .step and .stl files) into separate models so you can quickly select different filaments for a multicolor print. I also provided an all-in-one model if you plan on painting it or don't care about color changes.
Hardware/Assembly Information The best way to put the split 9 mm ring on the rod is to pop open the split so the bottom part of the controller goes into the ring and move it with pliers or your hand until it is over the rod.
Usage Recommendations This keychain may have issues with the top of the joystick if confined in a tight pocket. Possibly printing at a high or 100% infill might mitigate this, but it may still have difficulty not snapping. Another recommendation would be to attempt to print in TPU to avoid the issue altogether.
It could also be used as a necklace, in particular, if it was scaled down somewhat, adjust accordingly with jump/split ring sizing.
Atari Joystick Key Chain (with No Key Chain Option)

Atari Joystick Cookie Cutter, Biscuit Cutter
Atari key chain, earring, dogtag, jewlery
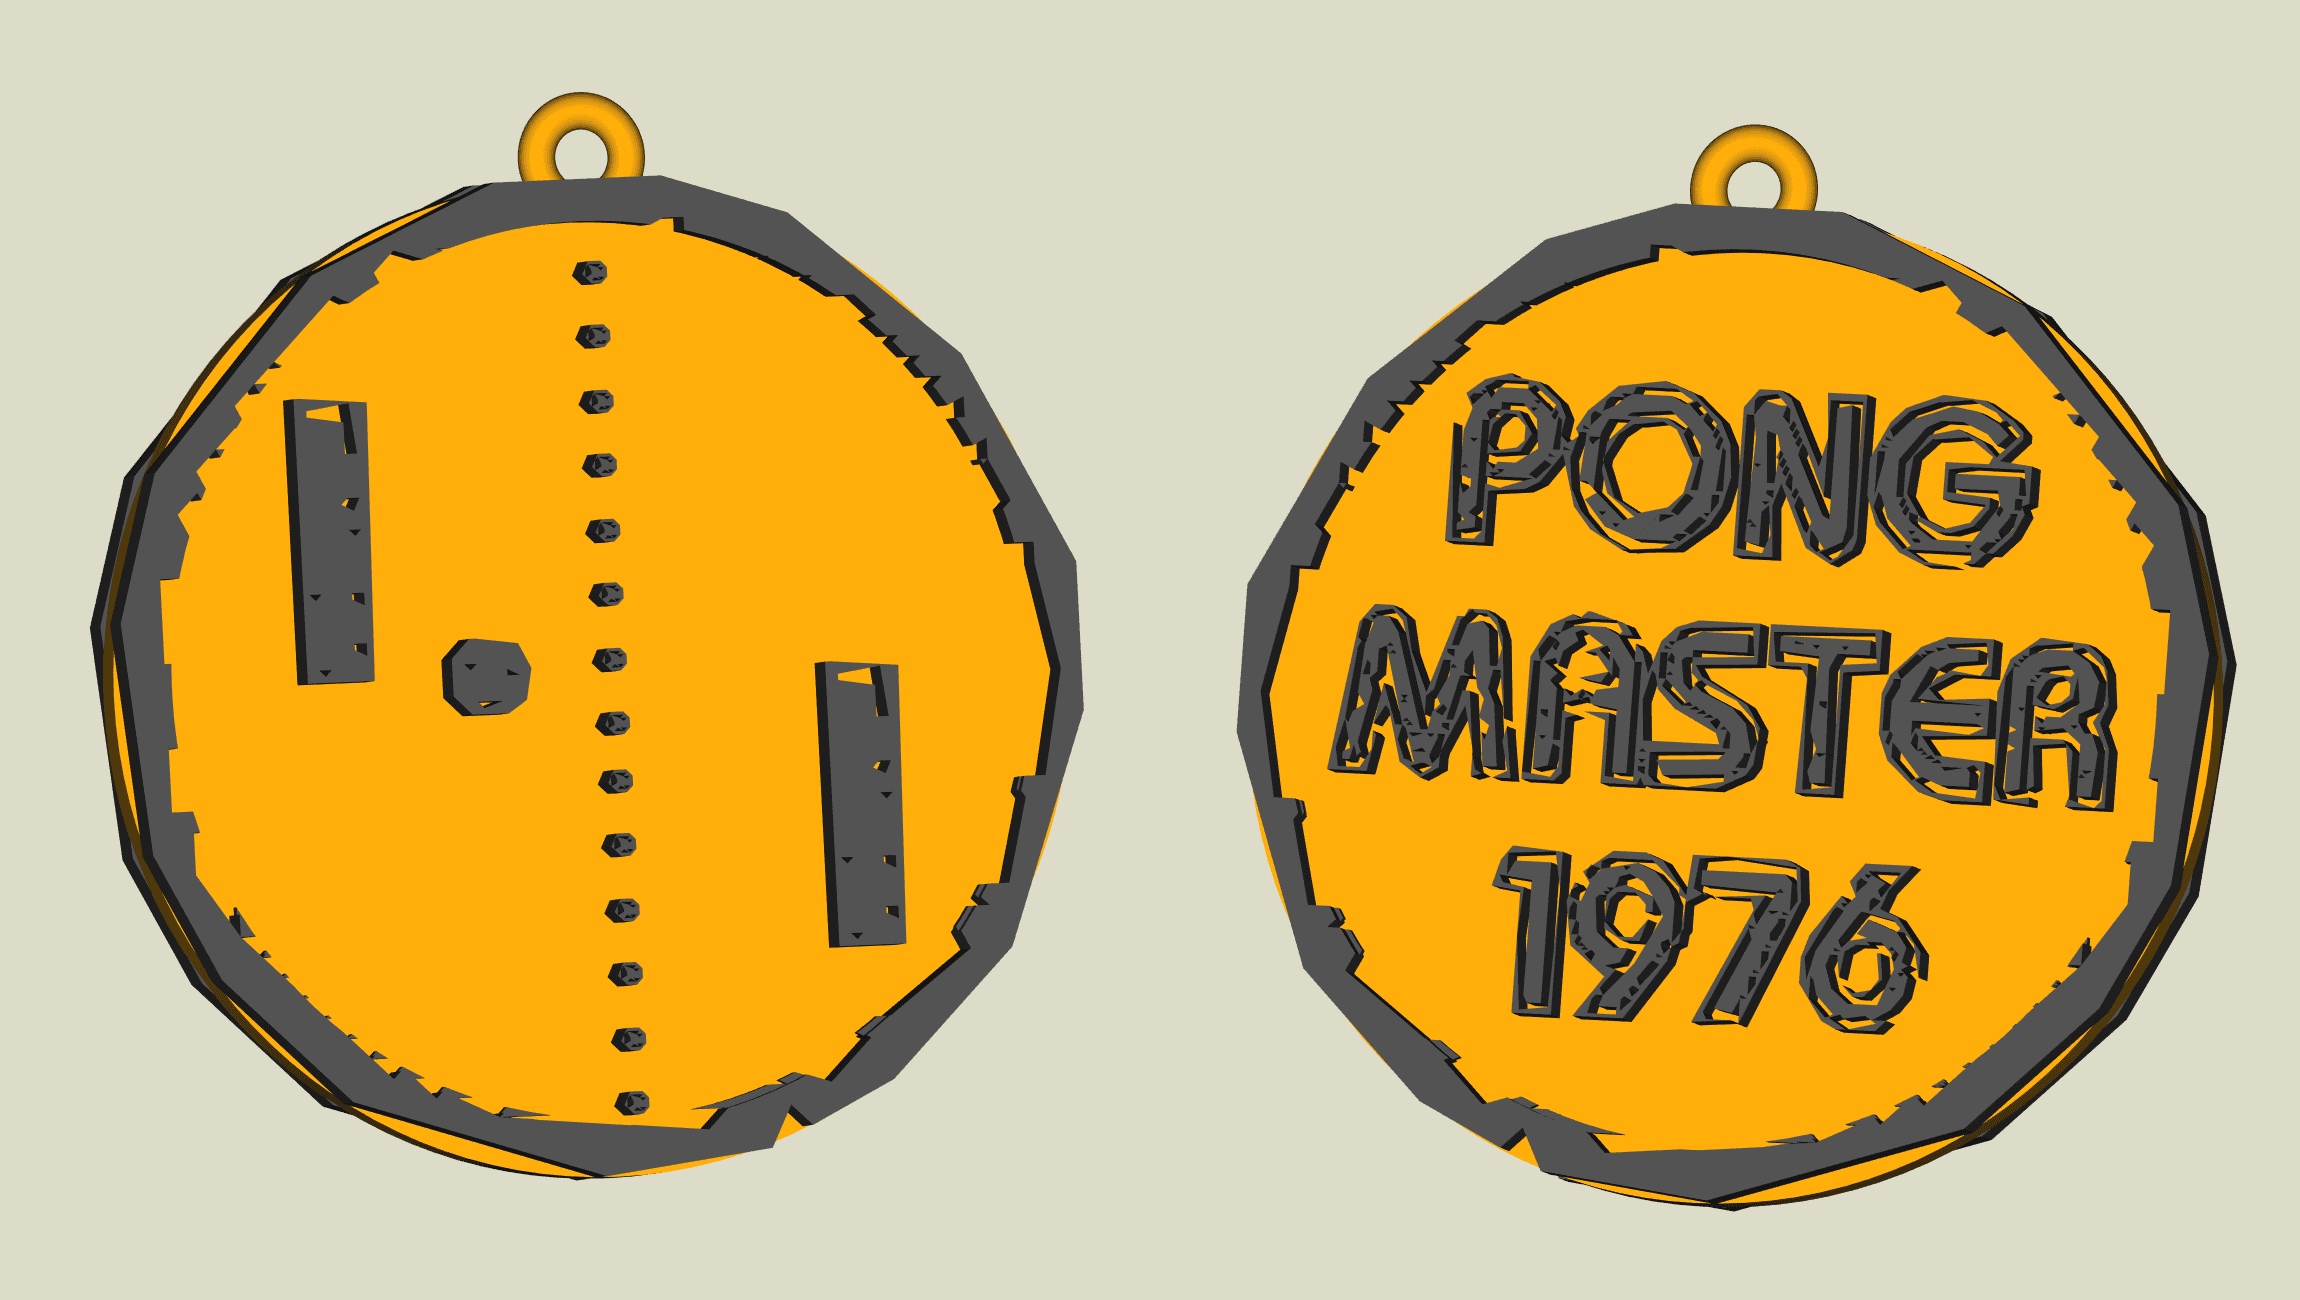
Pong Atari key chain, earring, dogtag, jewlery
Retro Joystick - Amiga or Atari
Joystick Fidget Keychain
.jpg&w=3840&q=75)
retroCART Enclosure v2 (with slot remix)
Ironing Stack - Test Print - Key Chain
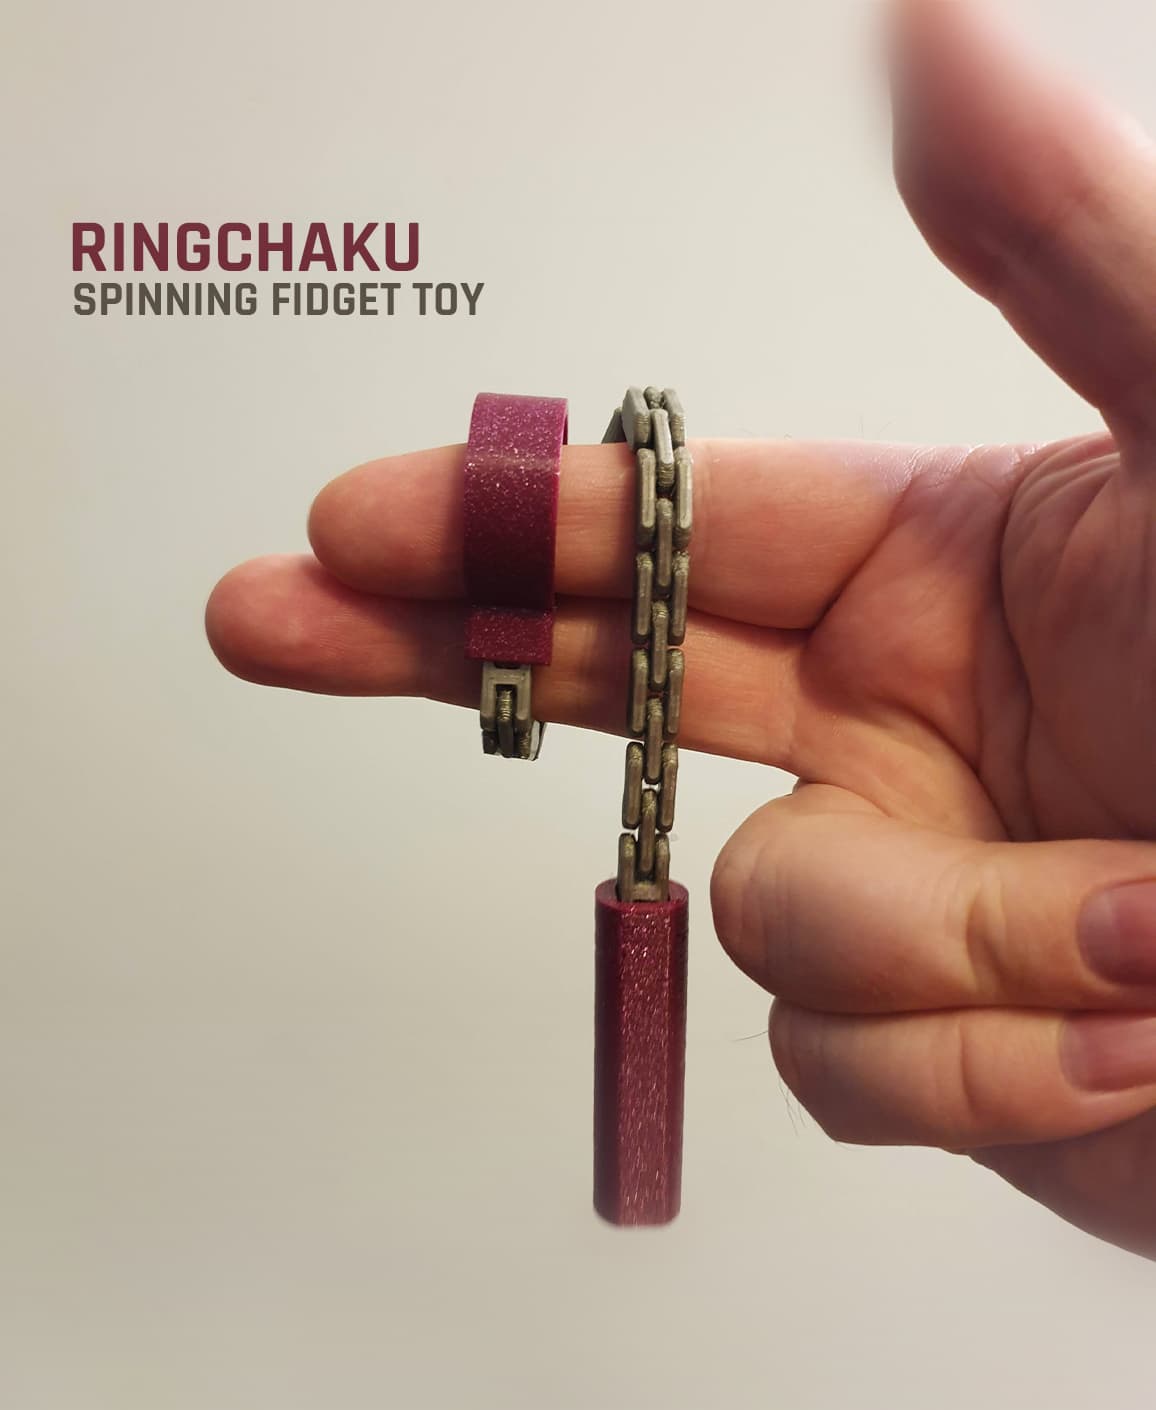
Ringchaku Spinning Fidget Toy
Break Action Shotgun Keychain — Functional Blaster Toy

Desktop Disc Golf

Articulating Axolotl - Articulating fidget Axolotl - Ludo 3D Printed Flexy Fidget
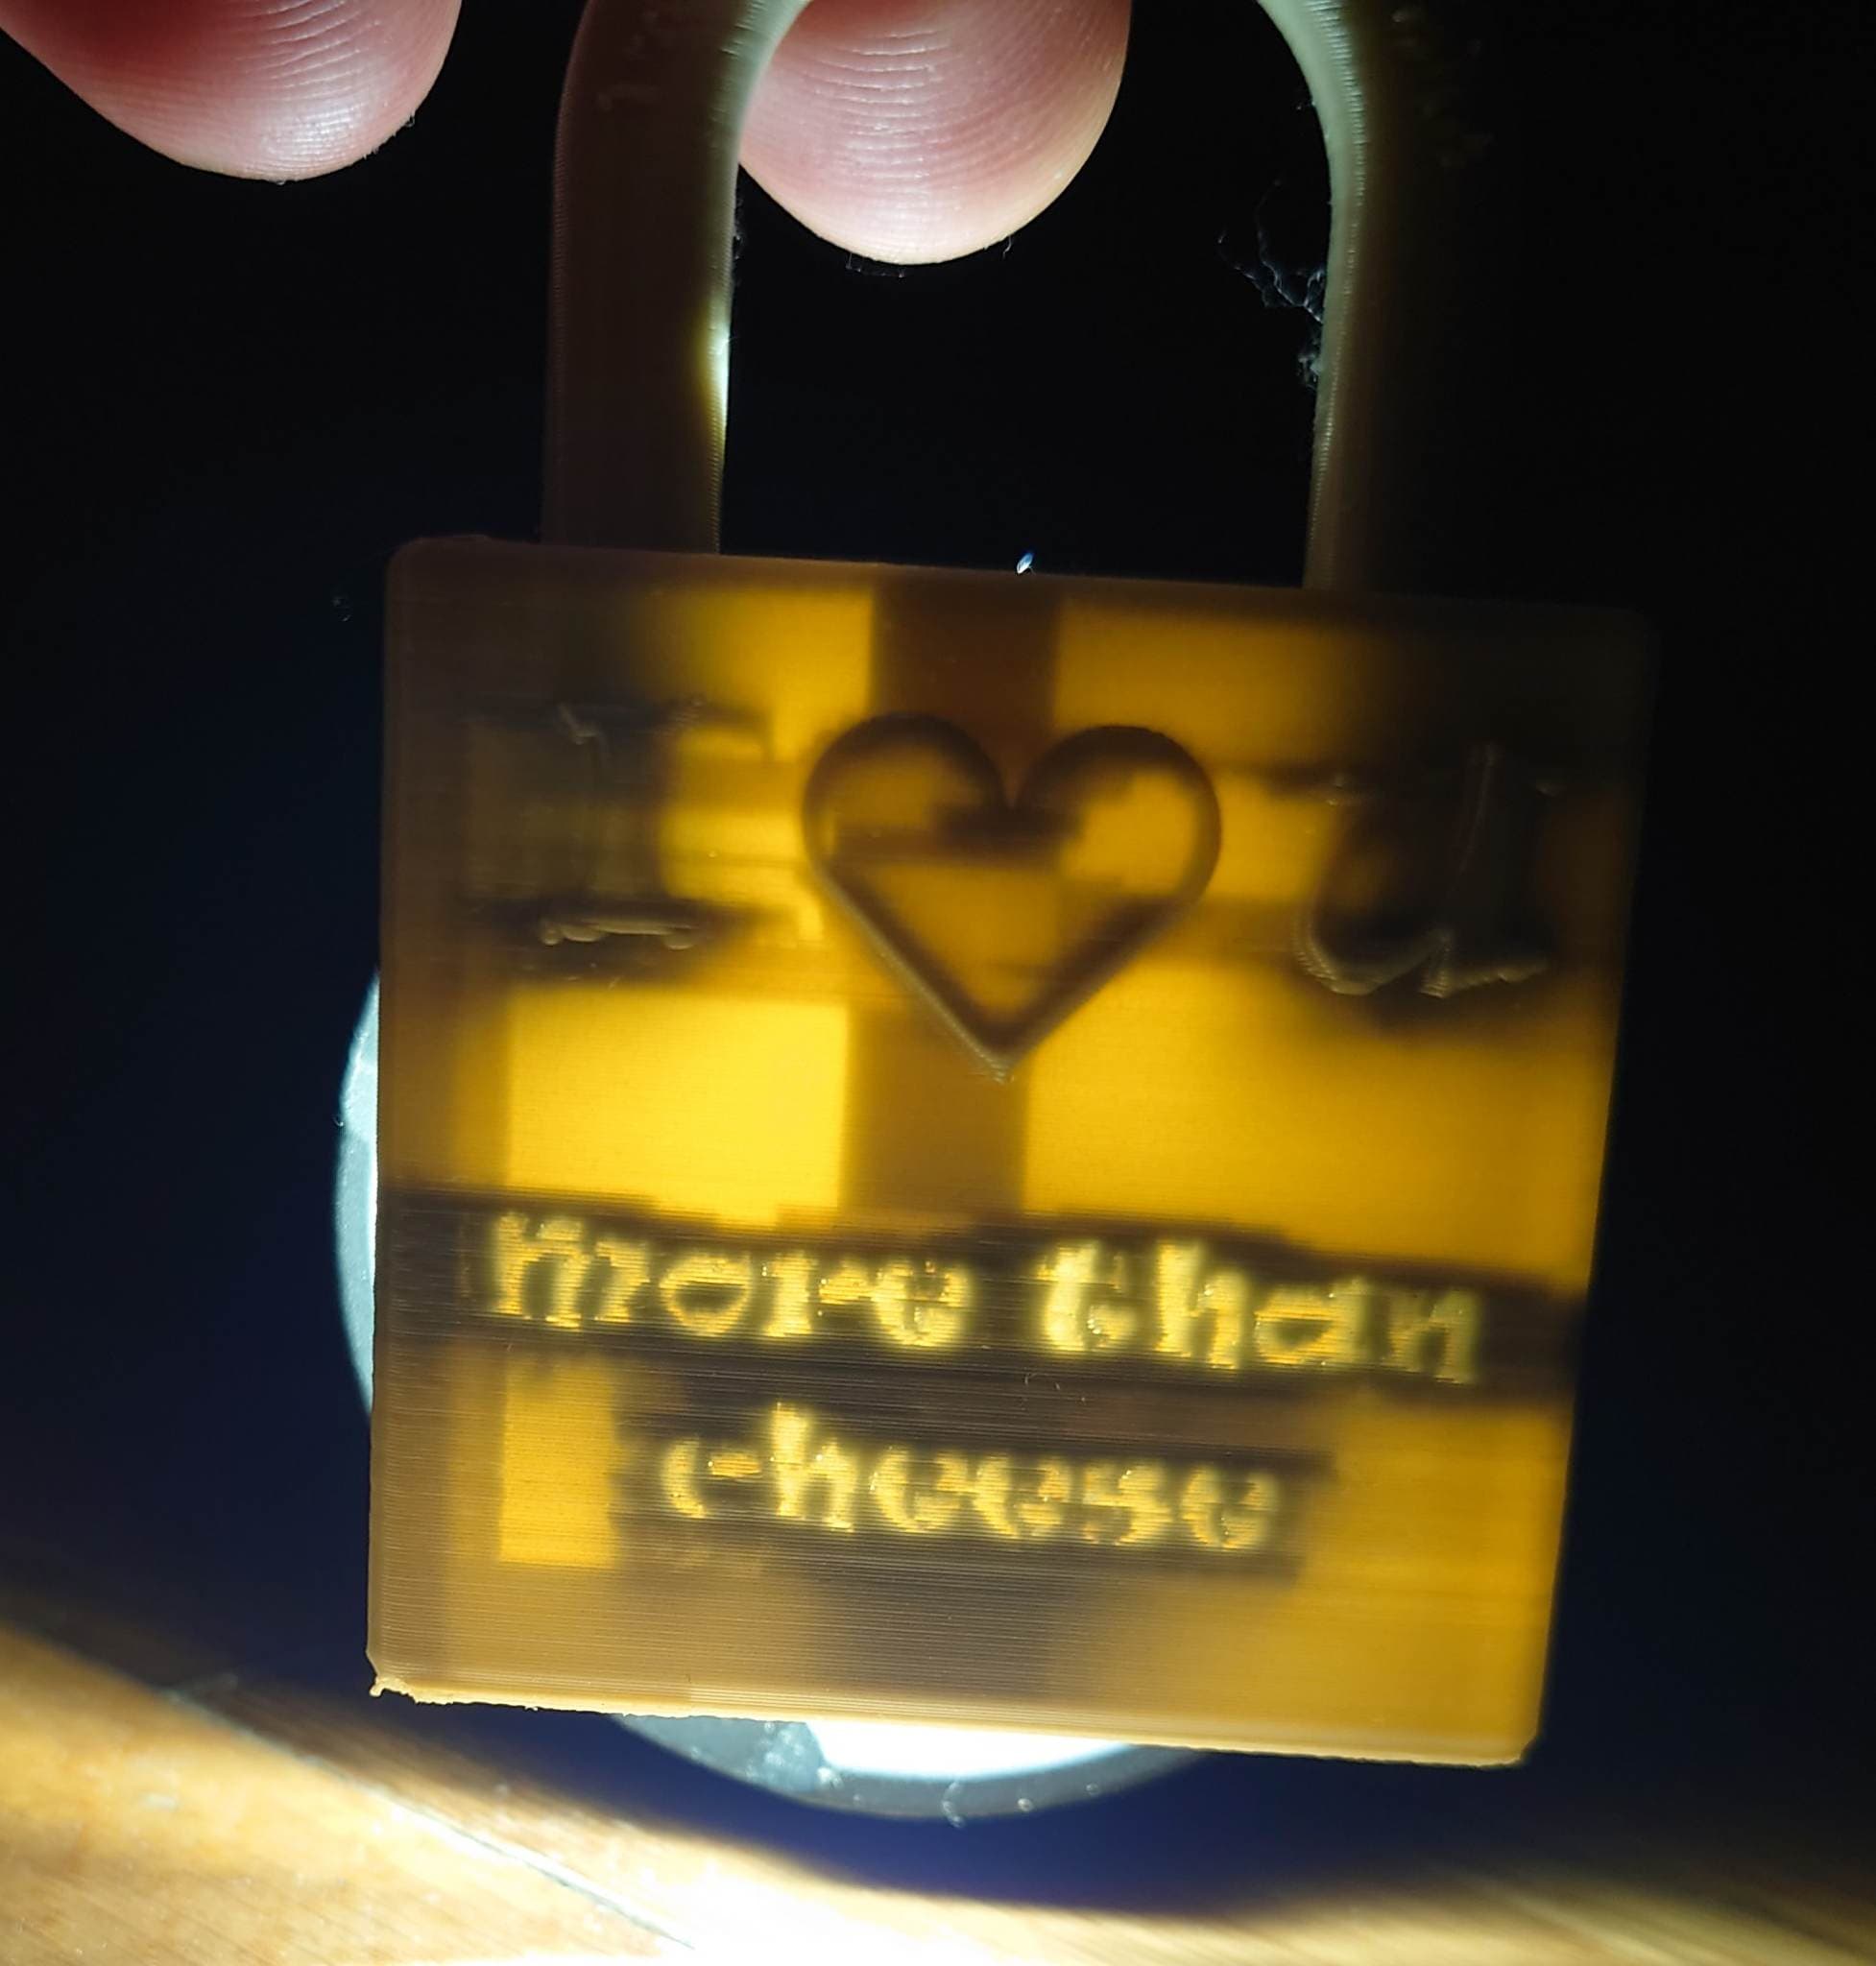
Secret message under light-Remix of Blank Love Locks-Thangs Valentine’s Day Contest

Skeleton Hand: Halloween Self-Adjusting Coaster

Macaron Clicker - Macaron Fidget - Ludo Food
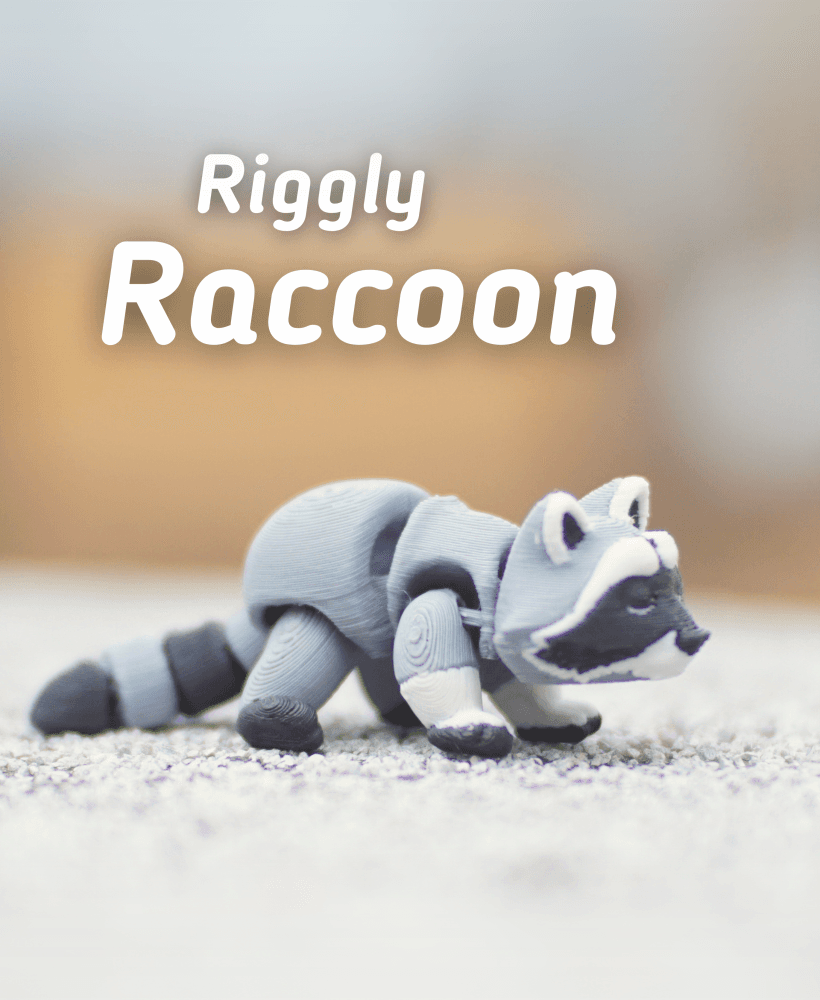
Riggly Raccoon Articulated Fidget Raccoon - Keychain - Ludo 3D Printed Flexi
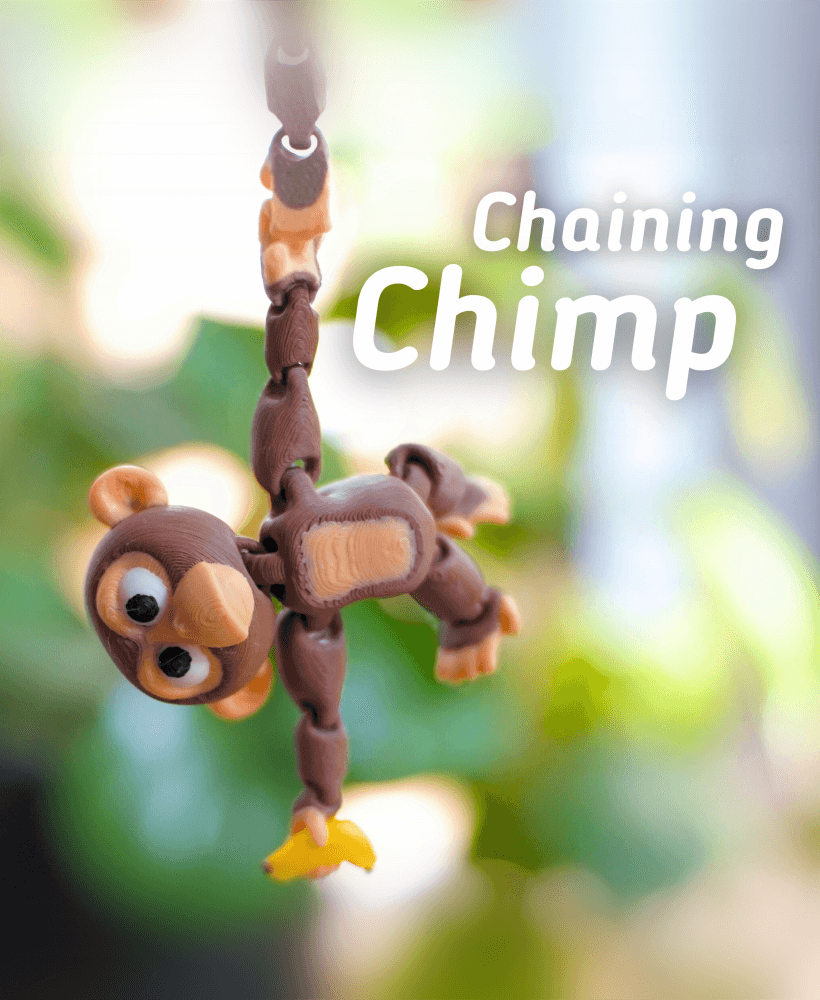
Chaining Chimp - Articulated Fidget Monkey - Ludo 3D Printed Flexy Fidget
.png&w=3840&q=75)
Grabby Gecko Articulated Fidget Gecko - Keychain - Magnet - Ludo 3D Printed Flexi

Bumbling Bee Articulated Fidget Bee - Keychain - Ludo 3D Printed Flexi
Bounding Bunny - Articulated Fidget Bunny - Ludo Flexy