


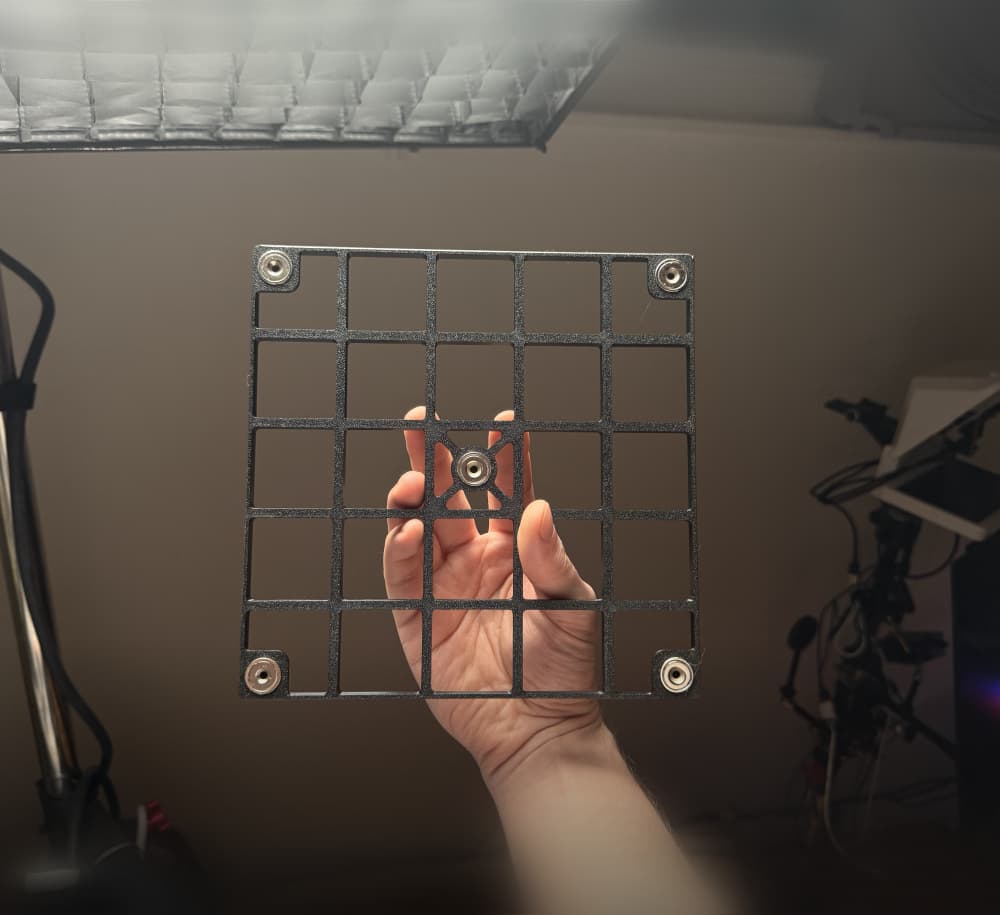
Gridfinity Baseplate Magnet Jig
A jig for gluing magnets to #gridfinity weighted baseplates. This is roughly the opposite of the Magnet Glue-Up Jig that assists in attaching magnets to Gridfinity storage blocks.
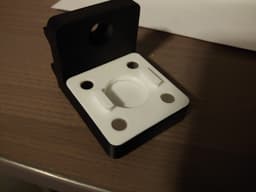
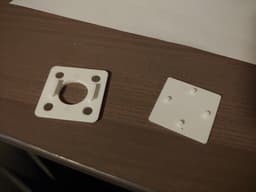
This model comes in two parts: a carrier that holds four guide magnets, and a thin separator plate. The pairs of magnets on both sides of the assembly will hold the jig together until you push on the separator plate to deposit the magnets into the baseplate.
Assembly & usage instructions:
- Print the jig carrier and separator plate.
- Glue the guide magnets into the carrier. All four magnets must have the same orientation, or every set of magnets you deposit will be incorrectly oriented. If you already printed the Magnet Glue-Up Jig, you can use its magnet carrier to orient this jig's carrier's magnets. (Look at the images to see how that should work!)
- Ensure that the magnets have adhered to the carrier and that they all have the same orientation. If you have other jigs with magnet carriers, or magnetized Gridfinity parts, ensure the orientation is correct between all of them.
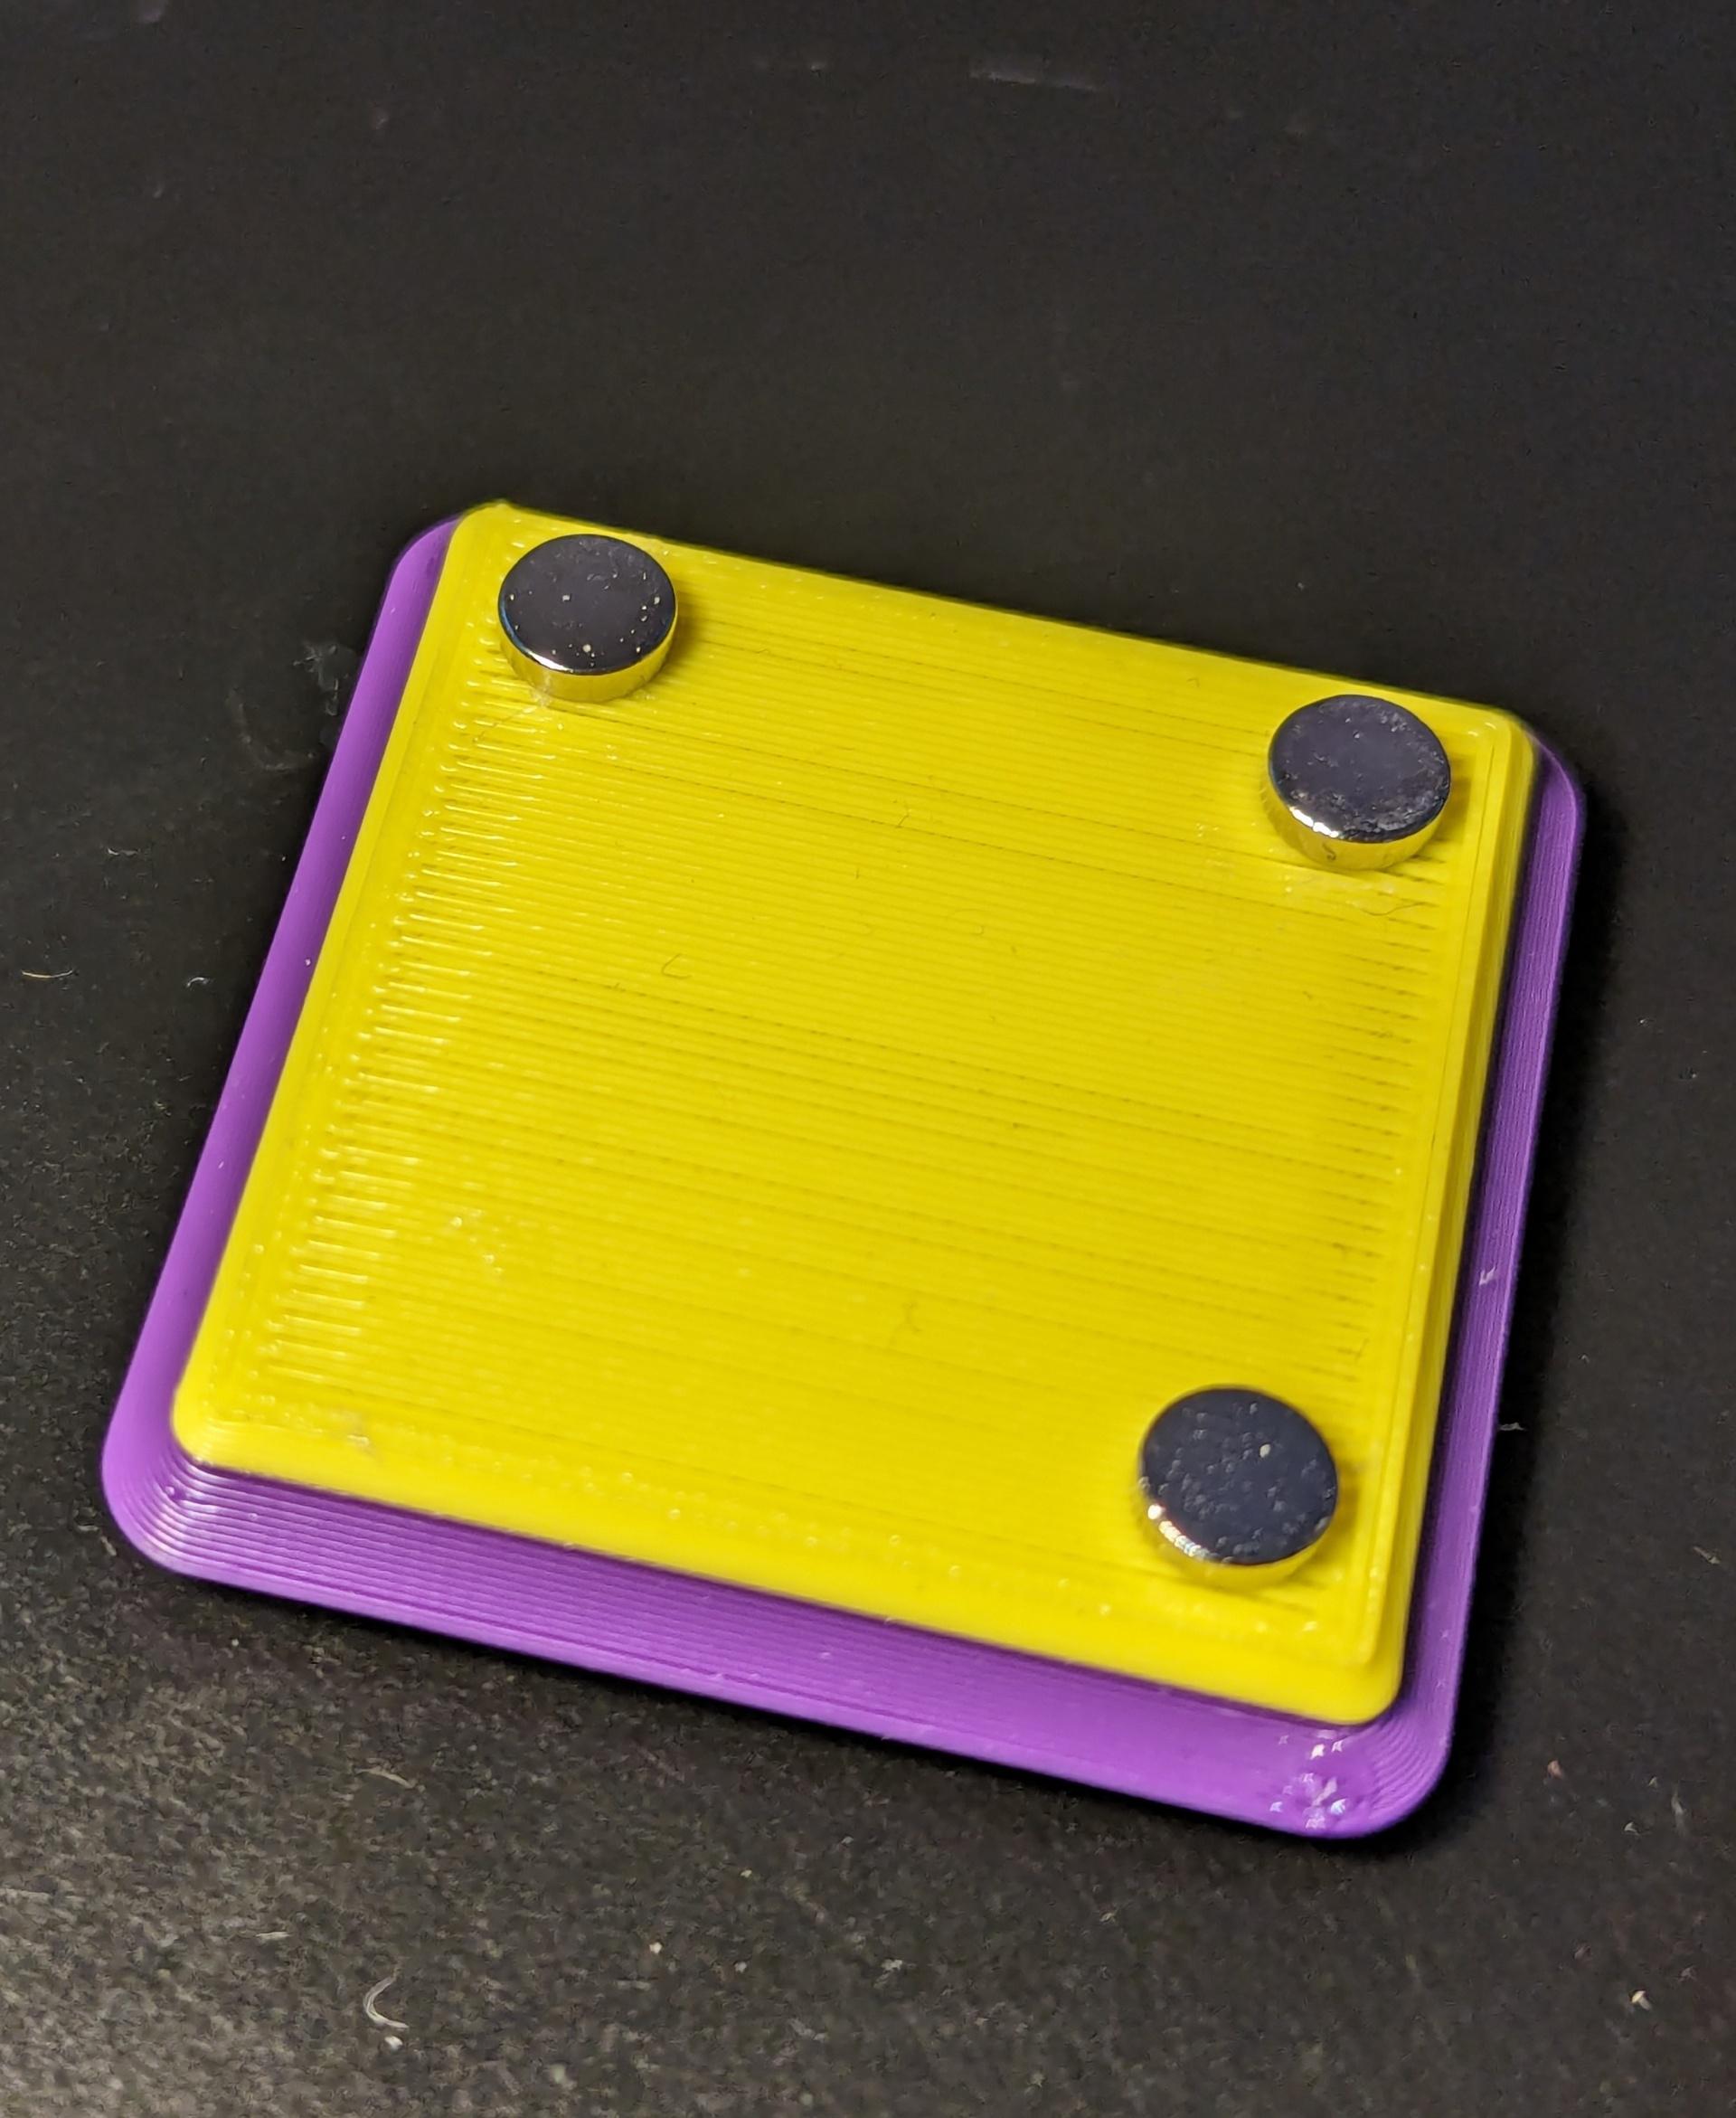
- Insert the separator plate into the bottom of the carrier. The pegs on the separator plate should mesh with it.
- With your finger holding the separator plate onto the carrier, stick four magnets onto the plate. They should orient themselves with the guide magnets and hold the separator plate in place.
- Add glue to baseplate holes.
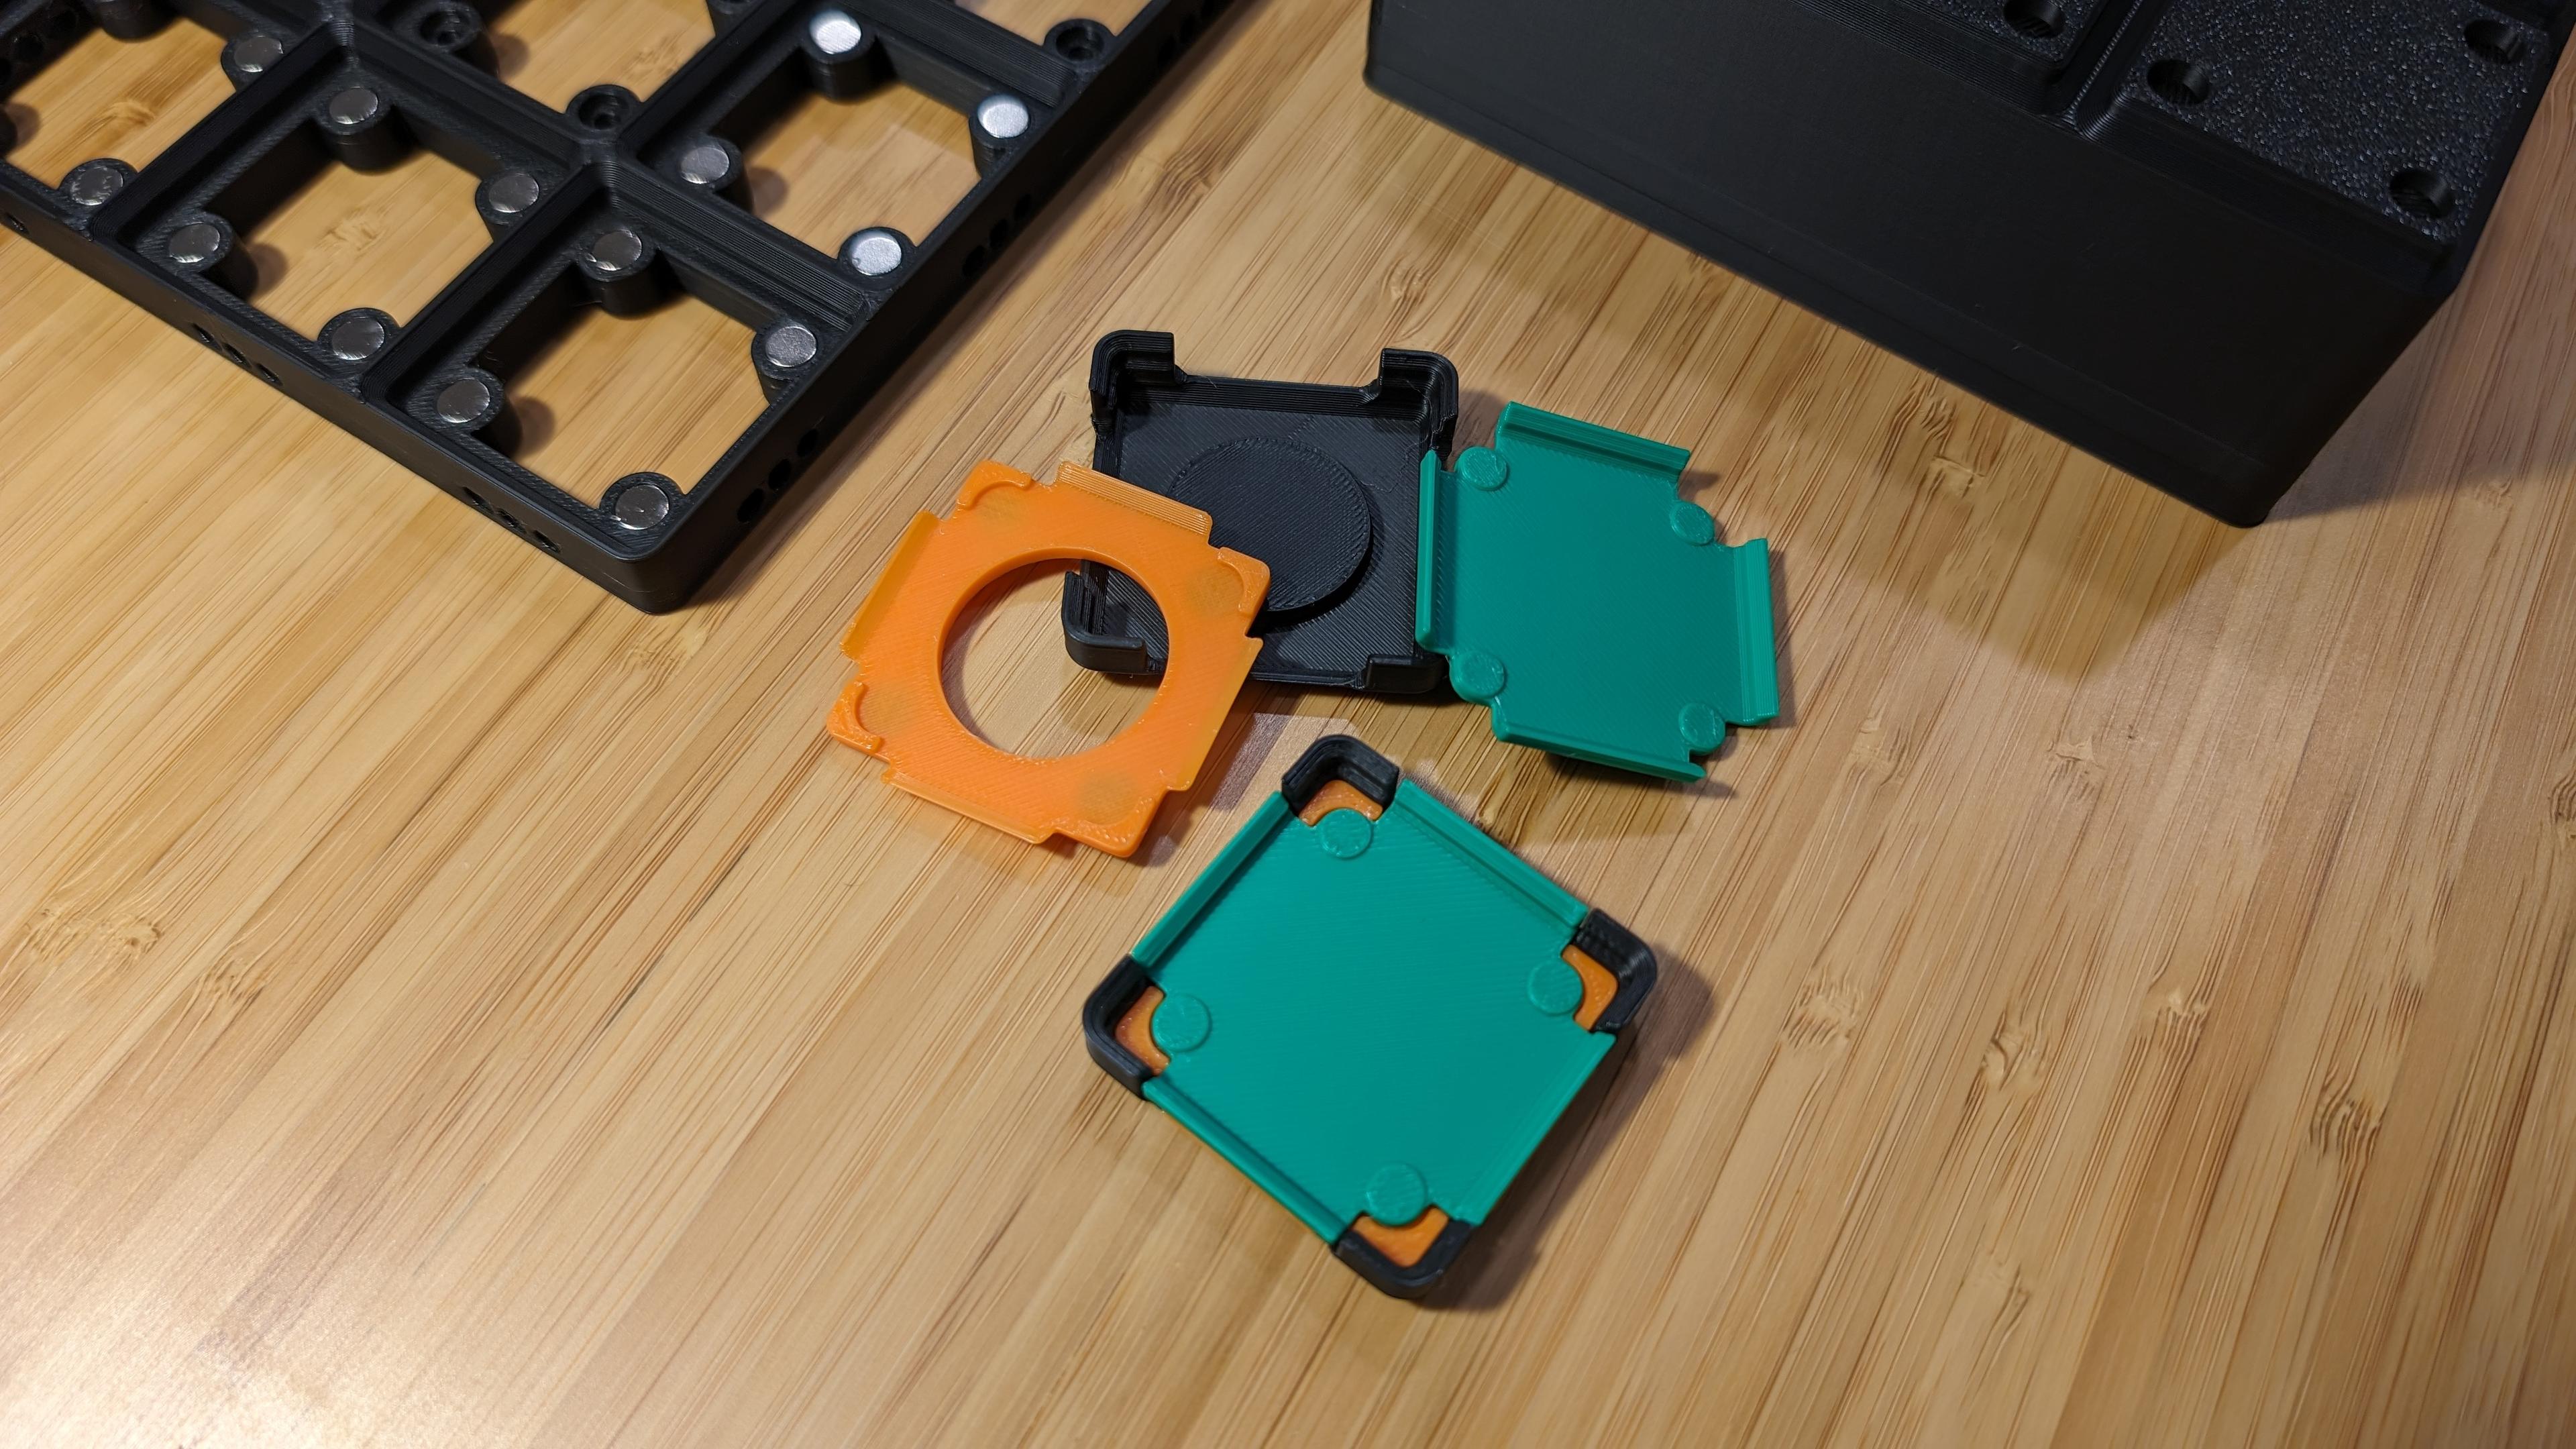
- Insert the whole jig into the baseplate completely. Push down on the hole in the jig carrier while pulling on the T-shaped lips to either side to separate and deposit the magnets. If you are wearing nitrile gloves (or like the feeling of cyanoacrylate on your skin for some reason) you may use your finger to push down on the plate; otherwise, any stick-like object will do.
- Once the carrier is far away enough from the magnets, you may carefully pull on the separator plate pins to remove the rest of the jig. All four magnets should be sitting flush in their holes.
- Repeat steps 4 thru 8 for each slot in the baseplate.
Keep in mind that glue will accumulate on the separator over time; potentially causing magnets to stick to it instead of the baseplate. You may want to print multiple separators if you are gluing a lot of magnets.
Gridfinity is ©2022 Zach Freedman. Zach recently relicensed to MIT, so that is what this model's license is, too. (If you really want the CC-BY-NC-SA terms, they're irrevocable, but why would you want them!?)
This project was designed in CADQuery; you may find the source file here: https://github.com/kmeisthax/gridfinity-cadquery/blob/master/baseplate_magnet_jig.py
Gridfinity Baseplate Magnet Jig

gridfinity baseplate magnet jig
JIGFINITY: All-in-One Gridfinity Magnet Baseplate Bin Jig
.png&w=3840&q=75)
Screwfinity Grid Insert
Magnet Bottom Gridfinity Baseplate

Gridfinity Magnetic Baseplates - Assortment

Gridfinity Magnet Jig - Pressure Fit

Gridfinity Magnet Glue Up Jig
_-_1x2x0.png&w=3840&q=75)
Magnetic Gridfinity Risers optimized for magnets-only

GEN2 Decor Gridfinity Magnet Drawers - LARGE

GEN2 Decor Gridfinity Magnet Drawers - MINI
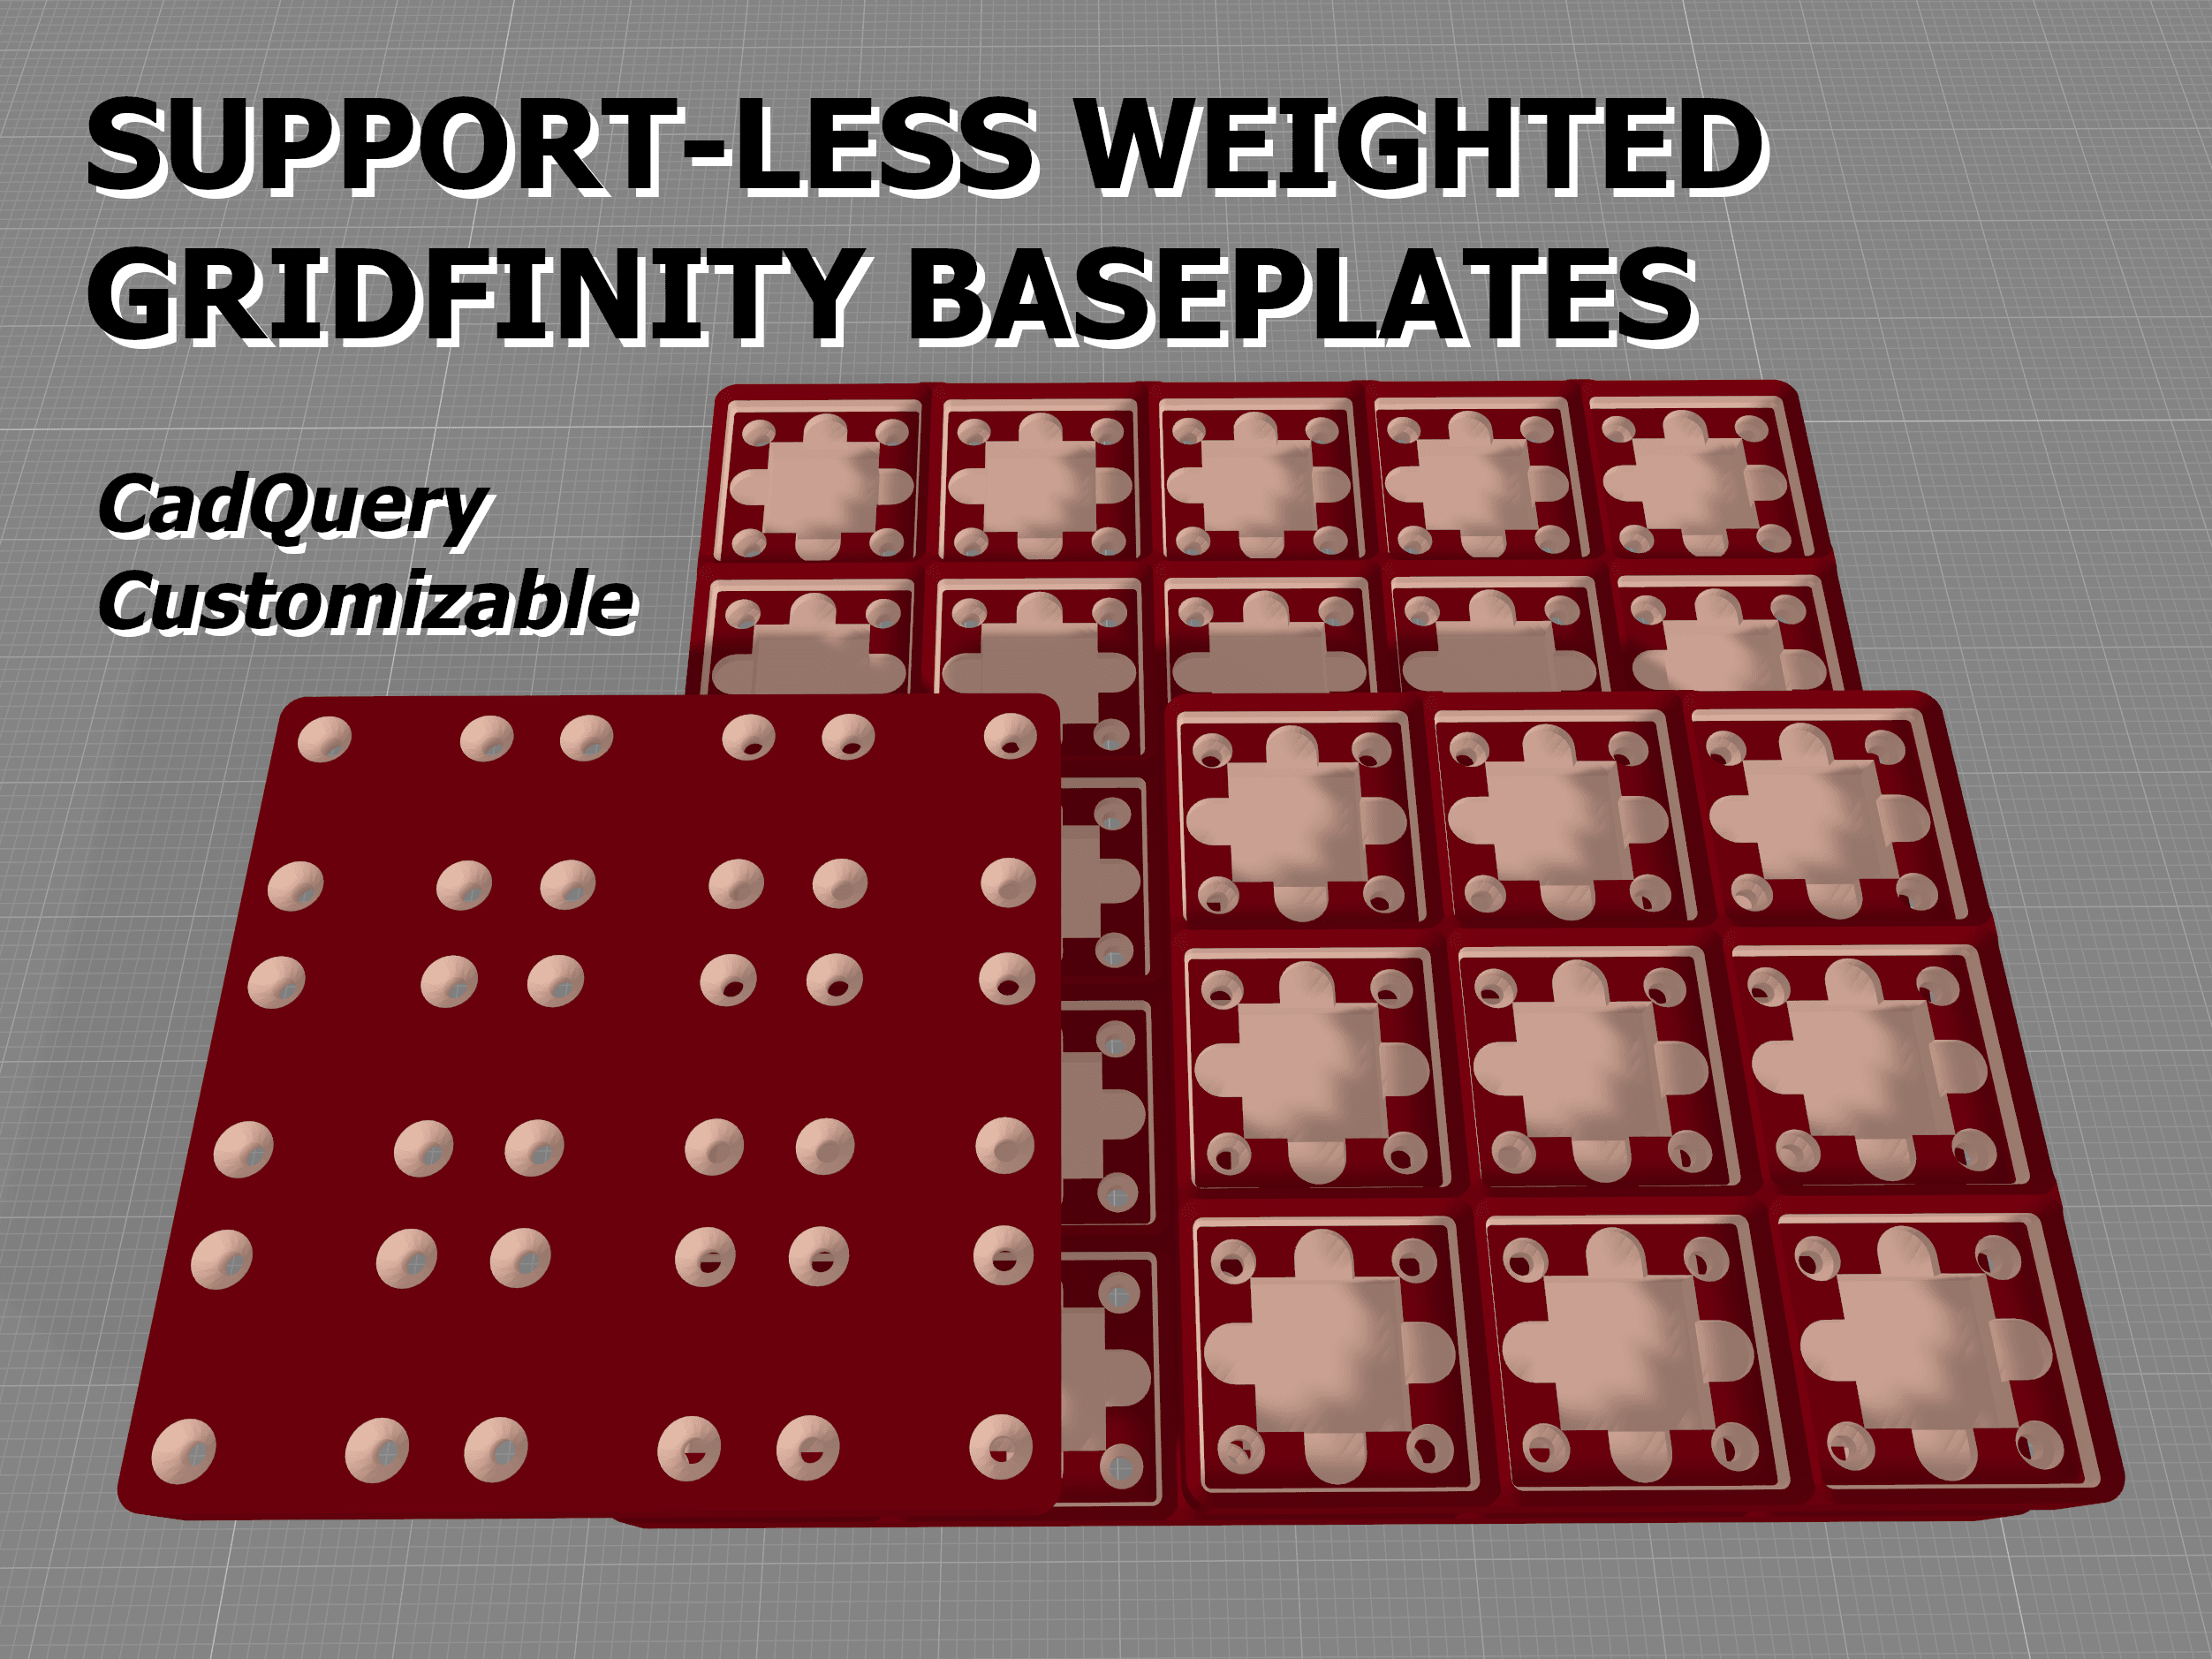
Support-less Weighted Gridfinity Baseplates (CadQuery Customizable)
Pockethole Jig Gridfinity

GEN2 Gridfinity Magnet Drawers - MINI
Gridfinity Baseplate PETG-Stacked

GEN2 Gridfinity Magnet Drawers - STANDARD

GEN2 Decor Gridfinity Magnet Drawers - MEDIUM

Gridfinity Baseplate 4 x N

Gridfinity Baseplate 7 x N

Gridfinity Baseplate - Lite or Solid - less filament

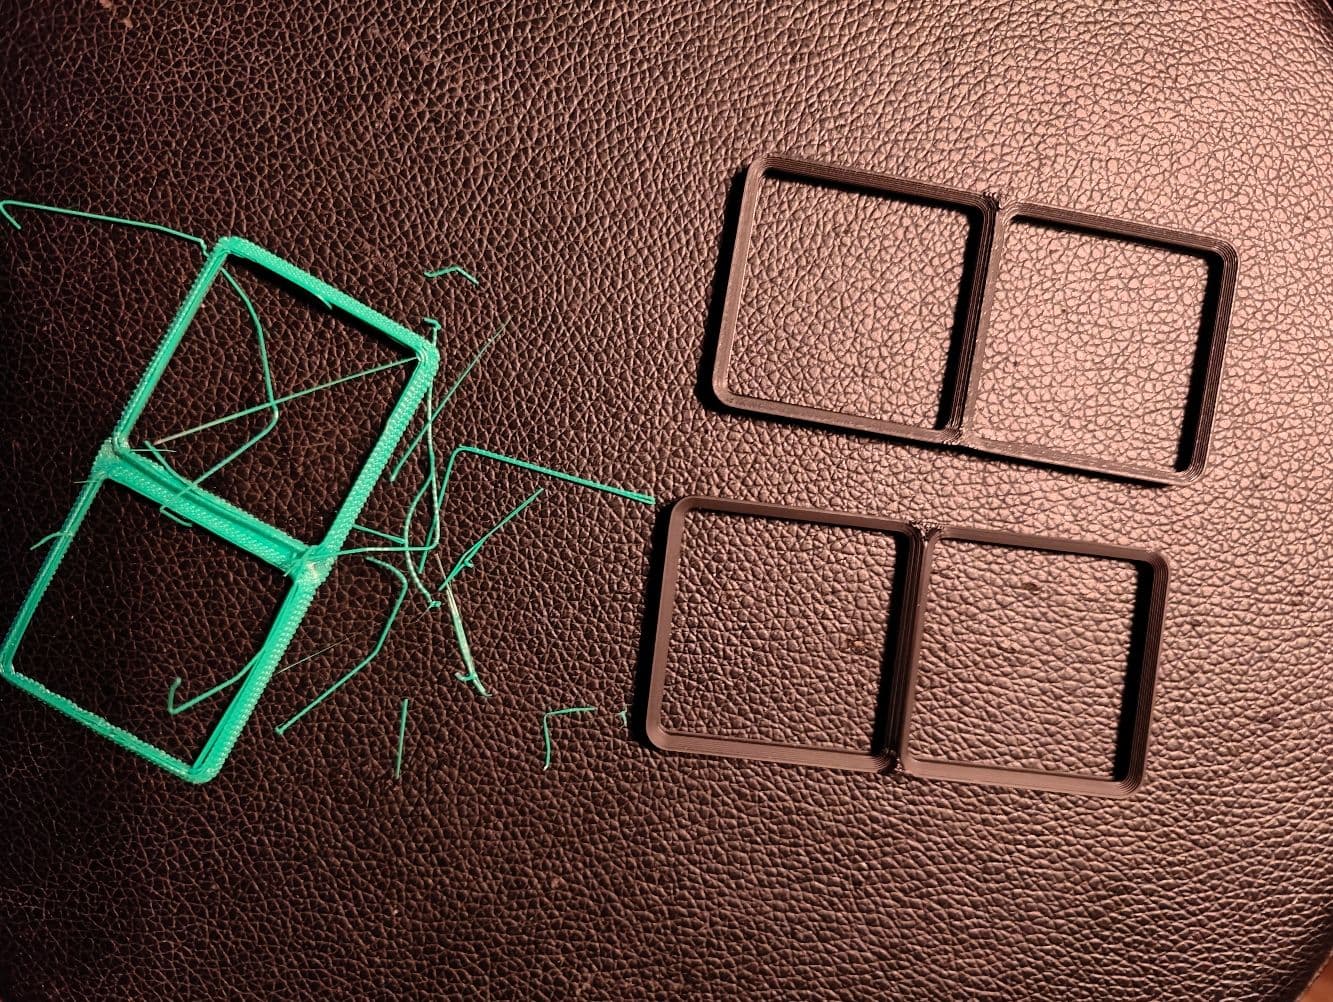
How do you print the separator? I feel like there's something I'm missing, there's a 2-shell rim around the base that means that 95%+ of the bottom of the separator needs a support...
This is the pmp szt. Certified by me. Good work!
I've tried a few different glue-ups, and this one was by far my favorite. I like the simplicity, and ease of use. I printed 2 sets - one for the bottom of the case box, and one for the magnetic base bottom. (just remember to glue the magnets as opposites - put the "sliders" together (points outs), insert the magnets on each sides of base plate - so they are parallel - and you will have correct orientation)
As seen on TV: https://youtu.be/7FCwMq-rVsY
Works amazingly well! Don’t waste your time trying to glue magnets without this jig.