


KissSmart
Model originally uploaded to Thingiverse at https://www.thingiverse.com/thing:3146267.
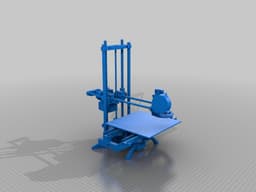
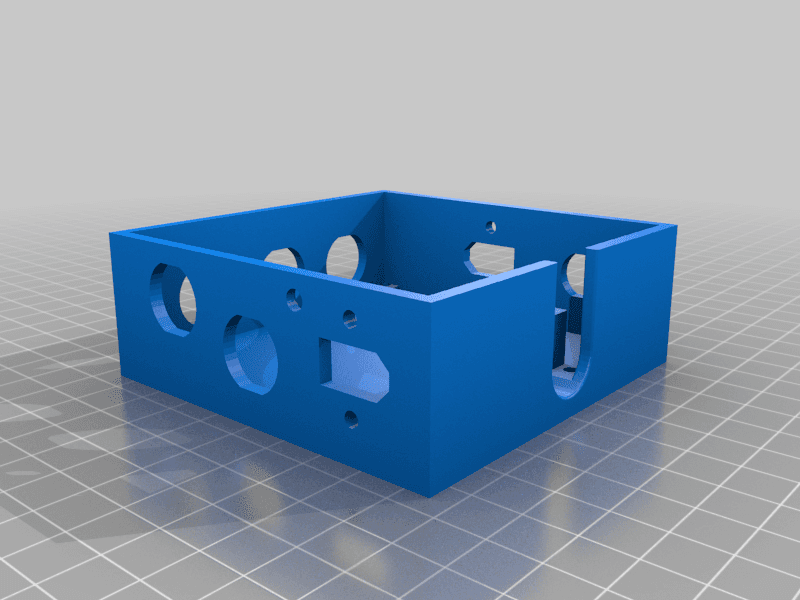
This is a printer that I designed from scratch based on ideas from Smartrap and M Prime One and build with parts from StarTT/TronXY XY-100.
The main goal was to have a printer that is small, so it is easy to transport to other location and is easy to disassemble/reassemble, so can be thrown in a duffle bag with the clothes and transported with a plane. So it has to have minimum number of printed parts, they should be as flat as possible and connecting parts should be straight rods/AL profiles,... that could be bundled together to prevent from accidental warping during transport. Also, I wanted it to be something that is easy to adjust for whatever size parts You might have and whatever tolerances Your printer might be able to print.
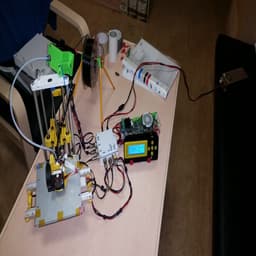
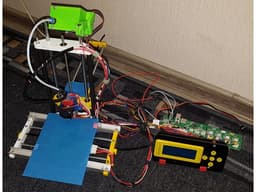
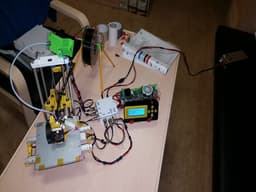
The printer is built and fully operational so the design is working.
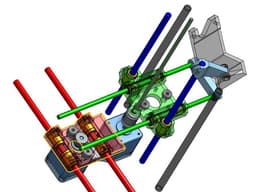
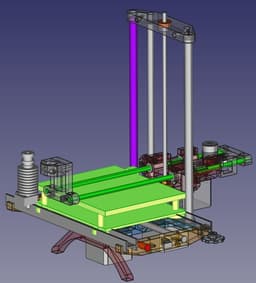
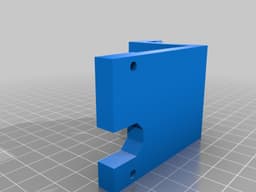
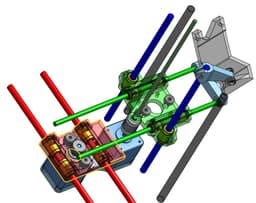
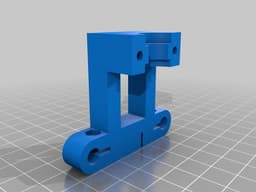
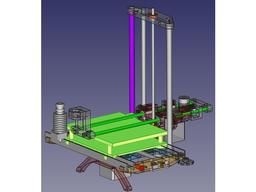
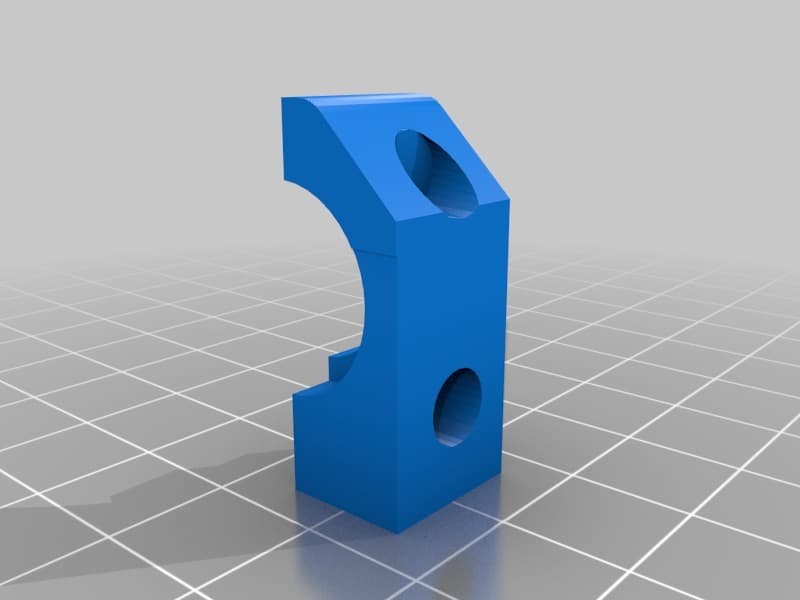
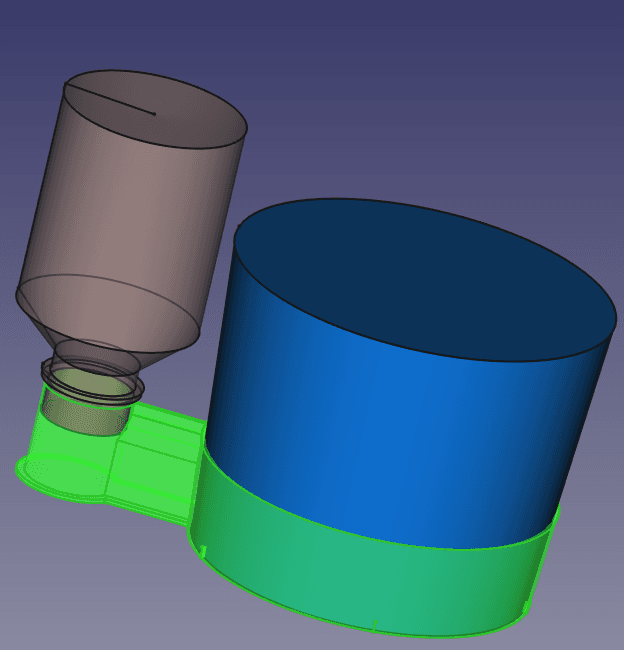
As a learning experience I redesigned most of the parts in Onshape and some are only there (bottom support,swinging extruder mount,...). Here is the project link: KissSmart. The Onshape screenshot shows just how I mounted the extruder. It has to be at an angle so when the Y gantry goes up it will not interfere with the filament.
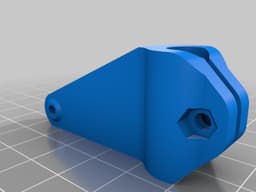
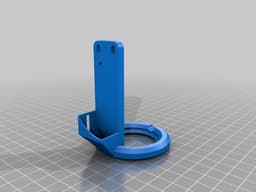
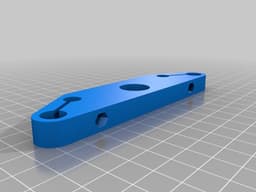
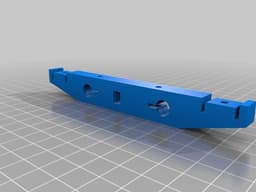
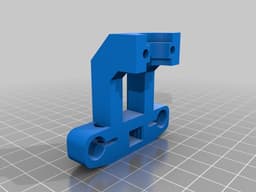
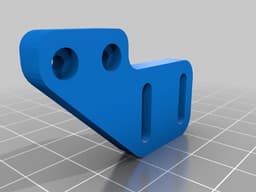
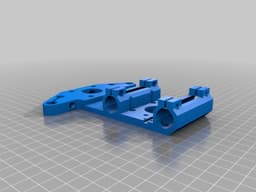
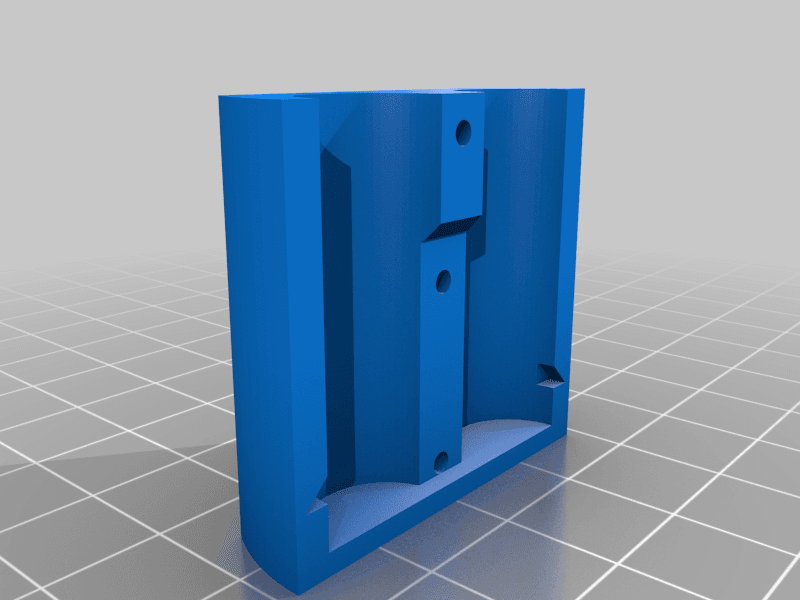
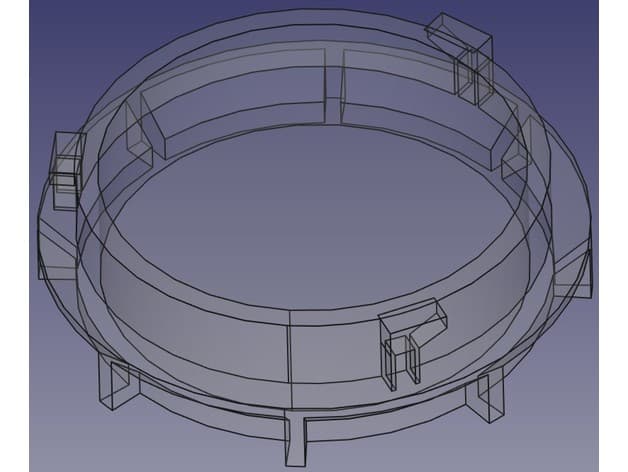
I used a Anicubic JHead extruder that I had so the extruder mount is adjusted for it but should not be hard to adjust for other extruders or the original StarTT one. You will also need 8x604 bearings for iddlers, 2x603 bearings for the extruder mount, 1x605 bearing for the leadscrew support. This is the heat bed: MK2B. Since the actual travel distances achieved with StarTT parts are 150mmx160mm I recently bought another heatbed - an Anet Upgraded MK3 heatbed which was the only 160x160x3 Al heatbed which I could find and is 150W so keep that in mind. I will design another bed carriage to accommodate that. DONE: see XEndRight160x160. This will probably need taller Z endstop mount but that will come later. DONE: see ZEndStopSupport_V3.stl
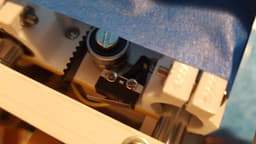
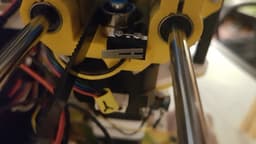
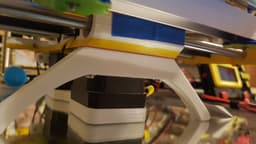
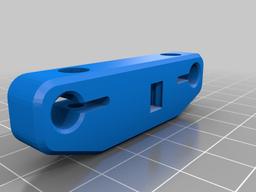
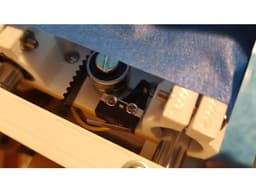
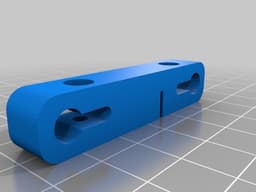
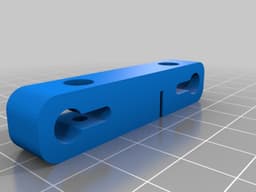
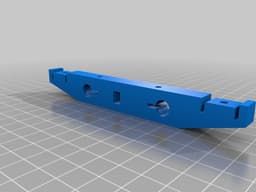
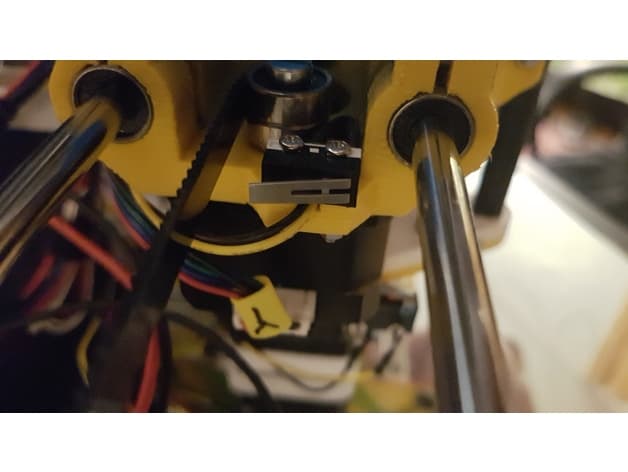
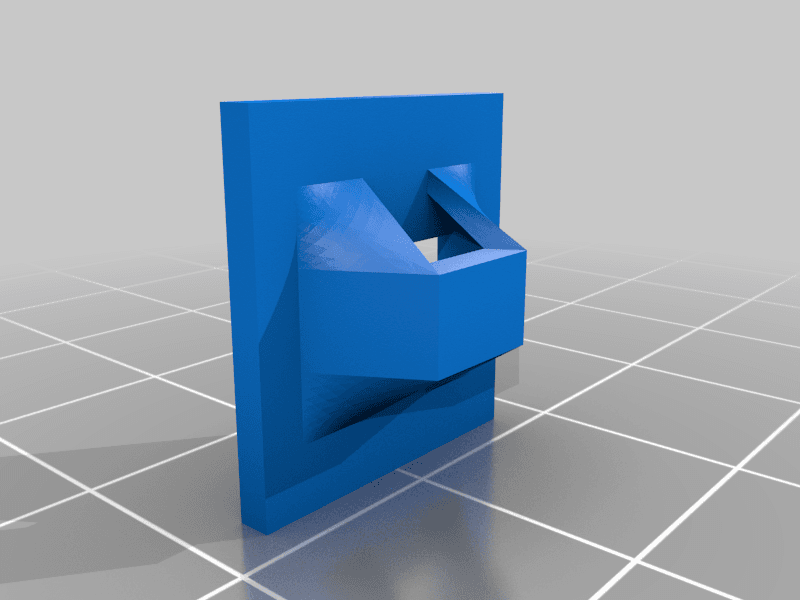
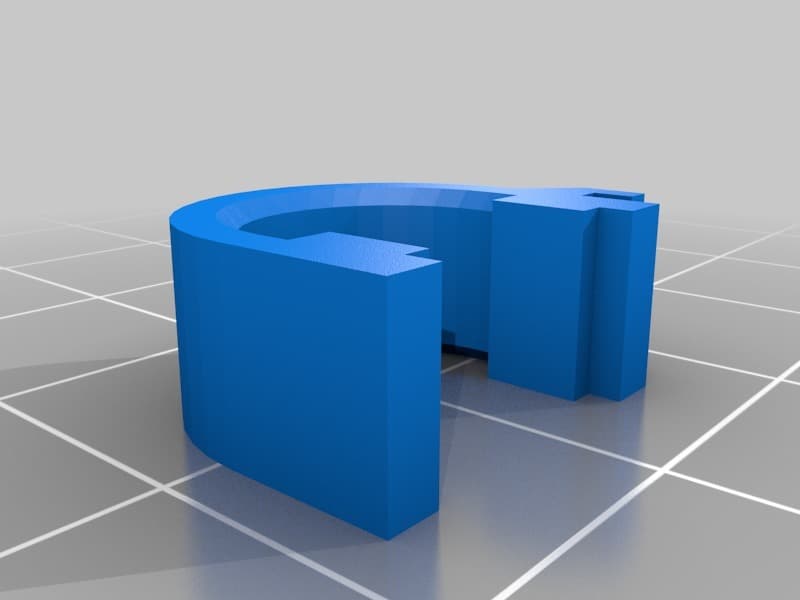
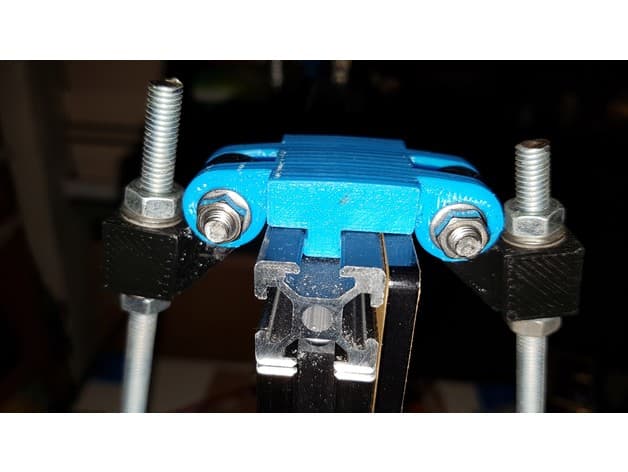
I used a smaller limit switches as endstops for X and Y to minimize impact on build volume.The leads were soldered, bend under the switch and then the heatshrink was shrunk to keep them in that shape. For Heatbed support I used double T 14x16 Al profile Belt tensioning is done by hand - you clip the belt as tight as you can but one tooth short then hold the end with one hand, push the rod with your thumb to tighten the belt and secure it with the bolt. The cuts for the belt in front and rear are dimensioned for steel reinforced belt. I tried a nylon one which I had but it was loose. I plan to redesign them to use the same wedge system as X ends but they work for now so... You can always use a zip tie :) Edit: DO NOT USE steel reinforced belts. It turned out that they don't run well on small pulleys - too tight bends cause the steel core to fatigue fast and snap. This already happened to me, so I am redesigning the Y ends and will publish the updated files soon. DONE: see V2 files. Designed a layer fan duct for 5015 radial fan. The Bottom_Support_Leg is designed to be used with longer ZSupport tubes which reach to the table and give bigger X stability. You should either print them upside down with supports or place them flat on the bed in the slicer like I did. In Slic3r this is "Rotate Face to Plane". I printed the parts in DevilDesign PETG and used tons of different M3 bolts, nuts and washers. The parts are designed to be printed without supports. You will need to clear some sacrifitial bridges and embedded supports.
You will need 3mm and 4mm drill bits to clear the holes and some long M3 bolts to pull some of the nuts in place. The dated FreeCad files are the state of recent development. Since they contain all the parts they are a little messy, there are also some circular dependencies, objects missing origin... I will try to clean the source and fix the errors in the future but since it still works as it is - no promises :)
Dont forget that if You use the StarTT electronics You will need to modify the firmware to adjust for axis directions and limits, heatbed usage,... Also heatbed will require more powerfull power supply and an externall MOSFET to keep the board Ok.
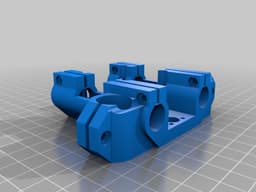
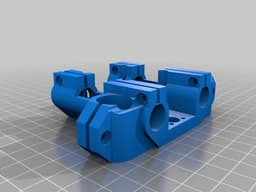
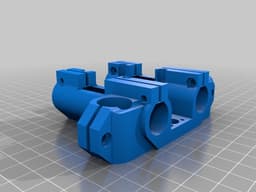
2019.01.12 Added YZ carriage for 8mm Y rods - YZ_Carriage_Y8.stl. You will need to clean some extra sacrifitial material from the stepper bolt holes. Added YRearEnd_V2_Y8.stl and YFrontMount_V2_Y8.stl. For the front mount there are embedded support and sacrifitial bridge that need to be removed after printing. Assembly V2 - 2019.01.12_Y8.FCStd contains all the latest changes and also the Y8 parts.
2019.02.01 Added V3 FreeCAD file - I made some adjustments and cleaned the file to be easy for understanding/editing/... Made some adjustments to LayerFanDuct5015.
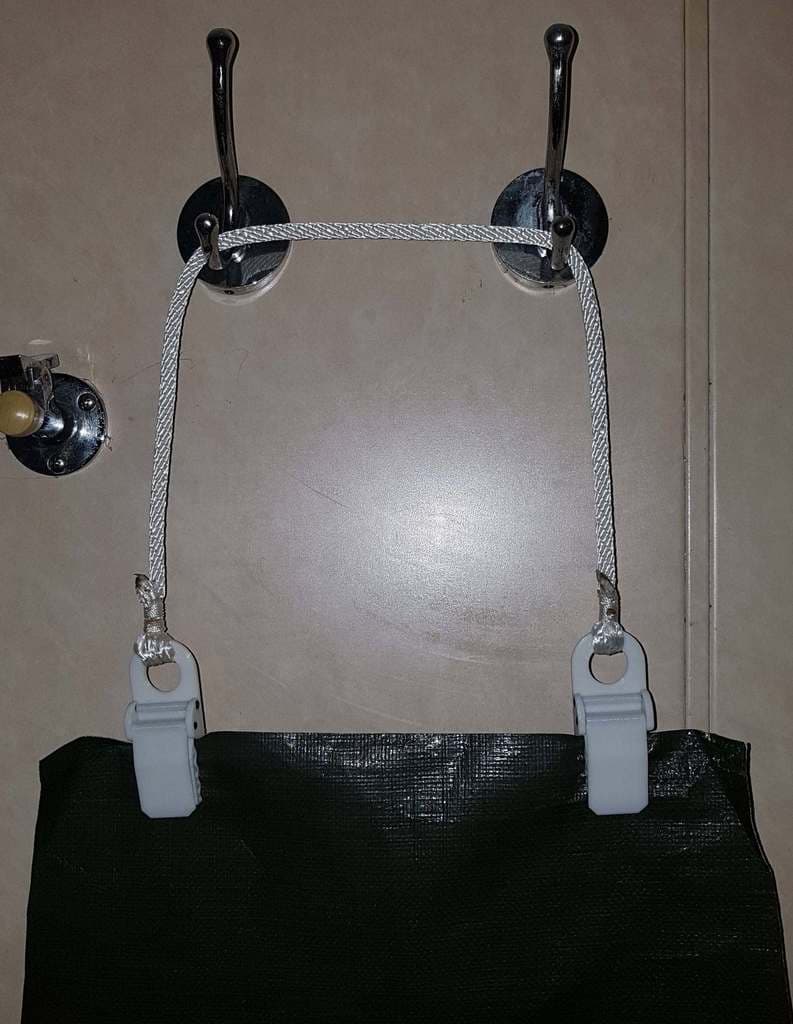
2019.11.05 Added photo on board my ship after successful dissassembly, transport by taxi,bus and plane to brasil and reassembly on board. All works as expected :-)
Any comments, suggestions, criticism,,... are greatly appreciated :-)
KissSmart
KissSmart
KissSmart Junction Box

KissSmart Mods by Rensoski

KissSmart Junction Box
KissSmart Mods by Rensoski
Fidget Button
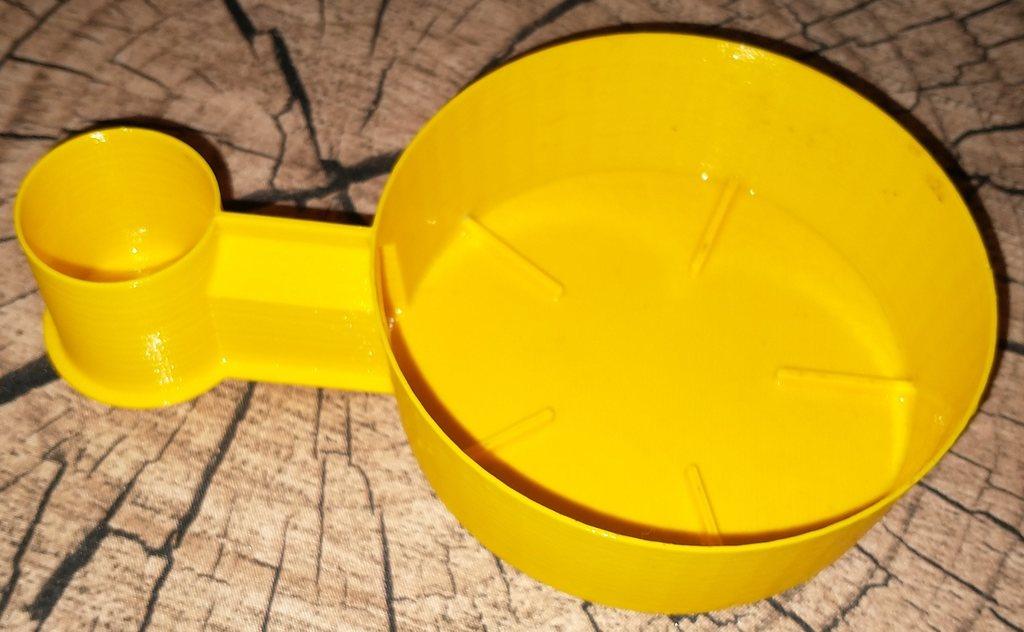
Self watering planter tray
Zip tie mount
GreatWall Voleex C10 headlight cap
Self watering planter tray
Spine dragchain - improvements
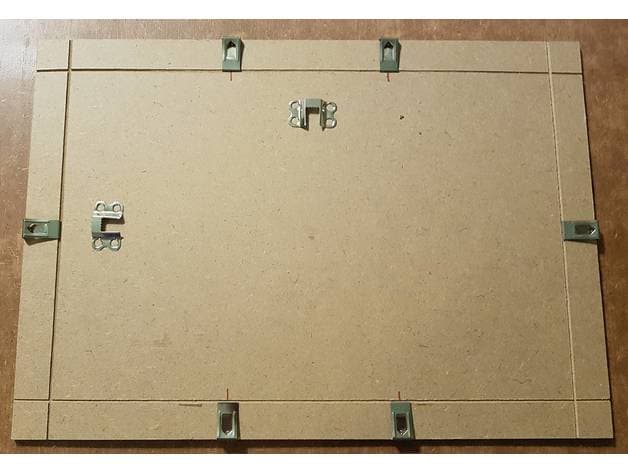
Decorative picture frame A3
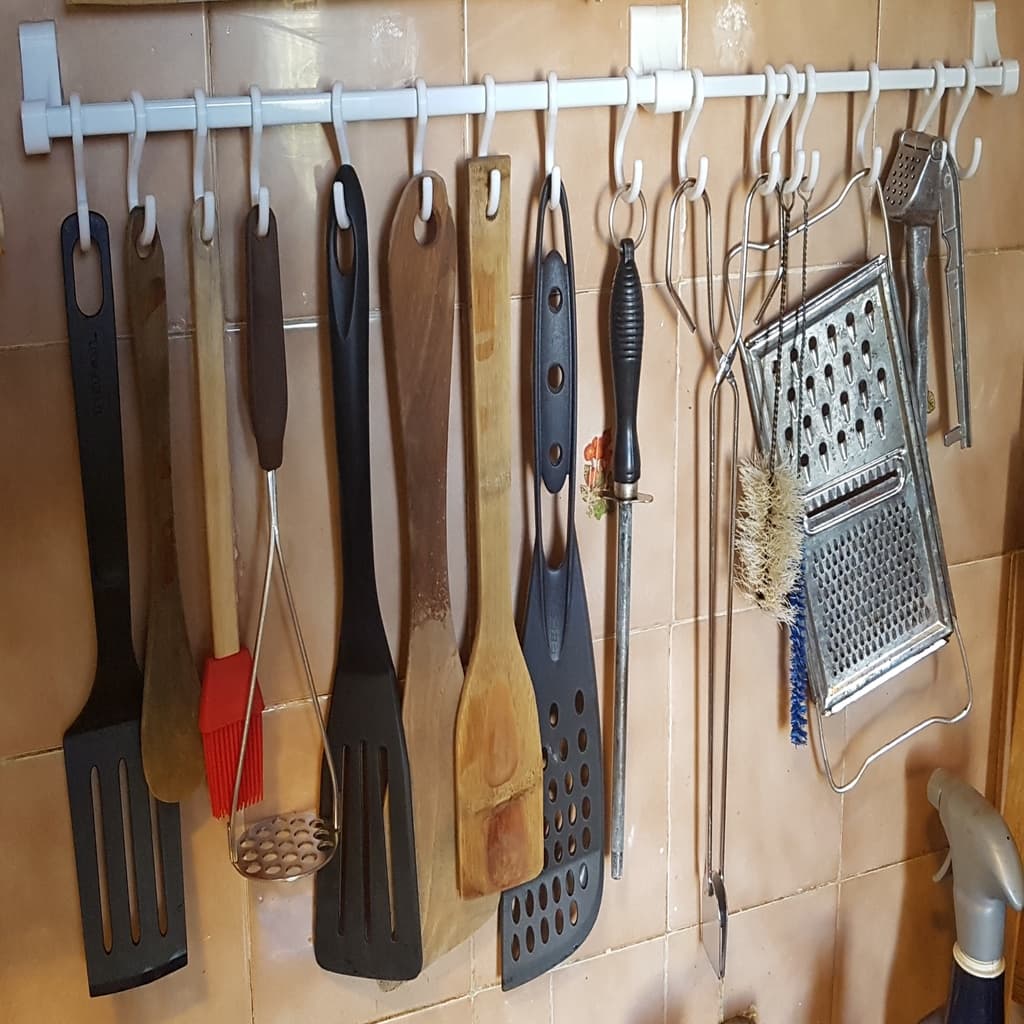
Wall hanger system
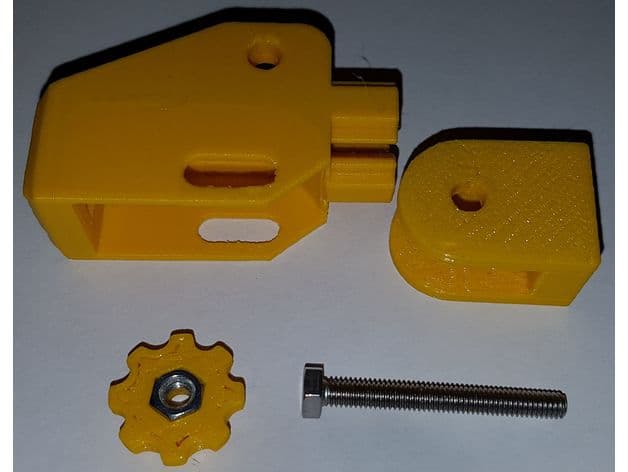
Belt tensioner/idlers mount
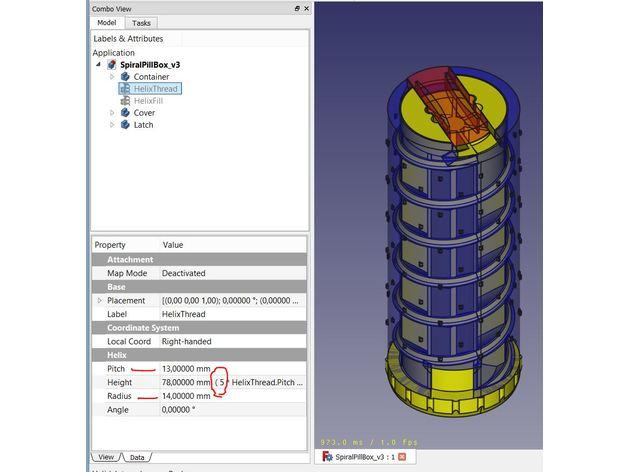
Spiral Pill Box

Galaxy S5 Body and Basic cover
Suspenders clip

Infinity cube
Frame support for Tevo Tarantula