Follow
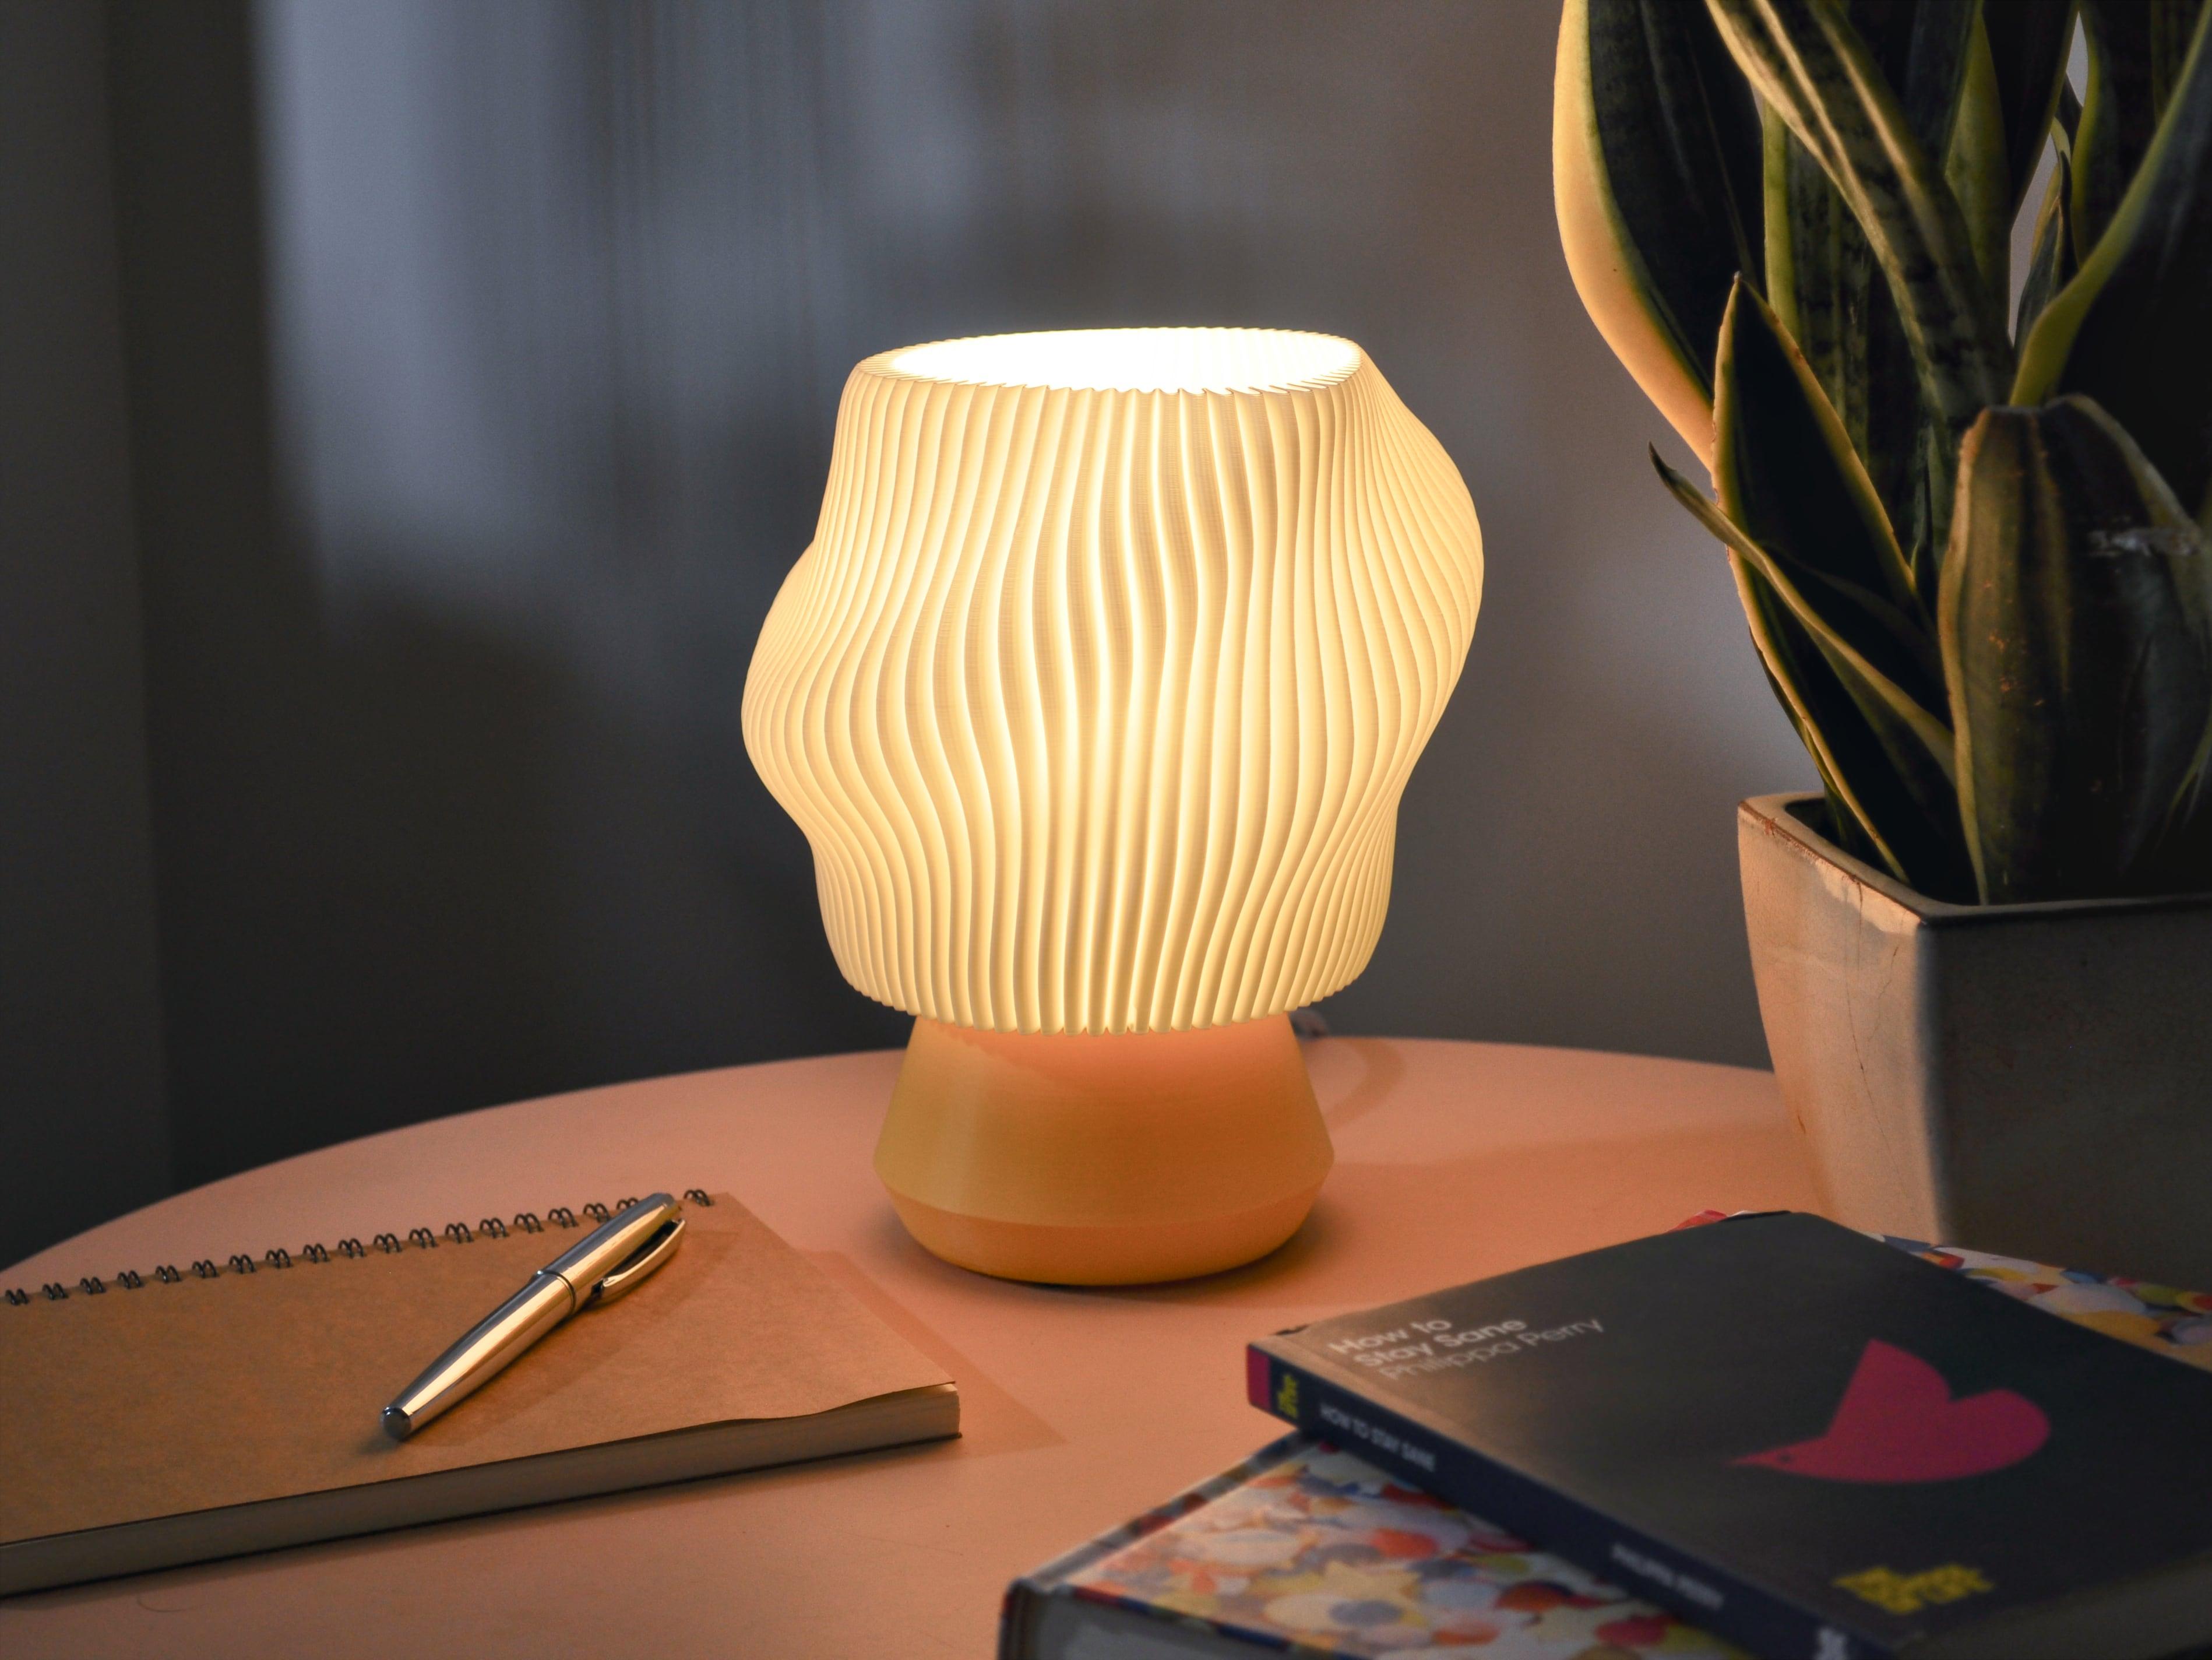
Dollop Lamp
6 downloads · 9 months ago · With a funky and modern design, this lamp is sure to add a touch of whimsy and sophistication to any
With a funky and modern design, this lamp is sure to add a touch of whimsy and sophistication to any room. Designed in two parts, you can easily twist to remove the shade to change the bulb. To protect your surfaces and add extra grip, the base includes 3 pads.
👋 Important Notes:
- The lamp shade STL file is solid and requires printing with “spiral vase” enabled to remove infill. See the included PDF instructions for more details.
💎 Features:
- Designed in two parts, you can easily twist to remove the shade to install the light fixture or change the bulb.
- Two variants for popular pendant light fixtures: threaded and smooth-walled fixtures.
- The lamp shade is designed to print with a single wall using “spiral vase” mode.
- The base optionally includes 3 TPU feet to protect your surfaces.
- Includes 3MF + STL files and print instructions with photos.
- Easy to slice using PrusaSlicer, OrcaSlicer, or Bambu Studio.
- Requires a minimum bed size of 180mm x180mm x150mm.
💡 Recommendations:
- I recommend using PrusaSlicer, OrcaSlicer, or Bambu Studio.
- Scaling the parts is not recommended due to the required tolerances to secure the shade, base, and light fixture.
- I recommend using a 0.6mm nozzle to strengthen the shade, but a 0.4mm nozzle also works.
🔨 Hardware:
- 1x Pendant light fixture – 2 popular variants supported
- Threaded fixtures with 40mm outer diameter, such as Pendant Light Cord Lamp Kit - Amazon.com
- Smooth-walled fixtures with a 37mm outer diameter, such as JACKYLED 12ft pendant light - Amazon
- 1x E26/E27 LED light bulb. Low-wattage (5 - 9-watt) LED bulbs are recommended as traditional bulbs get too hot.
📖 Instructions:
- Shade
- Print using spiral vase mode with 4 bottom layers. Confirm your slicer updated related settings to the following:
- Spiral Vase: enabled (the name may vary based on the software)
- Top Layers: 0
- Bottom Layers: 4
- Infill: 0%
- Perimeters: 1
- Print using spiral vase mode with 4 bottom layers. Confirm your slicer updated related settings to the following:
- Base Variant 1: Threaded Fixture
- Print without supports using your preferred settings. My preferred settings:
- Perimeters: 3
- Top Solid Layers: 5
- Infill Fill Density: 10%
- Infill Fill Pattern: Gyroid
- There are 2 variants, with and without a negative cavity for the feet
- Print without supports using your preferred settings. My preferred settings:
- Base Variant 2: Smooth-Walled Fixture
- Use the same settings as the Threaded Fixture
- Requires a threaded collar to tighten the base around the fixture. A secure fit requires a tight tolerance. I prefer to print it separately from the base using the same slicer settings.
- Insert the smooth-walled fixture so that it extends 2 - 5mm (1/8 - 1/4in) above the base (as shown in the photos)
- Thread on the collar until tight. The collar is tight if the fixture remains secure when screwing in the light bulb.
- TPU feet, Optional
- Print in TPU to protect your surfaces and add grip.
- To insert the feet into the base, align the foot, then press the base and foot against a tabletop.
** These files are for personal use only and not to be resold


