


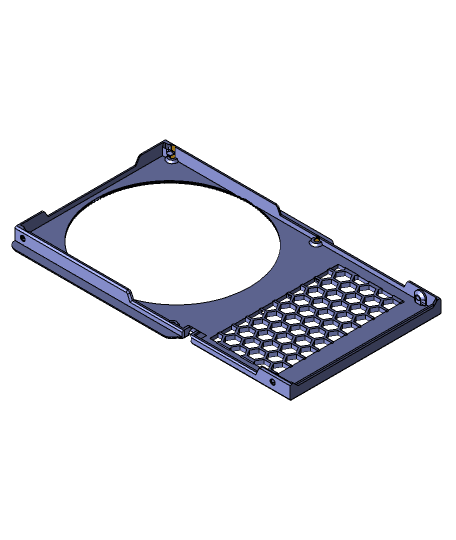
P1P pegboard mod plate cover brackets
4 downloads · 3 years ago · This design provides stable brackets to mount cardboard panels as a cover over your Bambu Lab P1P. T
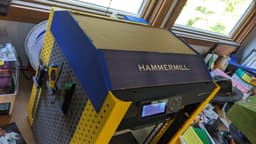
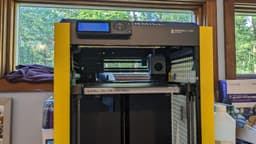
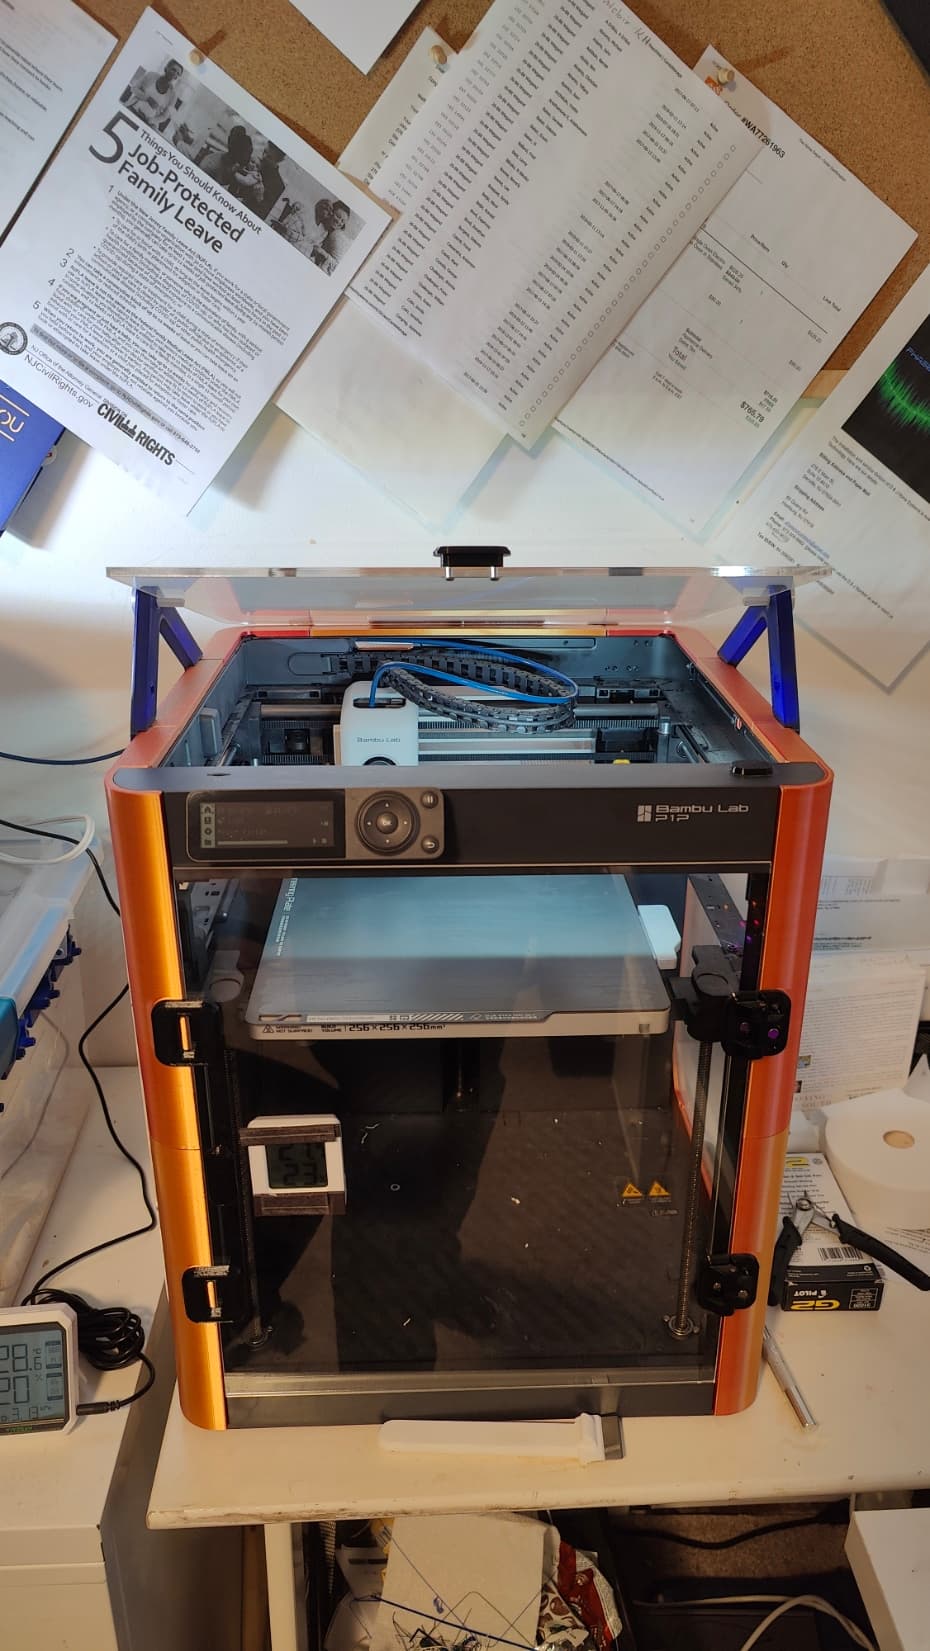
This design provides stable brackets to mount cardboard panels as a cover over your Bambu Lab P1P. These panels help maintain a more stable air temp around your print while also reducing dust collection on the print bed over time.
Warning: I found anecdotal evidence that cardboard ignition temp is ~400F or ~205C. This convinced me that the fire hazard from using cardboard in this manner is low. Please consider that cardboard is combustible and that it is your own responsibility to determine whether this mod is safe enough for you.
Prerequisites:
- You must install the otherwise optional P1P cable chain (I bought an official one directly from Bambu Lab)
- You must install the pegboard modplates to your P1P (printable design is available for free from Bambu Lab's website)
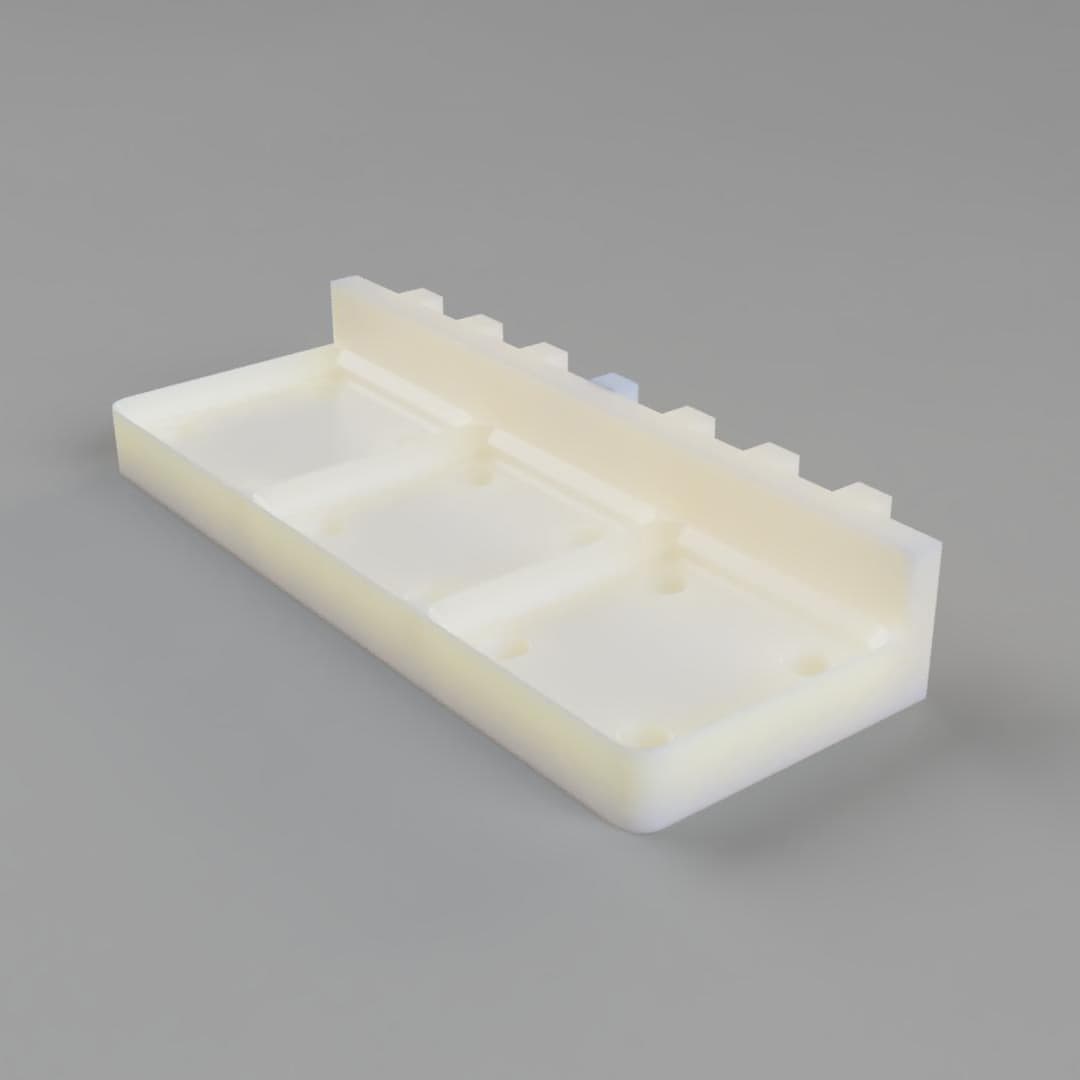
- a cardboard box as reclaimed materials; you'll create 3 panels from this with all three being wide enough to reach from the left edge to the right edge of the printer. One panel will need to be about half the dimension of your printer from front to back, and the other two will need to be about half of that. I used the lid to a case of Hammermill copier paper (try asking at any local office building for one of these, it worked out very nicely)
Printing:
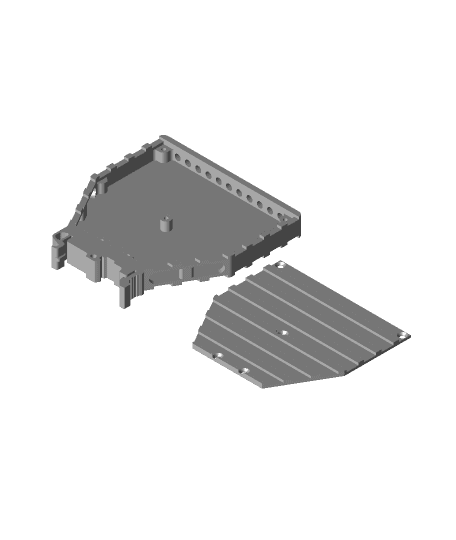
- peg-lid.3mf: I've included an OrcaSlicer 3MF project configured for P1P printing using Bambu PLA Basic. In this project you'll find 6 objects spread over 2 plates. Print them all.
- Otherwise print the following; supports are REQUIRED for the pegboard connectors: a. two side-plate-2x.step b. two unmodified corner-plate-2x-by-2x.step c. two horizontally mirrored corner-plate-2x-by-2x.step
Installation:
- Meet the prerequisites (acquire or print the pegboard modplate and cable chain; install on your P1P)
- print the 6 parts for this mod
- note that removing supports from the pegboard connectors is a pain. sorry. but there are loads of connectors so if you snap a couple off during support removal you can still use your prints
- I suggest installing the corner brackets first. leave one unoccupied column of pegboard holes at each corner of the modplate
- install the side panels next; they will fit snugly between the corner brackets
- note that some downward force is required to slip these into place. i gave mine a tap with a screw driver handle in the end. you WANT them to be as snug as possible else they will rattle during printing
- with the six printed parts in place, align your salvaged cardboard panels with the brackets and cut to size. When in doubt cut them larger than you think you'll need (you can always cut more off but you can't uncut the panels). For the two smaller panels you'll want a few millimeters of excess cardboard so these panels can overlap the larger panel a bit once installed (they help hold that panel in place)
- install the large top panel first; you simply drop it in place. There are retention tabs on the top of the side brackets so you may need to flex the side brackets slightly outward to install, depending on how perfectly you cut the panel.
- install the smaller panels next; these slide into sleeves built into the corner brackets. the top of these panels should remain just above the larger panel, pressing into it to provide a friction fit which helps prevent the panels from moving or falling over time.
Post-install:
- You'll want to confirm that the PTFE and toolhead cable are not encumbered by your new lid.
- Home the axes, then use your tool of choice (Bambu Studio, Bambu Handy, LCD Panel) to control the toolhead location
- Move the toolhead along X/Y axes into each corner of the printer and along the walls between them. Confirm that the PTFE and toolhead cable are not encumbered.
- Do not use this mod if the PTFE or toolhead cable are encumbered. This is especially important if you did not conform to the prerequisites of using the P1P cablechain. I have not tested with any printed cablechain, but can confirm that mod fits nicely after installing the official cablechain accessory including the longer PTFE and heavy-duty toolhead cable as described by Bambu Lab.
P1P pegboard mod plate cover brackets
4 downloads · 3 years ago in and
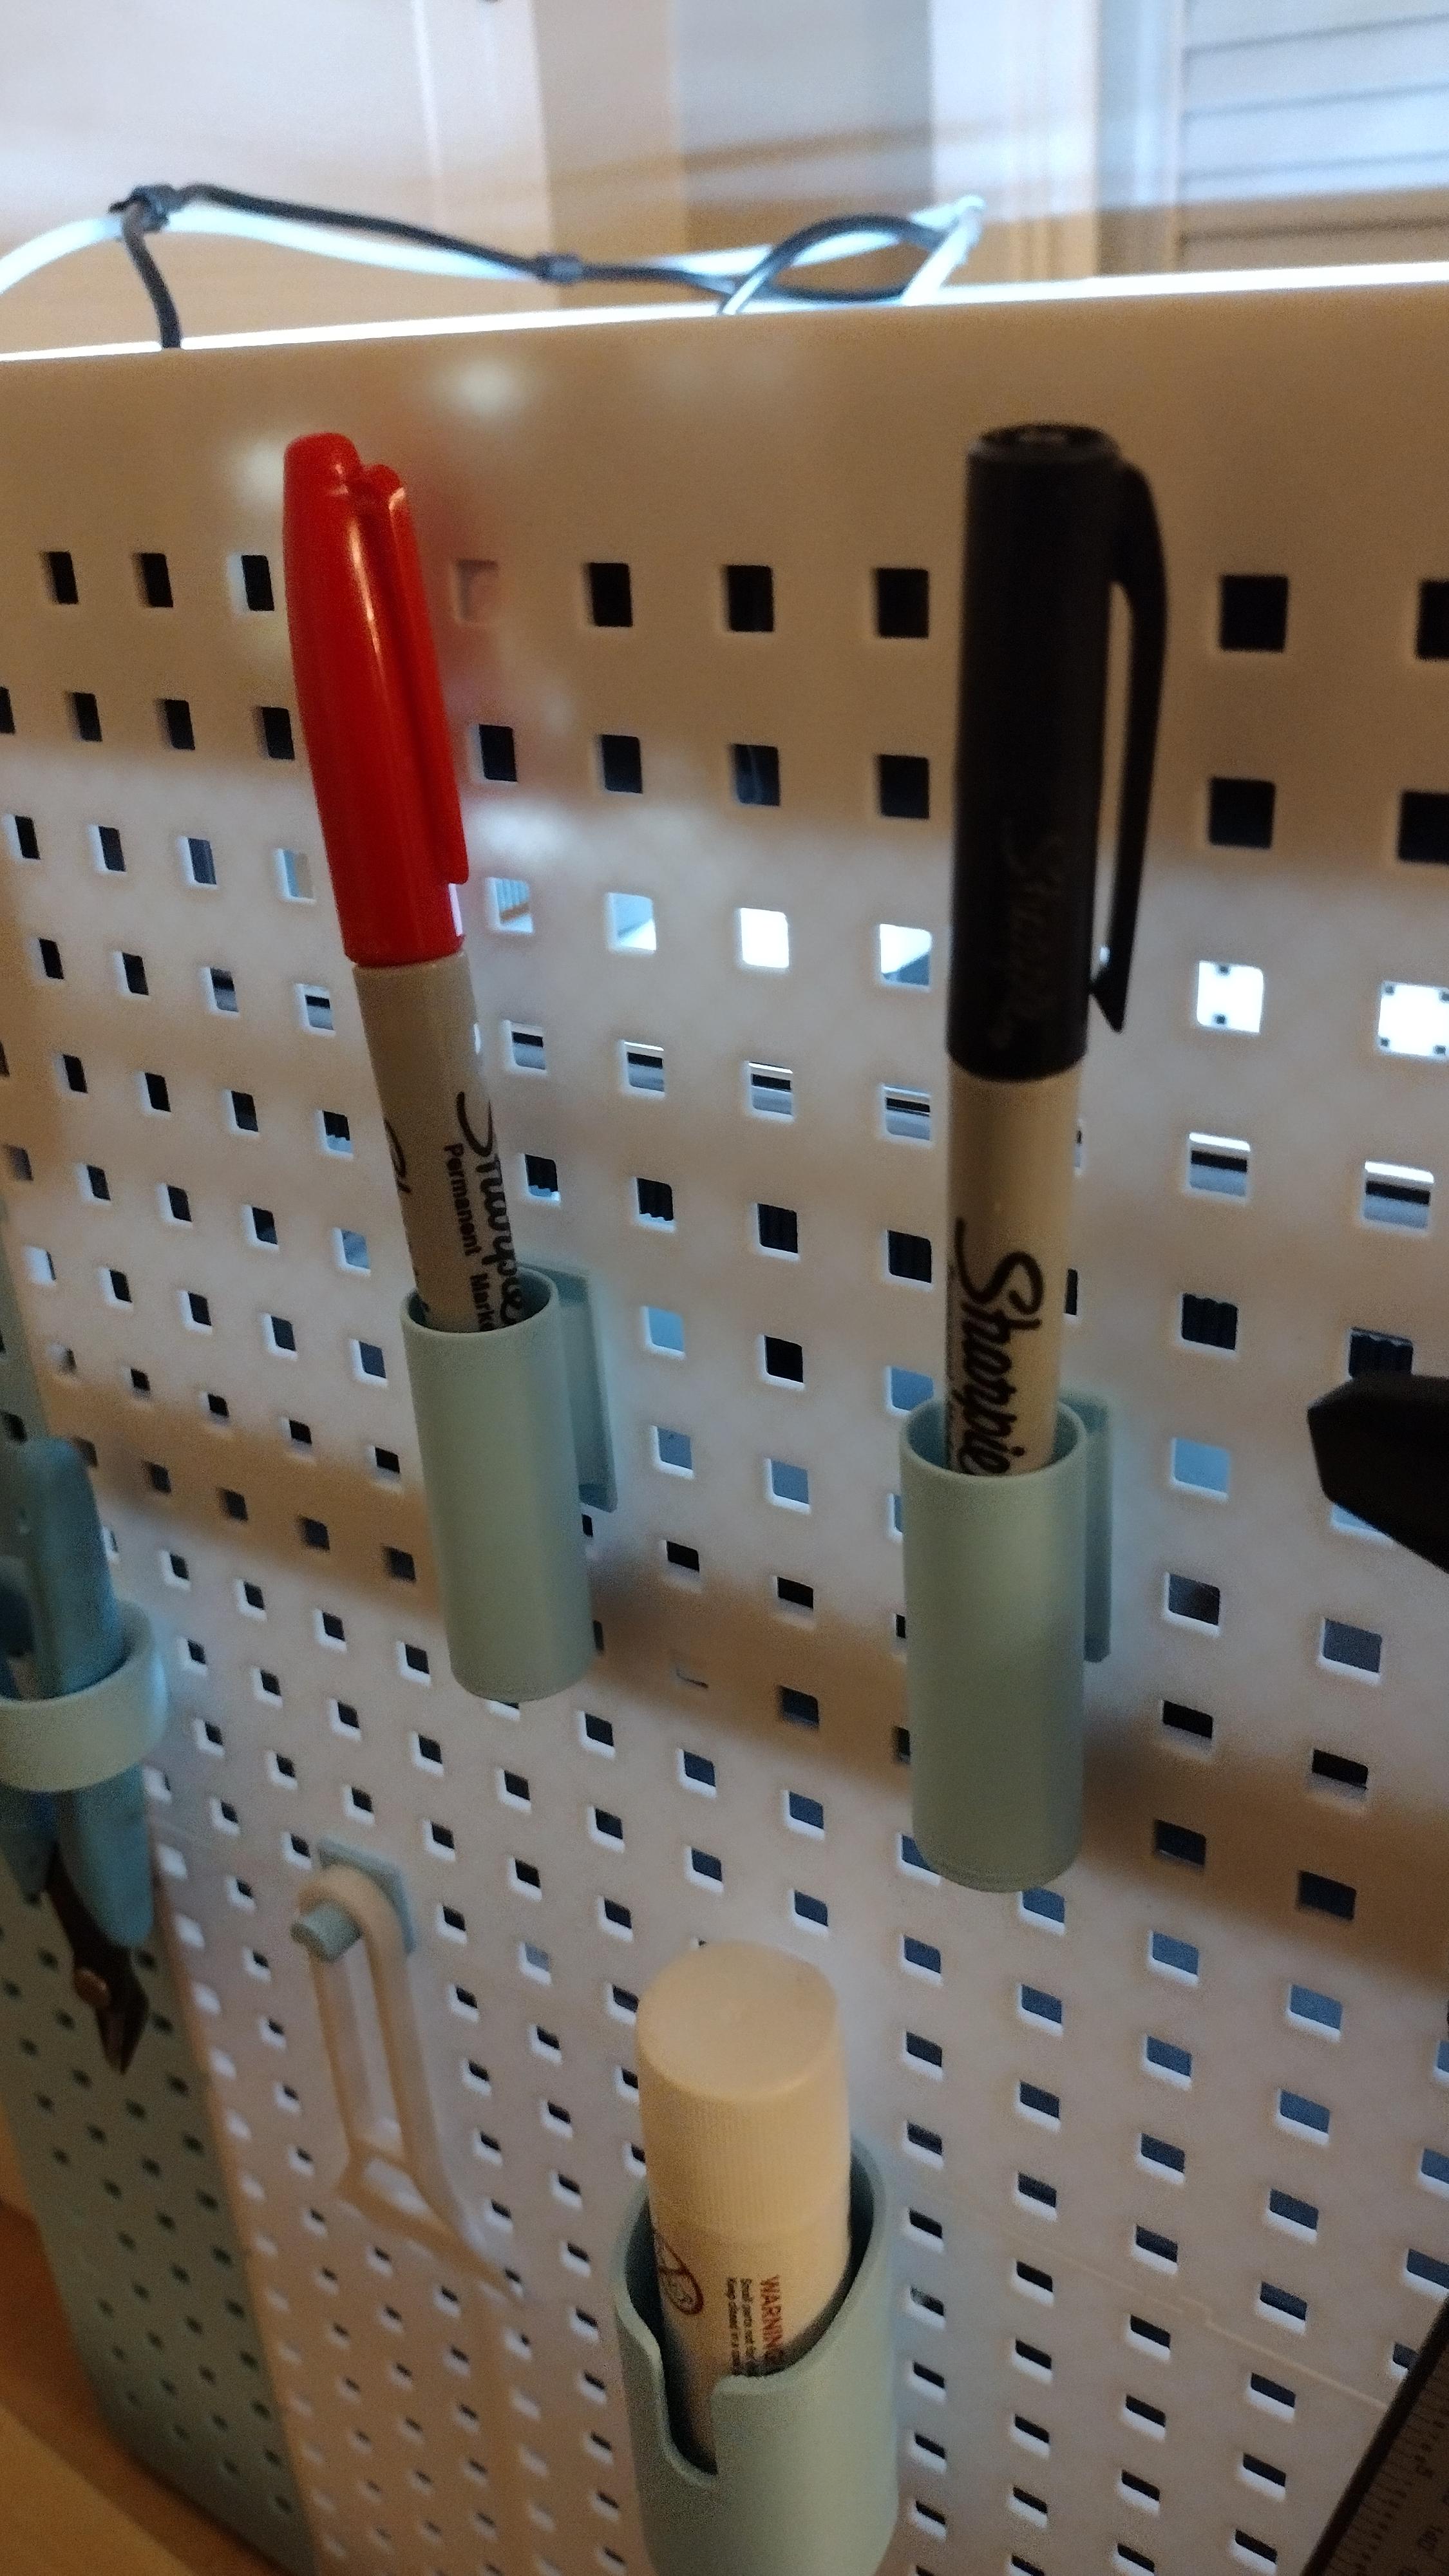
P1P Pegboard Penholder v3.step
Customizable P1P Filter cover
Shipto you

DJI Tello Onboard Mi WIFI Extender Bracket Mod
Parametric Gridfinity baseplate for Bambu Lab P1P pegboard #ThangsBambuContest
Bambu Lab P1P Pegboard Modplate
Baseboard heater cover wall bracket
Bambu Lab P1P Mods - The Bu Faceplate
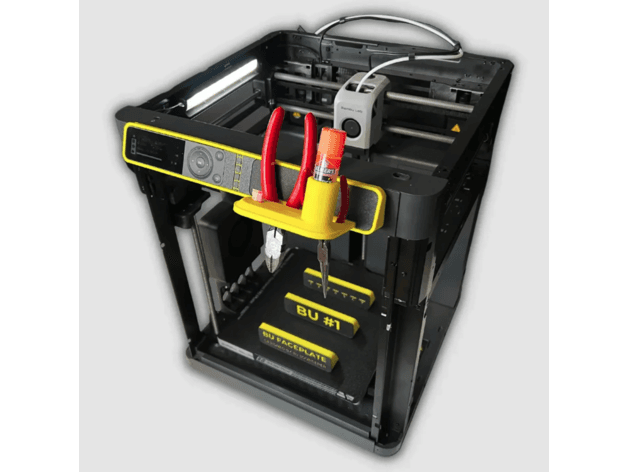
Bambu Lab P1P Mods - The Bu Faceplate
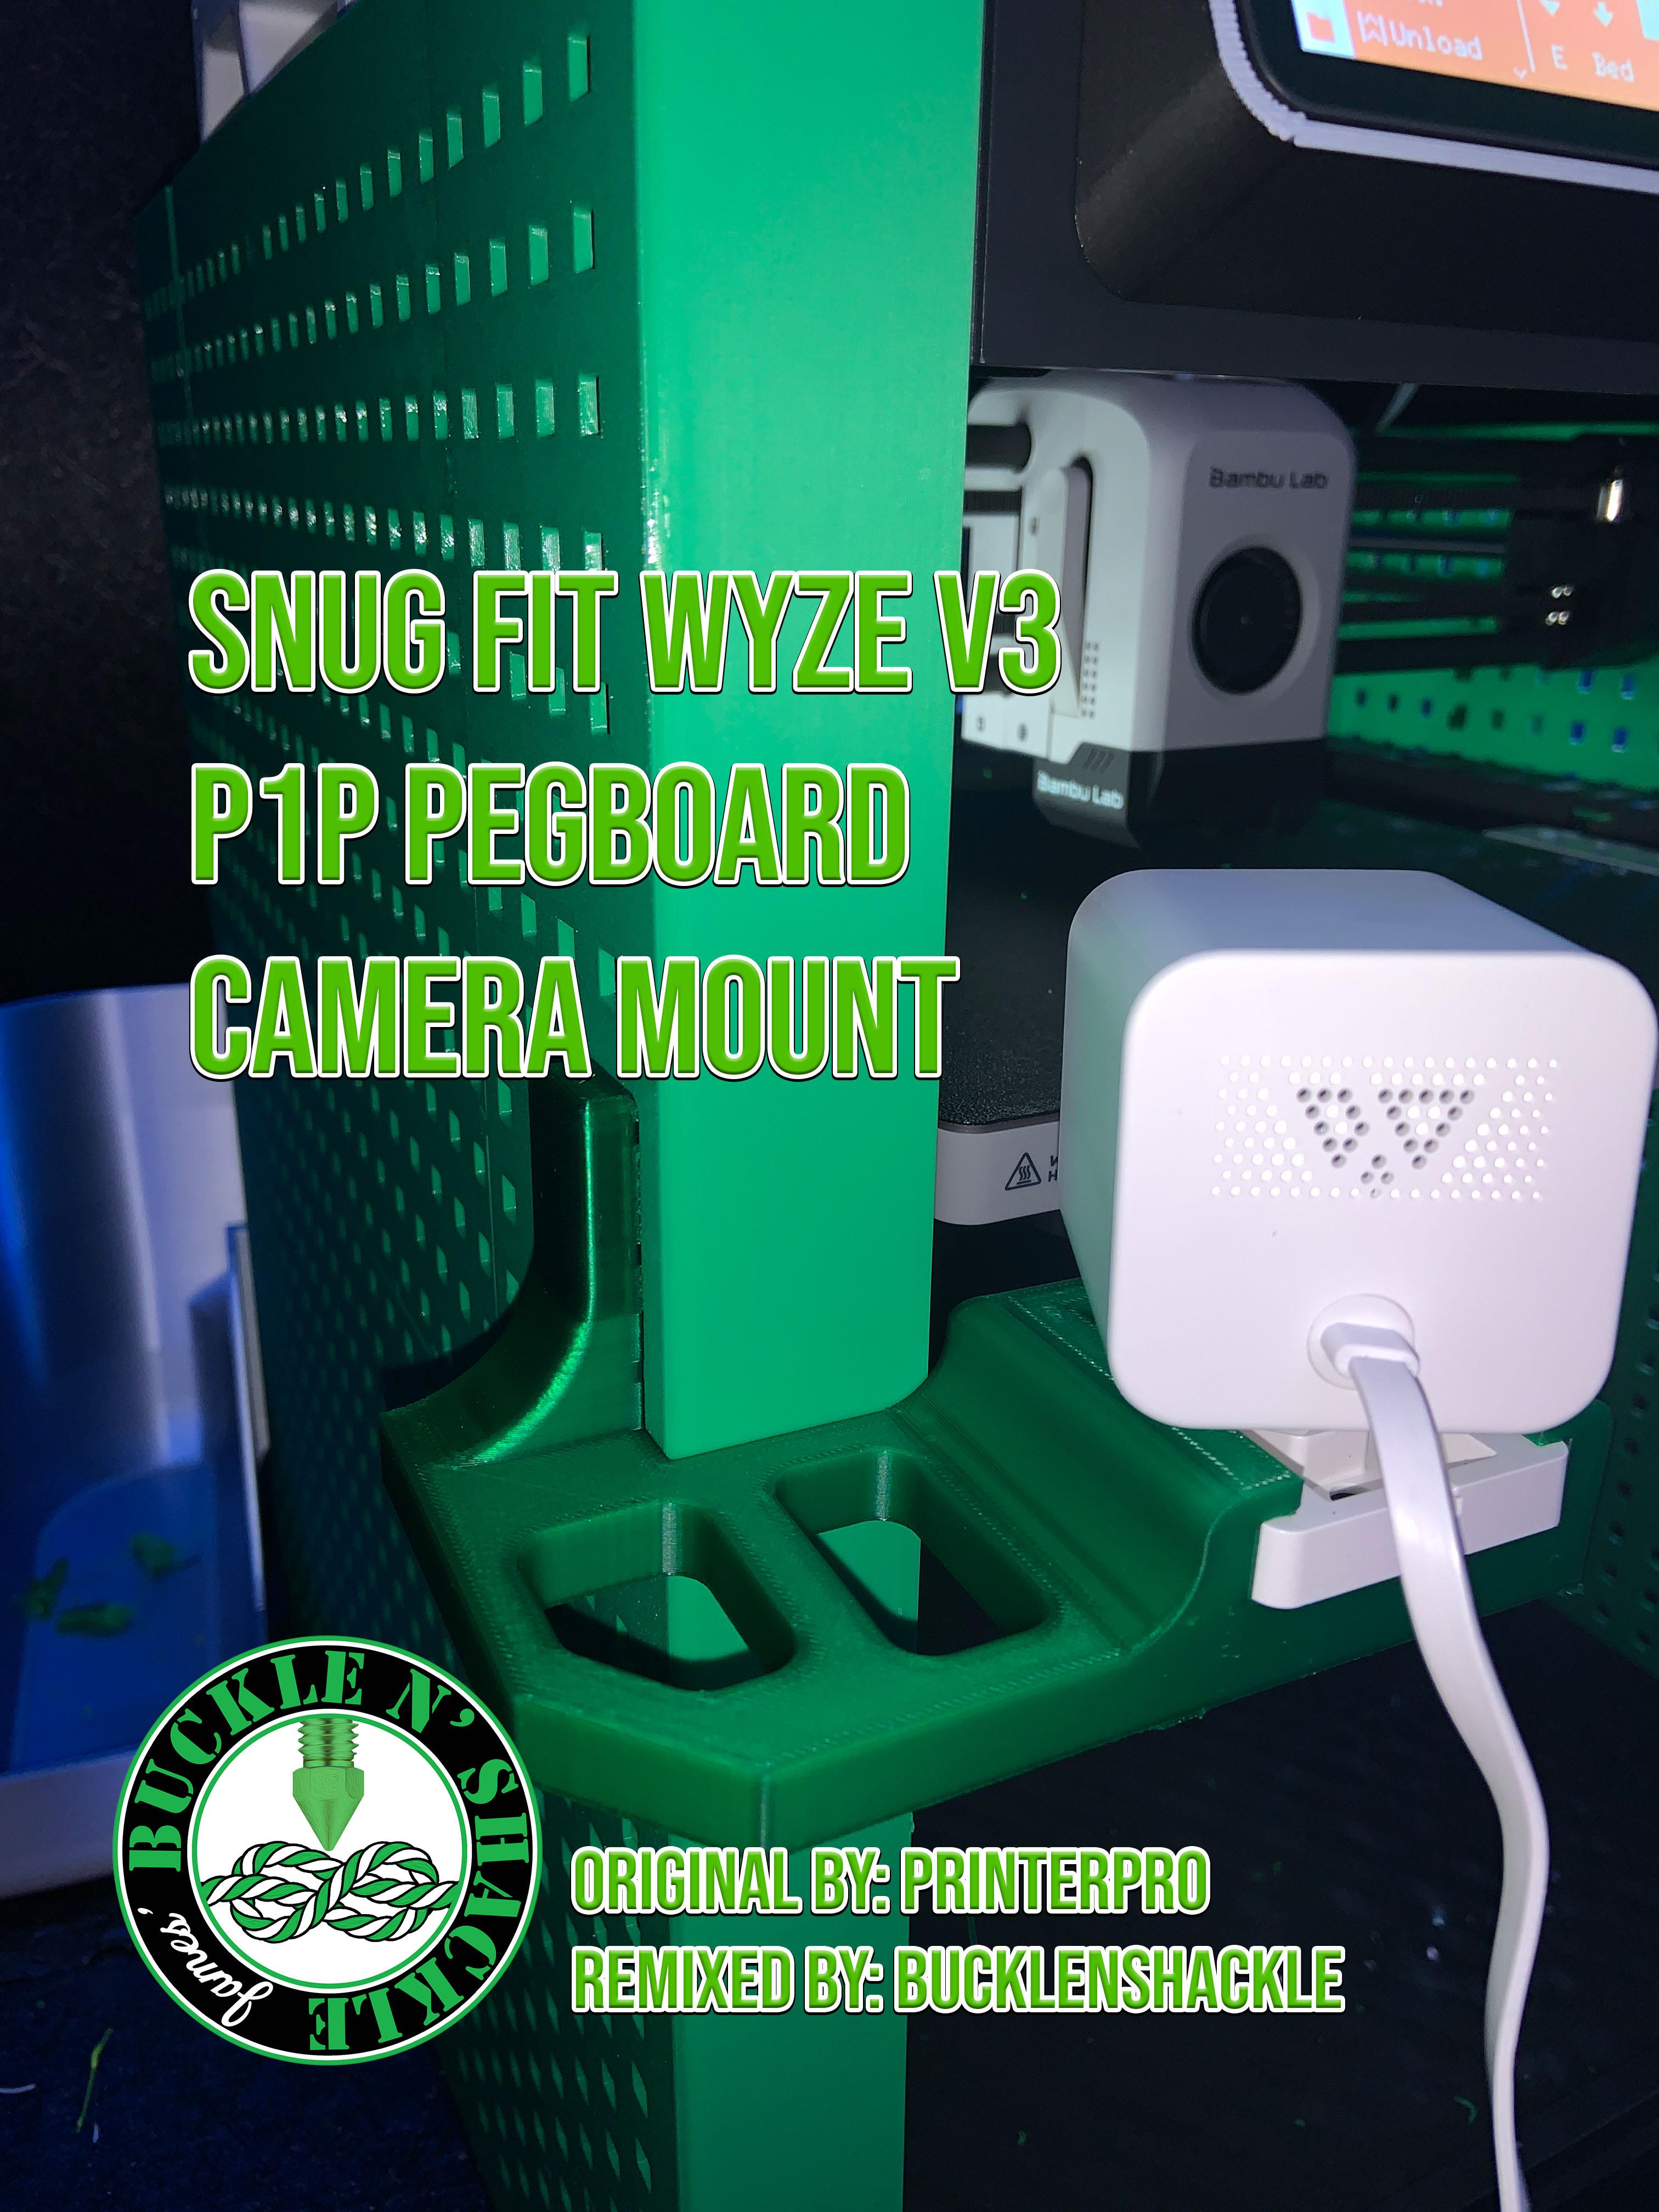
Snug Fit Wyze v3 P1P Pegboard Camera Mount
Pegboard Mounting Bracket for AC Infinity CLOUDLAB 642 Grow Tent

Thompson Contender Butt Cover Replacement / Mod
SORTSET Shelf Bracket 7x7 for Pegboard
Meanwell LRS350 120mm Fan Cover - Quiet Mod!
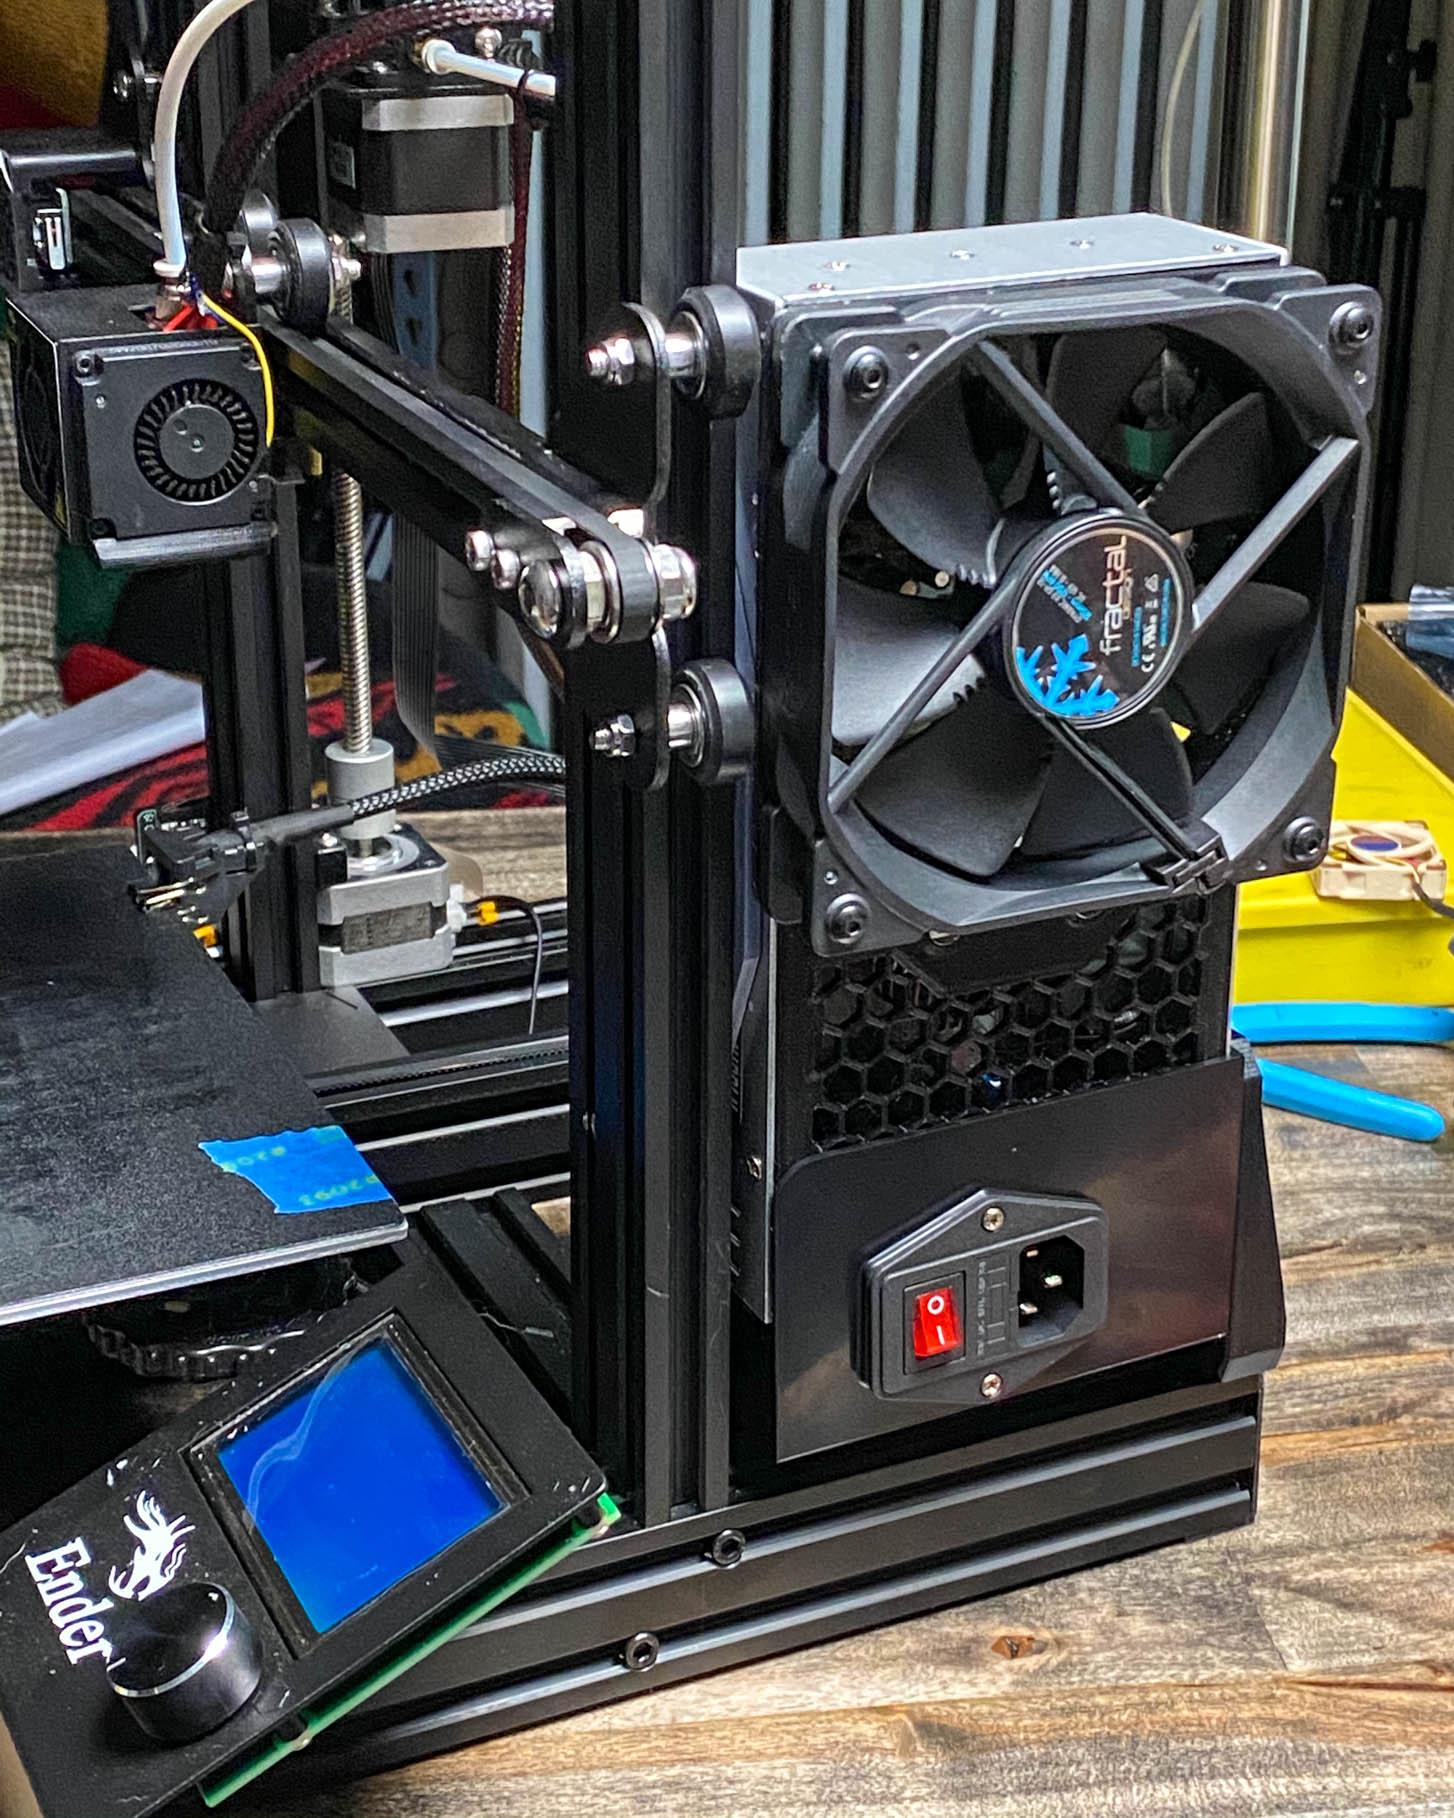
Ender 3 120mm PSU Mod Fan Cover with Buck Converter Mount
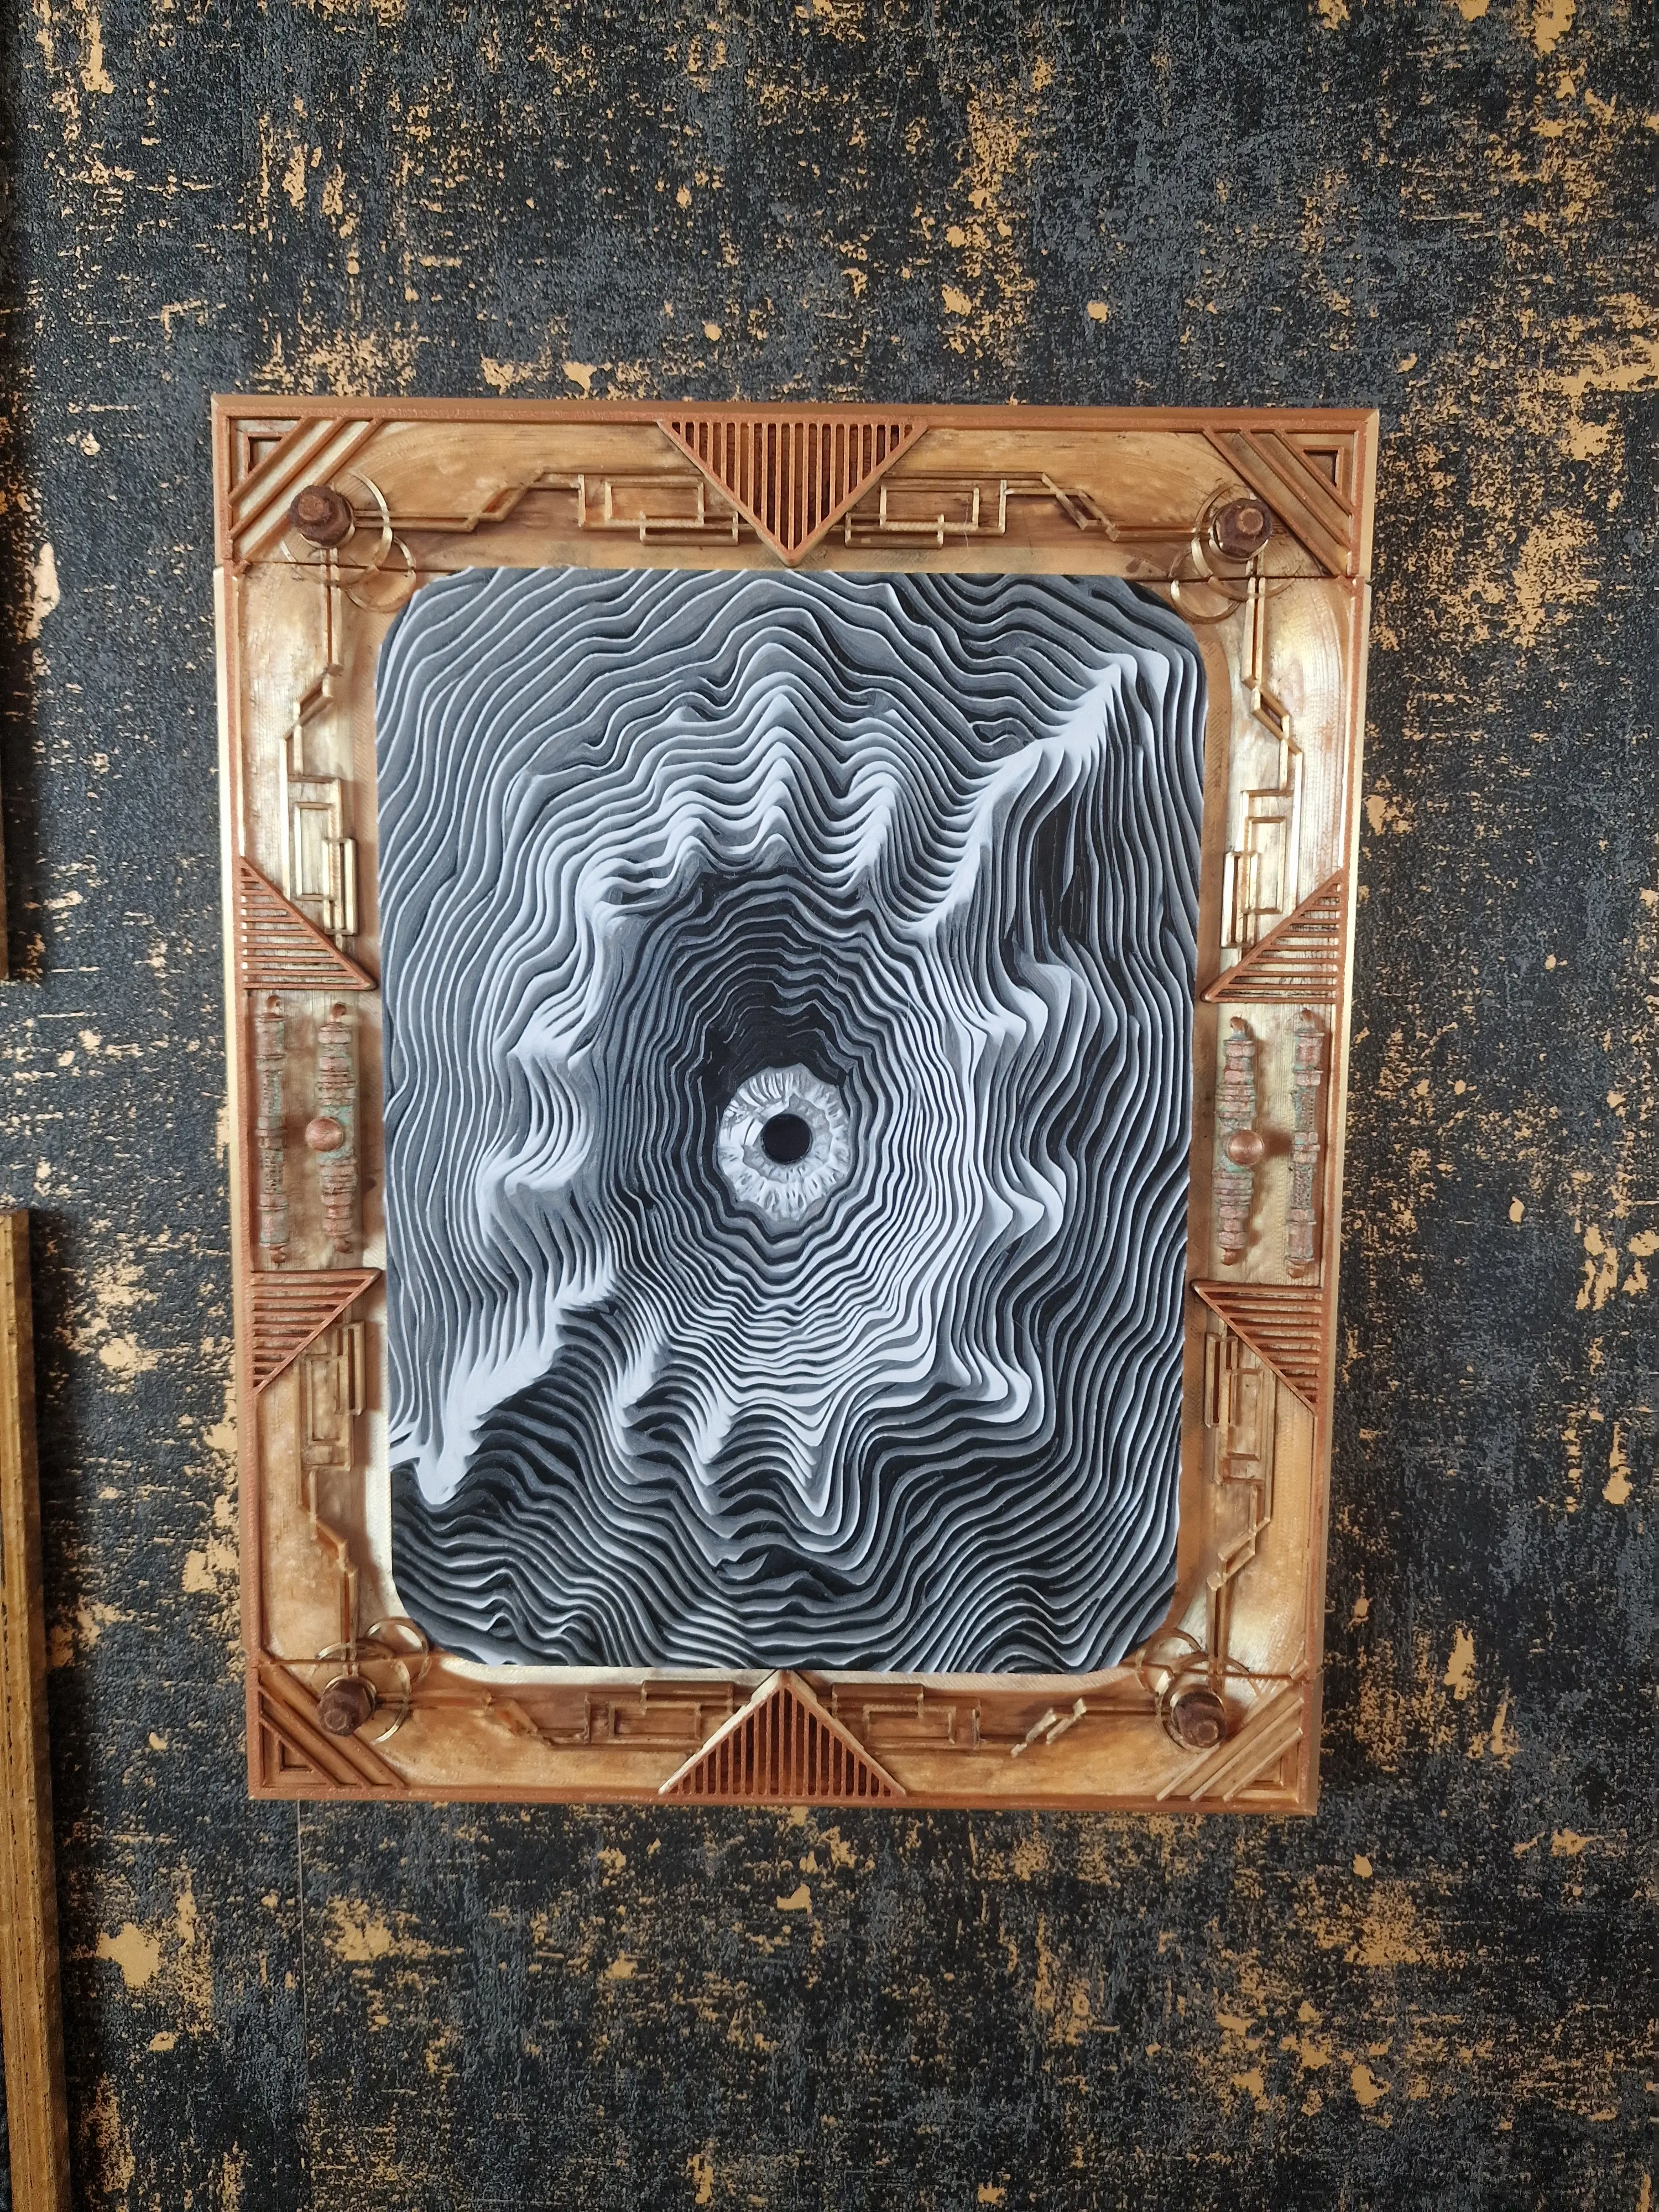
Hueforge Cover - Optical Illusion for MOD Panel
Bambu Labs P1P Aux Fan Cover #ThangsBambuContest
P1P Top Lid Mod for ARC Enclosure
AB mod guide and cover v1.stl

X limit switch bracket for linear rail mod
.png&w=3840&q=75)