.png&w=3840&q=75)
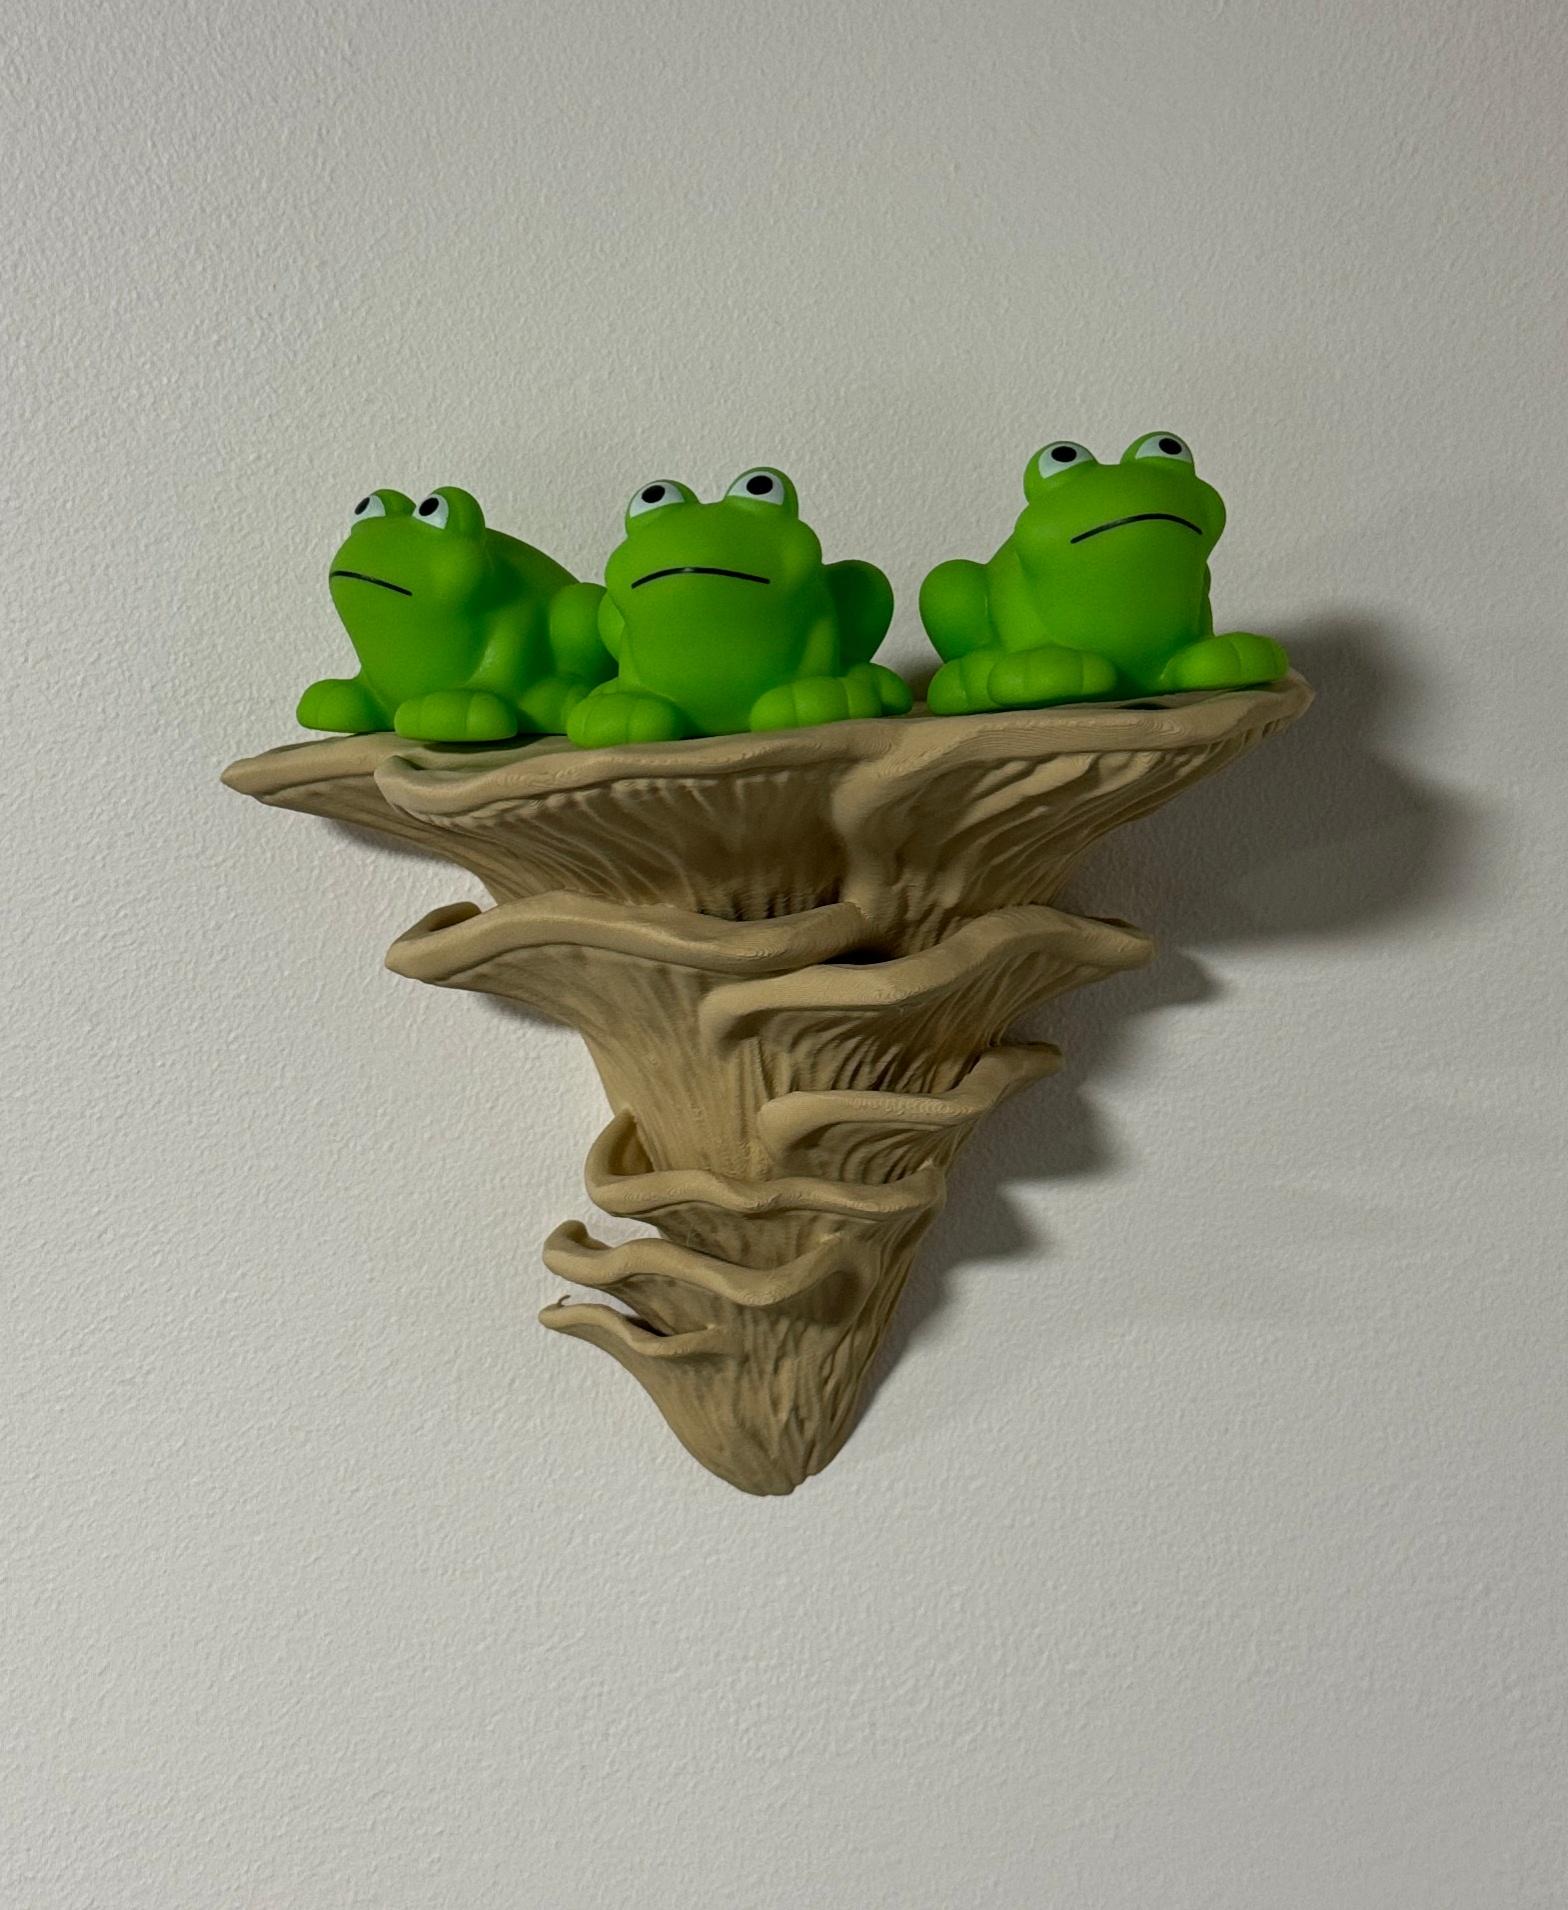
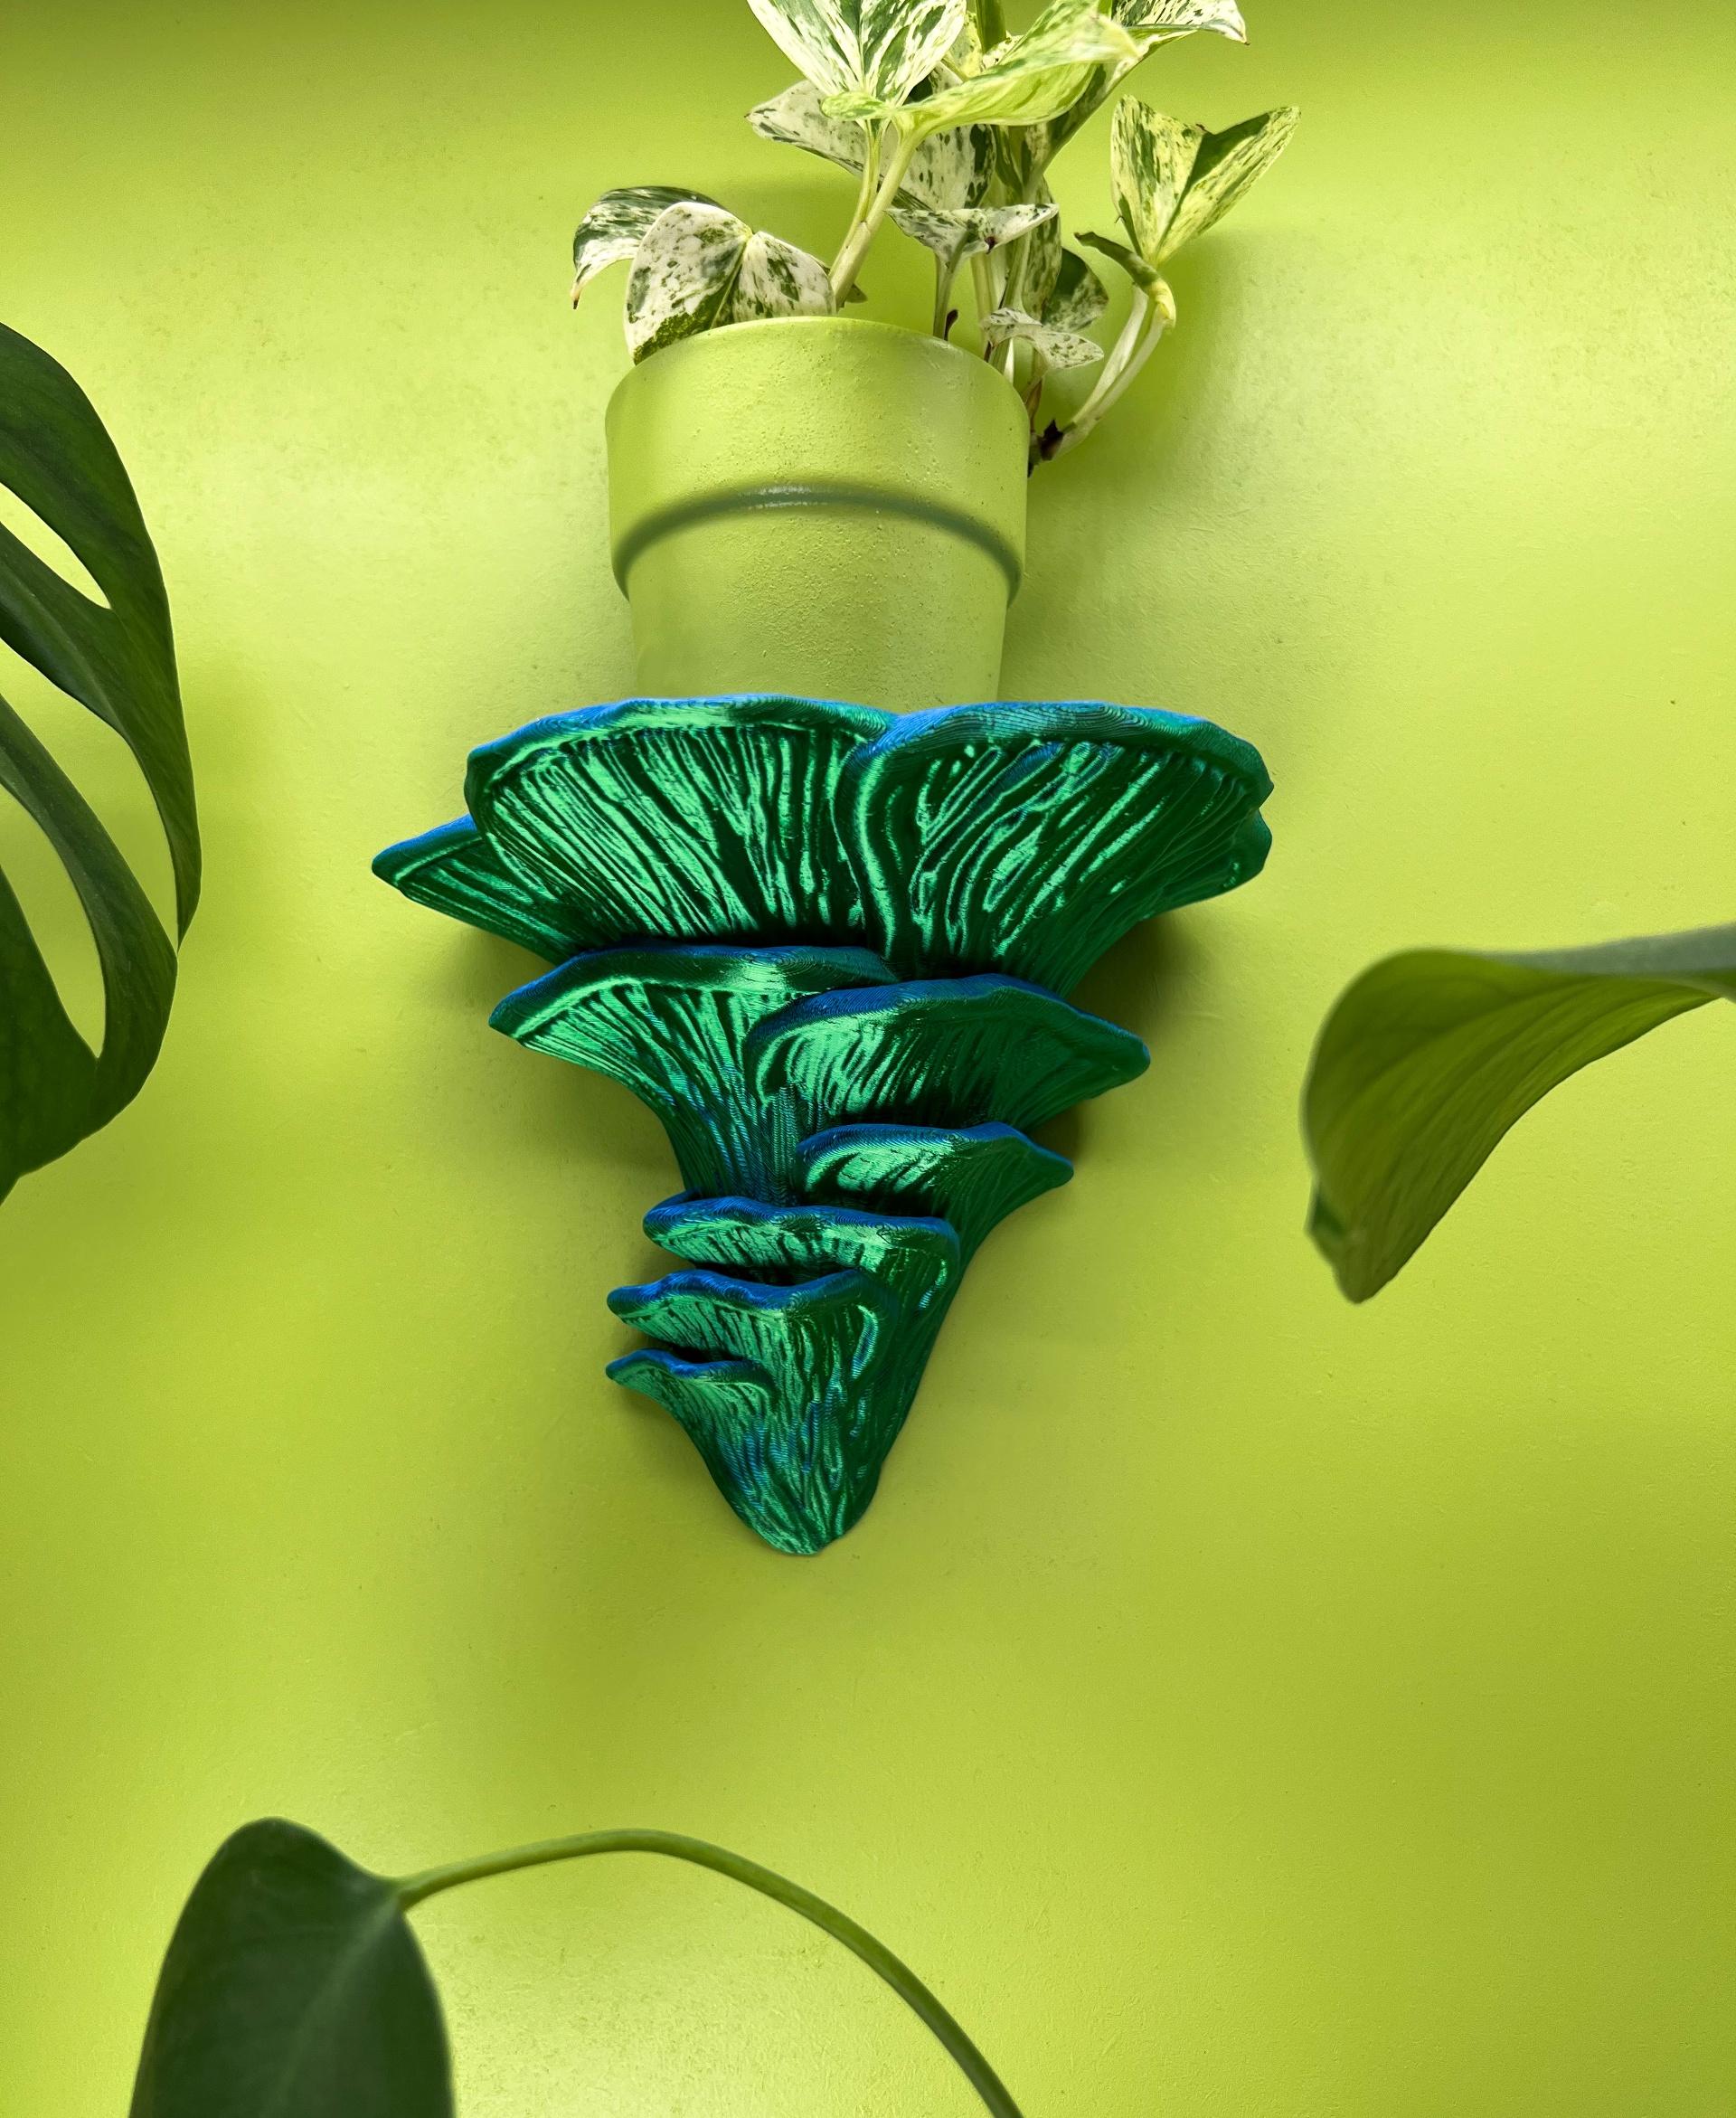
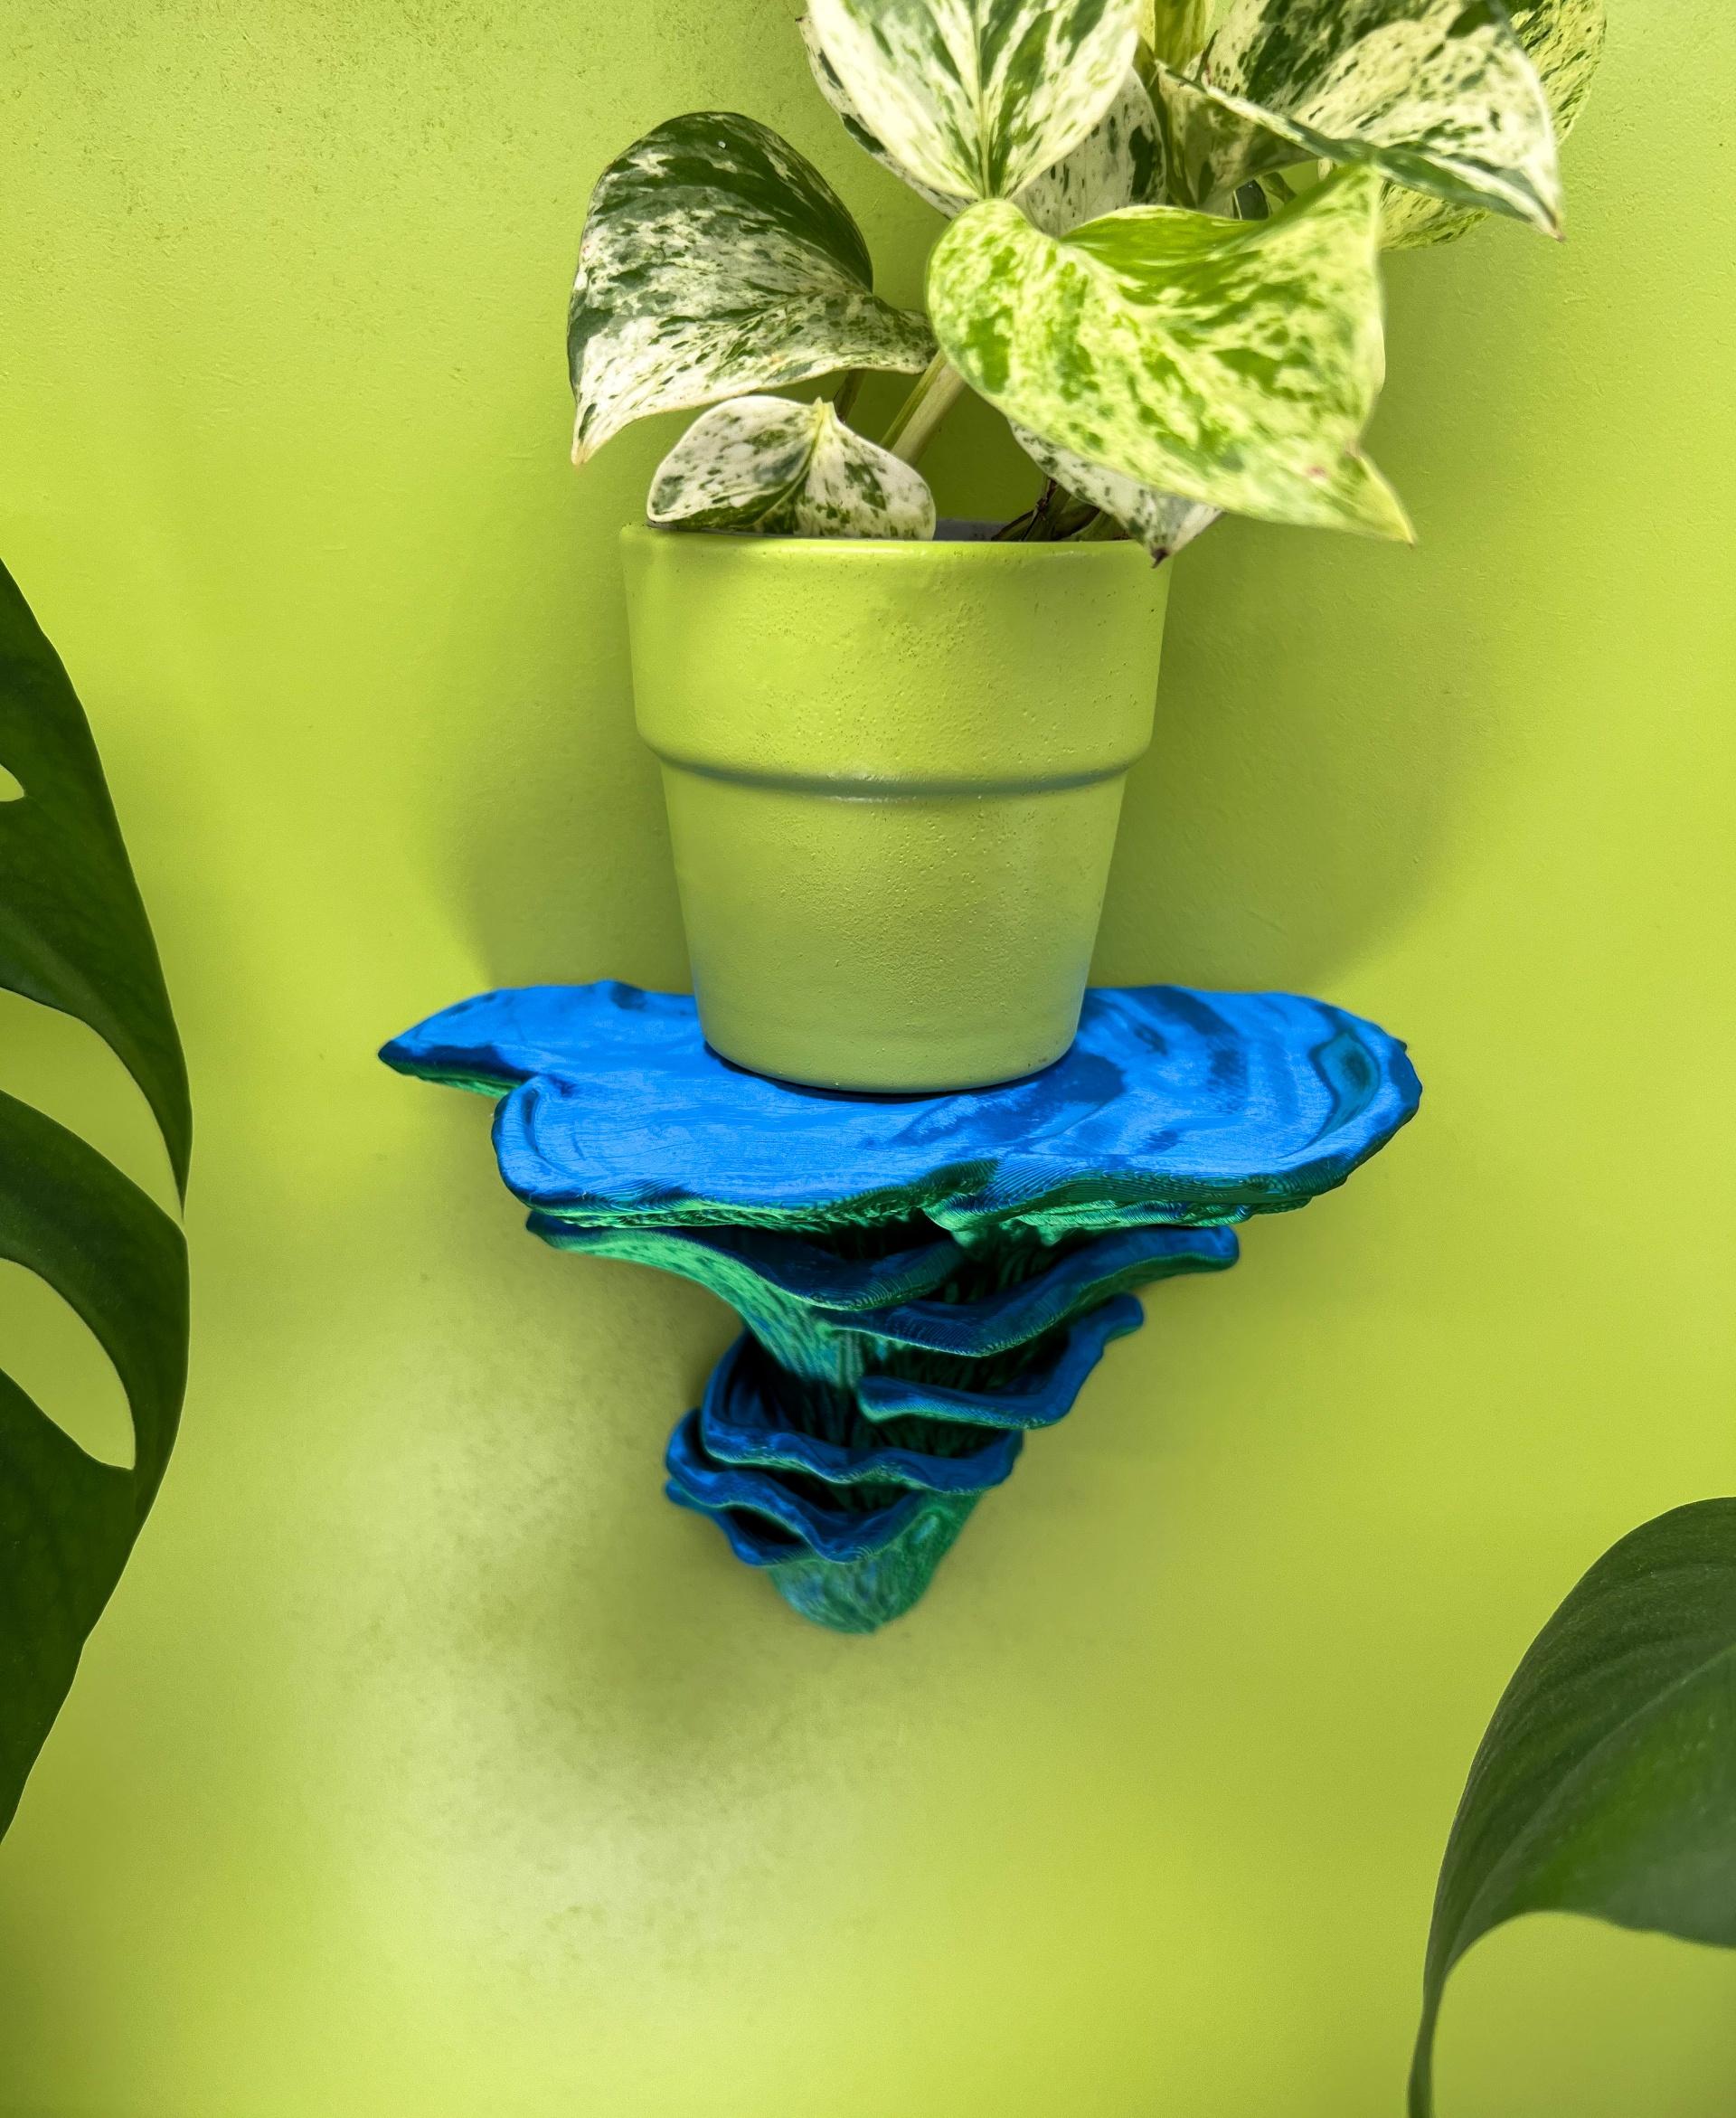


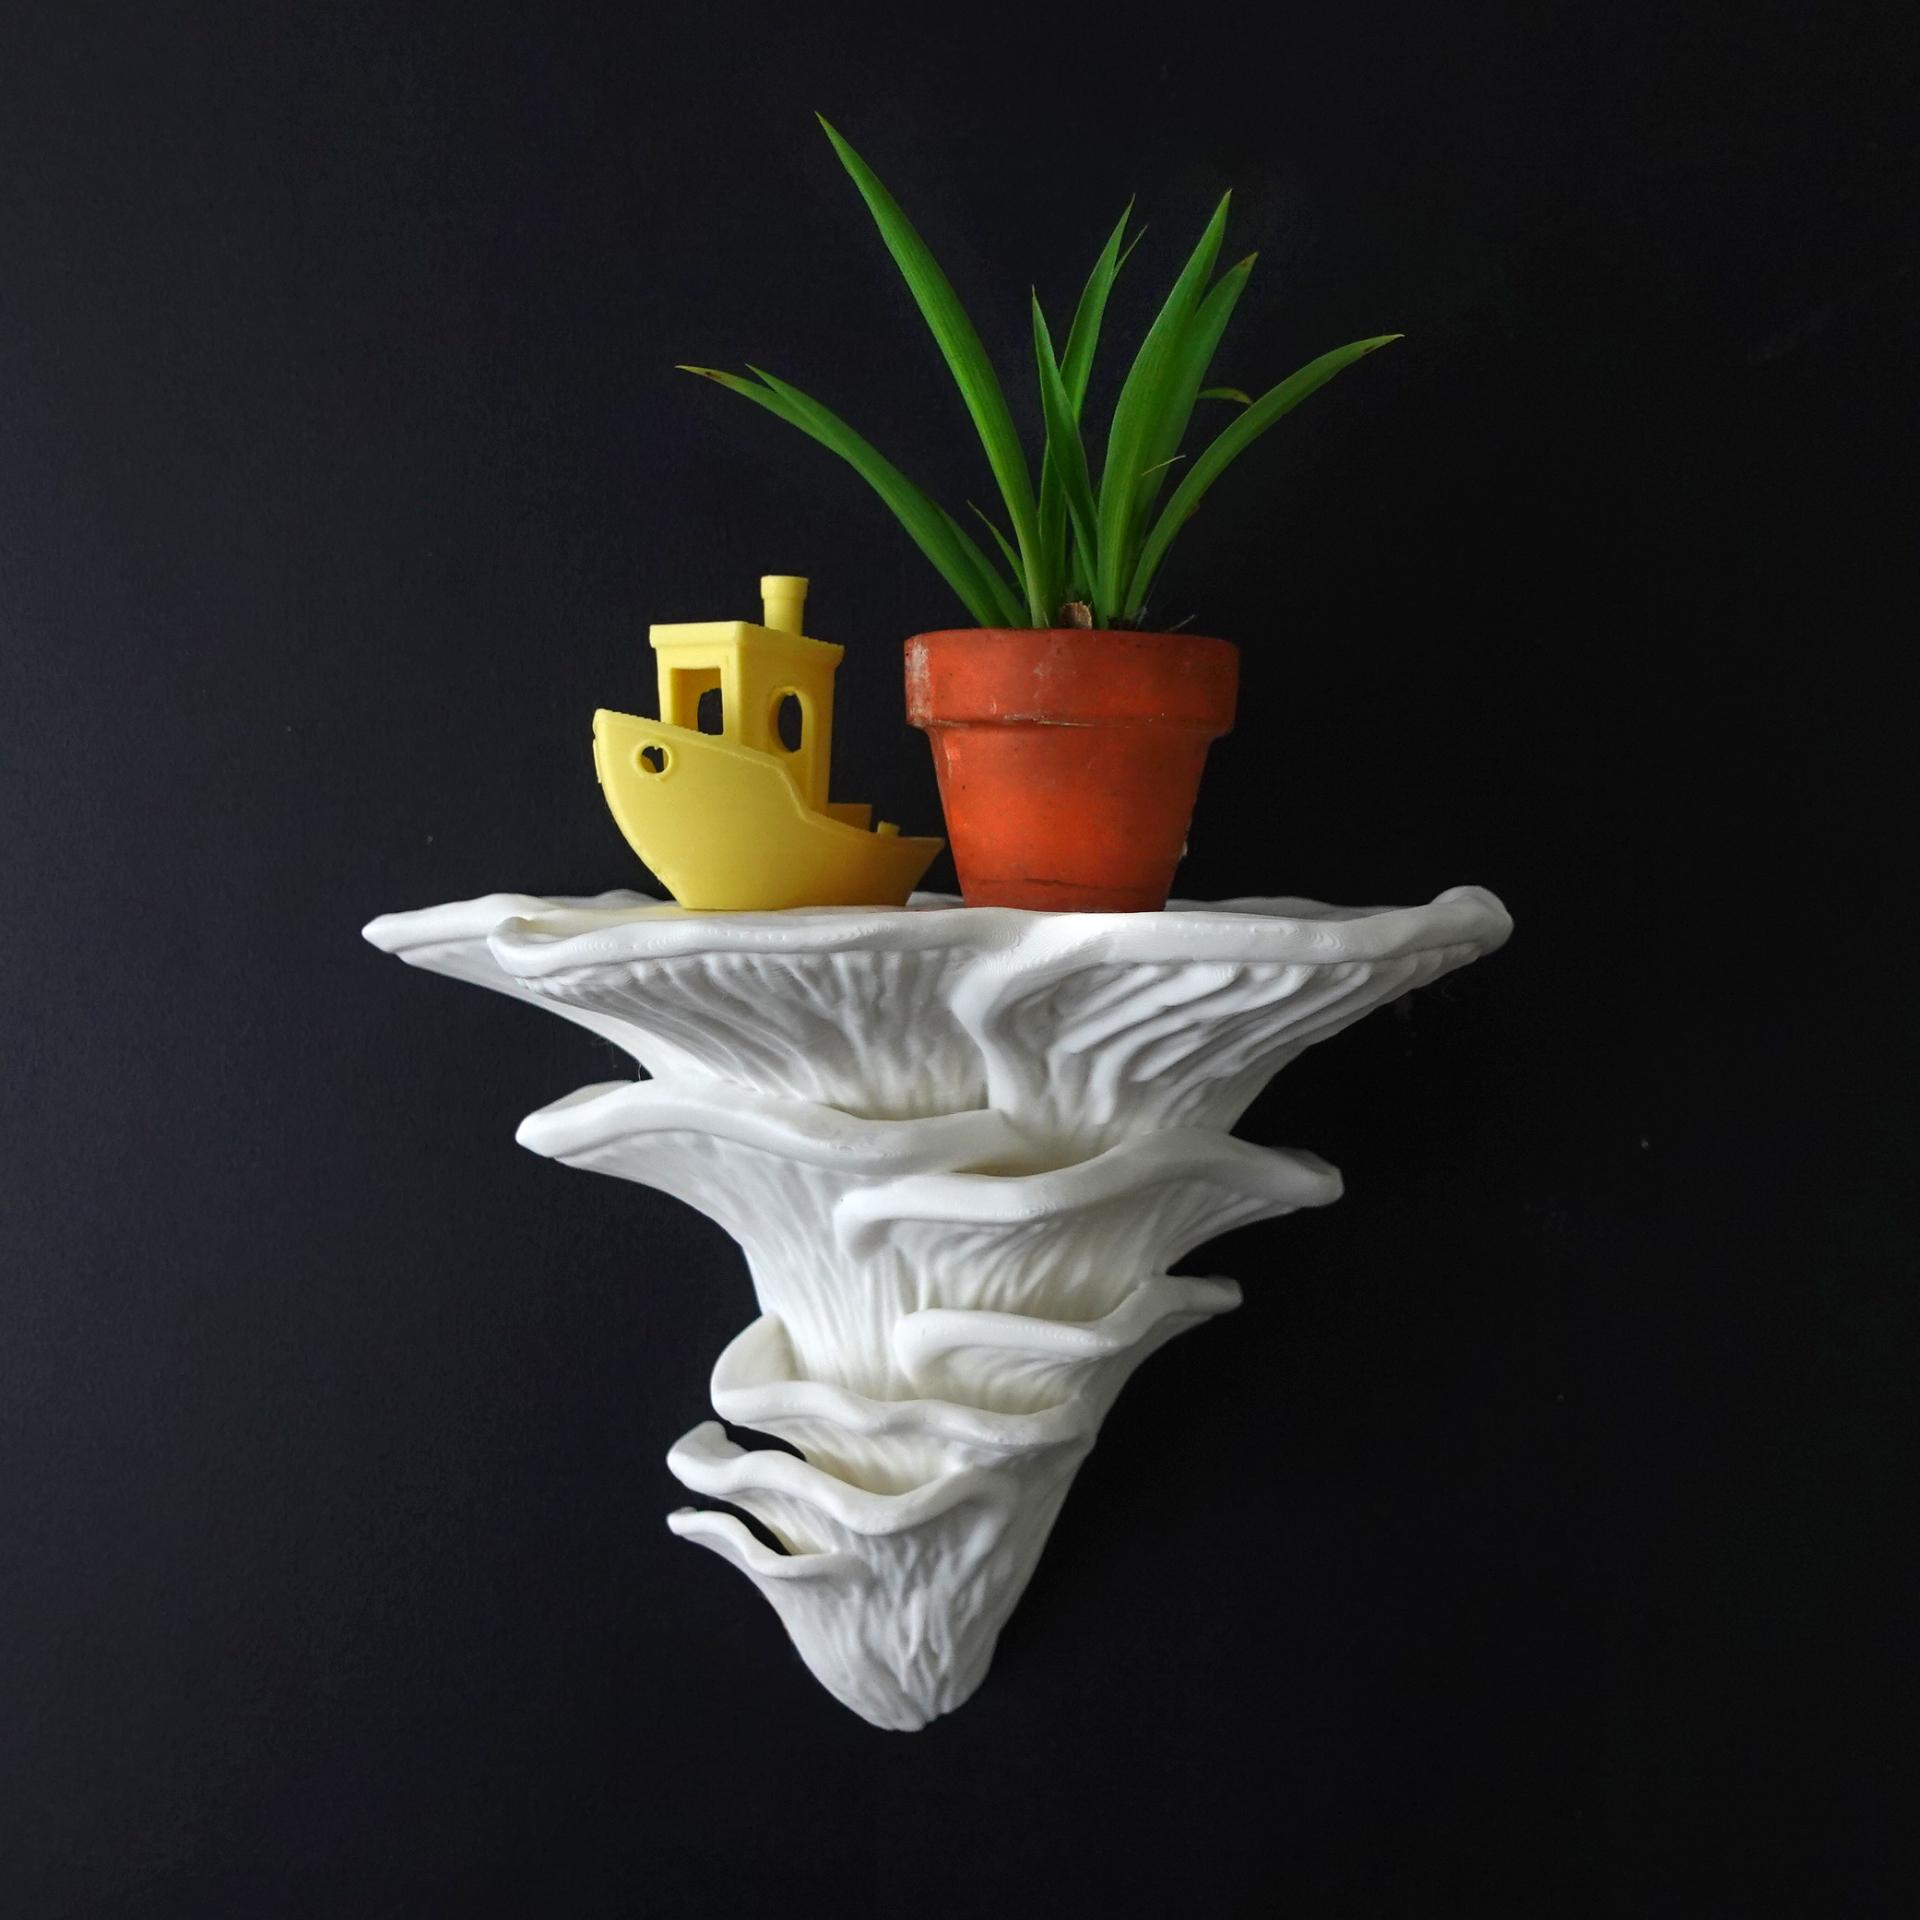
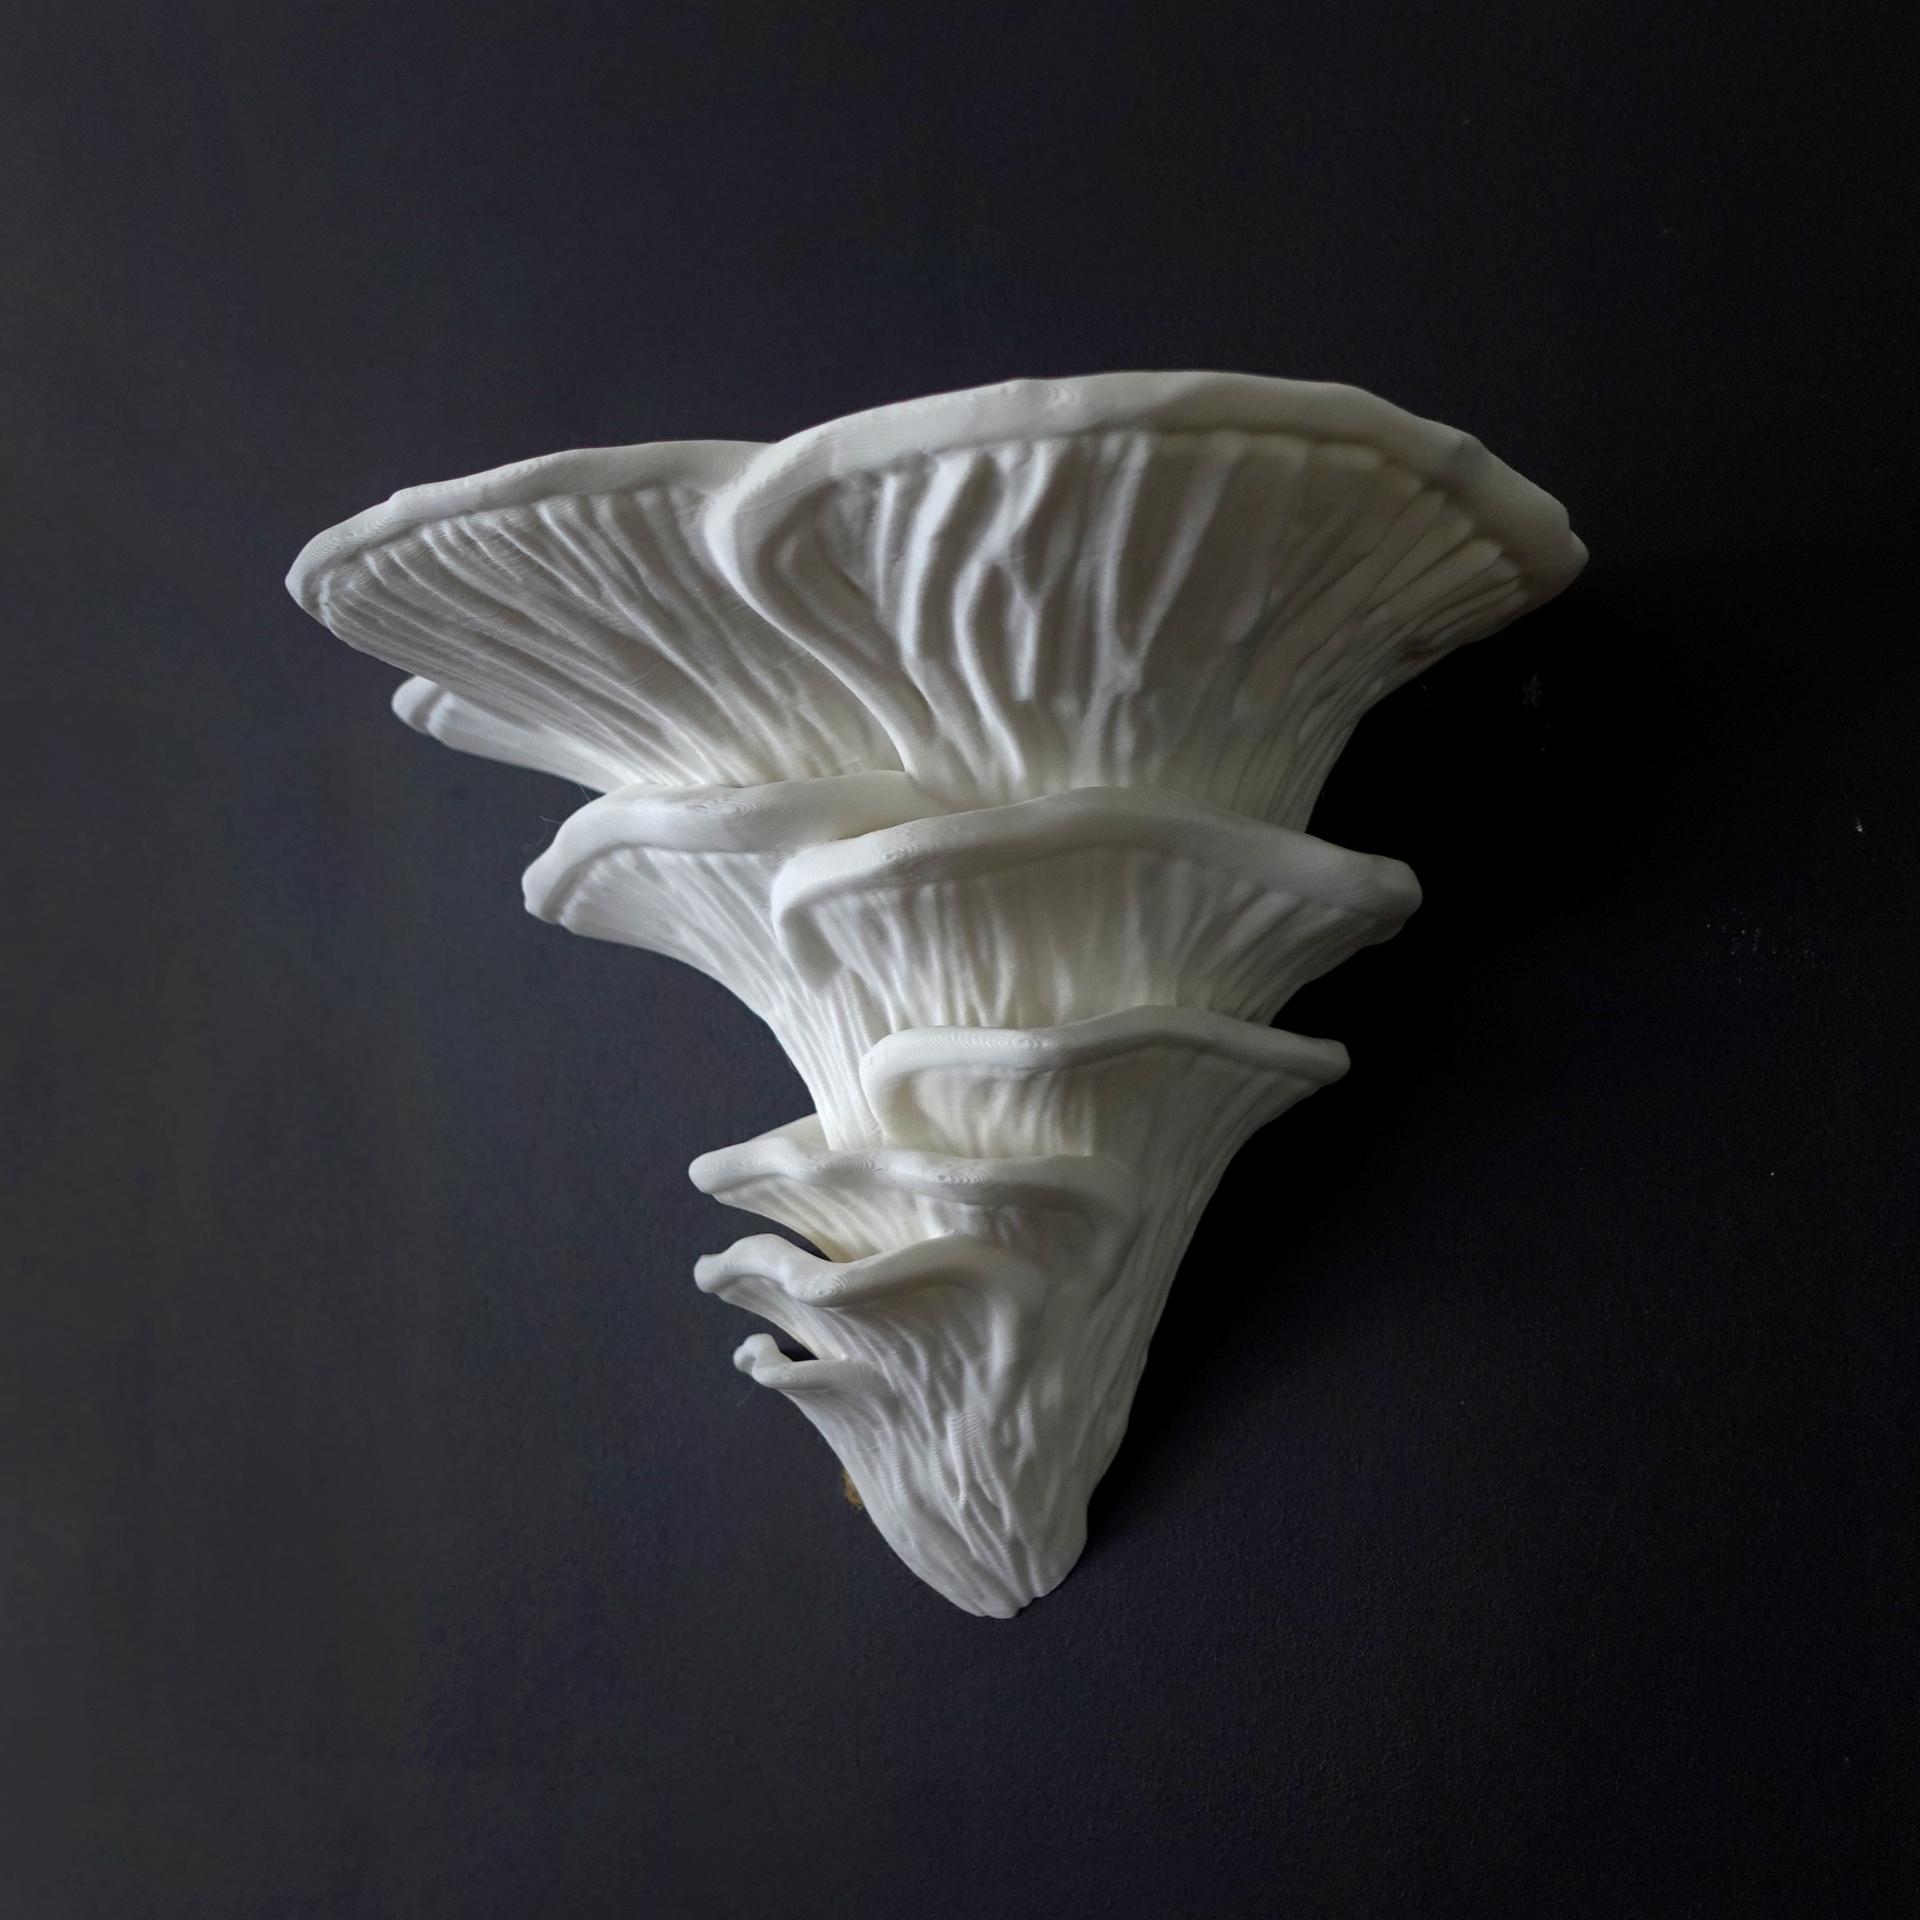
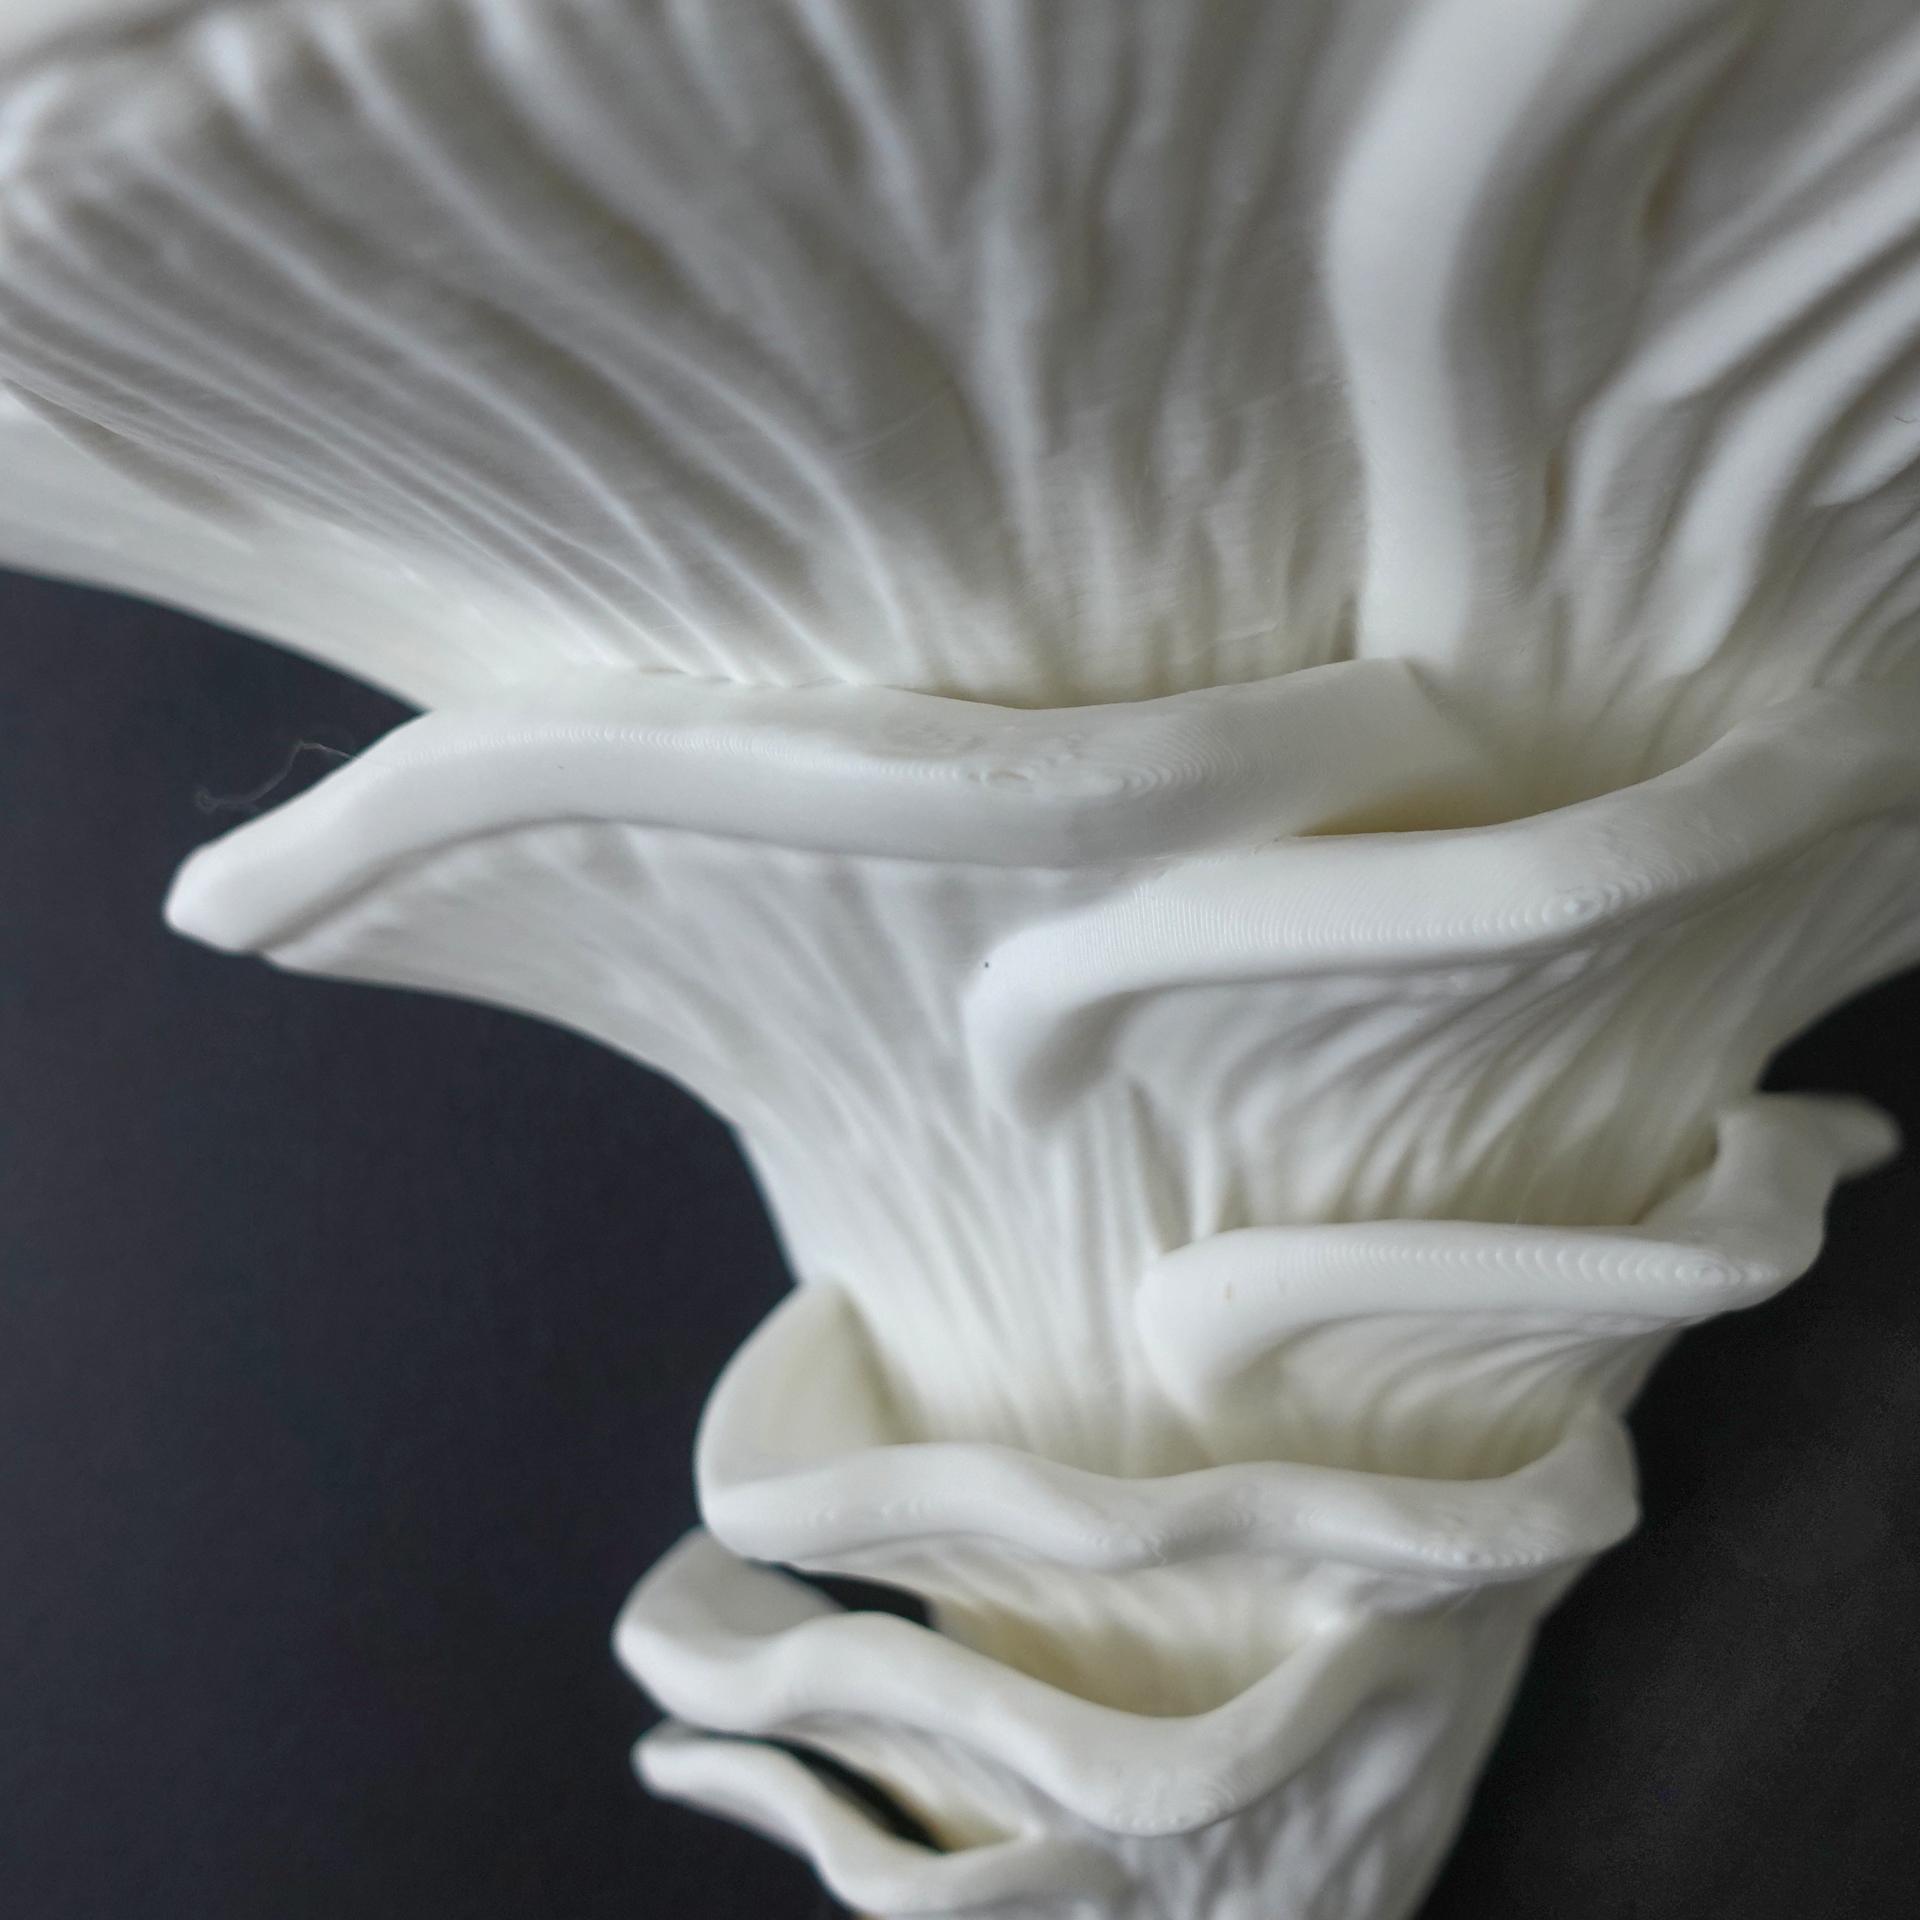
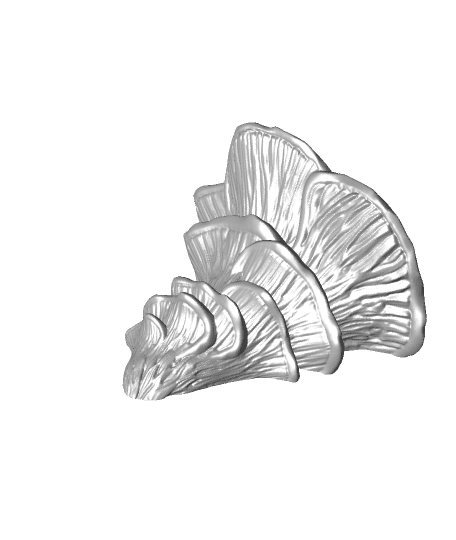
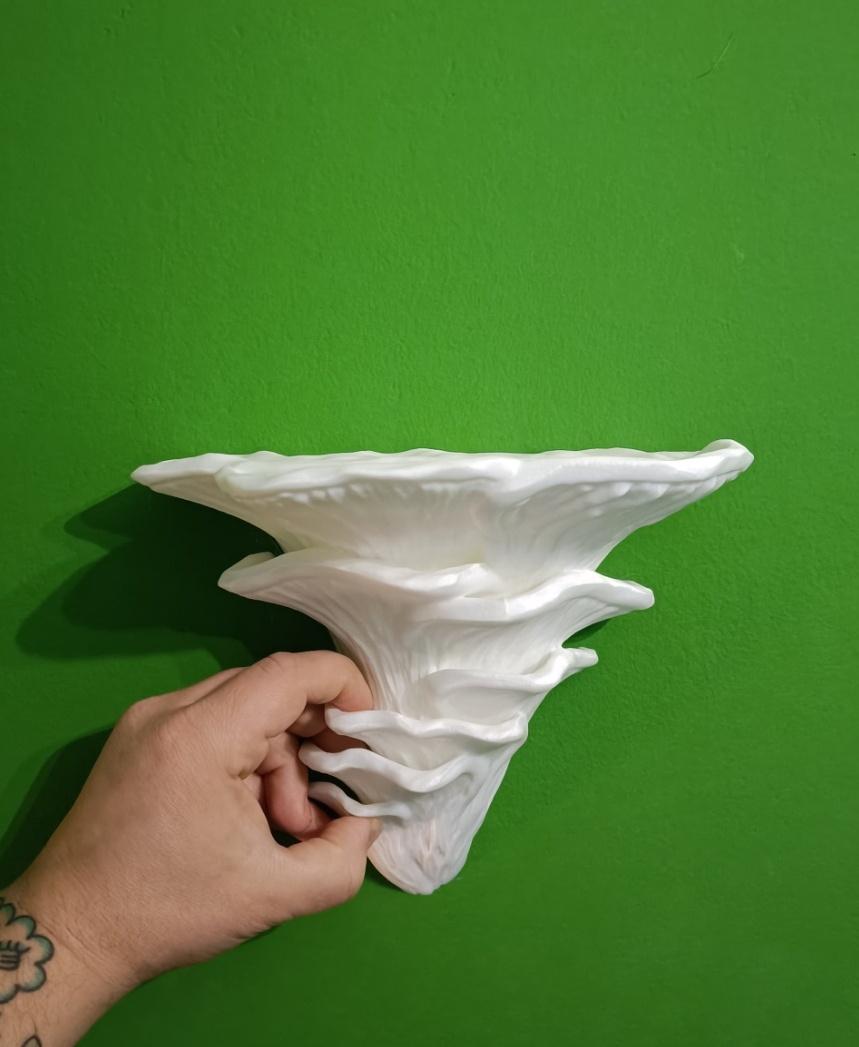
Mushroom shelf “Pleurotus Djamor”
393 downloads · 2 years ago · **An organic shelf that “grows” from your wall.**
If you need a small shelf for anything you want to
An organic shelf that “grows” from your wall. If you need a small shelf for anything you want to make visible every day (like your favorite Benchy or a small plant) this is the one for you.
Versions
- Djamorfungus_shelf_default: The default size
- Djamorfungus _holder_default: the holder for the default size with a screw-hole diameter of 5.5mm
- Djamorfungus _shelf_small: A mini version (60% scale)
- Djamorfungus _holder_small: A holder for the mini version – simply scaling down the default version would make the holder unusable
- Djamorfungus _shelf_no_holder: The Shelf without the cut-out intended for scaling down below the mini version – must be mounted with glue or tape
- Djamorfungus _holder_for_upscaling: If you want a huge version, scale up the default shelf and use this holder – the only difference is the screw-hole size of 3mm that will be usable when scaled.
- Djamorfungus_shelf_magnet_internal: A version for making a fridge magnet with mid-printing insertion (40% scale)
- Djamorfungus_shelf_magnet_external: A version for making a fridge magnet (40% scale)
Instructions
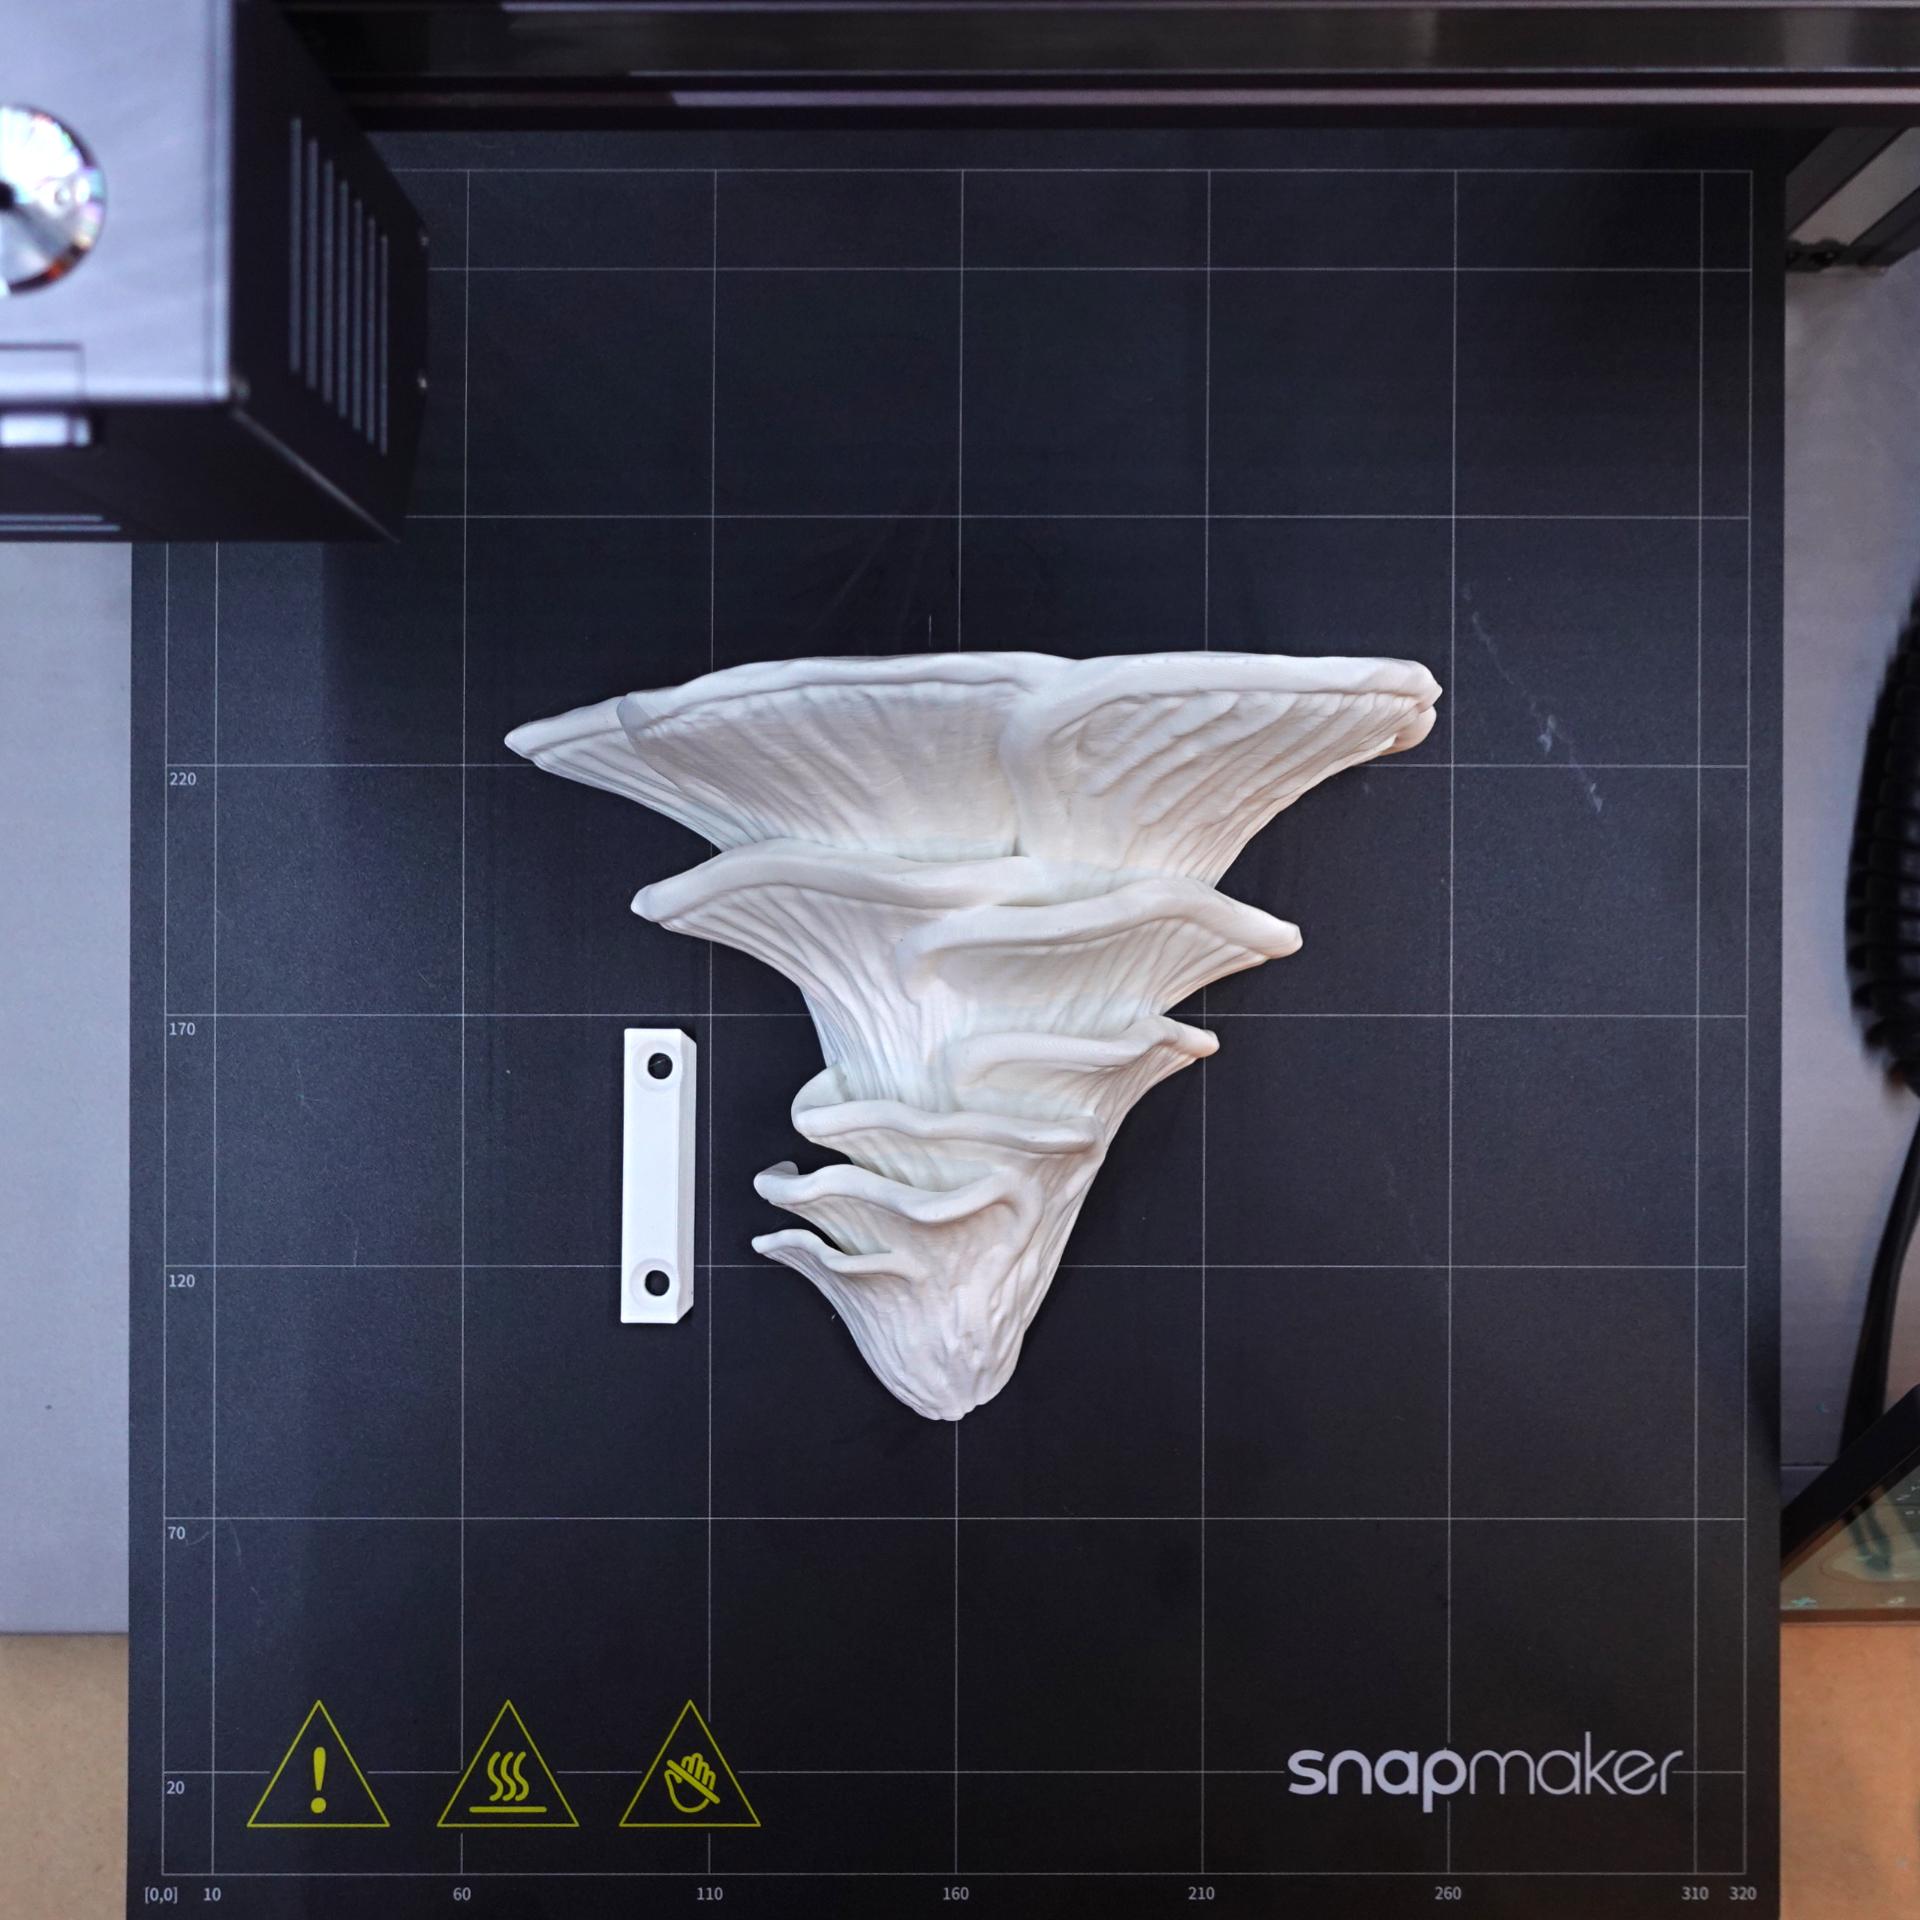
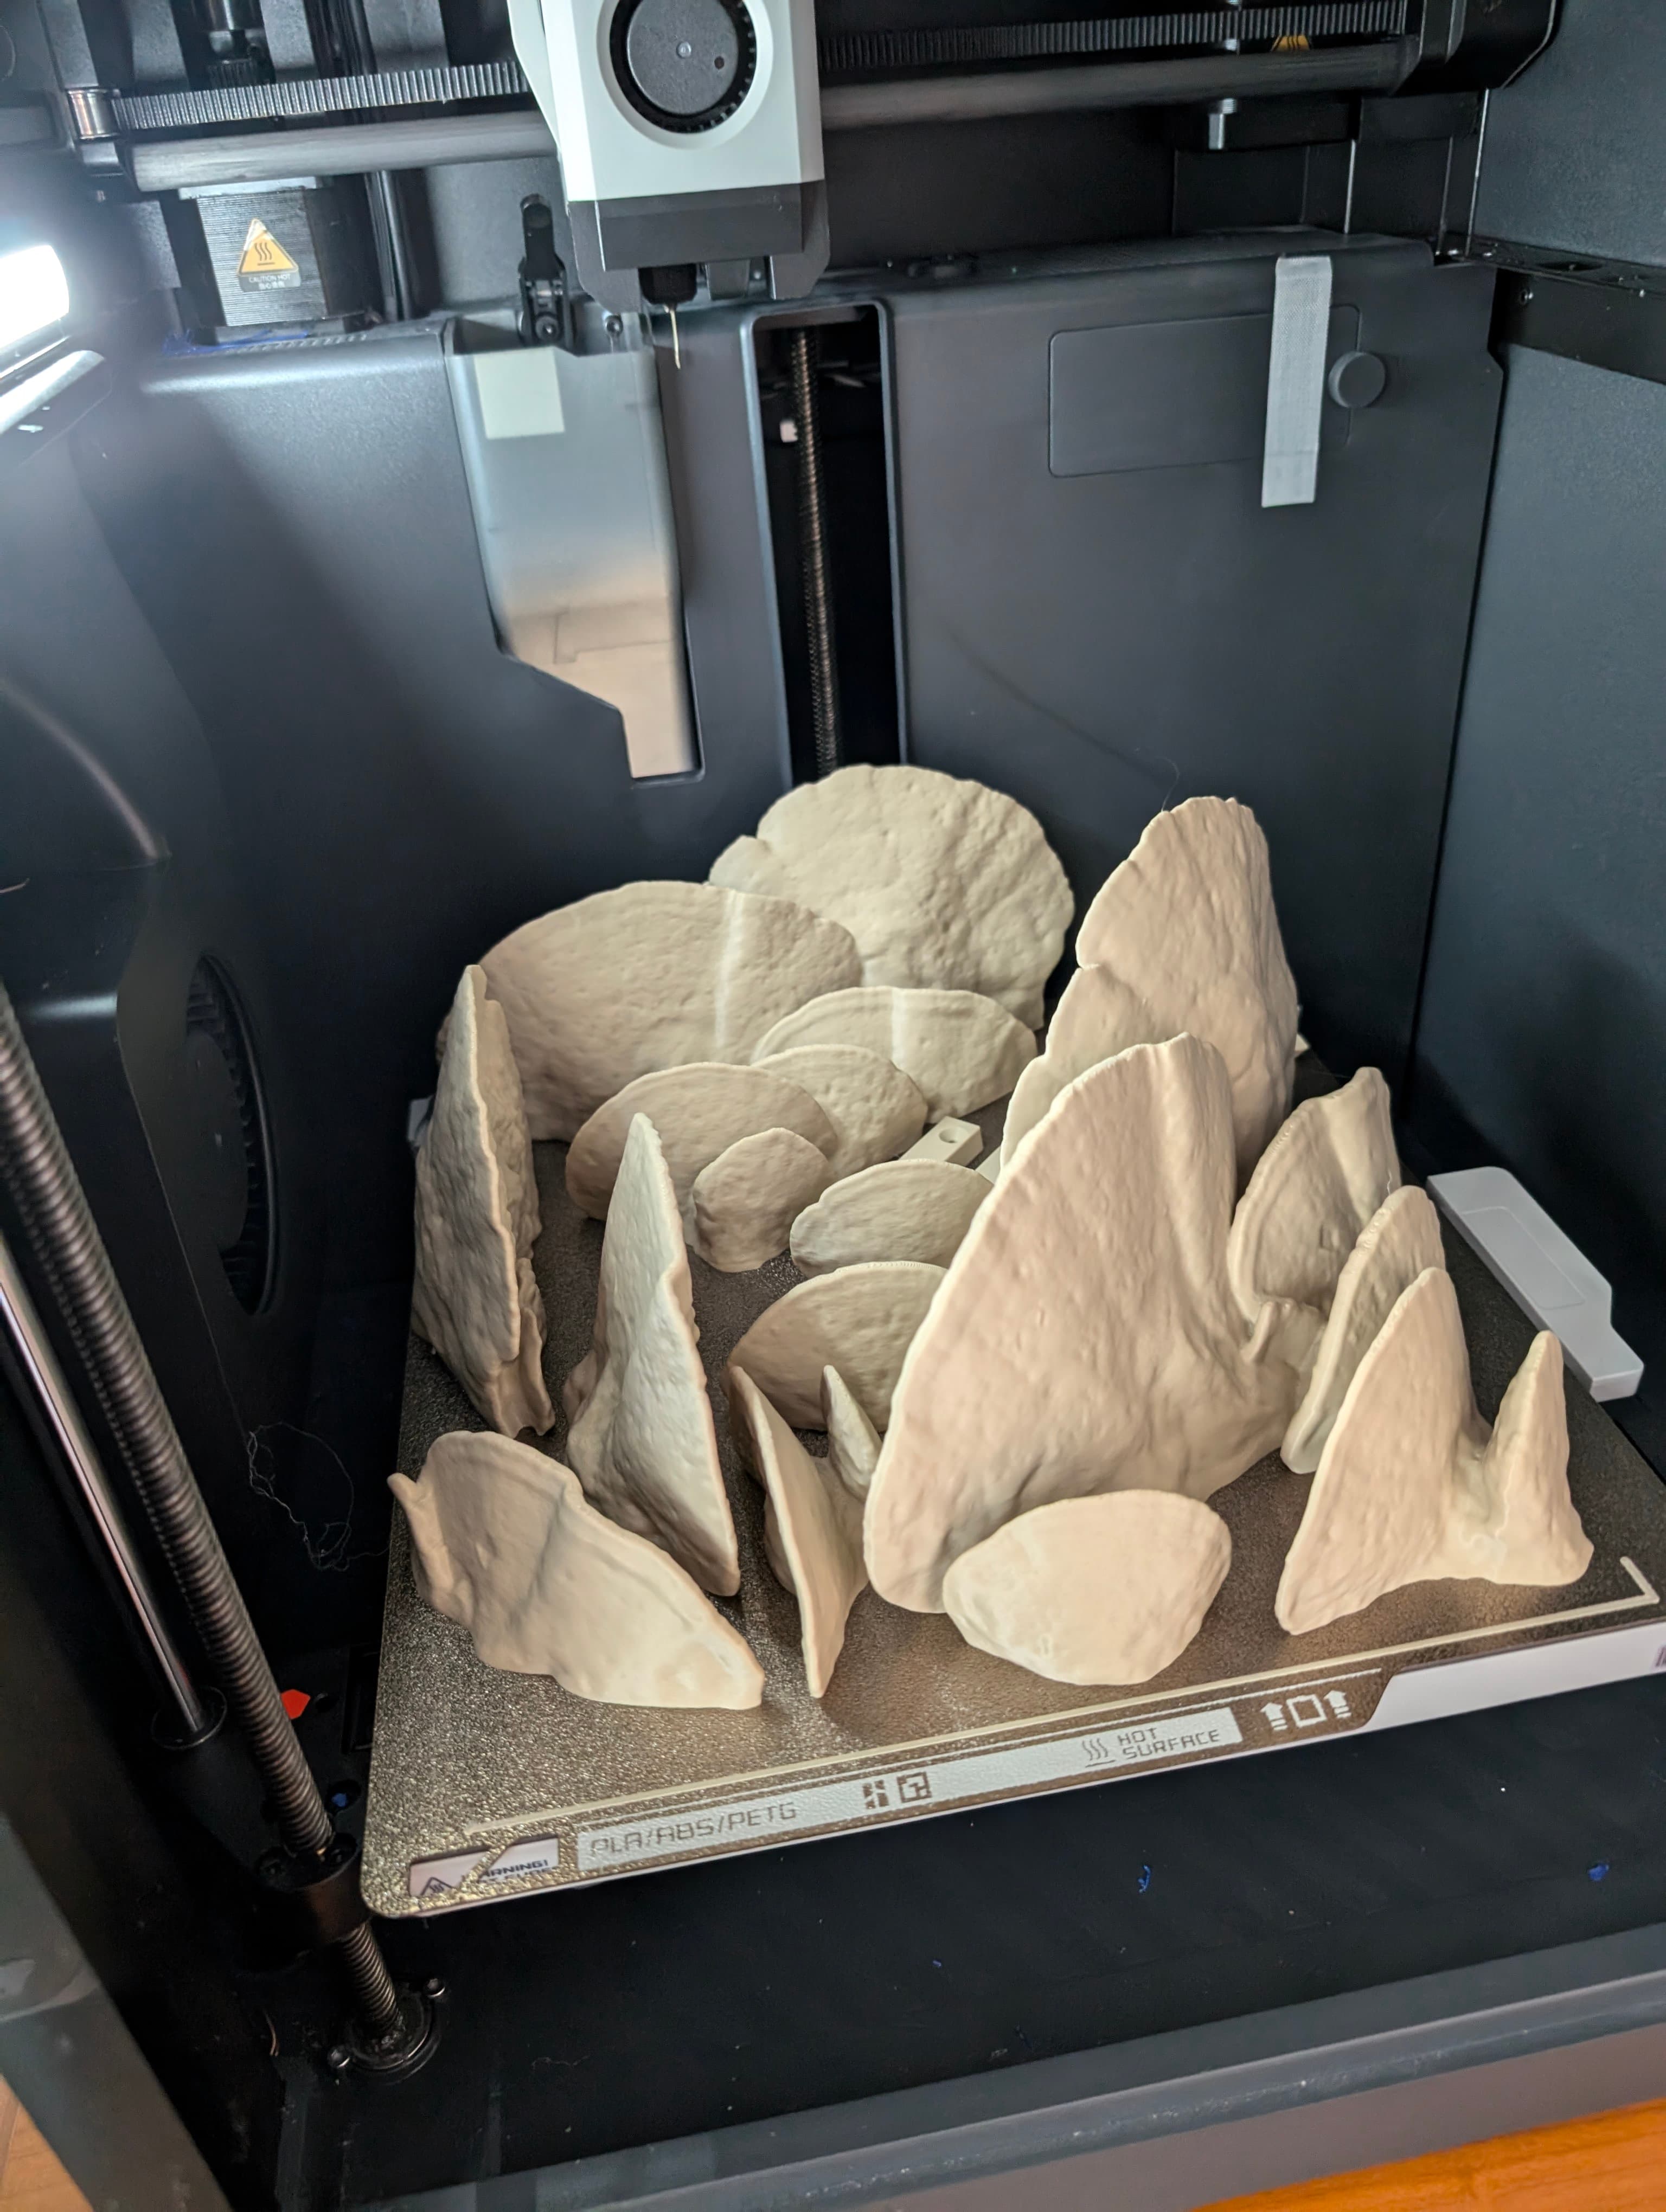
- Print the shelf and holder
- You can either screw or glue it onto your wall. There are various glue or tape products for wall fixation out there. I used 3M Tape. Old fashioned screws and dowels are the most reliable fixation.
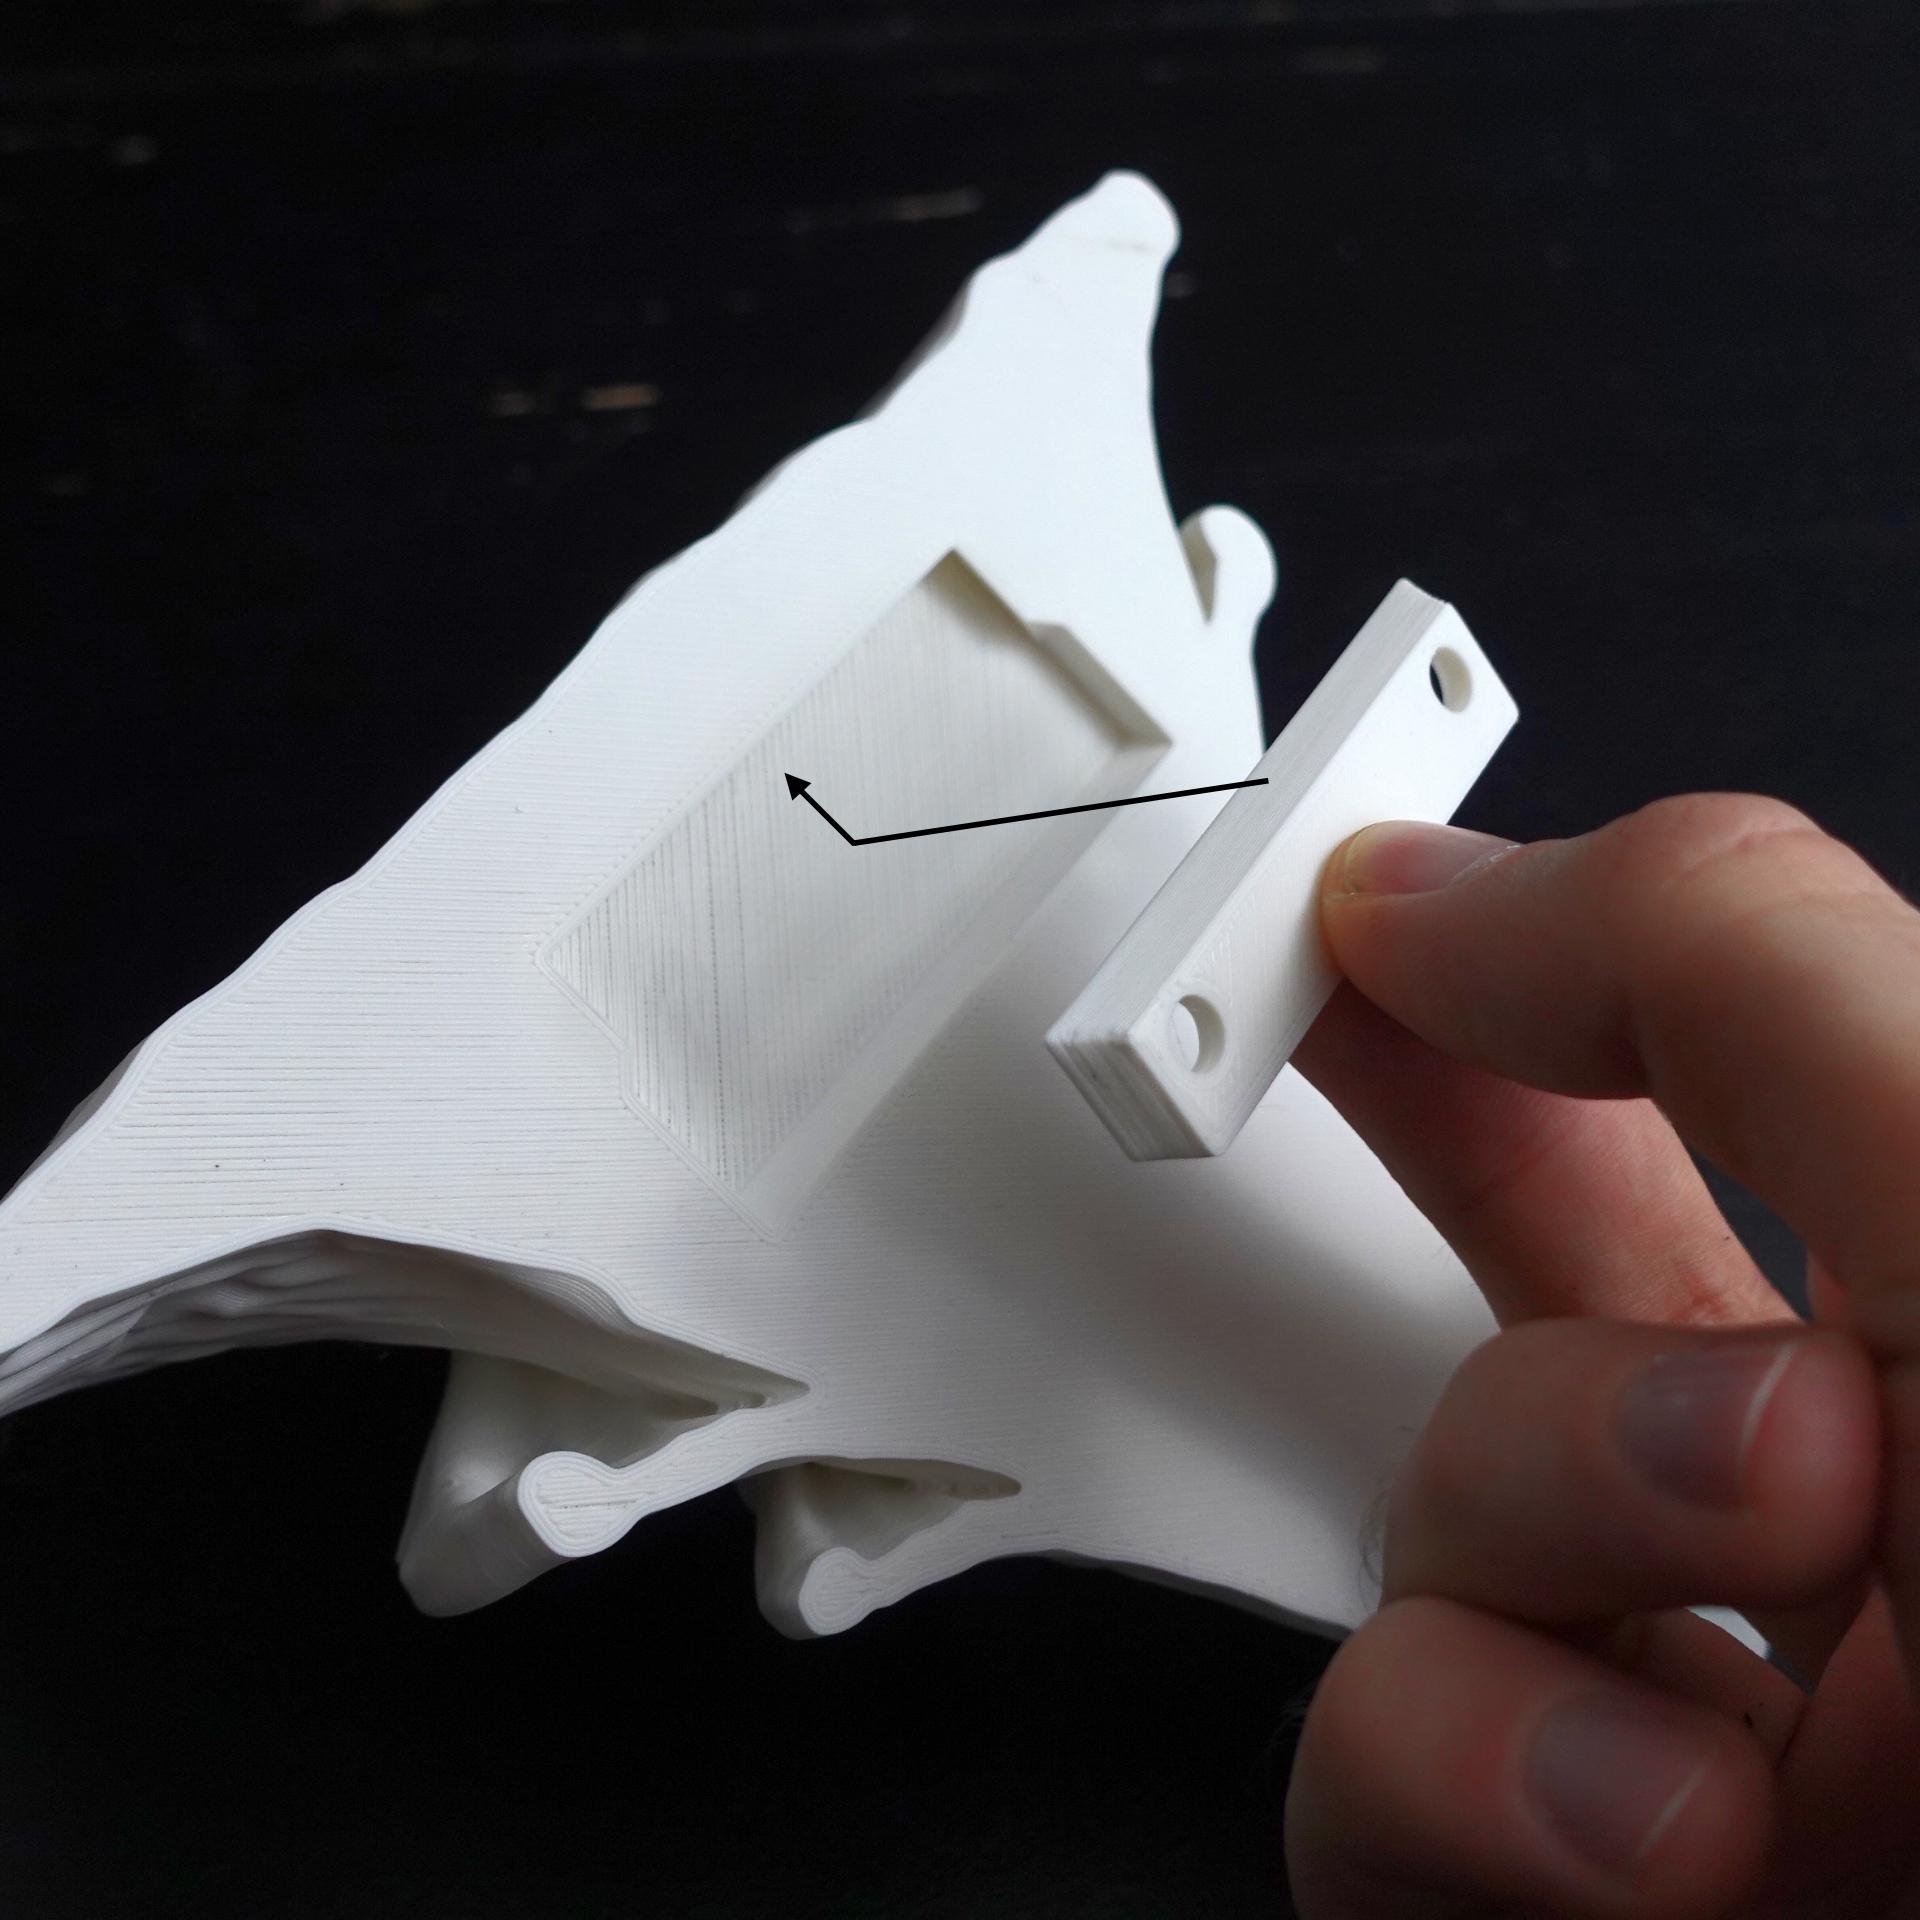
- Insert the shelf by moving it horizontally onto the holder until the holder is completely inside the cutout. Then proceed to move the shelf down and the holder locks. 4.Enjoy!
Instructions fridge magnet Magnet required: a 20 x 2 mm neodymium magnet
Internal magnet
- The internal magnet shelf file has a cutout inside to place a magnet during the printing process. All mushroom wall shelf designs have the cutout at the same height – so you can print all of them at the same time.
- Use a copper nozzle for printing (nonmagnetic)
- Slice the file and check the layer height of the last layer before the bridging over the hollow cutout starts. With a 0.4mm nozzle it should be at layer 15. Implement a pause after that layer with your slicer.
- Start the print
- At the pause insert the magnet and continue printing. As always be careful with magnets and electronic parts!
External magnet
- Print the file
- Glue in the magnet after the printing process – the cut-out is sized to let the magnet stand out just a bit
Size default assembled: 176 mm x 104 mm x 141 mm
Print settings Required build volume: 180mm x180mm x 110 mm Material usage: 160g Print time: 12h
Material: PLA Print direction: stls are rotated correctly, check images Support: none Nozzle size: 0,4 mm Line width: 0,4 mm Layer height 0,2 mm Outer walls: 3 Infill: 15% Build plate adhesion type: none