Soap dispenser “bubbles”
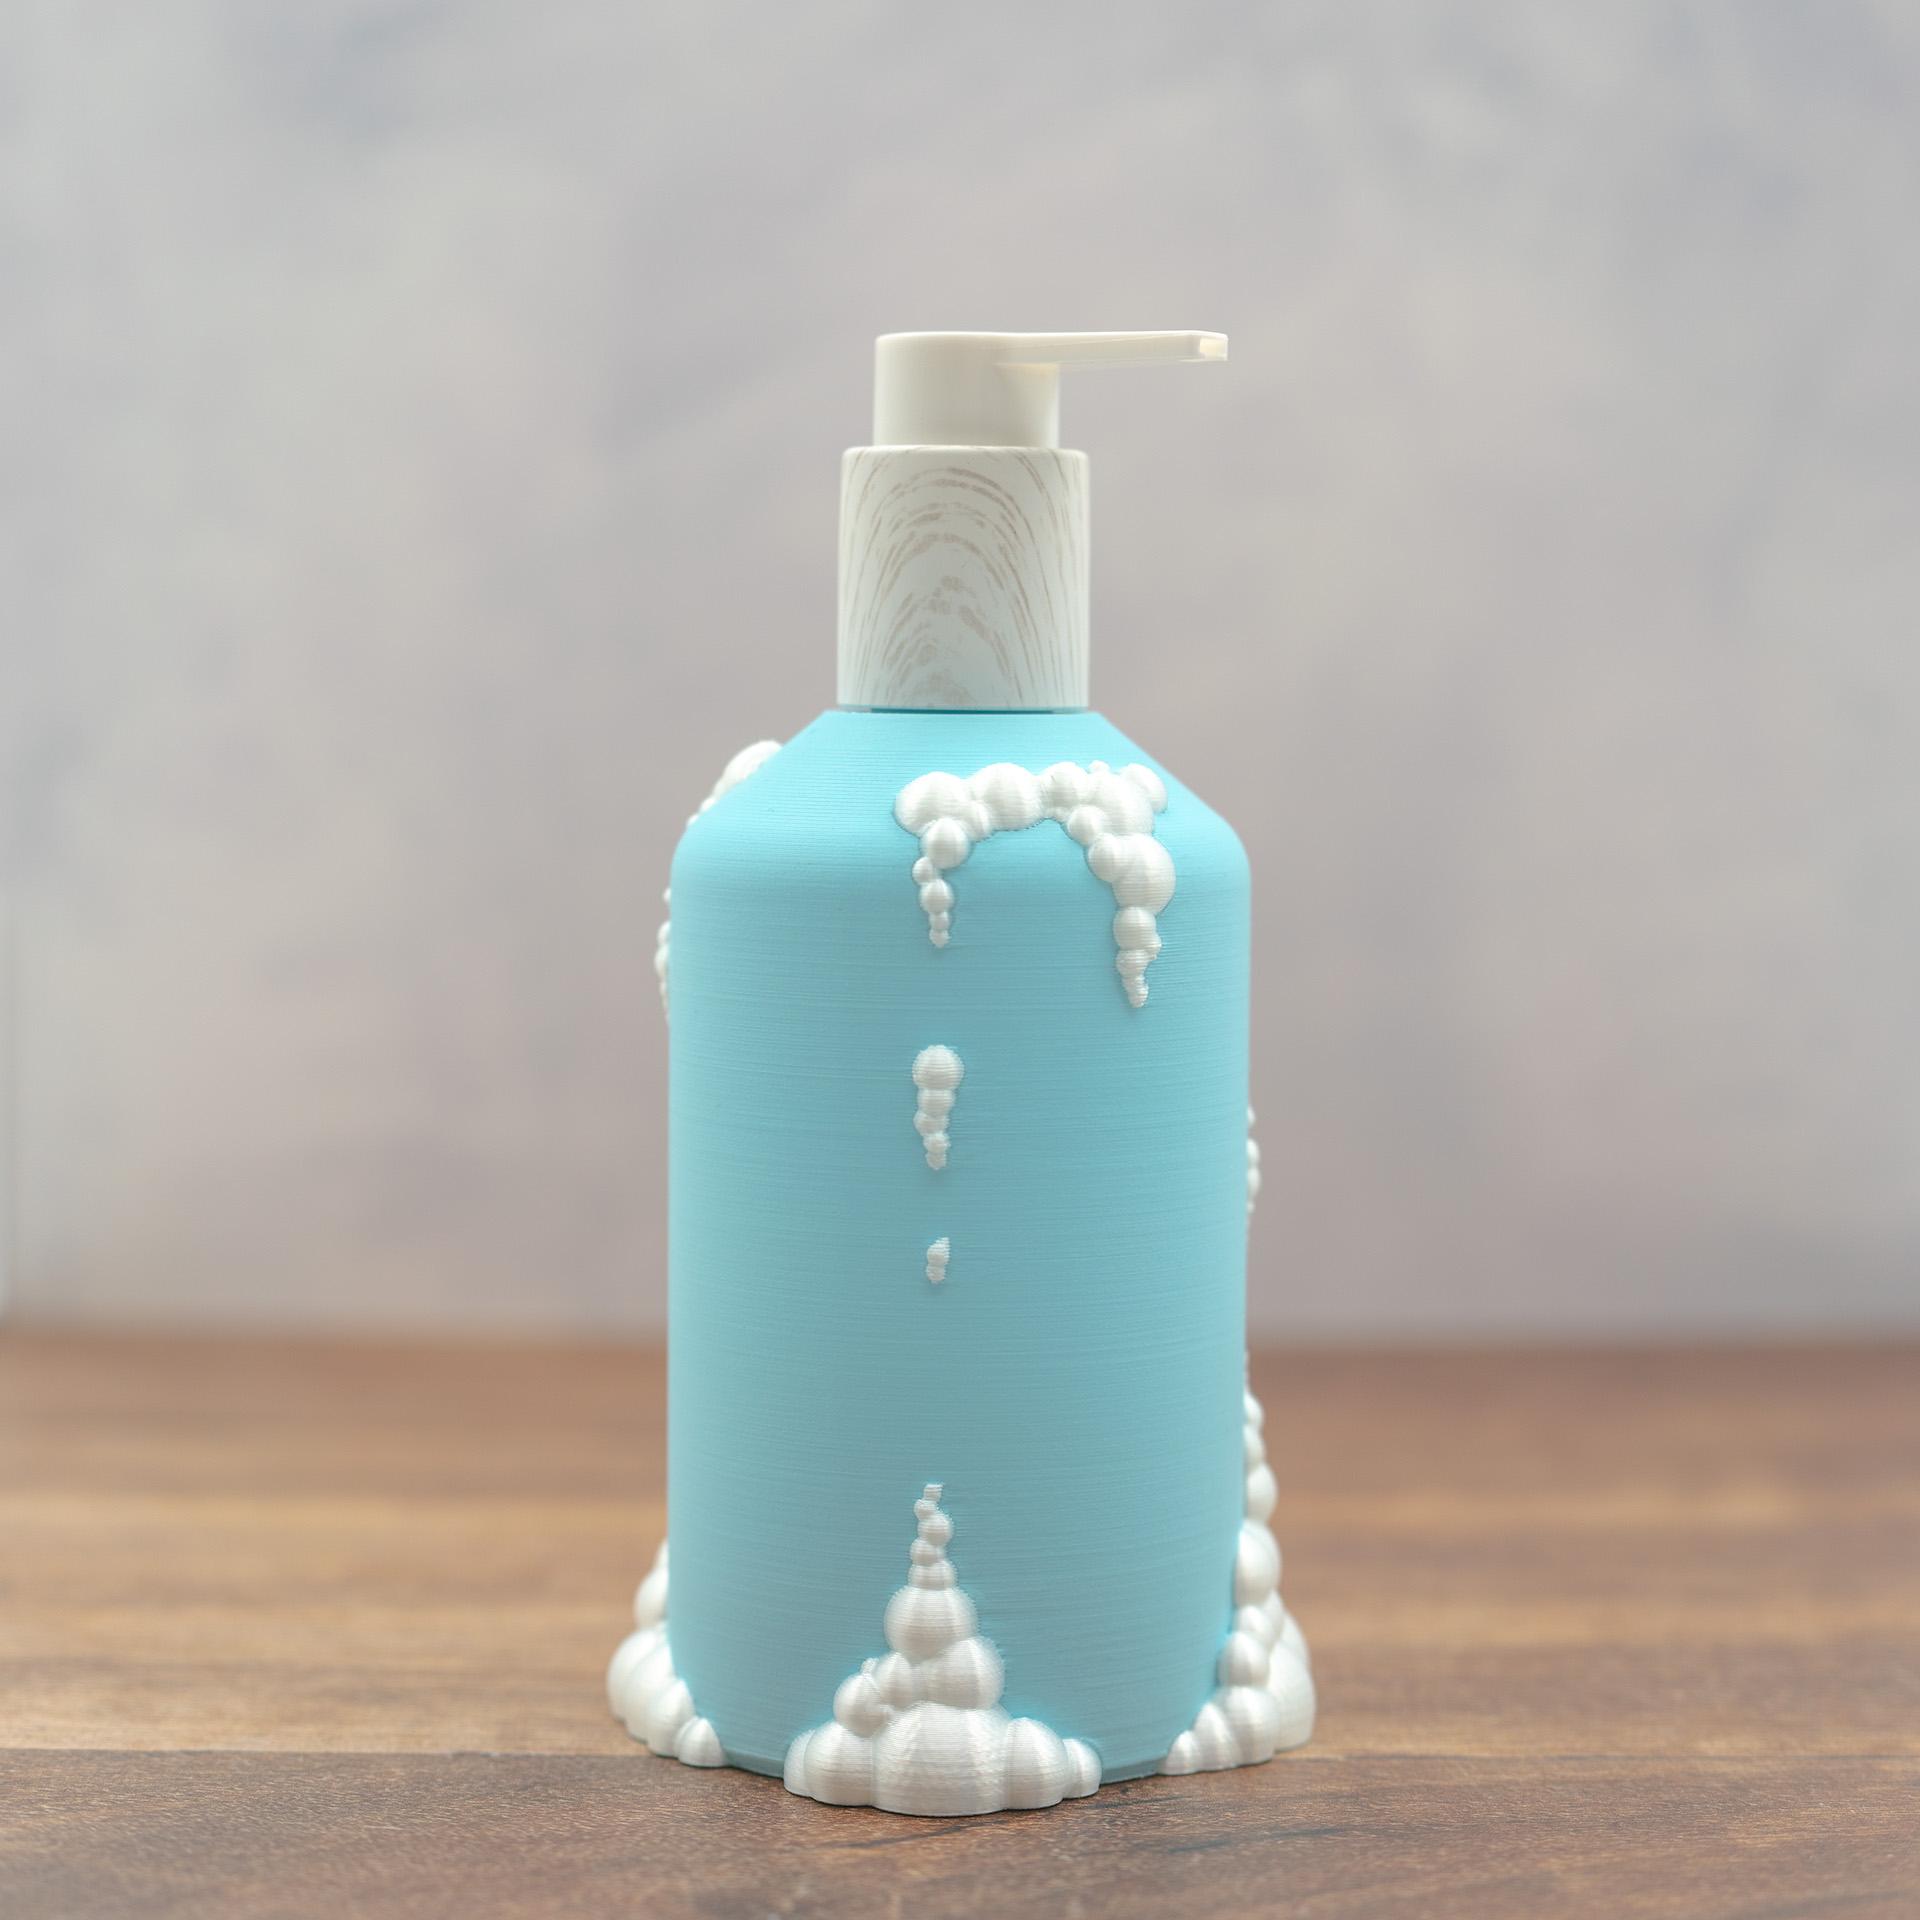
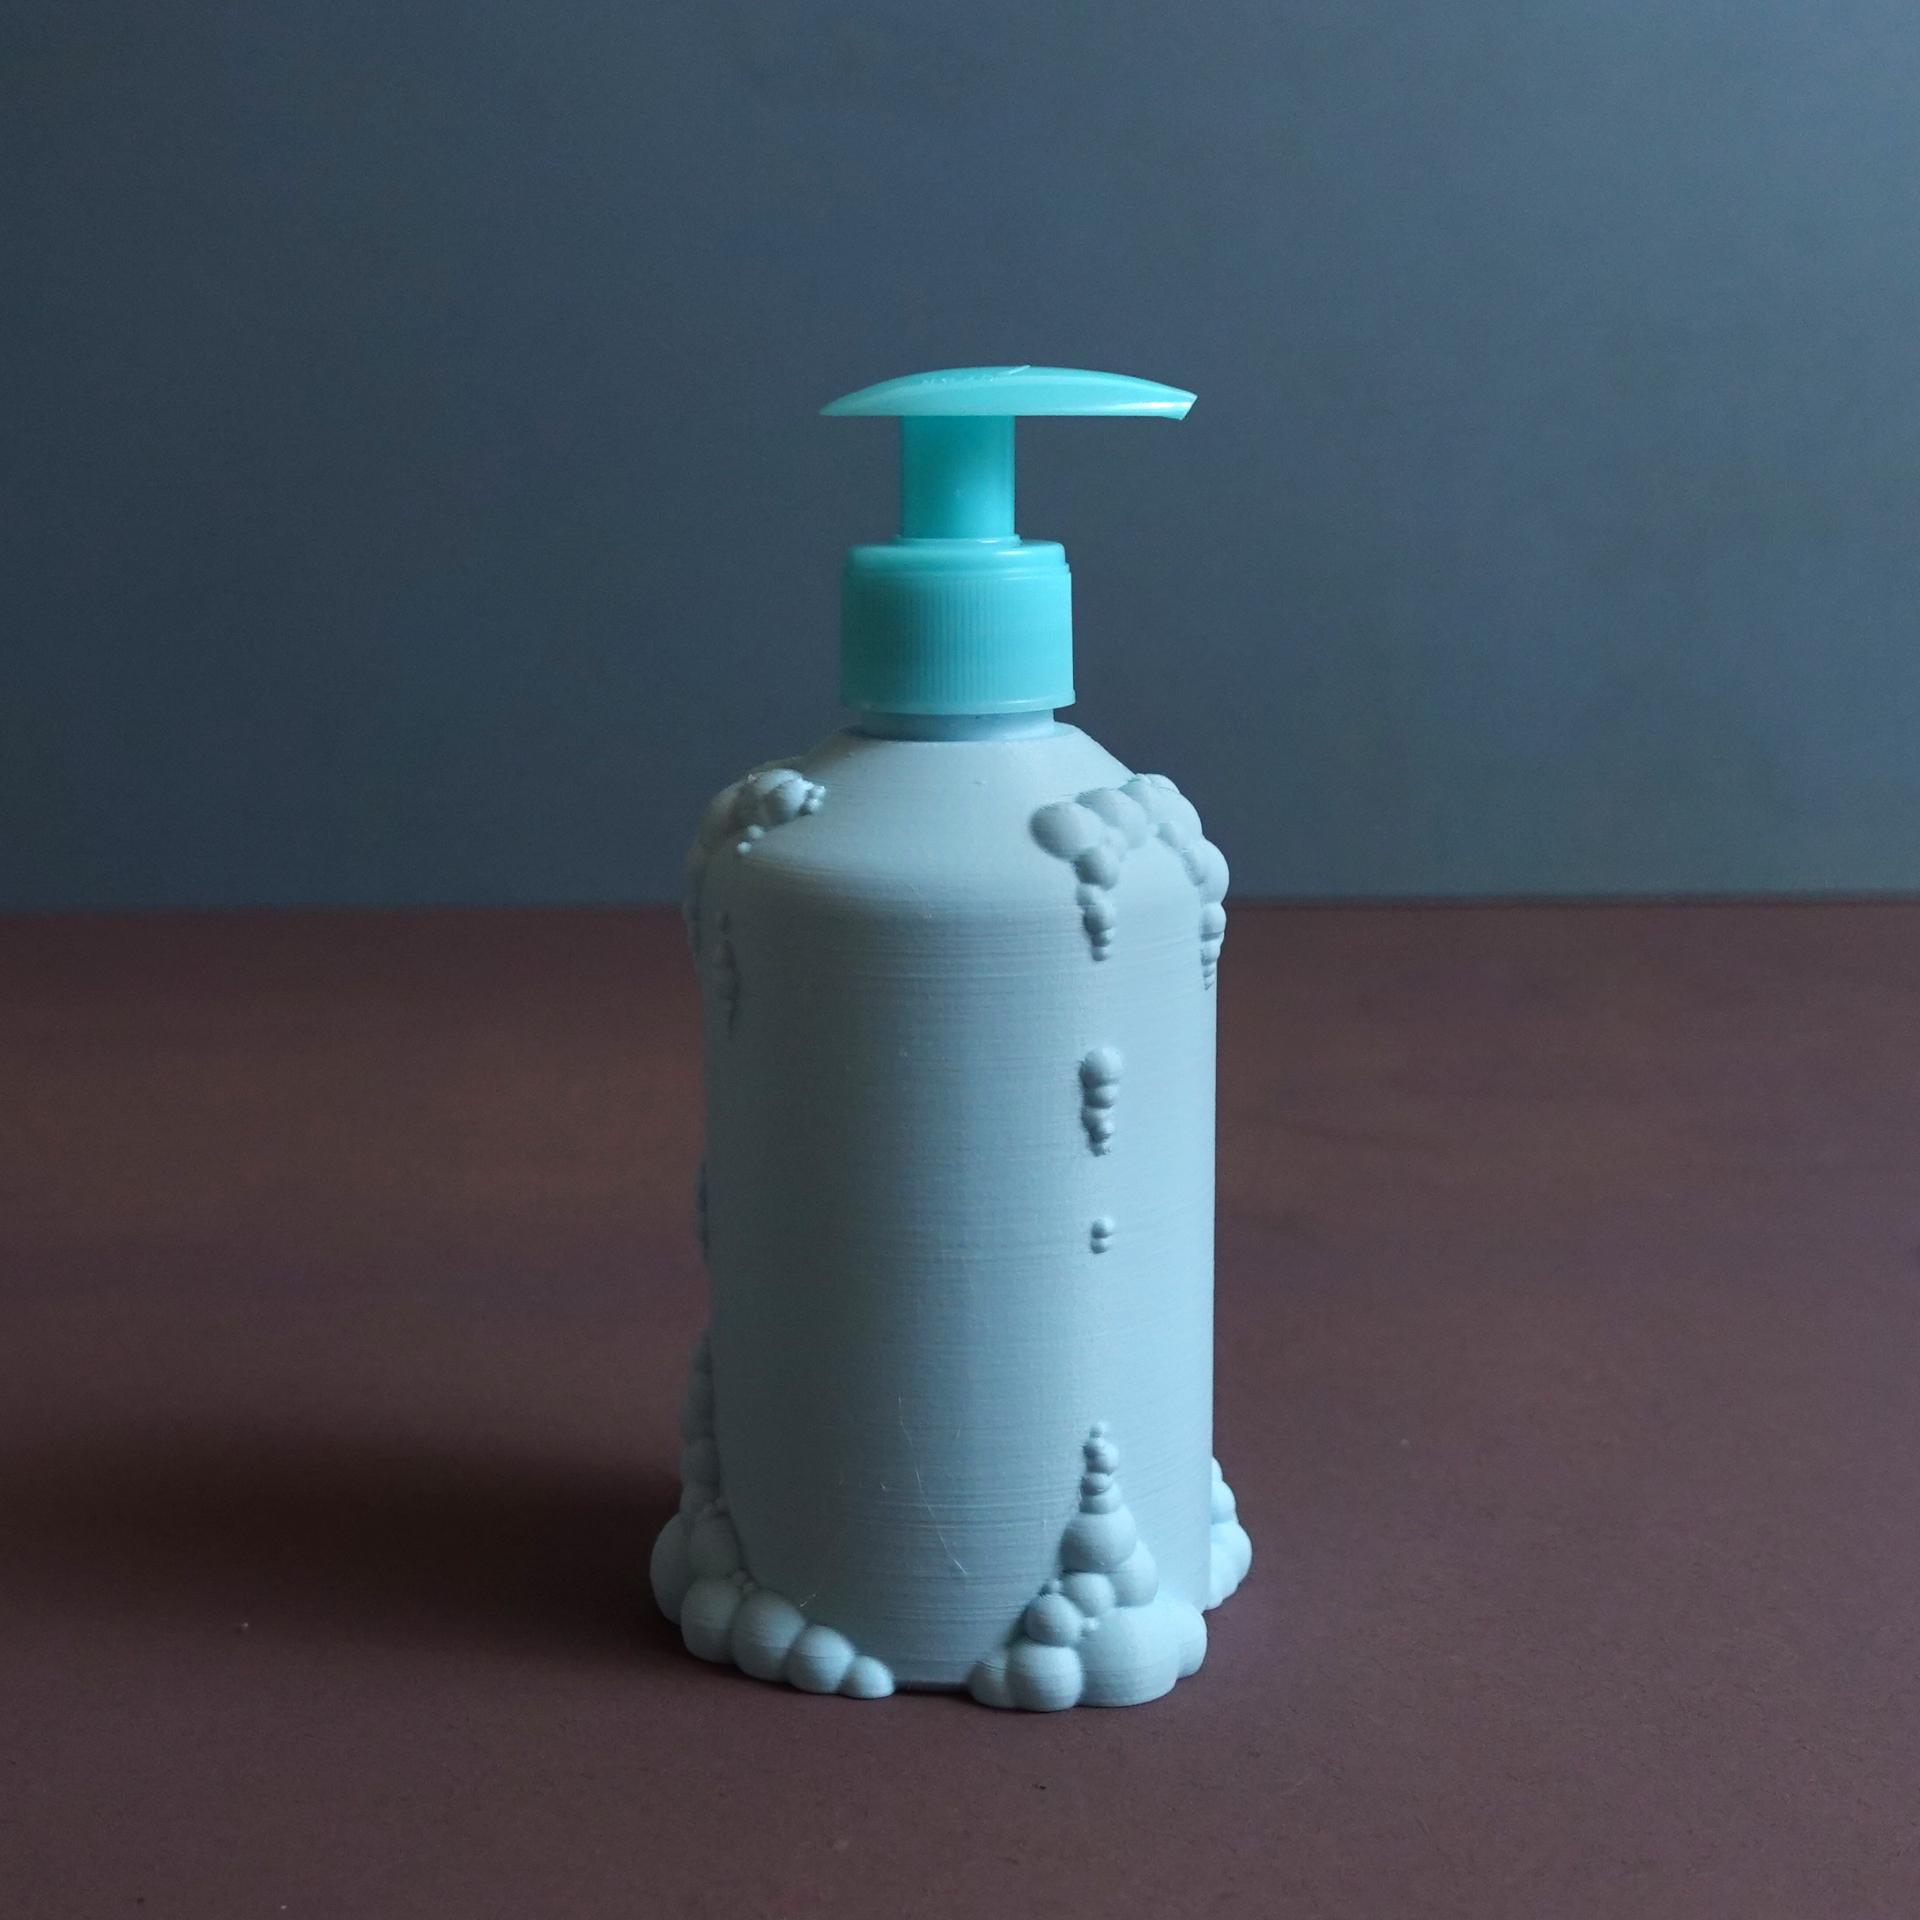
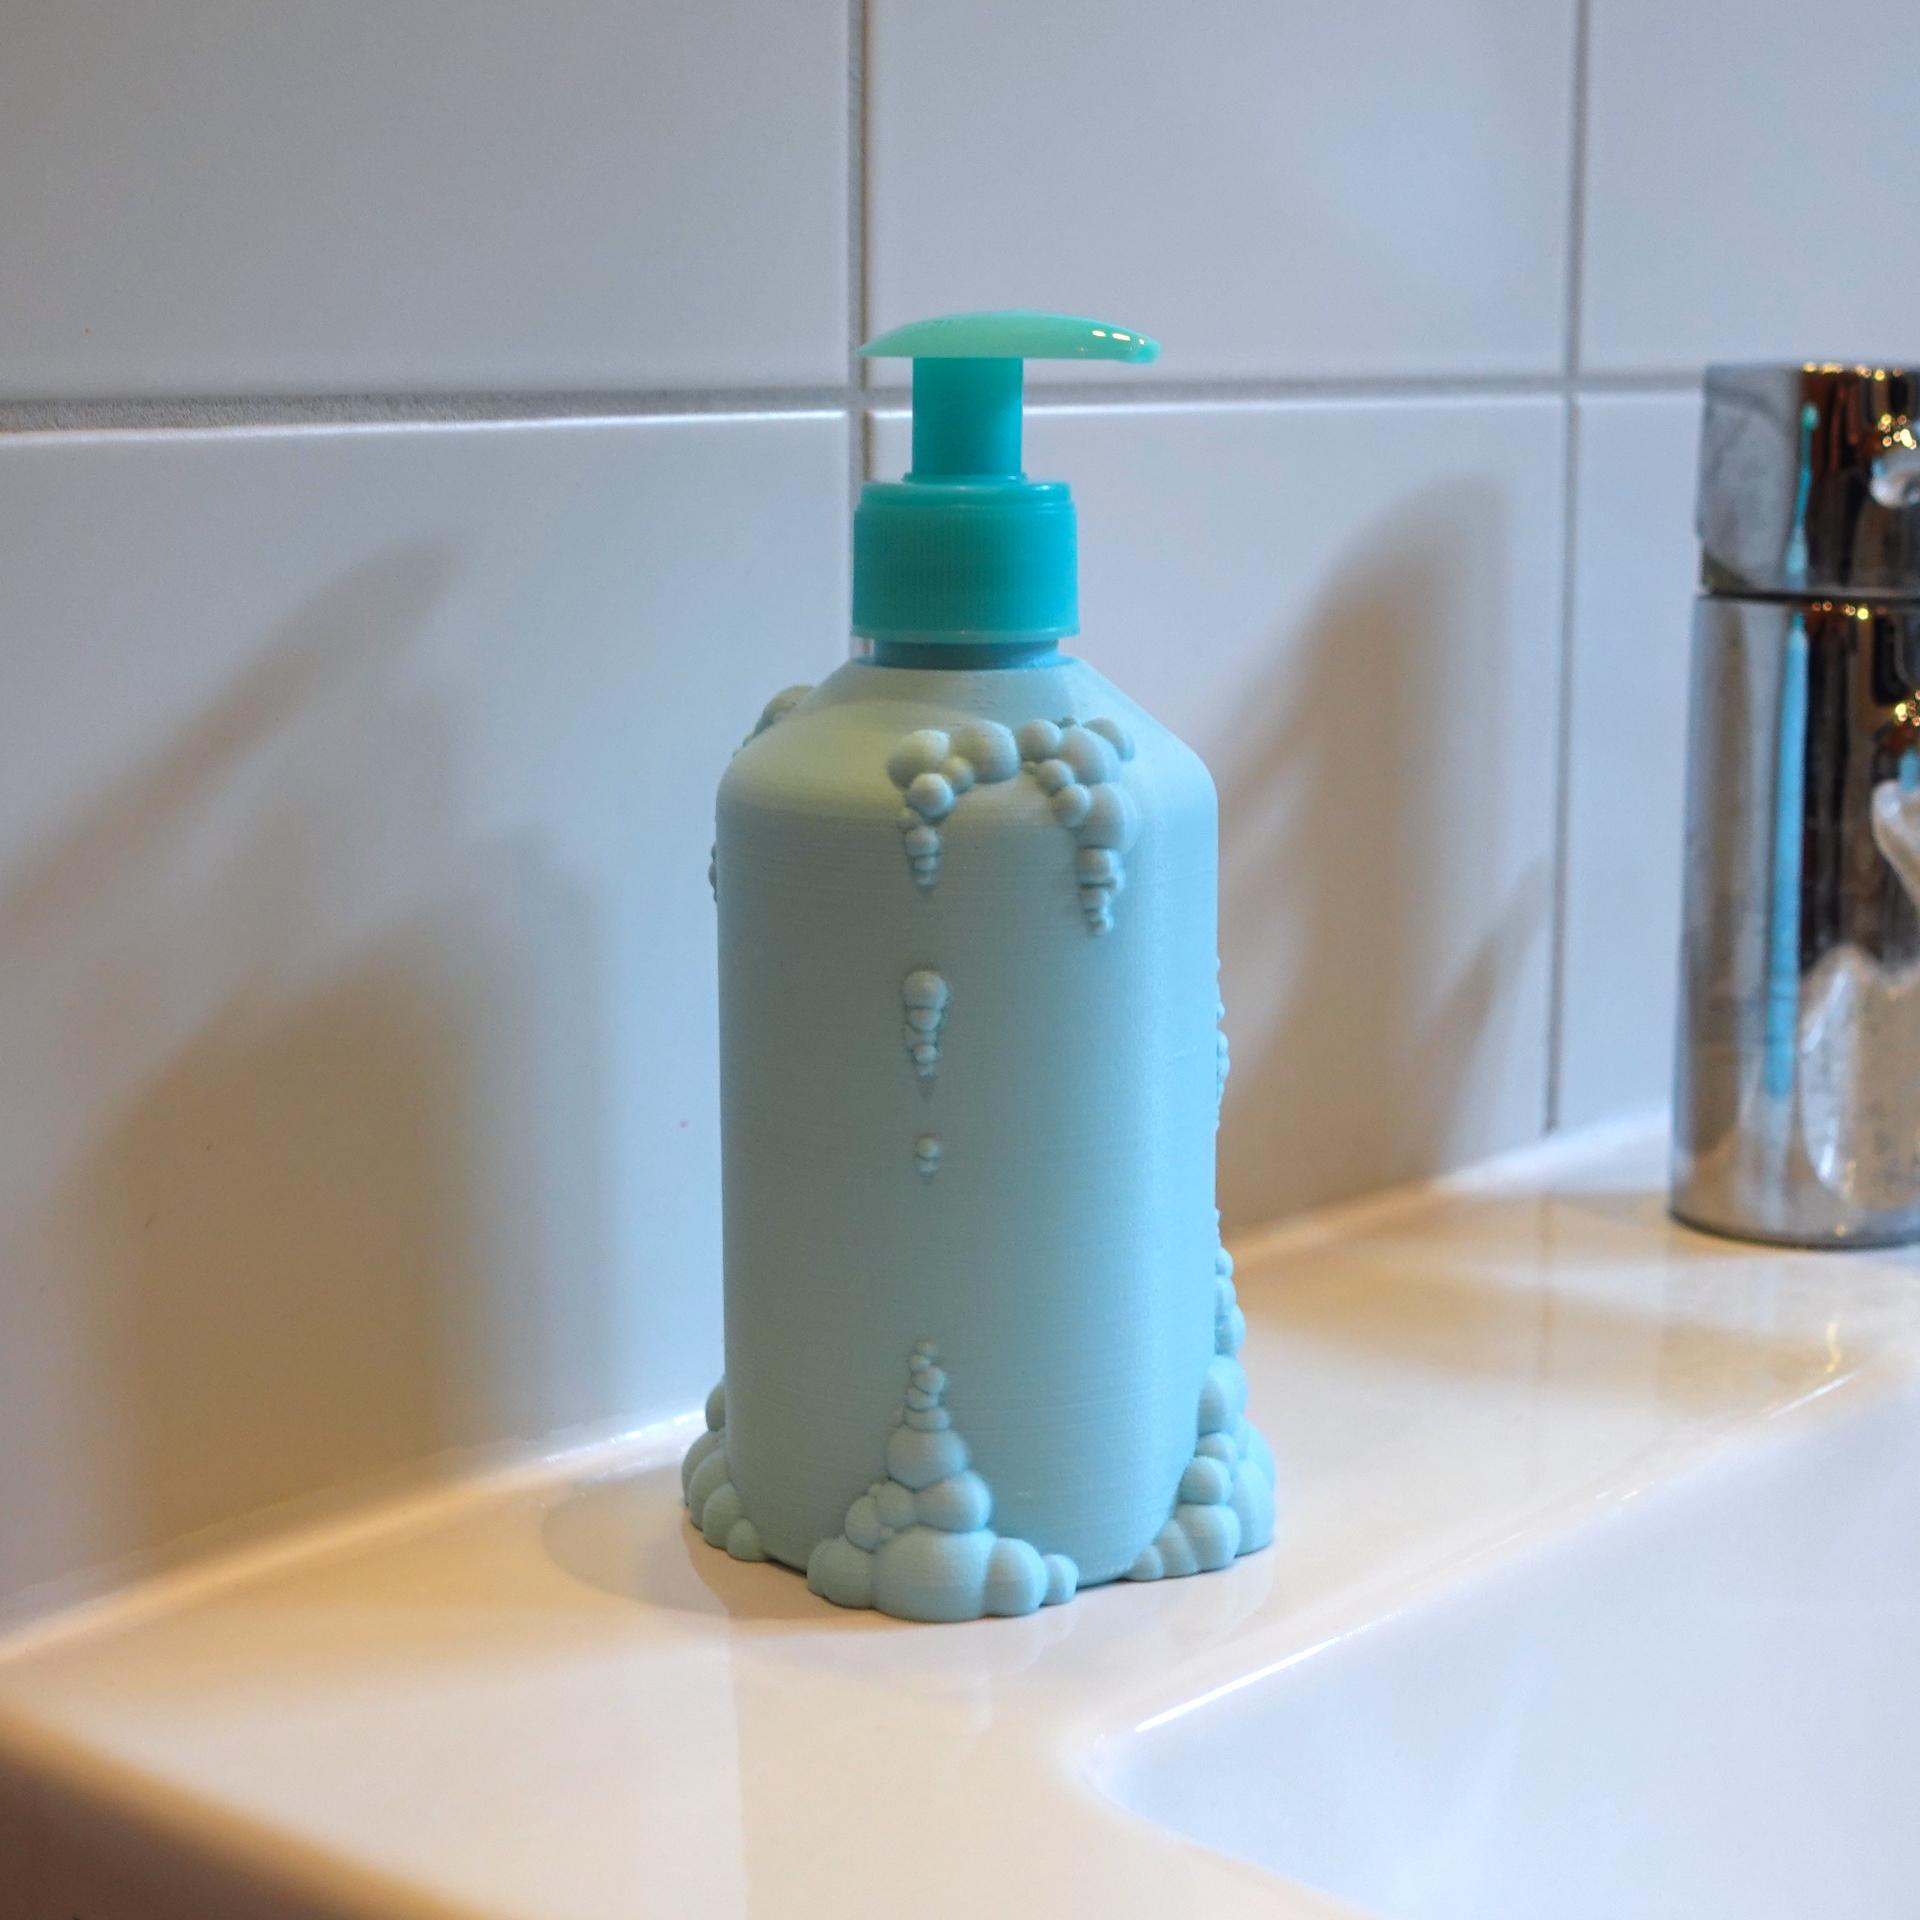
A beautiful soap dispenser intended for refilling. Upcycle a dispenser of a used soap bottle to create this piece. Avoid some plastic waste and have a unique soap dispenser in your bathroom! Single and multi-color printing models are included as STL and 3MF! They work with all current and usual multi color setups. Fill Volume: 300ml
Step-by-step
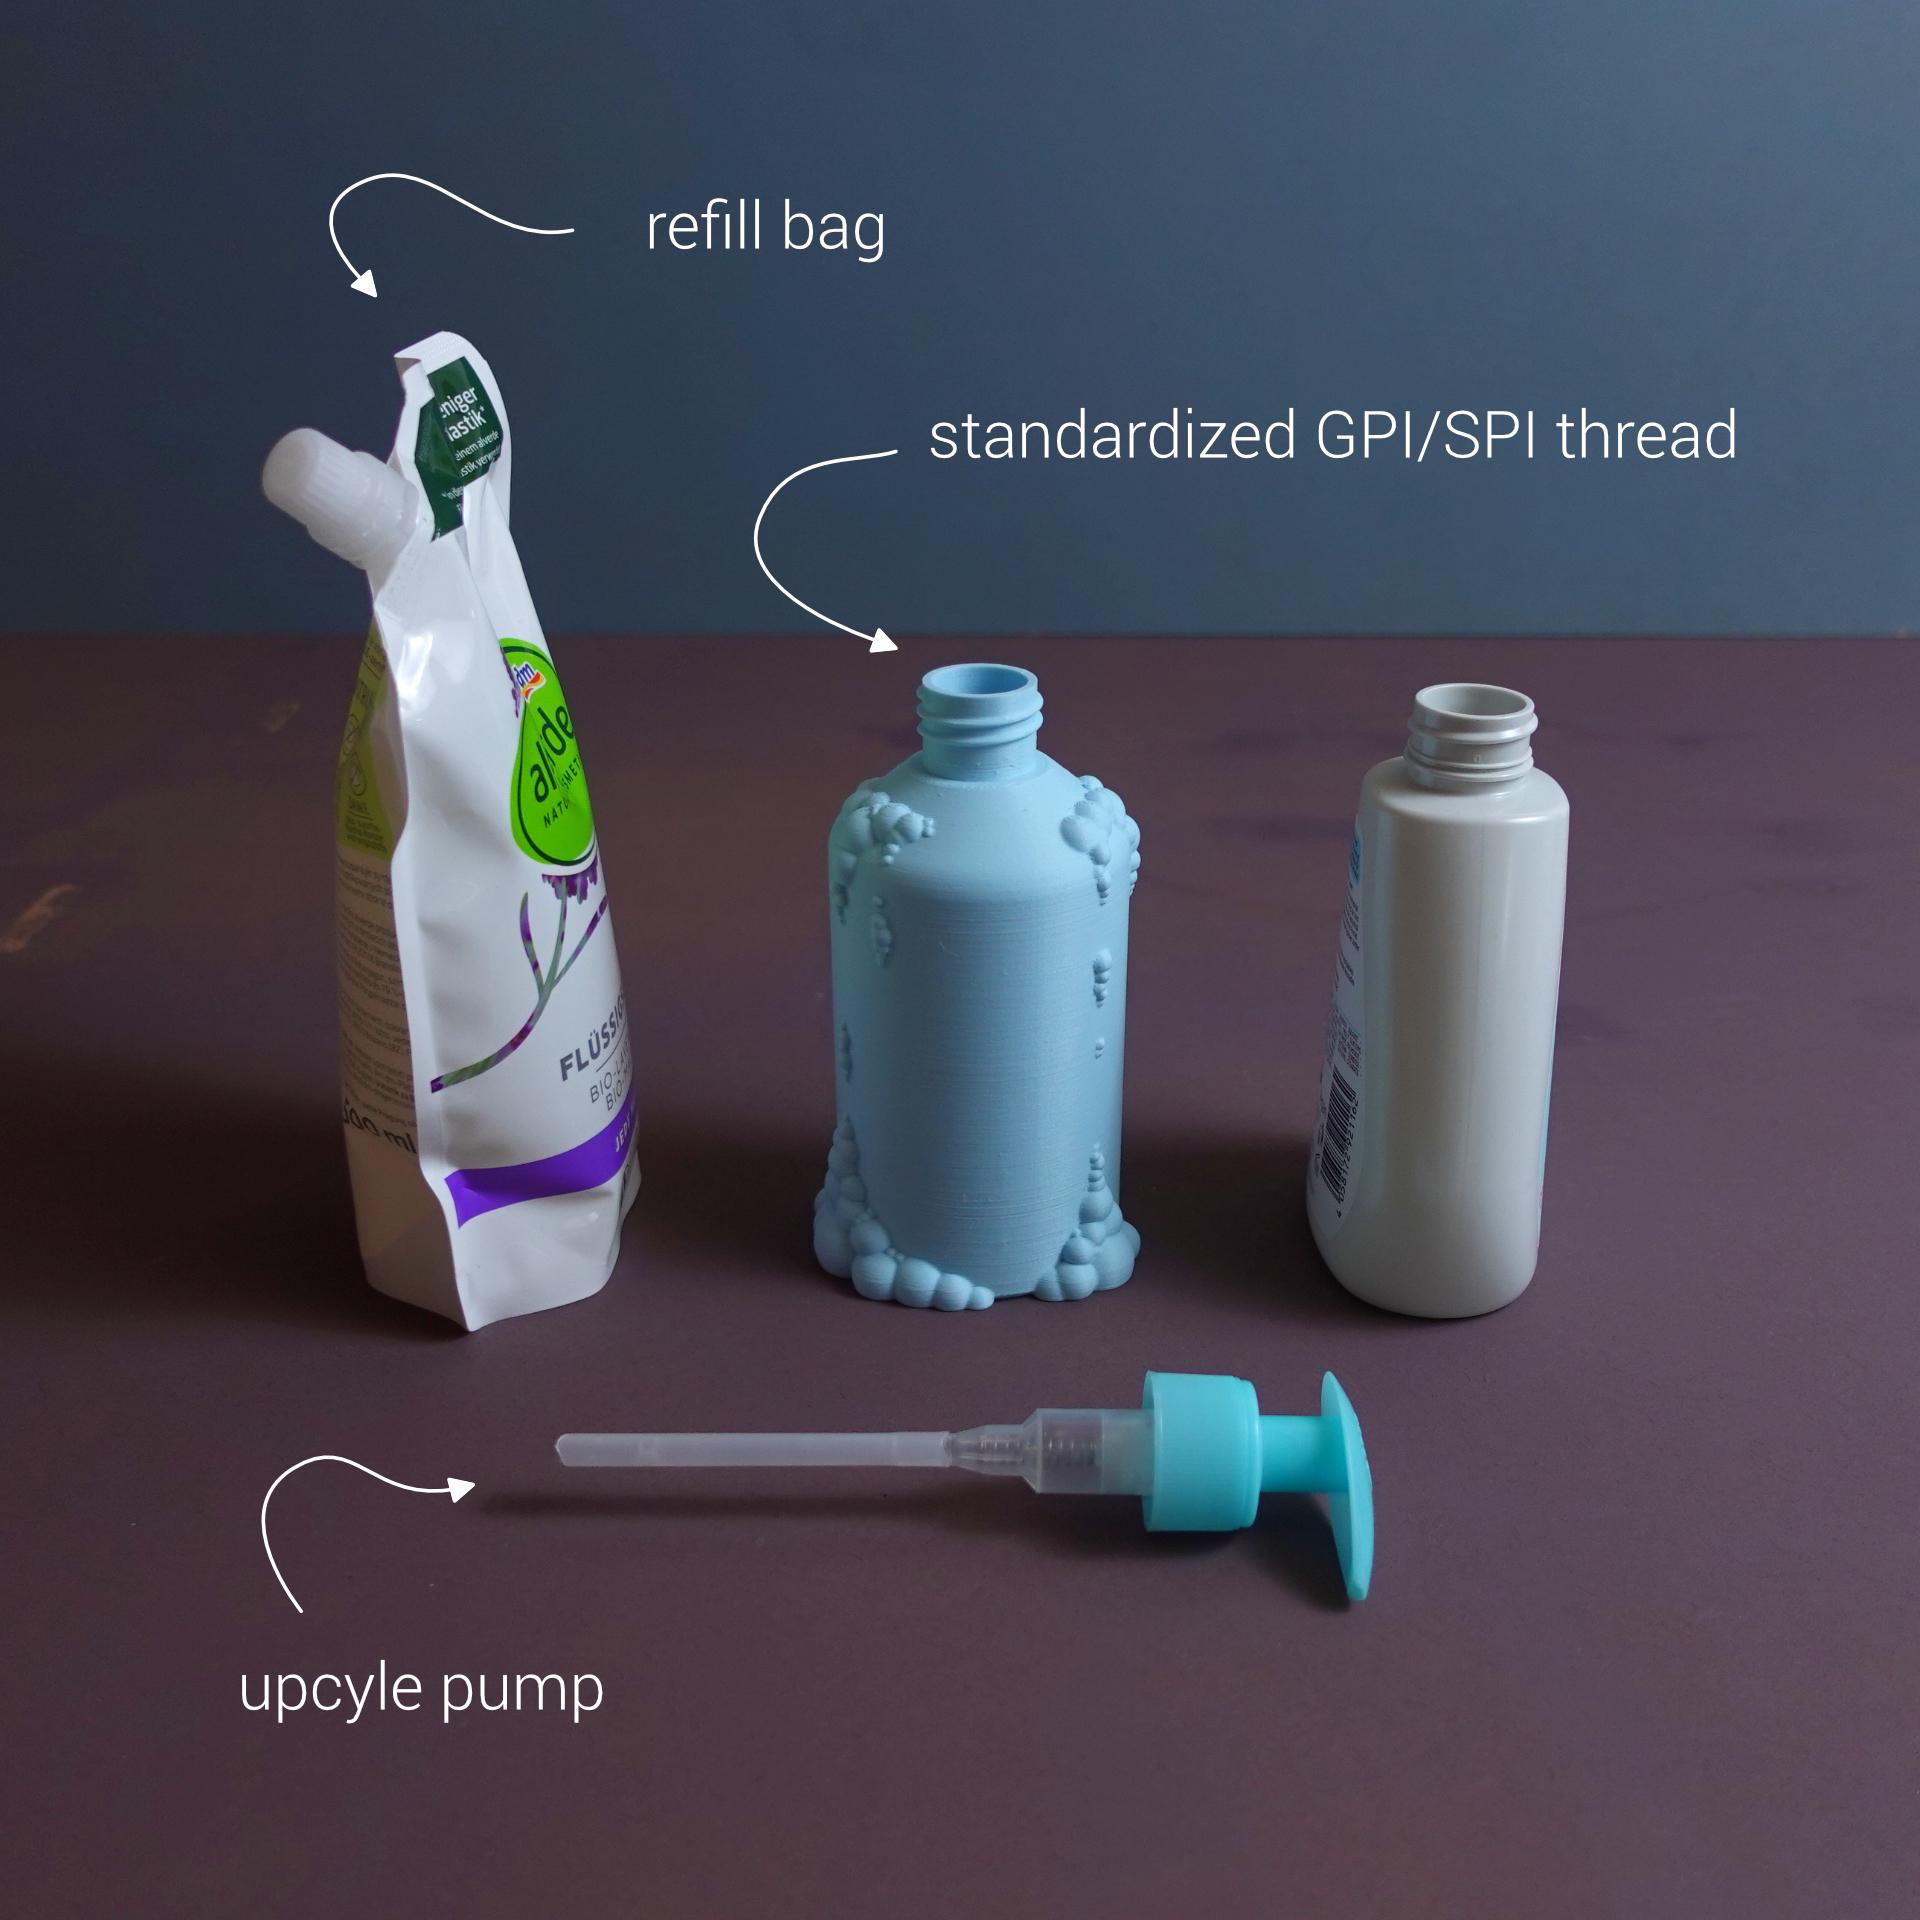
- Find an empty soap dispenser bottle and unscrew the pump. Alternatively, you can buy high end looking pump, too.
- Measure the diameter of the opening of your pump where the thread sits.
The threads of these dispensers are standardized. Most widely used are GPI/SPI Neck finishes. I included the two most common types that fit the majority of such pumps. Soap_dispenser_A: fits 28/400 28/410 28/415 threads with a pump opening width of approximately 28 mm (1,1 inch) that fits bottle mouths of 26 - 28 mm (1.02 – 1.10 inch) Soap_dispenser_B: fits 24/400 24/410 28/414 threads with a pump opening width of approximately 24 mm ( 0,95 inch) that fits bottle mouths of 23 - 24 mm (0.90 – 0.95 inch)
- Choose your file and print it
- Check the length of the pump tube. If the original bottle was about 250 – 400 ml it should fit. If you use a pump intended for a originally bigger bottle (f.e. 500ml) it may be a bit too long. Cut off a piece of the tube with scissors to make it fit.
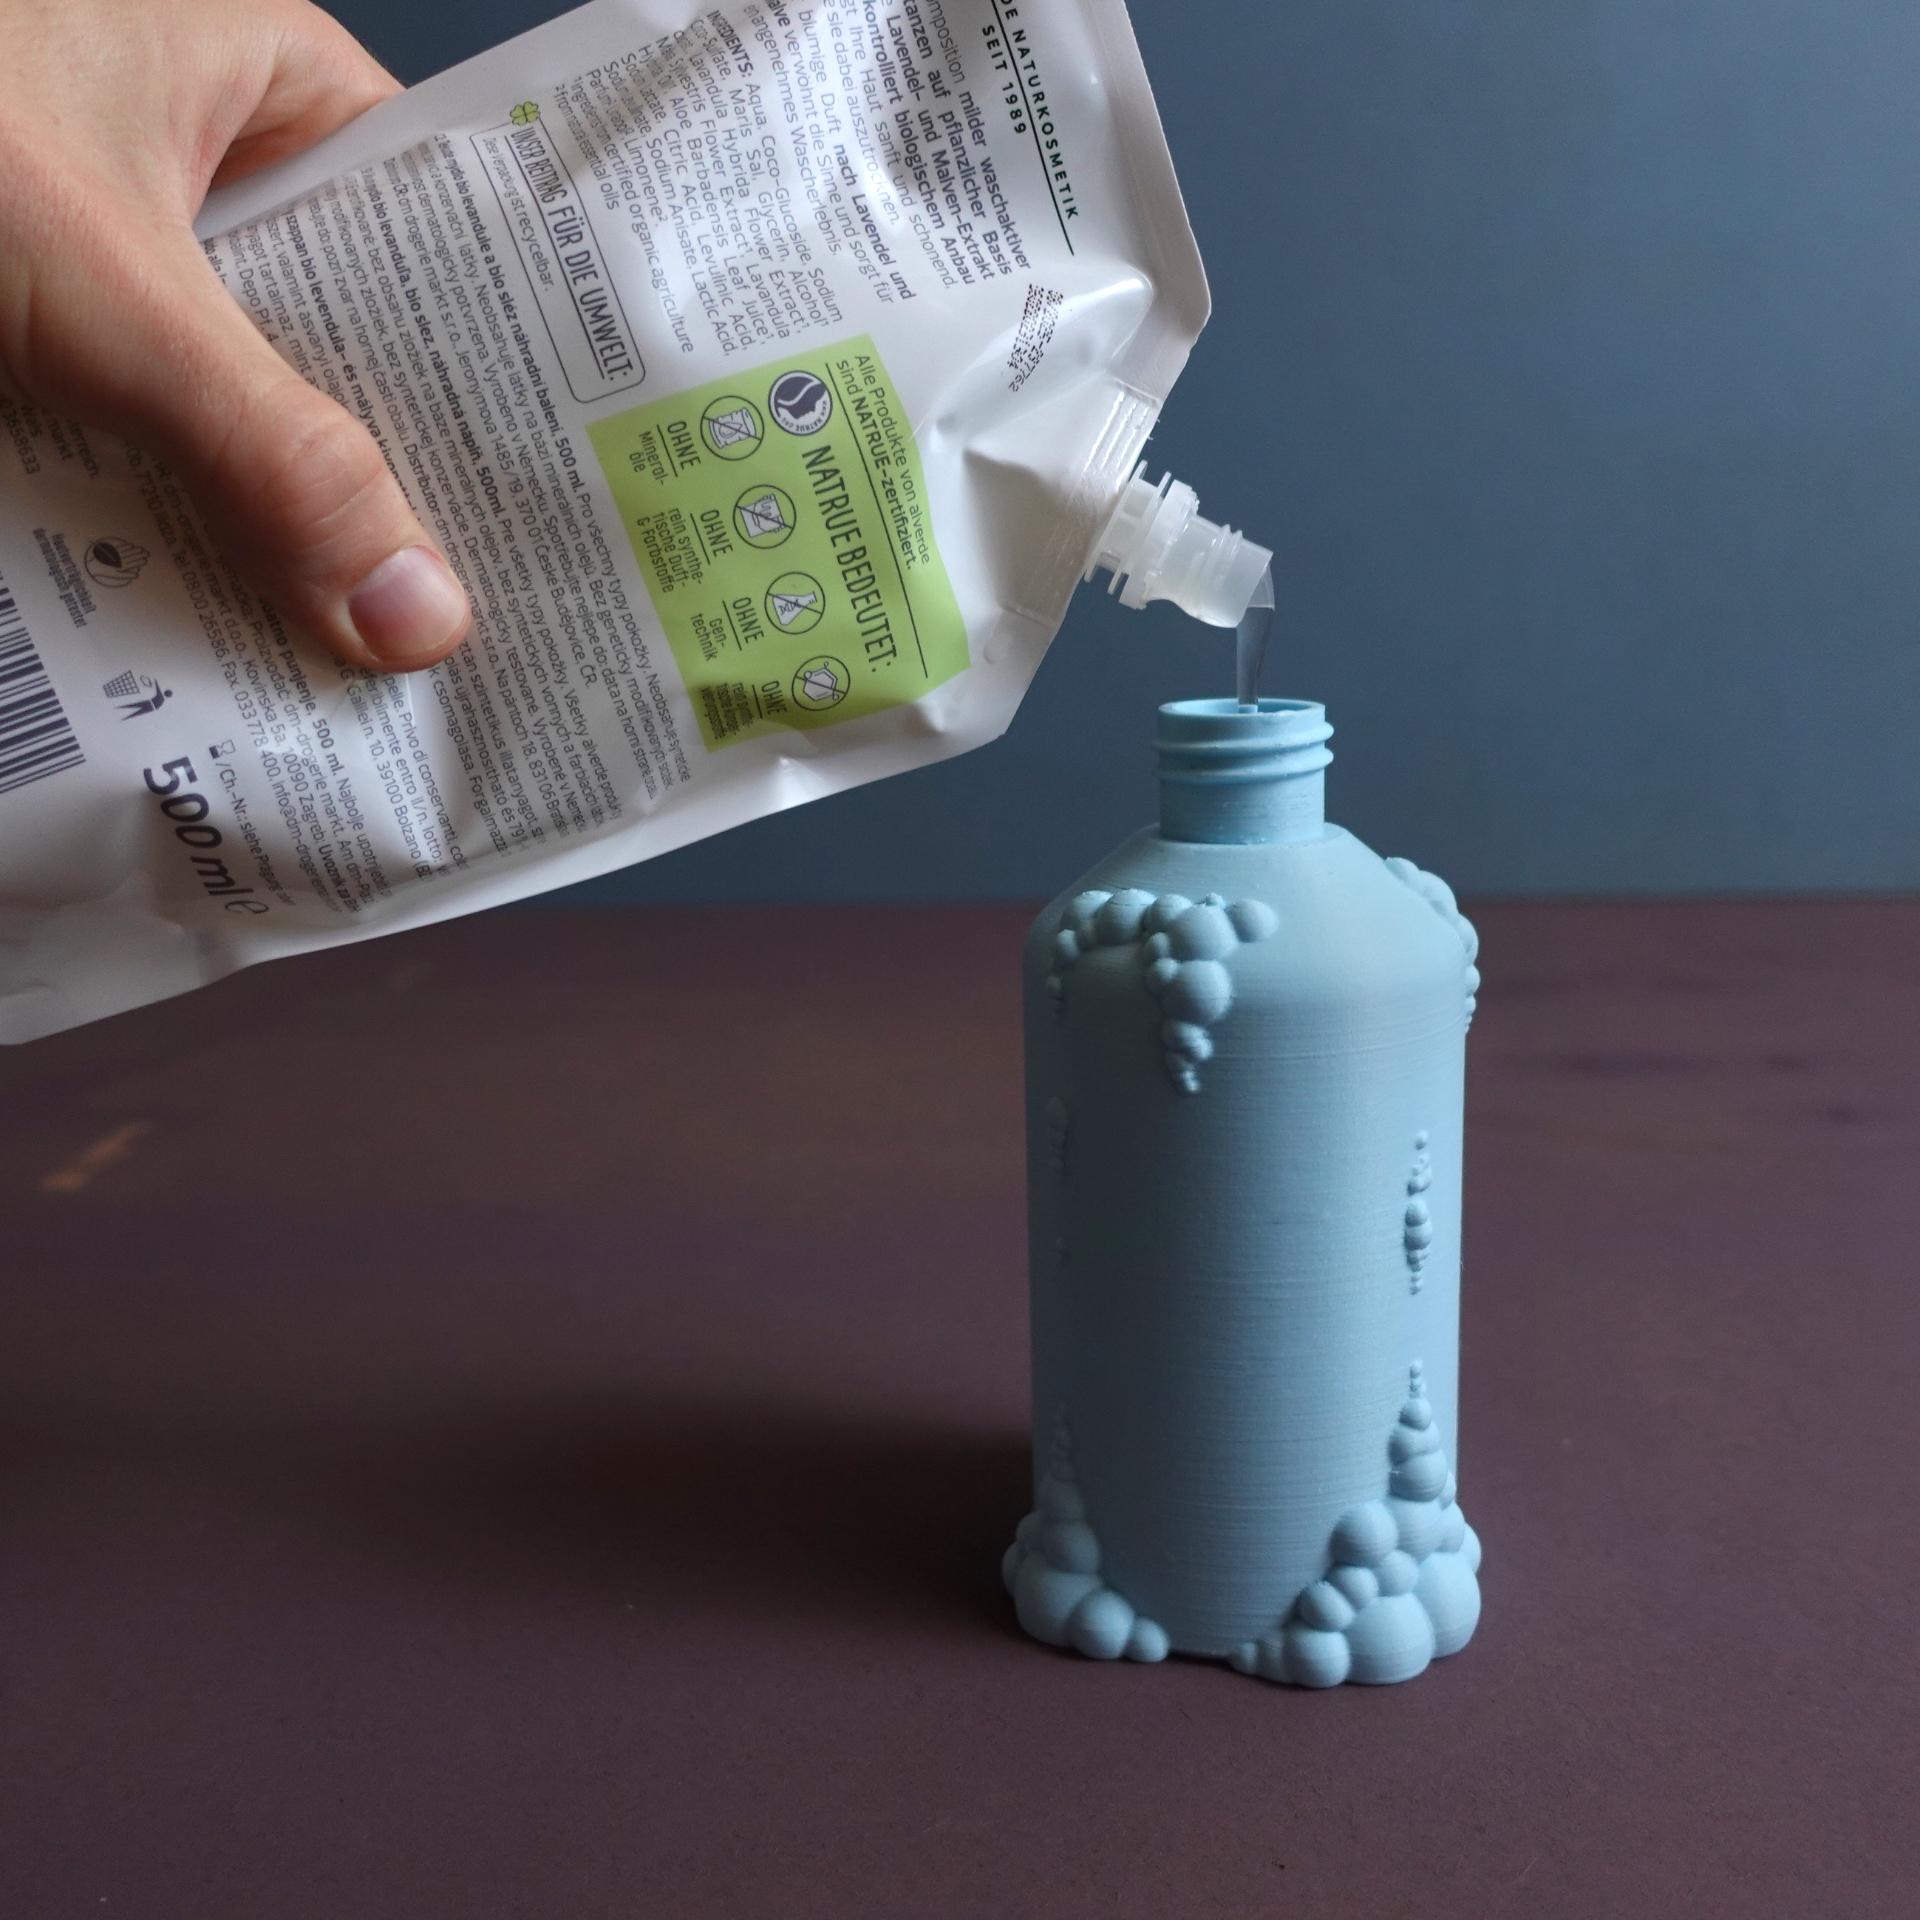
- Fill the print with a liquid soap refill bag and buy those from now on
- Have fun and enjoy avoiding some plastic waste along the way!
Size of the print: 84 x 76 x 139 mm Photos by Maison Lumiere
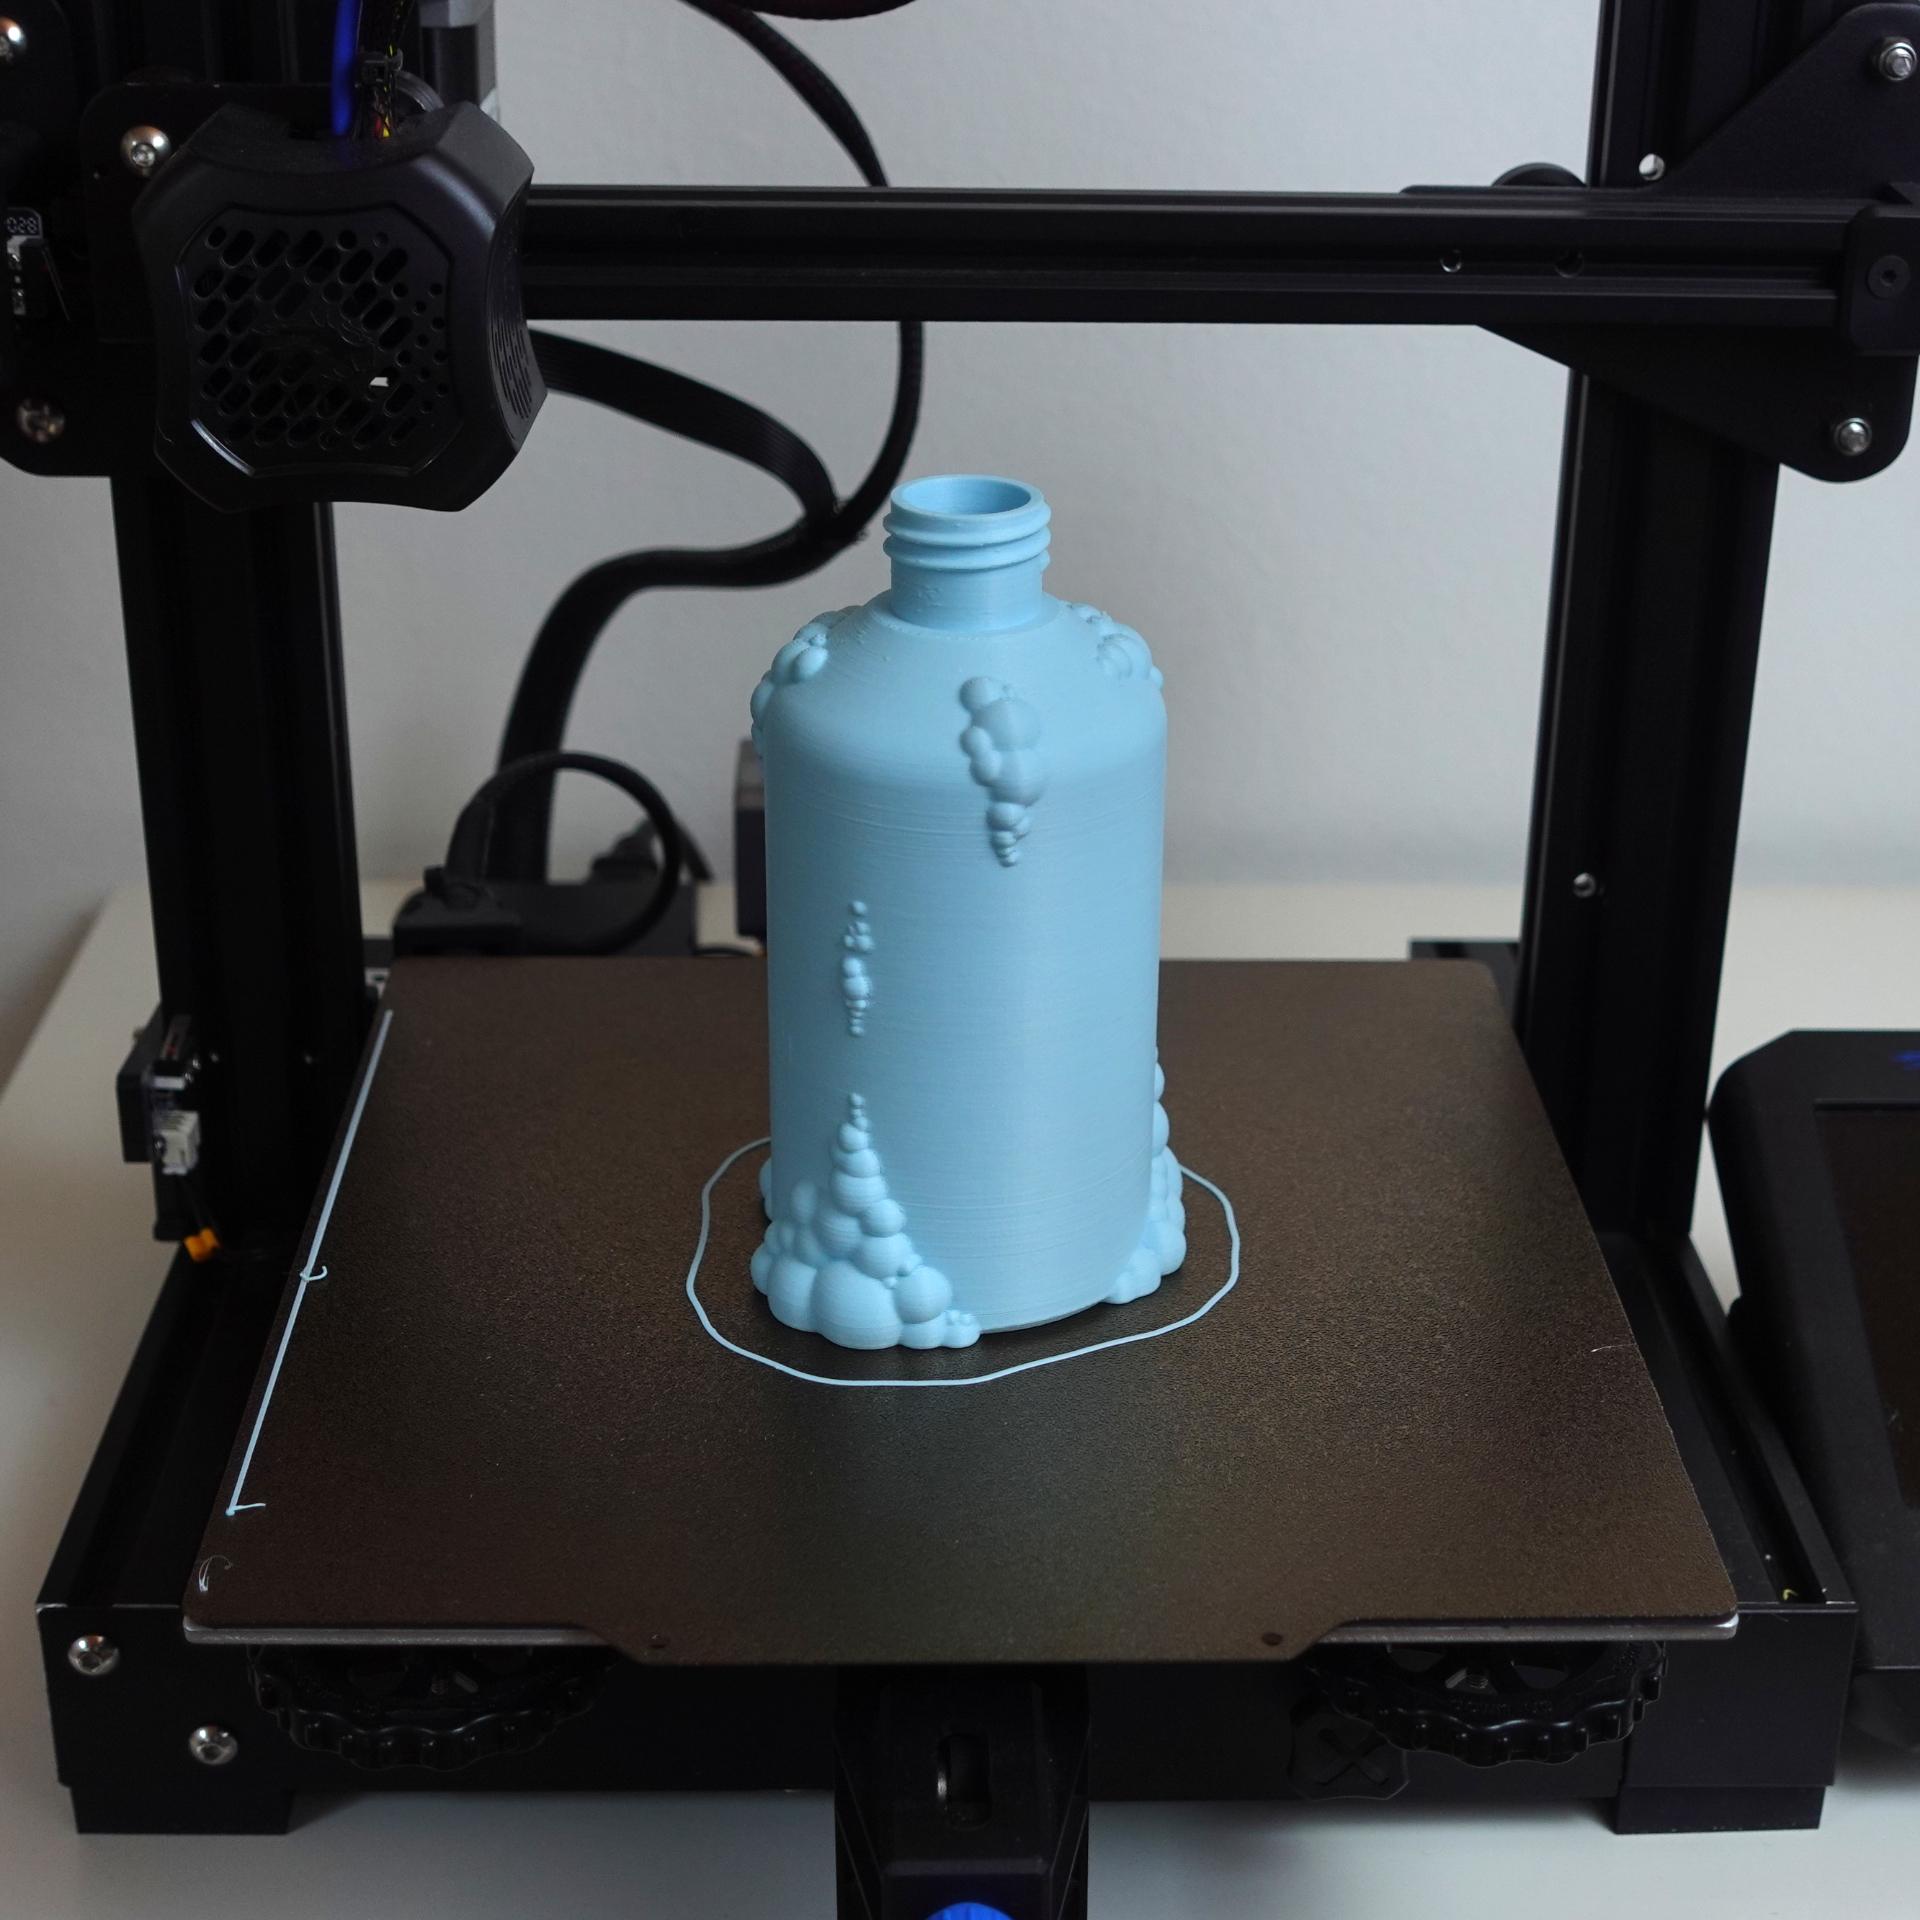
Print settings Required build volume: 100 x 100 x 150 mm Material usage: 80g Print time: 6h – 7h
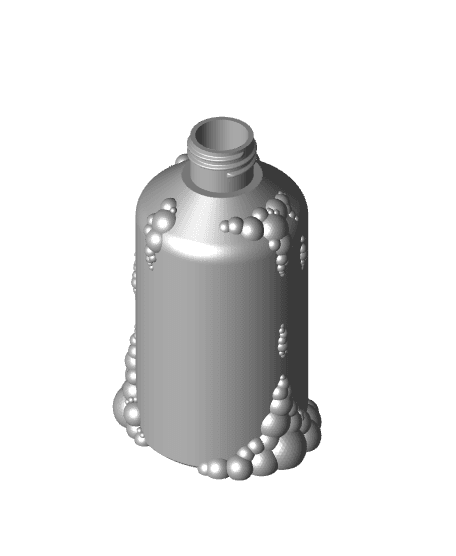
Material: PLA Print direction: stls are rotated correctly, check images Support: none Nozzle size: 0,4 mm Line width: 0,4 mm Layer height 0,2 mm Outer walls: 3 Infill: 15% Build plate adhesion type: none
Watertight printing: If you have a well set up machine it comes automatically - Otherwise here are some tips: Increase your wall count (at least 3), level your bed nicely, decrease print speed, increase layer height (at least 0.2mm), increase print temperature, check your seam quality, calibrate your e-steps and fine tune your retraction settings to make sure no holes appear after a layer change.
