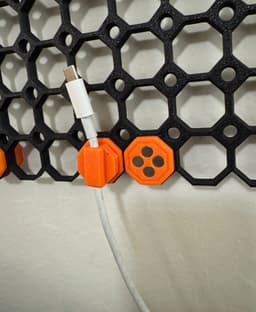
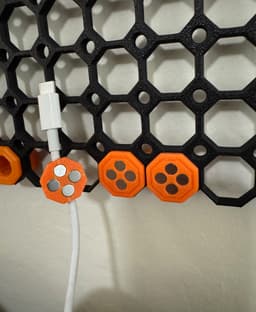
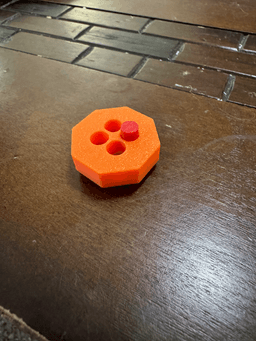


Multiboard magnetic cable mount
I have a bunch of cables running around near my Multiboard, and wanted a way to keep them organized and easy accessible. This mount comes in two parts:
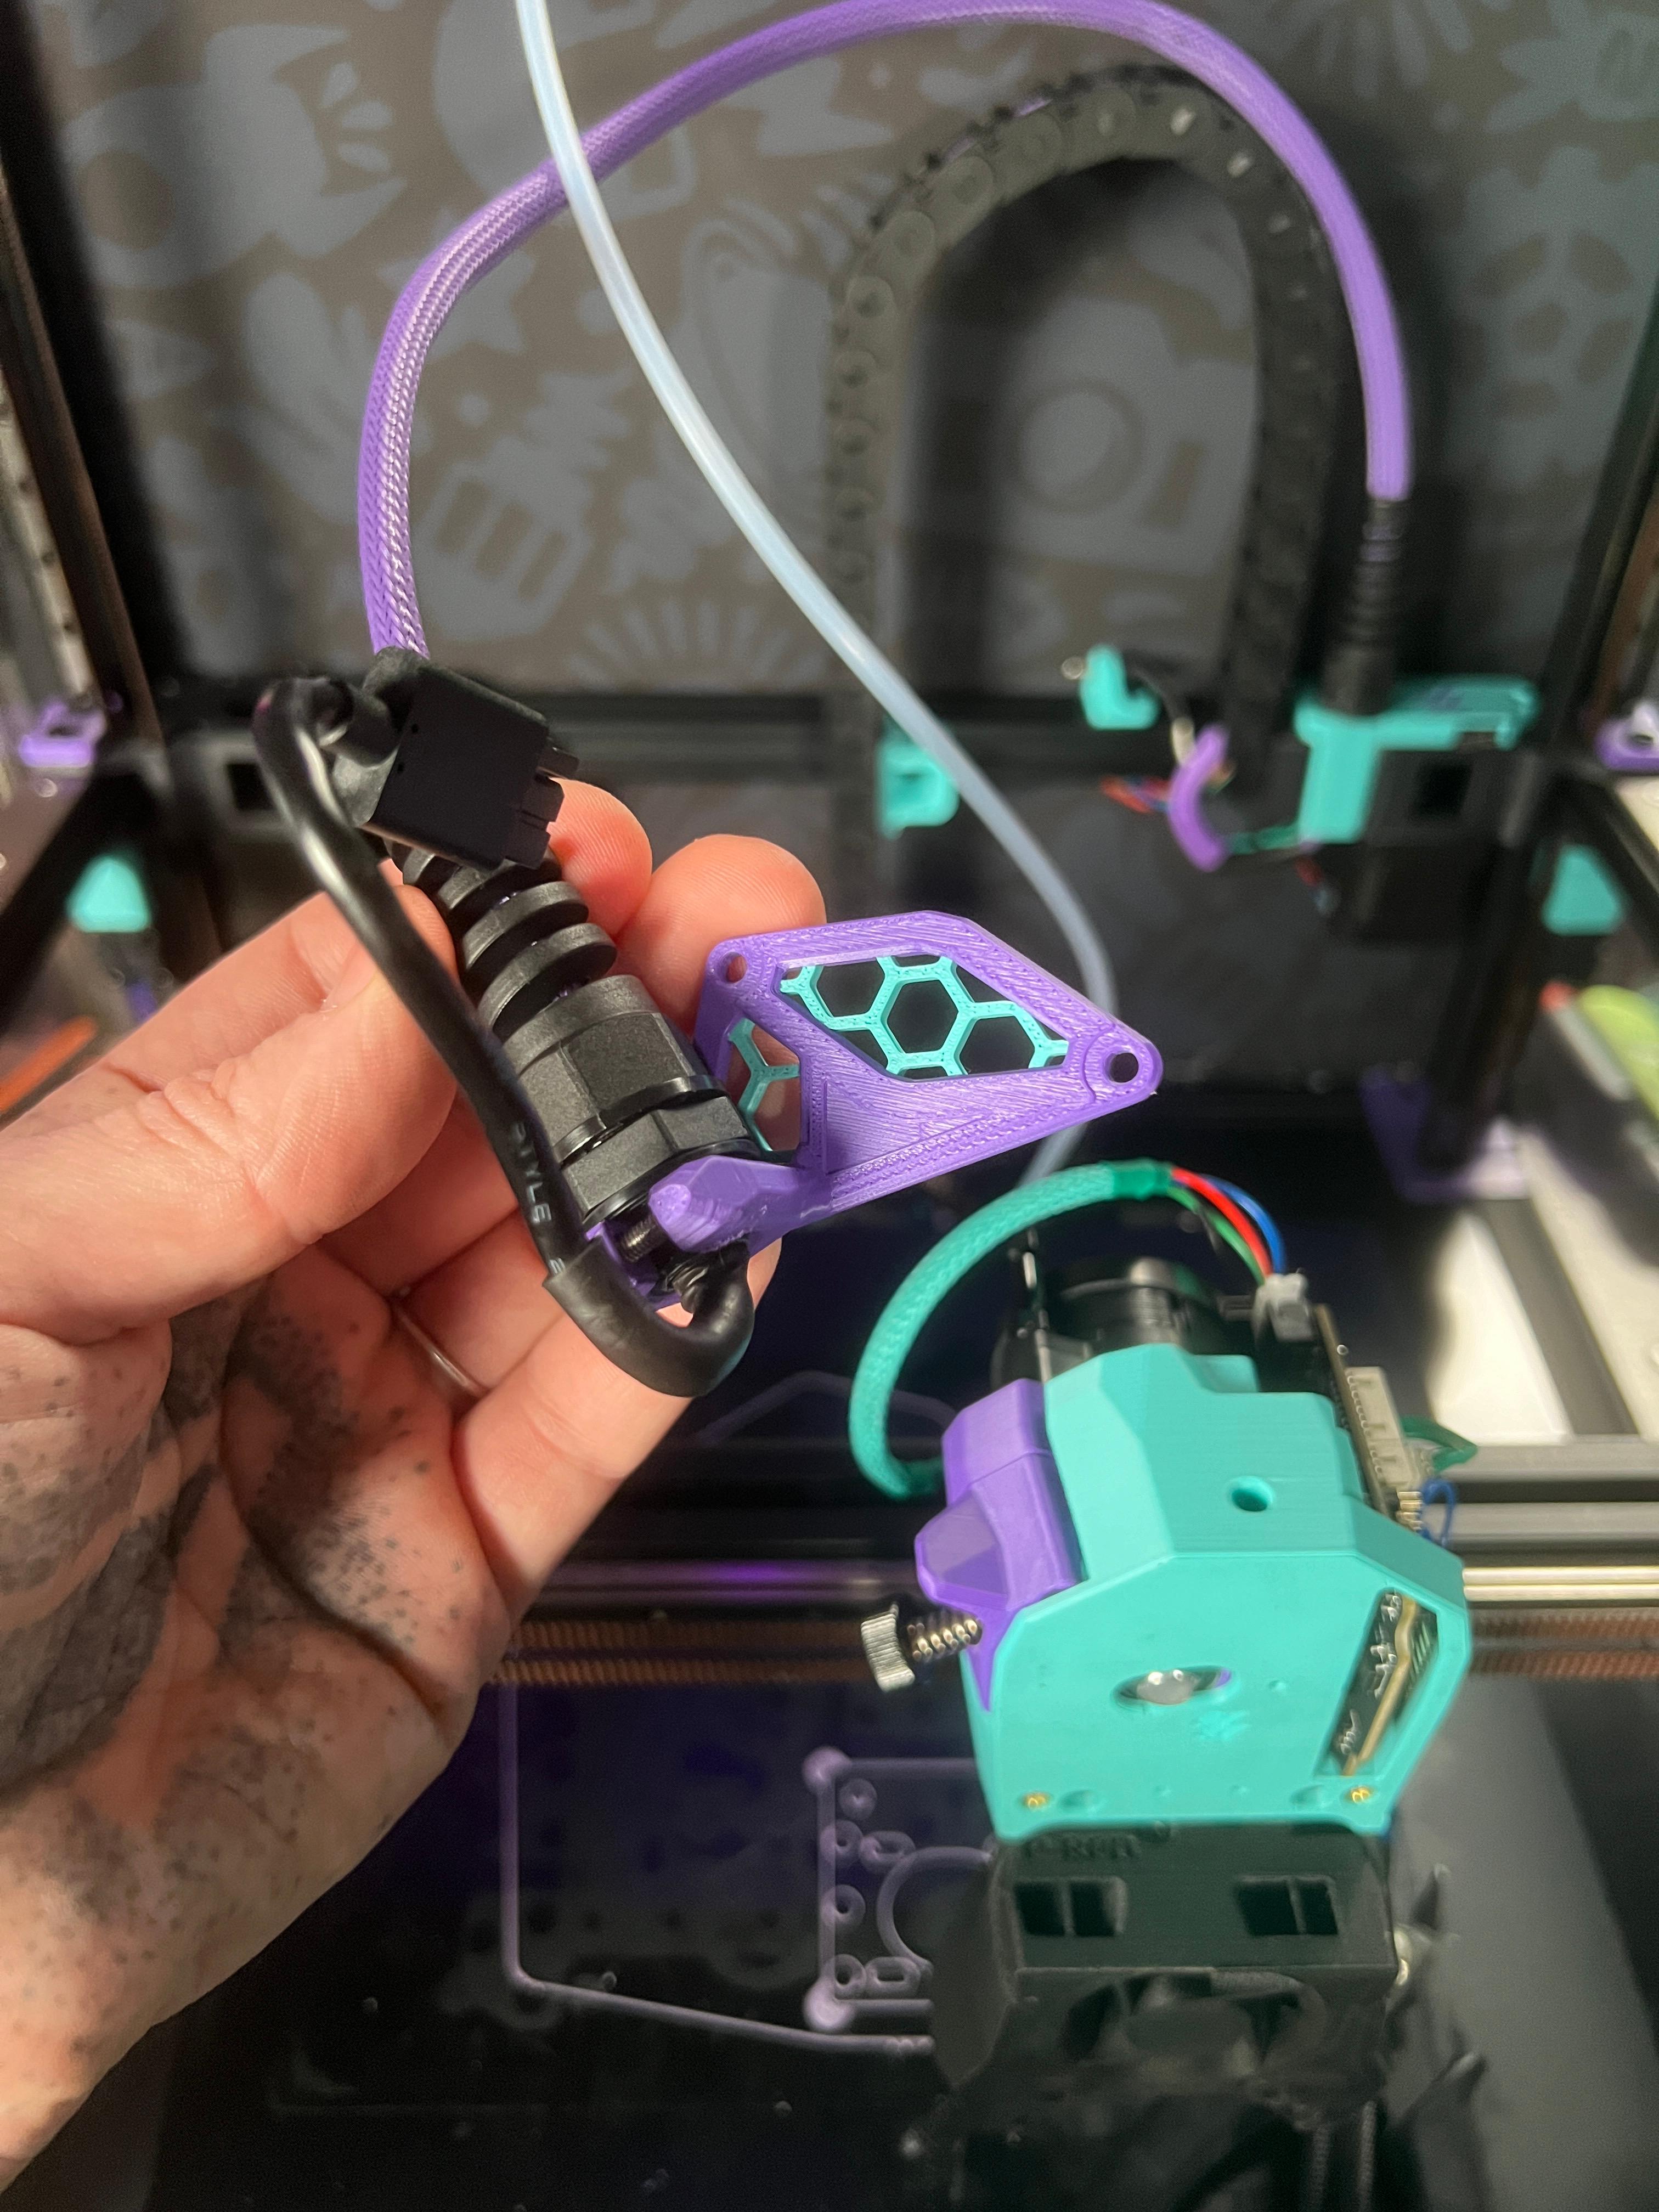
A snap that goes in the Multiboard, for where you want to mount the cable. A clamp that goes around the cable to hold the magnets that attach it to the snap. Each part uses four 6x2mm disc magnets, the same kind that are used in Gridfinity. I went with four because it seemed like the optimum amount to provide a reasonable strength grip even on longer/heavier cables. If you insert the magnets in the recommended pattern, it also lets the mount self-align when popping it in to place.
No supports and no adhesive! All you need are the magnets!
Printing instructions
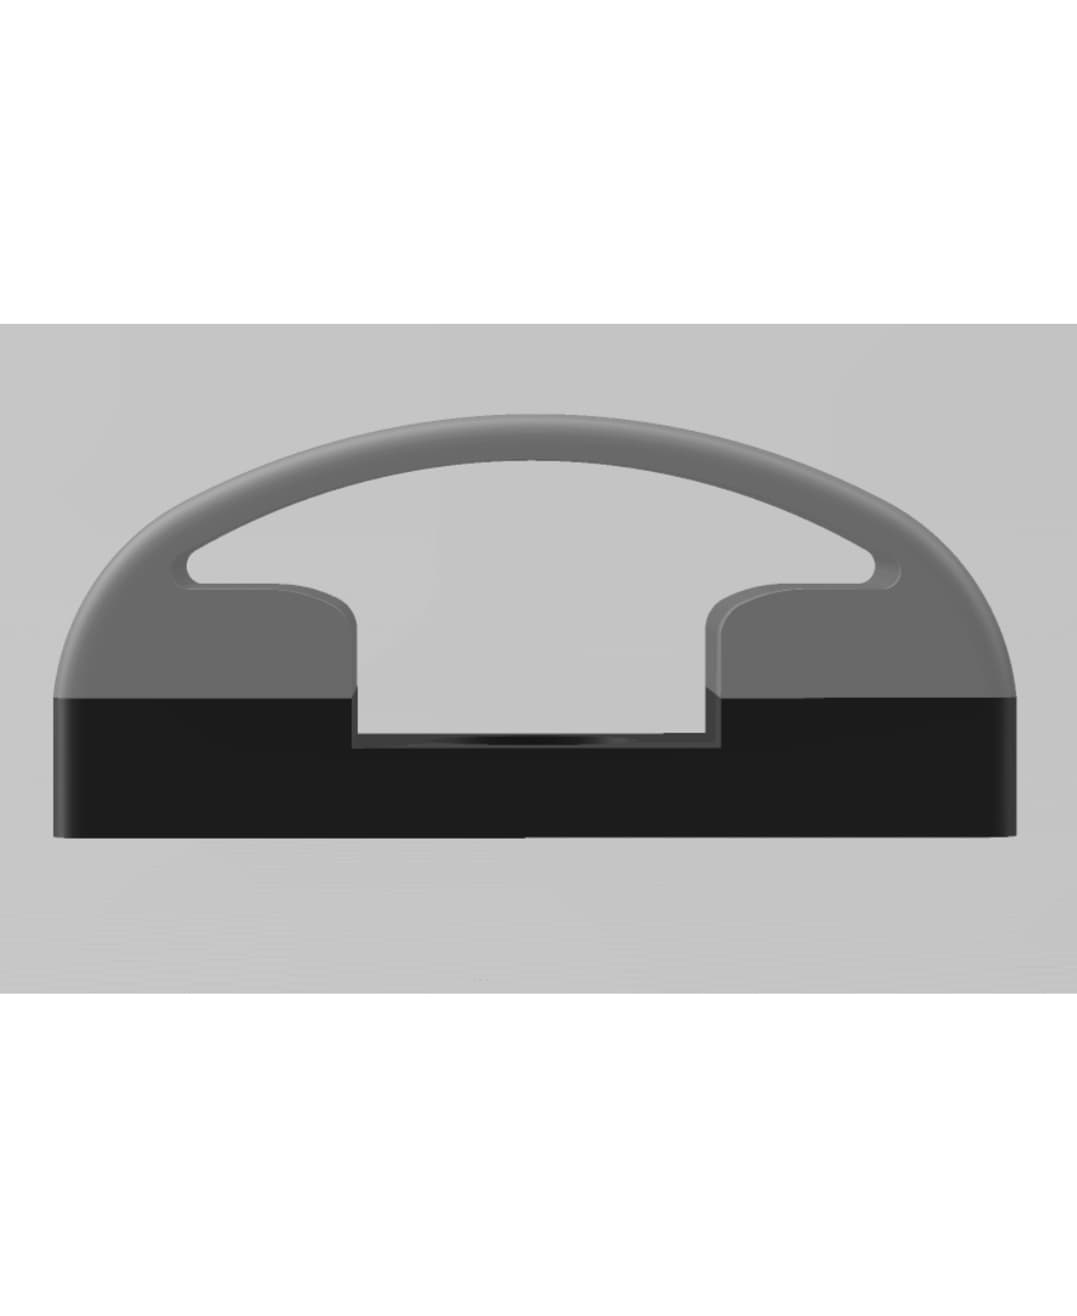
- These parts are designed to be printed in the orientation shown in the slicer screenshot.
- The Multiboard snap is a remix of the original snap, which was designed to be printed with 3 walls. The other parts are fine with 2.
- Designed and tested with standard PLA on a 0.4mm nozzle.
- No supports needed!
Assembly instructions
- Decide on the orientation you want the cable to sit when mounted to the Multiboard.
- Insert the magnets in the recommended pattern (see “Inserting magnets” below) in the Multiboard snap.
- Figure out what orientation the snap will be in when inserted into the Multiboard. This likely depends on how you plan to insert the A side snap on the back.
- With that orientation in mind, insert magnets into the cable clamp in the opposite direction from the Multiboard, so they'll attract each other with the mount oriented how you want.
- Place your cable in the top side of the clamp, and press the bottom side into the slots until it clicks.
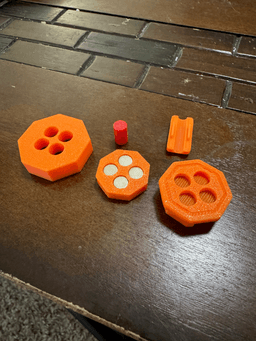
Inserting magnets The magnet holes on both parts have a small lip around them at the opening. This holds the magnets in place without needing any adhesives. The magnets are not meant to be removed once inserted.
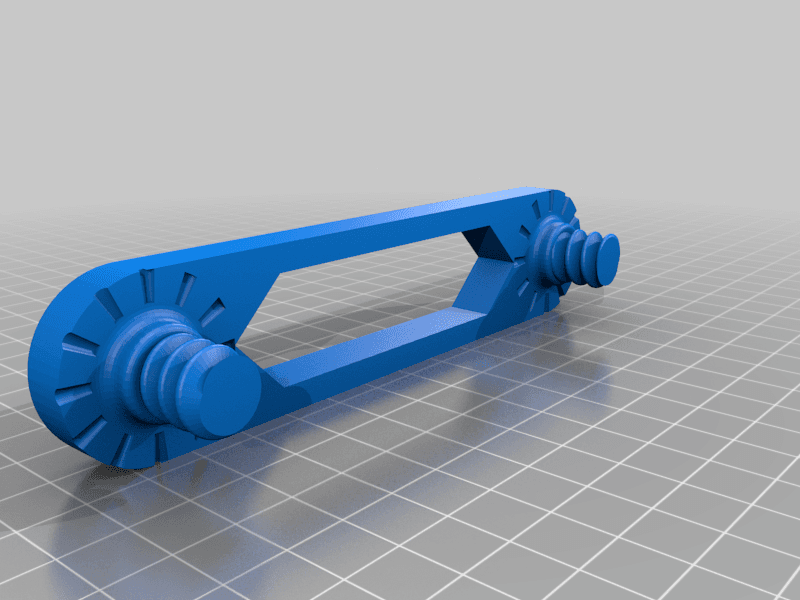
Inserting the magnets by hand can be a bit tricky, but the included magnet insertion tool makes it much easier. Here's my recommended method for inserting the magnets:
- Place the insertion tool on top of the piece you want to insert the first magnet in to. The flat side should be facing up, and the tiered side should be facing down and holding the other piece in place. The holes should be aligned on both parts.
- Drop in a single magnet in the first position (it doesn't matter where you start), and get it oriented how you want. This is easiest if you hold another magnet underneath the part, so the magnet you're inserting will orient itself.
- Place the peg in the hole on top of the magnet being inserted, careful to hold the magnet in place in the orientation you want.
- Give the peg a light tap with a rubber mallet or some other whacking device.
- Be careful not to hit it too hard, or you may push the magnet all the way through the bottom of the snap.
- Repeat this process for the three remaining magnets, going in a circle. When using the recommended magnet layout, each subsequent magnet will be attracted to the magnet adjacent to it, so it will align itself to the correct orientation. Note: It does not matter which pole you decide to call “north” and which is “south”, as long as you're consistent about it.
Multiboard magnetic cable mount
.png&w=3840&q=75)
D3P riser for Bambu Lab P1S
.png&w=3840&q=75)
D3P riser for Bambu Lab X1C

Bambu H2D H2S H2C D3P Riser

MULTIBOARD MAGNET MOUNT
.jpeg&w=3840&q=75)
Minimal AirPods Max Stand with Sleep Mode Magnet Mount + Cable Slot | 3D Printable Cradle

Portable Cable Winder - Magnetic Cable Organizer
Small Magnetic Cable Clip for Cable Management
2448971_Articulating__Wall-Mounted__Magnetic_Phone_Mount
lamp holder with magnetic mount 5x5x5mm magnets

Remix of Vertical Pole Mount - For mounting Multiboard to Wire rack poles

cable comb (wall-mounted cable holder)

Mini Squiggle Magnet Strip // 2 Sizes of Wall Mounted Magnets

Secure & Easy-to-Mount Cable Clamp for 19mm Cables

Magnetic Cable Holder

EZPZ Mini Magnet Strip Collection // 5 Rectangular Wall Mounted Magnets
Multiboard Vesa Mount 75x75 With Snap for Multiboard

Magnetic Cable Tie

Multiboard dual clip Magnet Mod (5x5x2mm magnet)
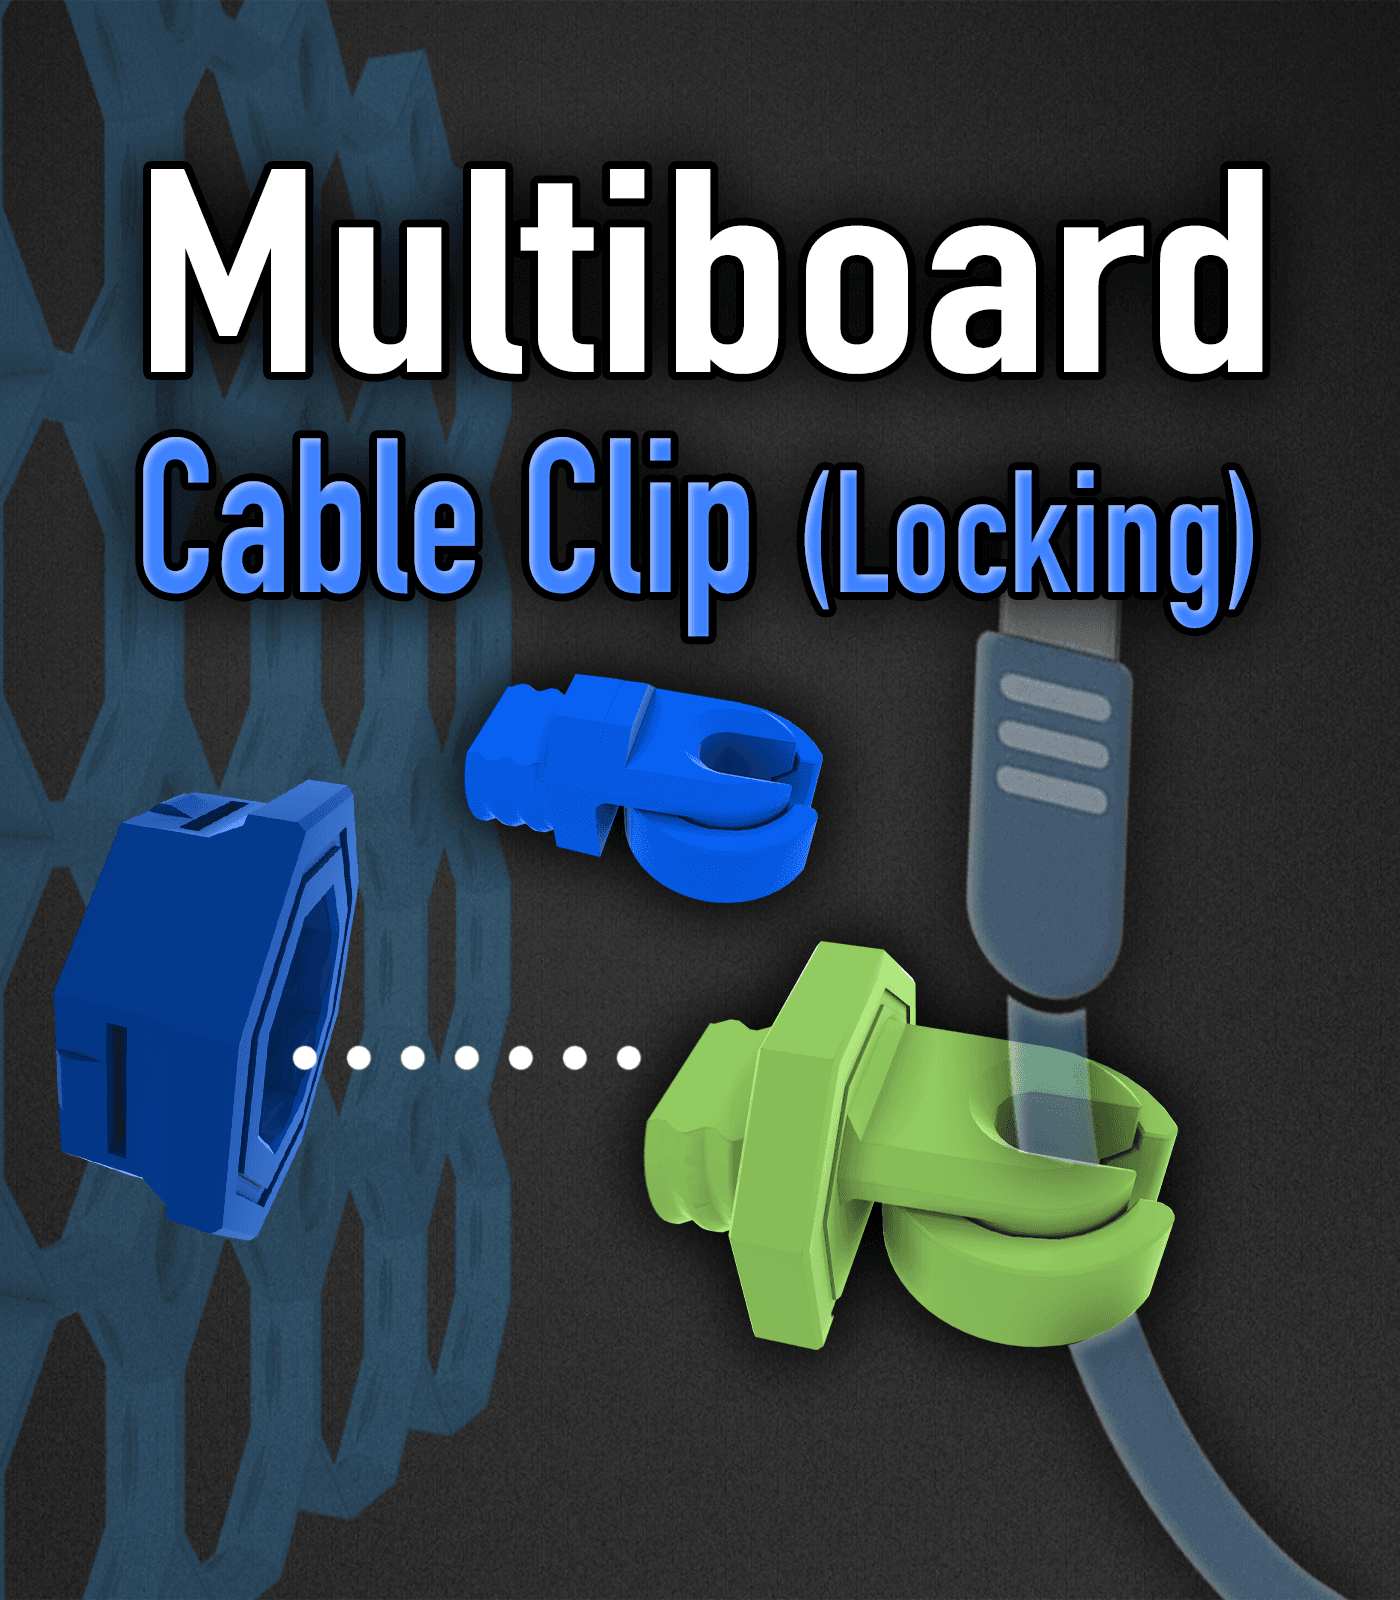
Multiboard Cable Clip