


Pet Meal Indicator
A simple device to help remember when you last fed your pet.
Requires the following materials:
- 2 colors of filament
- 1x 3/4"x1/8" disc magnet
- 2x m3x18 hex screws
- Glue suitable for 3d prints (CA or similar)
Optimizing for the fewest number of filament changes, and for the reverse-two-tone color scheme I used, here are the steps:
-
Slice one set of breakfast/dinner inlays, making sure to "merge models" so that they all stay together properly, and ensure that the text is readable when viewed from UNDERNEATH the build plate in your slicer. Make note of the exact center location on the print bed where you place the , this is important later (I use the center of my bed). Print these nice and slow with a layer height of 0.1 or 0.2mm, and ensure your bed level/z-offset is perfect for best results.
-
When the inlays finish, DO NOT remove them from the bed. Keep the bed hot, and carefully remove ONLY the outer ring (and your skirt, if you use one). Then switch to your second filament color.
-
Now, slice the outer breakfast/dinner ring that corresponds with the inlays you chose, ensuring it is centered on the same position as your inlays, and rotated so that the "cutouts" in the ring line up with the inlays. Print this part, then allow the bed to cool for easy part removal.
-
Now slice the paw inlays using the same settings as the letters, and repeat the same post-print steps, swapping filament and keeping the bed hot.
-
Slice the "front face" model, taking care to line up the inlays, and you can print the "back face" at the same time, if you like. (If not, print it on it's own later). Once that's finished, remove the finished part(s).
-
Now we can do the other outer ring, repeating the same steps as before. Slice and print the inlays, remove the skirt and centering ring, then slice and print the corresponding outer ring on top of it.
-
Now all parts should be printed, and we can test fit everything, and prepare for glue. First, ensure your screws fit loosely into the holes in the center assembly, we want this joint to spin freely (adjust fit if needed by drilling the hole out slightly, or using the screw to scrape off any unruly filament). Next, sand the back sides of the "front face" and "dinner ring" so they're nice and flat (helps to close gaps in finished part). Now we're ready for glue!
-
Apply glue to the magnet holes and alignment peg holes on the center assembly, press the magnet into one half, then clamp the two halves together until the glue sets. DO NOT glue the outer ring yet!
-
Next, insert the screws into the holes in the center assembly, and place it onto one of the outer rings, lining up the screw holes. Press on the other outer ring, and check that you like the way the text is oriented before we glue it up. You can also test the spinning motion at this point (it's fun!). Once that's done, add glue to the alignment peg holes, but DO NOT glue the screws. Press the outer rings together and clamp until the glue sets, just like before.
-
Feed your pet, and don't forget!
Links: magnets: https://www.kjmagnetics.com/proddetail.asp?prod=ZDC2E screws: https://a.co/d/7Jq06VN
.jpeg&w=3840&q=75)
Cat Bowl ; Purfect Pet Feeder v2

POUCH BOX

Honeycomb Slow Feeder Bowl, Dog or Cat Bowl - Dish, Safe Food, Healthy Feeding, Ergonomic Bowl
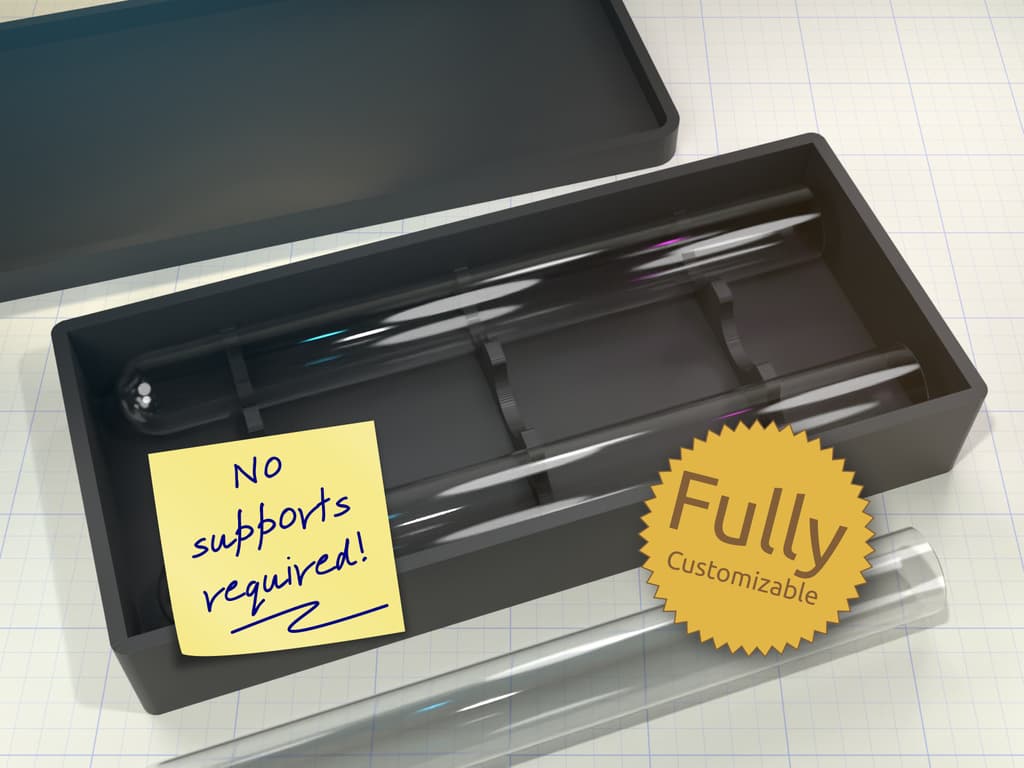
Horizontal Test Tube Holder Box

SCOOPIE
dog food lid

Snow blower Valve-cover mountings.stl

PUZZLE TOY
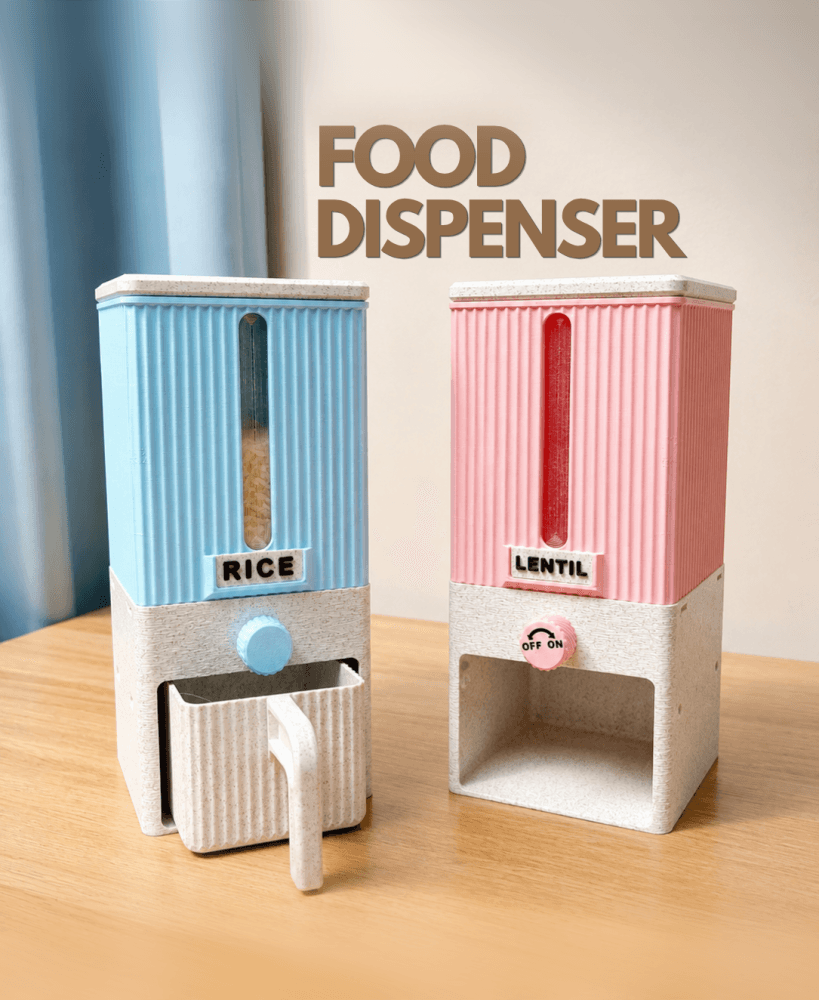
Food Dispenser | Storage Container | Iris Mechanism

PET Bottle Cutter
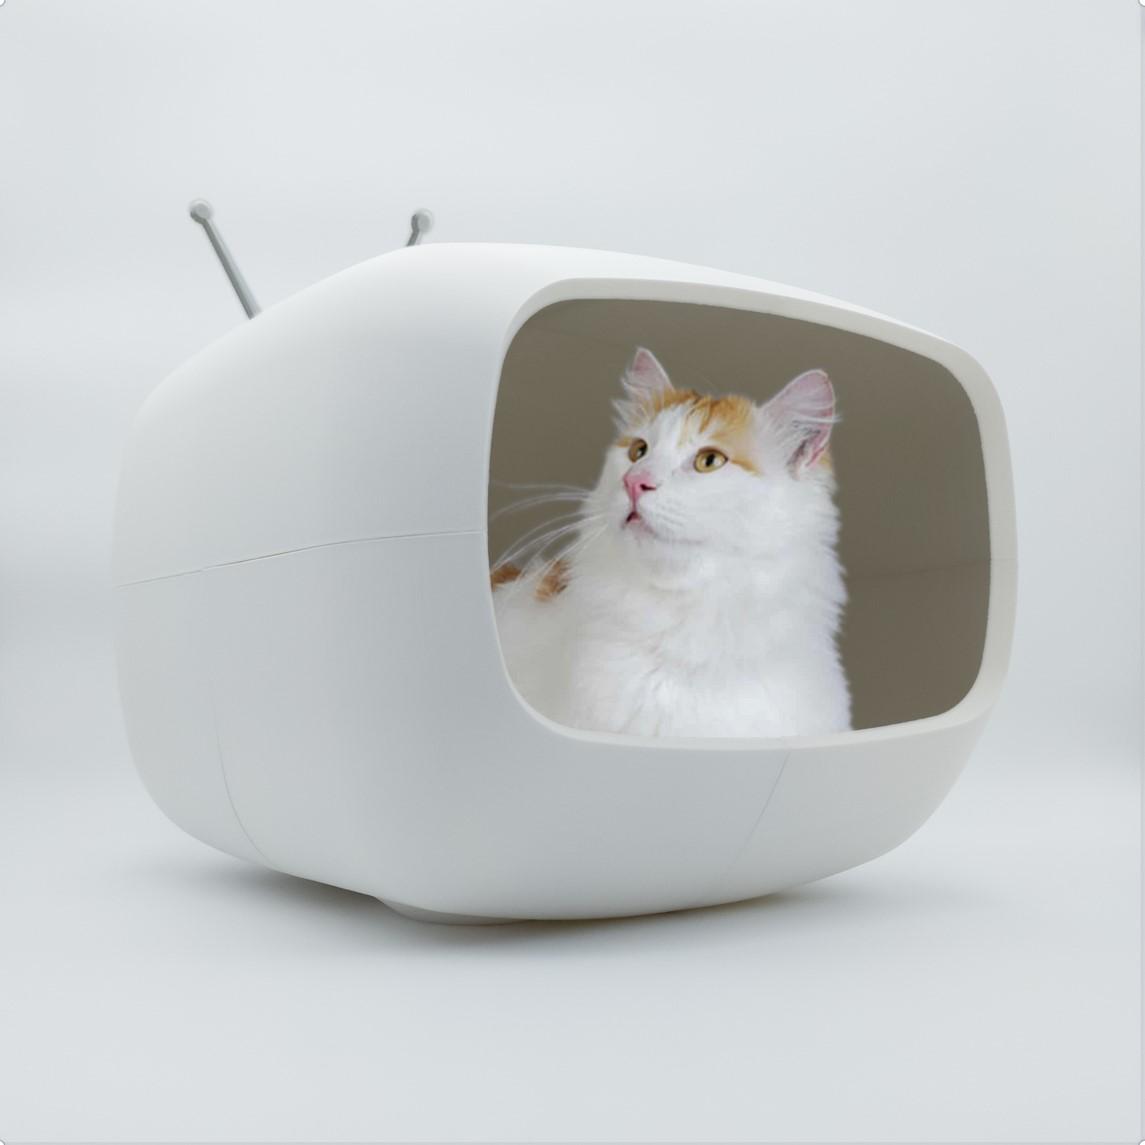
MAISON POUR CHAT CAT TV 70S VINTAGE DESIGN
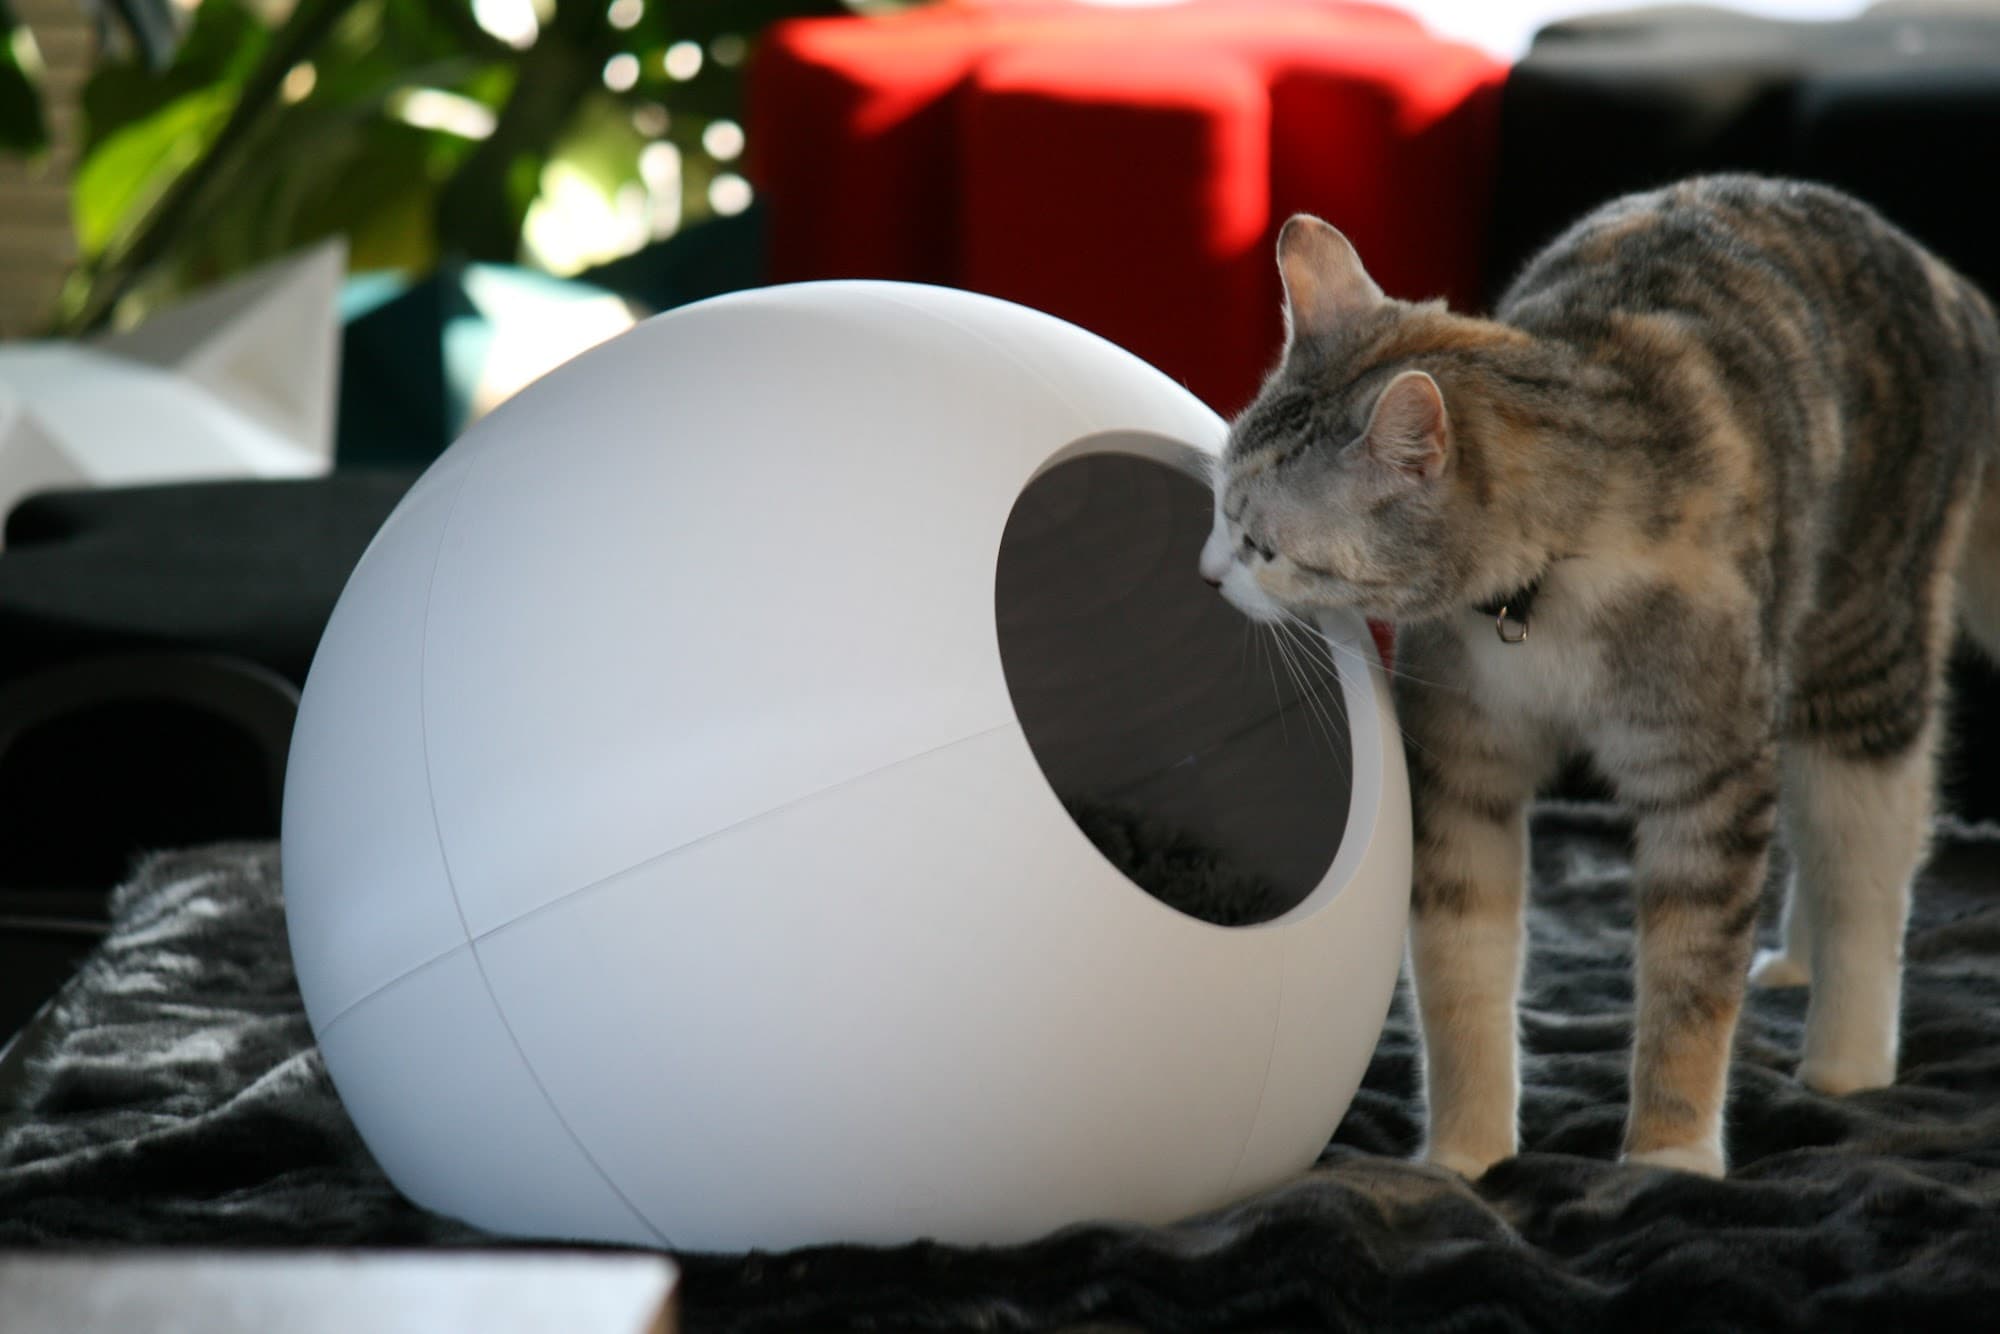
HOUSE FOR CAT SPHERE - Follow us: linktr.ee/catalpine
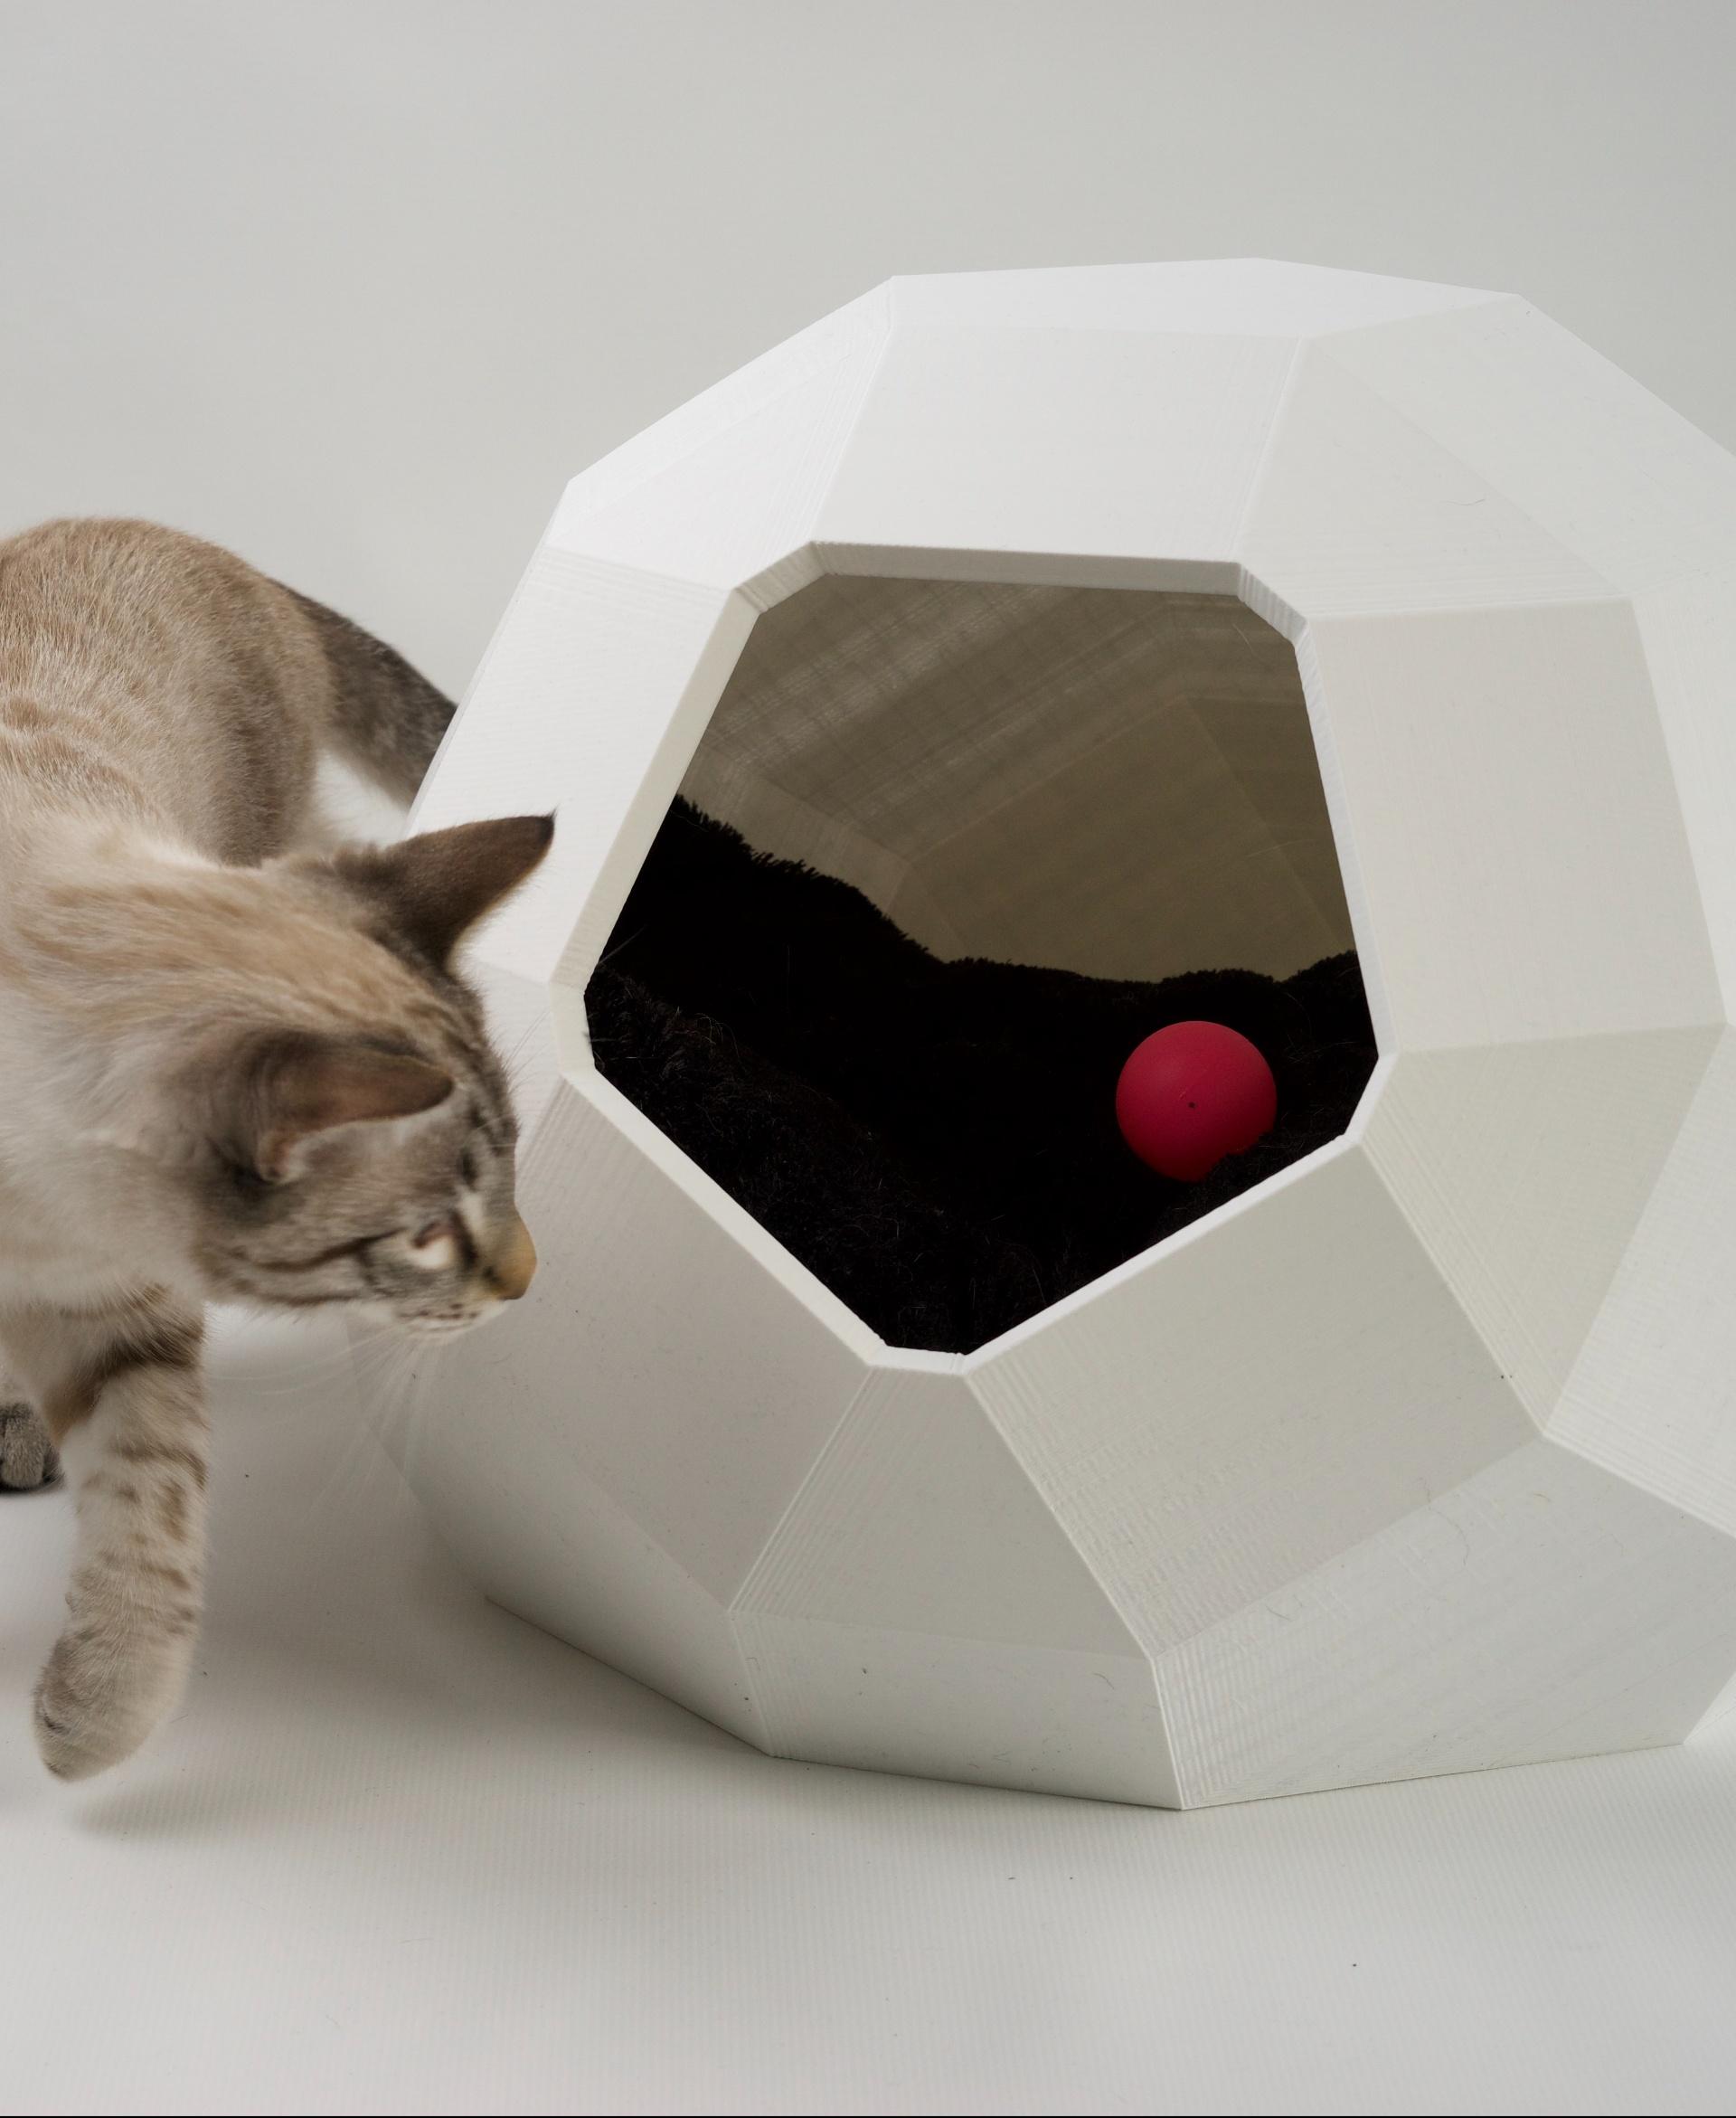
HOUSE FOR CAT TAO LOW POLY V1 - Follow us: linktr.ee/catalpine

Customizable Bowtie Dogtag (For dogs with style!)
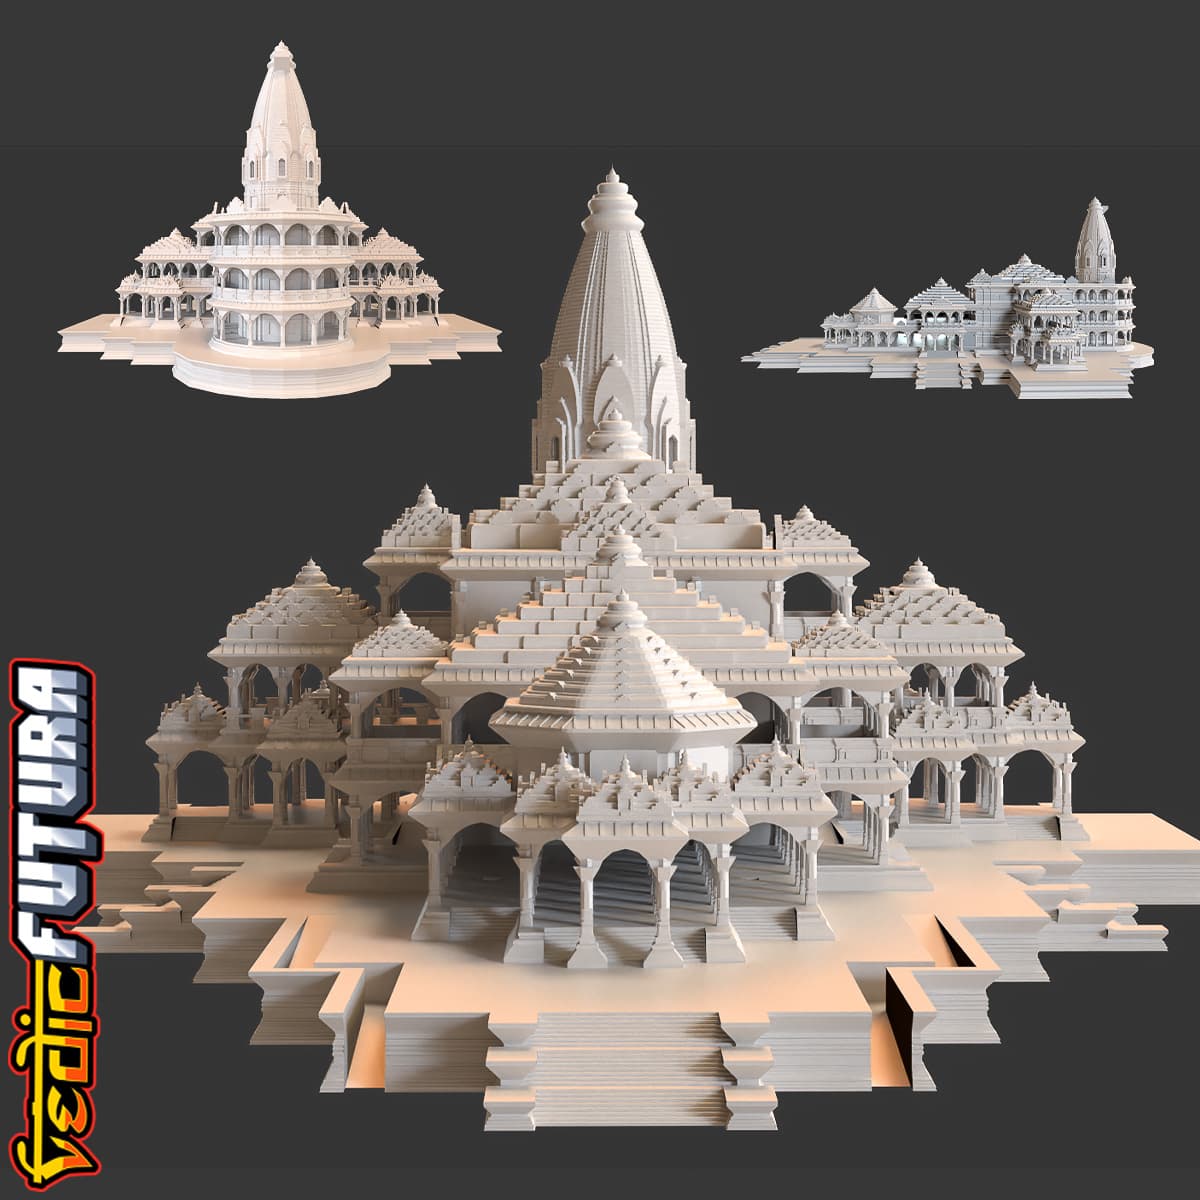
Ayodhya Ram Temple - NO SUPPORTS REQUIRED!
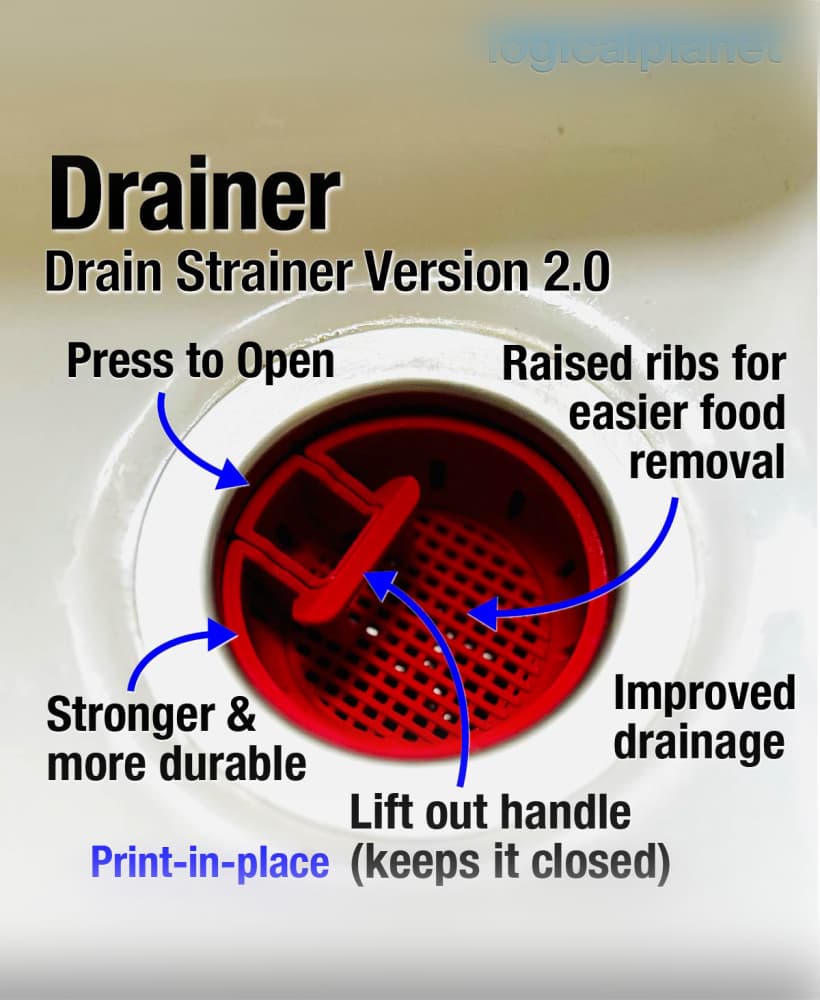
Drainer – Pop-Open Drain Strainer Version 2.0
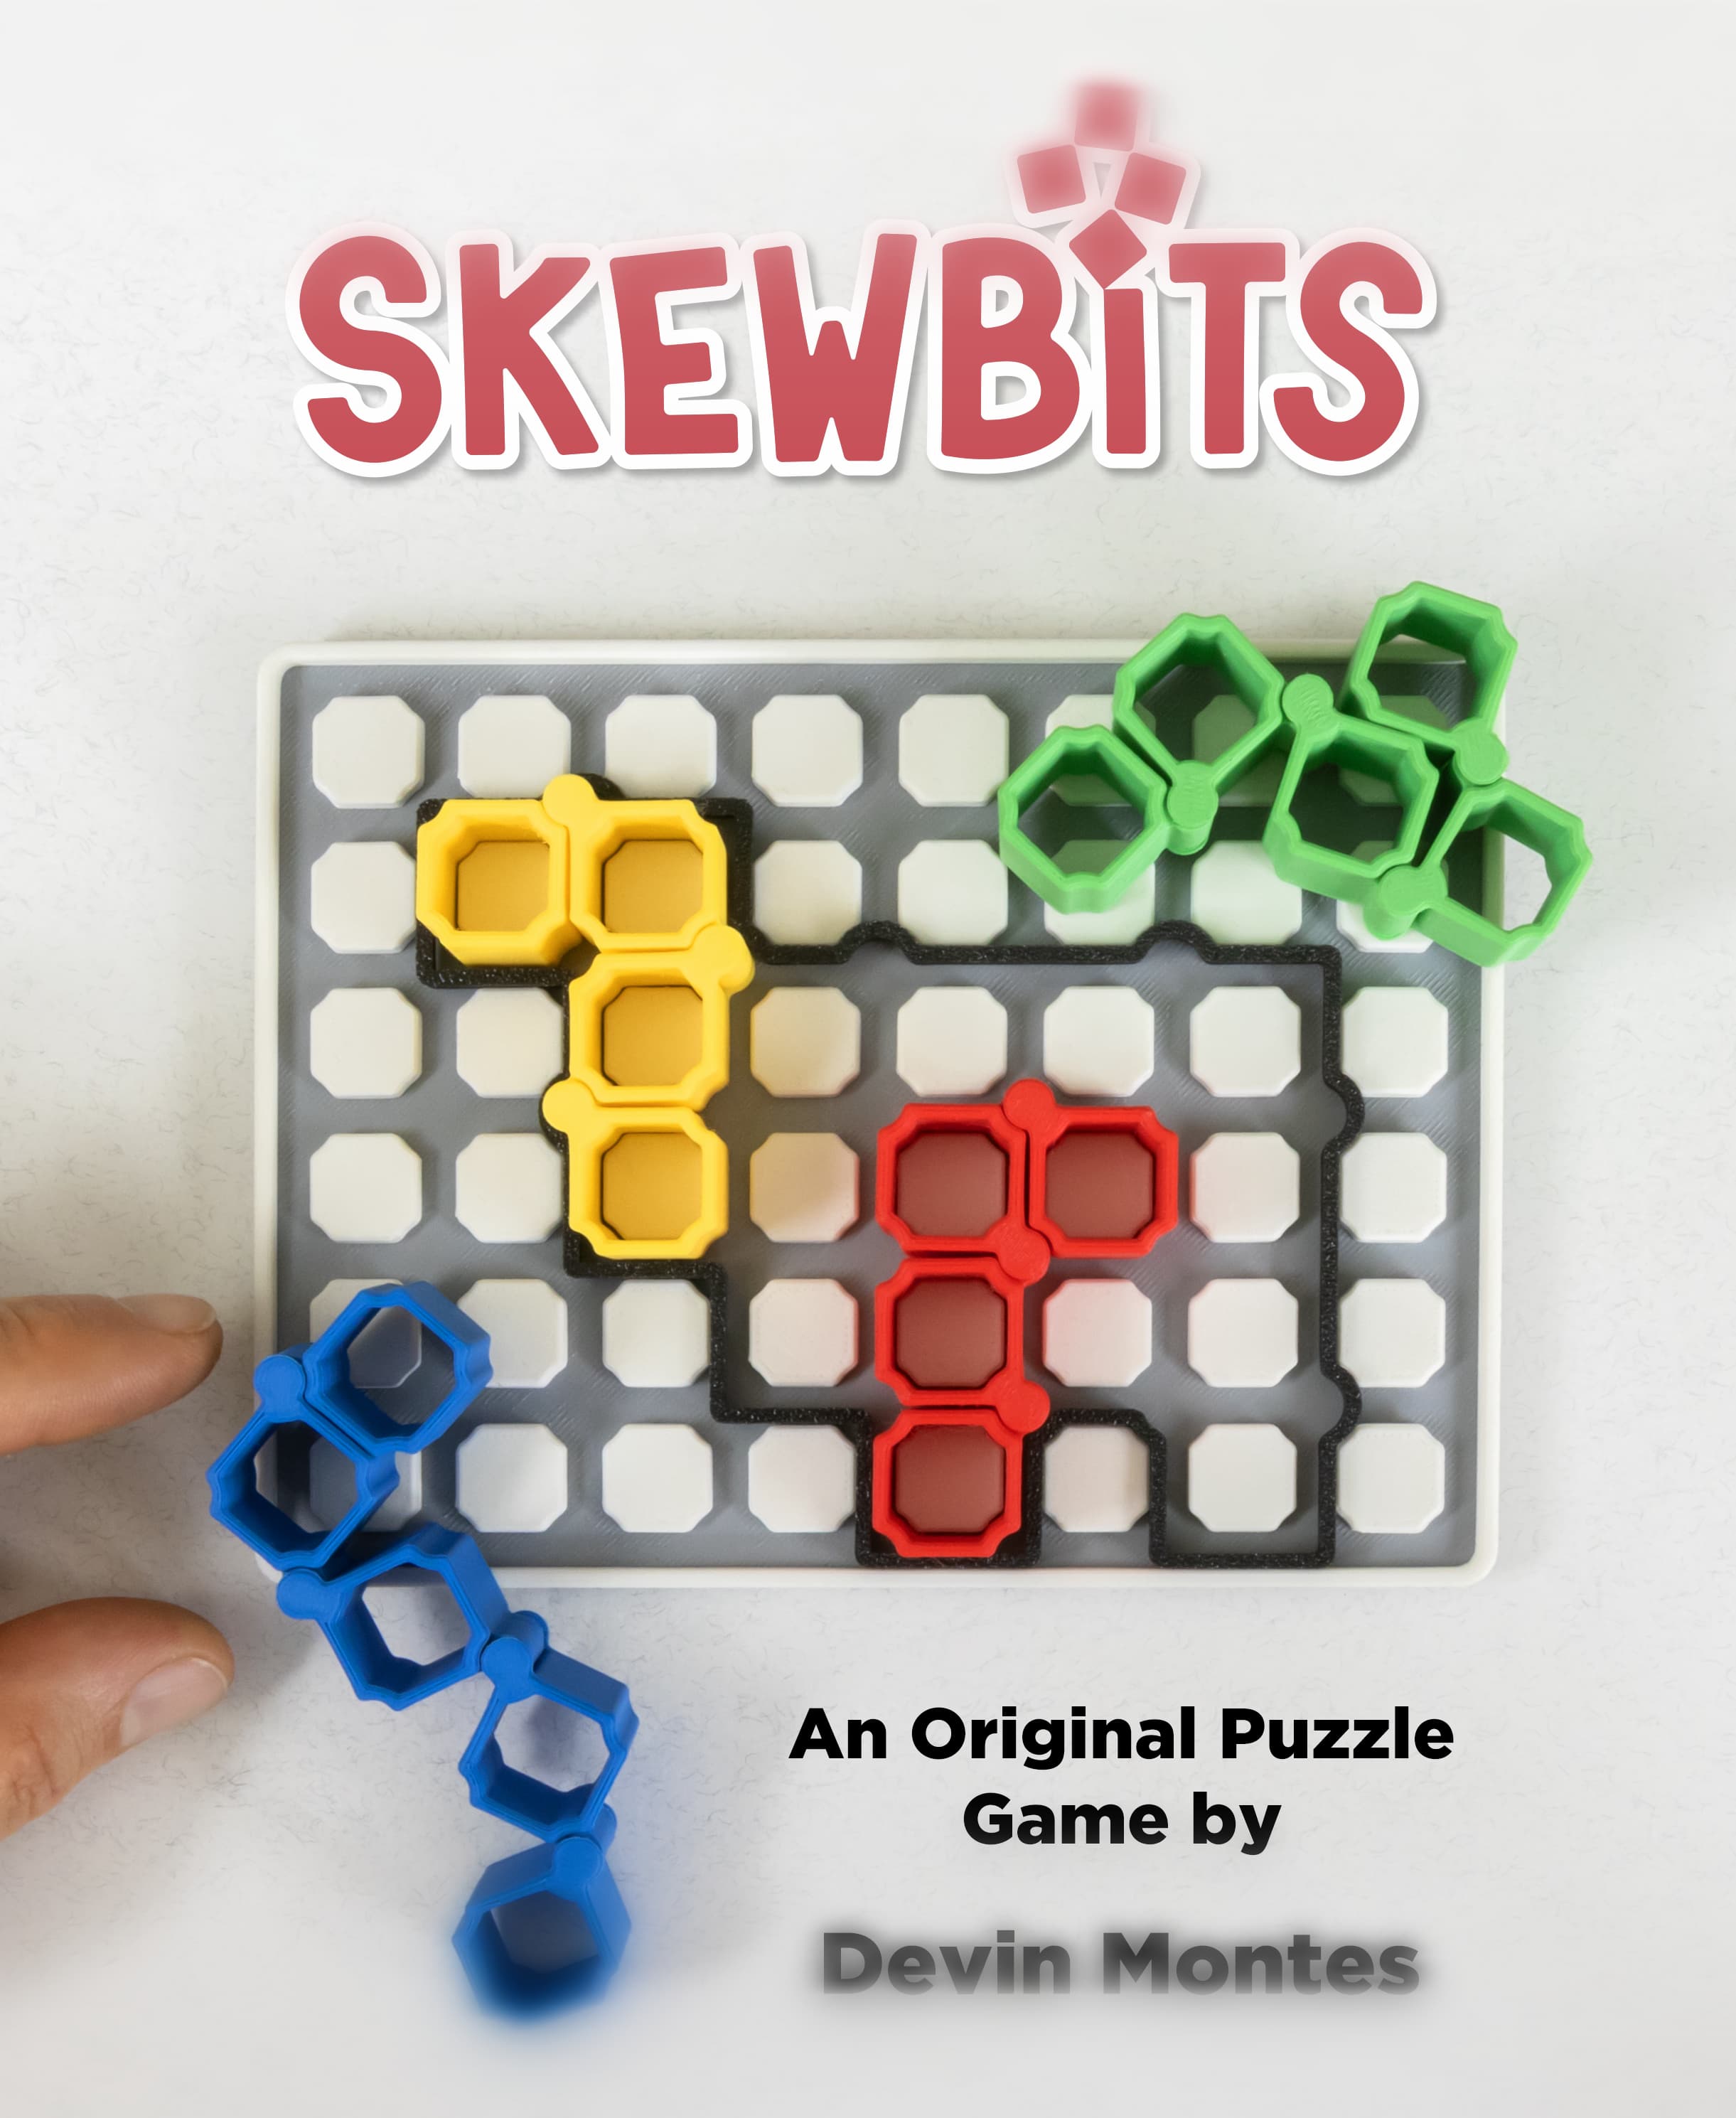
SKEWBITS (v1) Puzzle Game for 3D Printing *OUTDATED*
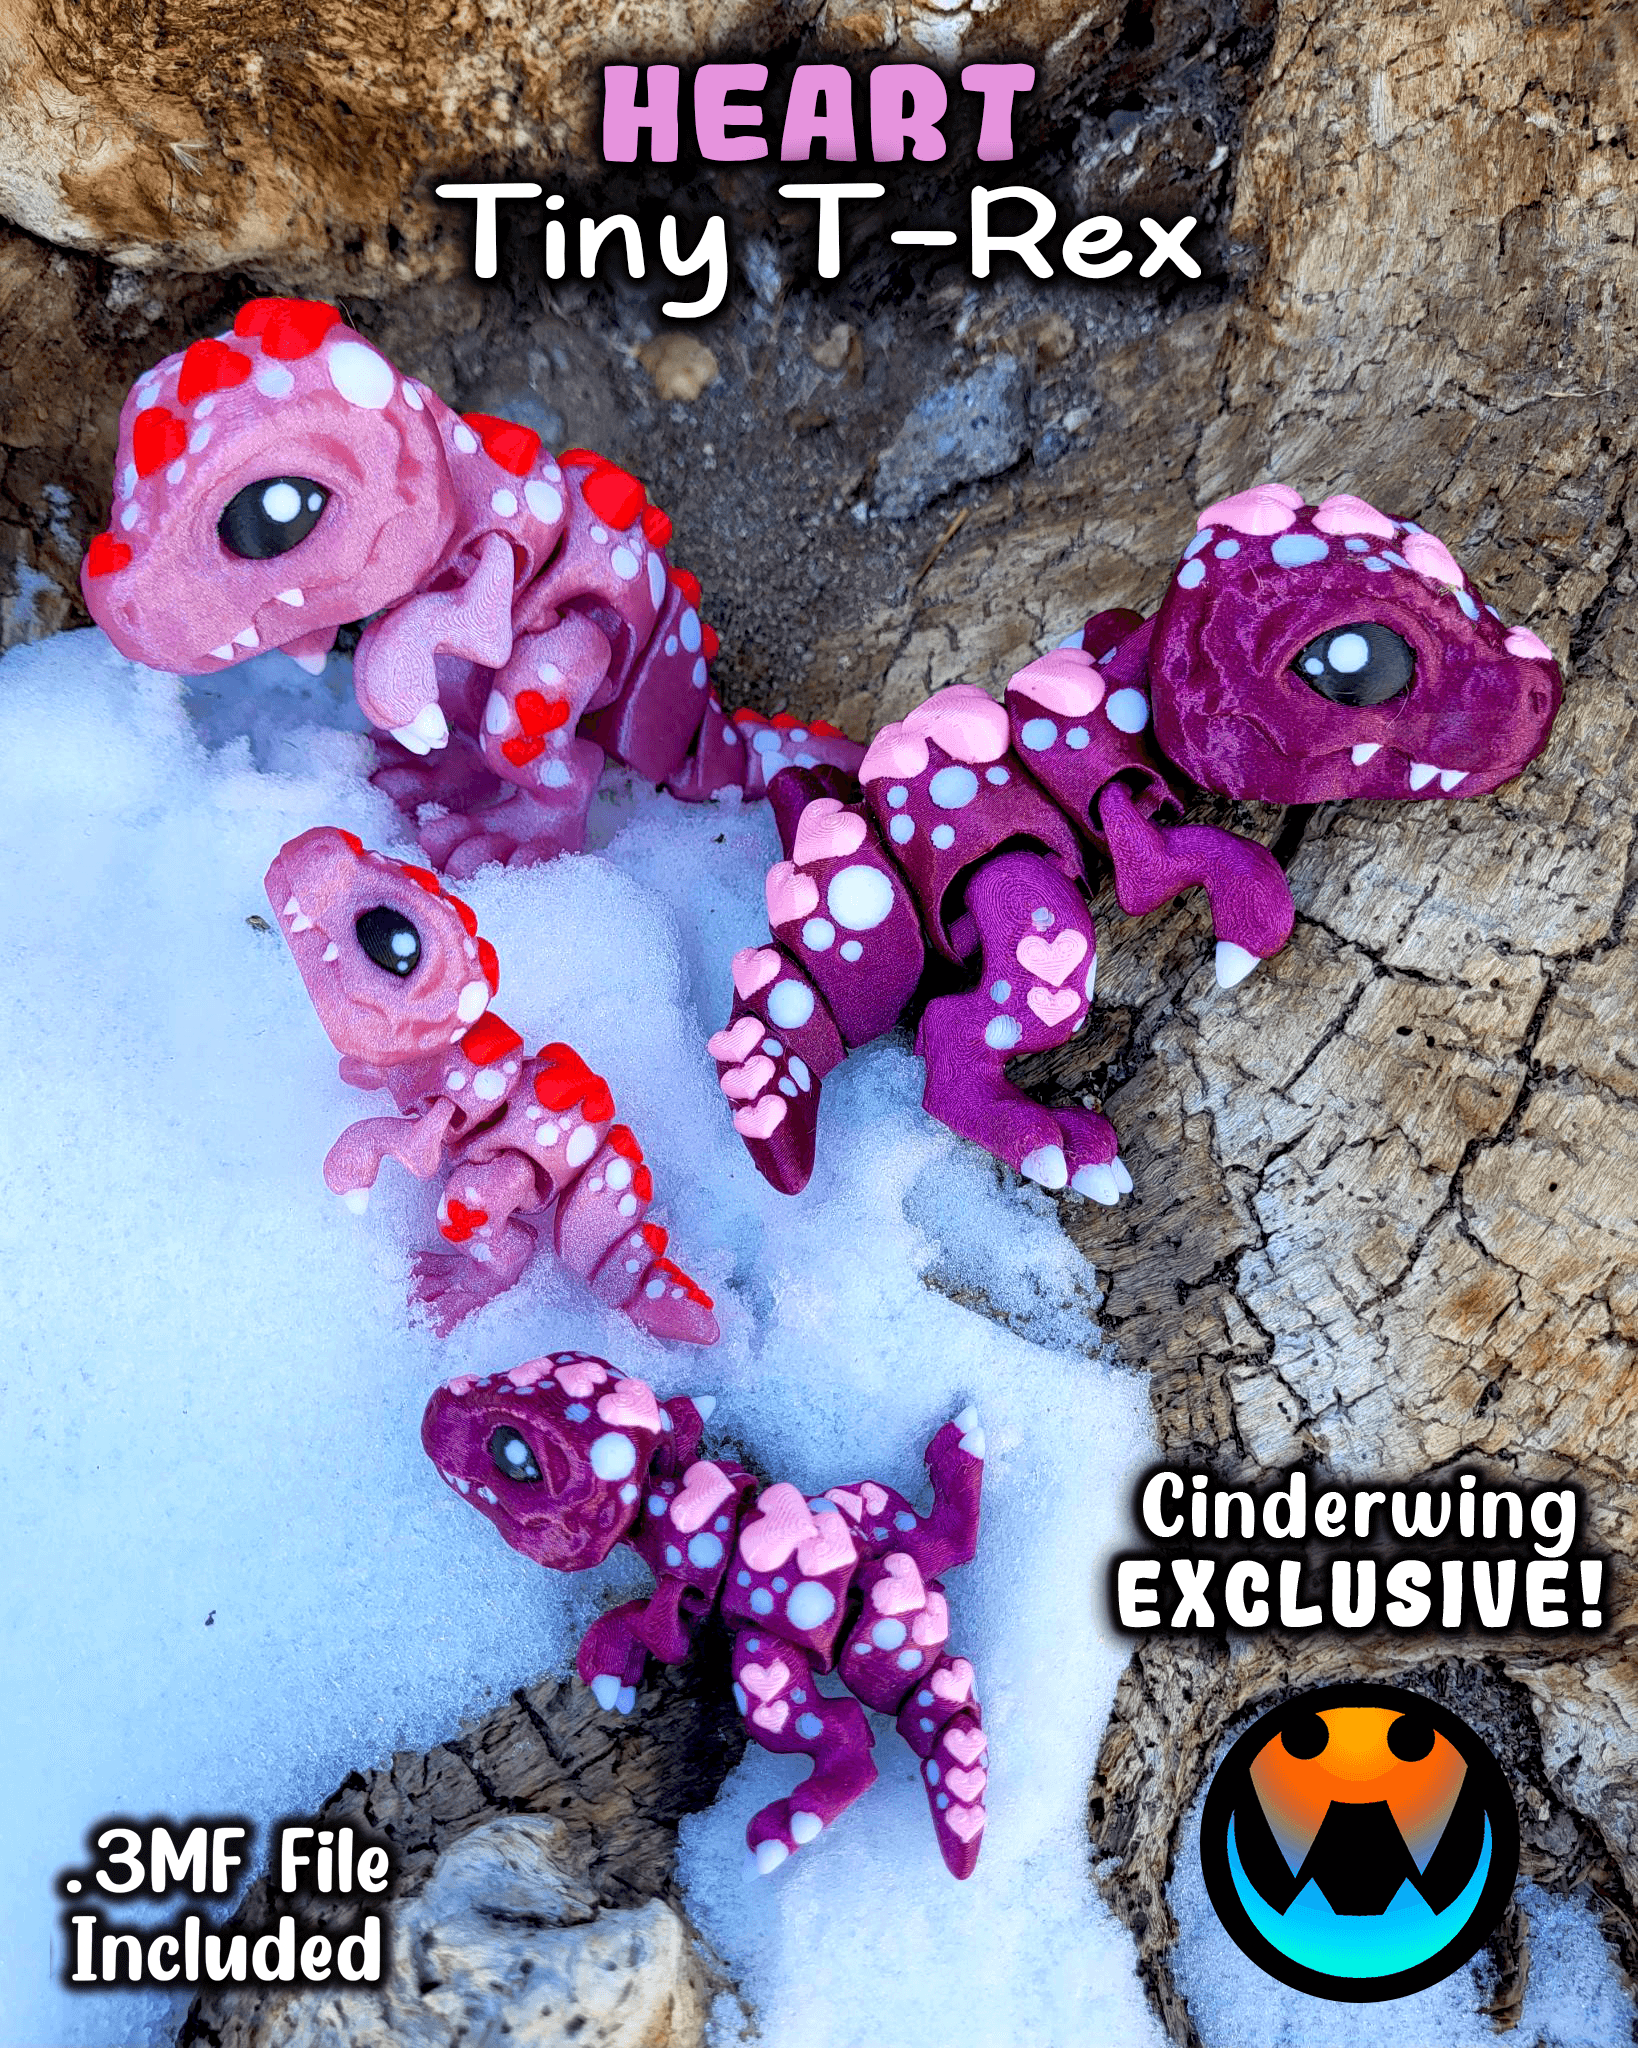
Tiny Heart T-Rex

Fold-a-Ball - A foldable ball that fits in your pocket
