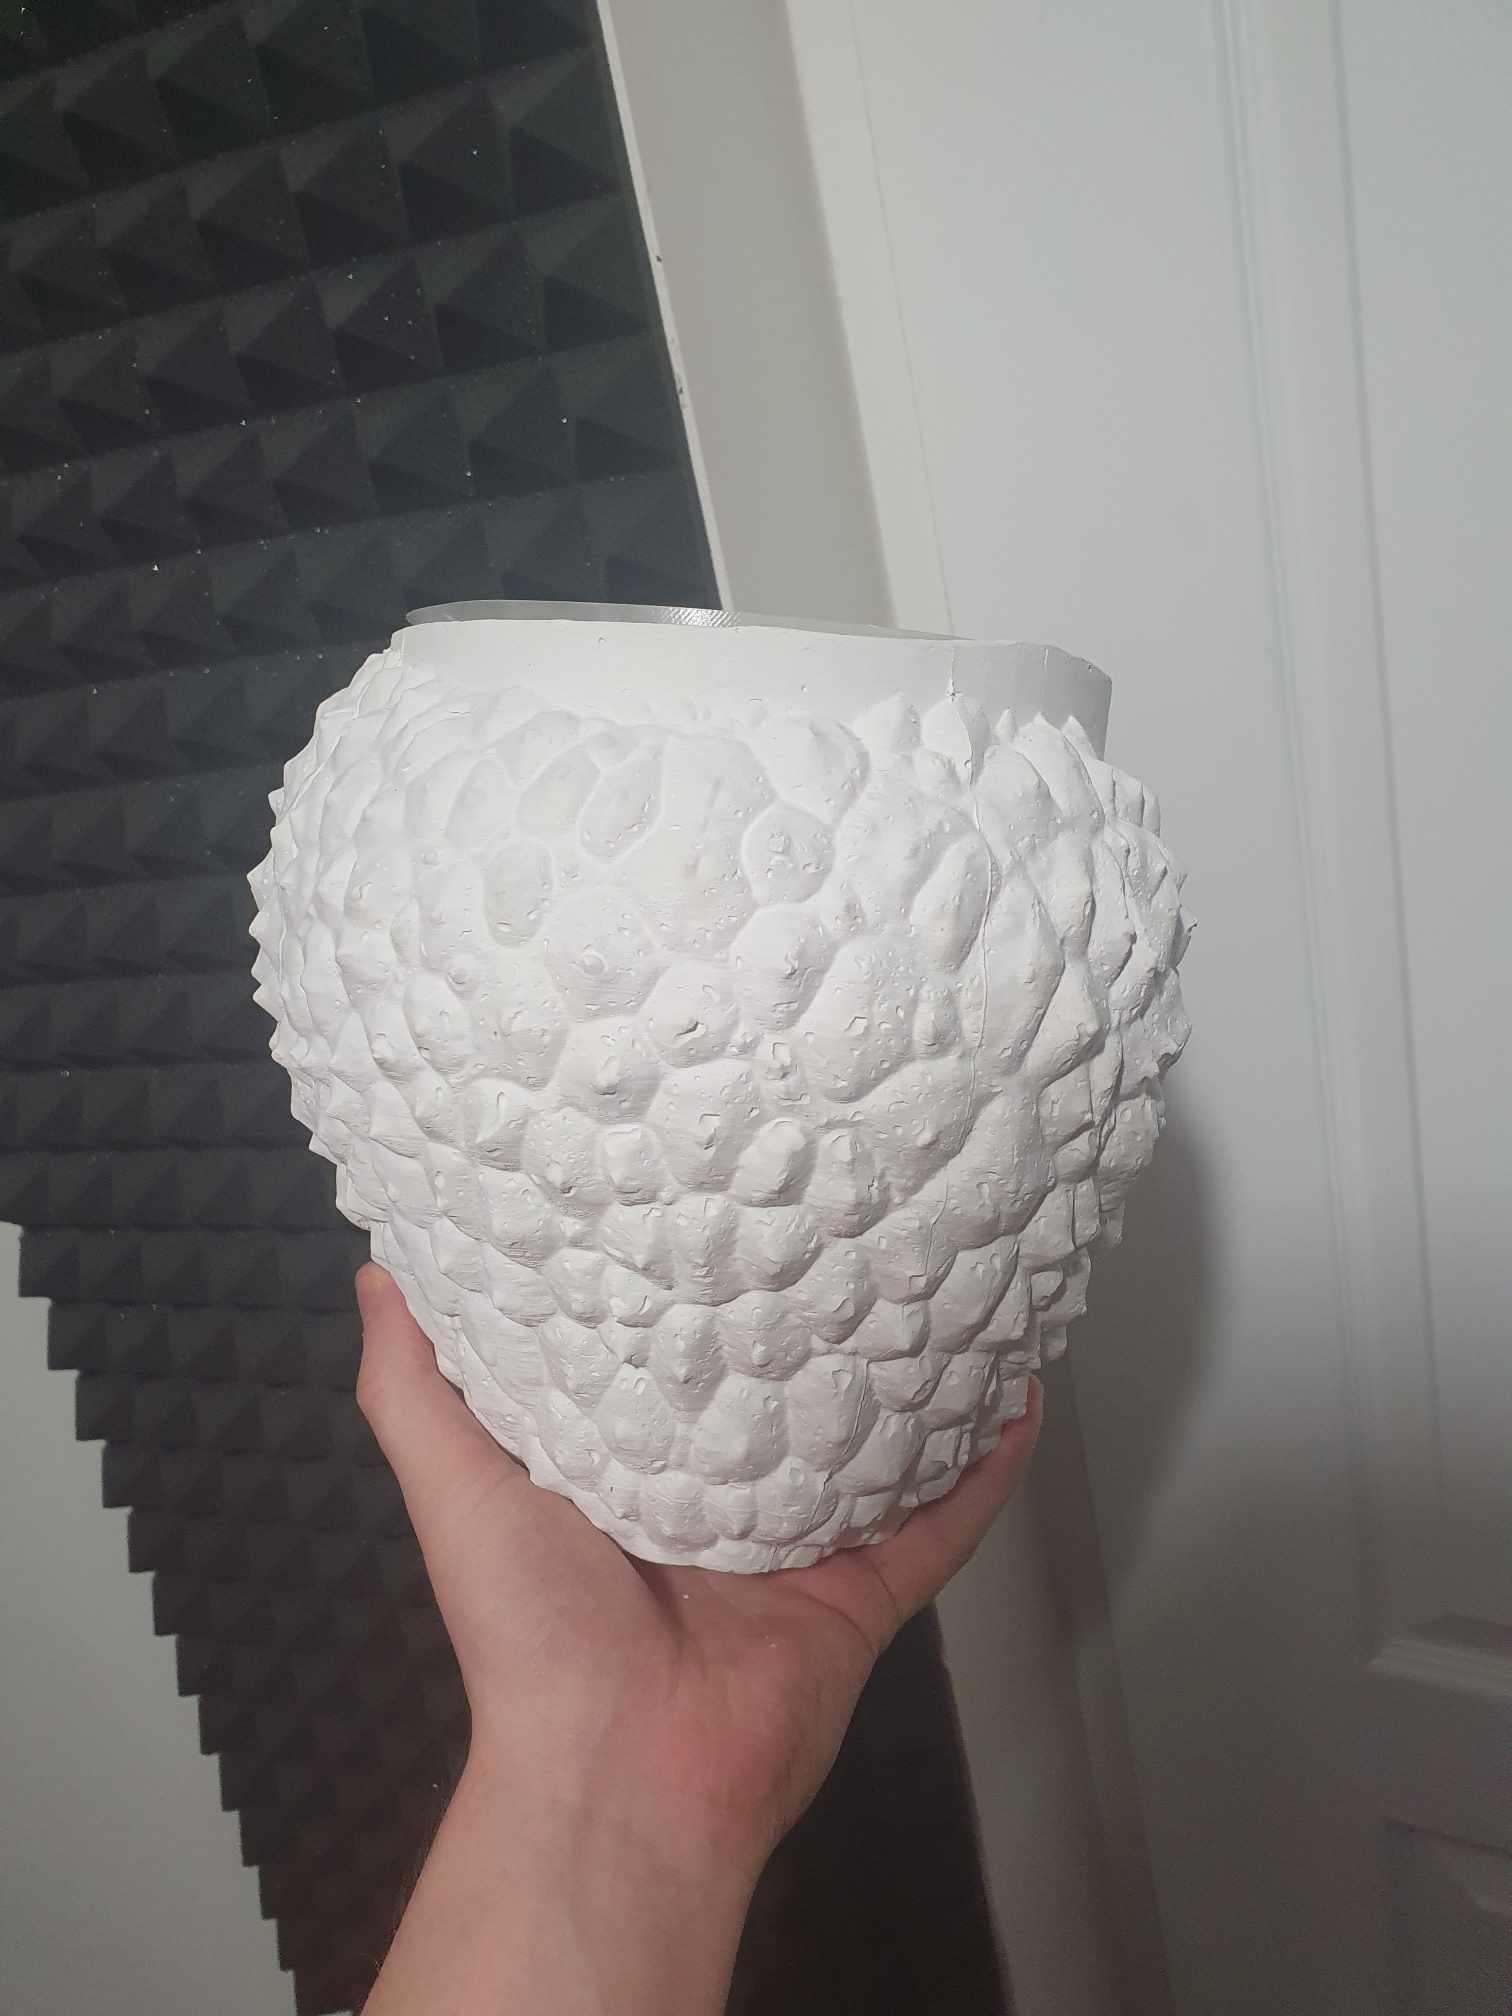
I designed this mold to make a bunch of plaster pots shaped like a lychee fruit for - guess what. Lychee plants. It's obviously more worth it to print this mold if you're planning on making at least multiple pots.
Material: Raw plaster isn't a good idea for storing moist soil as it will degrade the material. so you can print an insert and grow the plant in it and thus isolate plaster from water. (transparent filament is really cool for this as you can see the soil from beneath) other suitable materials would be concrete, clay or epoxy resin. really whatever you want but plaster of paris is obviously the cheapest choice. from my tests. about 2kg of my plaster with 1.4l of water mix fill the entire mold fully. As i printed my mold with regular PLA, i was initially worried about the plaster overheating the plastic during the curing process, but turned out to be a non issue.
Using the mold: 5 mold parts have to be printed separately, it took me about 3 days to print. Sides have to be sanded smooth so that the parting line (the vertical line where the two mold parts meet) will be hardly visible. same has to be done to the core part of the mold to ensure easy removal*. 4 sides of the mold have to be screwed together tightly. After assembling the mold, the inside can be coated with thin layer of vegetable oil to make sure the plaster wont stick to rough print lines. same must be done to core part. After the plaster mix is made. Pour it into the mold, then insert the weighted-down core (I used metal pellets and water) to make sure that the core won't get pushed up to the surface during curing. shake the mold around a little bit or use a vibrating drill to remove the bubbles as they can easily get stuck on the top of the mold. After the plaster has cured. core can be removed. mold sides disasembled and the pot removed for hardening. Before the plaster fully hardens, you can gently scrape off any parting lines or imperfections. After hardening you can drill holes in the bottom for water drainage.
Printing: I used .6mm nozzle with 1.2mm wall thickness. very low infill. Model is pretty big so a total of about 650g of filament was used. Printing the parts one at a time ensures no blobs or stringing from printhead traveling from one part to the next. It's a good idea to print the core out of transparent filament (cheap transparent PETG in my case) as you can see the cross section of the mold during casting and know if you poured enough plaster mix.
*the first version of the core had straight, vertical walls so as the draft angle was too low, vaccum was created during the removal of the core. I corrected that by tapering the walls inward. so now it's much simpler to remove a pot from the mold. I tried adding some silicone gasket but then realized it's completely unnecessary as slightly thick plaster doesnt leak through tightly squashed plastic walls. This is mainly due to the allignment notches that also increase contact surface area.
***Note that this project was pretty much my first time with plaster casting so i might have made some obvious mistakes.


.png&w=3840&q=75)