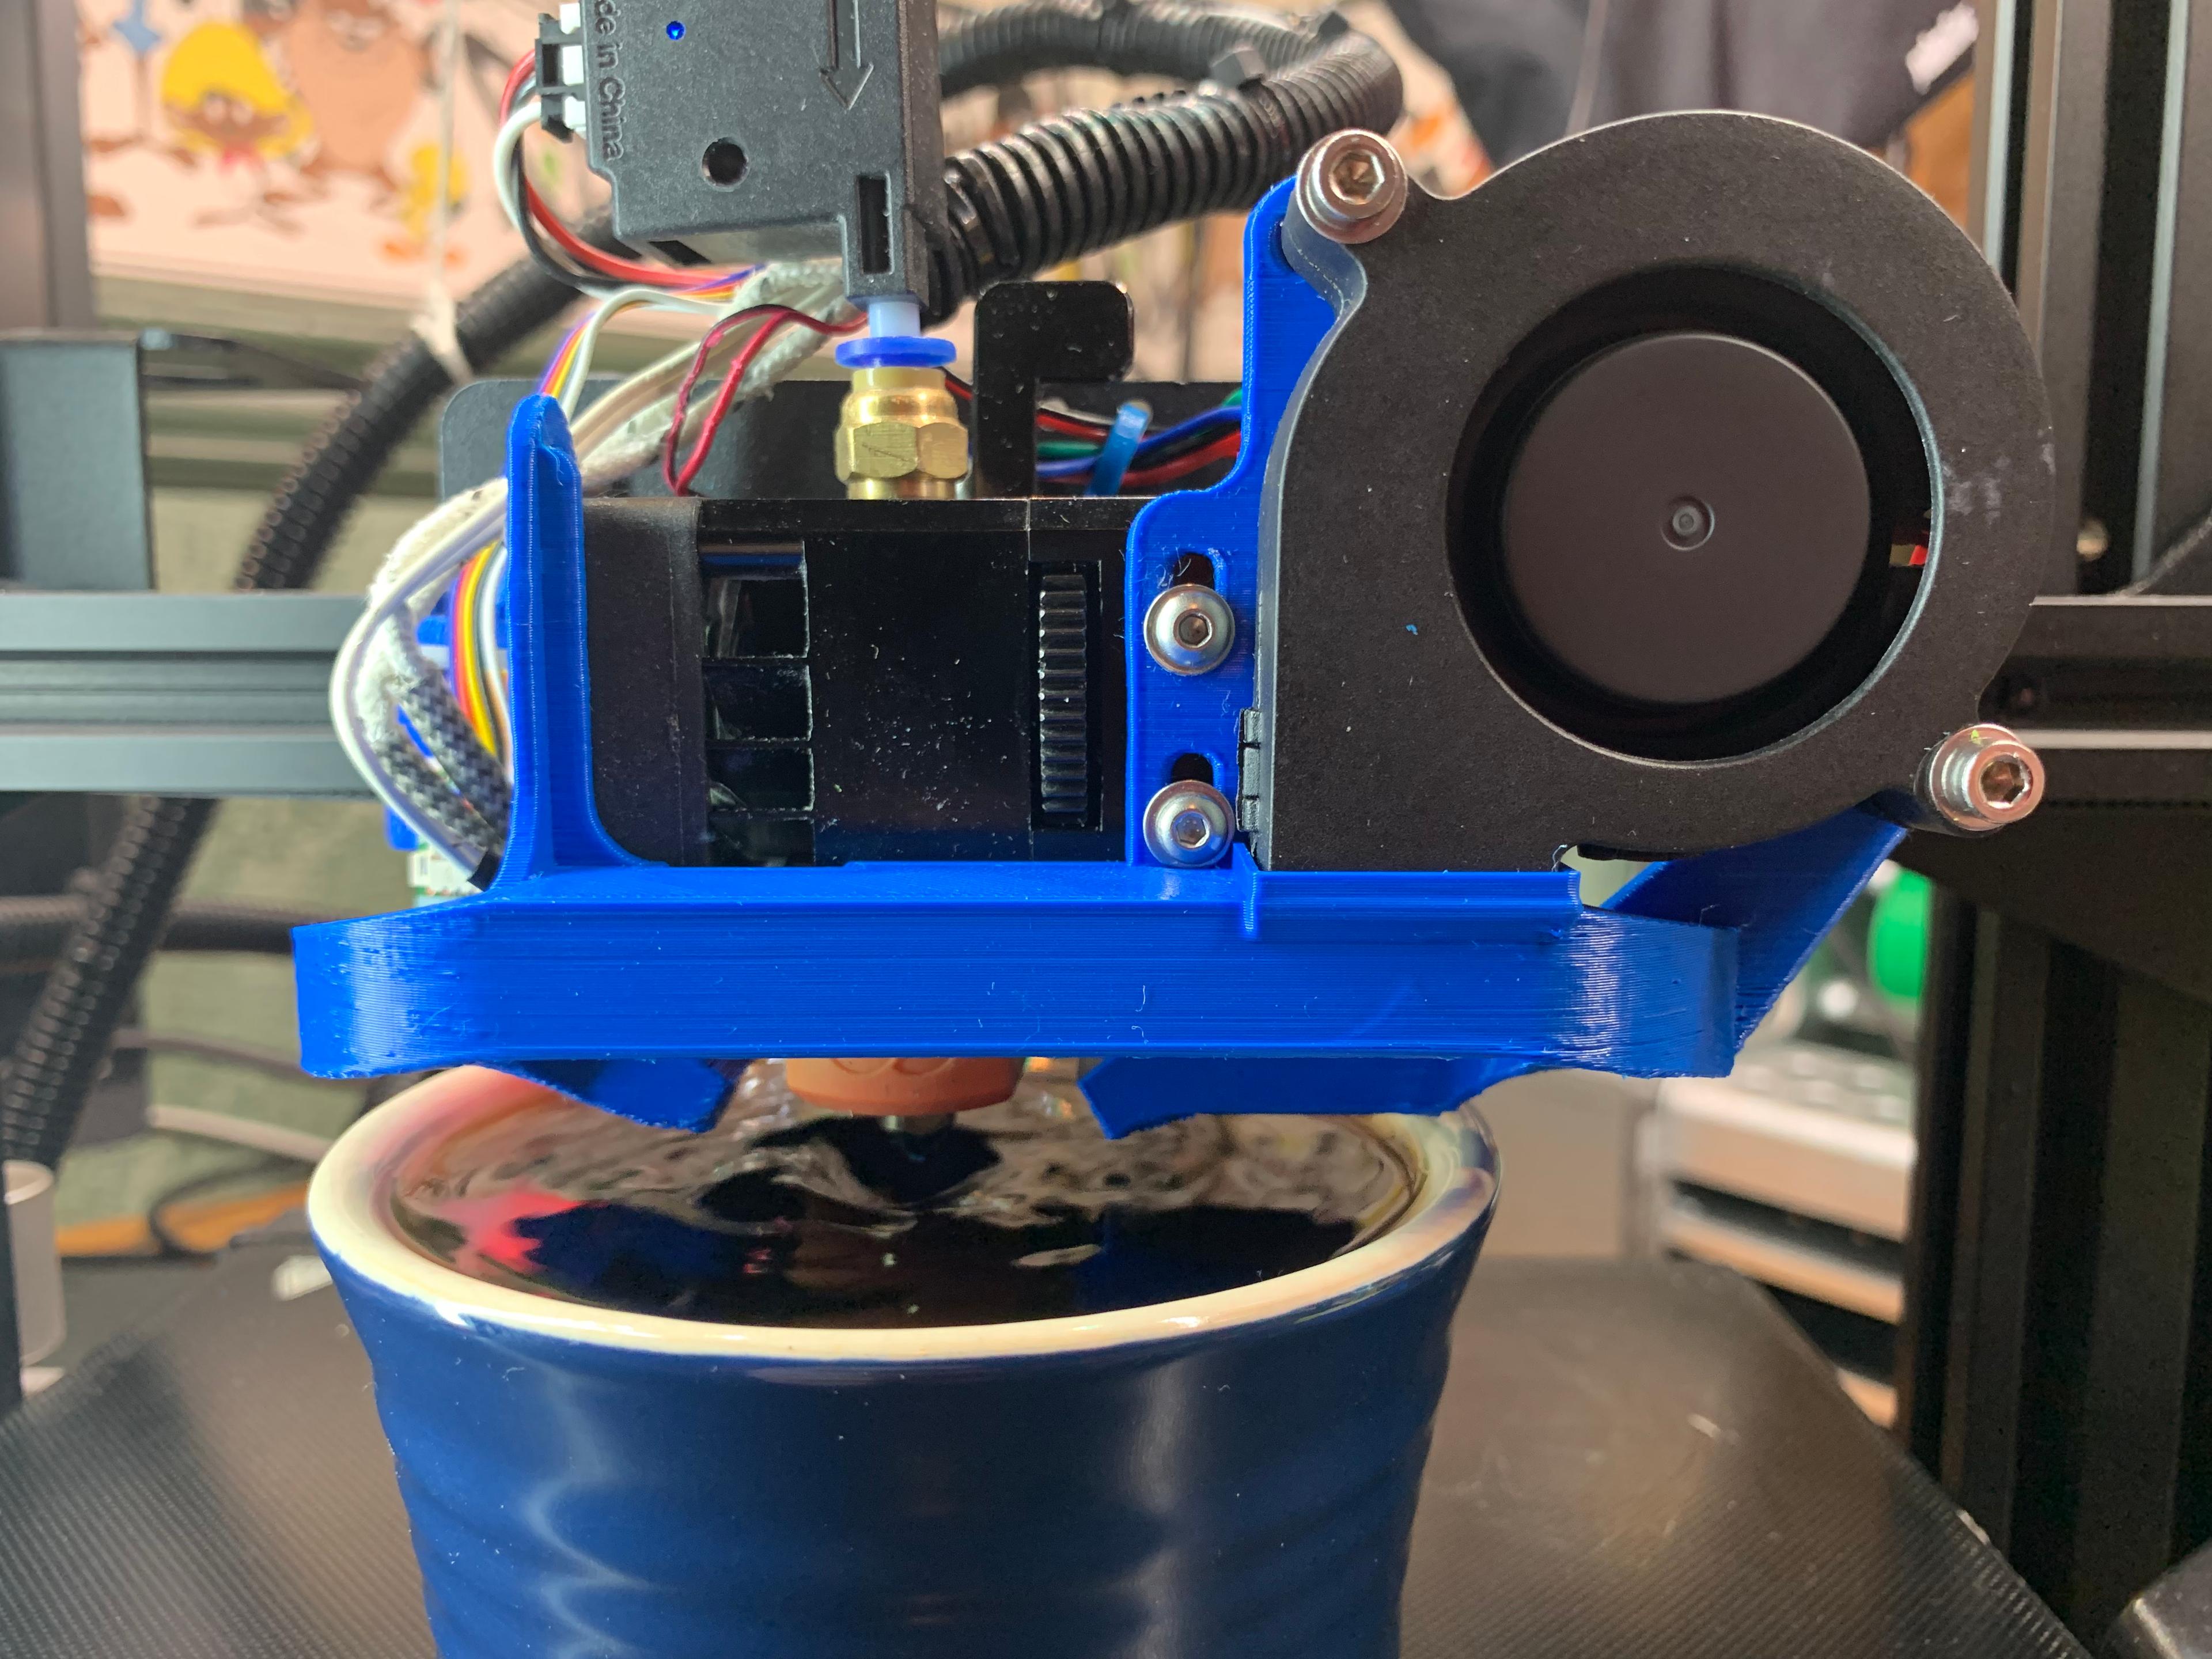
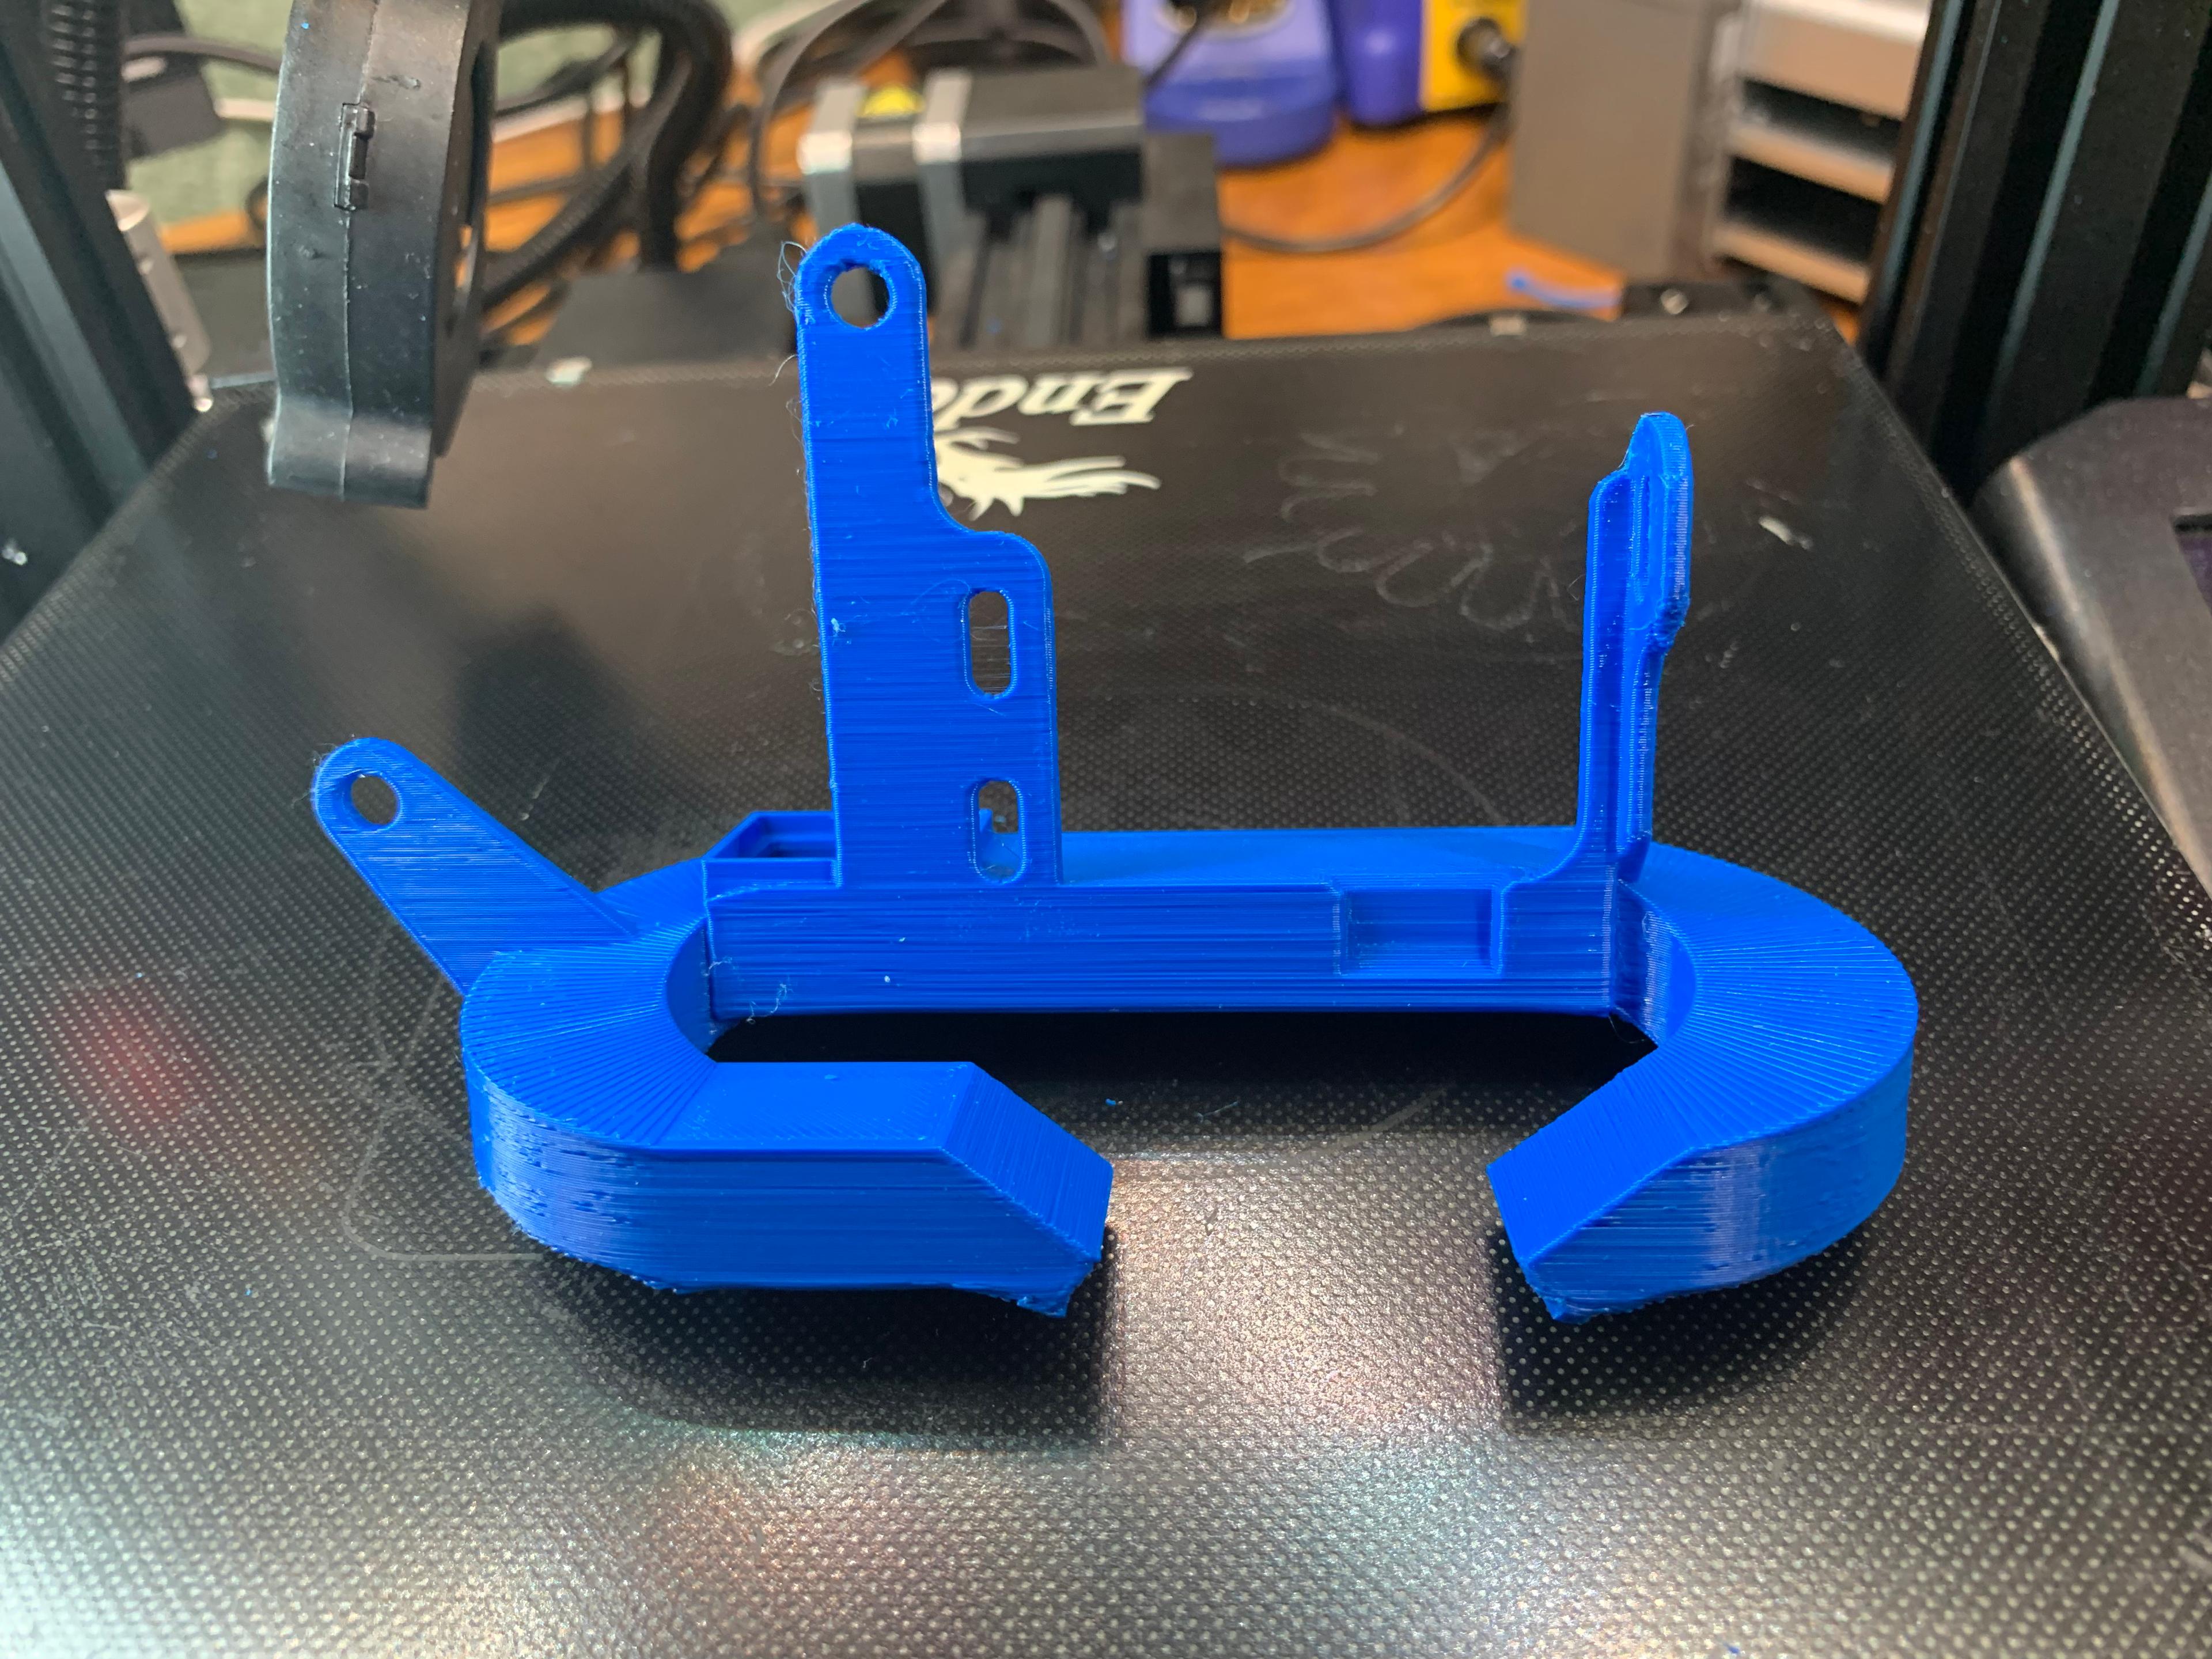
Part cooling duct for BIQU H2 using 5015 fan. Orient the duct for printing upright as it will be used. Print using supports under the full base I painted support requirements on the full base using PrusaSlicer. Supports are not required for the vertical screw mount plates.
I used PLA3D850 filament since it has a higher heat resistance than regular PLA and is stiffer than PETG. Nonoilen filament would be even better for heat. Criteria for the design:
- 5015 blower fan
- access to and easy viewing of the BIQU H2 extrusion thumbwheel
- access to the filament loading lever
- good visibility of the nozzle for live z offset adjustment
- adjustable z height to accommodate nozzles with a slightly different length
- get wrenches on the nozzle and heat block without having to remove the cooling duct
In addition to the cooling duct the following are required.
- 2x M3 6mm screws
- 7x M3 flat washers
- 2x M3 25mm screws
- 2x M3 nylok hex nuts (or regular nuts with lock washers)
- 1x 5015 blower fan (24V)
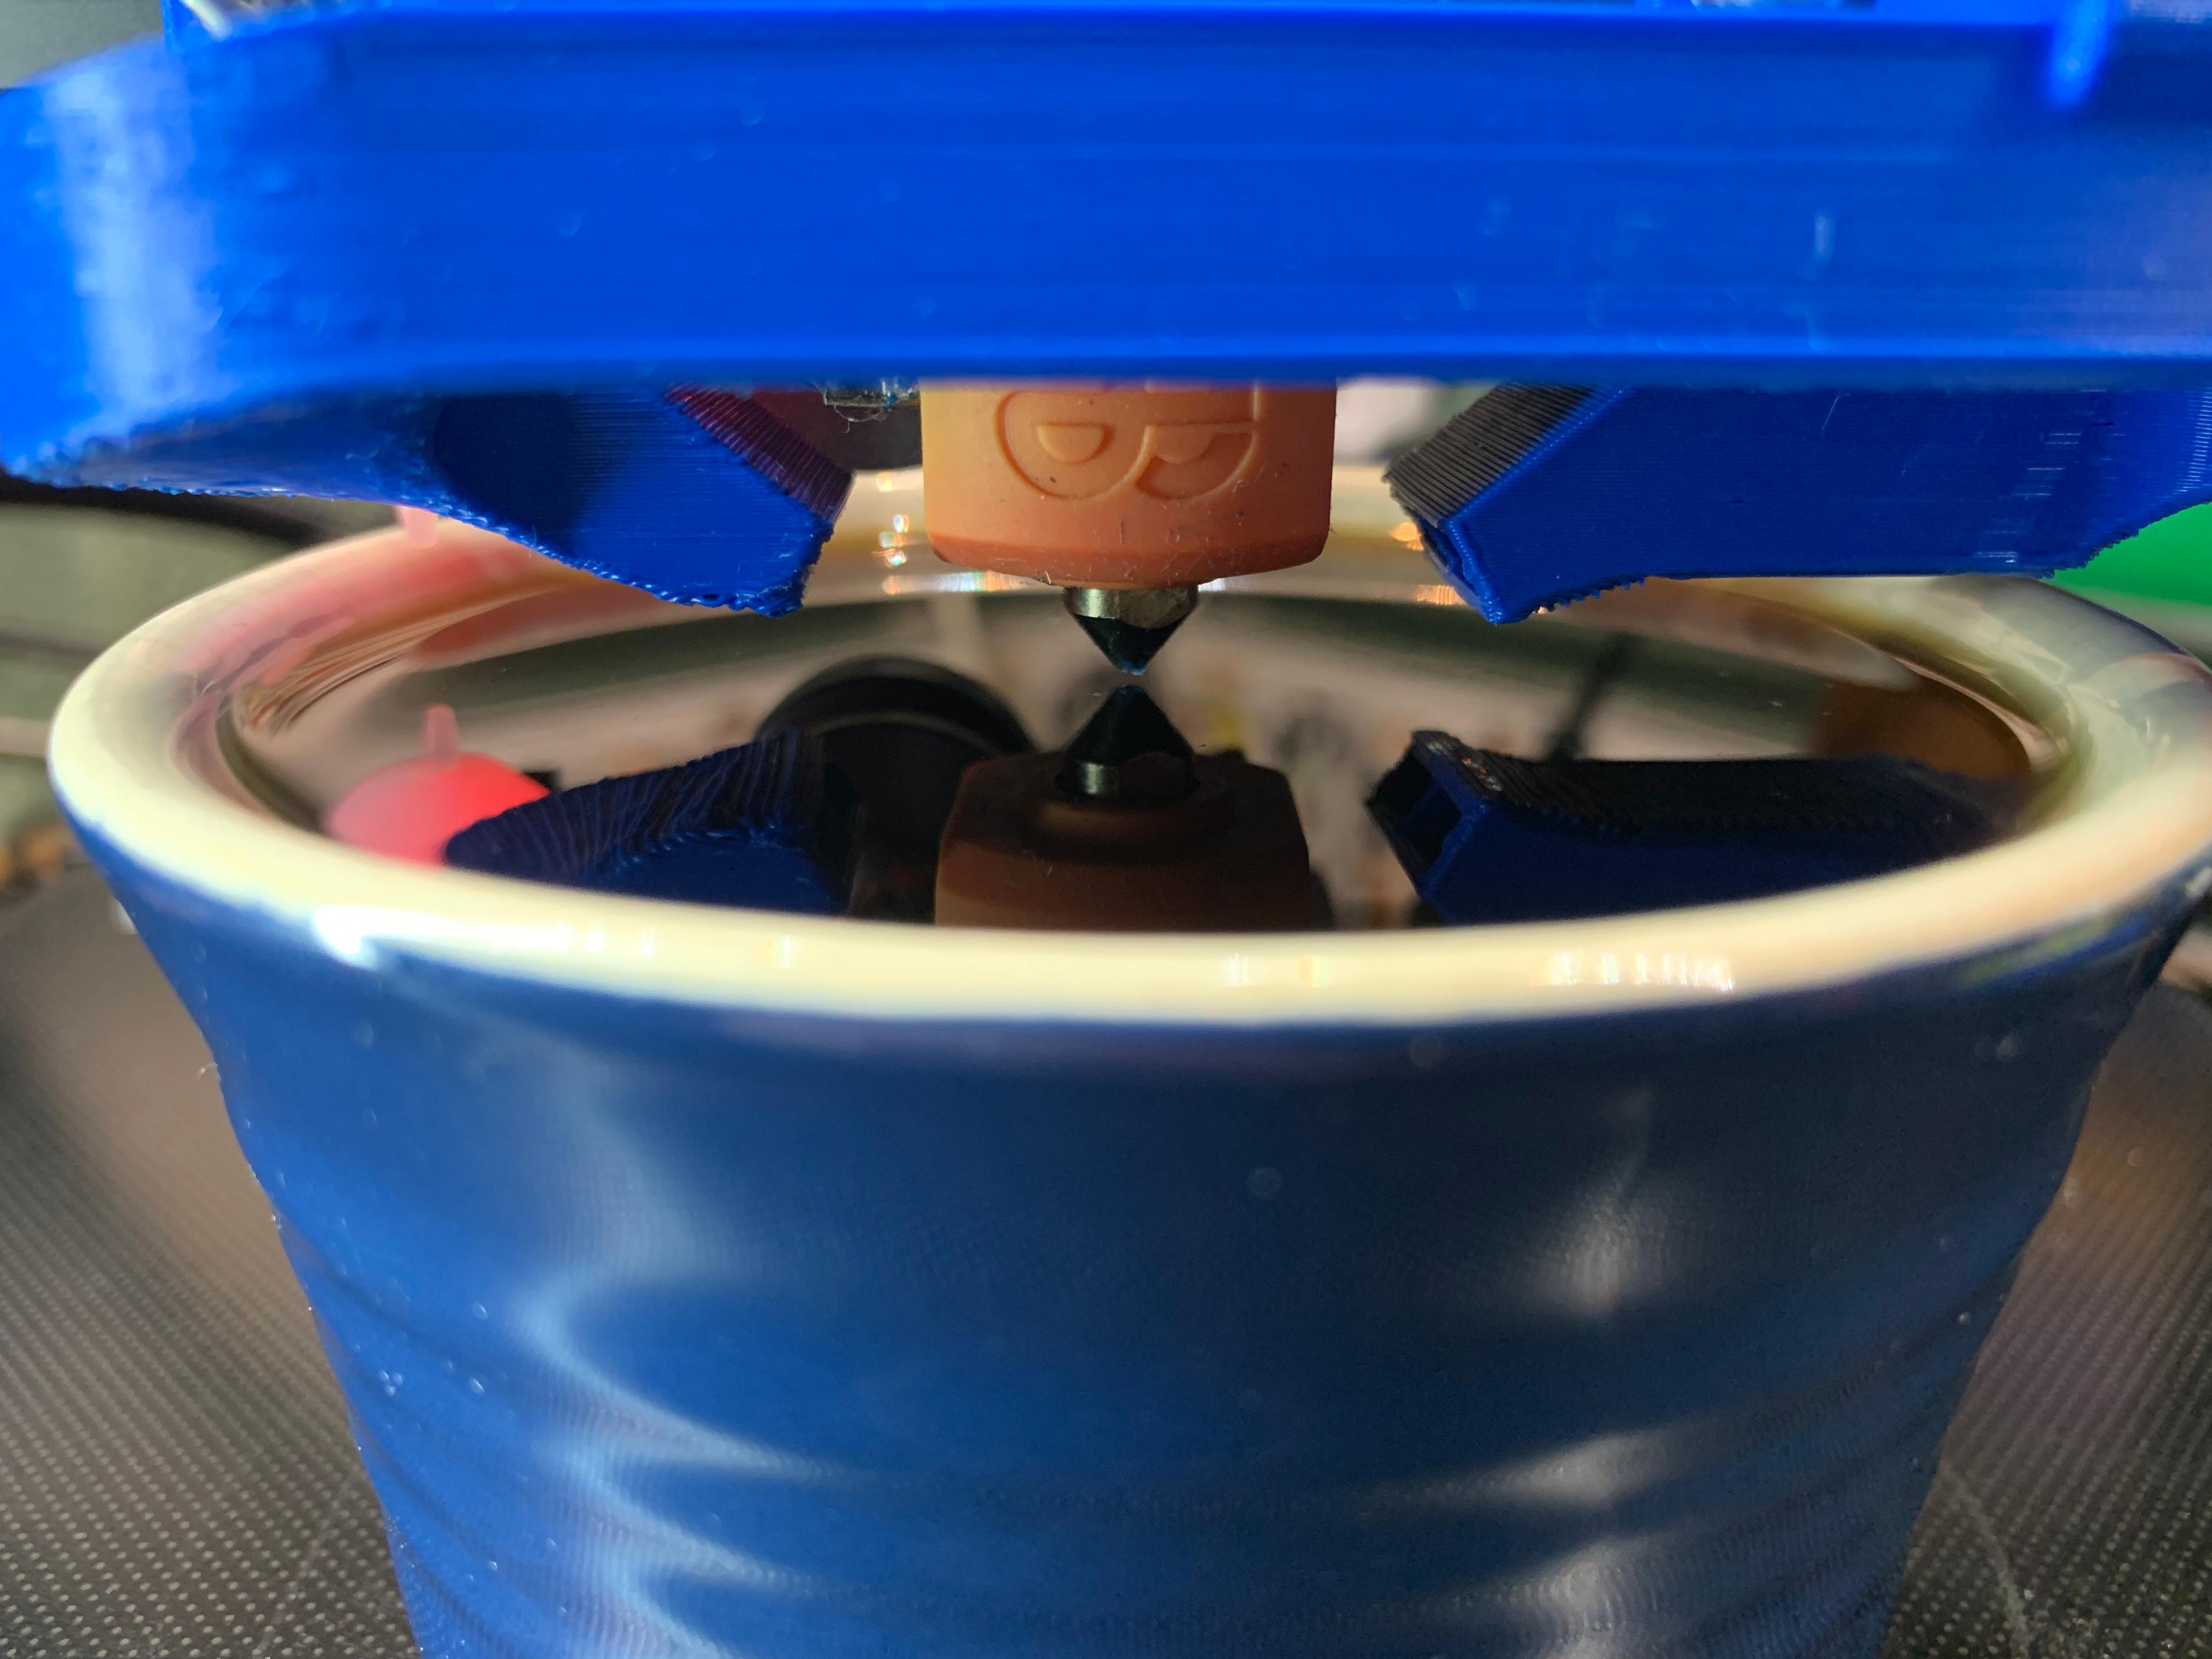
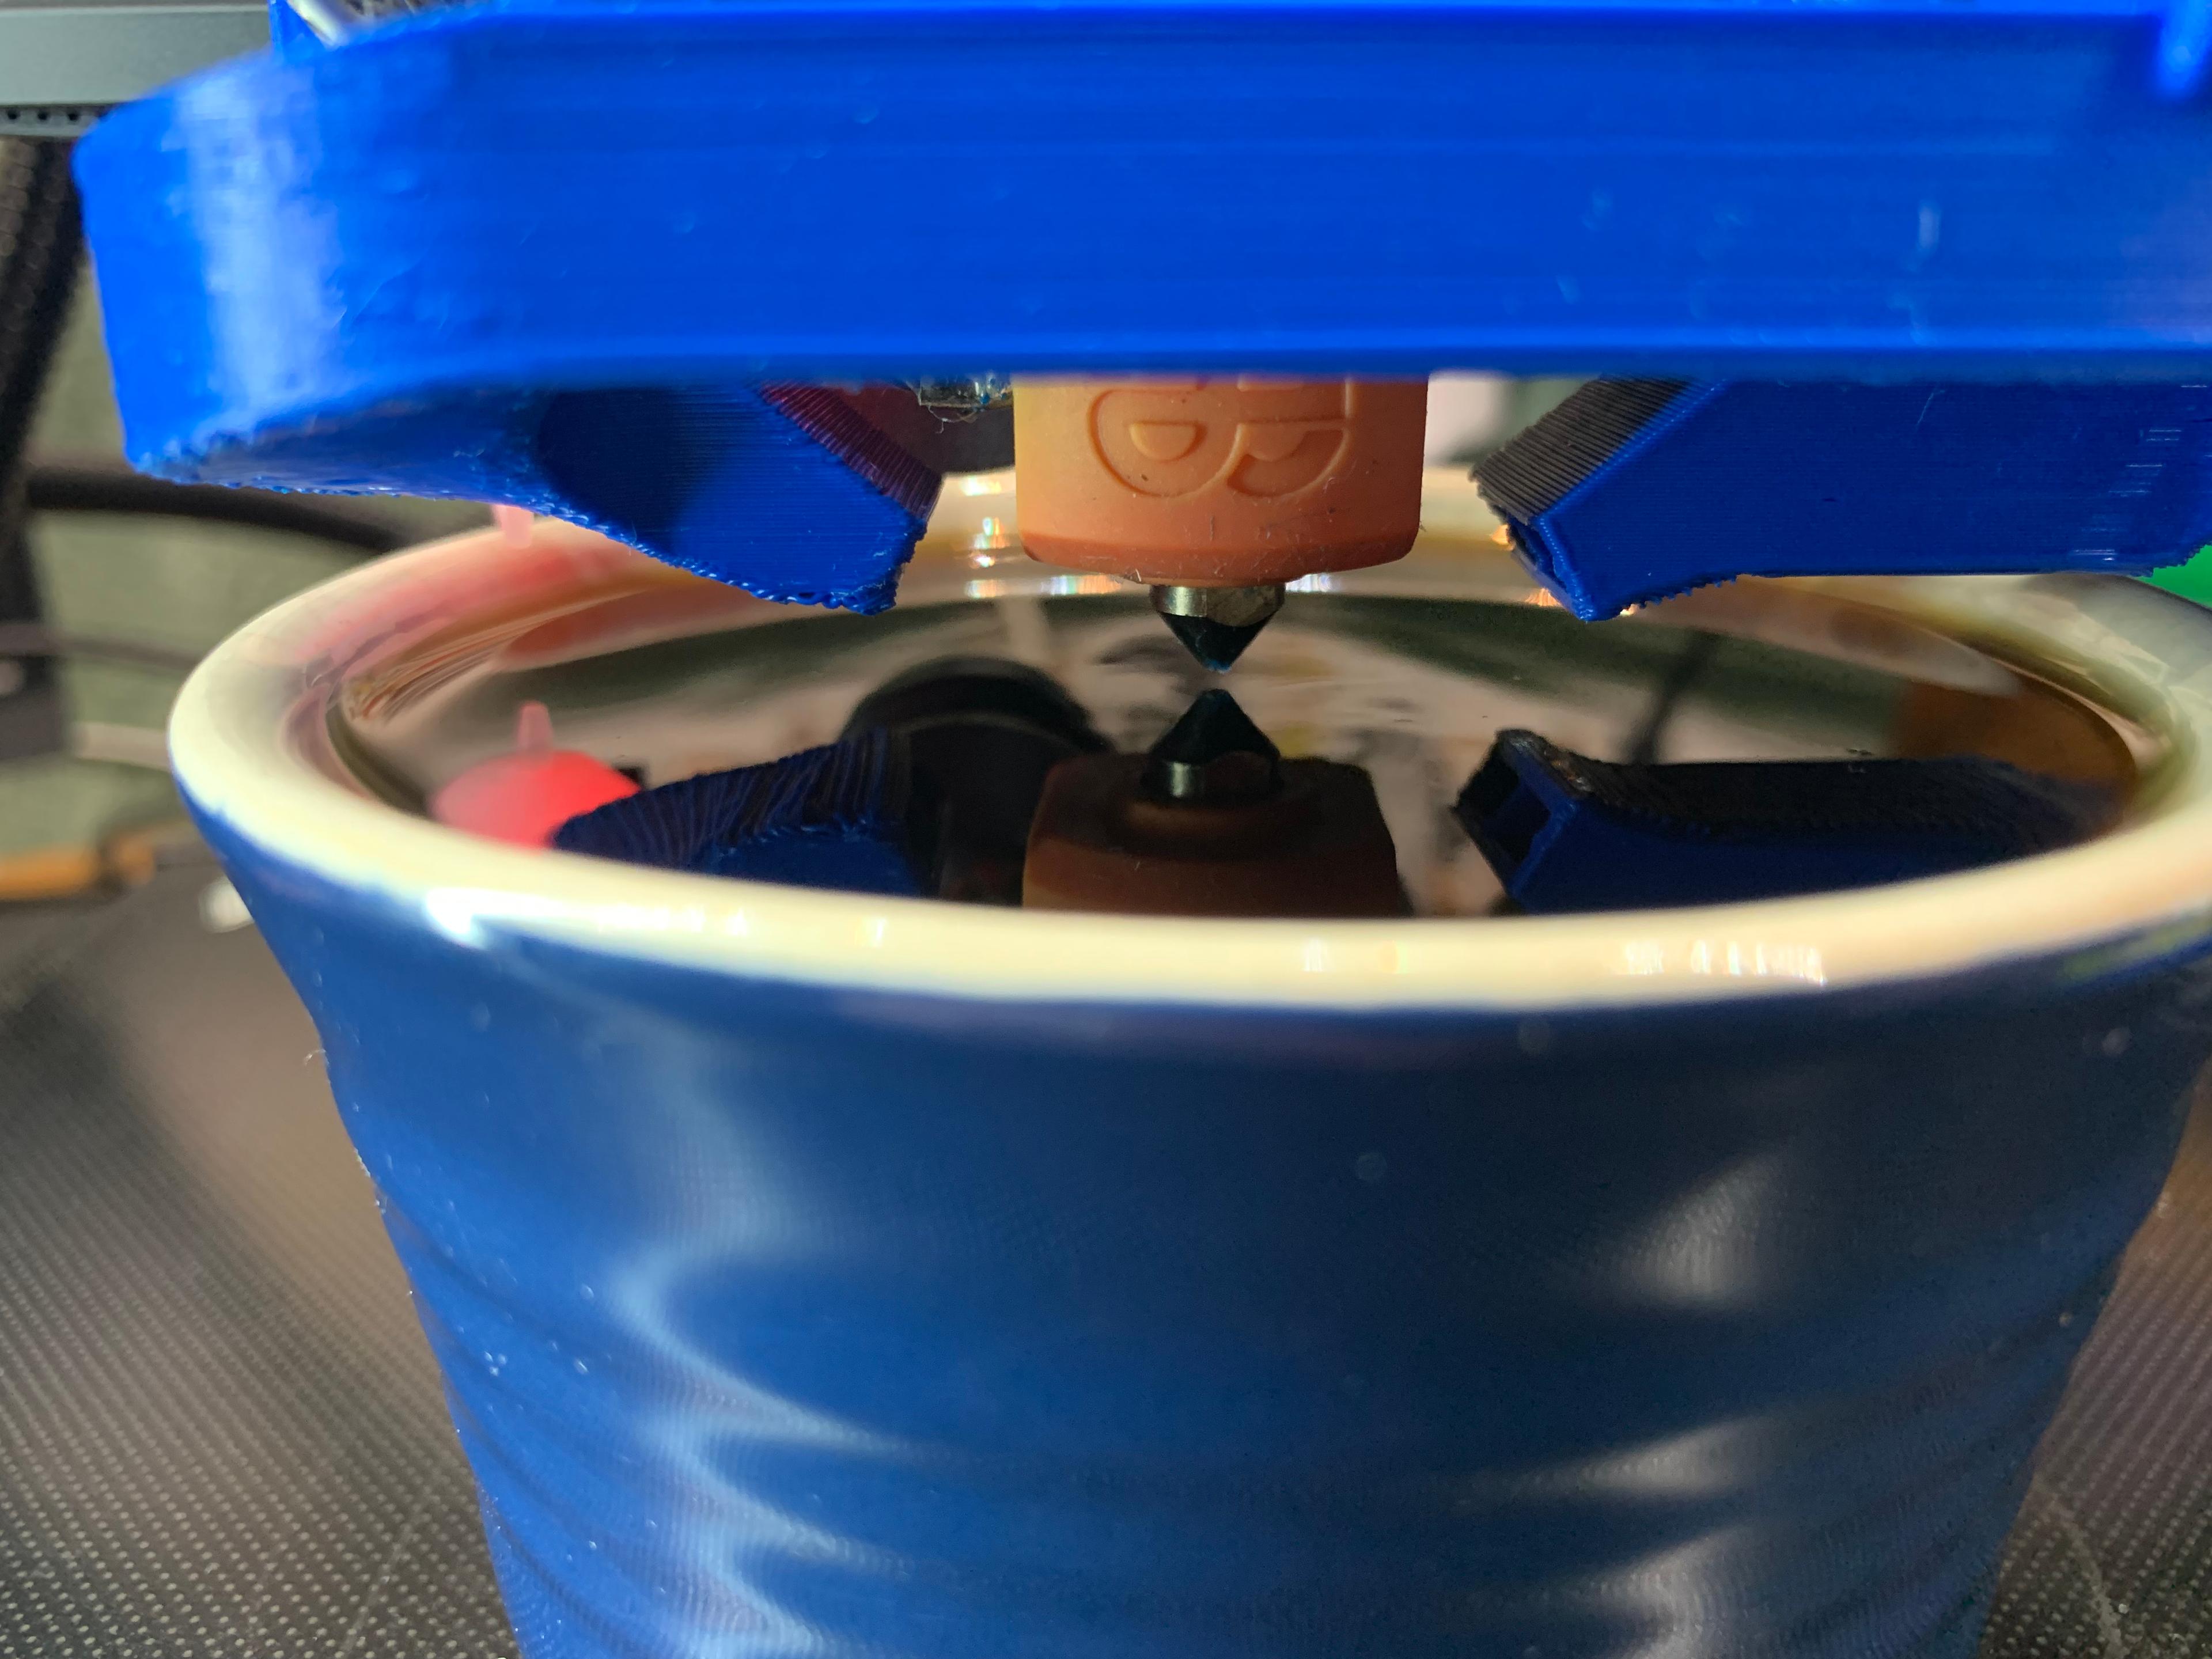
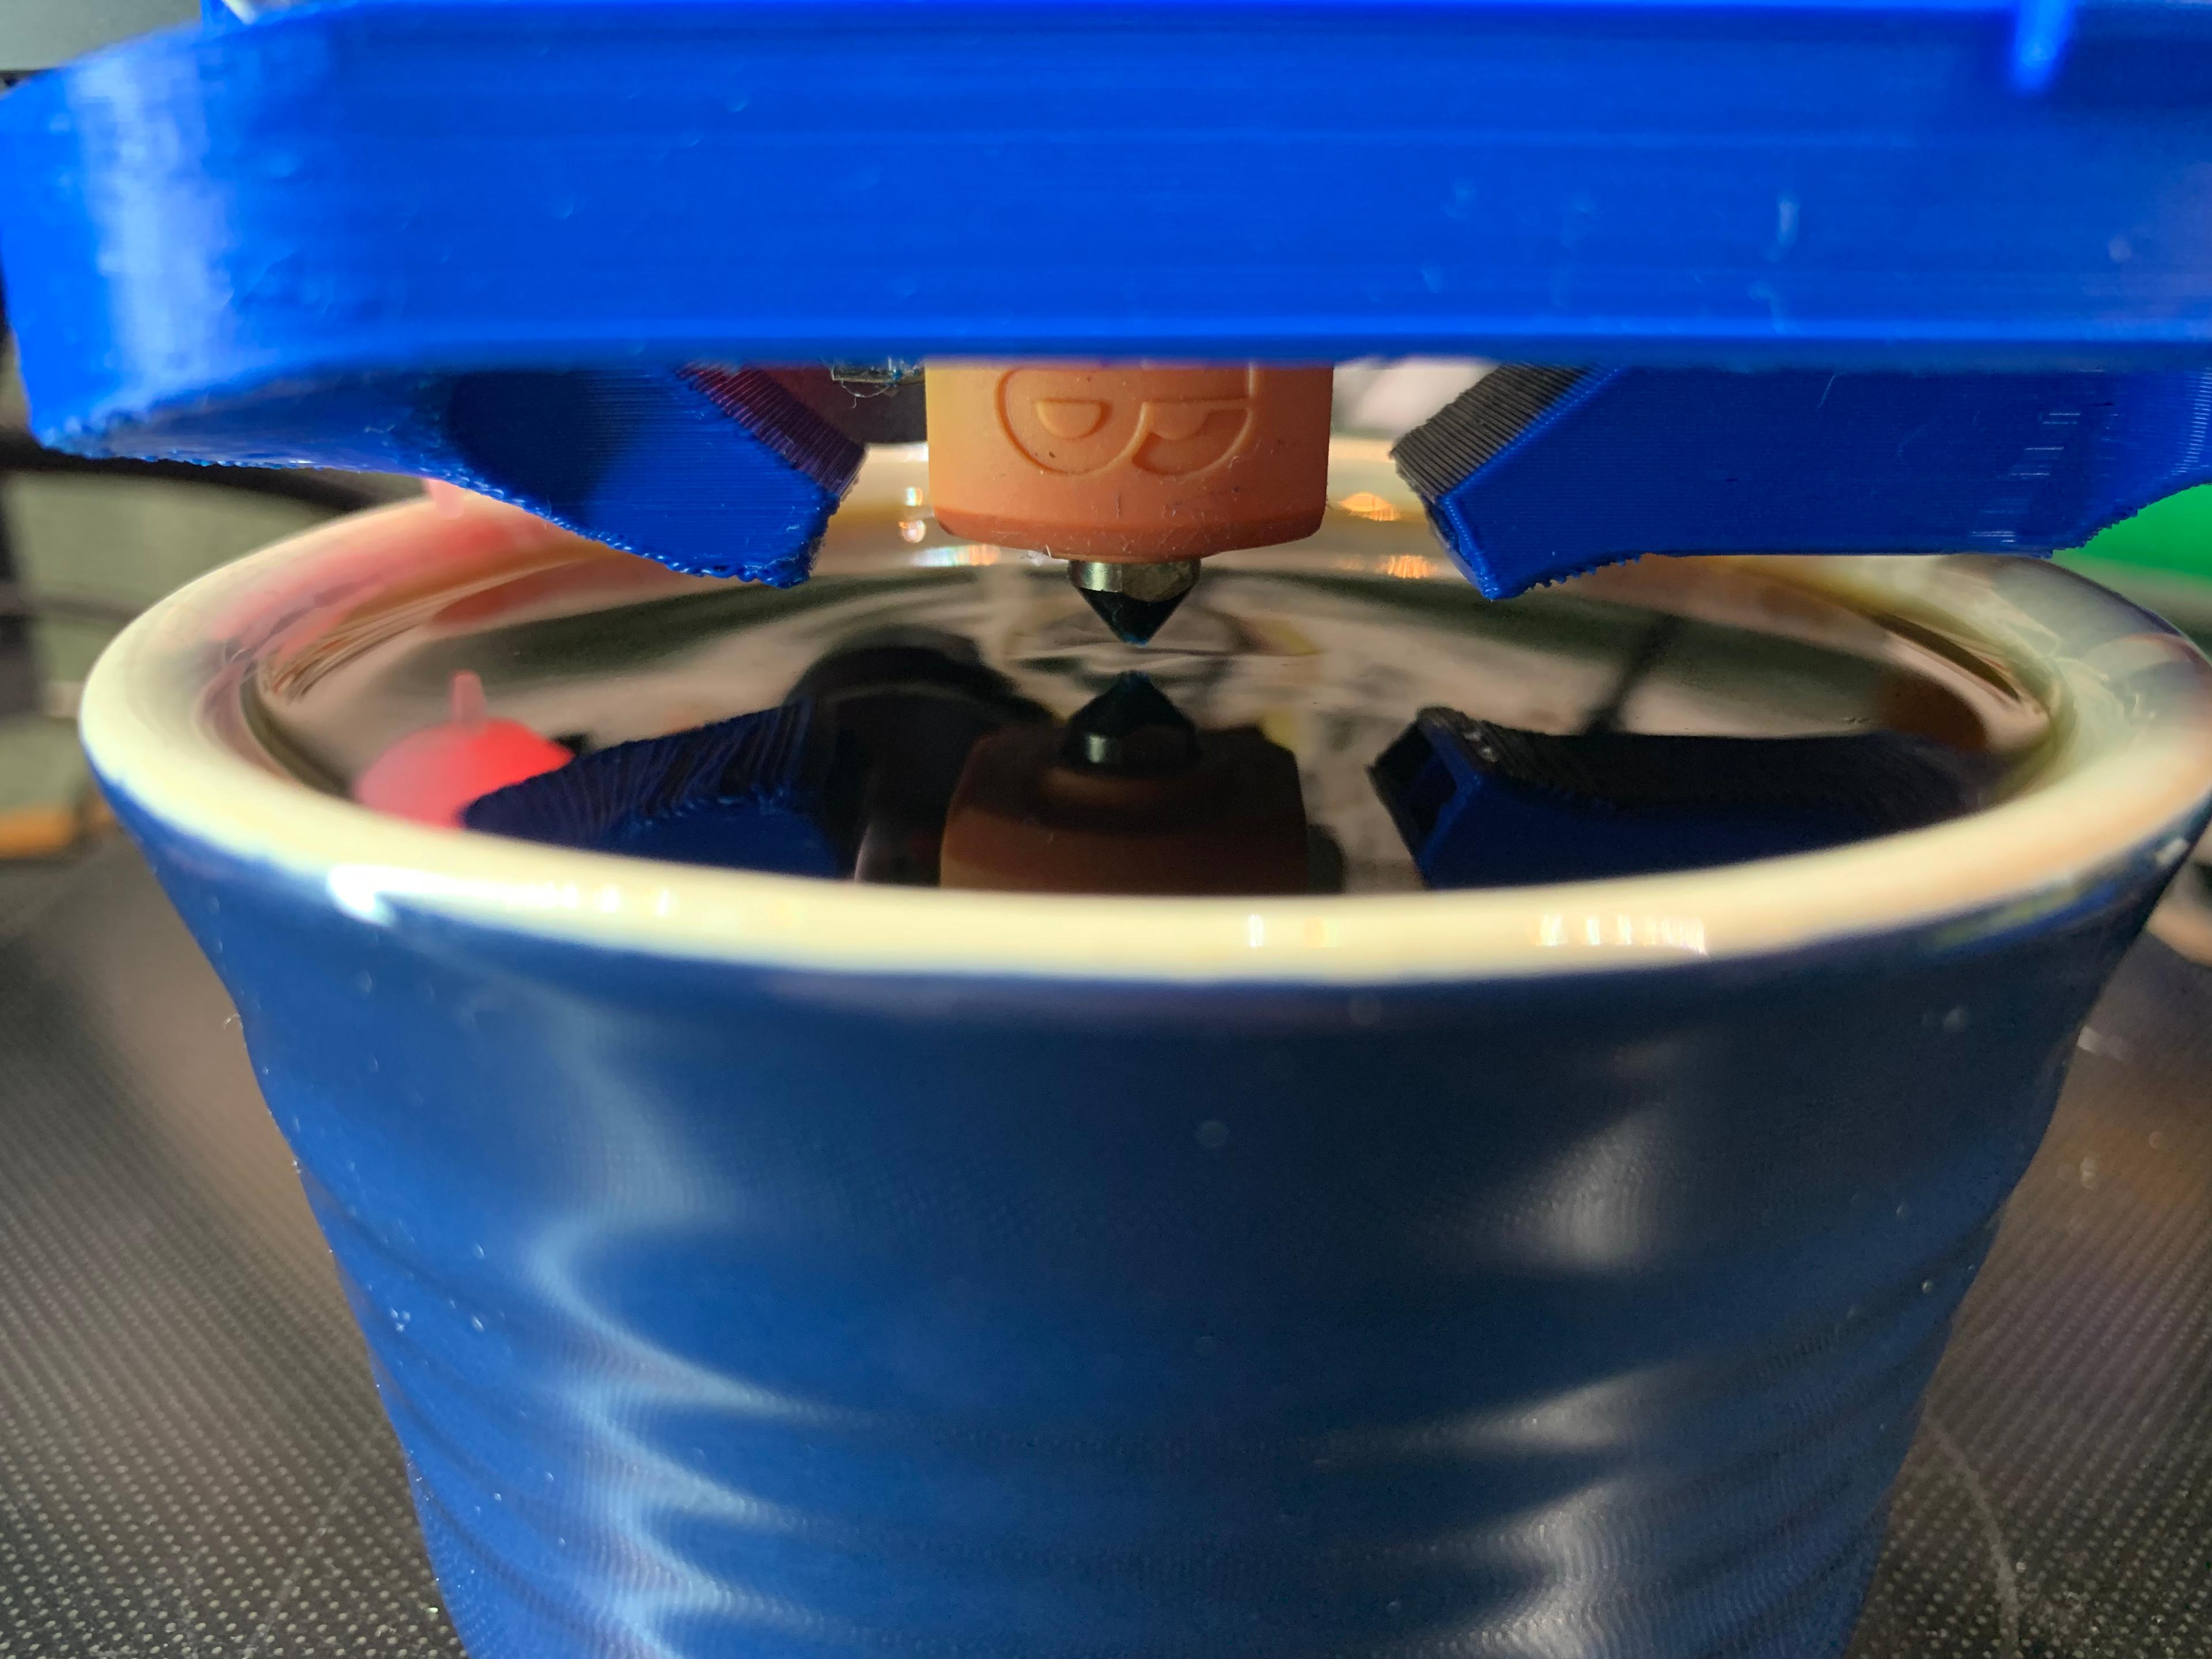
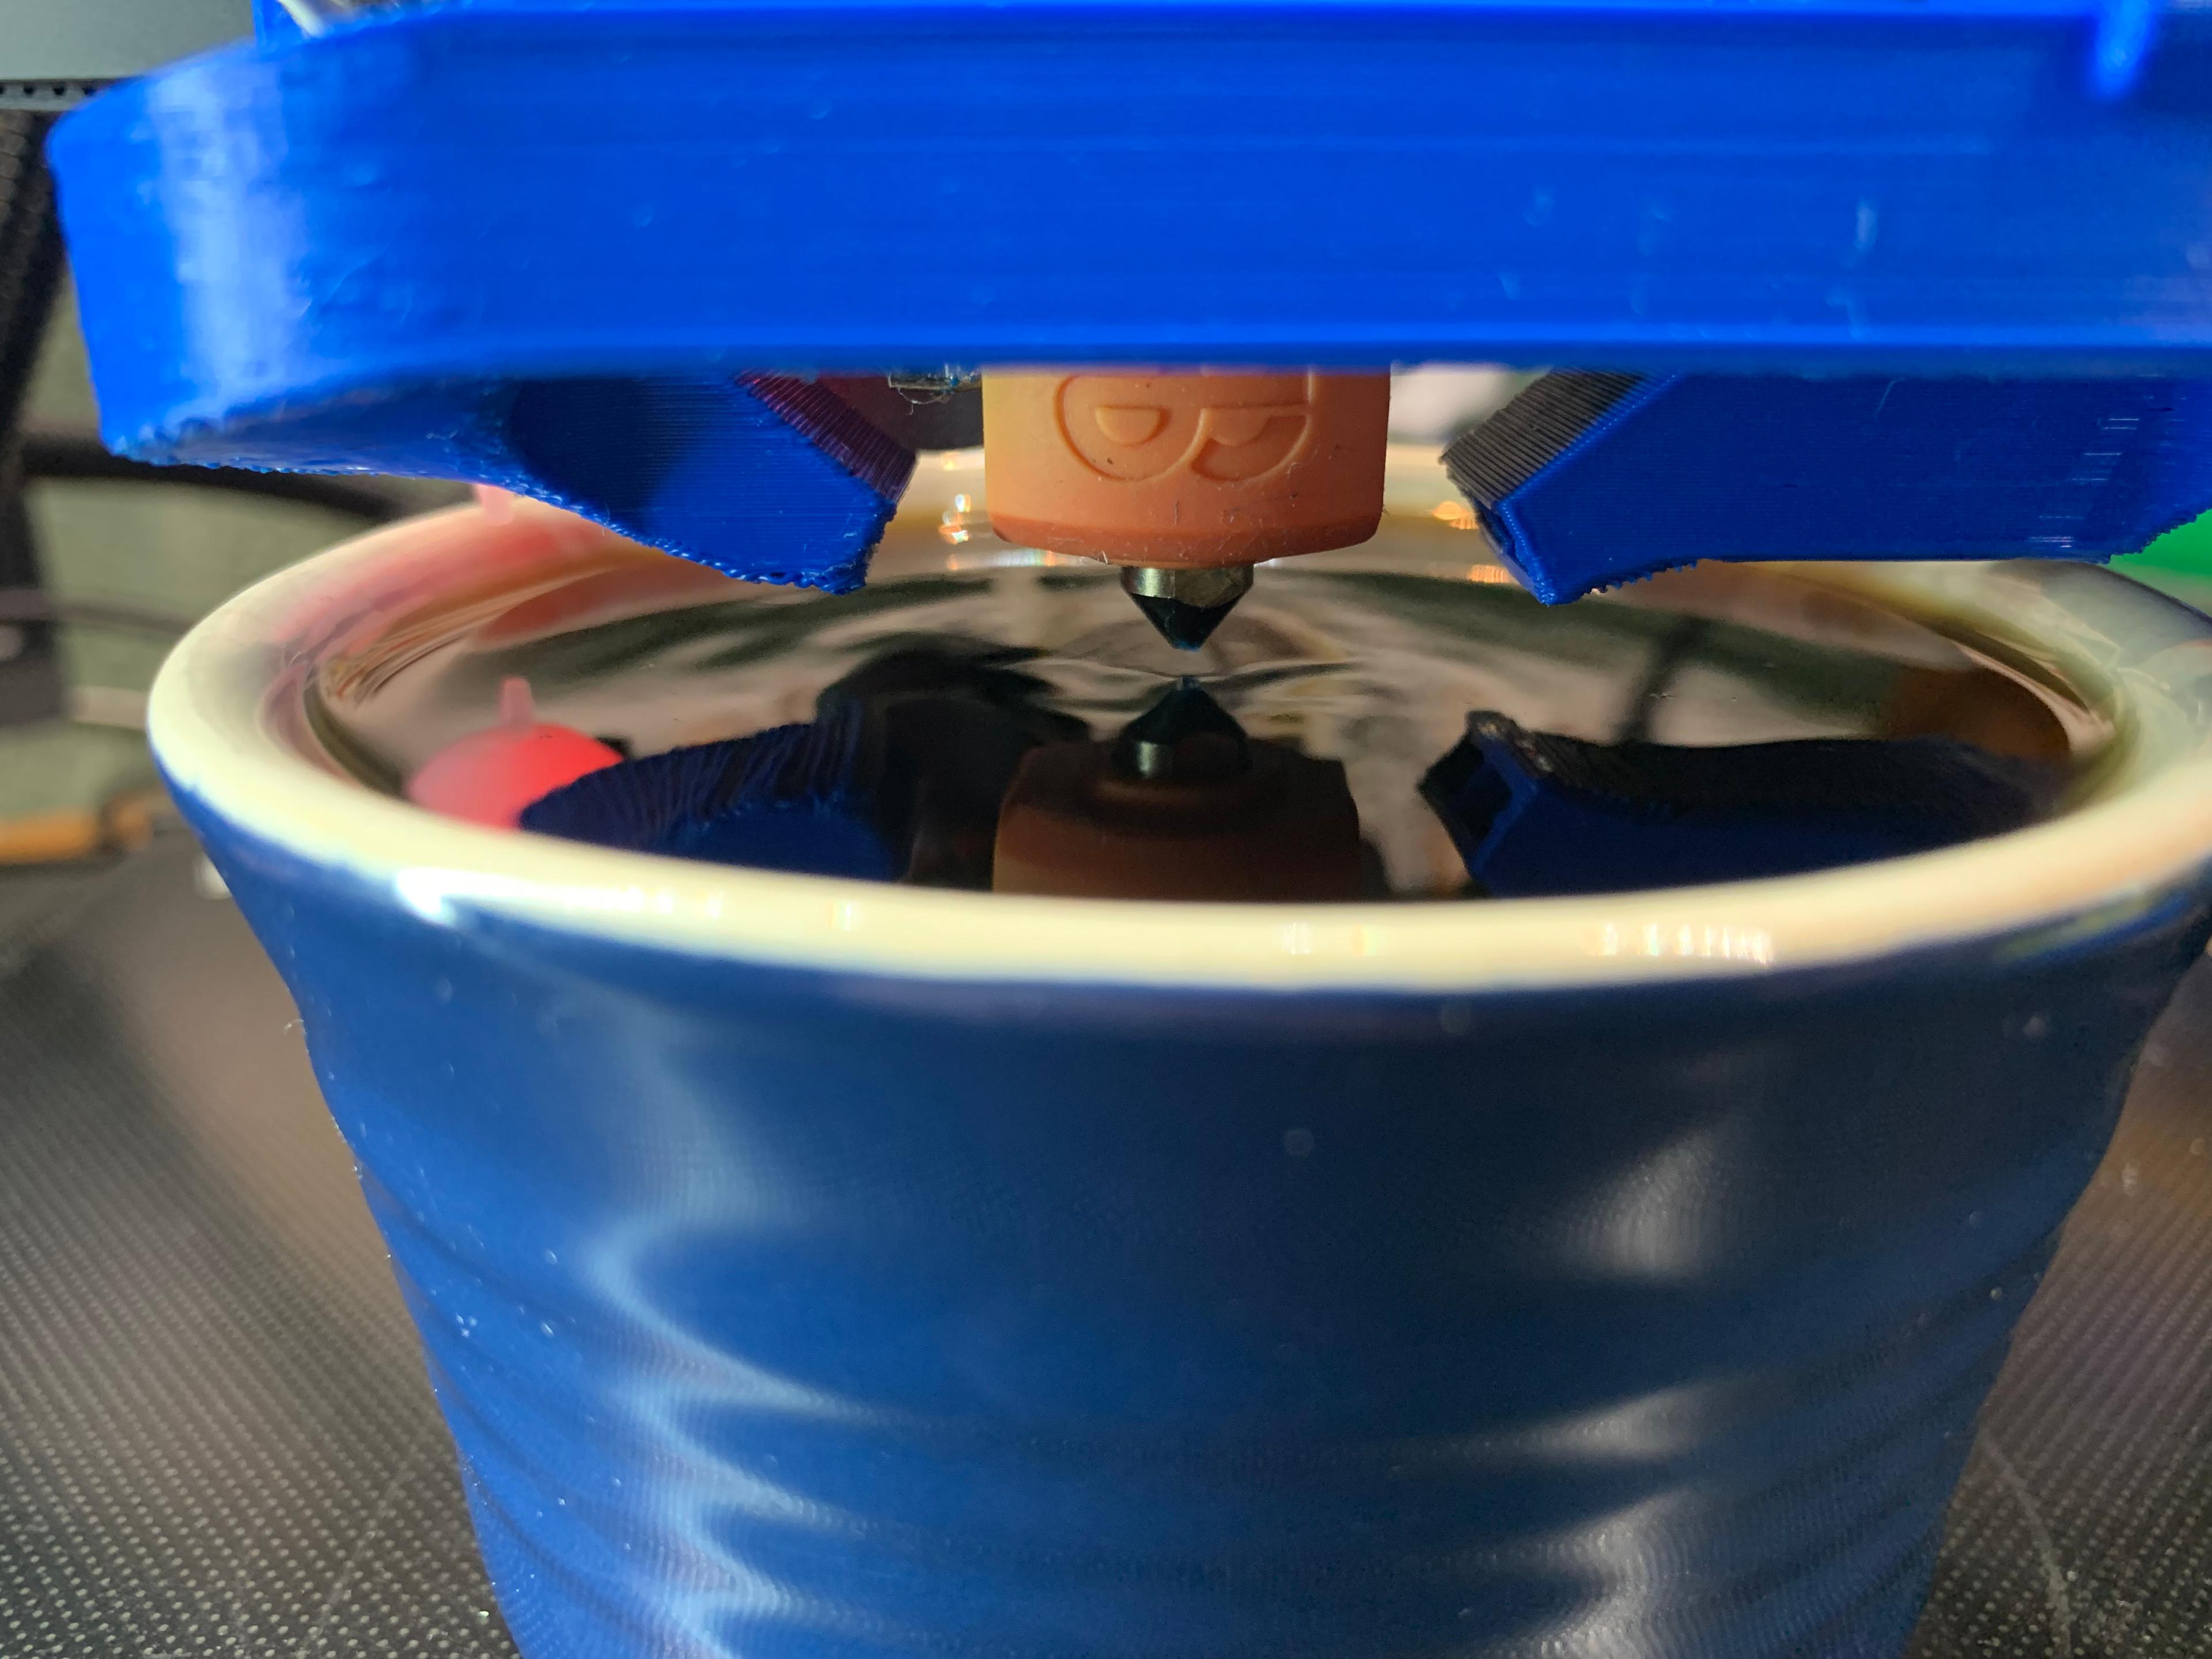
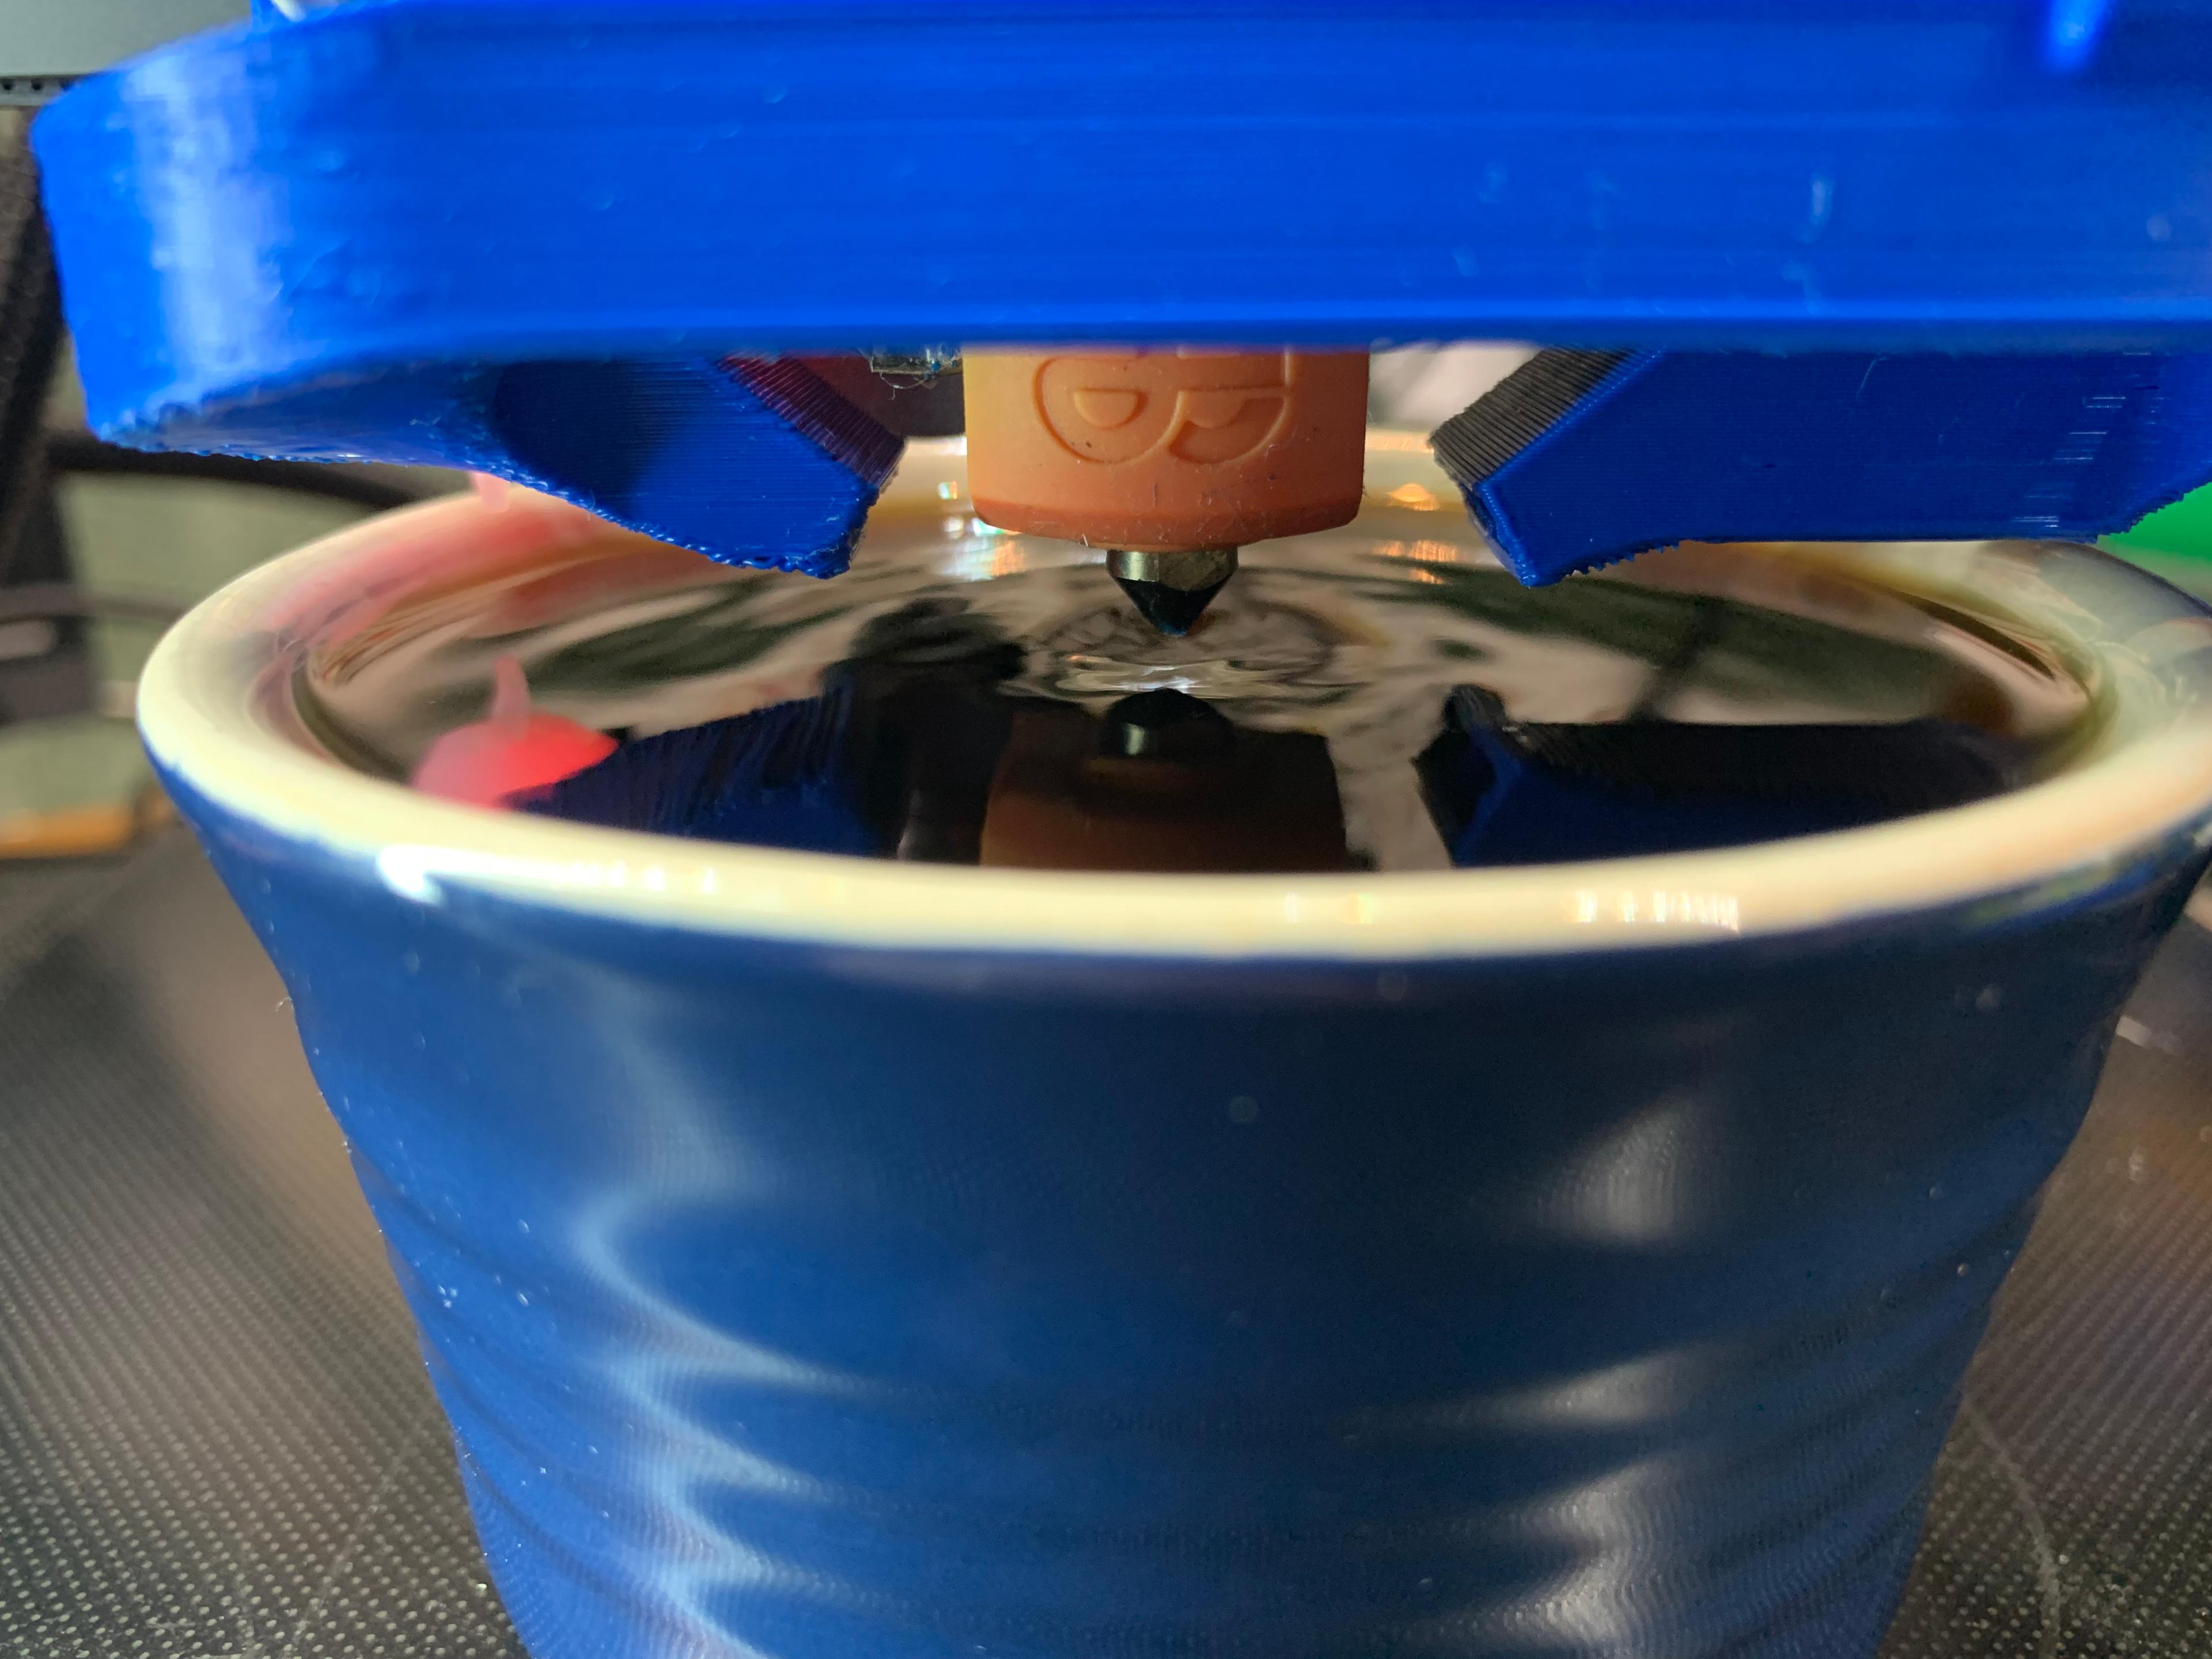
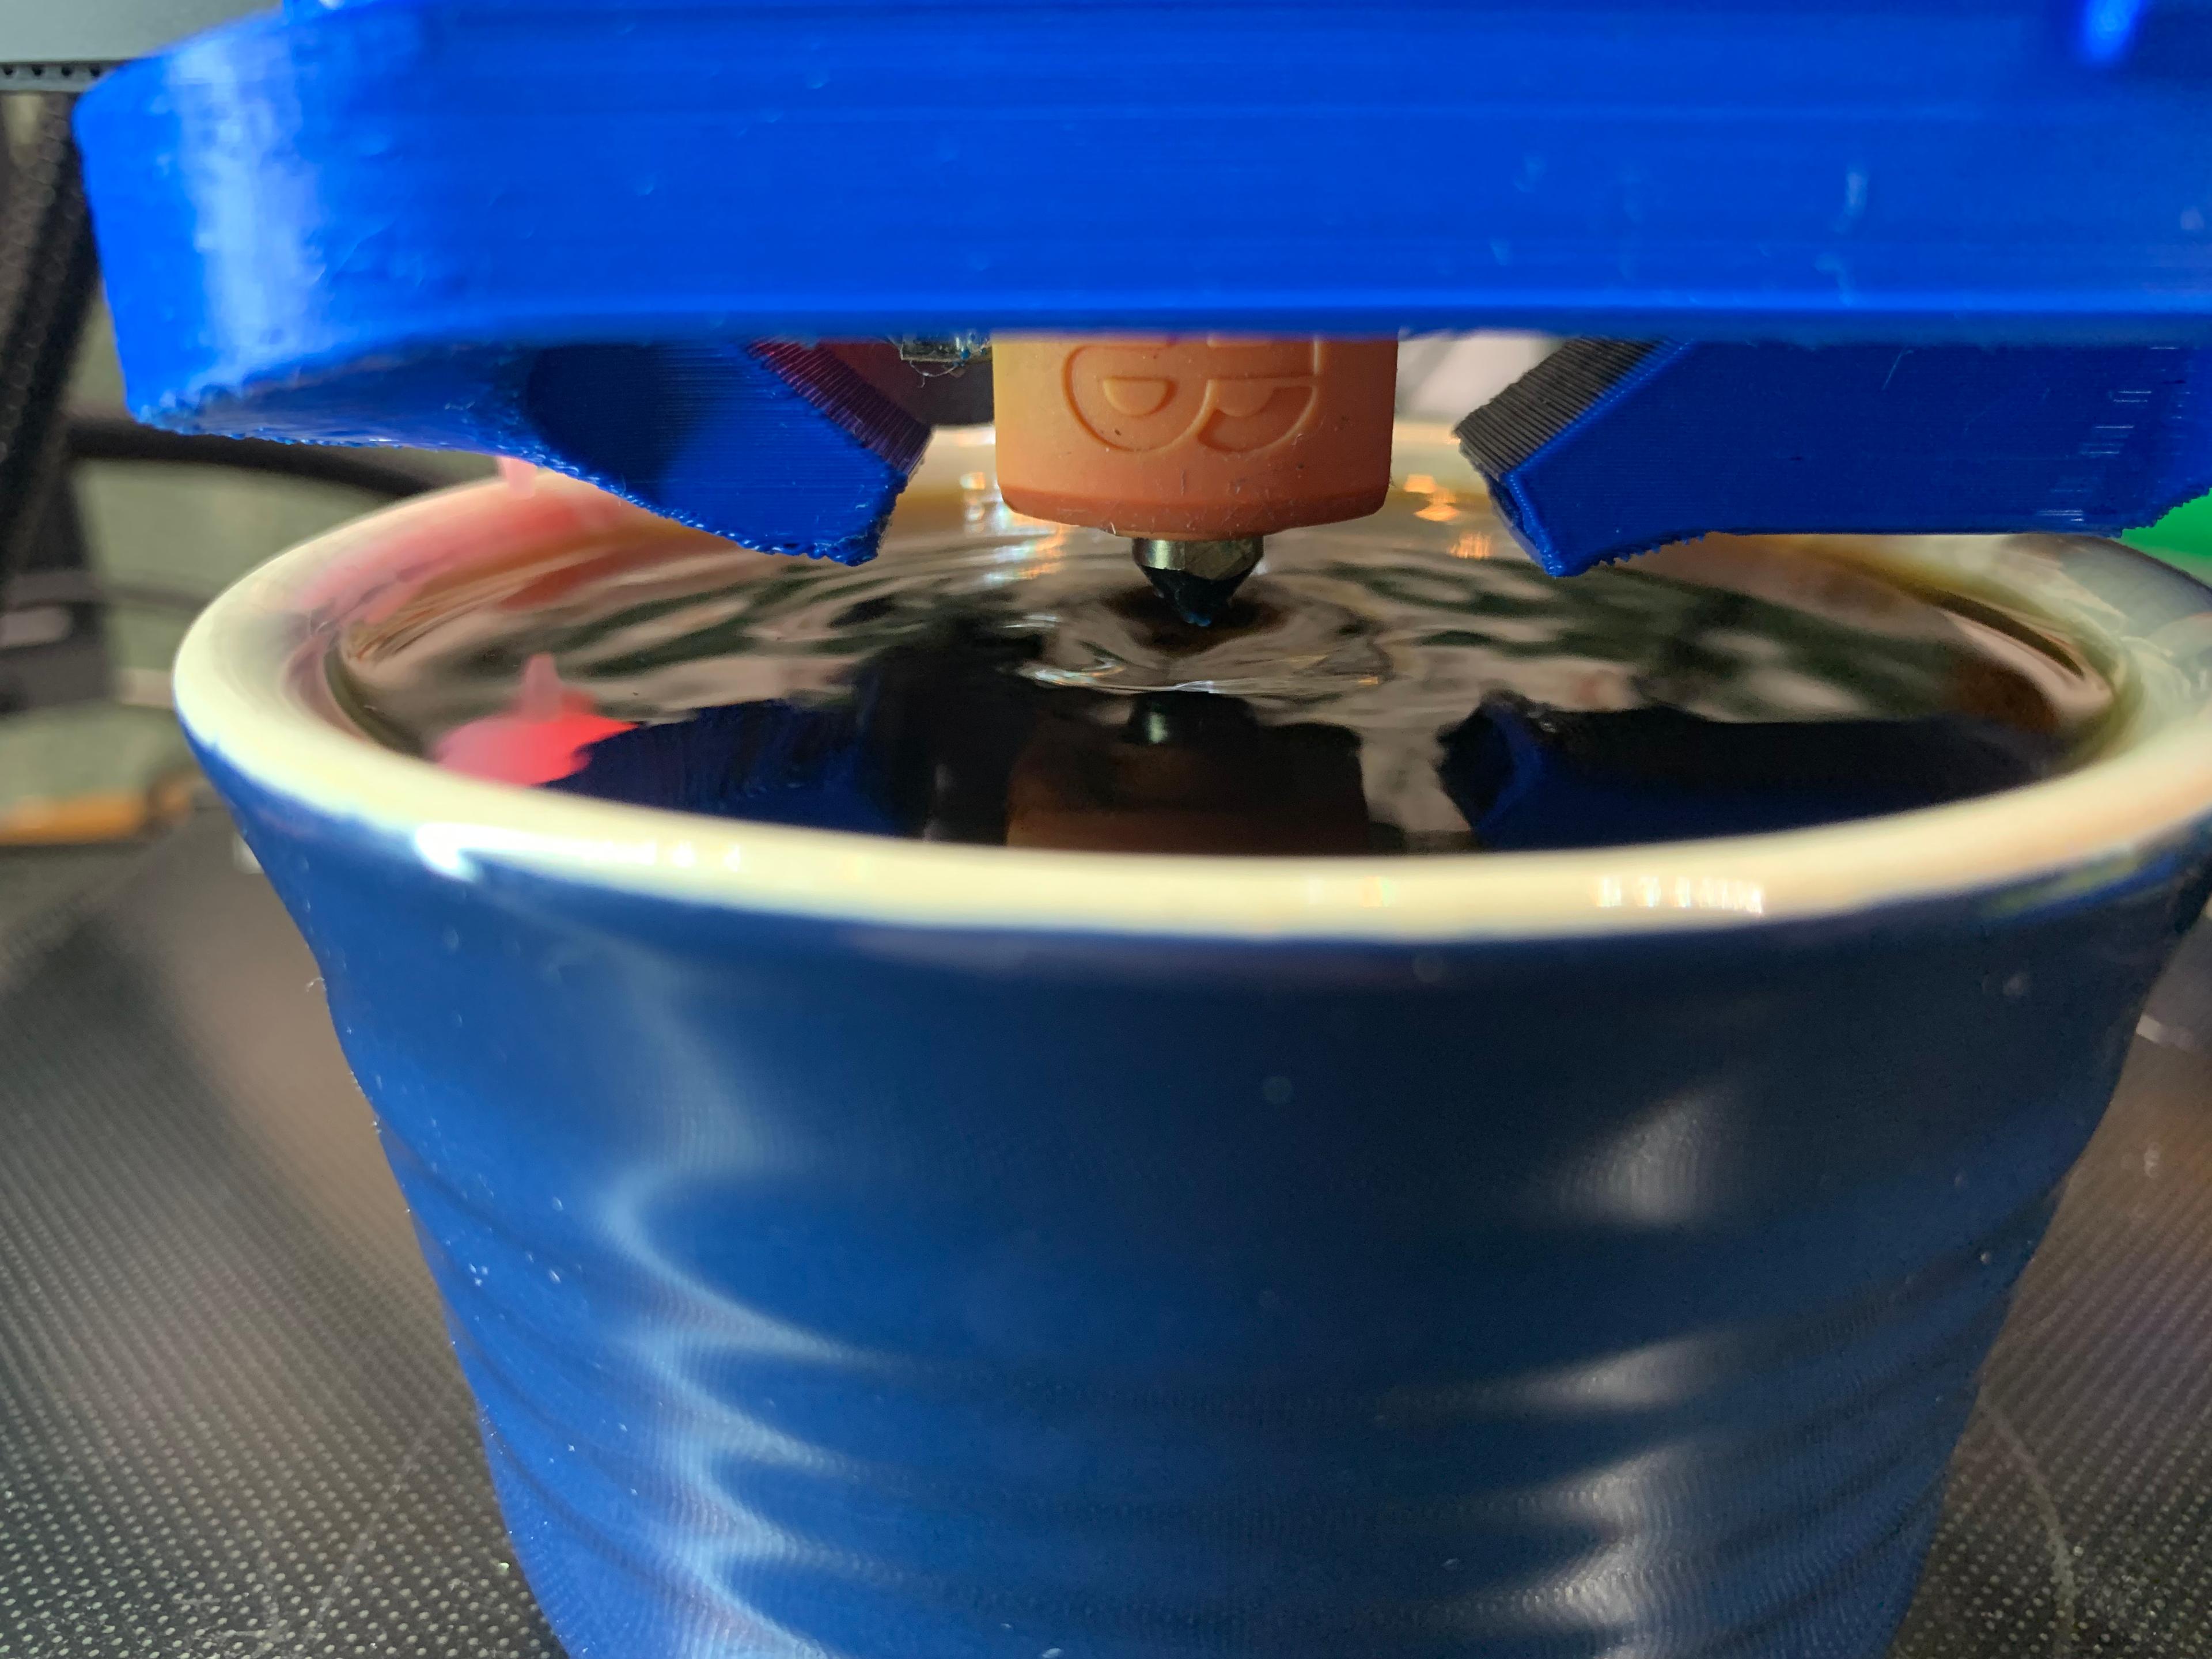
To test the flow I put some instant coffee in the bowl of water to make the water surface easier to see. The pictures of the flow are for the following Fan settings: 000% - 0 003% - 8 006% - 16 012% - 32 025% - 64 050% - 128 100% - 255
Category:
8 Likes126 DownloadsJanuary 30, 2022
8 Likes126 DownloadsJanuary 30, 2022
