


Tea Light Lithophane Holder
Model originally uploaded to Thingiverse at https://www.thingiverse.com/thing:5398986.
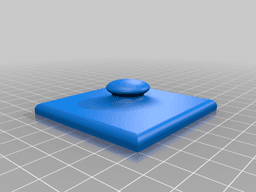
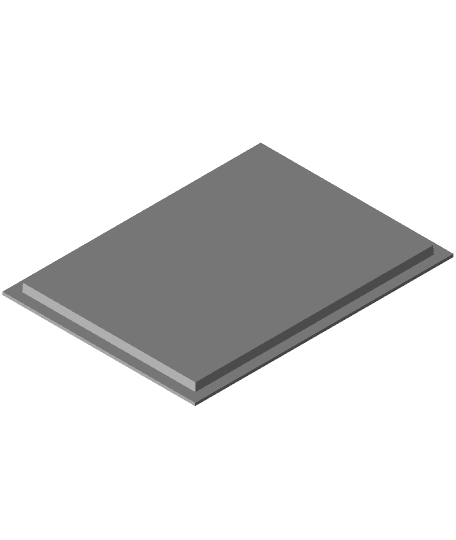
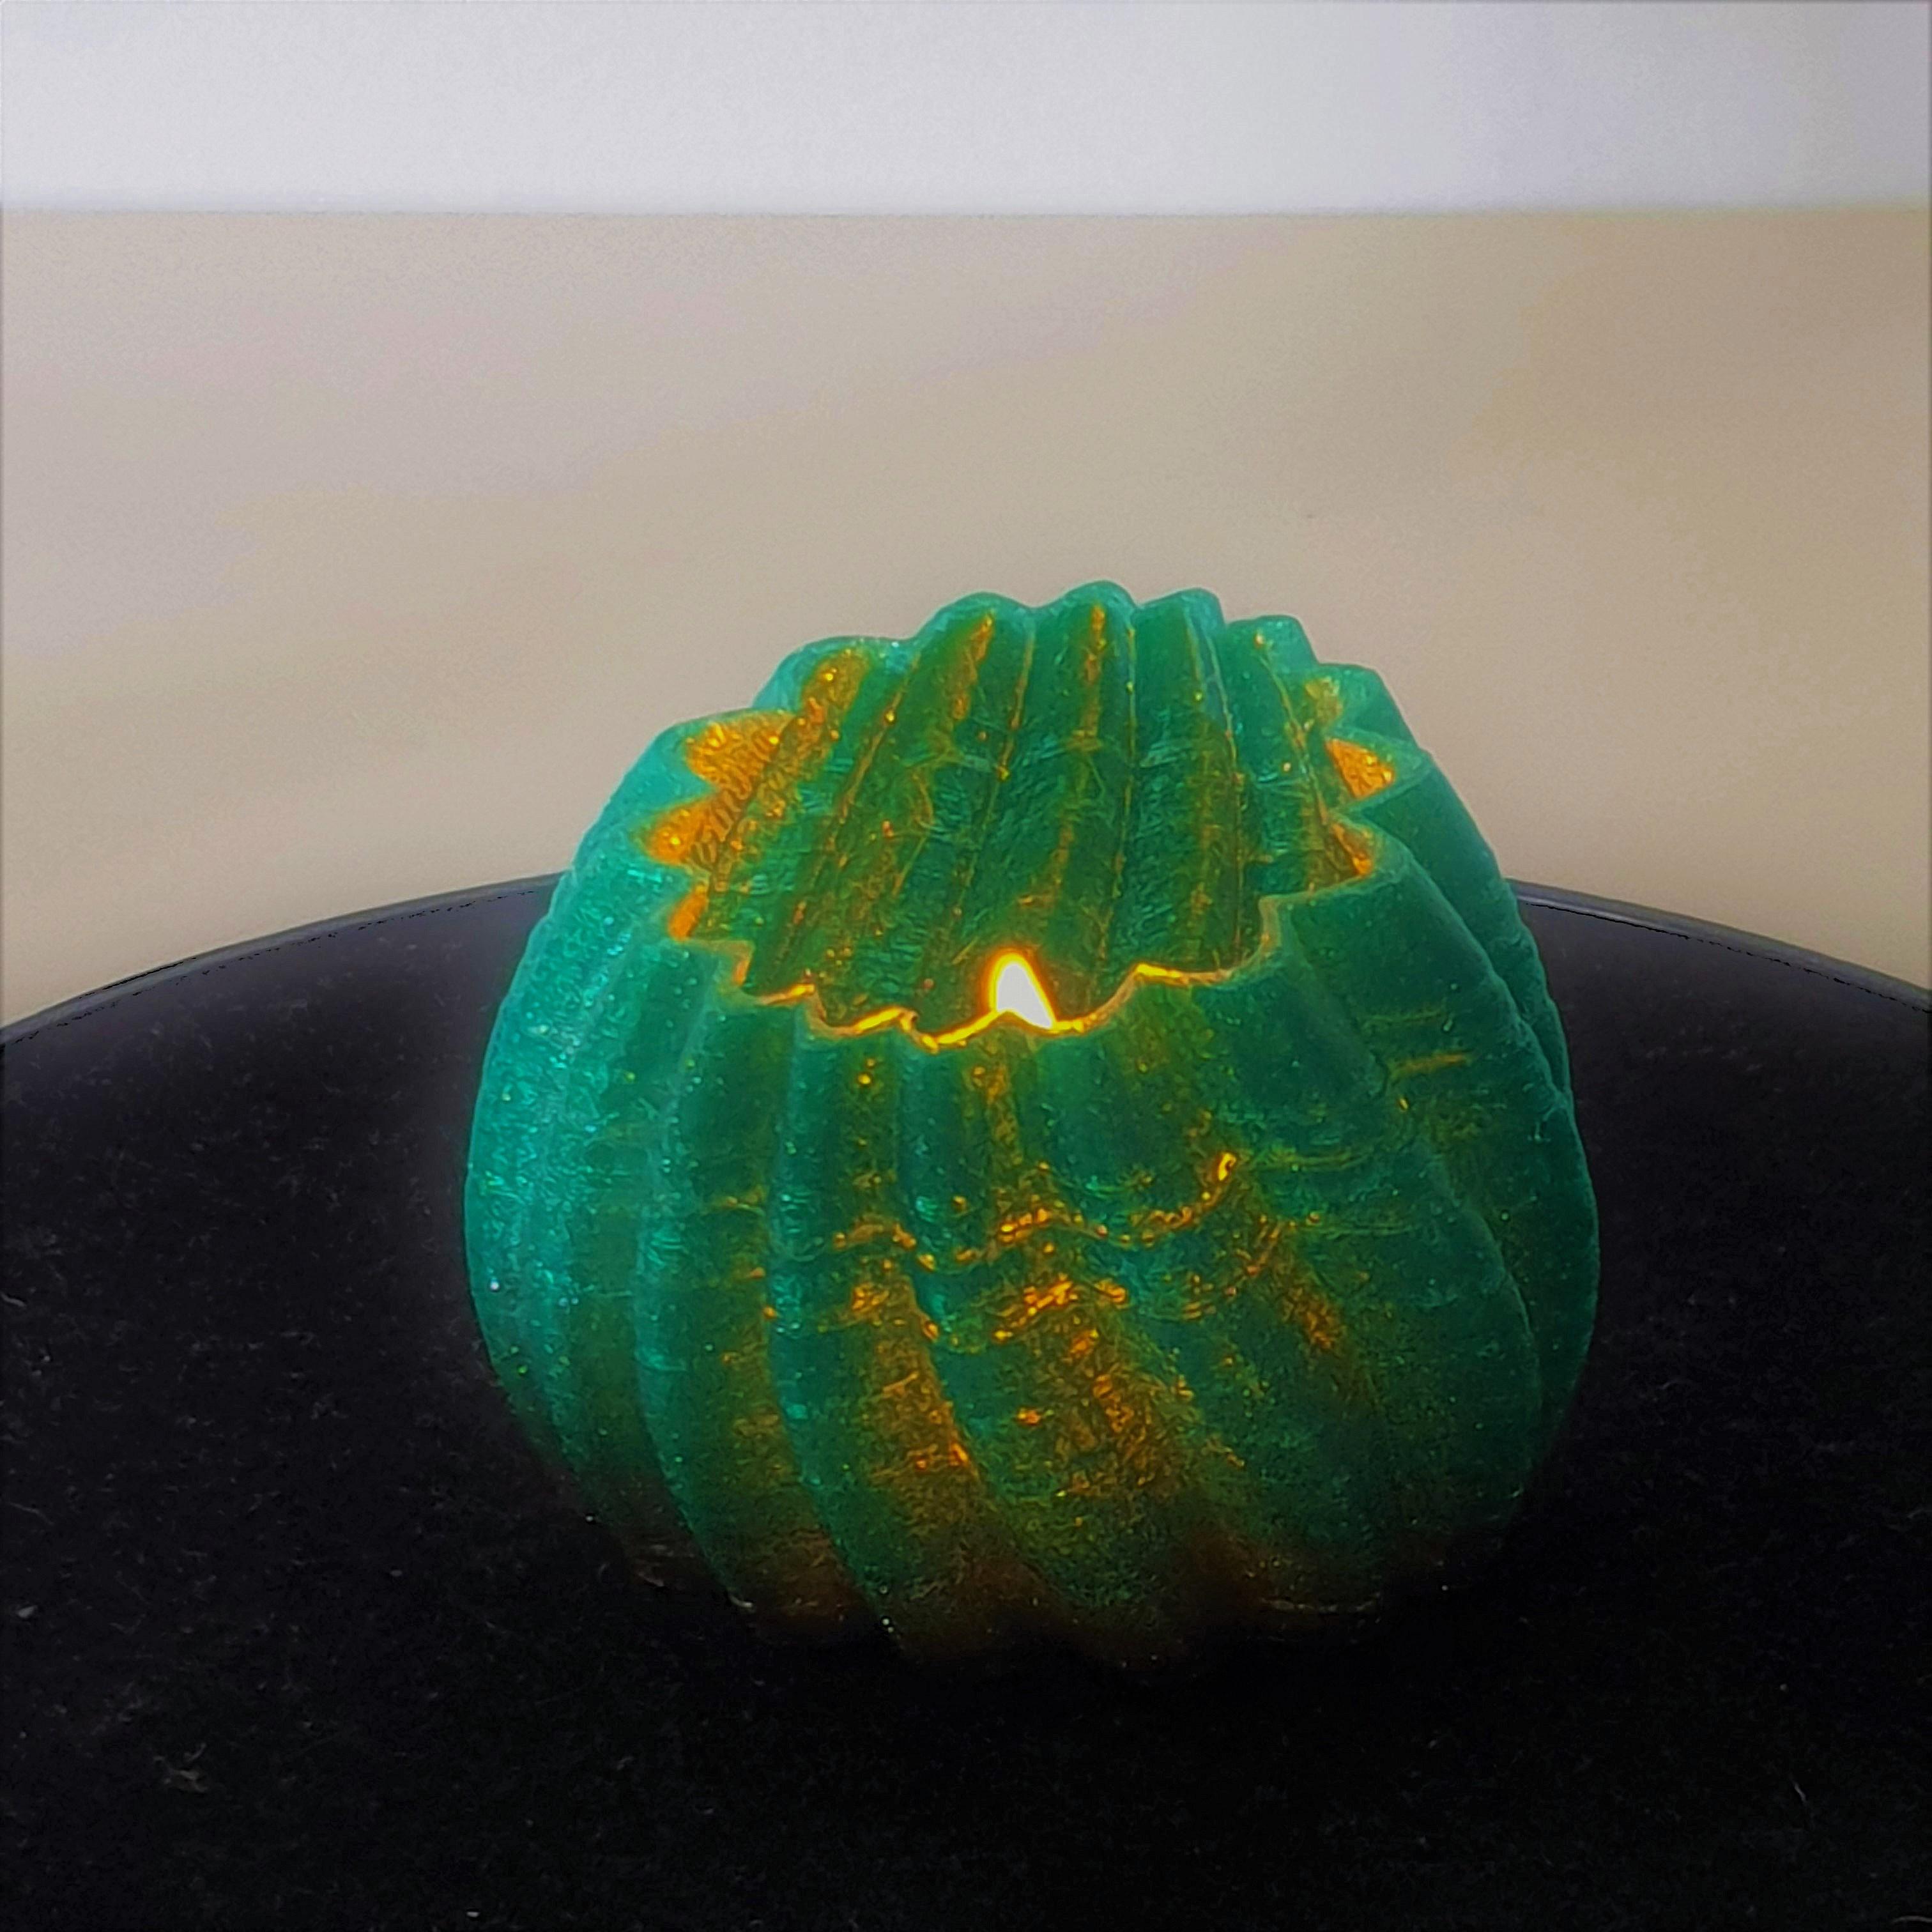
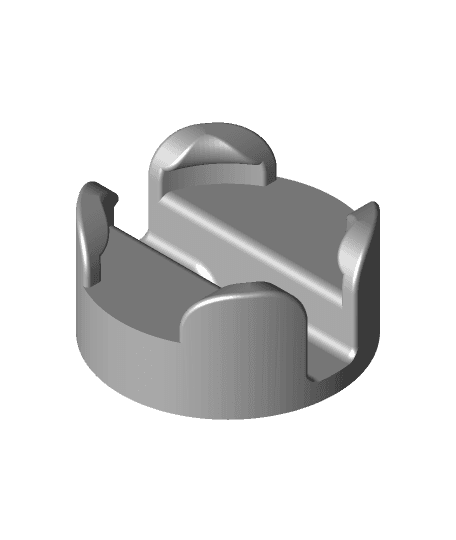
This is a little holder for an electric tea light that allows you to use generated lithophanes as the sides. I did this to make use of the ability in Cura specifically to import a picture file and have it automatically generate a lithophane. I have included blank sides to print or a "frame" which you can insert your lithophane into so that it will fit properly. (Blank sides should be printed vertically the same as the lithophanes) As long as your lithophane is 50mmx50mm square you can center it in the frame and use that if you would like and have other methods for making lithophanes. Below I am including the instructions for how to create the lithophanes in Cura and put them in the frame for printing.
(Note: This works best with higher contrast images and filament that is already pretty good at letting light through) Instructions for Creating the Lithophane sides in Cura:
- Make sure you picture is a square before importing into Cura
- Open the frame file in Cura
- Open your image file in Cura. Upon doing so you will be greeted with a pop up menu. Use the following settings: Height: 1.0mm Base: 0.4mm Width: 50mm _Depth: 50mm _ Darker/Lighter is higher depends on picture Color Model: Translucency 1mm transmittance: 50 Smoothing: Leave at default
- Sometimes even though the picture is square it will still be slightly off in either x or y position, so you can make select the lithophane object, make sure uniform scaling is off, and adjust the x or y so it is exactly 50mm square
- Select both the lithophane and the frame, right click and select Center Selected, then right click and choose Group Models
- Once they are grouped rotate the model 90 degrees so it is standing vertically. (Do not print these laying down. It will not have the accurate depth needed for a lithophane. After this you can move it around the build plate wherever you may need it)
- Make sure you are printing with a brim and you will be good to go! I used a .4mm nozzle with .2mm layer height and .4mm line width and was able to get good results.
There will be some cleanup after but it should not be too bad and then the lithophanes will be able to slide into place. You can print multiple at once as well, or it will work just fine printing a single one as long as you know your print settings well.
Credit where credit is due, the images I used for my lithophanes are the clan symbols from the donghua of MDZS.
Tea Light Lithophane Holder

Spinning LOVE Lithophane Frame

Crystal Cluster Lamp STL
Lithophane Pencil Cup

ORIGAMI TEA LIGHT | Tea Light Holder

Fabric Flameform Tea Light Holder

Voronoi Heart Tea Light Holder
Pixel Tea Light Holder

LumaHeart Tea Light Holder
Lithophane Bobble Light Holder - Light Holder.stl

Dinosaur Lantern Dinosaur Decor Dinosaur lamp Tea Light Holder Candle Holder

Dragon Lantern Dragon Lamp Tea Light Holder Candle Holder Home Decor

Deer Lamp Wildlife Winter scene Night Light Candle Holder Tea Light Holder Deer Decor

Horse Light Horse Lamp Candle Holder Tea light holder

Modular Tea Light Holder | Light Your All Festivals | Twisted & Straight Line Design

Cardinal Lantern Christmas Cardinal Lamp Tea Light Holder Candle Holder Home Decor

Unicorn and Fairy Lamp Night Light Horse Lamp Unicorn Decor Tea Light holder Candle Holder

Wolf and Bear Lamp Candle Holder Tea Light holder Home decor No supports No Glue needed

Wolf and Bear Lamp Tea Light holder Candle Holder

3D Printed STL Valentine Lamp Tea Light Holder Candle Holder No AMS
