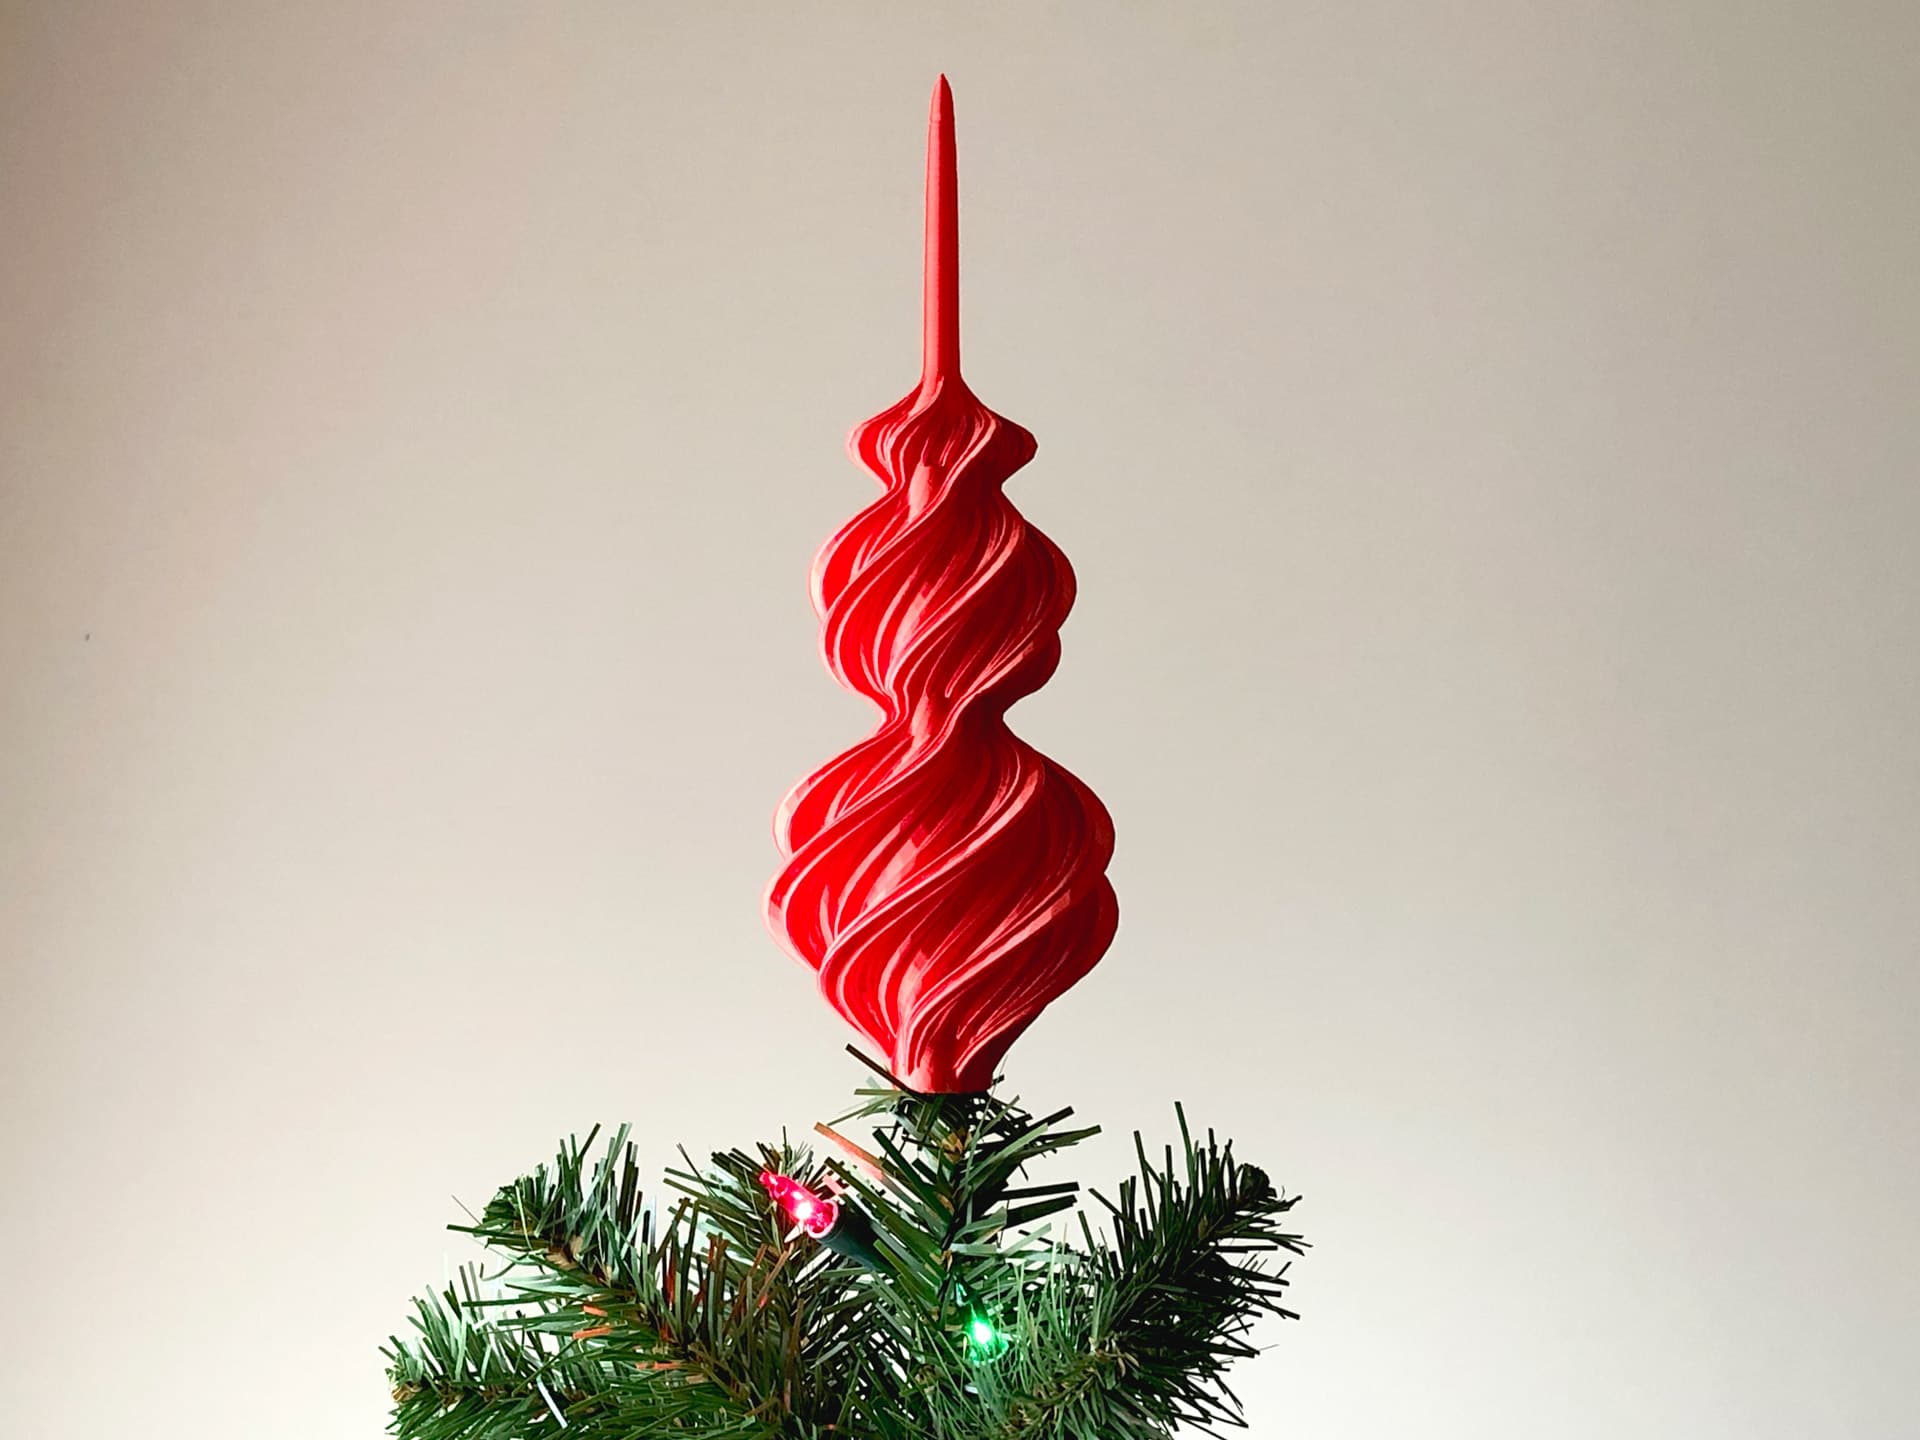


Small trees need love, too! this topper is just under 200mm tall and weighs under 25 grams. I was able to print it in just 4.5 hours.
Not for commercial use. Please see license agreement.
It requires no infill and no supports.
I designed it so I could print it in one piece on my printer (Anycubic Mega S). After adding a raft, it comes in at just 4.6mm shorter than the theoretical maximum of my printer.
This is based on my Spiral topper, but it's been recreated from scratch with no boolean operations. I wanted to create a cleaner mesh. 20 hours later, I had a design ready to test. It printed beautifully the first time.
Print Settings
- Layer Thickness: 0.15mm
- Walls: 0.4mm (1 line)
- Top/Bottom: 0.45mm (3 layers)
- Infill: None
- Supports: None
- Raft: Yes
- Print Speed: 60mm/sec
- Outer Wall Speed: 30mm/sec
- Travel Speed: 80mm/sec
I used a raft with an 8mm margin (default in Cura is 5mm) to get good adhesion. Without a raft, the base makes very little contact with the buildplate. The raft worked perfectly. The ornament was locked in place without any wobble for the entire print, but when I went to take it off, it required no effort to remove the raft from the buildplate or from the ornament.
In theory, you can probably print it in vase mode, but when I sliced it that way in Cura, it didn't slice right. So, I printed it normally.
Printing with Transparent Filament Initially, I had some stringing that showed through when I printed with transparent filament. I tried making the usual adjustments - lower temp, increased retraction distance and speed, increased travel speed. It helped, but what really fixed it was reducing the top/bottom height to 0.3mm (2 layers) and setting Z seam alignment to sharpest corner. Reducing the top/bottom eliminated almost all the infill in the corners of the arms, which cut out a lot of travel. The Z seam alignment constrained the movement between the iner and outer rings to one side so that if stringing showed through, it would be on one side of the ornament where you could easily hide it (put that side against the wall).