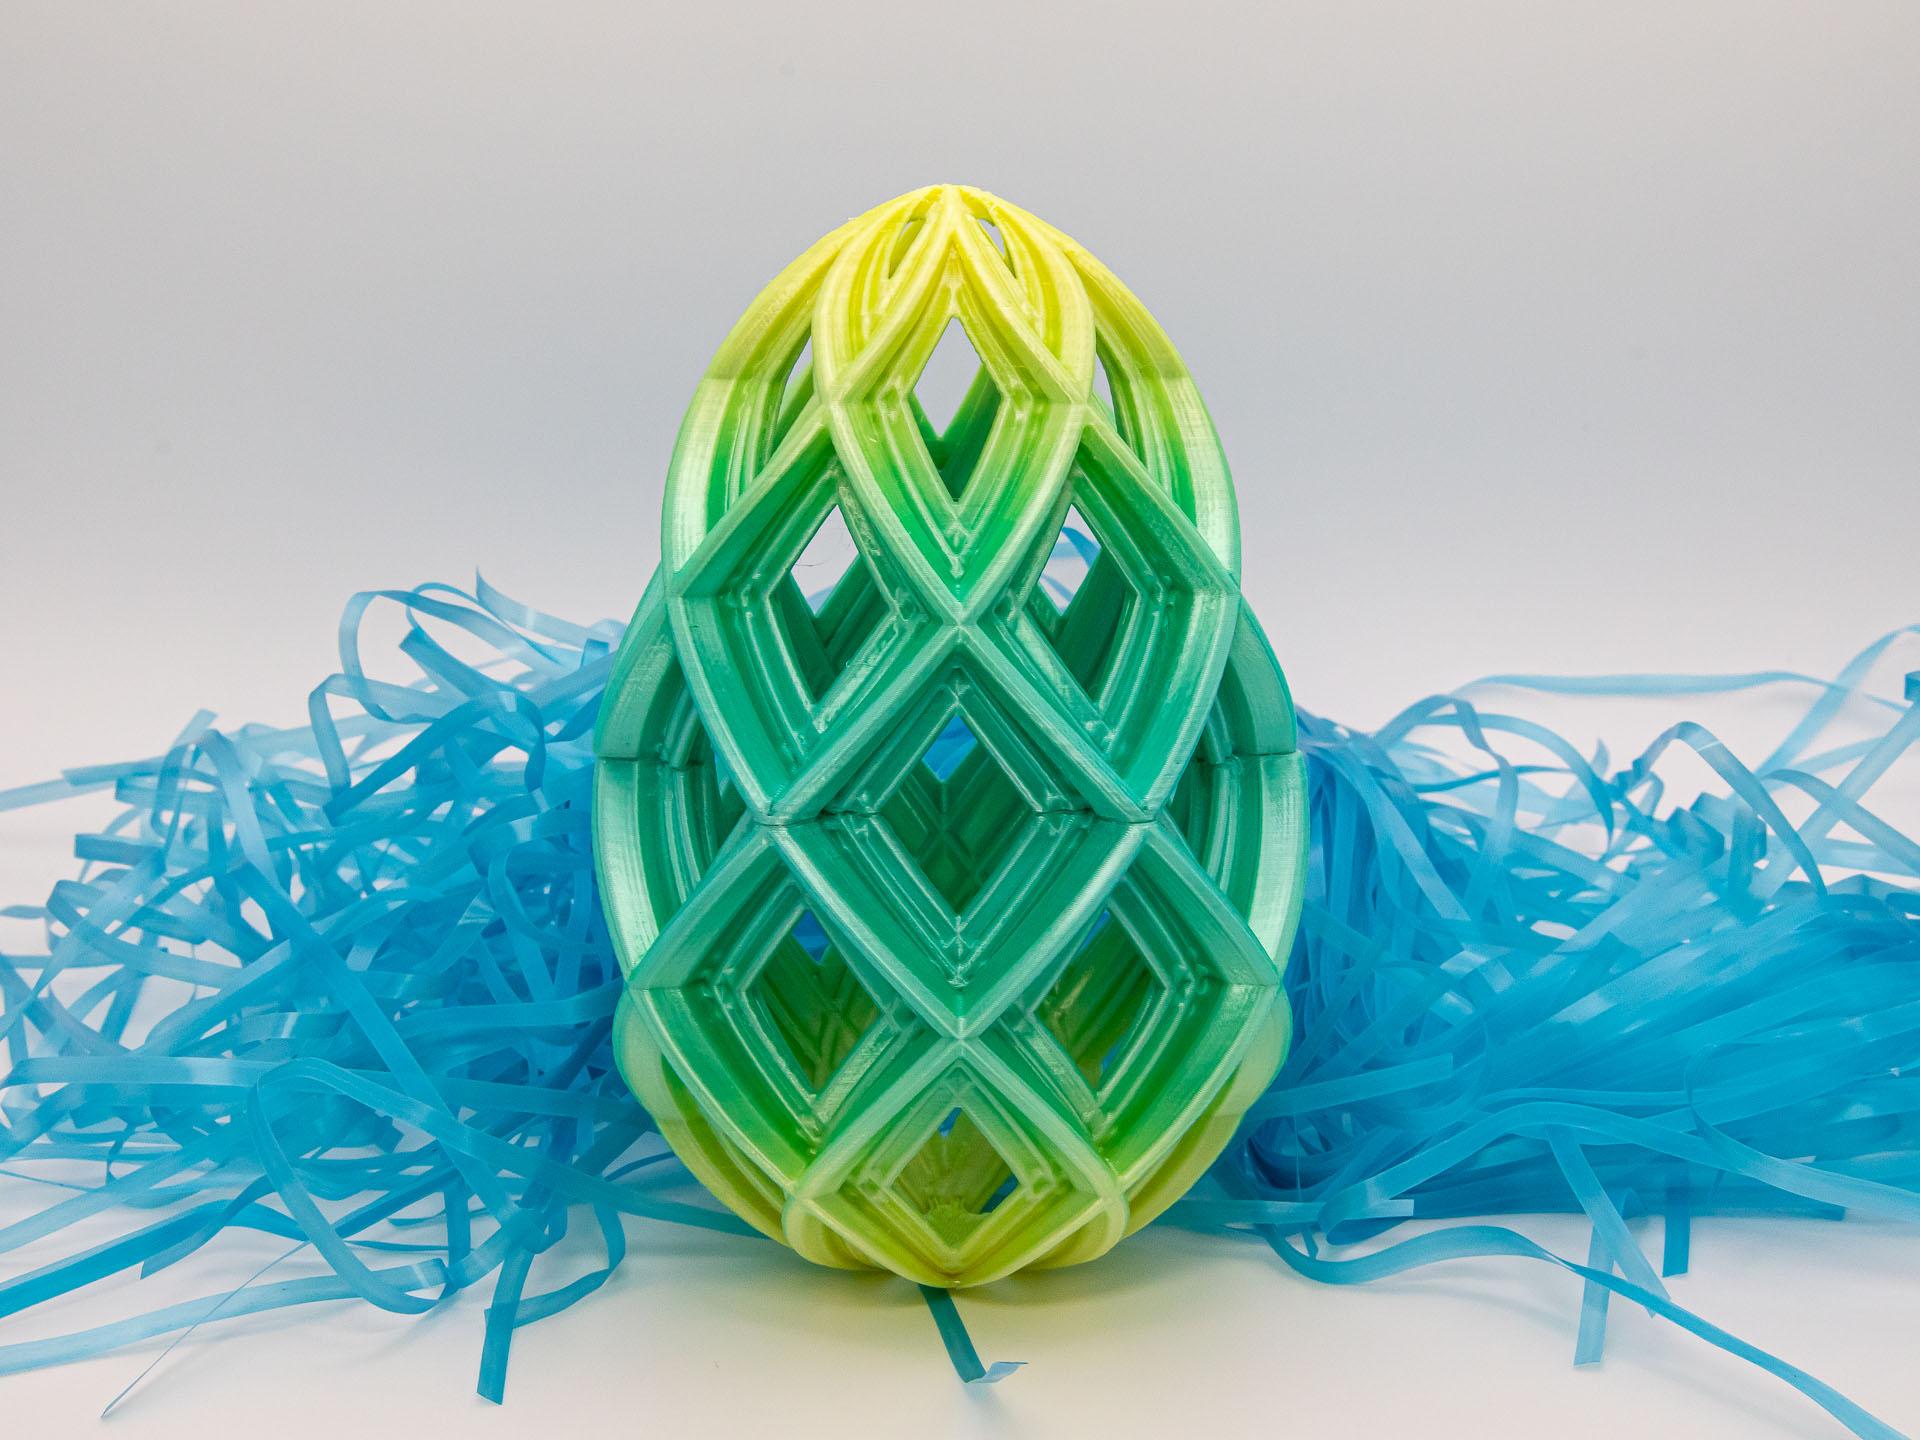
Wide Lattice Easter Egg
KEEP MAGNETS AWAY FROM SMALL CHILDREN. Magnets can come loose. If swallowed, magnets can be FATAL.
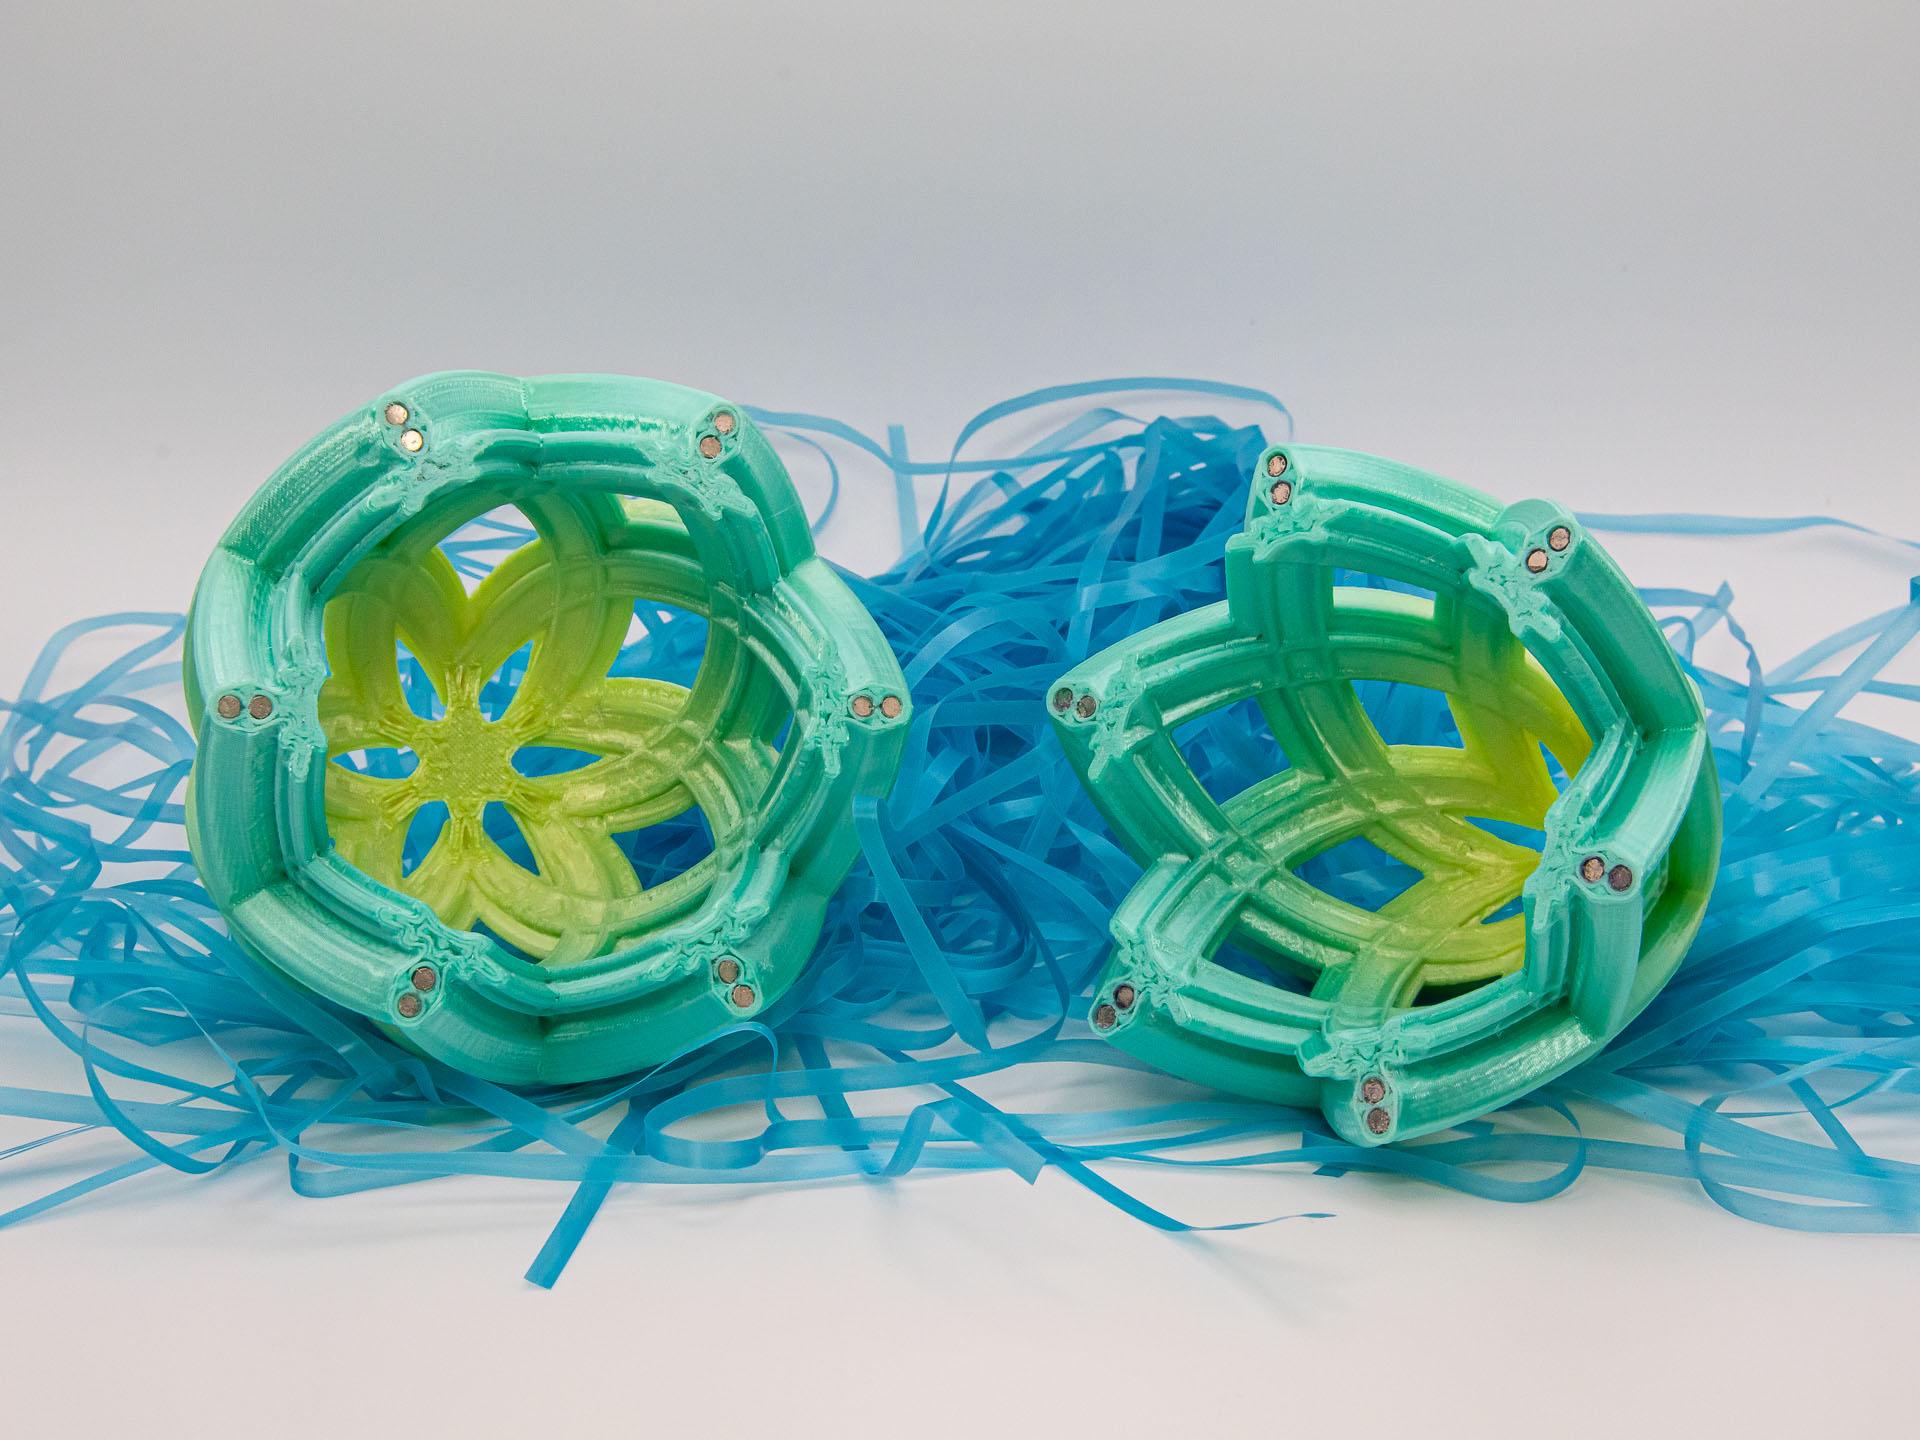
I've provided 3 versions of the design - one for each of 3 sizes of magnets. I find that either the 3x2 mm or 3x1 mm work really well. 2x1 mm works OK, but it requires a lot of them.
Not for commercial use. Please see license agreement.
You will need:
- Six 3 x 2 mm magnets, or
- Twelve 3 x 1 mm magnets, or
- Twenty-Four 2 x 1 mm magnets
RESIZING Because it would change the size of the holes for the magnets, this cannot be resized.
PRINT TIME About 10 hours
SAVE TIME I've included my PrusaSlicer 3MF files so those who use PrusaSlicer don't have to work out all the settings.
PRINT SETTINGS A lot of factors will impact exactly how large the holes print. Therefore, I would suggest you do a test print of the first 3mm of one half of the egg. Then, try to insert a magnet. Adjust your print settings or scale the egg up or down from there and try another test until you get it to fit just right. Once you know what works for you, print the whole egg.
If you're not using PrusaSlicer, I recommend 2 perimeters (walls), infill just below unsupported areas using 20% rectilinear (lines) or 15% infill everywhere. I generally used default settings for .15mm high quality settings in PrusaSlicer. I did adjust the temp and retraction slightly for the PLA. I also printed the last few millimeters at 0.1 mm layer height to get better detail.
I used MatterHackers Rainbow PLA and printed both halves of the egg together so the color change would go from the middle out.


