


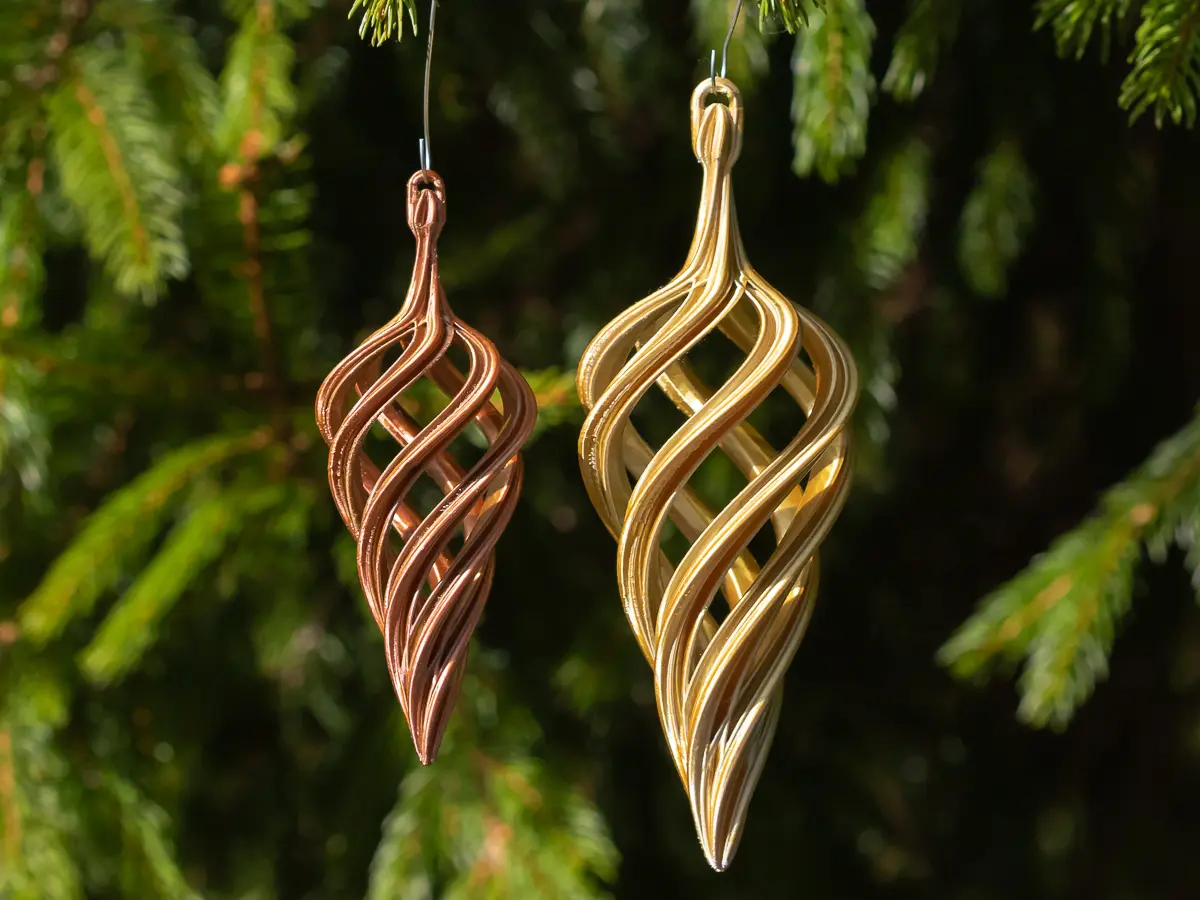
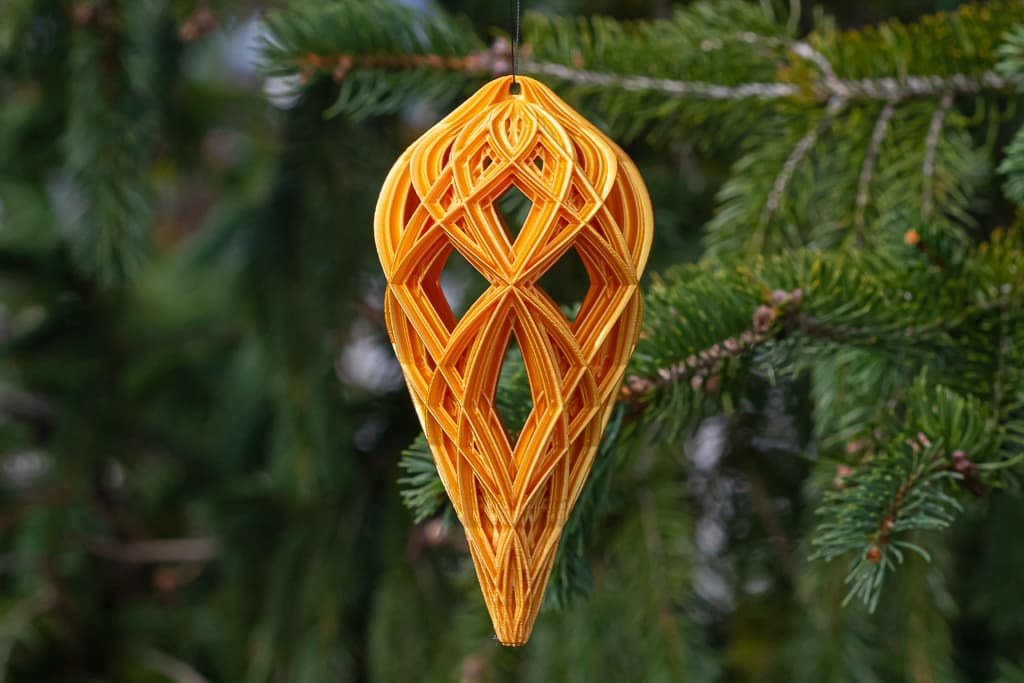
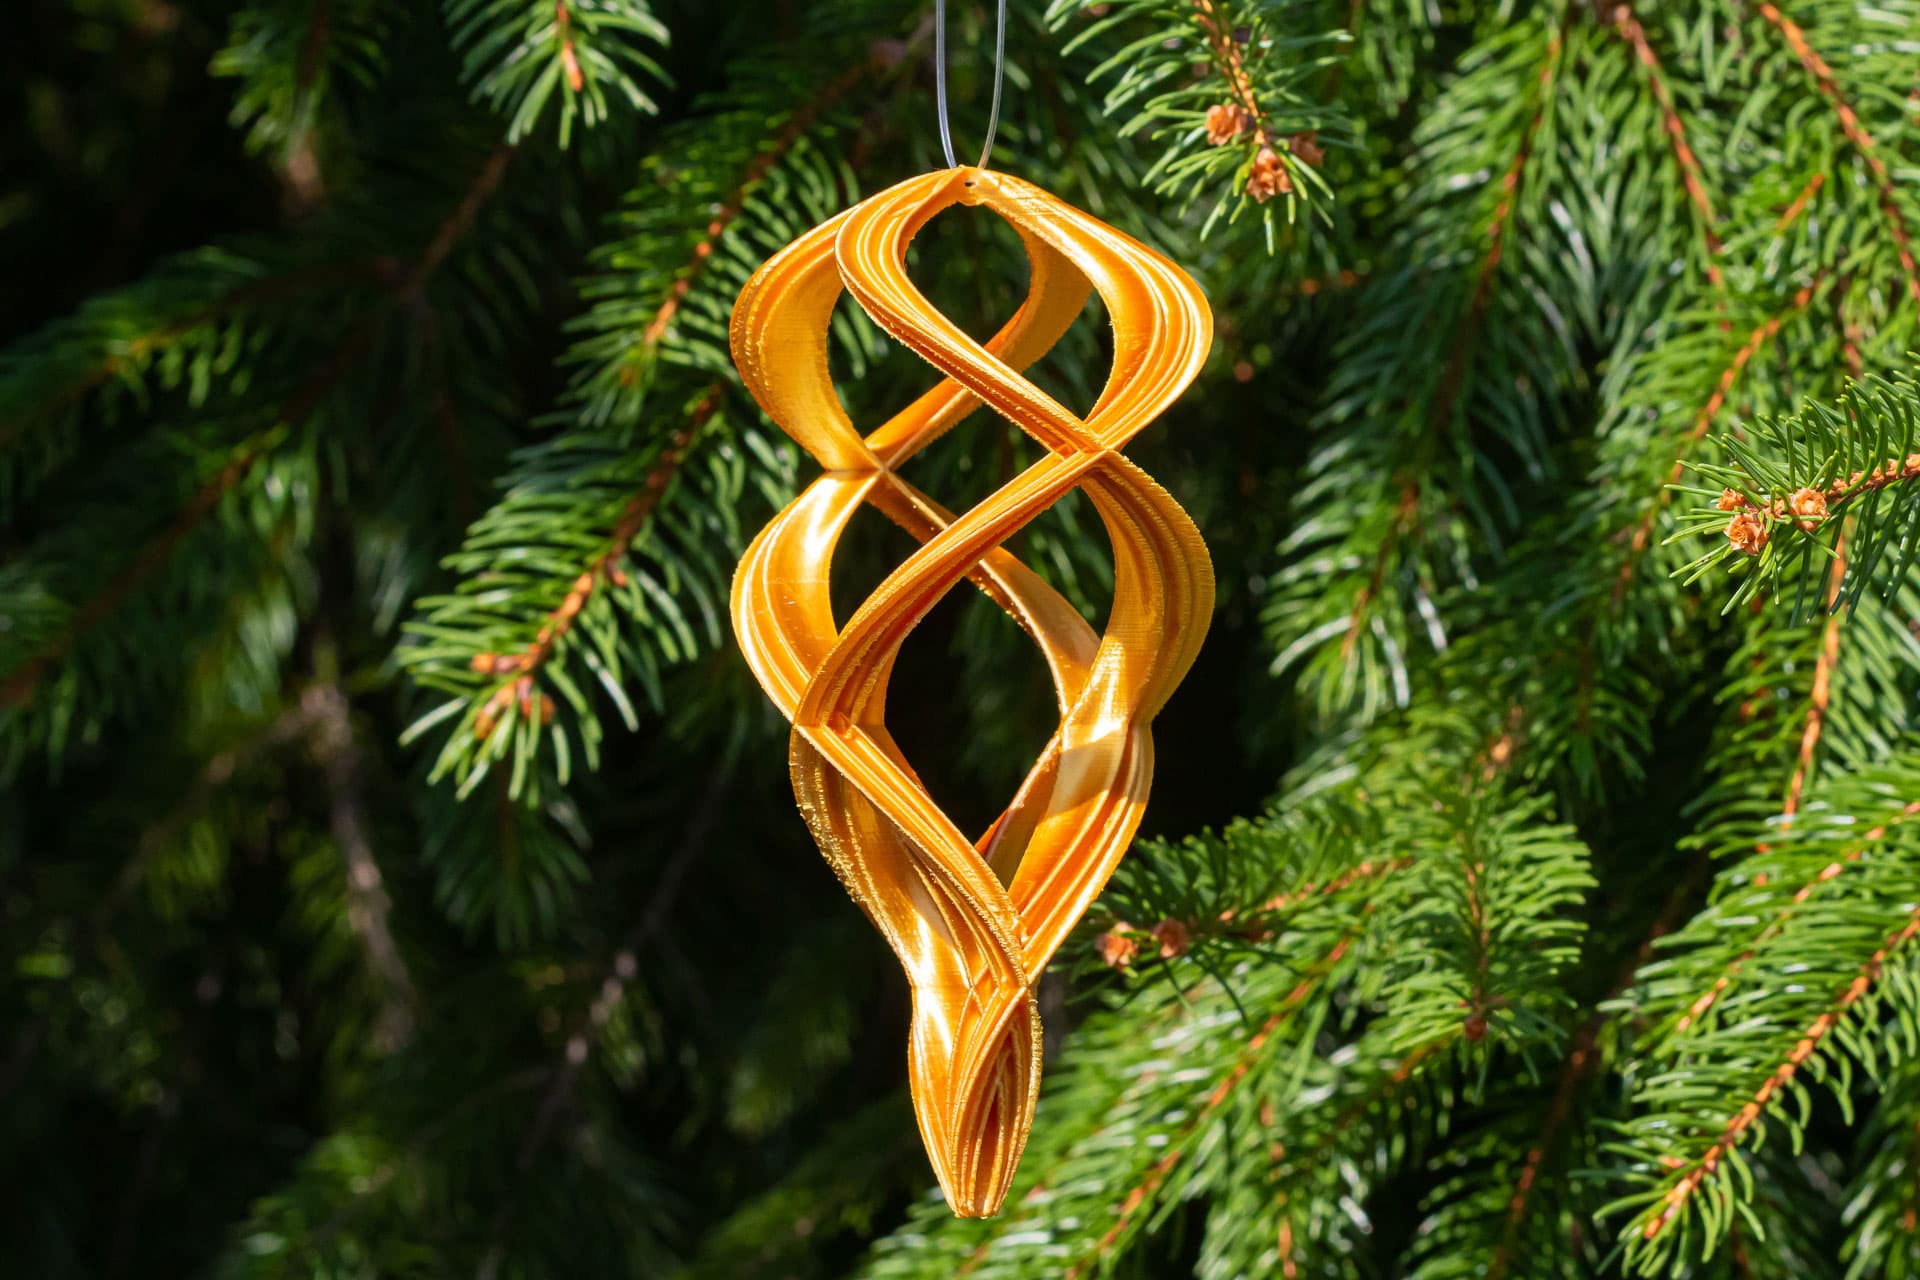
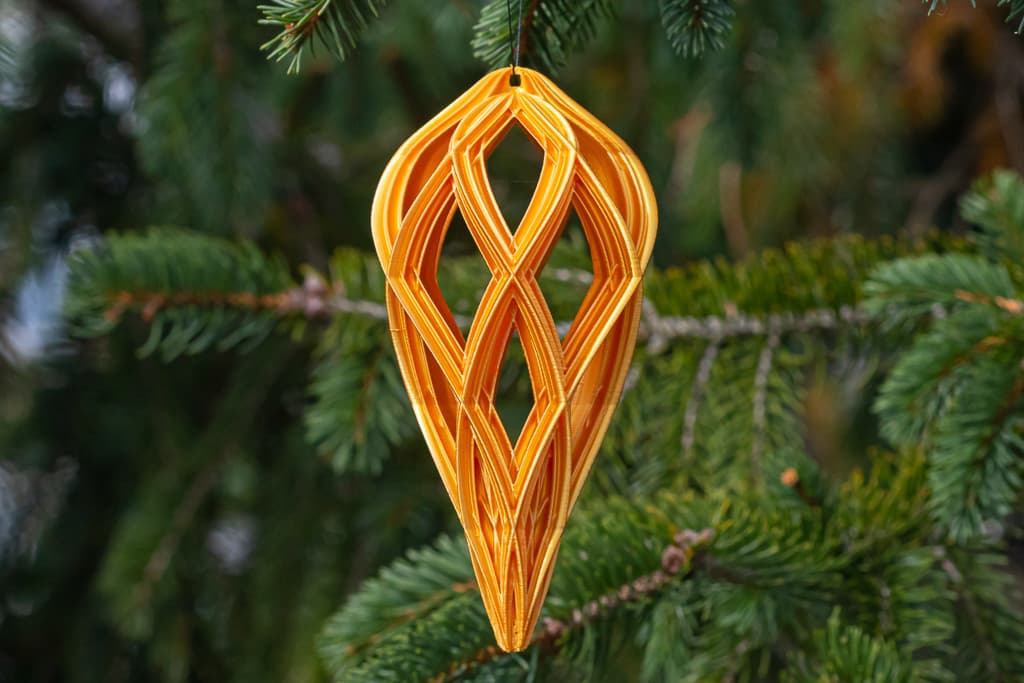
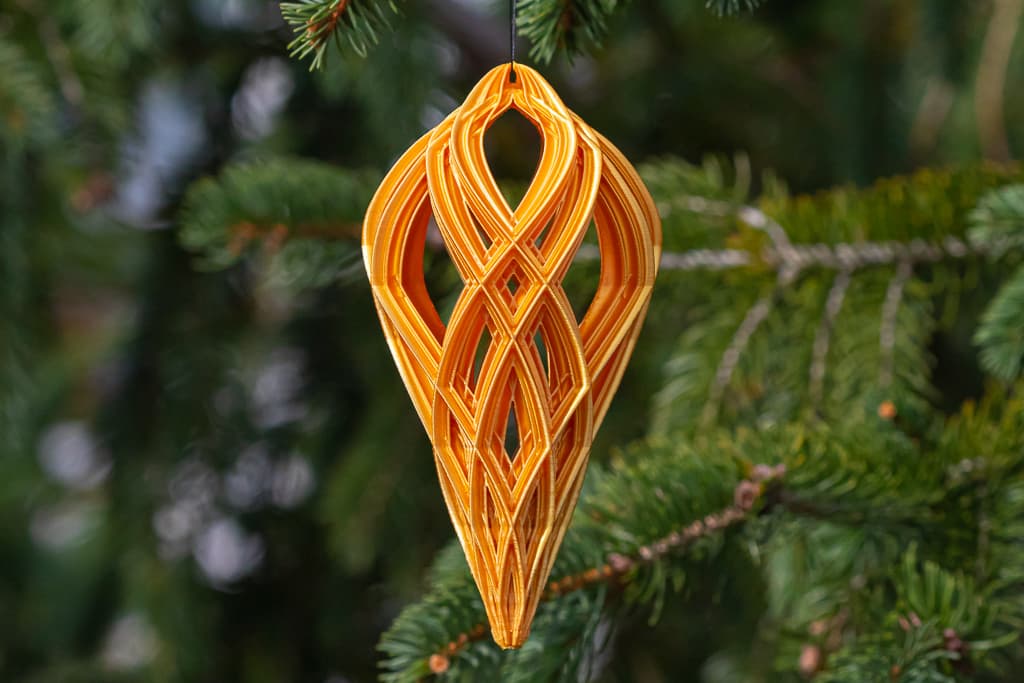
Spiral Teardrop Christmas Ornament
I wanted to create a spiral version of my Teardrop ornaments that was smaller. This is 87mm tall.
Not for commercial use. Please see license agreement.
I've provided versions with and without supports. I recommend starting with the version with supports. With the recommended settings, the ornament prints in 3.5 hours and the final ornament is 8.5 grams, though it takes 22 grams worth of material to print the version with supports. It's well worth the filament for the supports. They make it easy to print, keeping the model from warping much during printing (preventing the arms from breaking) and yet you can remove them using your bare hands with almost no pressure and leave little or no marks on the ornament.
PRINT SETTINGS
- Layer Height: 0.15mm
- Walls: 0.4mm (1 line)
- Top/Bottom Thickness: 0.45mm (3 layers)
- Overall Speed: 60mm/sec
- Outer Wall Speed: 30mm/sec
- Travel Speed: 80mm/sec
- Infill: 25% - but just for the area of the lower roof (inside bottom) for this, I added it for about 13mm, starting 15mm from the bottom so there's about half a cm support below the roof and about half a cm on the sides so it doesn't break free before it merges with the outer wall.
Adding Infill to Part of an Object in Cura
- Set the main infill density setting to 0%. You'll override this for the area that needs infill in the steps that follow.
- Select your model, then press the E key (or select "Support Blocker" - 6th tool from the top on the left toolbar), and click anywhere on your model. It should add a transparent blue cube.
- Select the cube, scale it, then move it to the part of the model where you want infill.
- Select "Per Model Settings" (5th tool from the top of the toolbar on the left) and select "Modify Settings for Overlaps" (3rd from left).
- Choose Select Settings.
- From the list, select "Infill Density". If you are printing a ball (or any object that requires supports) you must also select "generate support".
- Set the infill density.
Spiral Teardrop Christmas Ornament
.webp&w=3840&q=75)
Spiral Christmas Ornament STL for 3D Printing Desk Decor
Christmas Spiral Teardrop 2023

Spiral Drop Holiday Ornament

Nativity Christmas Ornament, Holy Family Ornament, 3D Christmas Decor, Christmas Gift or Surprise

Flat Christmas Ornament Pack | Christmas Ornaments

Double Spiral Christmas Stretch Ornament 2024

christmas ornament earrings pack christmas ornaments jewelry pack

Angel Christmas Ornament, 3D Christmas Decor, Christmas Decoration, Christmas Gift, Angel Figurine
Zigzag Teardrop Christmas Ornament
Royal Crown Christmas Teardrop Ornament

Spiral Ornaments - Christmas Day 4
Closed Spiral Christmas Ornament
Christmas Teardrop Ornament 5
Spiral Christmas Ornament
Elegant Double-Spiral Christmas Ornament
Christmas Teardrop Ornament 1

Christmas Teardrop Ornament 4
Christmas Teardrop Ornament 2
Christmas Teardrop Ornament 3
