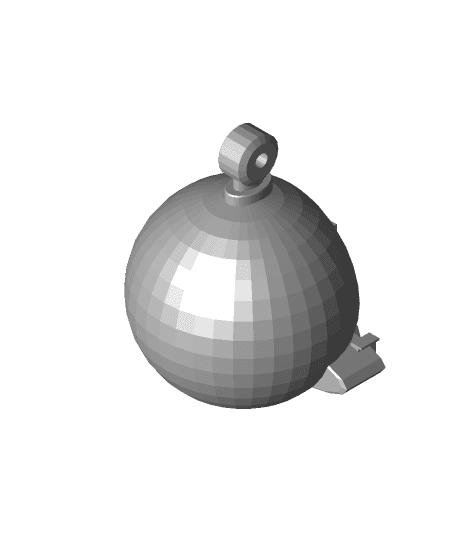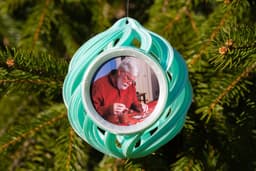


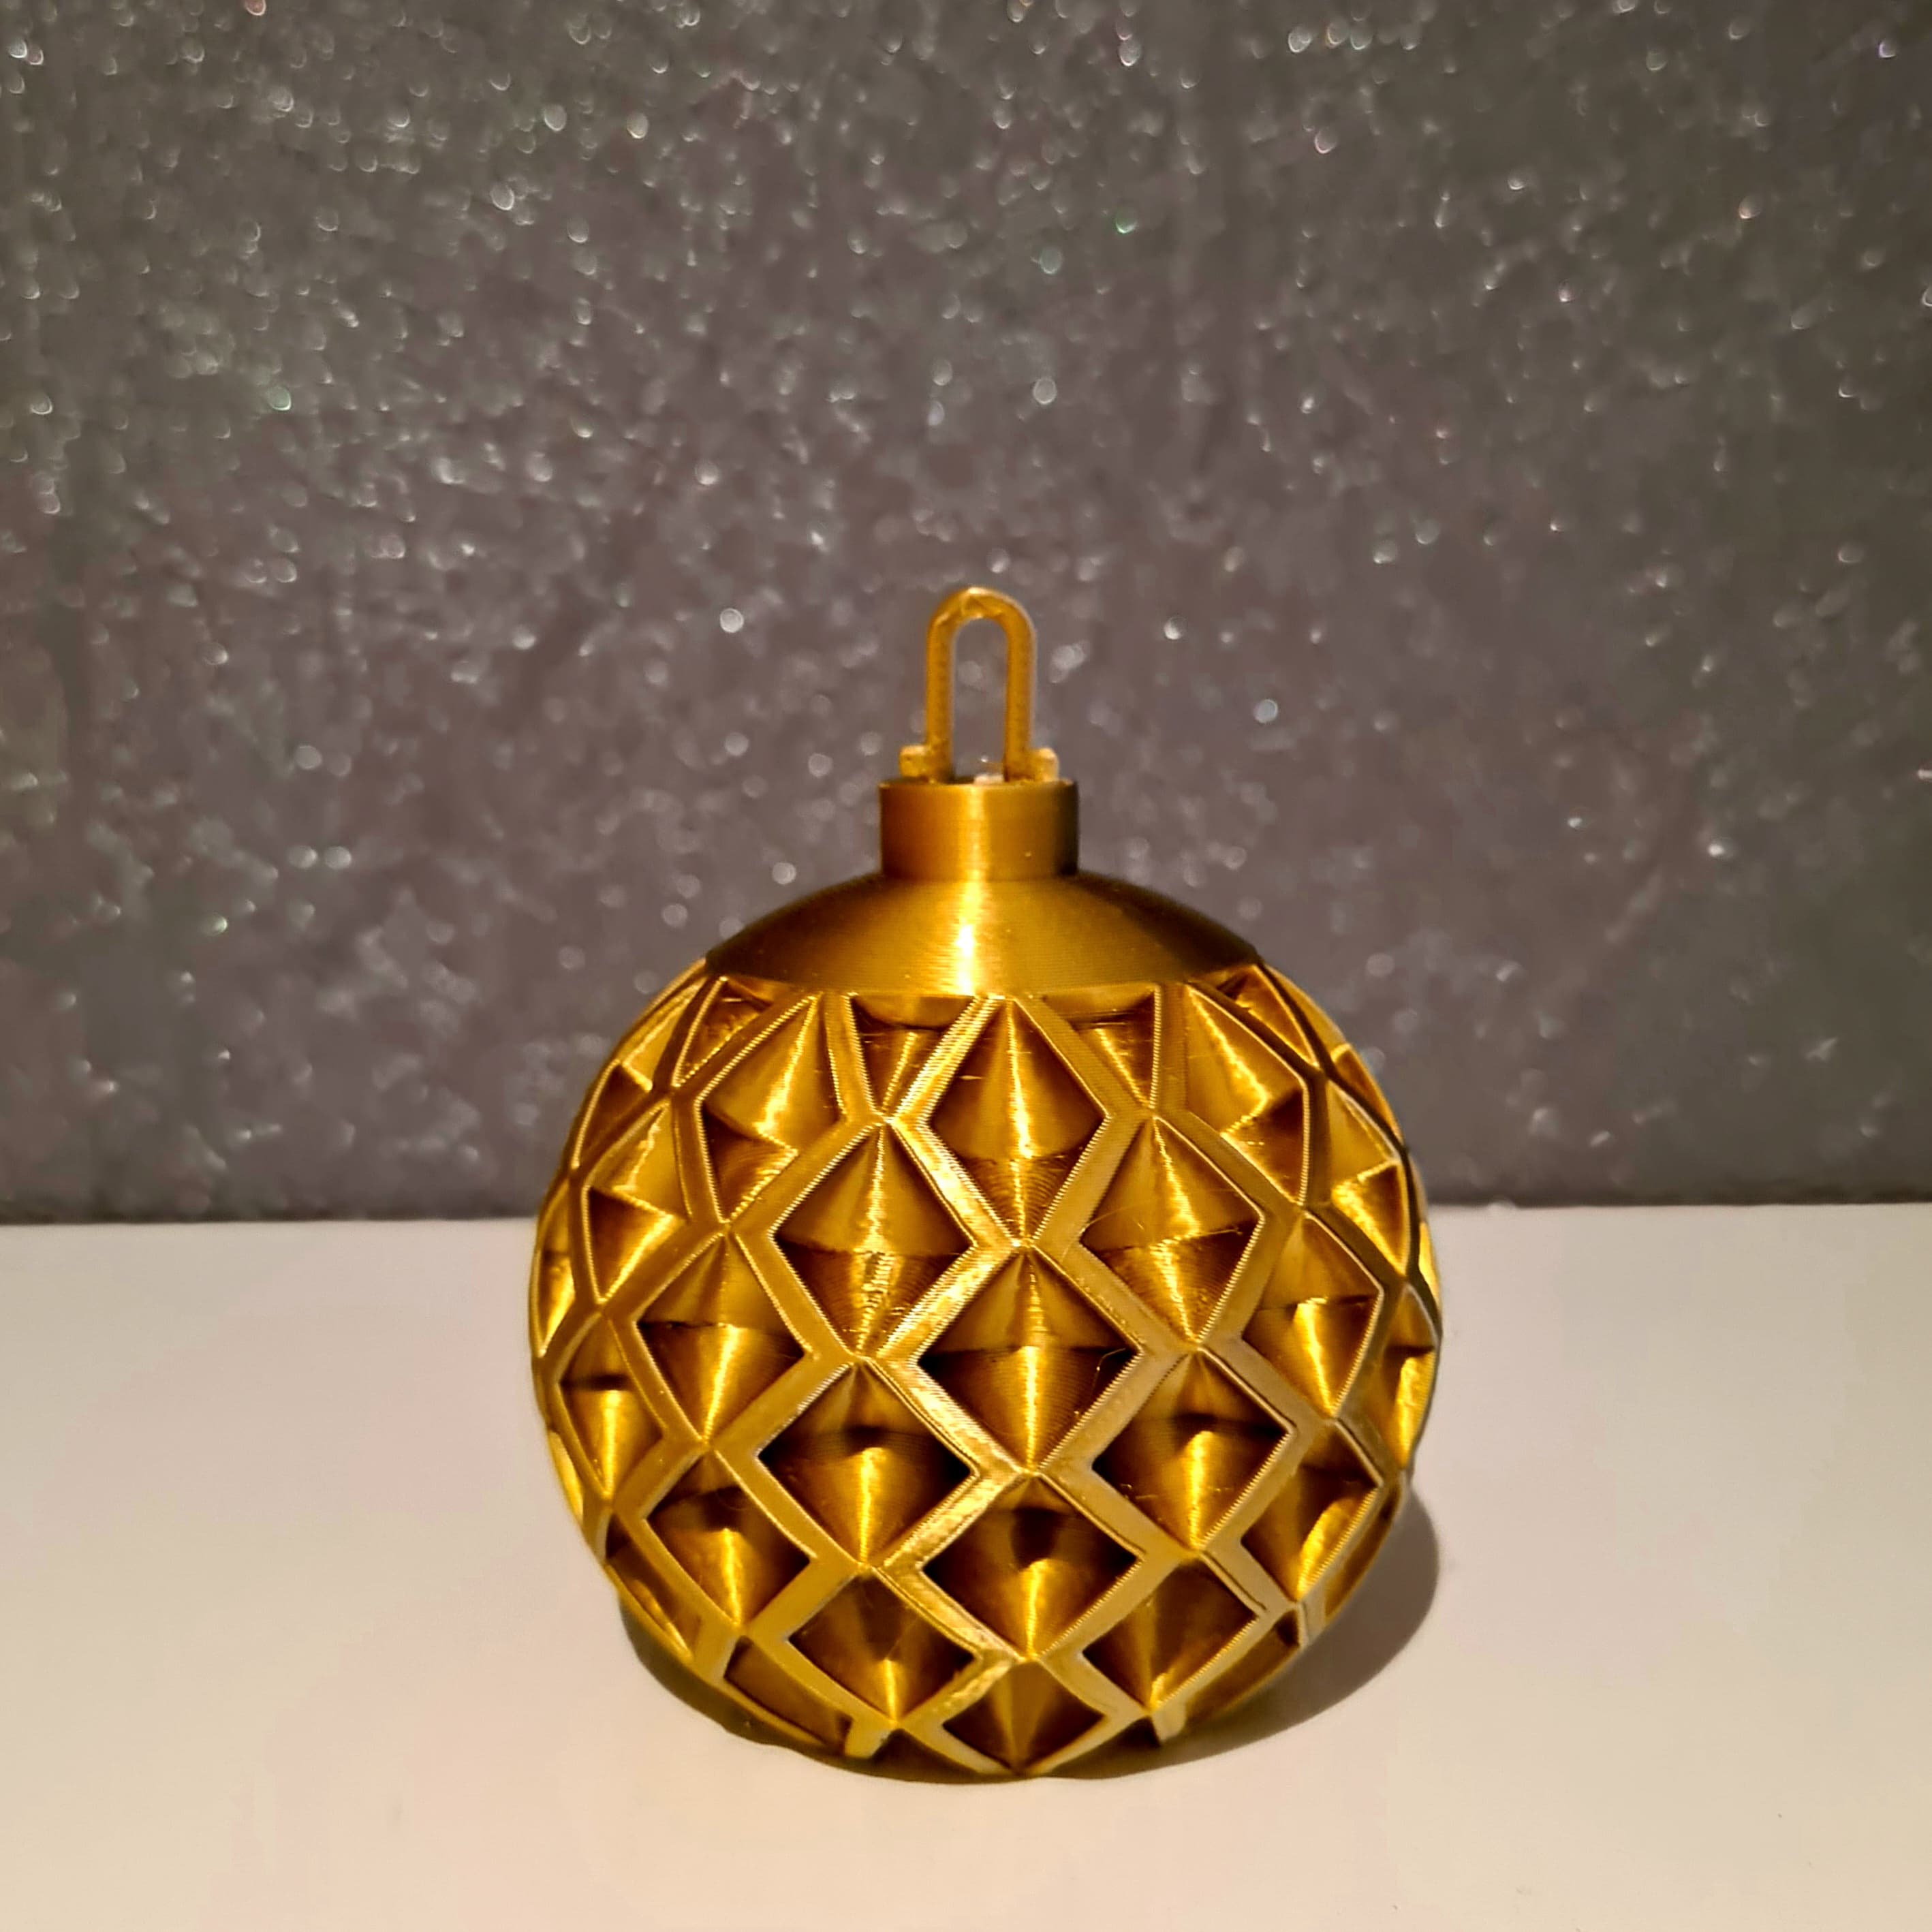
Picture Frame Christmas Ball Ornament
This has been designed to make printing easy. Just follow the detailed steps outlined in the printing instructions below.
Not for commercial use. Please see license agreement.
In addition to the picture frame insert, I've included a snowflake design.
The basic ornament takes about 7 hours to print with my settings (using the version with supports).
Each picture frame inset takes about 1.5 hours to print.
Each snowflake insert takes about 0.5 hours.
You'll need to print two inserts.
PRINT SETTINGS All parts printed with 0.15mm layer height.
Ornament
You might be able to print it without the built-in supports using tree supports, but it's not likely to print as well and will take longer to print. It will also take much longer to remove the tree supports than the ones I've provided.
- Walls: 0.8mm (2 lines)
- Top/Bottom: 6mm (4 layers)
- Infill: None
- Print outer walls before inner
Supports
- Placement: Touching Buildplate
- Overhang Angle: 67%
- Support Pattern: Triangles
- Support Density: 15%
- Support Roof Density:75%
You could try to reduce the weight by making the walls just 0.4mm (1 line) thick, but it will reduce the strength of the ornament. It may be difficult to remove the supports without breaking the ornament. Picture Frame
- Walls: 0.8mm (2 lines)
- Top/Bottom: 4.5mm (3 layers)
- Infill: 10% lines
- Supports: None
Cutting Guide
The cutting guide is just there to make it easy for you to crop your photo down to the right size circle. Just print it solid. It's only 0.9m thick. The print quality doesn't matter much, since this isn't part of the ornament. Snowflake
- Walls: 0.4mm (1 line)
- Top/Bottom: 4.5mm (3 layers)
- Infill: None
- Supports: None
POST-PRINTING
Place the cutting guide over your photo to select which part to include and use a pen to draw a circle around it. Then, just use scissors to cut it out.
The inserts fit loosely inside the ornament. If you want to be able to change the ornament, just add a couple tiny pieces of thin double-sided tape to the rings the inserts fit in. If you want to make it permanent, use a couple drops of medium CA.
The two sides of the picture frame snap together and fit tightly. You won't need to glue them together. The picture frame includes slots so you can easily separate the two halves to change pictures. Just slide a screwdriver into a slot, then twist.
Picture Frame Christmas Ball Ornament

Picture Frame Christmas Ornament
FHW: 2022 Modern Christmas Ornament ornament ball 4

FHW: 2022 Modern Christmas Ornament ornament Ball 3

Nativity Christmas Ornament, Holy Family Ornament, 3D Christmas Decor, Christmas Gift or Surprise
Christmas Accessories Vol.1 – 3D Printed Christmas Ball Ornament

Christmas Ball Ornaments

Flat Christmas Ornament Pack | Christmas Ornaments

Photo Frame Christmas Ball

christmas ornament earrings pack christmas ornaments jewelry pack

Skull Ball Christmas Ornament

Angel Christmas Ornament, 3D Christmas Decor, Christmas Decoration, Christmas Gift, Angel Figurine

Gift balls, Christmas tree ornaments.

Ornamental Christmas Ball Box – Decorative Holiday Gift Holder

Voronoi Christmas ball Ornament

Sea of thieves Christmas ball ornament
.png&w=3840&q=75)
Retro Christmas Picture Frame Fidget Clicker Keychain – Mouse, Snowman, Deer, Kitsch
Christmas ball ornament

FHW: 2022 Modern Christmas Ornament Ball 6

Light-Up Christmas Photo Frame Ornament