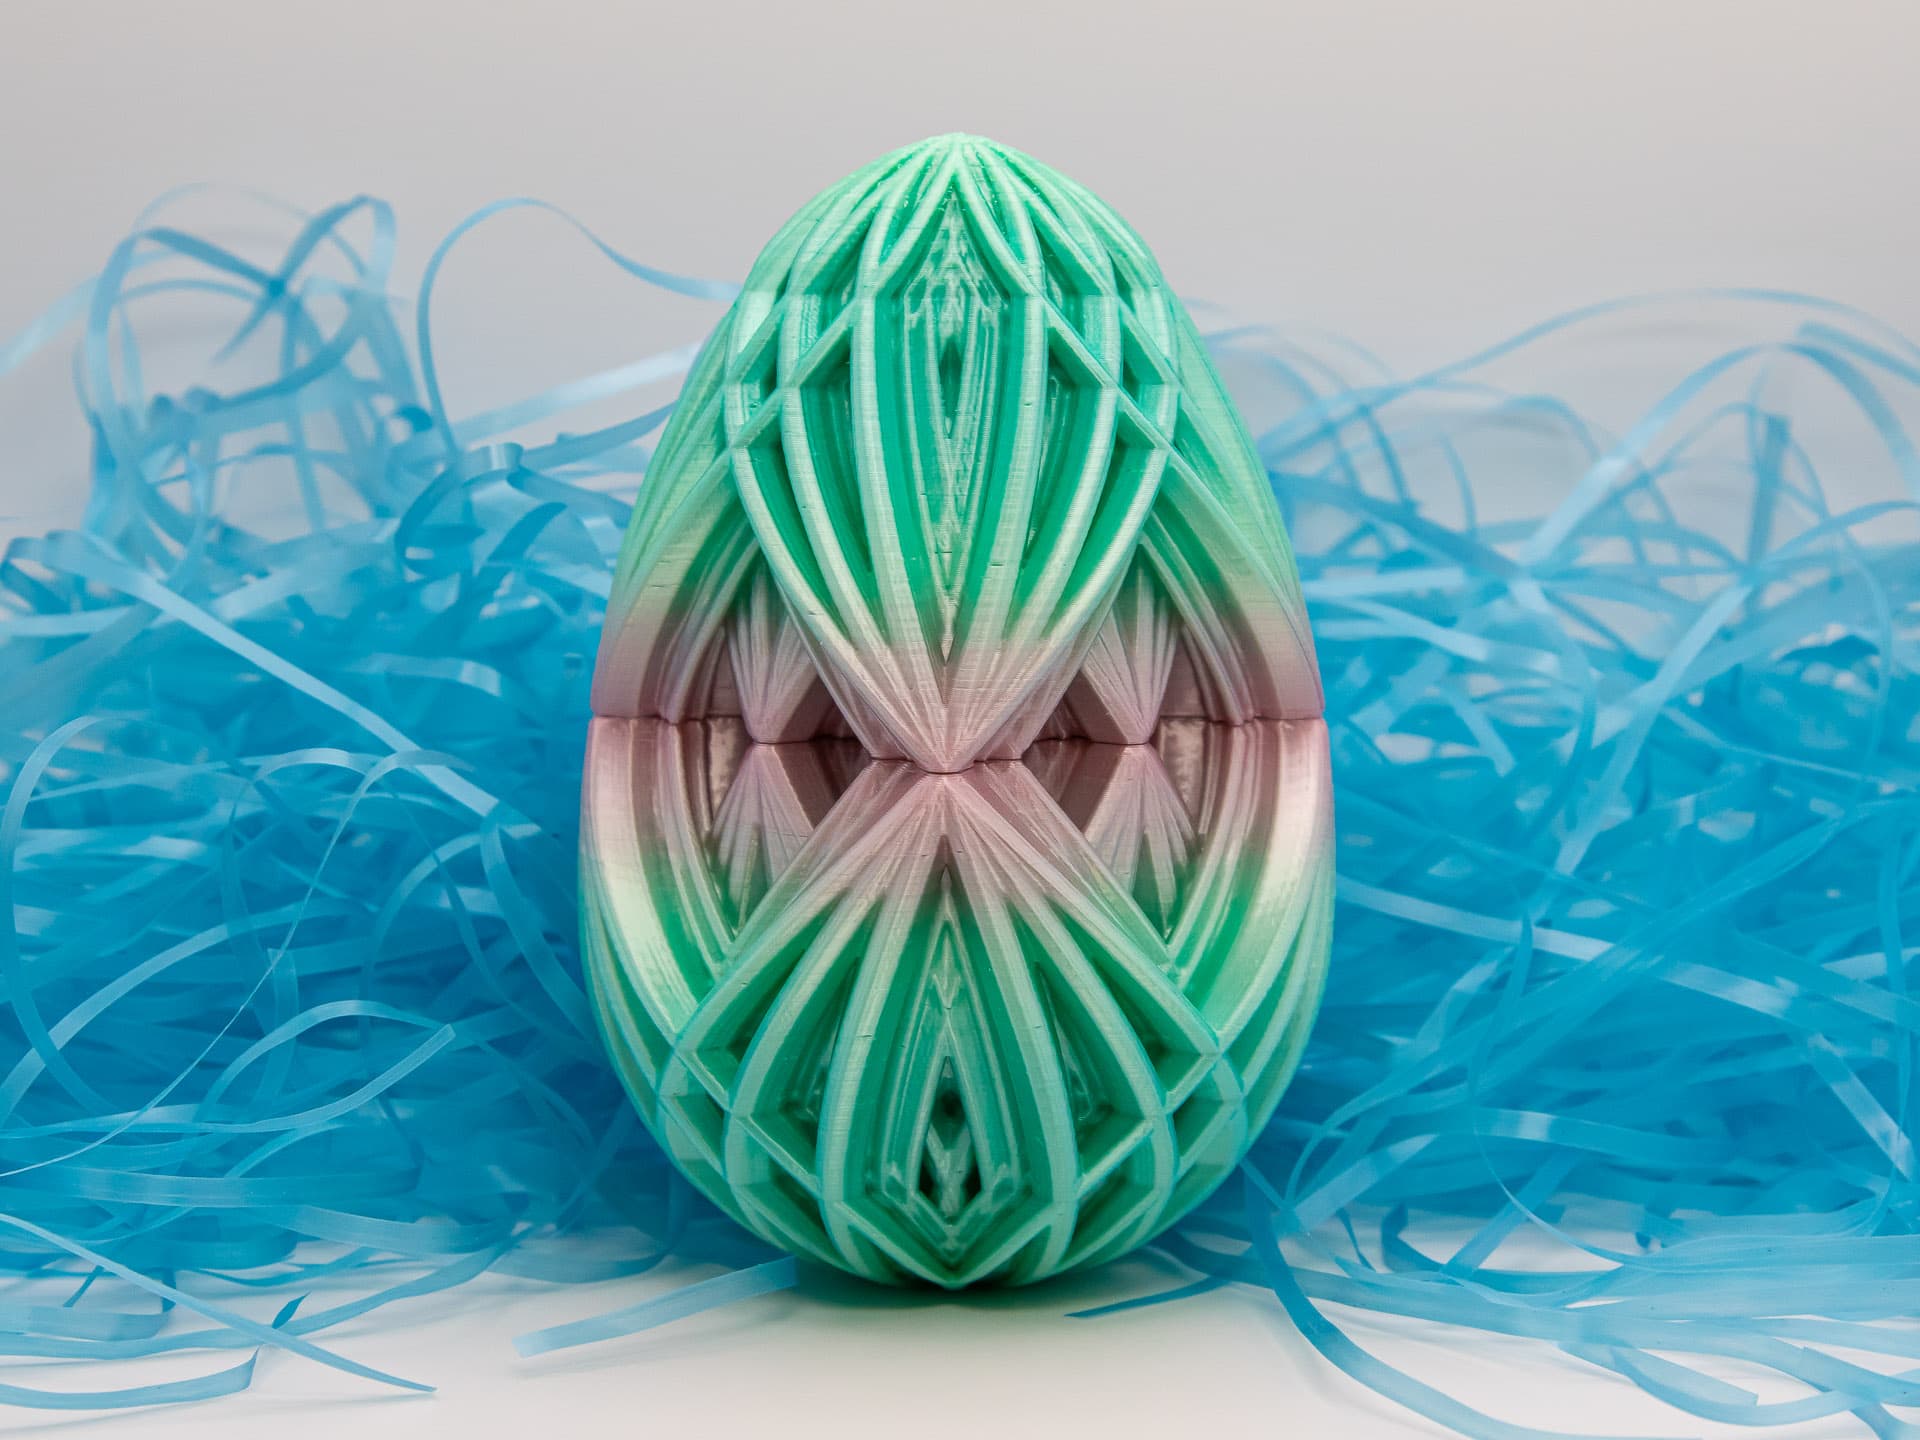
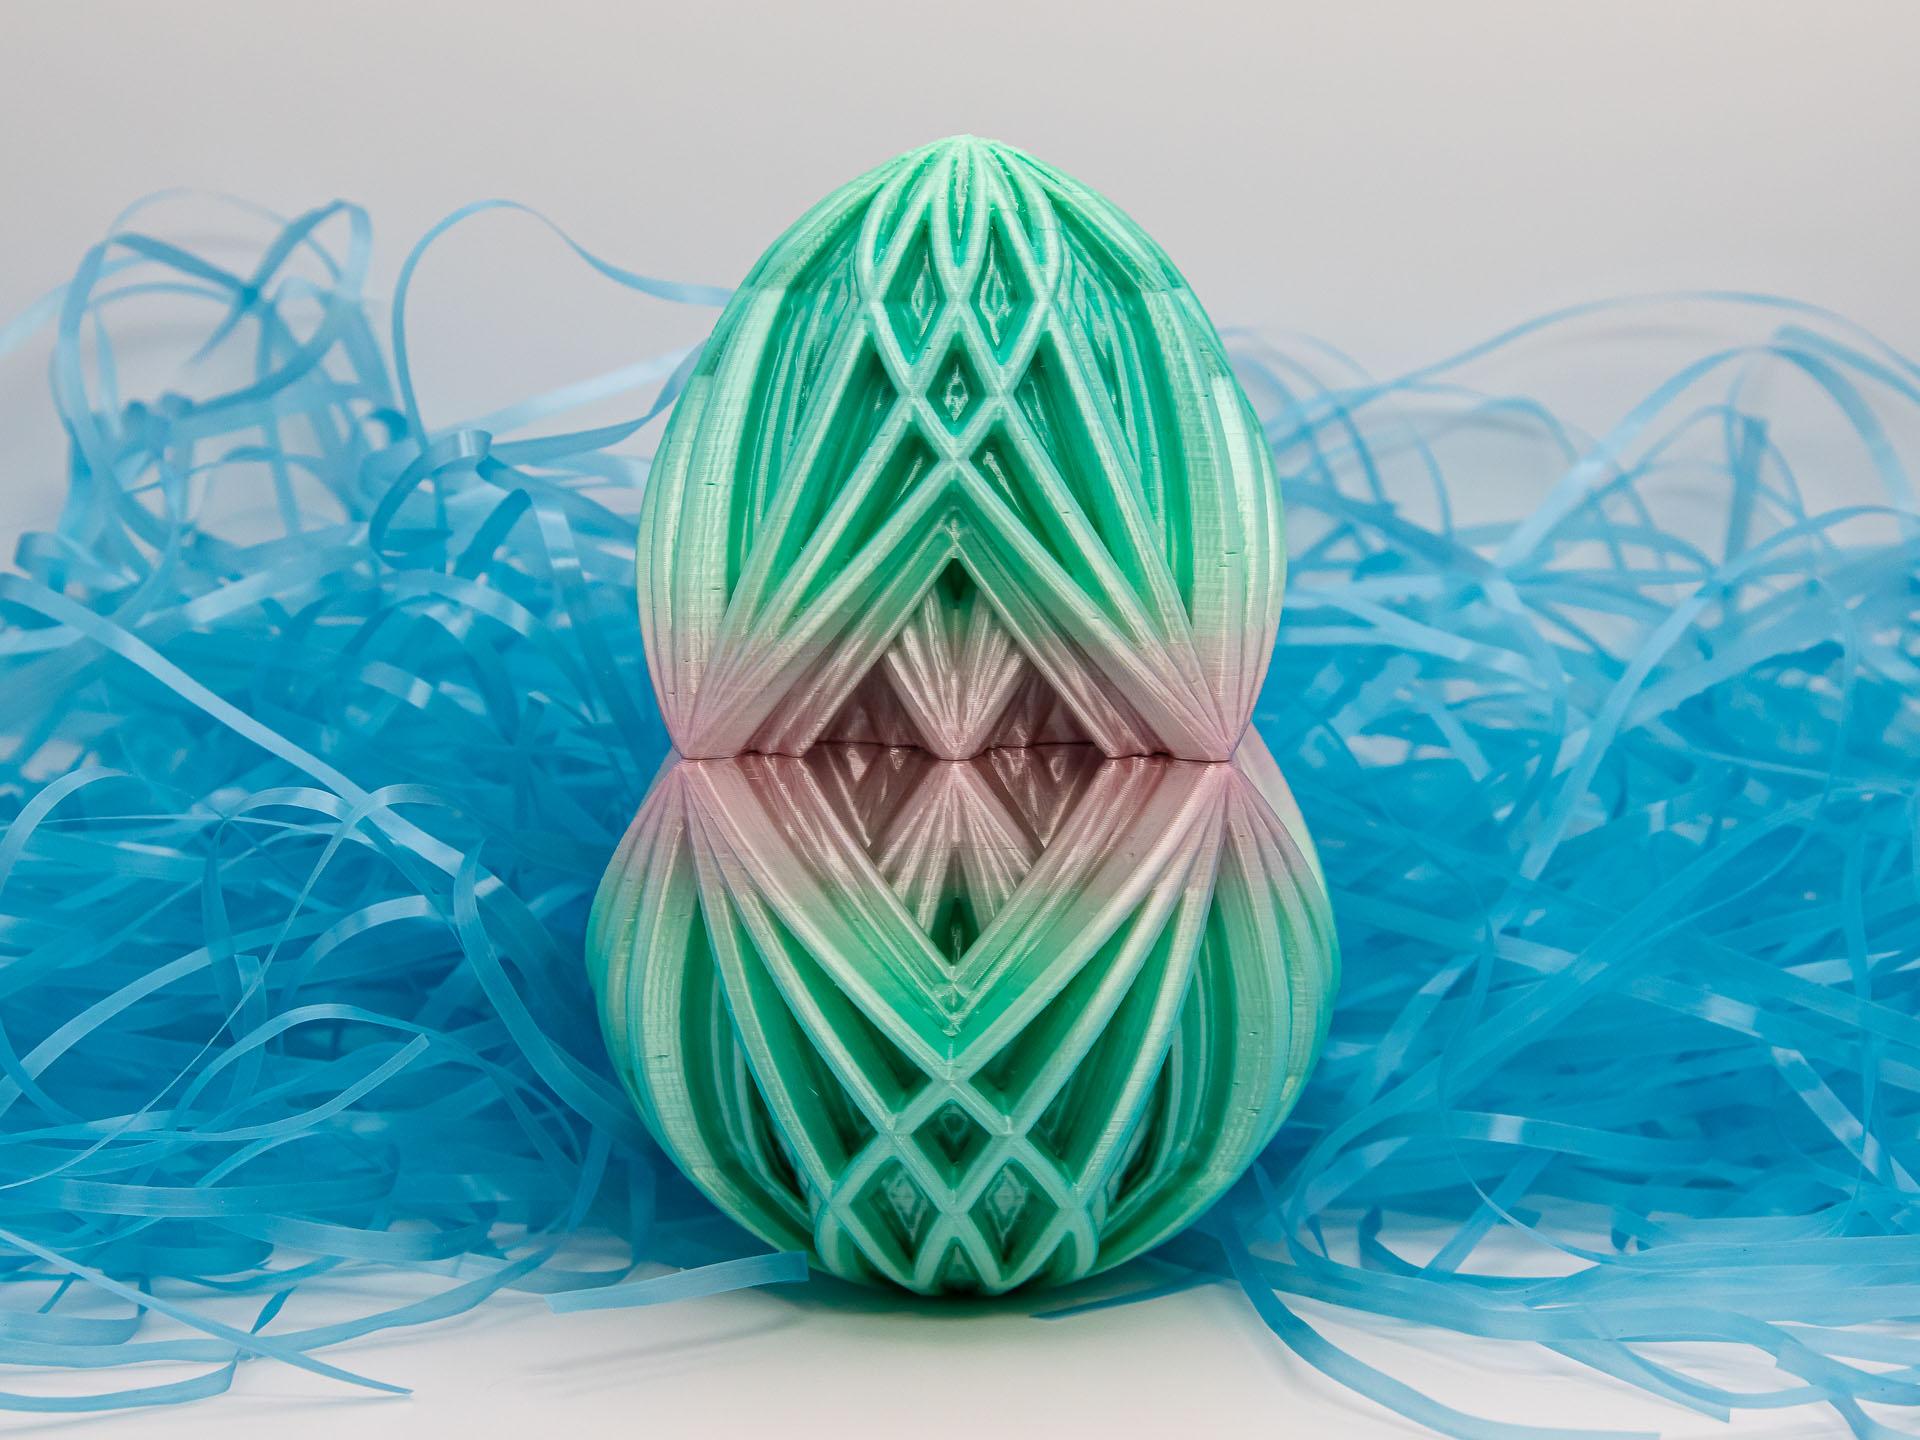
Kaleidoscope Easter Egg (4 Sizes)
KEEP MAGNETS AWAY FROM SMALL CHILDREN. Magnets can come loose. If swallowed, magnets can be FATAL.
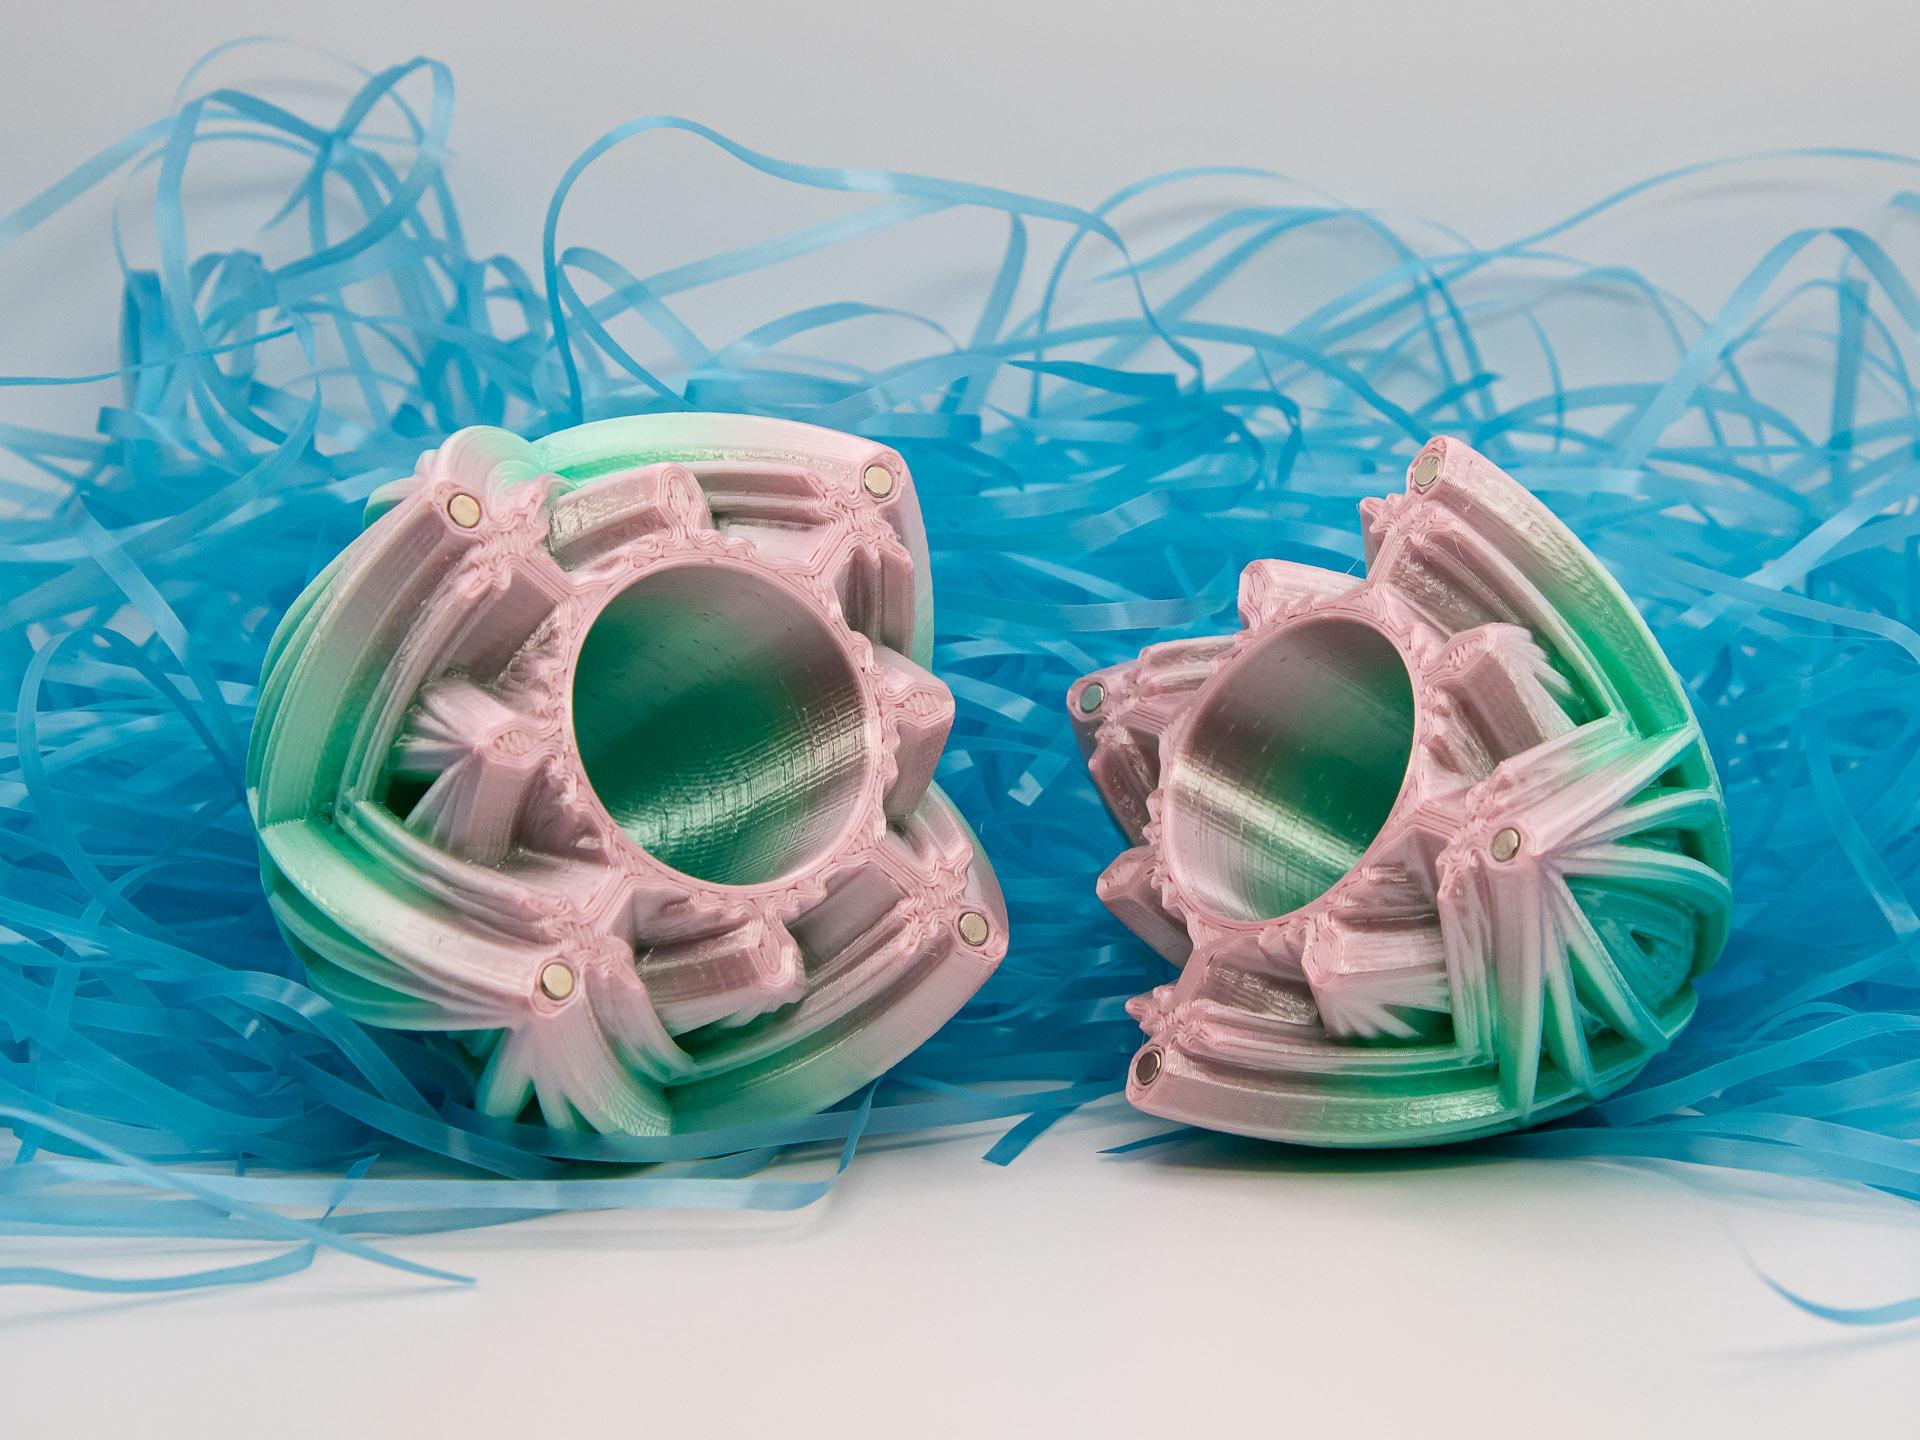
Another fun Easter Egg design. It has a tall, narrow pocket in the inside where you can hide a fun surprise.
Not for commercial use. Please see license agreement.
It uses 3x2mm magnets to told the two pieces together. Since scaling up the model means making the holes themselves bigger, I've uploaded 4 sizes of the design: 100%, 125%, 150%, and 200%. I've only included the 3MF file for the smallest size.
- 100% uses 8 magnets
- 125% and 150% use 16 magnets
- 200% uses 24 magnets
Quick Tip: The easiest way I've found to install the magnets is to get a larger rod-shaped magnet (some magnet sets come with them) and place a 3x2 magnet on the end. Put a drop of CA glue in the hole in the egg. Put a drop of kicker (aka “insta-cure” or “activator”) on the magnet, then use the larger magnet to install the smaller one in the egg and slide the pushed magnet sideways off the egg. The 3x2 magnest are deep enough they usually stay put even before the glue sets.
NOT TO BE SOLD I'm sharing my files so that you can make them for yourselves or give them away as gifts. I hope you enjoy them. I do not authorize sale of my work by anyone. Please don't ask me.
PRINT TIME I'm guessing for the larger sizes as I've only printed the 100% scale egg.
- 100% - 12 hours
- 125% - 18 hours
- 150% - 24 hours
- 200% - 40 hours
SAVE TIME I've included my PrusaSlicer 3MF file for teh 100% version so those who use PrusaSlicer don't have to work out all the settings.
PRINT SETTINGS A lot of factors will impact exactly how large the holes print. Therefore, I would suggest you do a test print of the first 3mm of one half of the egg. Then, try to insert a magnet. Adjust your print settings or scale the egg up or down from there and try another test until you get it to fit just right. Once you know what works for you, print the whole egg.
If you're not using PrusaSlicer, I recommend 2 perimeters (walls), infill just below unsupported areas using 25% rectilinear (lines) or 15% infill everywhere. I generally used default settings for .15mm high quality settings in PrusaSlicer. I did adjust the temp and retraction slightly for the PLA. I also printed the last few millimeters at 0.1 mm layer height to get better detail.
I used MatterHackers Rainbow PLA and printed both halves of the egg together so the color change would go from the middle out.


