


Clover Top
This top is more open than any of my other designs, so it creates looks really amazing as it spins.
Not for commercial use. Please see license agreement.
Want to show off your top? Download my Display Stand for Tops. It prints in as little as 10 minutes!
UPDATE I've been experimenting with printing this top at smaller sizes and I've succeeded in printing it so it looks and spins well all the way down to 55%. To get the stem to print well that small, I made two significant changes: I created a new version of the STLs with thicker stems (labeled "55 percent" here) and I added GCODE to drop the temperature to only 177 degrees at 10.5 mm. That worked well, but the final trick that got the stem printing beautifully was to add a second instance of the top to the plate so each layer had a little time to cool before the next one printed. At 70%, the stem printed a little rough. If you have the same experience, you might try printing two of it at once as well.
I also experimented in PrusaSlicer with the Elephant Foot Adjustment in the Advanced tab. By reducing it from 0.2 mm to 0.05, the seam between the two laves mostly disappeared.
I've included my STL files, PrusaSlicer 3MF file, and GCODE. The top is available as 1 piece and two. I recommend the 2 piece. It prints a lot smoother and takes less time (almost ½ the time of the 1 piece). They spin about the same. To assemble the top, just sand the flat art of each top a little to reduce the seam and add texture for the glue, then glue together with medium CA.
If you want to print the 1 piece top, I'd suggest doing it inverted with the provided support collar. It goes around the stem and keeps the top from wobbling while it prints. The collar breaks away easily once the print is done if you get it adjusted right for your printer. I tried this technique with another of my tops and it worked OK, but the final print quality was pretty rough on top and it didn't spin better. It also took a lot longer and required more filament. Still, if you want to print the top as one piece, I recommend using the stem and printing just the first 30mm (takes about 45 minutes). While the print is still on the plate, try moving the stem sideways to see if it has give. Then, remove it from the plate and the collar and see if it was too tight. Then, scale the collar up or down as needed (probably no more than 0.5 - 1%).
This is a great design for 2 or 3 color filament, rainbow filament, or adding color changes by swapping filament.
Print Settings
If you don't use my 3MF file, I suggest you set perimeters to 11 (yes, really) and infill to 100%. The tops need the mass to spin well.
Also, print external perimeters first. I couldn't explain why, but they are a lot smoother if you print the outside first.
I added grid supports with an overhang angle of 50 degrees.
Filament
If anyone's curious, I used OVV3D Tri-Colors Red-Yellow-Blue PLA.

Lucky Clover Top Hat Planter – St. Patrick’s Day Decor
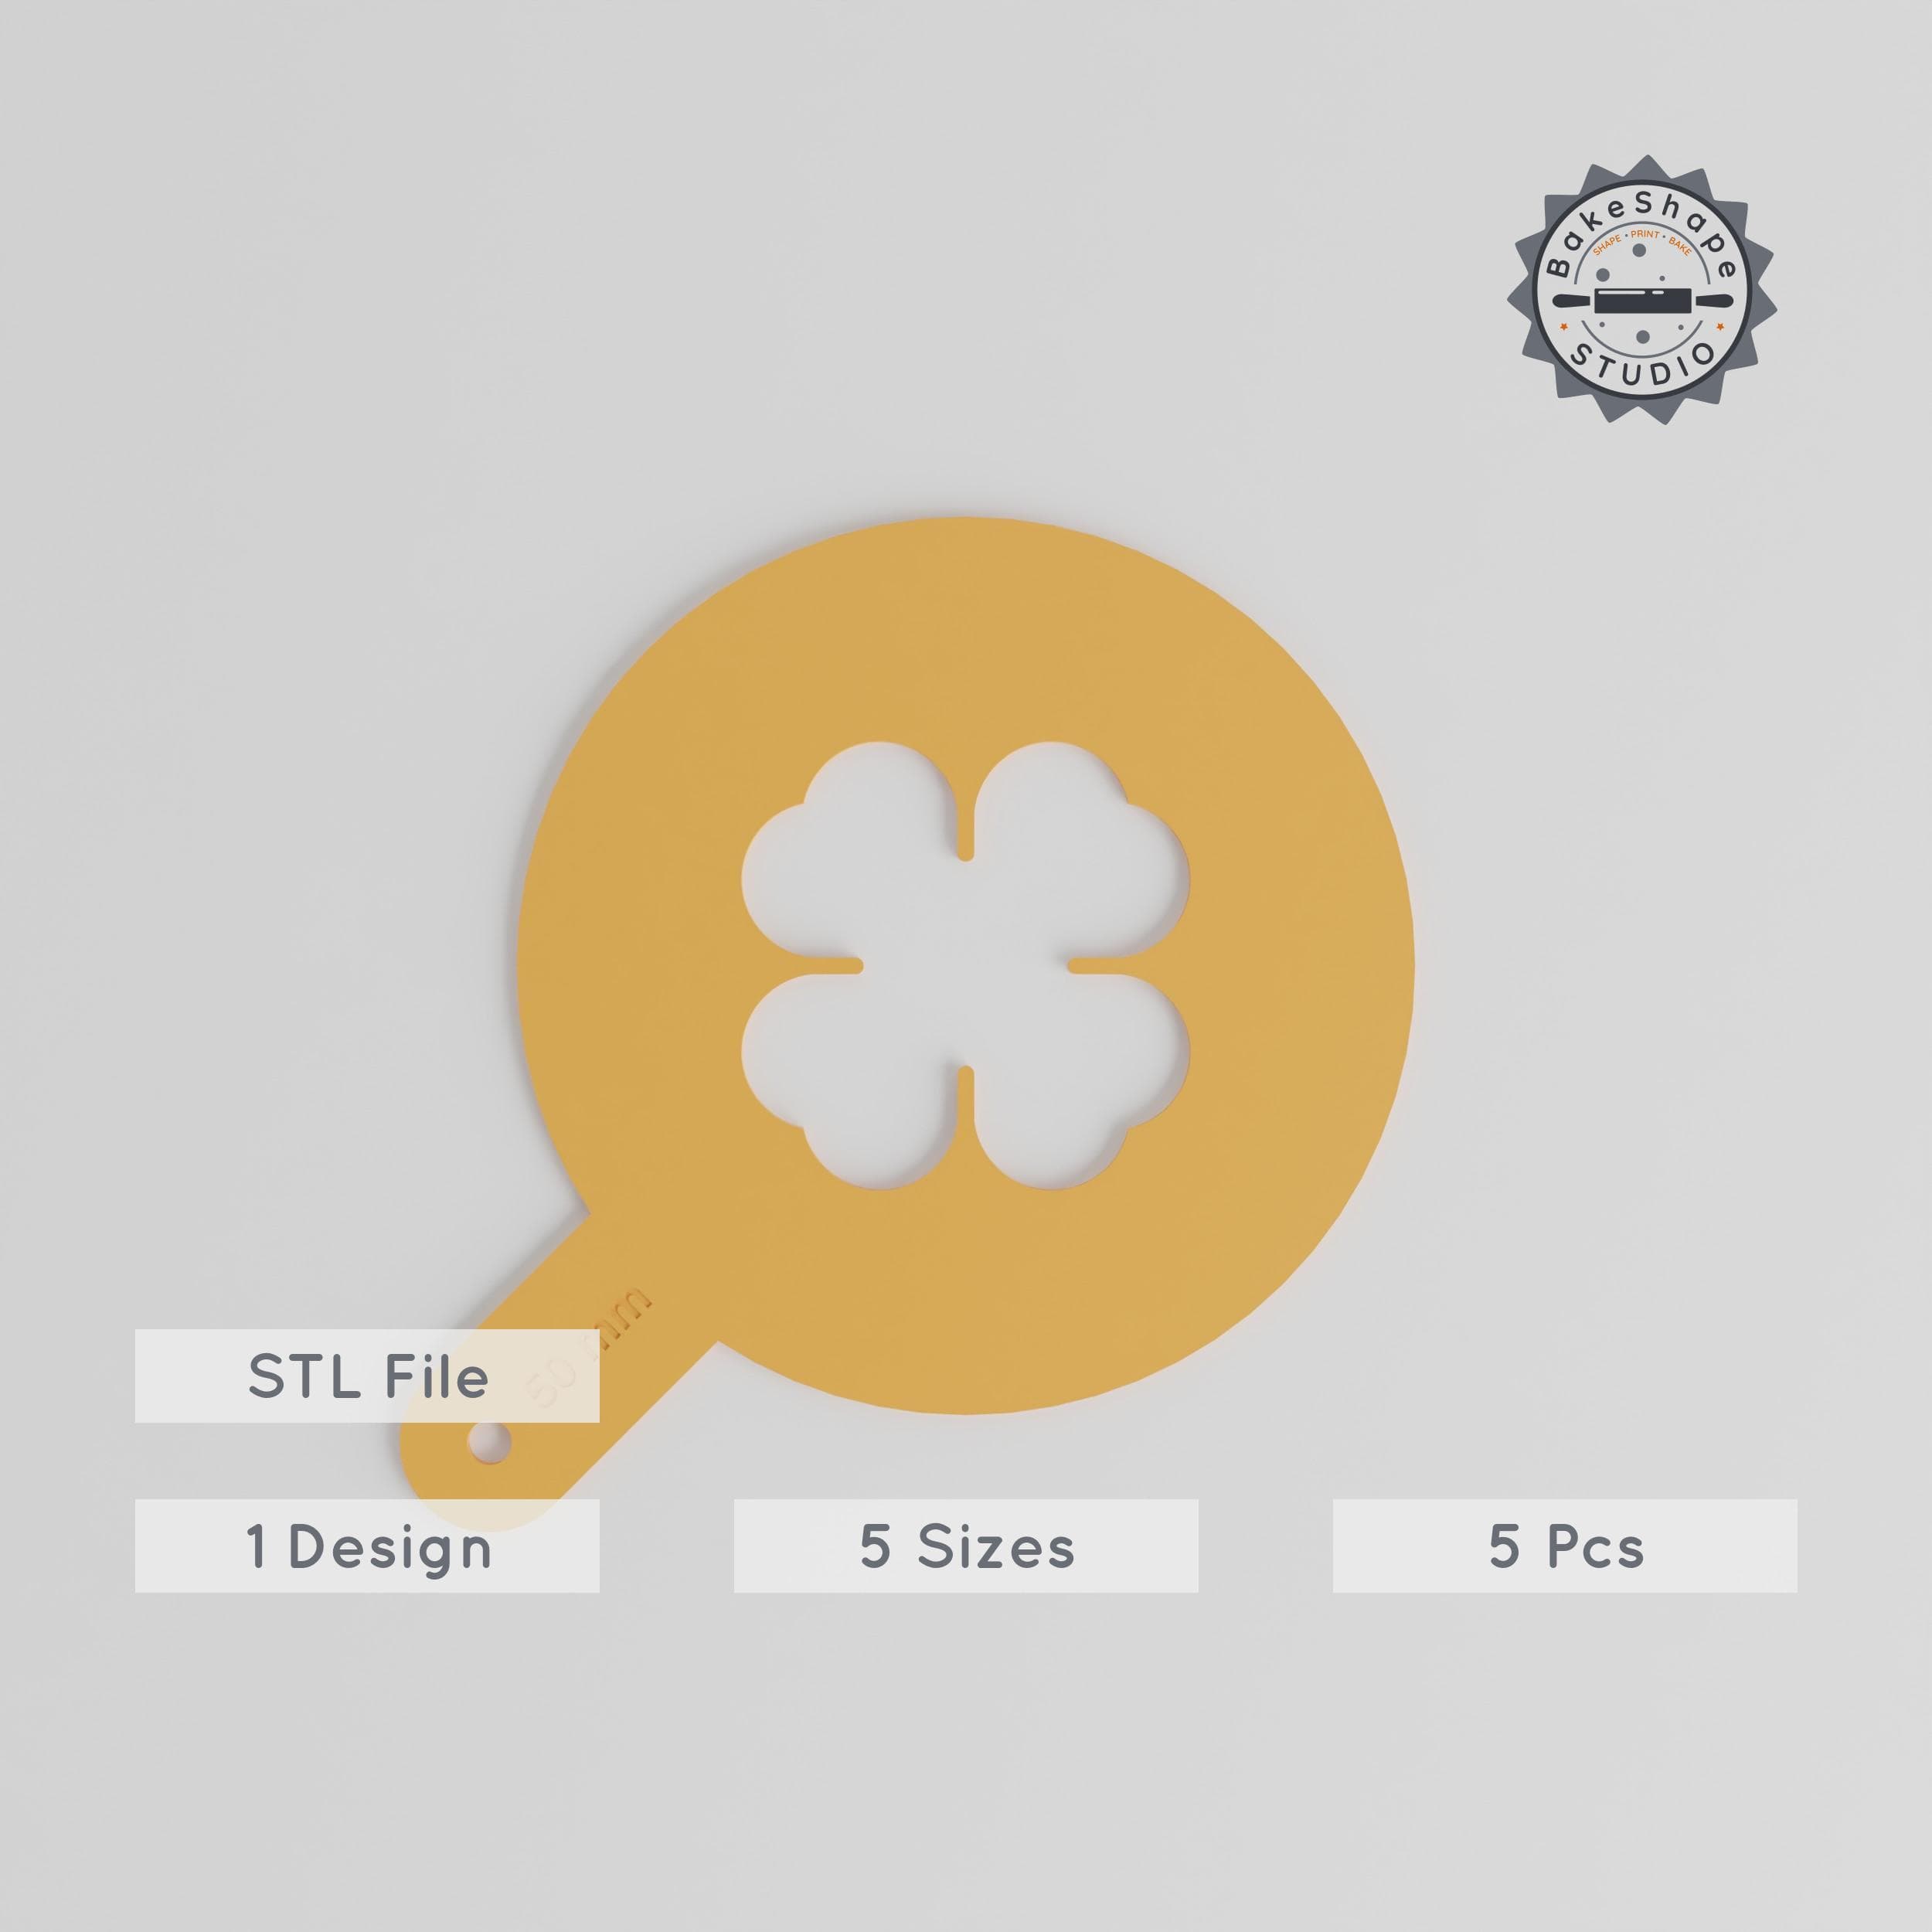
Clover Art Stencil, 5 Size Set, Compatible with Edible Toppings & Paint, Luck Plant Decor for Latte & Painting PRODUCT_1376
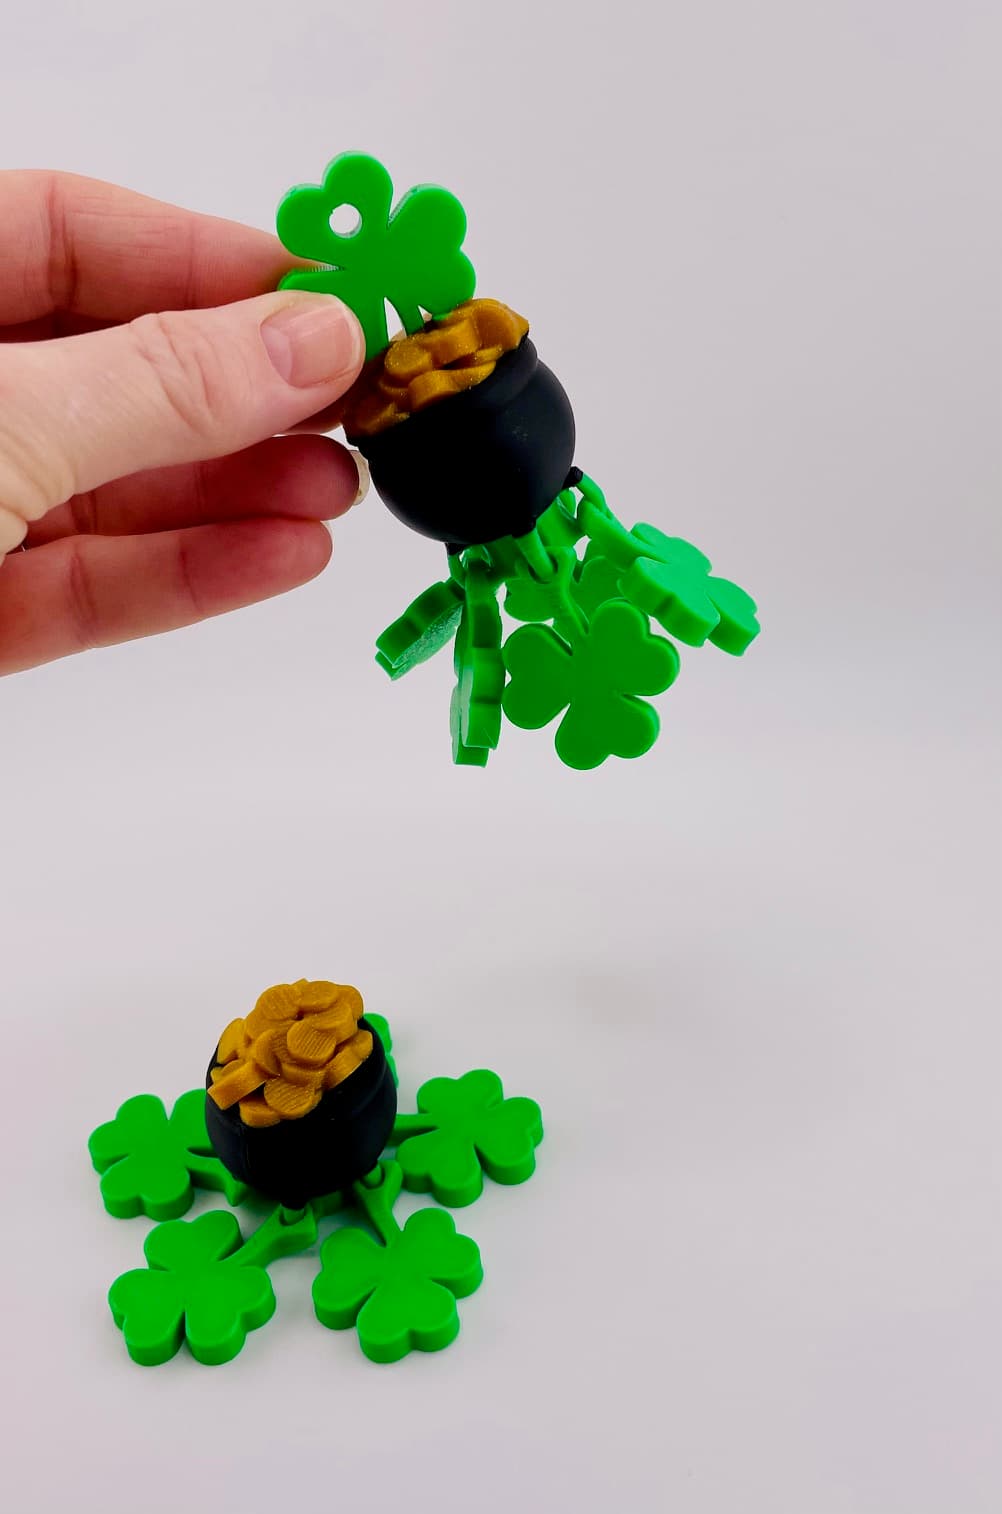
Pot O'Gold Flexi Spinner Fidget & Key Chain
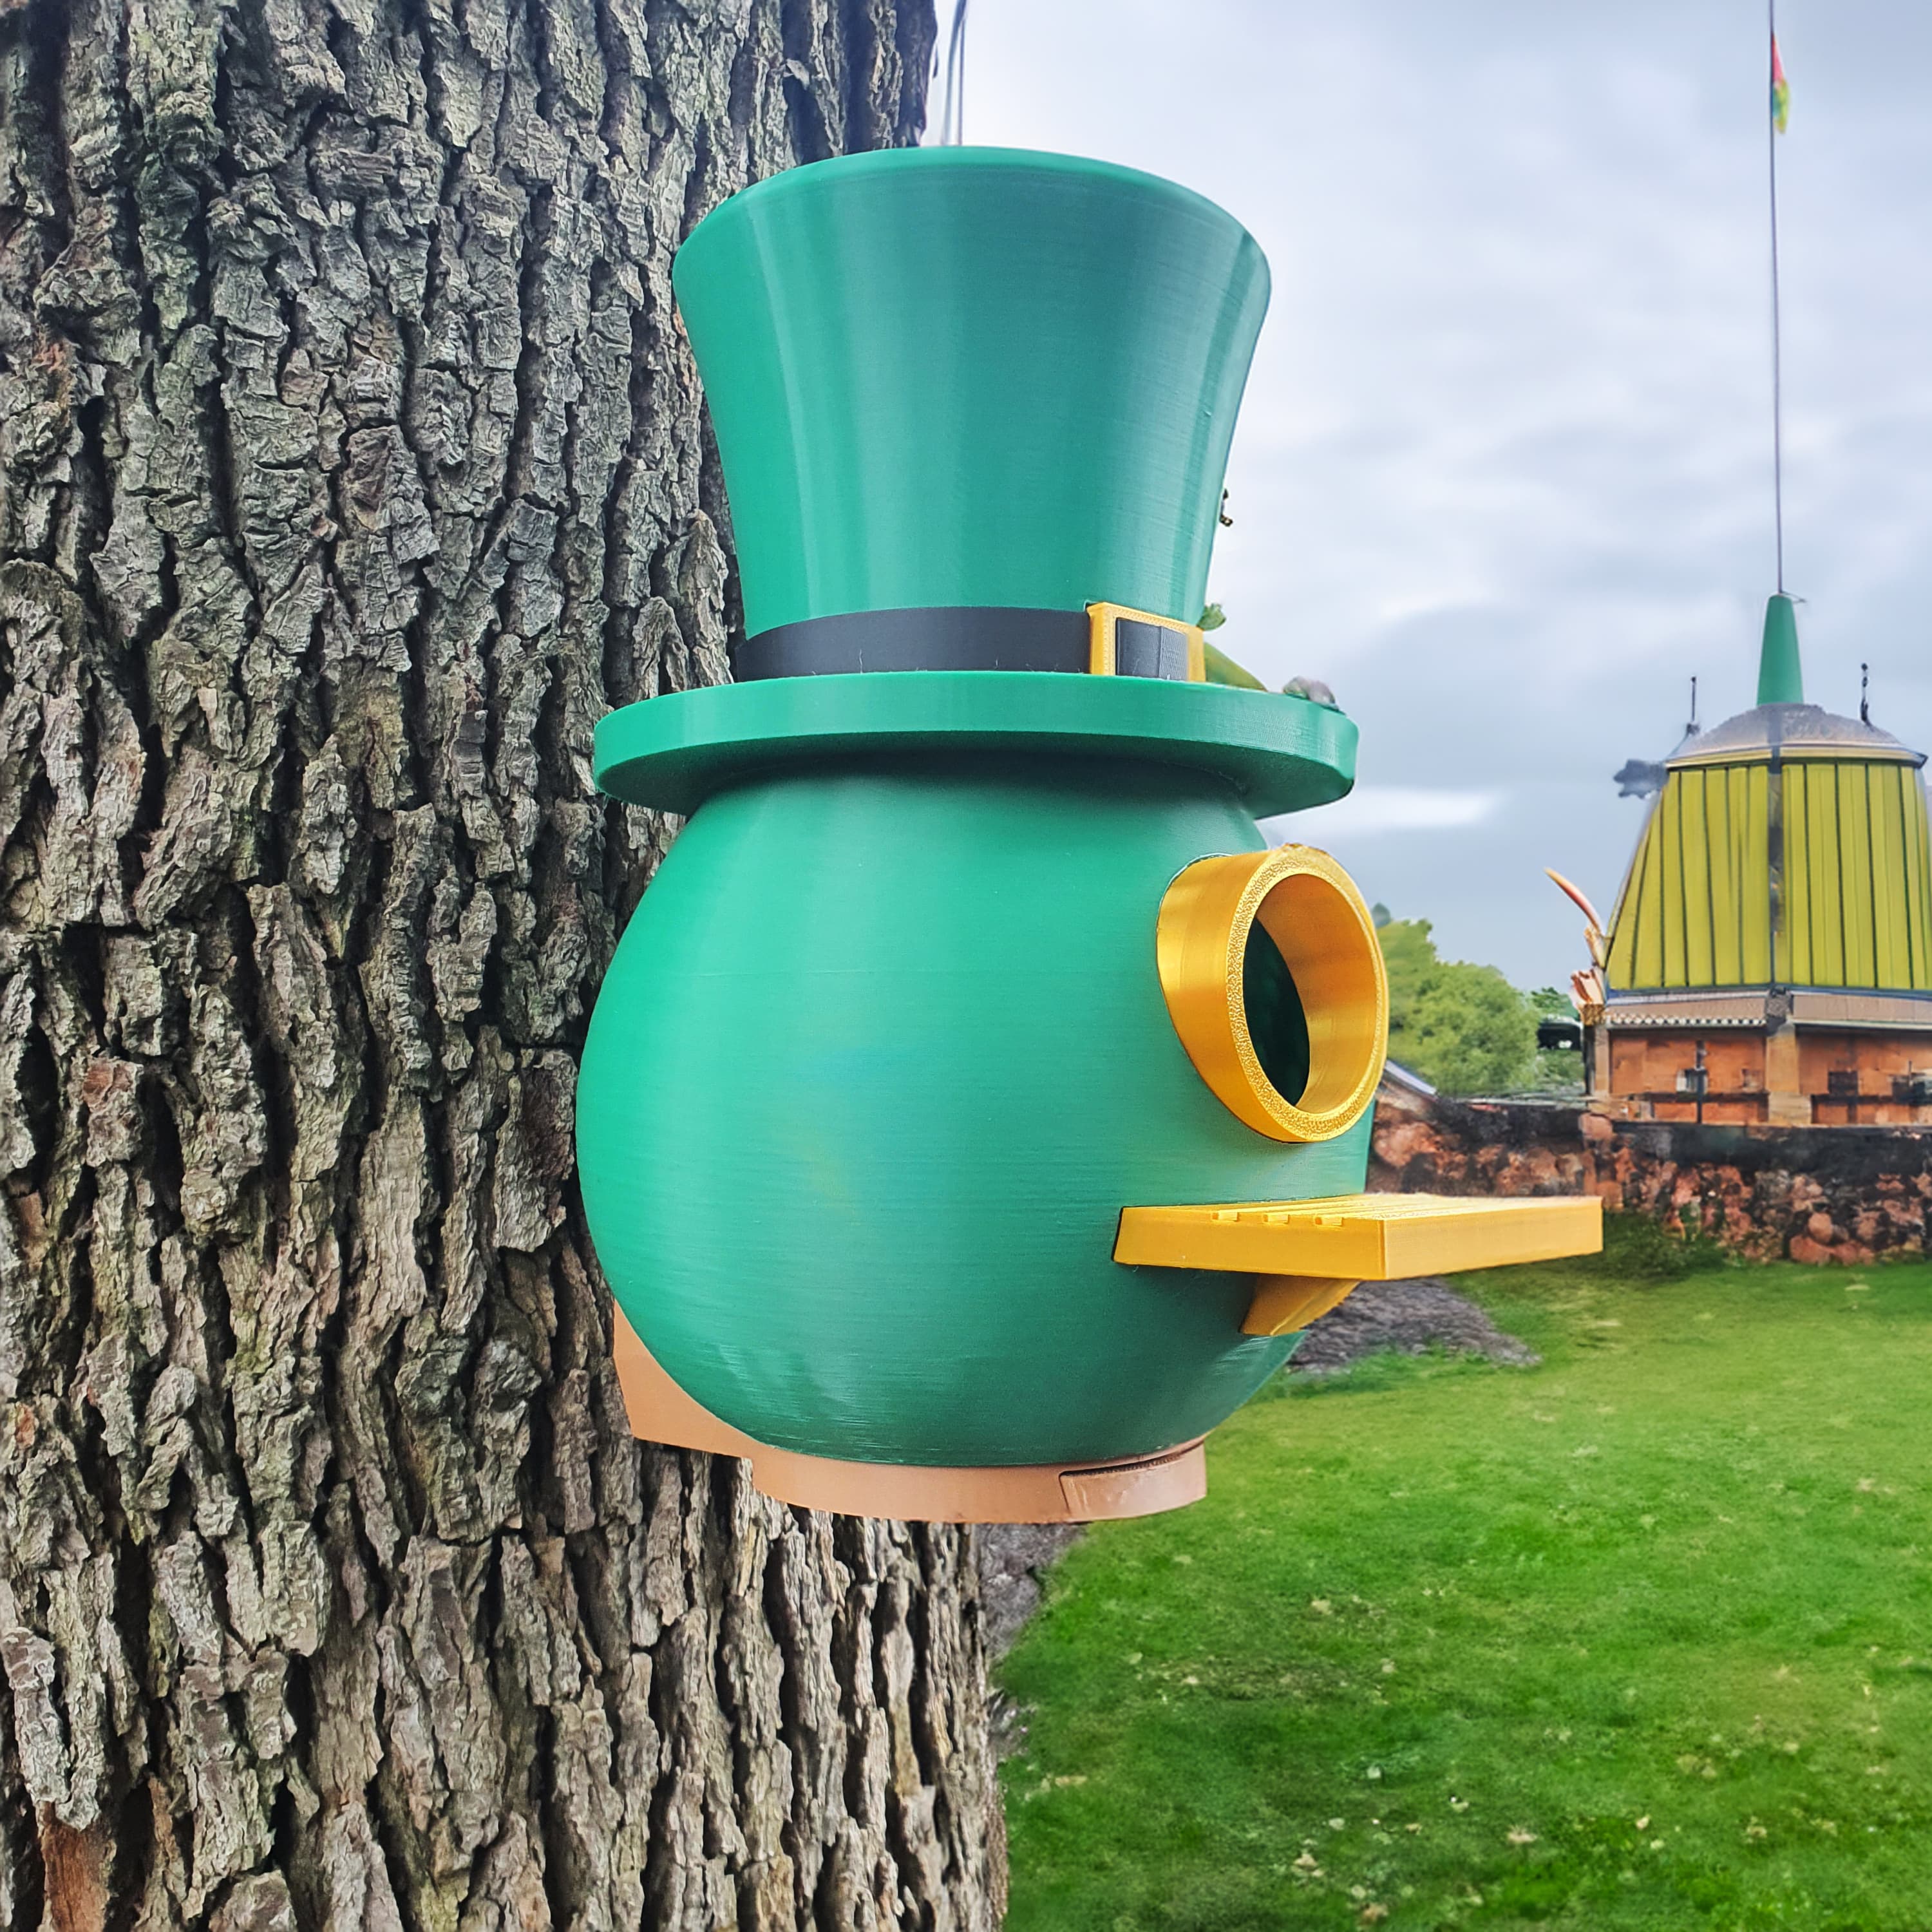
LUCKY TOP HAT BIRD HOUSE
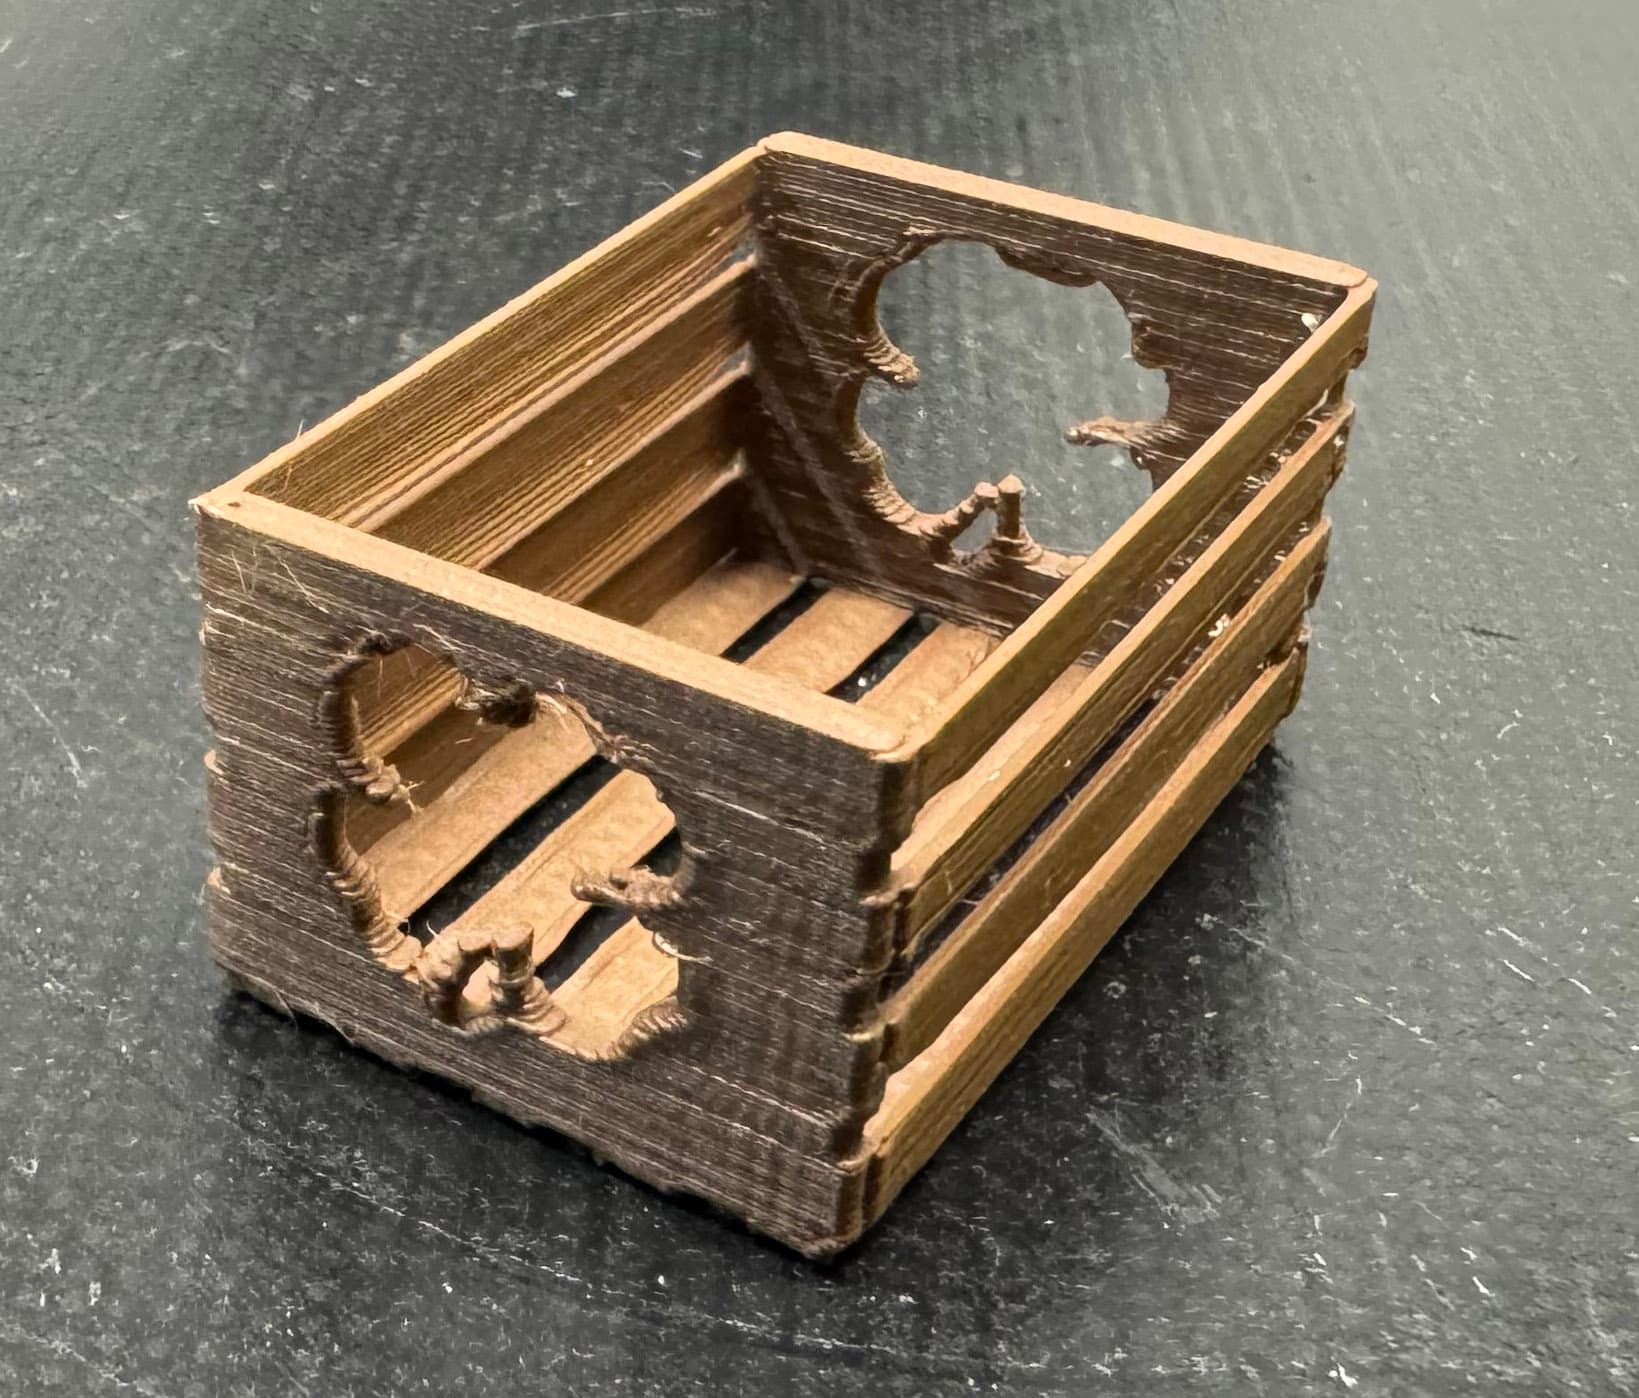
Mini Clover Crate
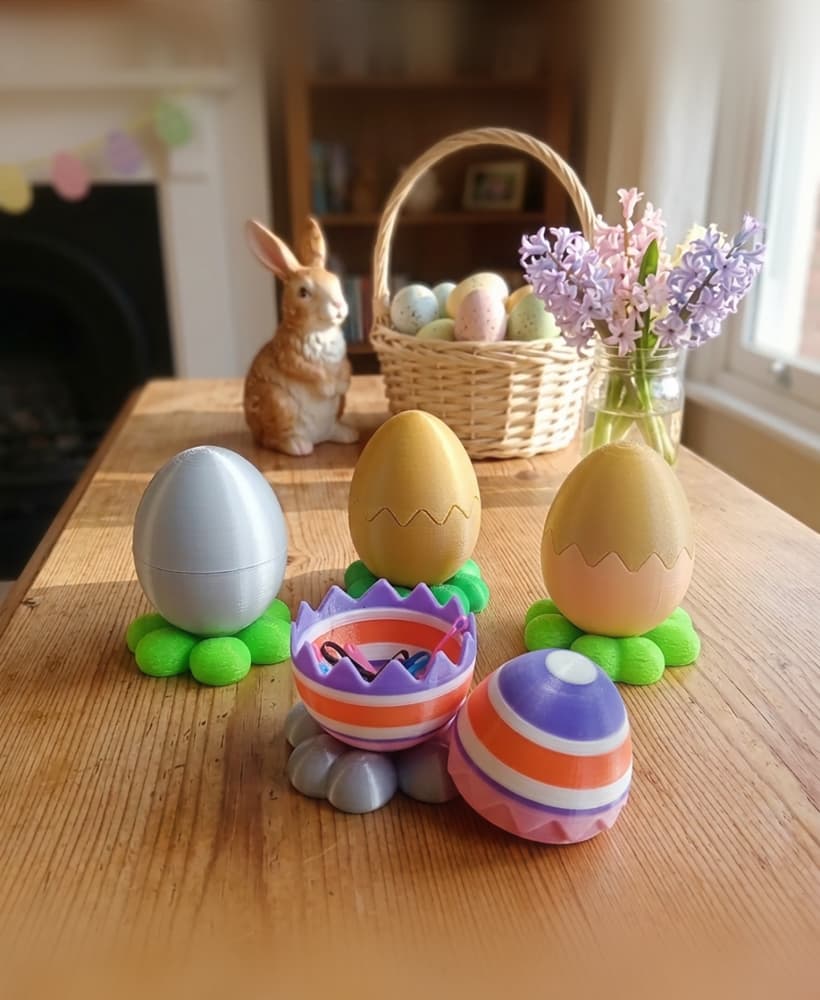
Four Leaf Clover Easter Egg Container

Hats and Horseshoes

St. Patty's Sling Puck Game
.png&w=3840&q=75)
St Patrick's Day Leprechaun's Cauldron Money Box / Multi Parts

Tabletop Shamrock 4.stl

Clover Ornaments
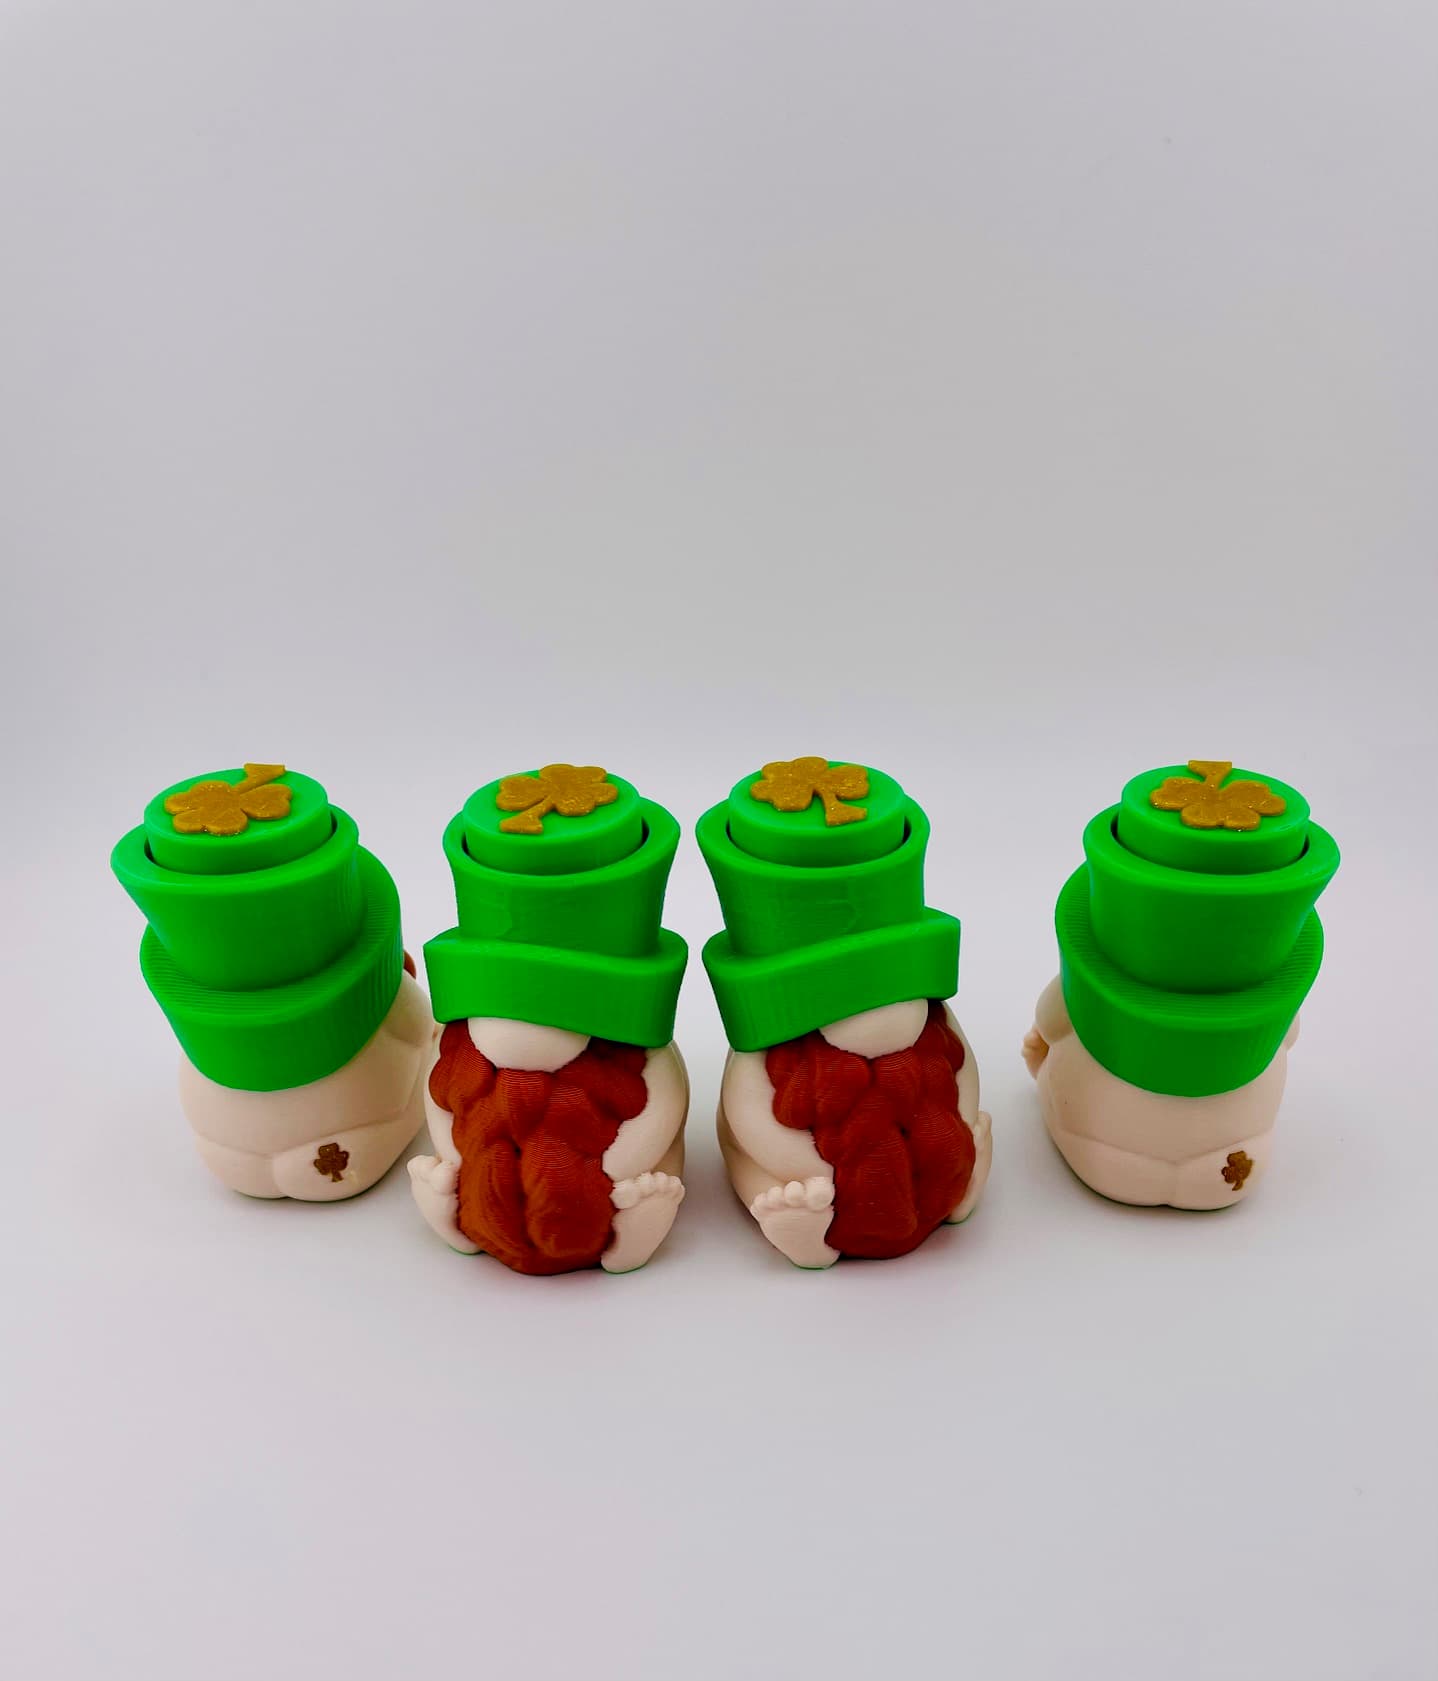
Cheeky Leprechaun Gnome Clicker

Pie Baby Turtle Clickers

The Tatting Toolbox: Riego STL Bundle
.png&w=3840&q=75)
Cute Rabbit Pen Holder STL | Animal Planter 3D Print | Spring Decor

The Tatting Toolbox: The Empress

The Tatting Toolbox: Mignonette

The Tatting Toolbox: Helix

EXCLUSIVE: Lucky Charms Fidget Clicker Keychain Bundle #2
