


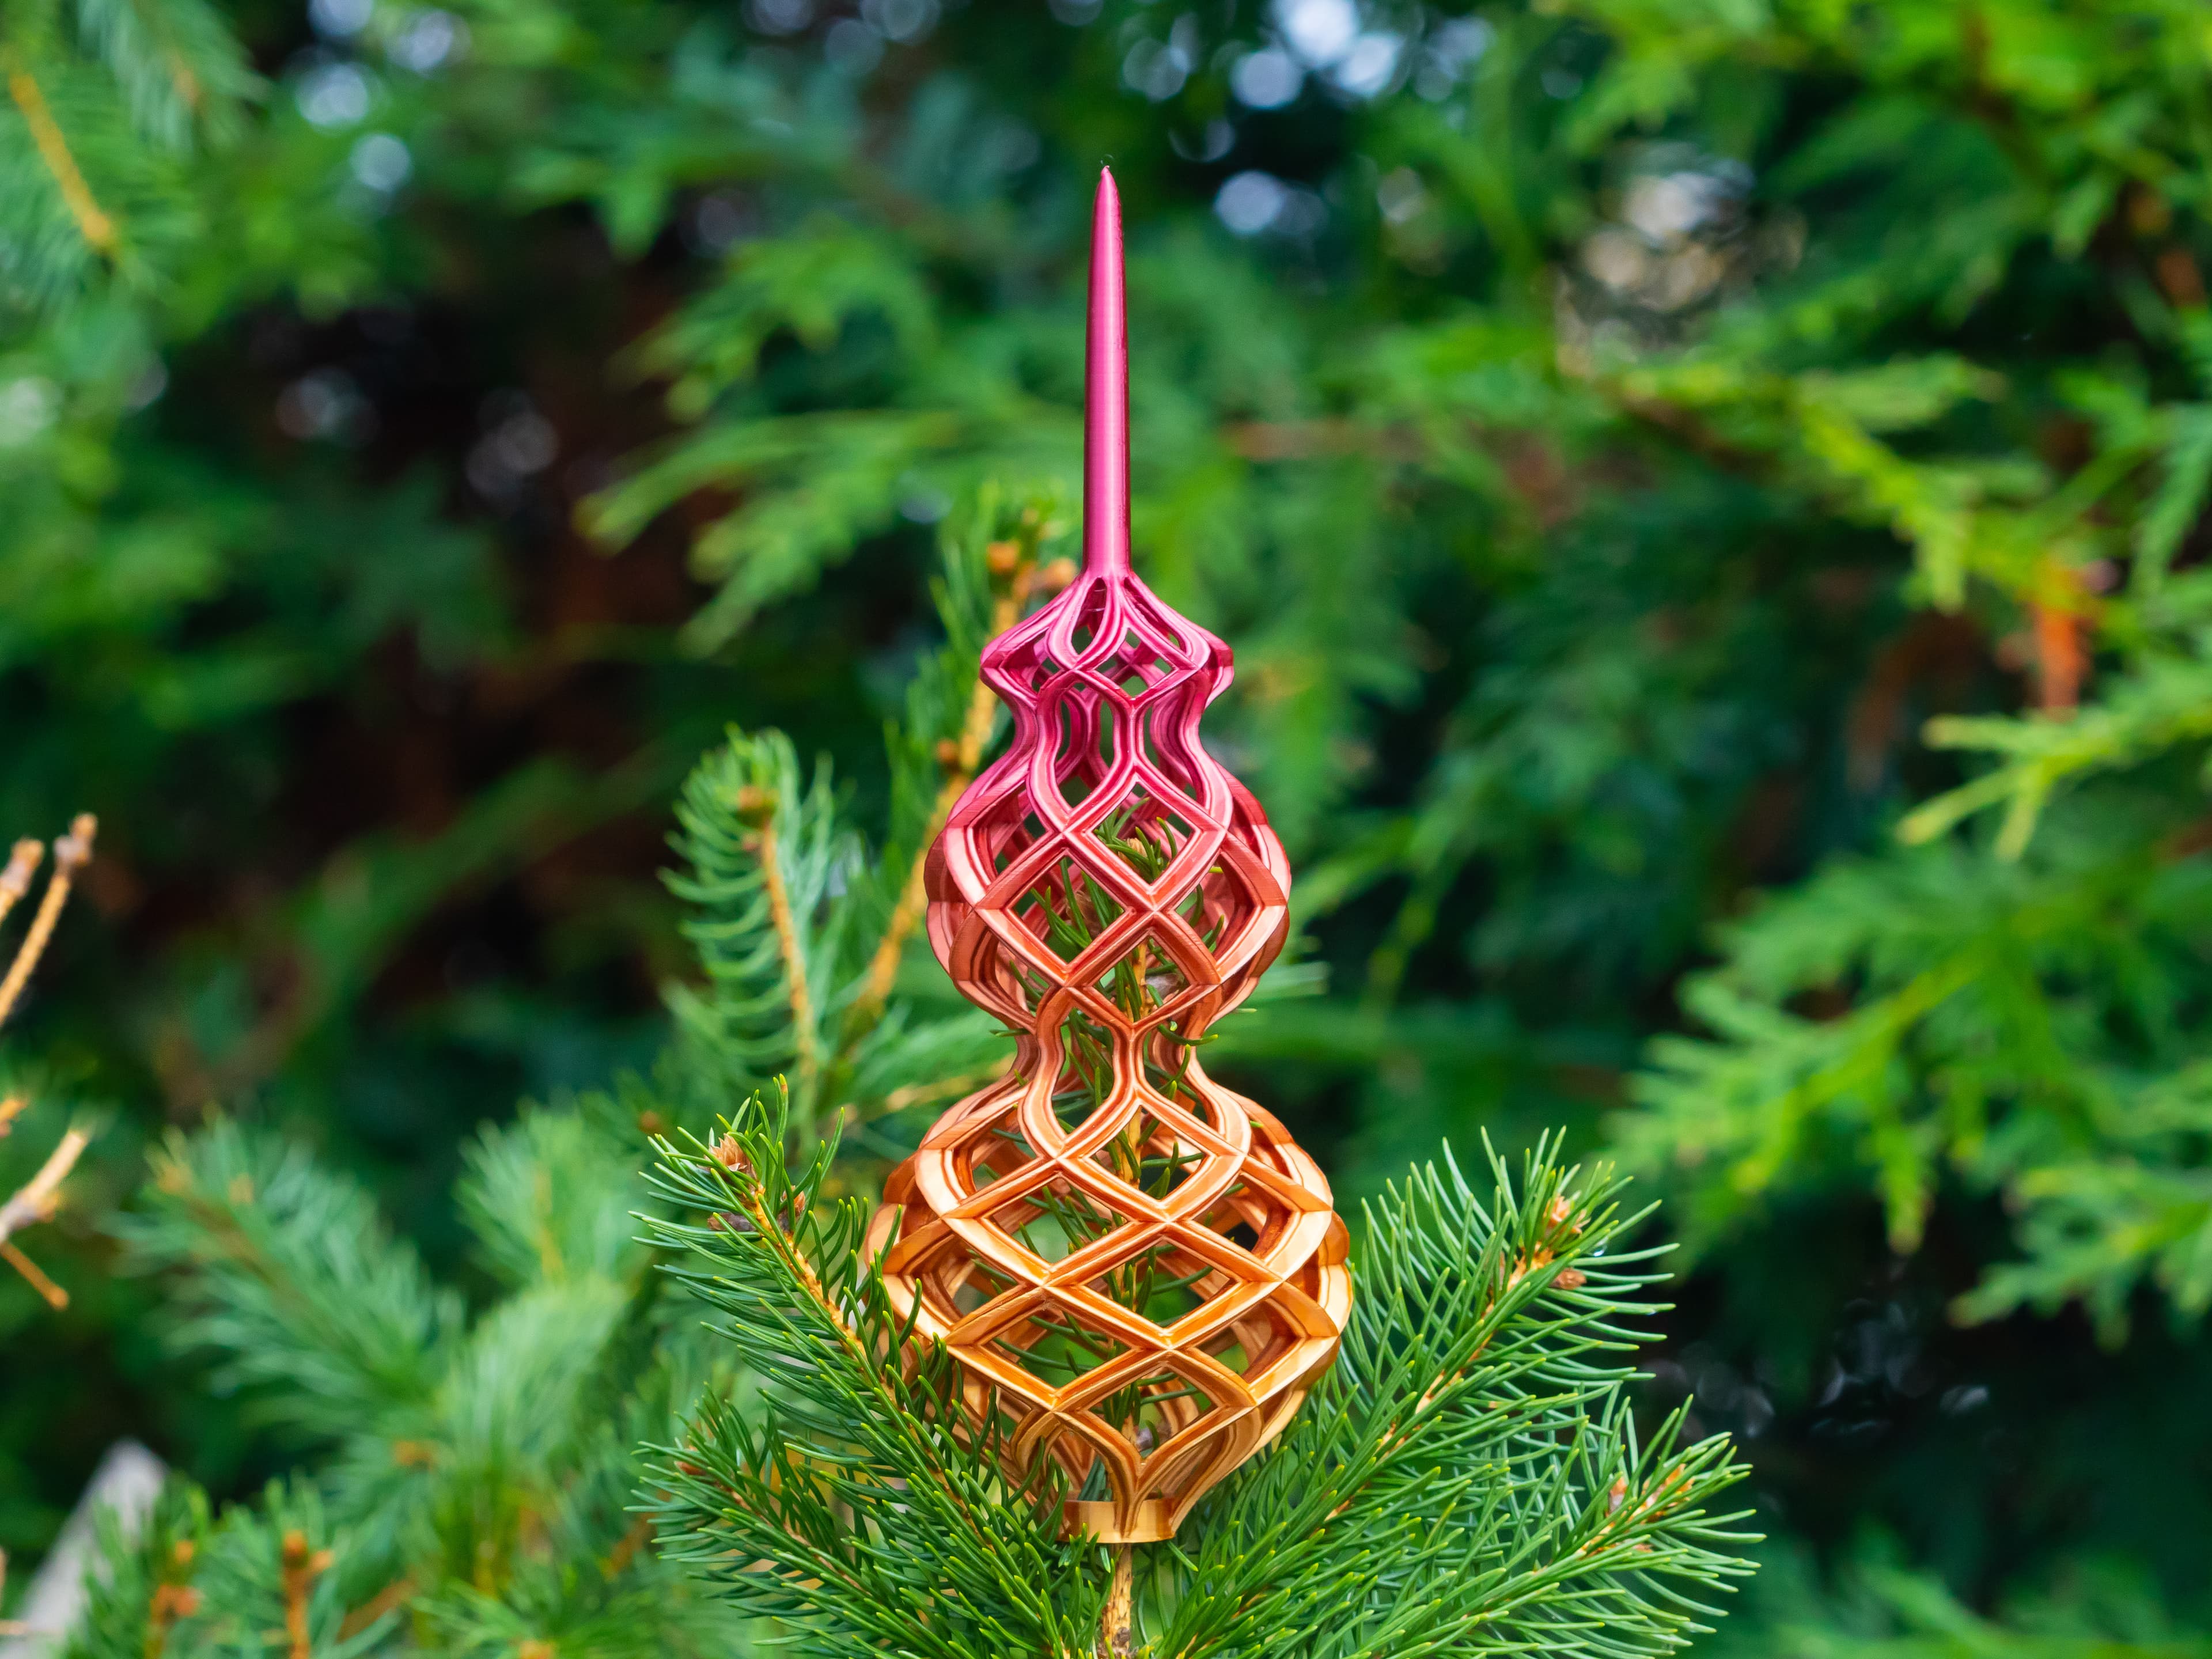
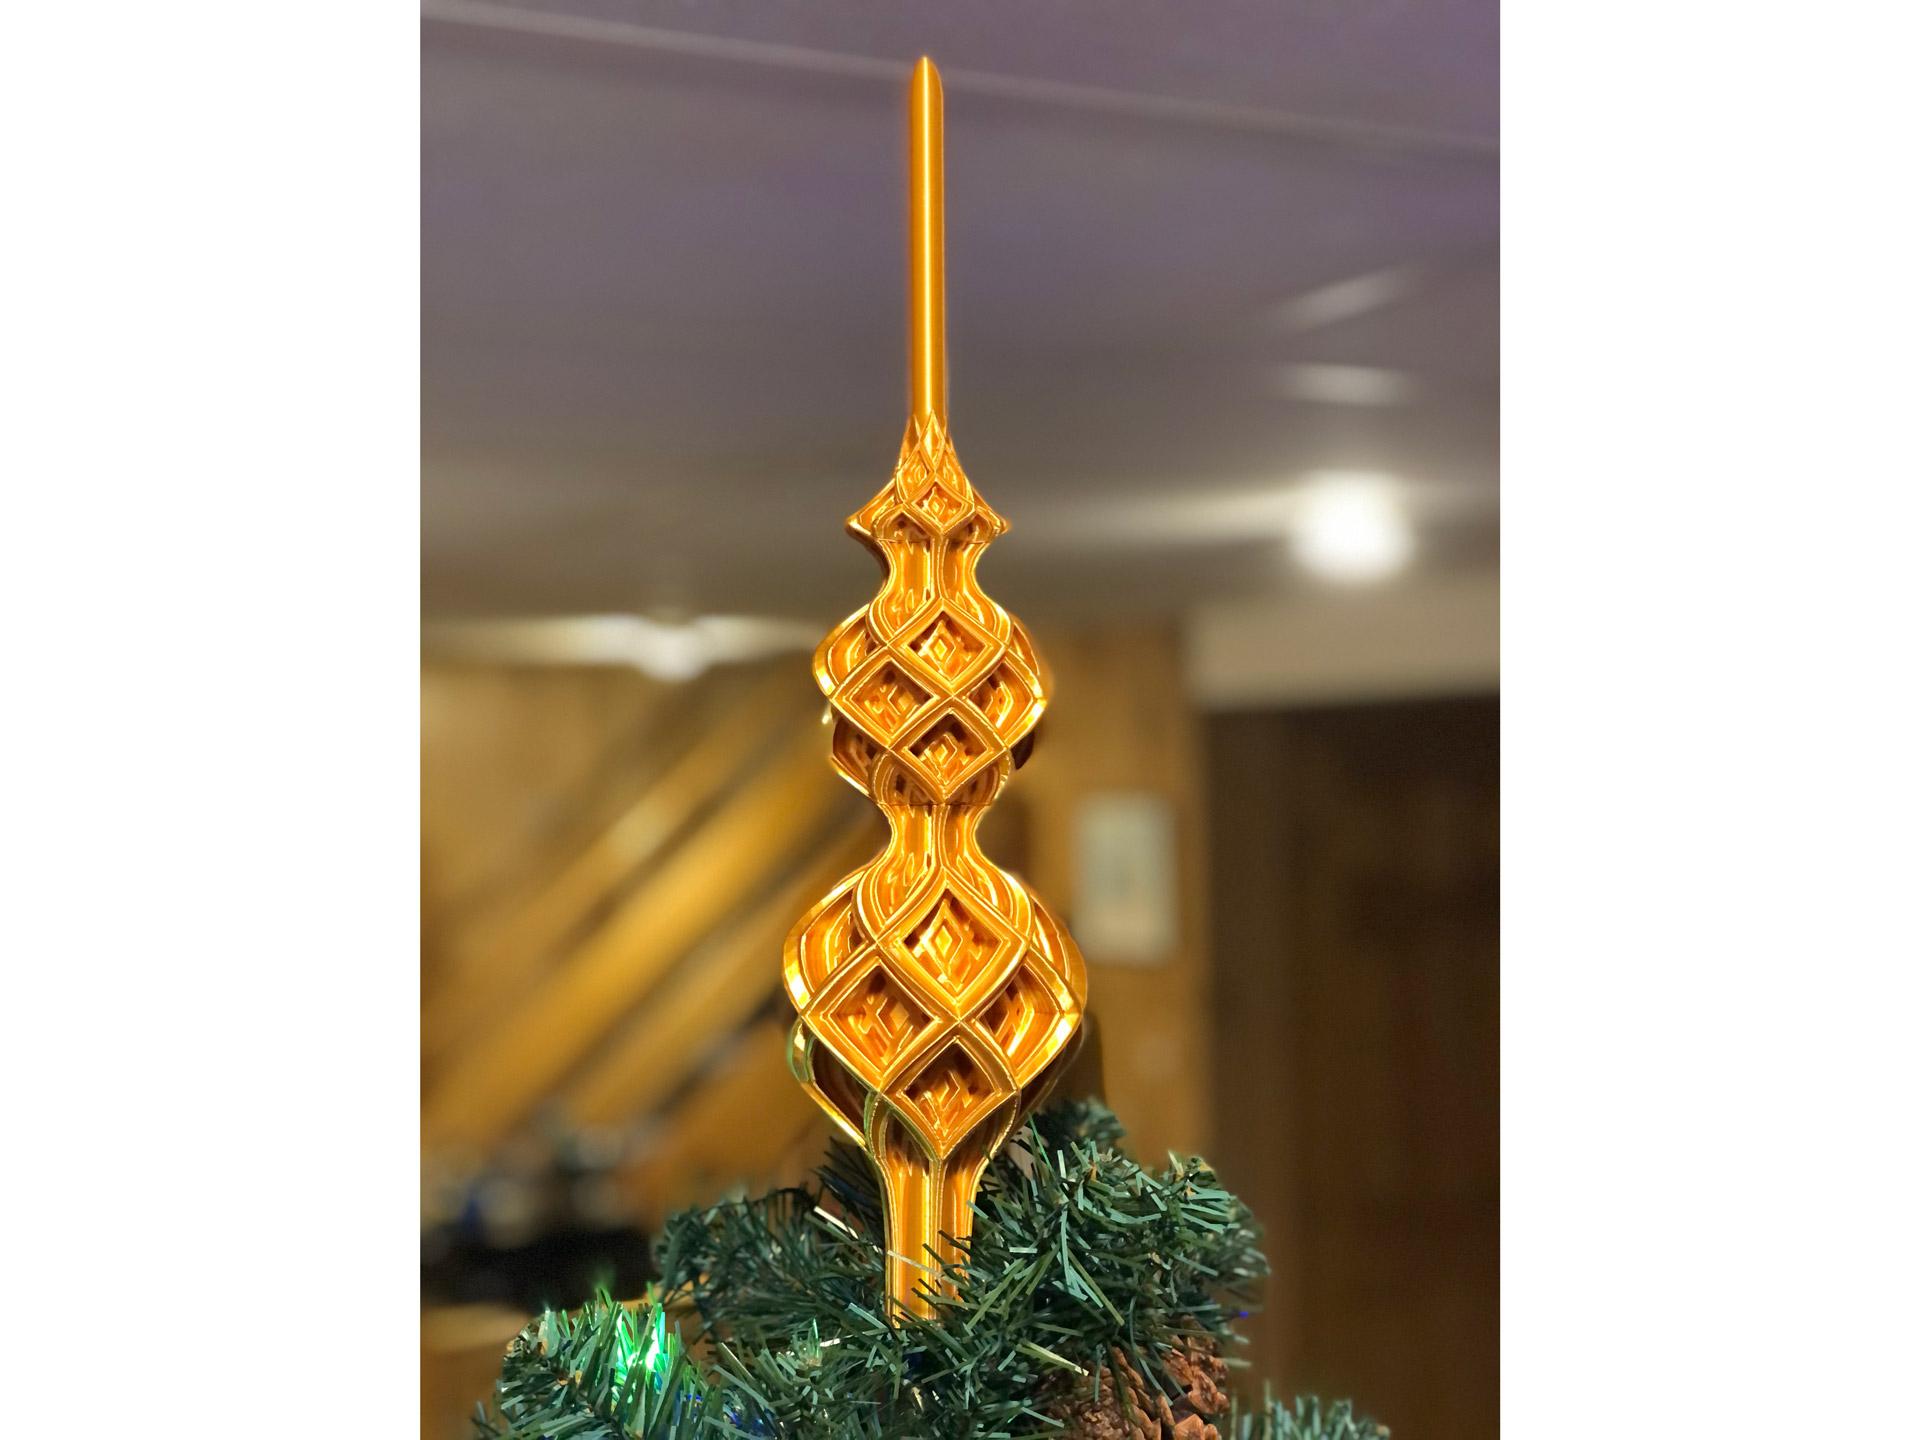
Closed Lattice Christmas Topper
This is a topper for small to medium Christmas trees. It will work well on trees that are anywhere from about 4 feet (1.3 meters) up to 7 feet (2.3 meters) tall.
Not for commercial use. Please see license agreement.
CHALLENGING PRINT If you just got your first 3D printer and are looking for your first thing to print, this isn't it. Using the settings I recommend below, an experienced maker should be able to get a good print without many failed attempts. However, if you are not intimately familiar with the detailed settings in your slicer, add this to your favorites and come back when you have a little more experience. If it's frustrating, it's no fun.
If you're looking for an even bigger challenge, try my Open Lattice Christmas Tree Topper: https://thangs.com/designer/dazus/3d-model/Open%20Lattice%20Christmas%20Topper-472732?manualModelView=true.
COMMON PROBLEMS PRINTING Assuming you use the print settings I recommended below, here are some common problems and possible fixes: Comes off bed: Increase brim/raft size. Reduce print speed. Add more supports. Print looks rough: Reduce print speed.
**PRINT TIME With my settings, it will take 12-15 hours depending on the exact support and build plate adhesion settings you use.
PRINT SETTINGS Thickness
- Layer thickness: .15mm
- Wall thickness: 0.4mm and choose the “alternate extra wall” option so it alternates between 0.4 and 0.8mm walls with each layer (if you're using Cura – other slicers may not have this option). The alternate extra wall seems to prevent gaps in the print while minimizing the overall weight of the ornament.
- Top/bottom thickness: 0.3mm
Infill This doesn't need any infill. Seriously.
Speed You'll want to use slow printer settings to that the print is accurate and to reduce the pull on the thin arms of the topper.
- Overall: 60mm/s
- Outer wall: 20mm/s
- Inner wall: 40mm/s
- Travel Speed: 65mm/sec
Build Plate Adhesion You'll need to use either a brim or a raft. The base of the ornament is a thin, narrow circle. It just won't stay attached to the bed without a little help. I'd use an 8mm brim 8mm or a 15-20mm raft.
Supports There's no question this needs supports. It's not to handle overhangs. It's just to keep the model firmly steady as it prints. Without supports, it will be ripped right off the plate - probably after it's printed 75% or more.
I've successfully printed this model using both standard slicer-generated supports and using more elegant supports generated using the "Custom Supports Cylinder" plug-in for Cura. The custom supports are much better. They only touch the model in 8 small places, so they leave no marks and release in about 5 minutes. It took me about half an hour to clean up the print I printed using standard supports. If your supports don't release cleanly from your model, clean-up will take much longer.
Within the Custom Supports Cylinder plug-in, there's a "freeshape" option that has a star-shaped icon. Within it, there's a drop-don with 2 good options for this model: Custom and Arch-Buttress. Arch-Buttress sounds like what you want, but the Custom option is a lot sturdier. Go with it. Afte radding each support, select it and scale the width to 150%. I made the support walls 2 lines thick and added 8% infill using the Gyro option. Attach the supports at a peak on each side at the middle of the larger bulbs (see screenshots). Add two supports to each of the 4 sides so they make contact with the model in a total of 8 points.
If you use the Arch-Buttress supports, you may need more infill and they will still be weaker and more prone to failure during printing.
If your slicer doesn't have an option for something similar to custom supports, use these settings:
- Overhang angle: 52 degrees
- Support wall line count: 2
- Support pattern: Grid
- Support density: 12%
- Support placement: touching buildplate
Add a support blocker to the center of the model to prevent supports from being added to the central shaft. There's no need for the supports there. It'll only add time to the print while giving you even more supports to remove when the print is finished.
Closed Lattice Christmas Topper

Lattice Christmas Stretch Ornament 2024

Open Lattice Flare Christmas Topper 2024
Open Lattice Christmas Topper
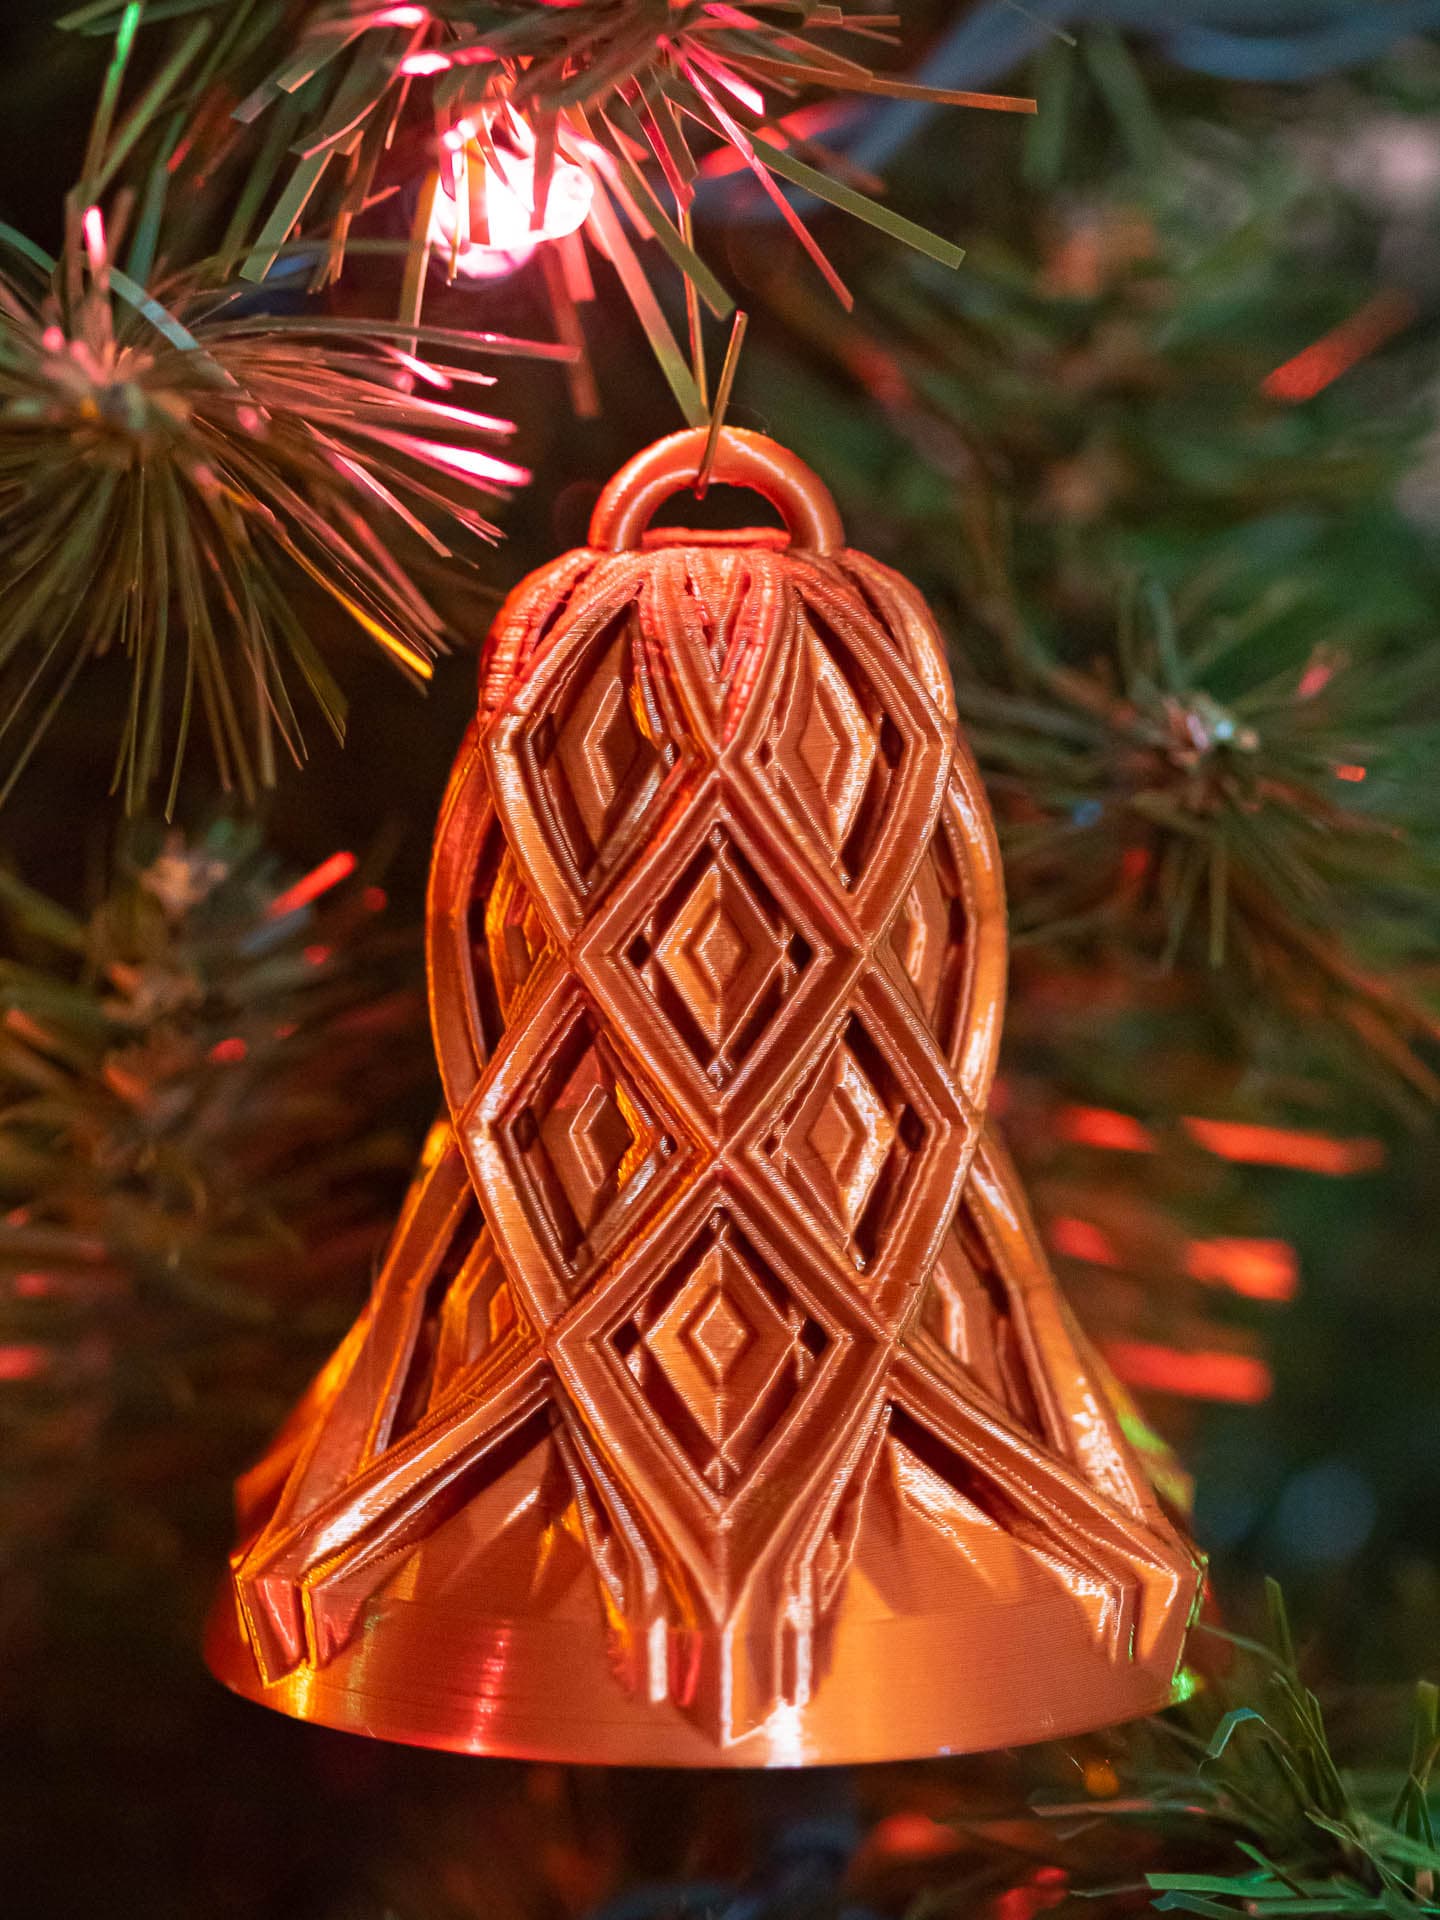
Closed Lattice Christmas Bell

Christmas Straw Topper, Christmas Tree, 10mm, Holiday Straw, Christmas Decors, Gift for Christmas
Large Lattice Christmas Tree Topper

Lantern Christmas Tree Topper 2024

Christmas Tree topper

Flare Christmas Tree Topper 2024

Cake Topper Merry Christmas Decoration Reindeer

Swoop 3 Christmas Tree Topper 2024

Rocket League Platinum Christmas Tree Topper

Double Lattice Christmas Bulb 2024

Spiral Christmas Tree Topper 2024

Lattice Christmas Bulb 2024

TWINKLES Christmas tree topper
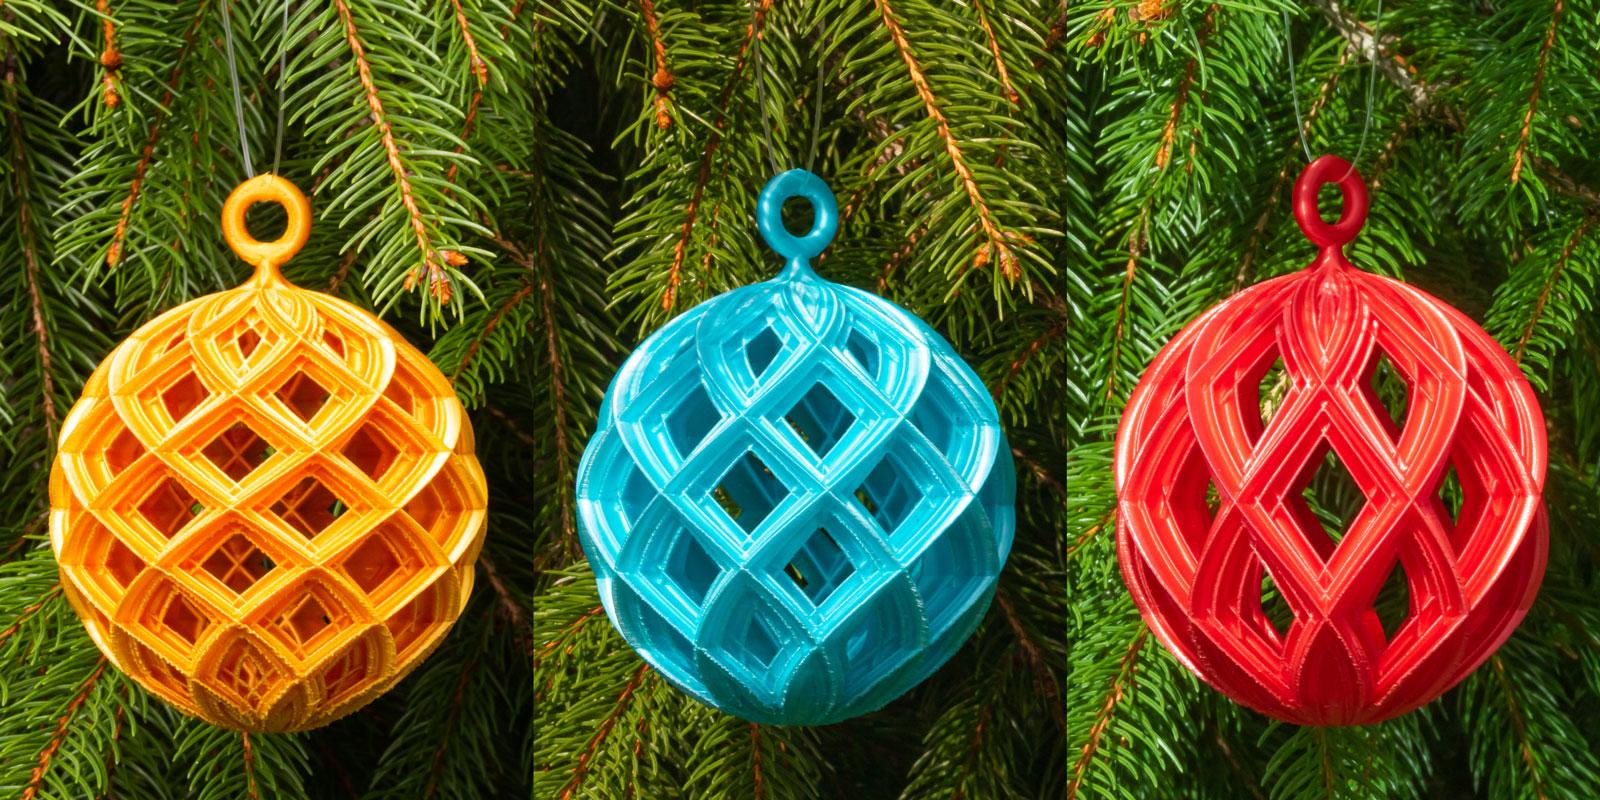
Lattice Christmas Balls 2021 (Set of 3)

Cathedral Christmas Tree Topper 2024

Swoop 14 Christmas Tree Topper 2024
