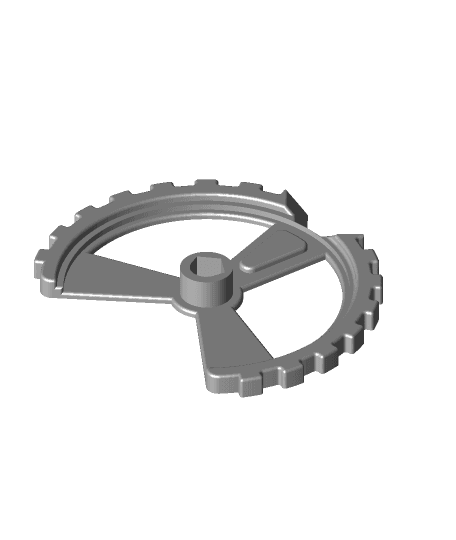
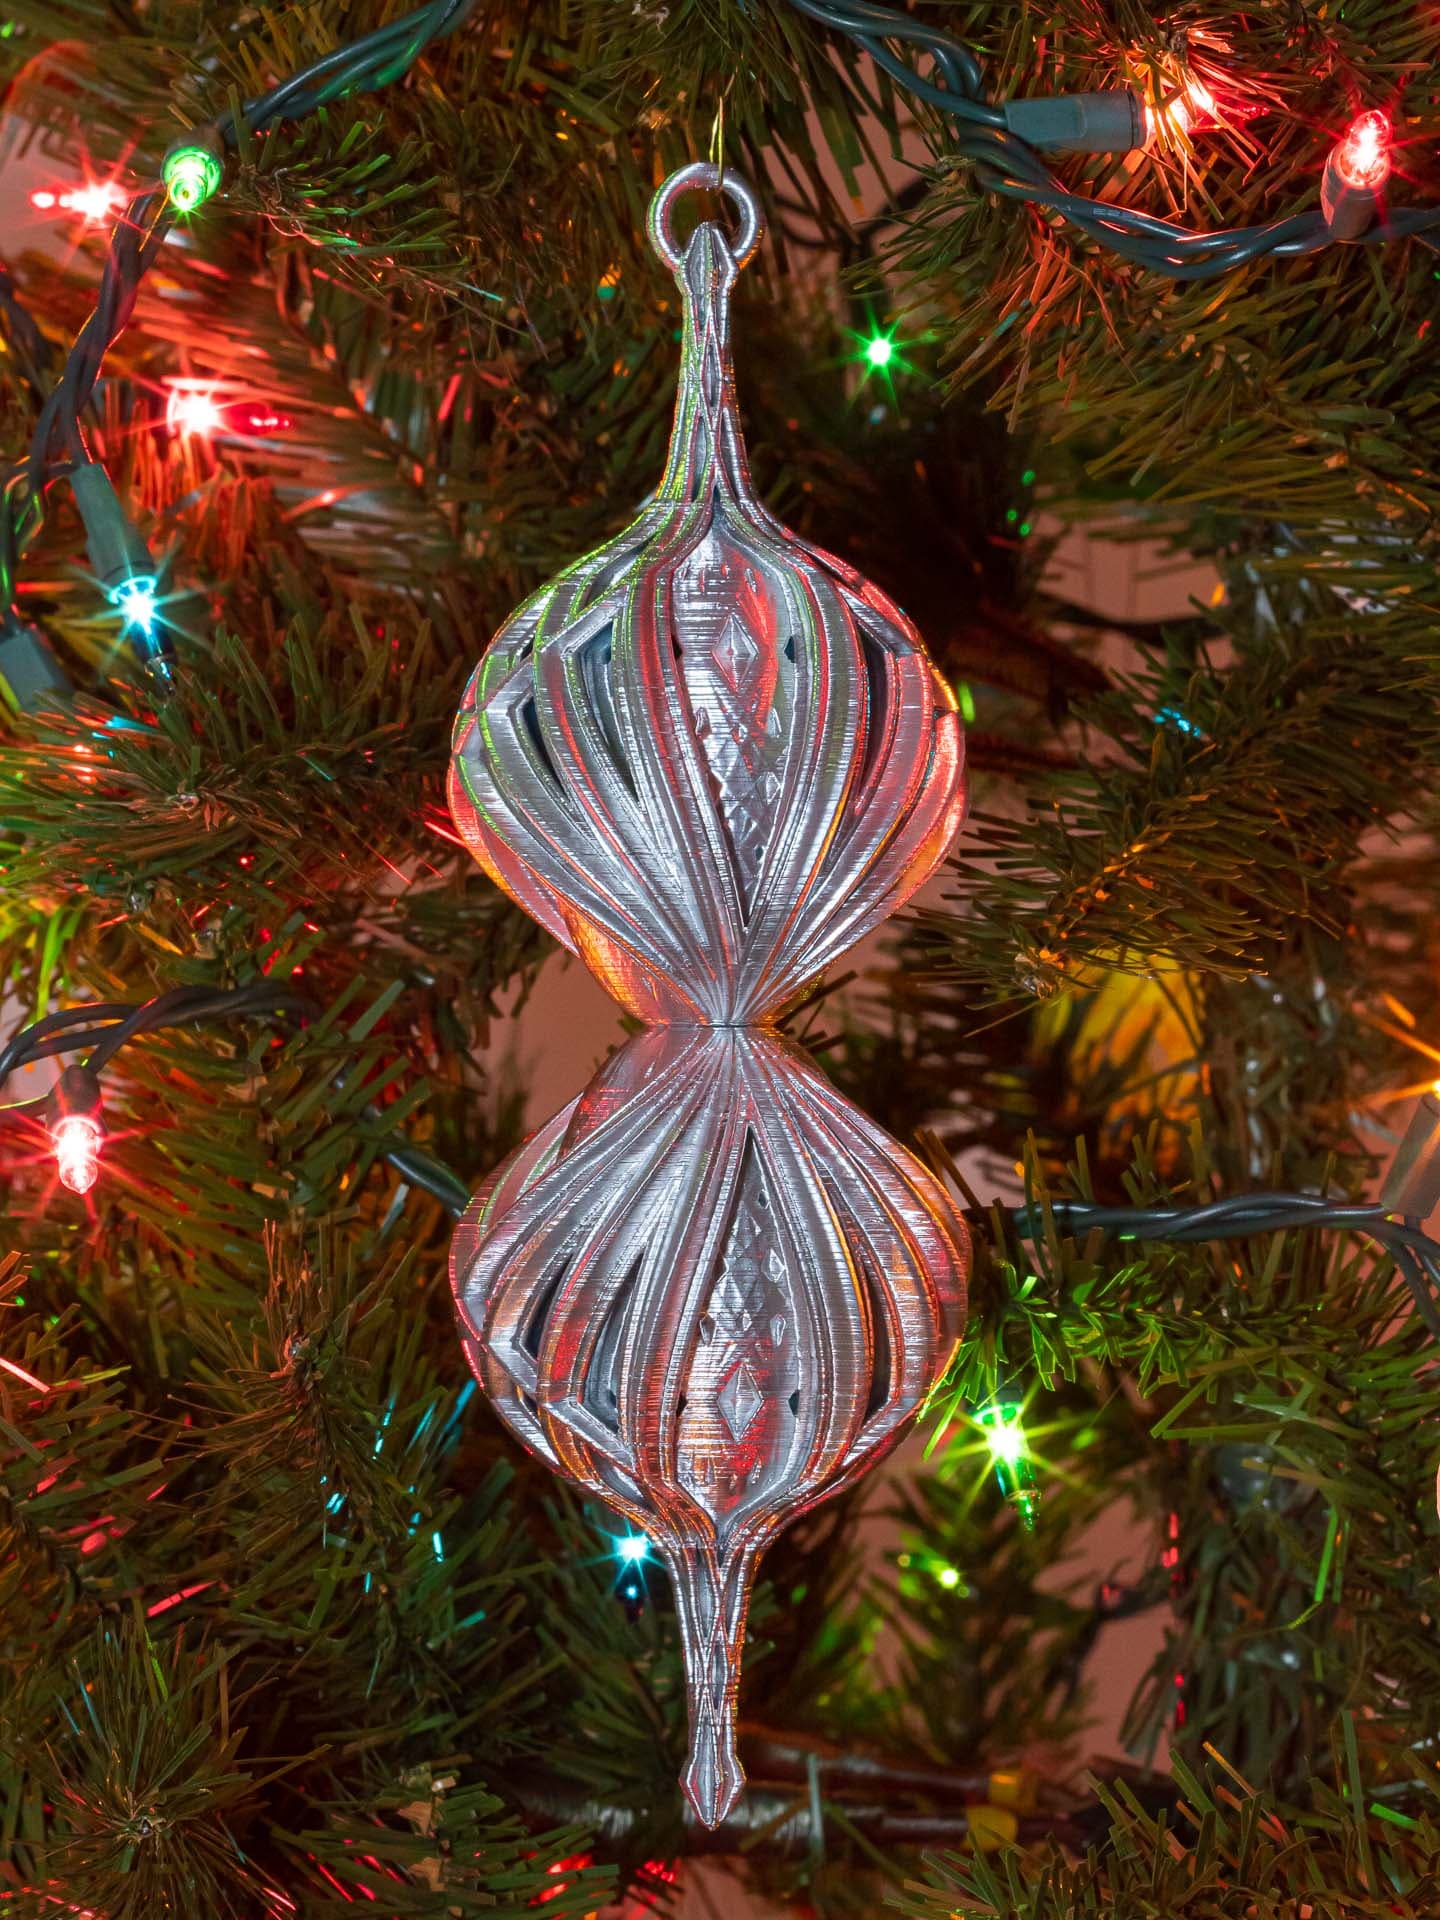
Bilaterally Symmetrical Top
What does the title of this mean? Bilateral symmetry is where a pattern repeats left to right, but not radially. So, this top looks very different staring down the X axis than staring down the Y axis. Even so, it is very stable and spins smoothly. It looks great still or in motion. The openings form patterns that change based on the viewing angle and the speed it's spinning.
Not for commercial use. Please see license agreement.
Want to show off your top? Download my Display Stand for Tops. It prints in as little as 10 minutes!
I've included my STL files, and PrusaSlicer 3MF file. The top is available as 1 piece and two. I recommend the 2 piece. It prints a lot smoother and takes less time (almost ½ the time of the 1 piece). They spin about the same. To assemble the top, just sand the flat art of each top a little to reduce the seam and add texture for the glue, then glue together with medium CA.
You can assemble the top so that the large holes in the top and bottom align or so they are 90 degrees off. It may work if you just glue it any old way, but I haven't tried it. In any case, but aligned and alternating patterns spin very well. I've included 1 piece STLs for both.
If you want to print the 1 piece top, I'd suggest doing it inverted with the provided support collar. It goes around the stem and keeps the top from wobbling while it prints. The collar breaks away easily once the print is done if you get it adjusted right for your printer. I tried this technique with another of my tops and it worked OK, but the final print quality was pretty rough on top and it didn't spin better. It also took a lot longer and required more filament. Still, if you want to print the top as one piece, I recommend using the stem and printing just the first 30mm (takes about 45 minute). While the print is still on the plate, try moving the stem sideways to see if it has give. Then, remove it from the plate and the collar and see if it was too tight. Then, scale the collar up or down as needed (probably no more than 0.5 - 1%).
This is a great design for 2 or 3 color filament, rainbow filament, or adding color changes by swapping filament.
Print Settings
If you don't use my 3MF file, I suggest you set perimeters to 11 (yes, really) and infill to 100%. The tops need the mass to spin well.
Also, print external perimeters first. I couldn't explain why, but they are a lot smoother if you print the outside first.
I added grid supports with an overhang angle of 50 degrees.
Filament
If anyone's curious, I used MatterHackers Quantum Blue Yellow.
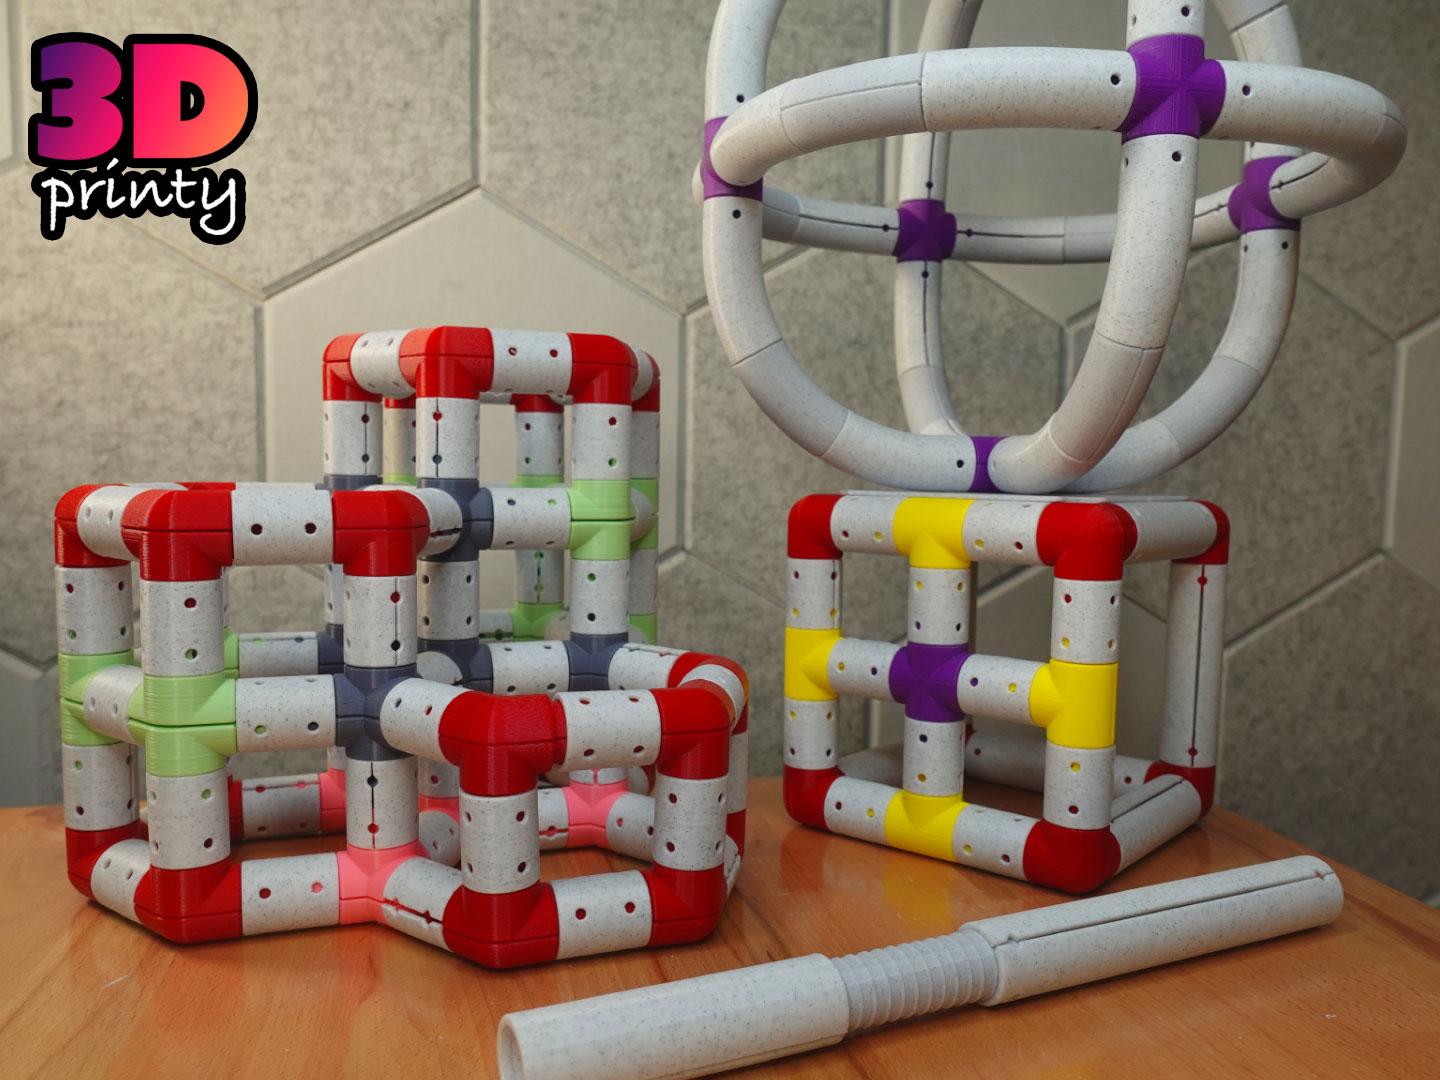
Printy Pipes Construction Toy - Updated

Aizawa Strange Attractor Sculpture

Biomorphic Headphone Stands

Hourglass sculpture
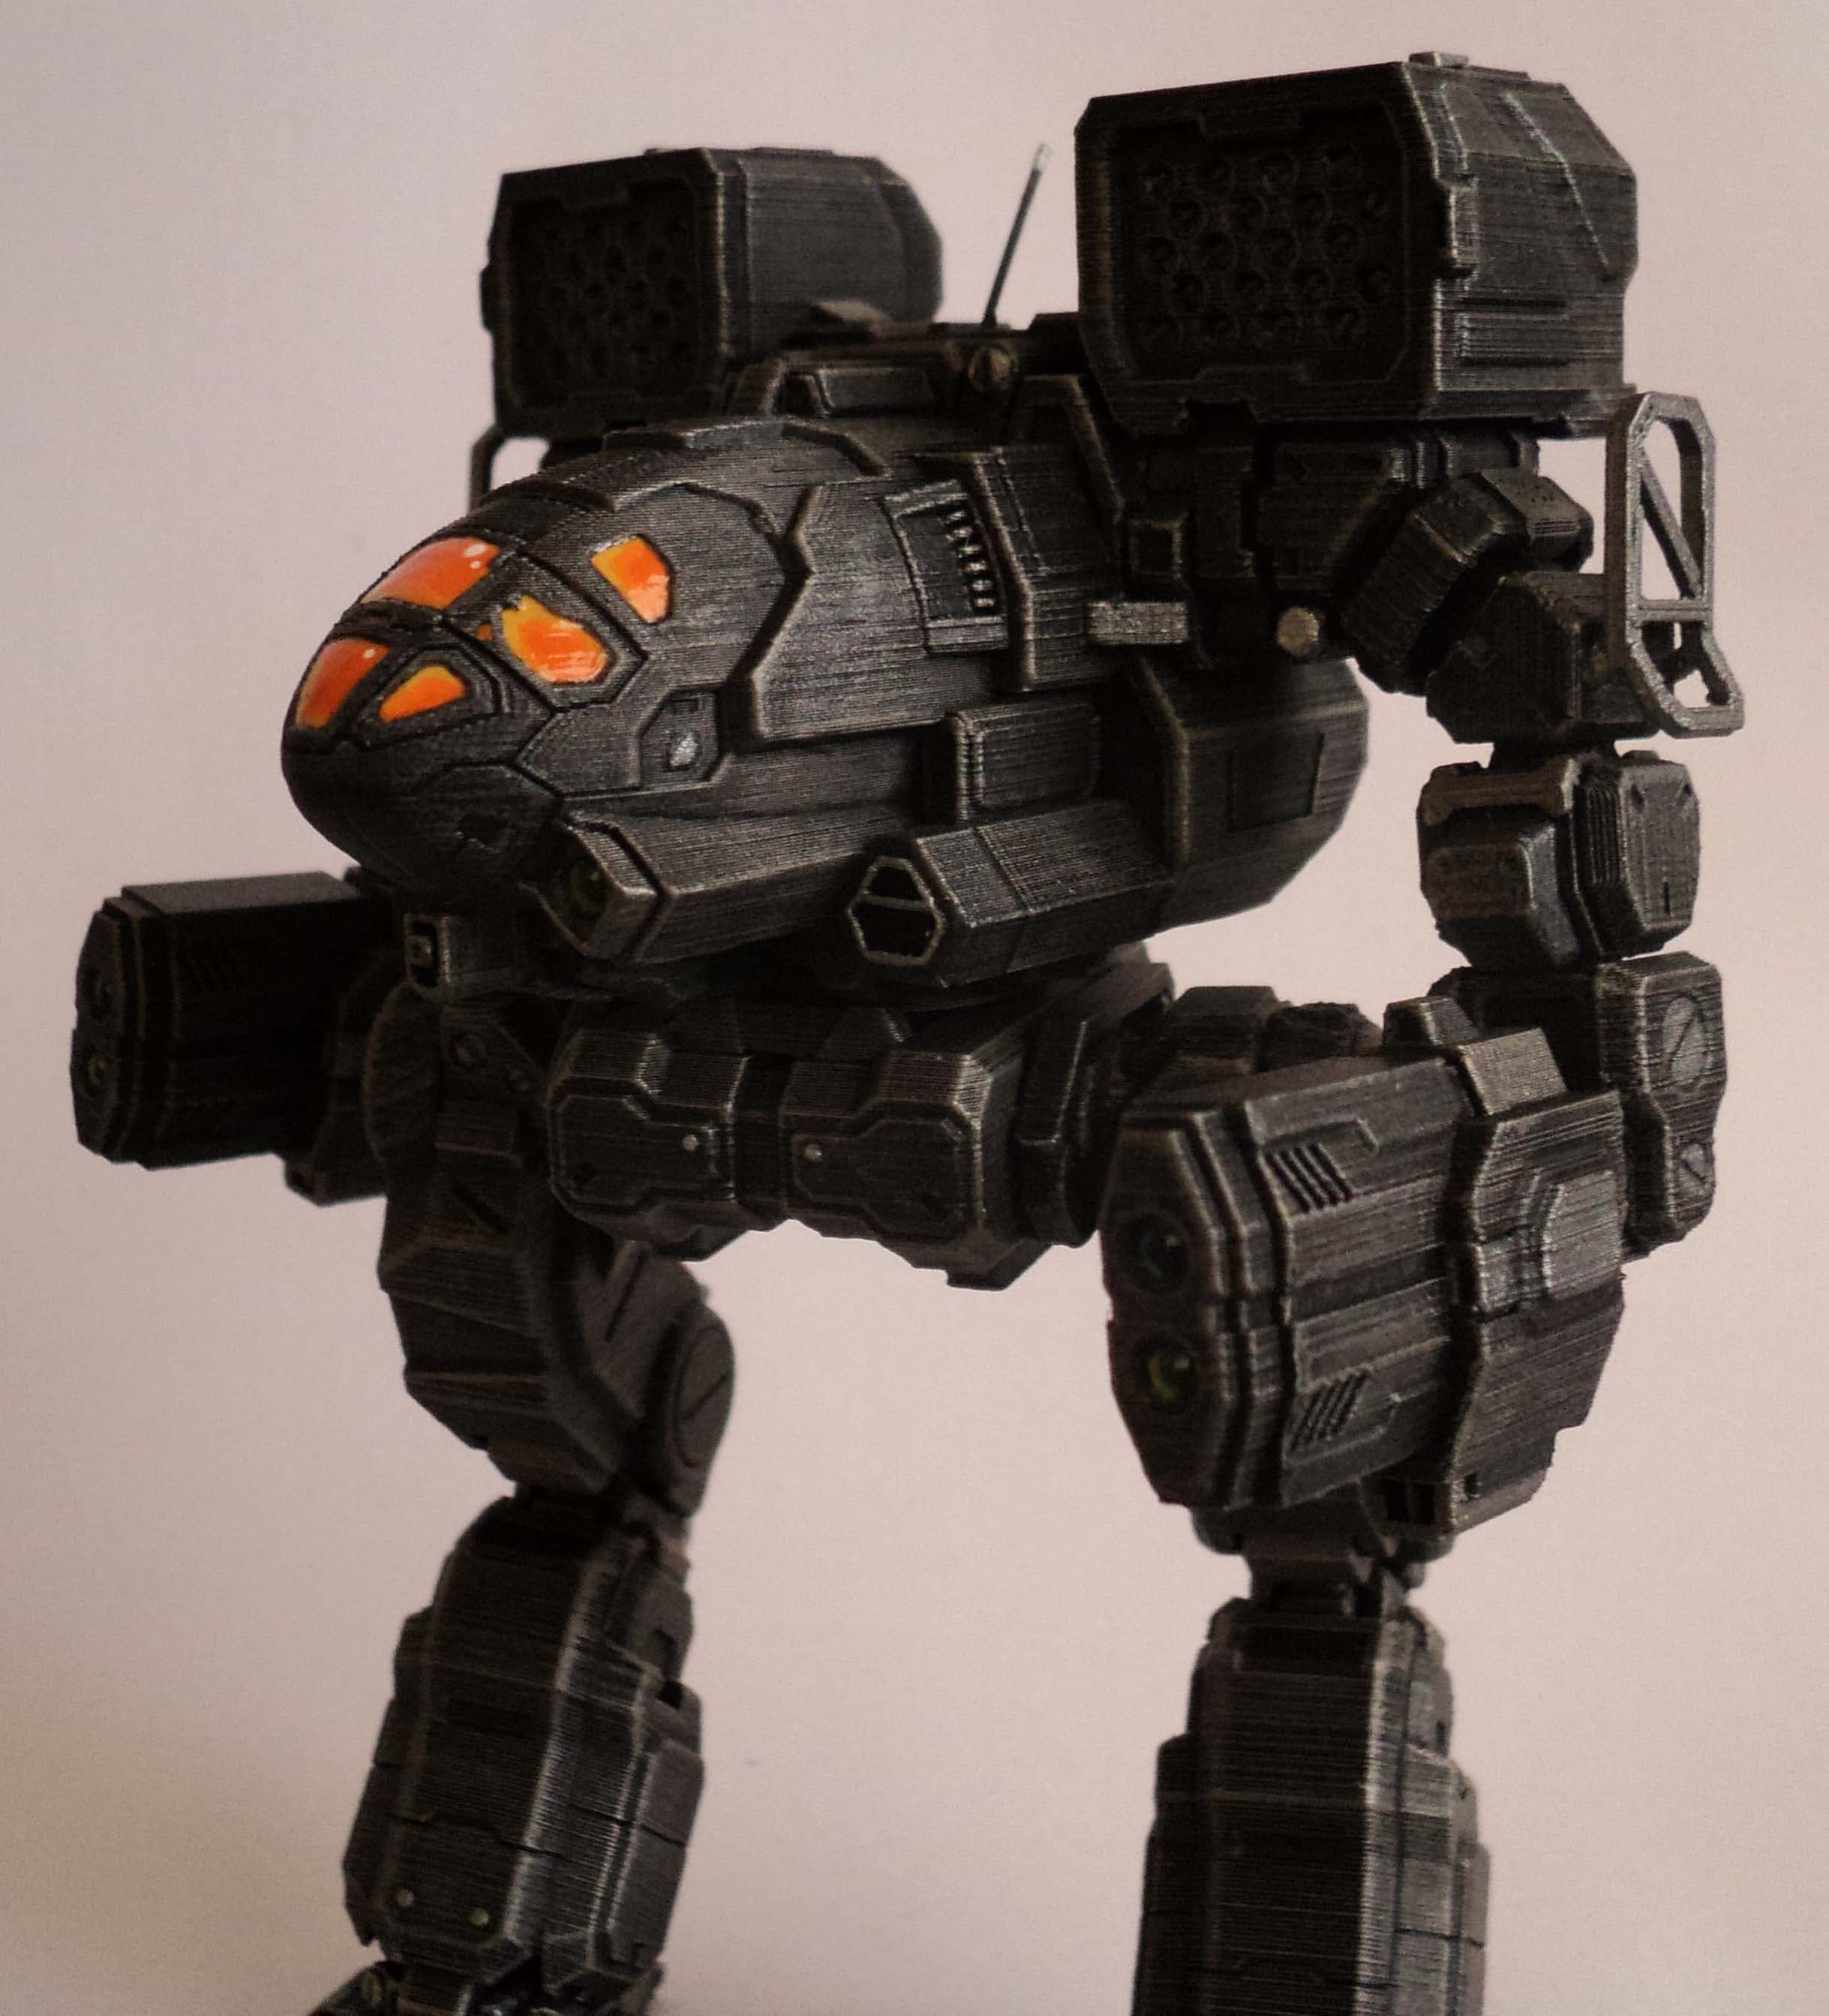
MWO Timberwolf

EXCLUSIVE: Lucky Charms Fidget Clicker Keychain Bundle #2

a cylindrical pen holder

Container / Box - easy to print, no supports required

Thermal Detonator • Star Wars Cosplay Prop
vintage vase
.png&w=3840&q=75)
Amsterdam Money Box With Functioning Back Door Compartment for emptying Coins and Cash

Multiboard Paper Towel Holder - Bolt-Locked

22x24cm Enclosure Art Deco Case
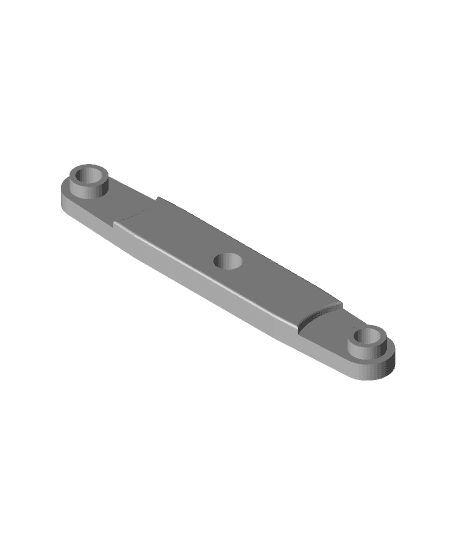
Dual Z symmetric Belt Tensioner (revised)

BLAIDD ARM & LEG PLATE ARMOR COSPLAY LIFESIZE – ELDEN RING FAN ART STL
Double Winged Kaleidoscope Christmas Ball

Stained Glass Clock
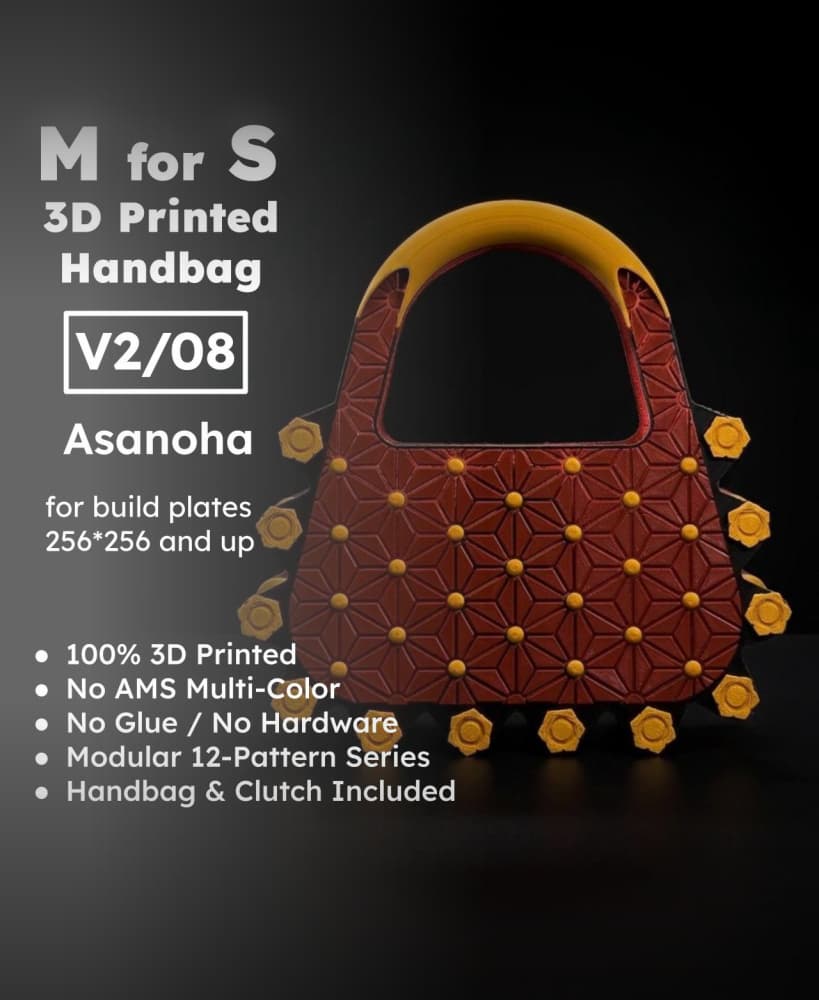
MforS 3D-printed Handbag & Clutch - V2/08 - Asanoha Pattern

8x8 MU - MultiBoard Octagon Plate - 4x Ironing Stack