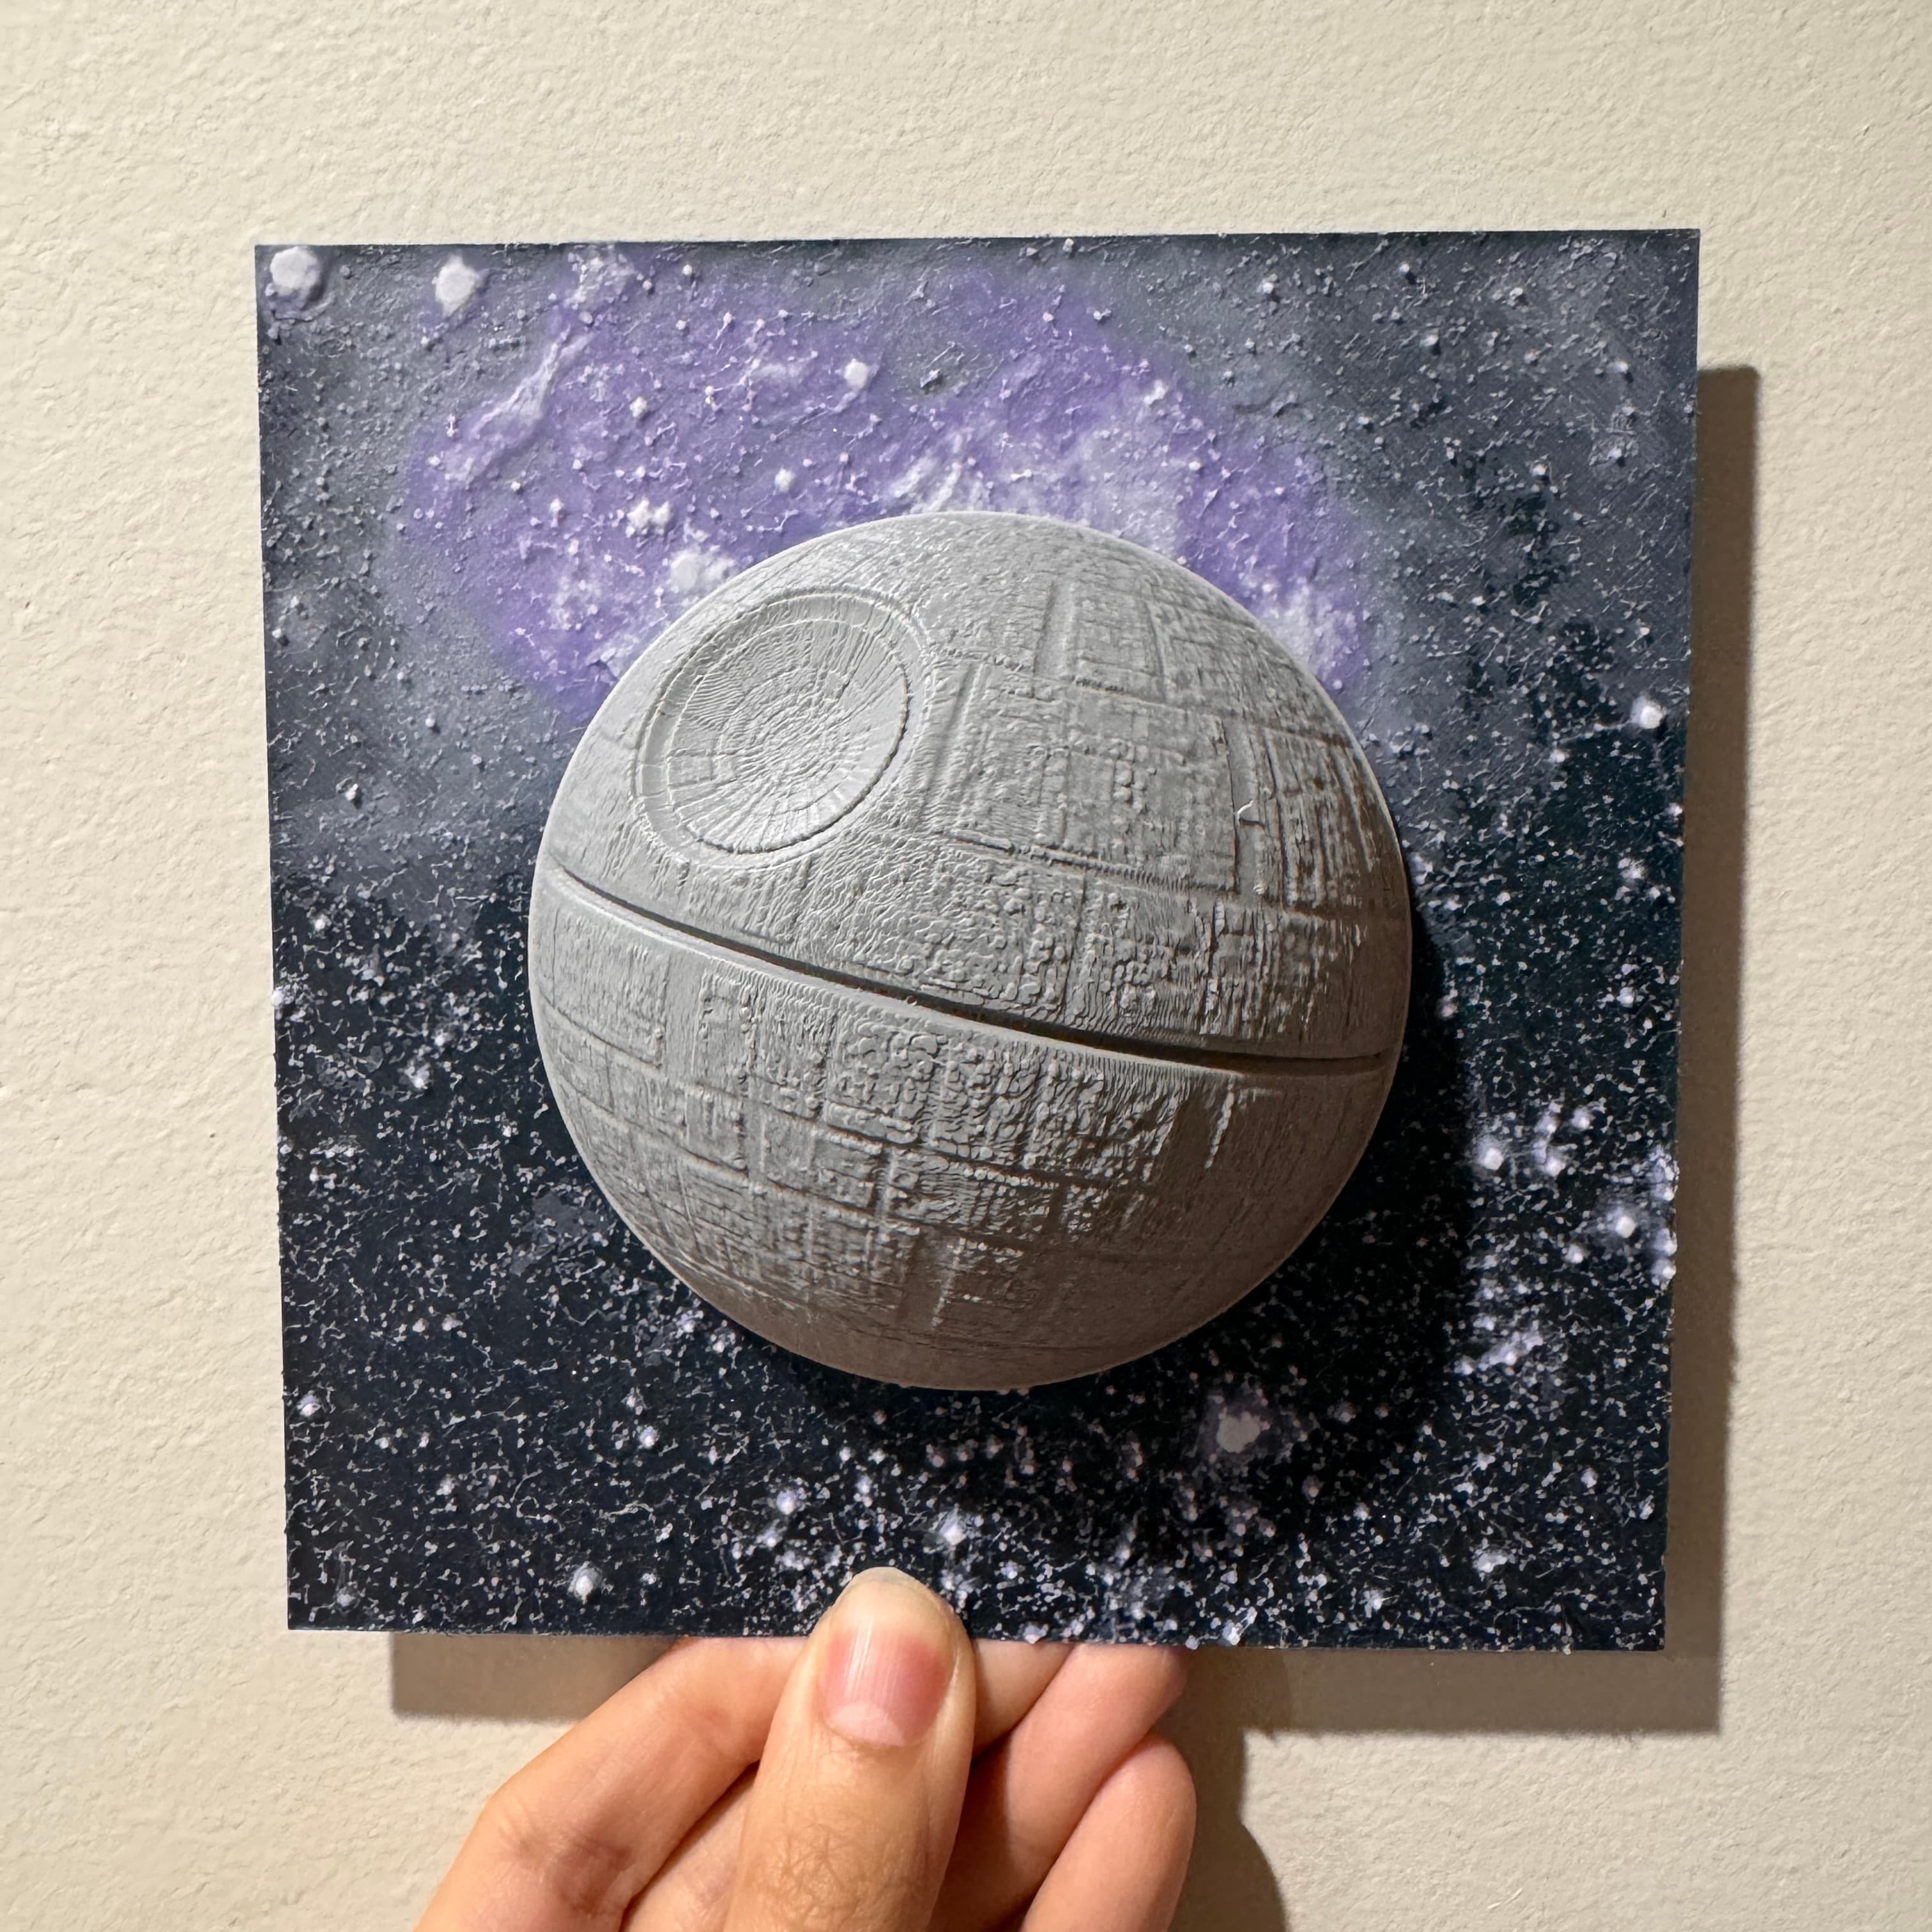


That's No Moon - Hueforge Hybrid Print
Everyone's favourite Space Station, now hueforged and ready to be displayed wherever you like!
Another simple print-in-place model without supports needed, though it does take about 5 hours to print due to the details of the ‘Space’ portion of the print. I used 5 colours for this print, but you can get away with 4, by repeating the second colour - blue-grey (you can use grey) for the Death Star.
If you are using Bambu Studio, the 3MF file should contain all settings that you will need for the print.
If you are not using Bambu Studio or Bambu printer, please download the STL instead of the 3MF and use the instructions/recommendations below:
Print Instructions:
- For the Hueforge portion (0mm - 2.00mm) print at 100% infill with a layer height of 0.04mm with a base layer of 0.2mm
- For the Death Star portion (2.04mm - 35.28mm) print at 5% infill (I used Gyroid) at 0.16mm layer height, with 3 walls, 3 top and 3 bottom surfaces.
- You can make this print bigger if you want, but only change the X and Y dimensions, and not the Z dimension.
Filaments Used:
-
PLA Flashforge Burnt Titanium Transmission Distance: 6.8
-
PLA BambuLab Basic Blue Gray Transmission Distance: 3 (You can use grey here!)
-
PLA Sunlu Lilac Transmission Distance: 6.6
-
PLA Kingroon White Transmission Distance: 8
-
PLA Overture Light Grey (for the Death Star, and you can repeat above grey if you want)
Swap Instructions:
-
Start with Burnt Titanium
-
At layer #15 (0.76mm) swap to Blue Gray
-
At layer #20 (0.96mm) swap to Lilac
-
At layer #31 (1.4mm) swap to White for the rest.
-
At layer #45 (1.96mm) swap to Light Grey (the Death Star!)
The model for the Death Star was obtained from here. It's a brilliant model, and if you have the time to spare, absolutely print a full sized version of it for yourself!