Oversized Charmander Pokemon Card - Hueforge Hybrid
bycyanidesugar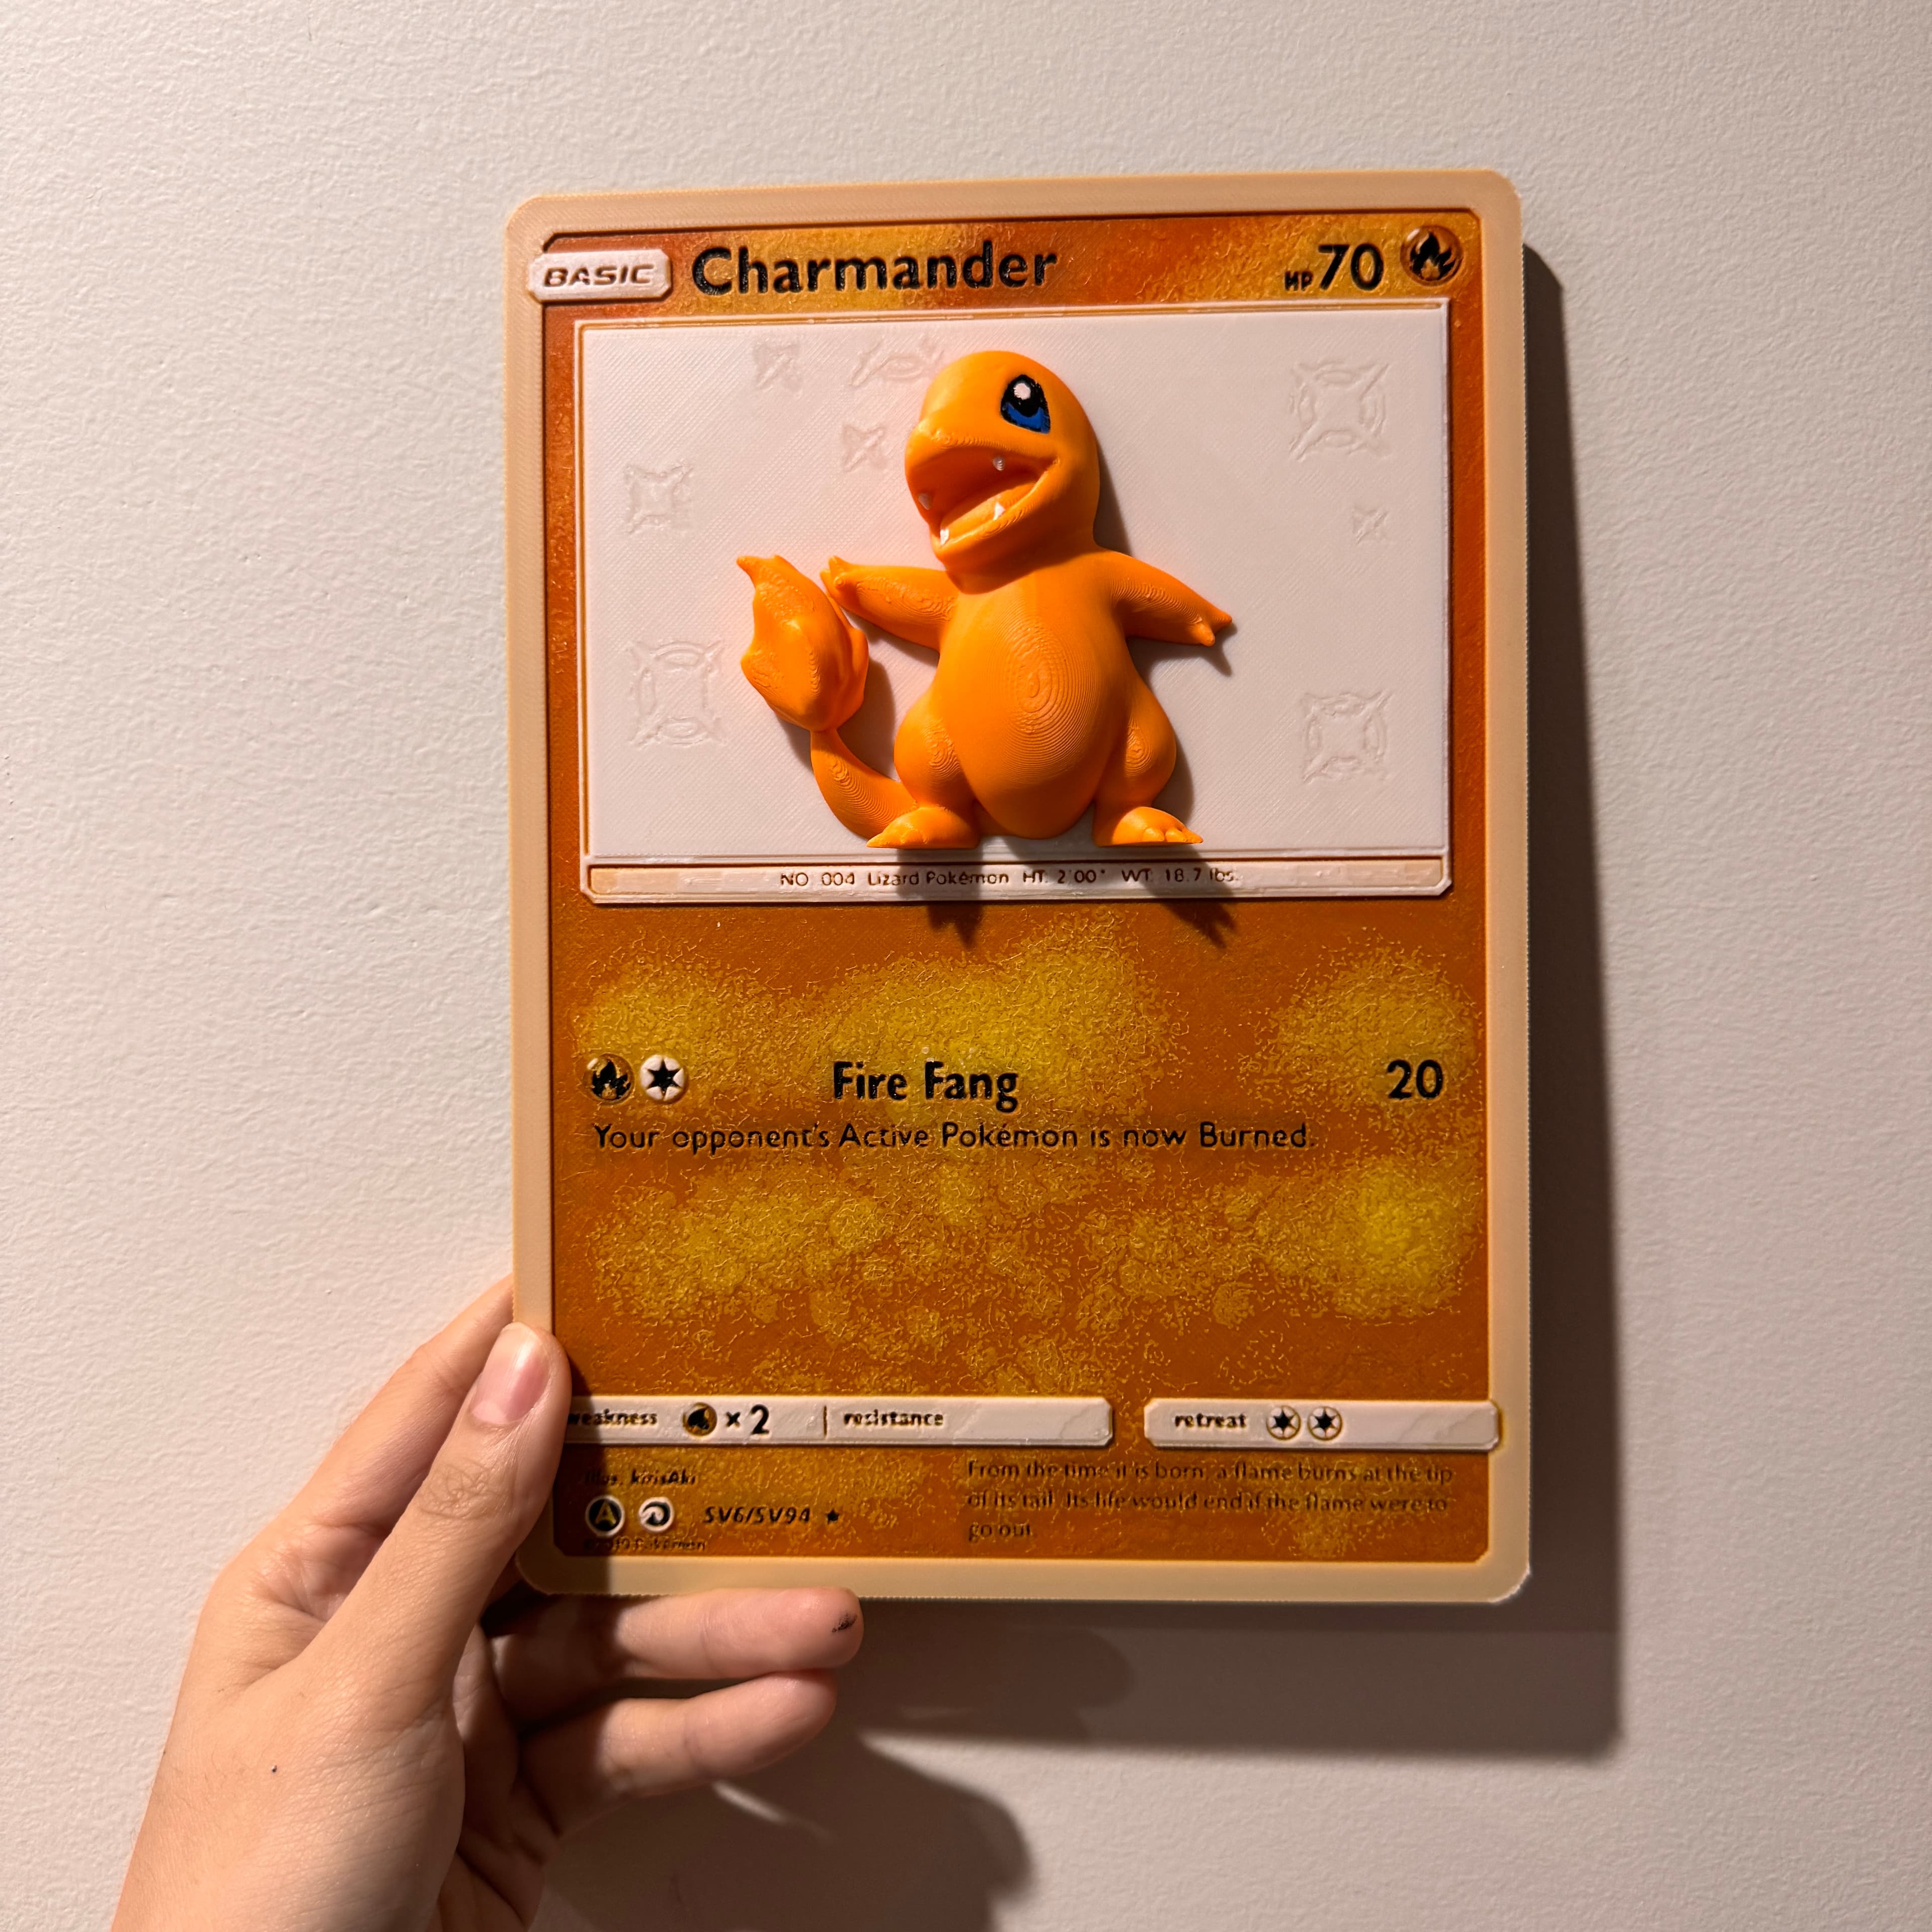


.jpeg&w=3840&q=75)
Here's an oversized Charmander Pokemon card, completely 3D printed, and print in place! This is another Hueforge hybrid print that uses filament painting methods and traditional 3D printing to create a combined pop-art effect piece.
This took 5 hours on my Bambu Lab P1P, using 4 different filament colours with orange repeated for Charmander at the end of the print. If you do not have an AMS, no fear! Just download the 3MF file and instead of a filament change, insert a pause at the correct layer heights and manually load and unload the filament spool yourself before resuming the print.
It is large, at 170mm x 240mm in size. If you have to resize it to fit your printer bed, please only scale the X and Y dimensions, but do not alter the Z dimension, otherwise the layer swaps will be inaccurate.
If you are using Bambu studio, all settings will have been applied to the 3MF file, and you can just hit slice and print. If you do not want to use that, please download the 3MF file, or the STL and apply the recommended settings below.
Print Instructions:
- The Hueforge portion of the print (0mm - 2.48mm) should be printed at 100% infill, at a 0.08mm layer height with 0.2mm base.
- The Charmander (and it's tail) portion of the print (from 2.52mm to 165mm height) should be printed at 5% infill with 3 walls, 3 top and 3 bottom surfaces and at 0.16mm layer height. You can use a layer height modifier to set these settings or edit the per-object settings.
Filaments Used:
-
PLA Kingroon Black Transmission Distance: 0.4
-
PLA CC3D Orange Transmission Distance: 7.4
-
PLA CC3D Lemon Yellow Transmission Distance: 8
-
PLA Kingroon White Transmission Distance: 8
Swap Instructions:
- Start with Black
- At 1.08mm swap to Orange
- At 1.64mm swap to Lemon Yellow
- At 1.96mm swap to White
- At 2.52mm swap to Orange (for the Charmander!)
Post Processing:
You'll need to paint Charmander's eyes and body yourself (I didn't, I got lazy), but that shouldn't take too much time! I suggest using a paint pen if you're finding it hard to use paint brushes!
The Charmander STL itself was obtained from here, uploaded by user ClassyGoat.