Crisalida | Lamp
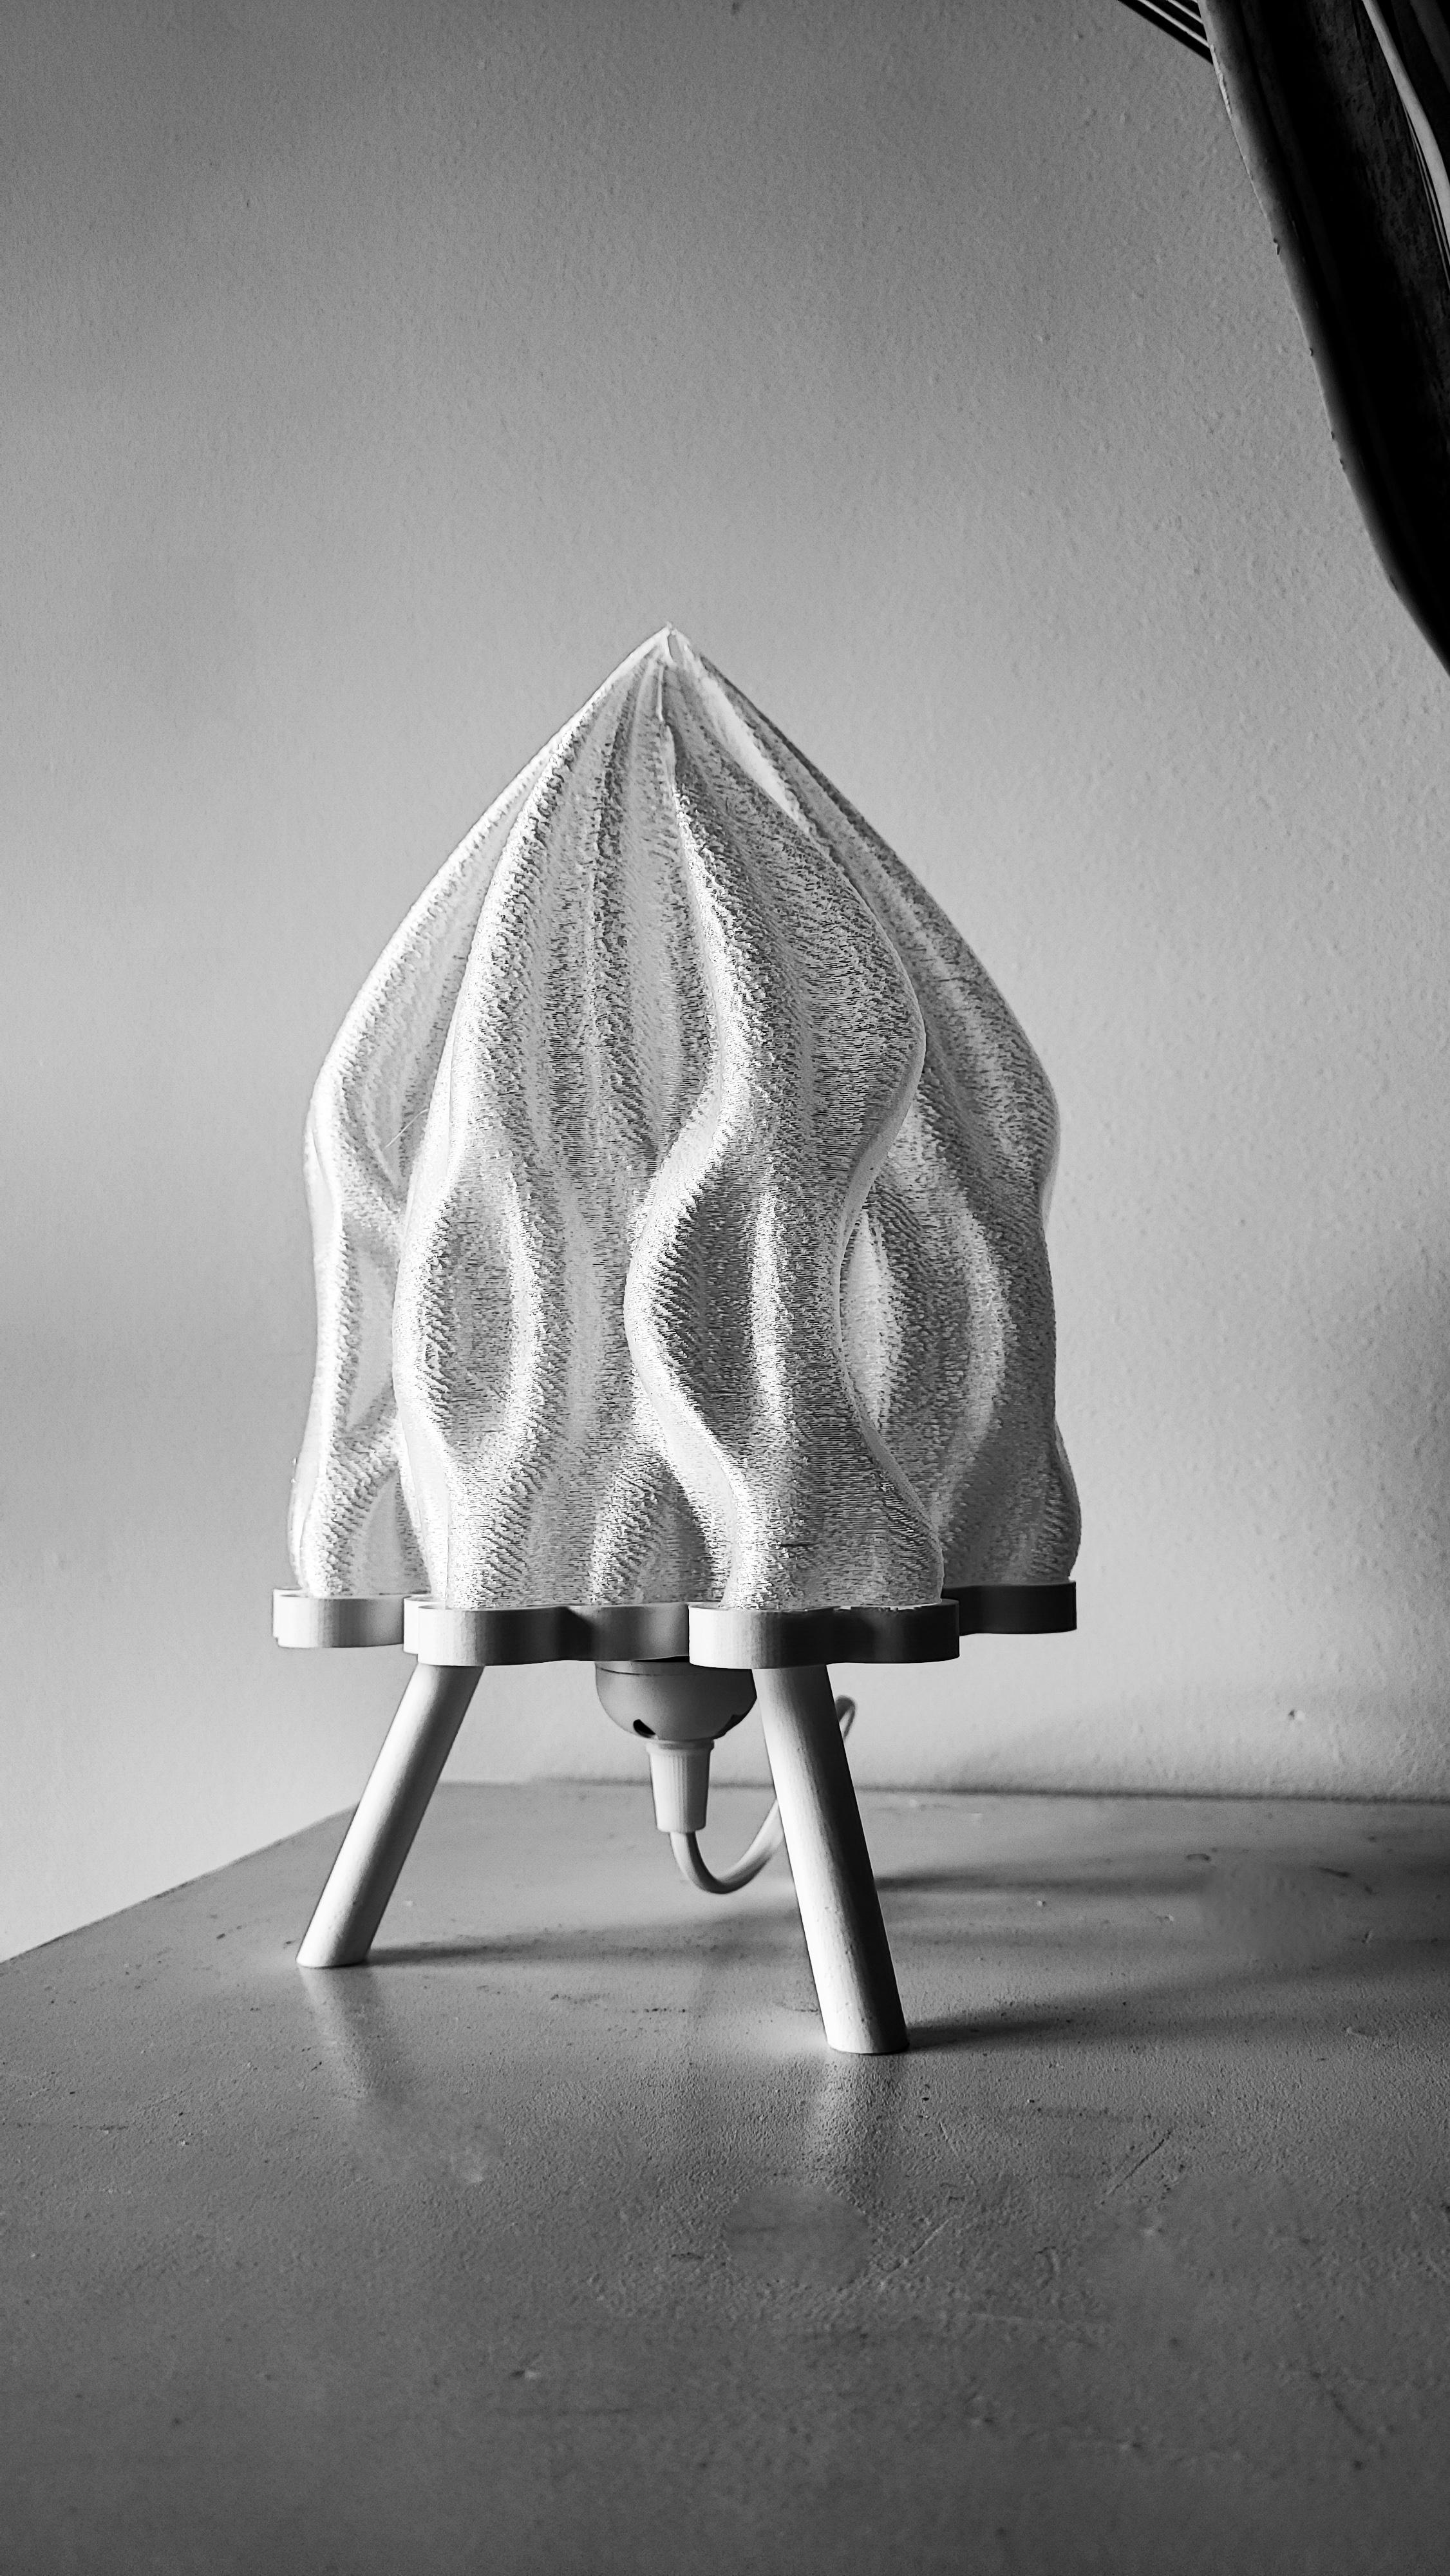
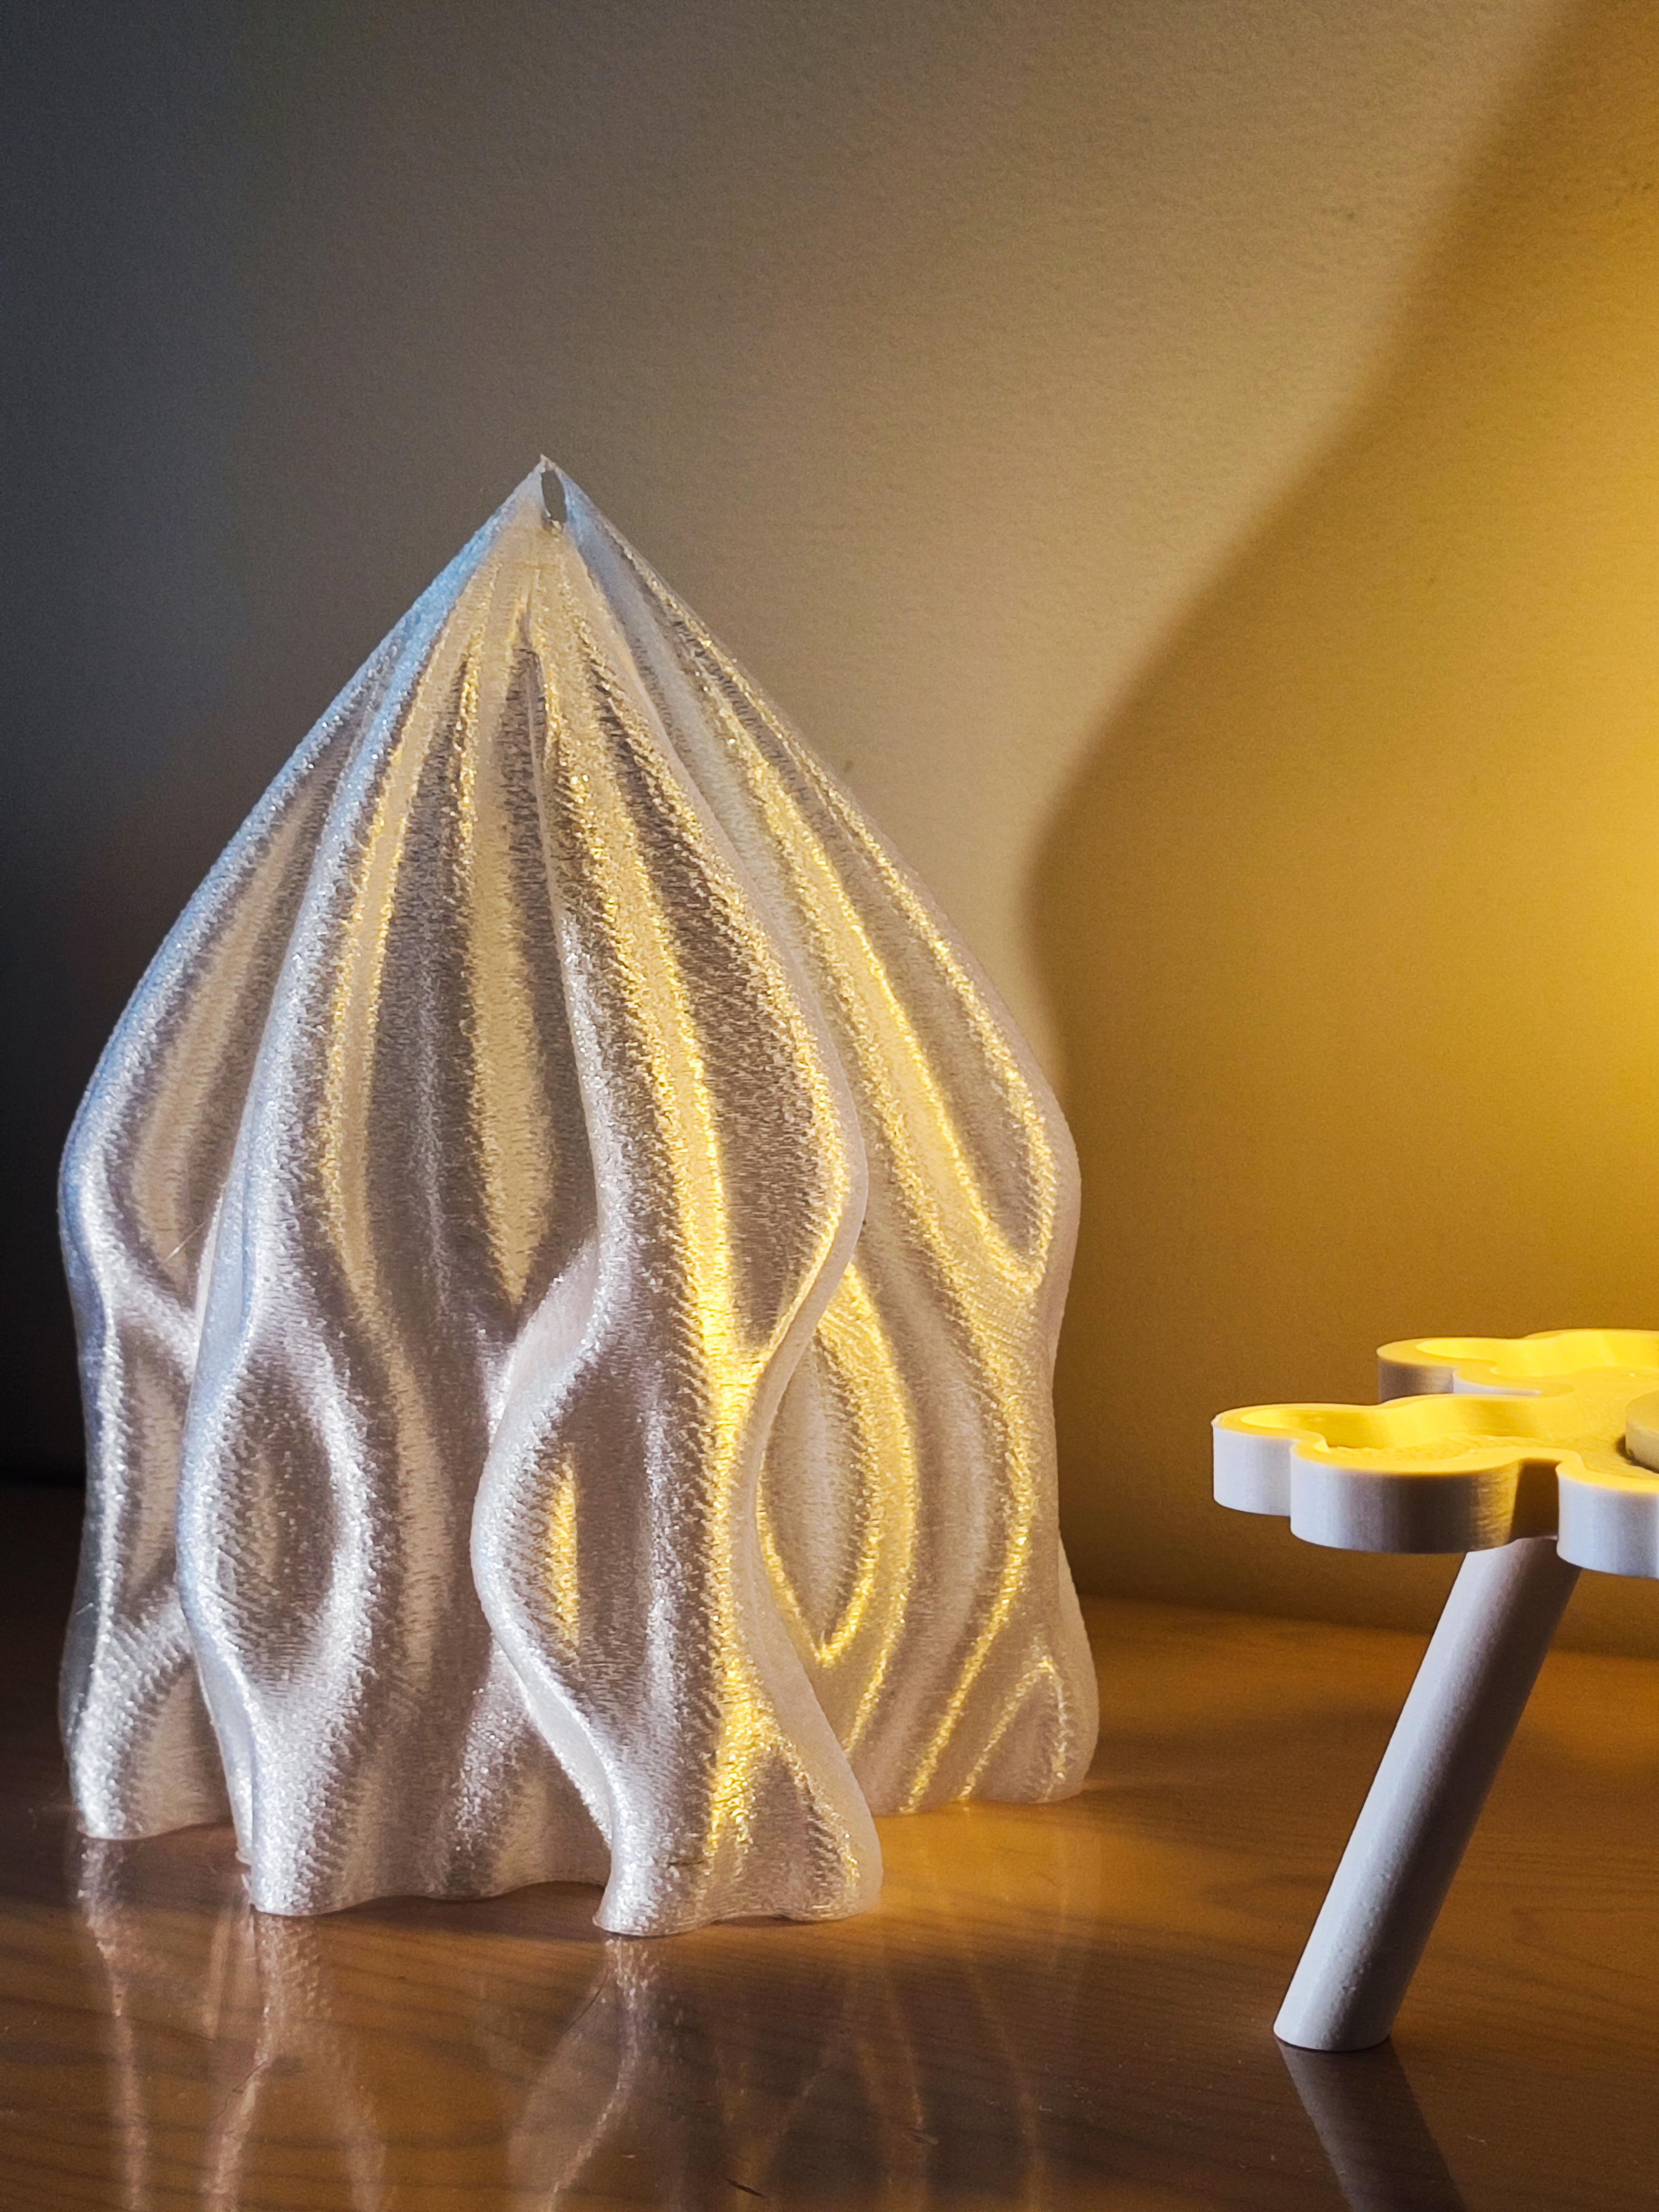
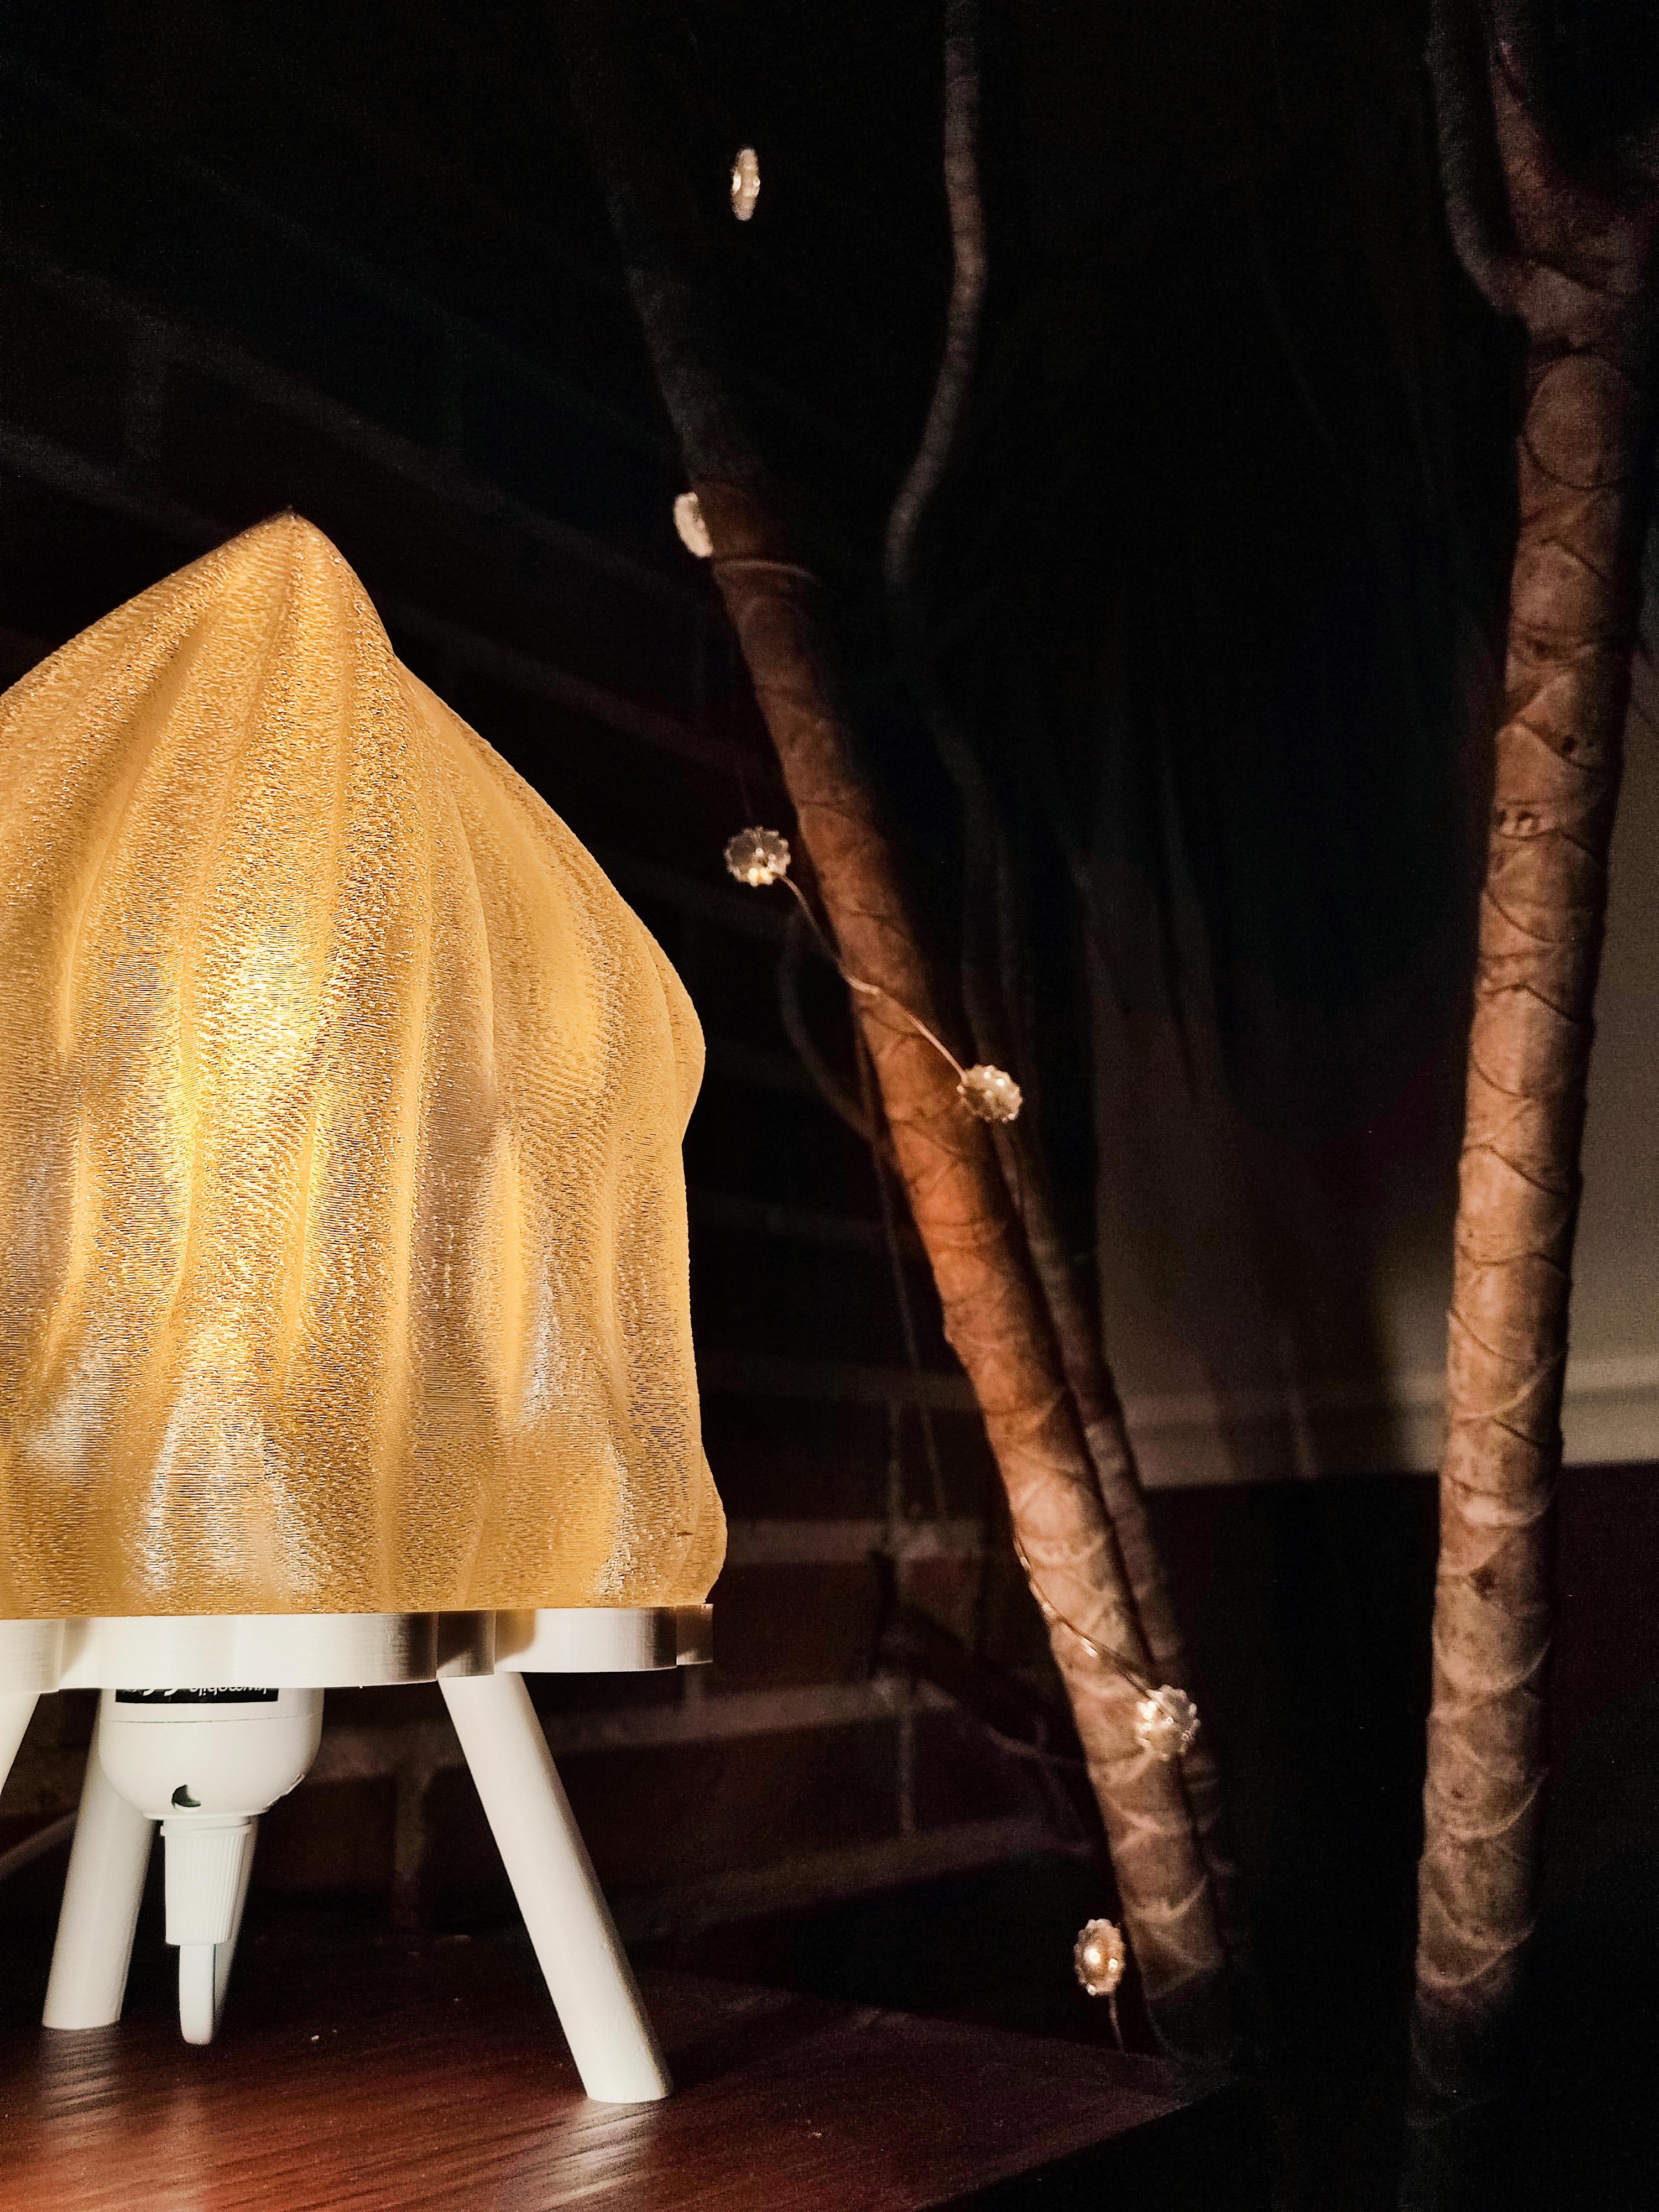
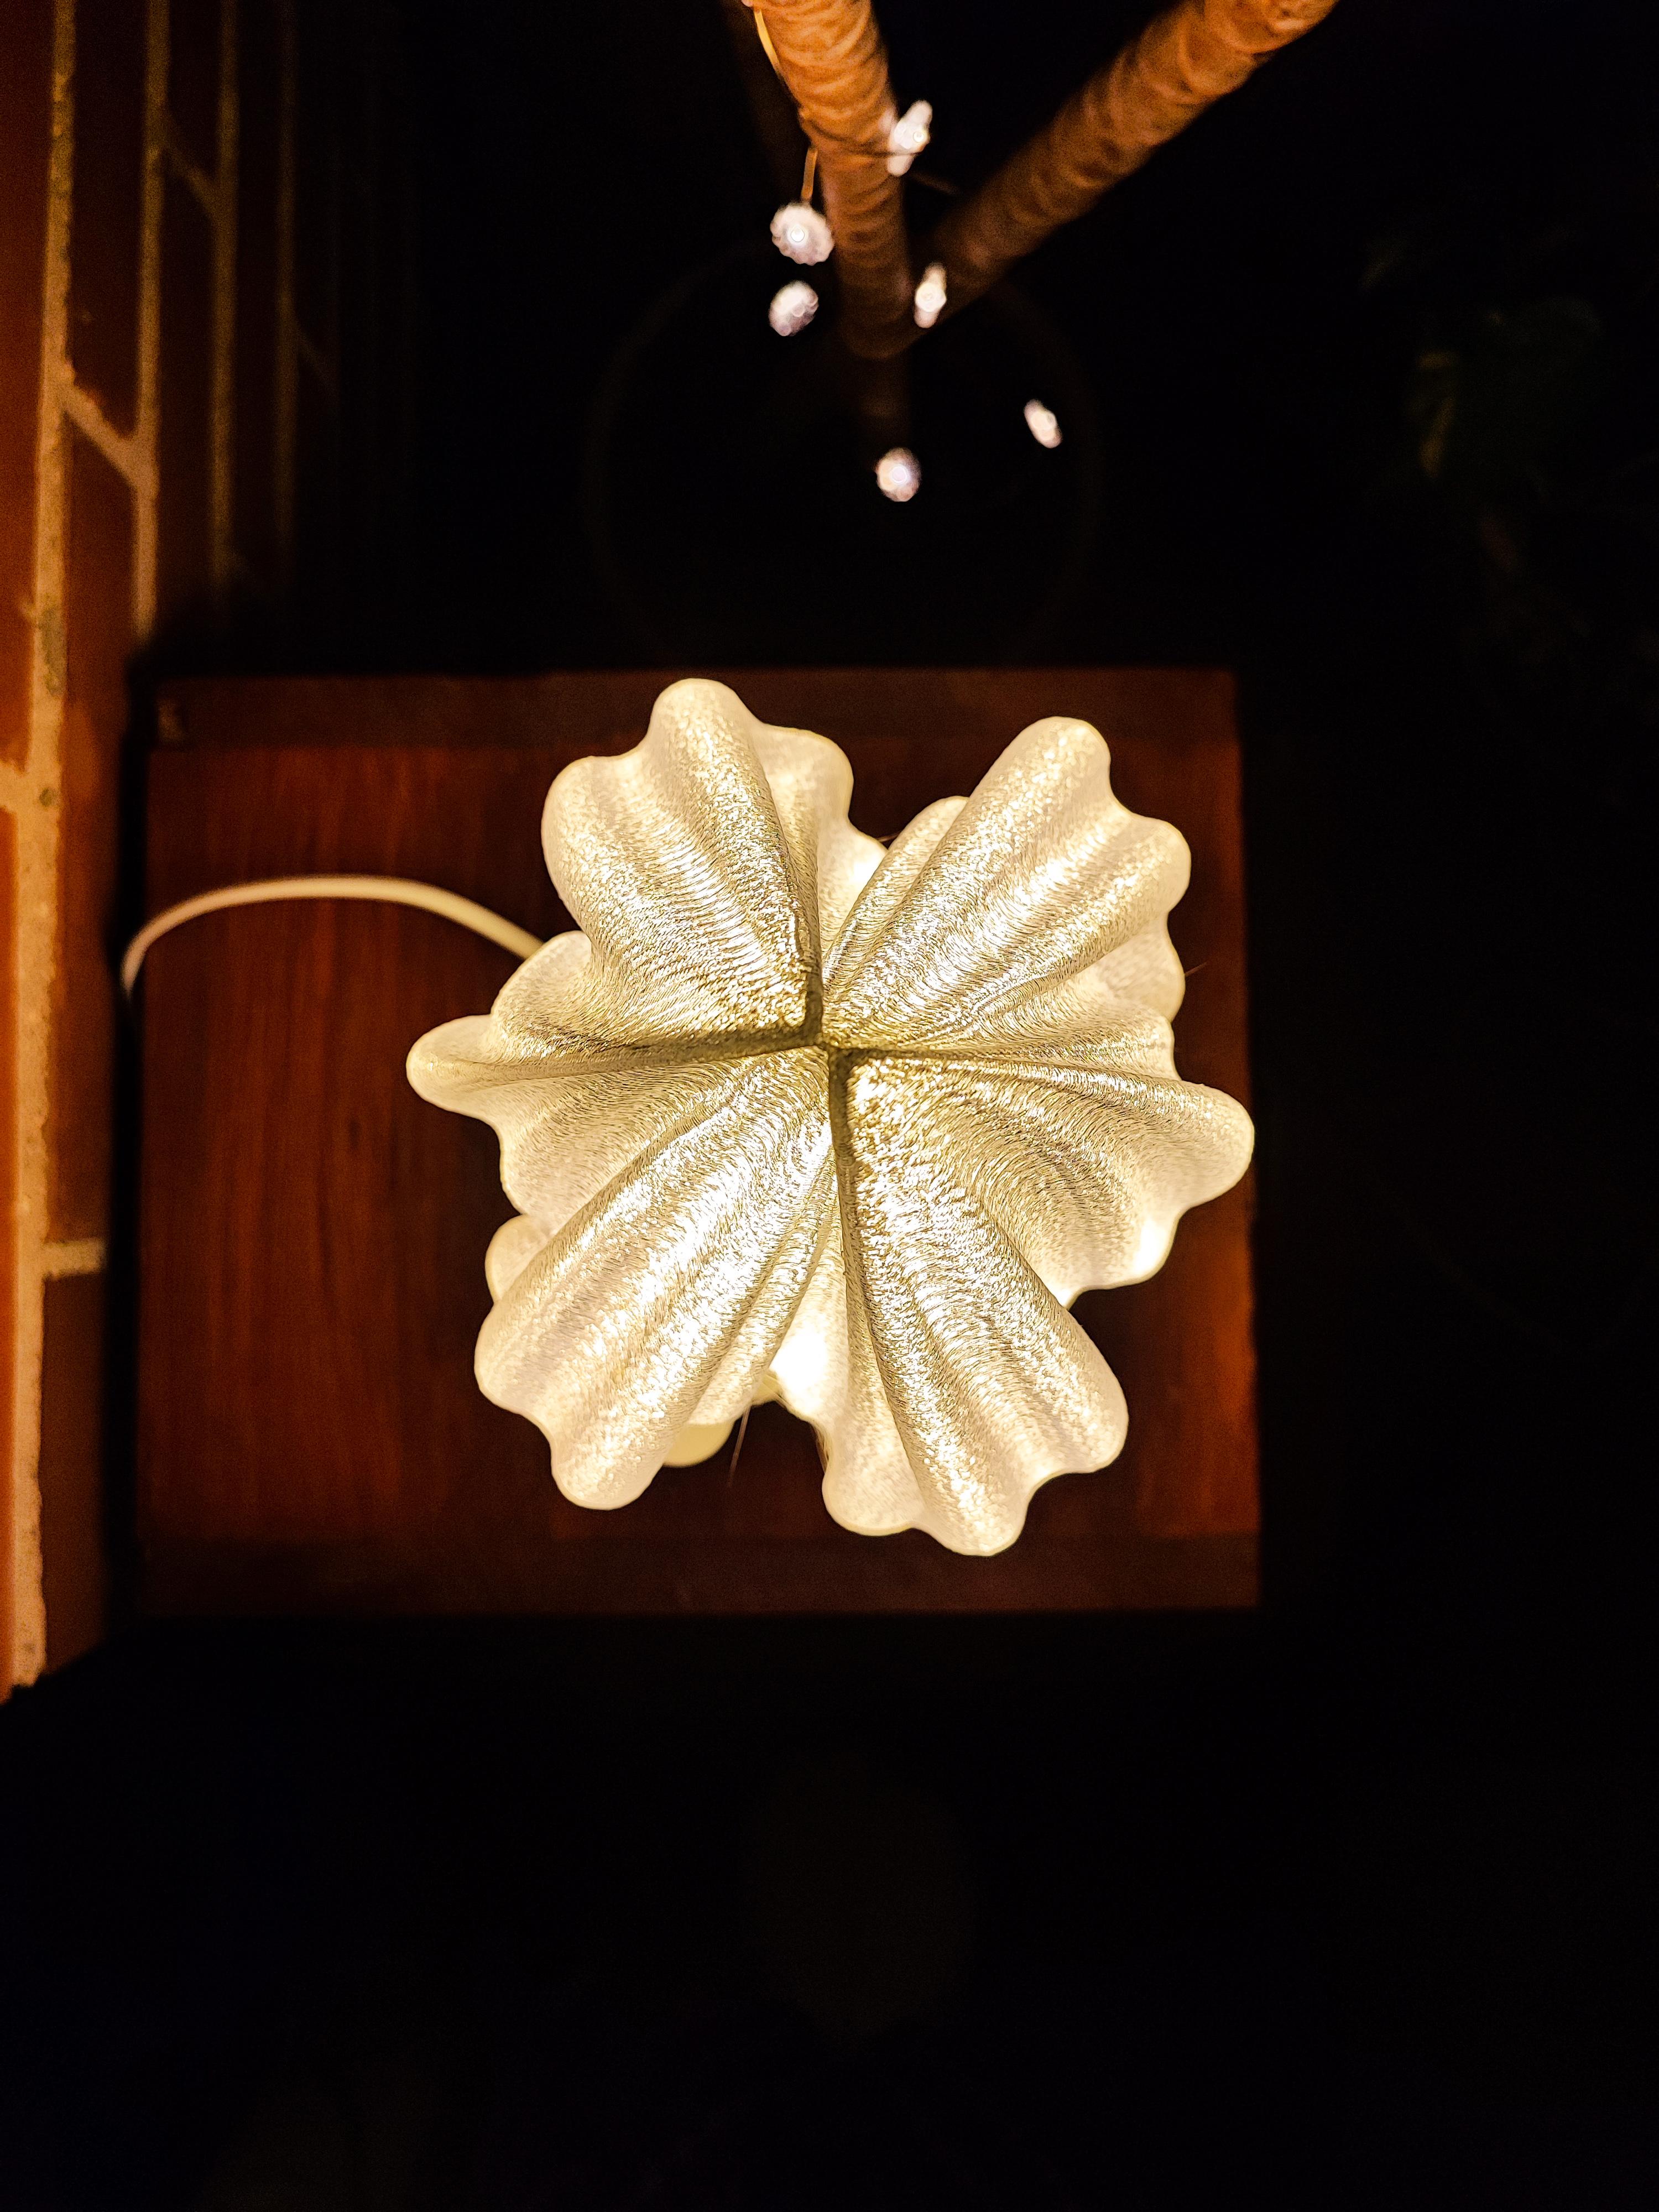
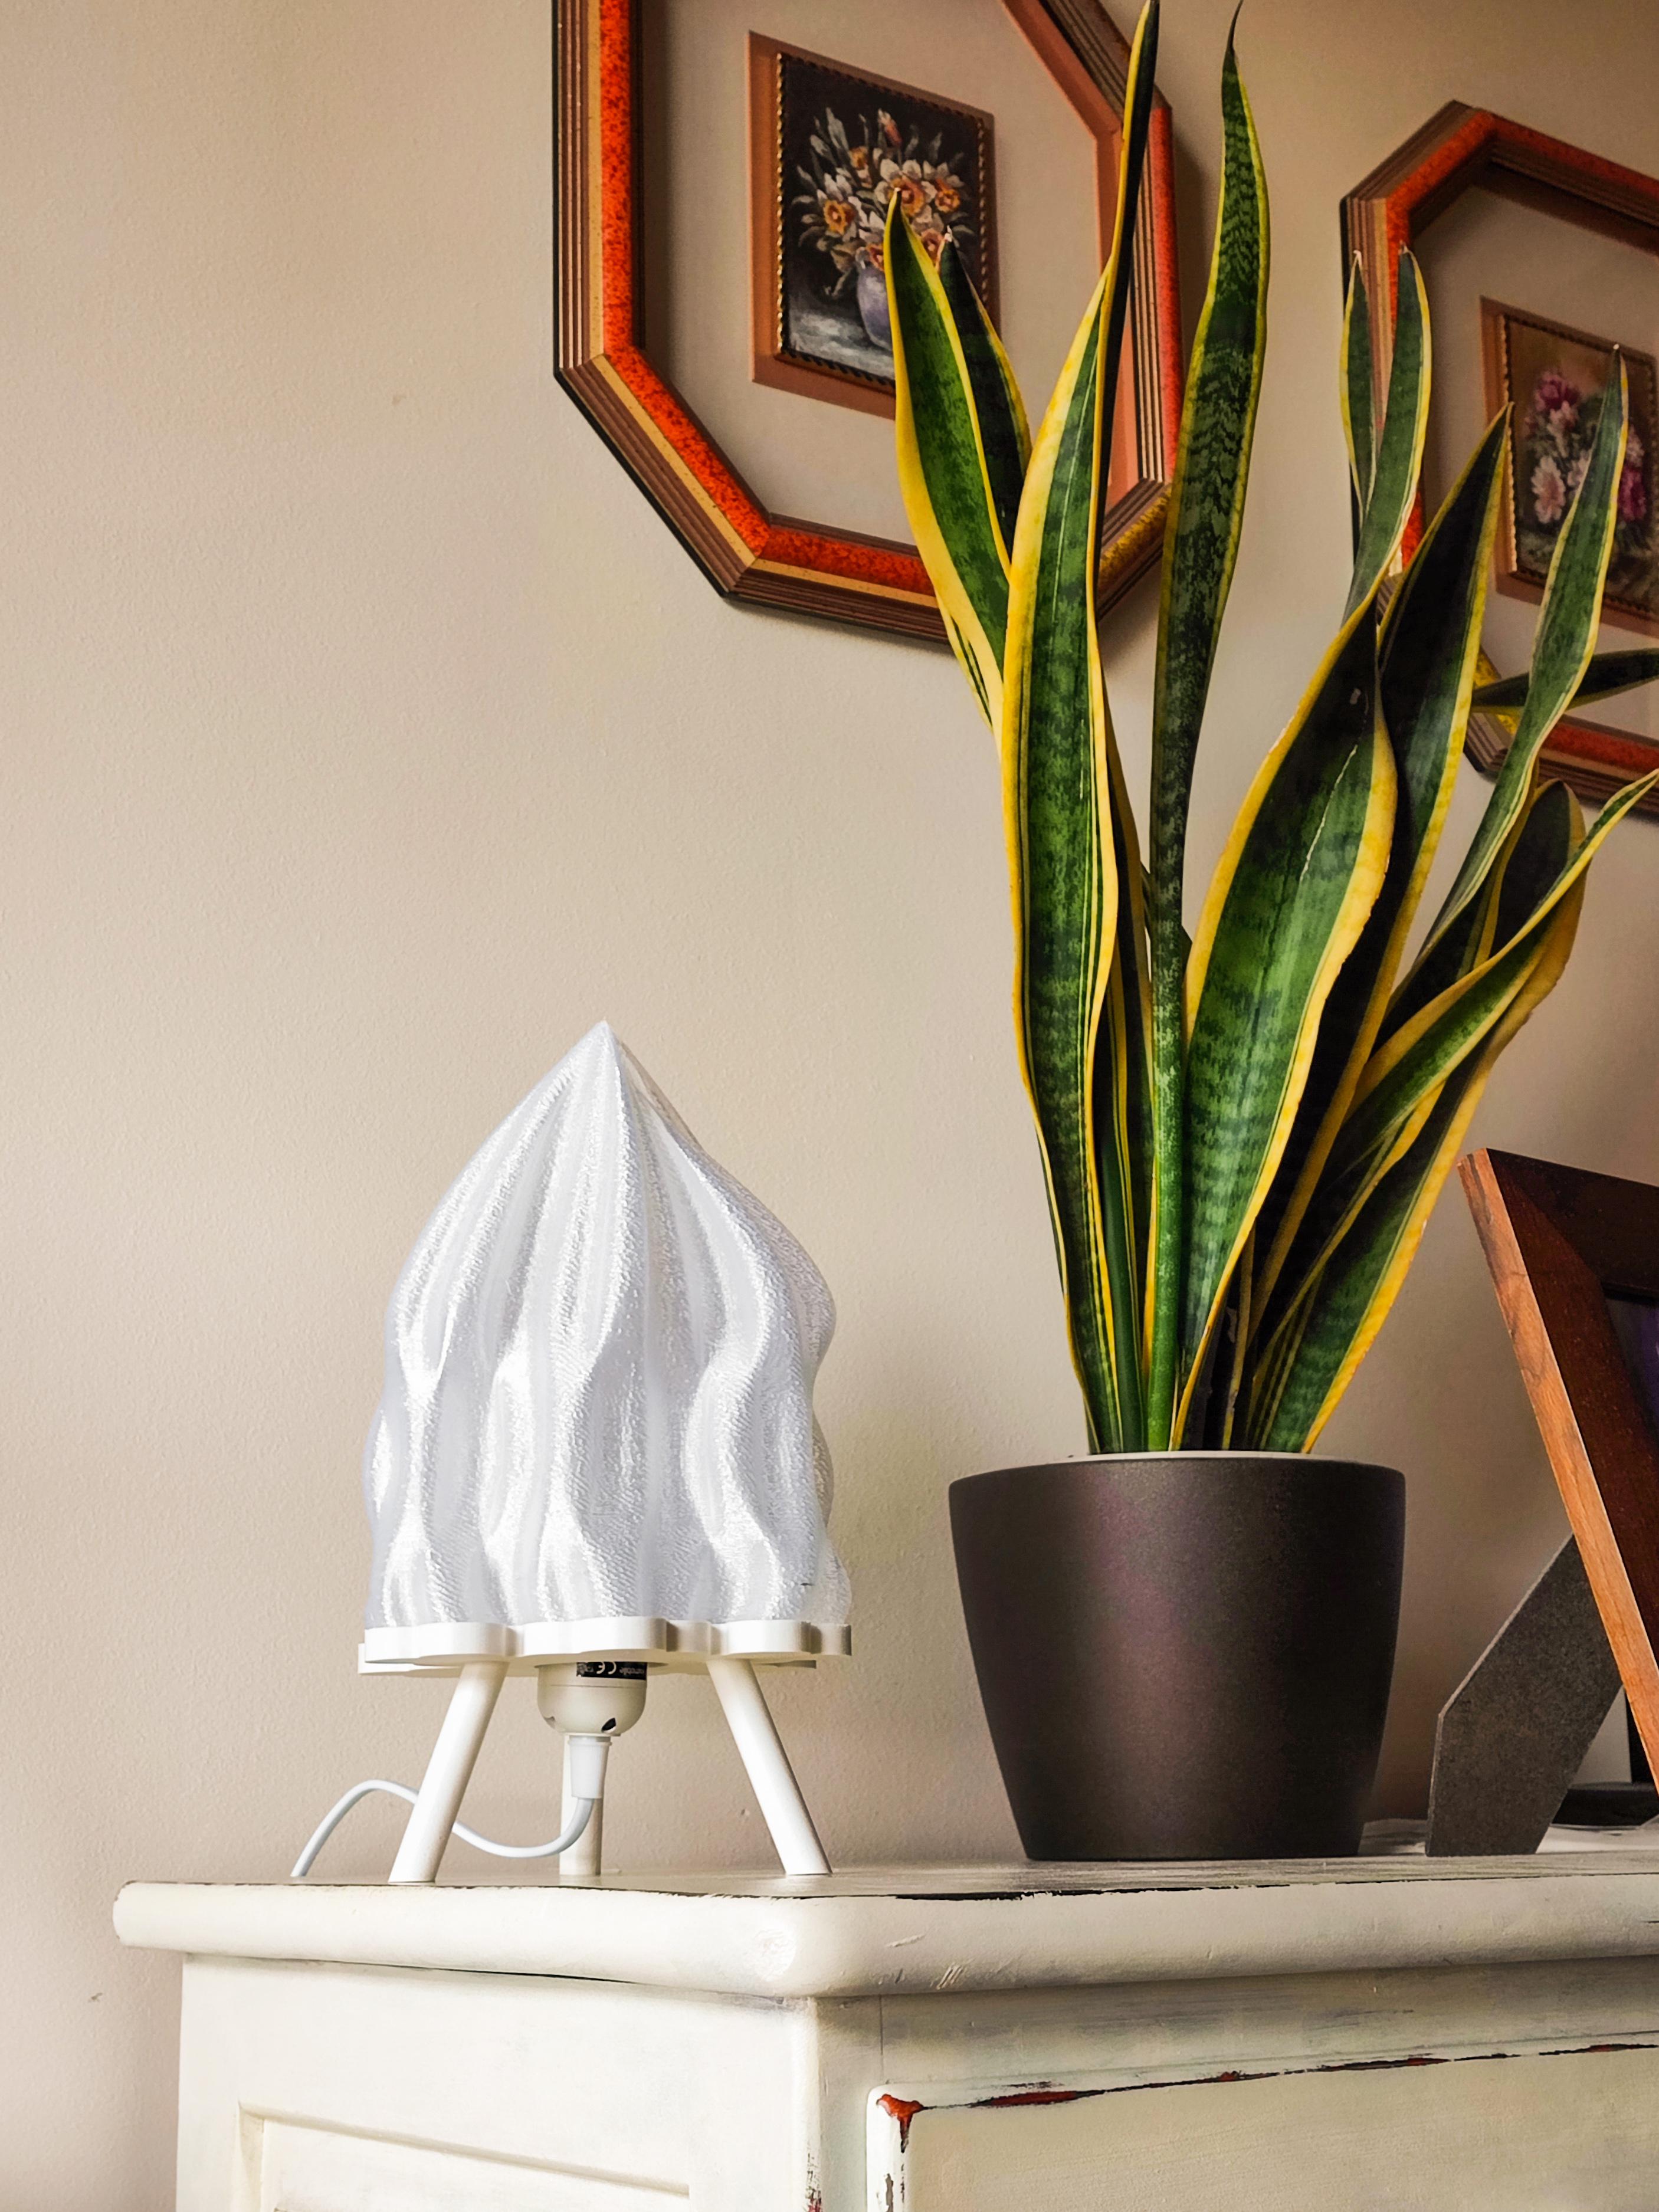
Chrysalis is a fully 3D printable table lamp design.
Its design has been inspired by a curious curved geometry that has been distorted as it grows, forming a beak-shaped structure that seems to be from another universe, a kind of chrysalis.
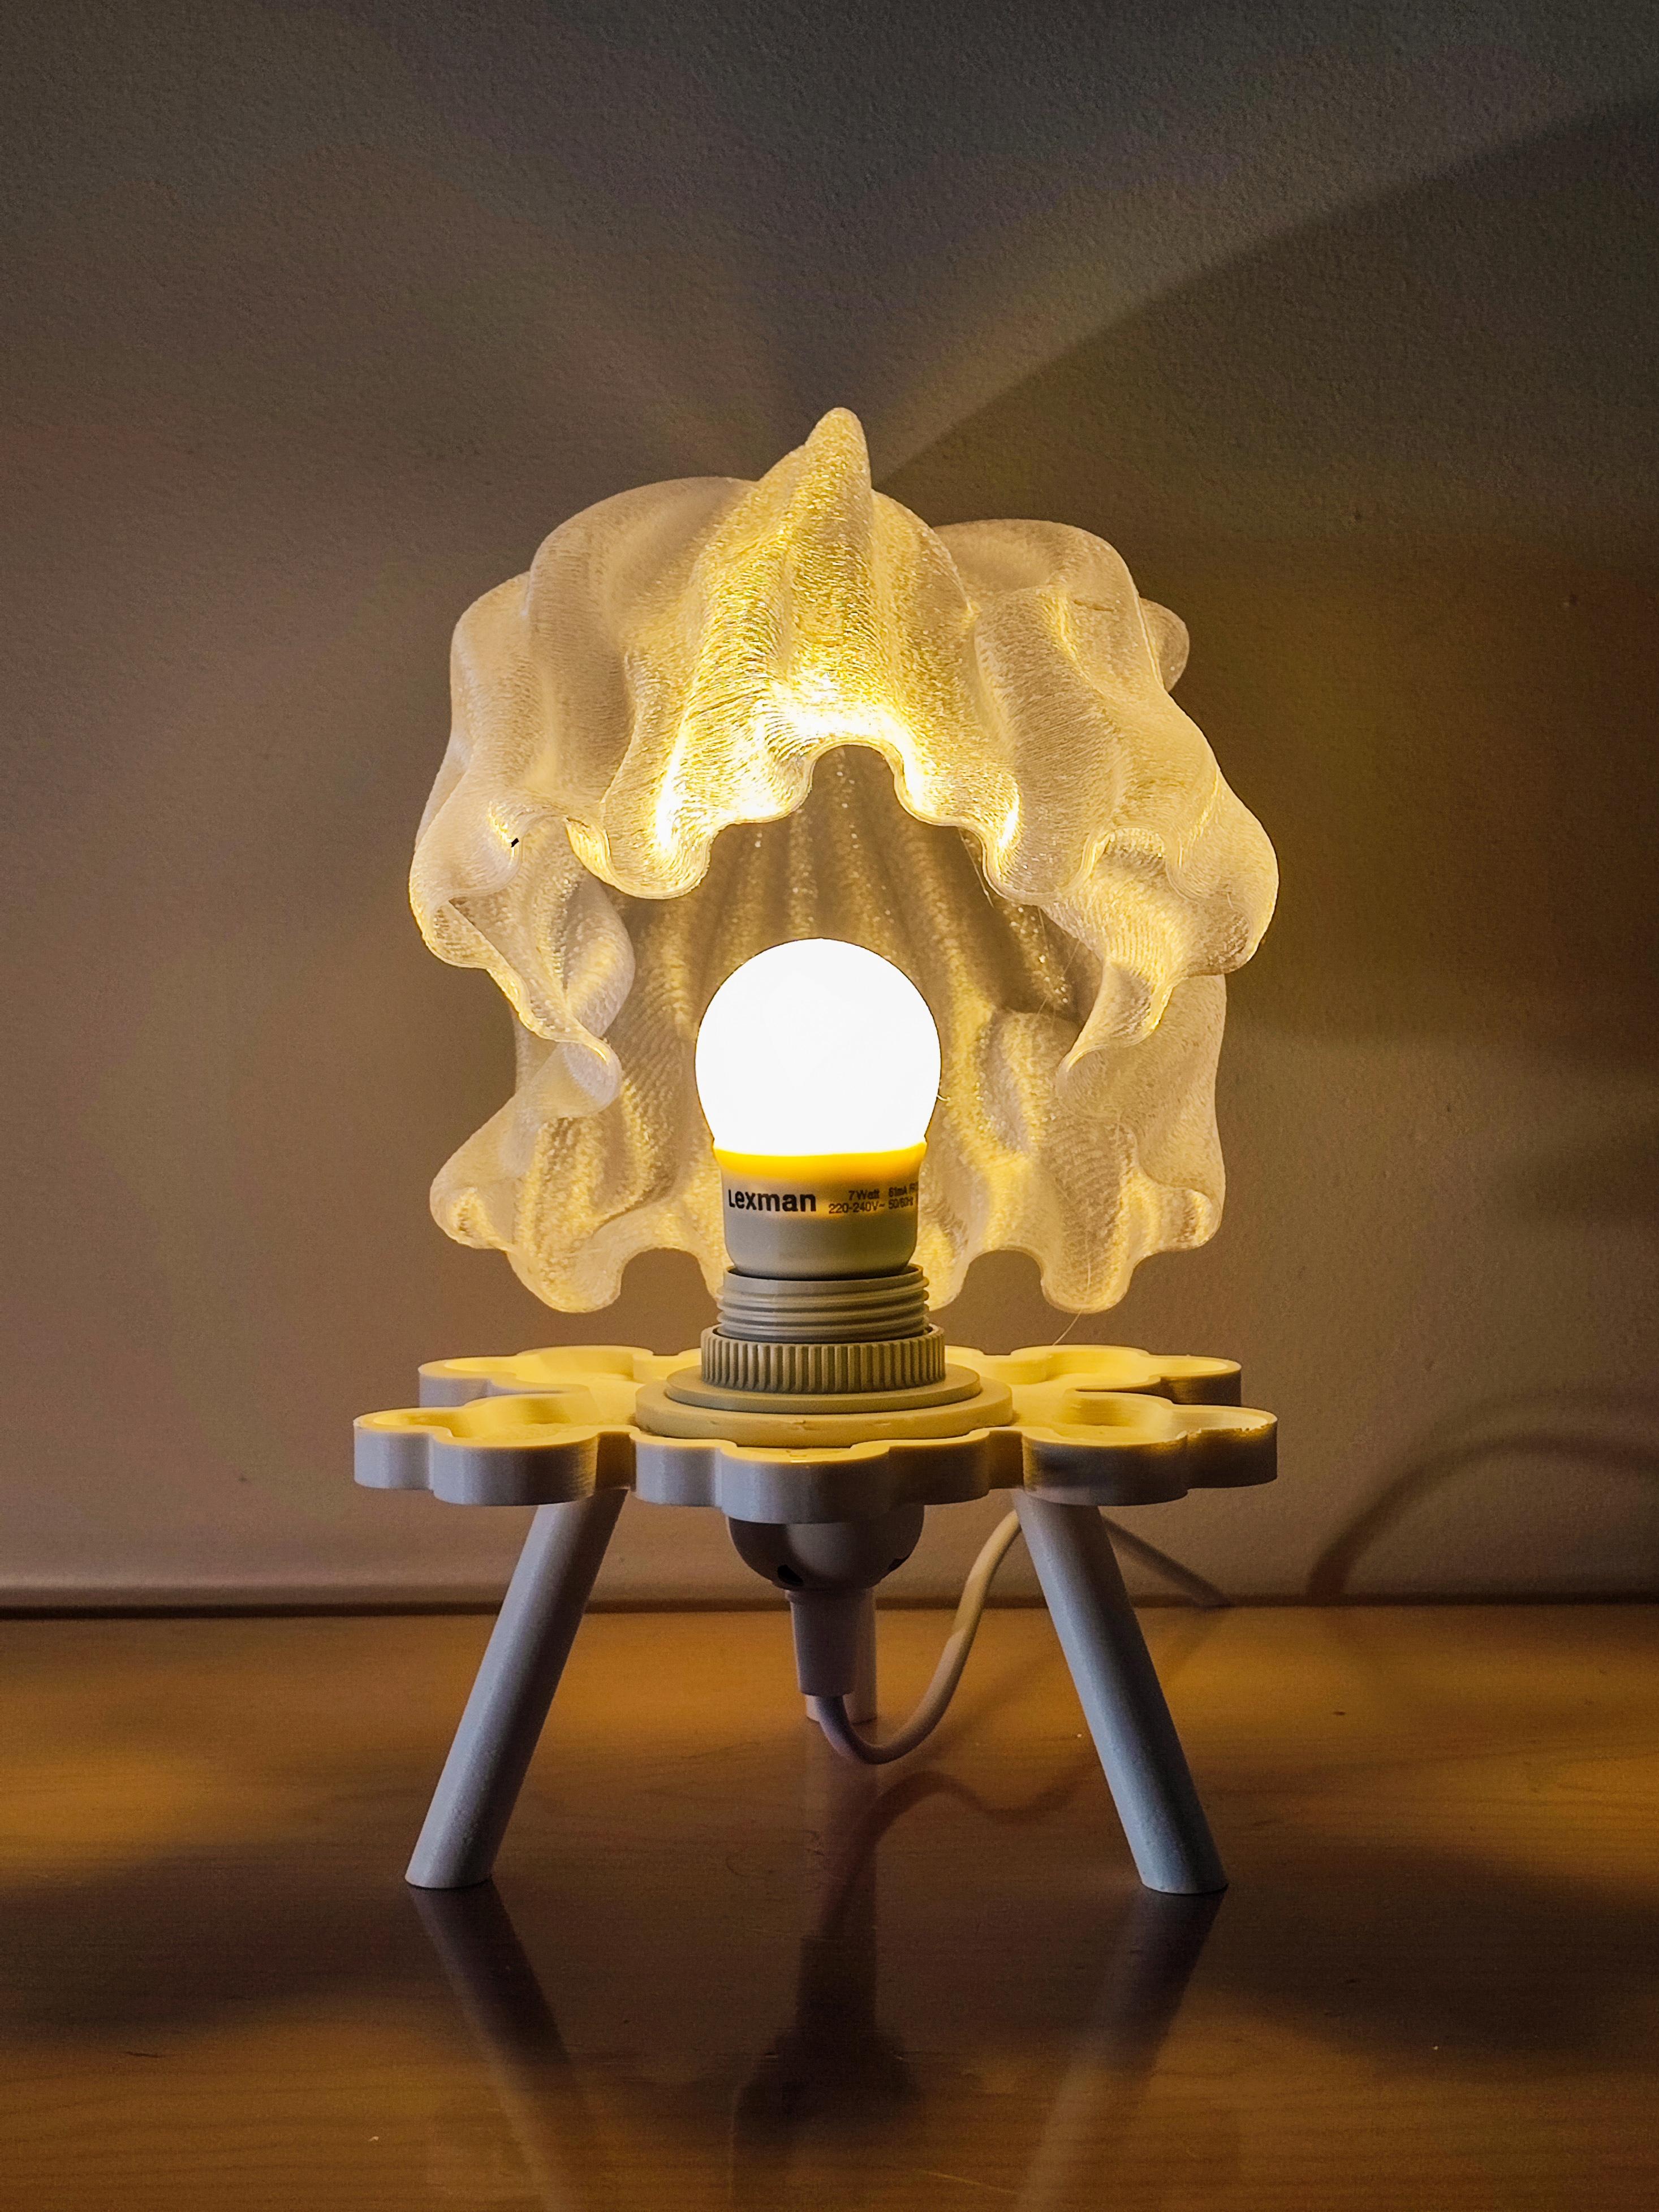
Its assembly is simple and intuitive. After printing the two pieces and buying the cable and socket for the bulb, you just have to pass the bulb cable through the hole in the base, screw the disc or stopper to the socket, screw in the bulb and finally place the body of the lamp coinciding with the groove in the base (you have to force the fit a little).
Here is the link to the cable and socket I bought: amzn.to/450MBgY For the bulb any E27 model will do, and you can play with the intensity or warmth of the light.
3D PRINTING PARAMETERS The printing of each of the two parts is done with a recommended layer height of 0.2 mm, although I could use a higher layer height for the printing of the body.
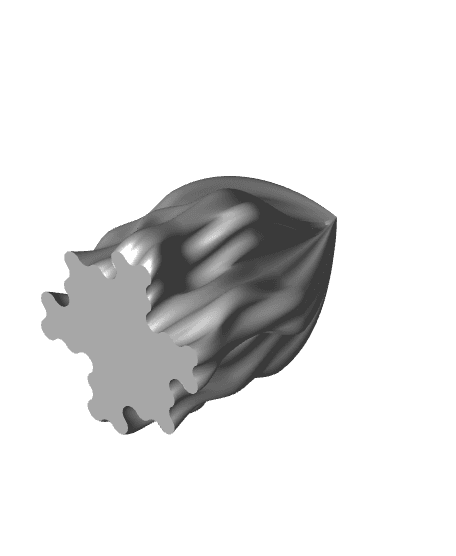
The body (olas.stl) has a size of 165.2 x 175.3 x 220 mm and should be printed with transparent plastic (I used transparent PLA from 3DJake) or you could even use white if the bulb is very bright. It is a solid model and has two options to print it, both with 0% infill, wall line count: 3 and top layers: 0 and no supports:
- Bottom laters: 0 so that the final lamp is open at the top.
- Bottom layers: 5 so that the final lamp is covered at the top.
For the base (montalamp.stl) it must be printed in the default orientation (legs up) and using support for the slot. For this piece I used a 20% infill and a white matte PLA but you can use any colour you like.
