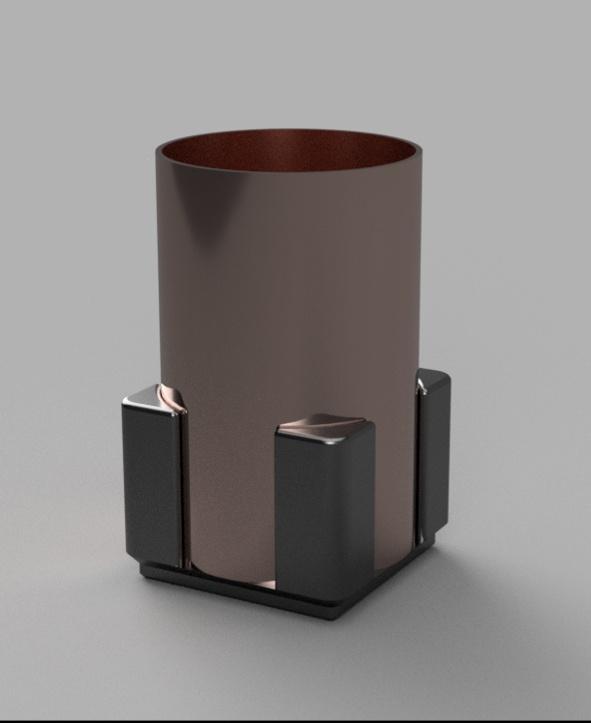
Fully DIY Motor Shade for use with 0.75" Copper Pipe
Fully DIY Motor Blind
A simple and modern 'direct' drive roller blind system based on Ikea Motorized Roller Blind by Martin Engström. This kit focuses on choosing your own shade material and using a 3/4" copper pipe as its bar.
Assembly requires the following parts:
- 12v 28BYJ-48 Stepper Motor
- Stepper controller of your choosing
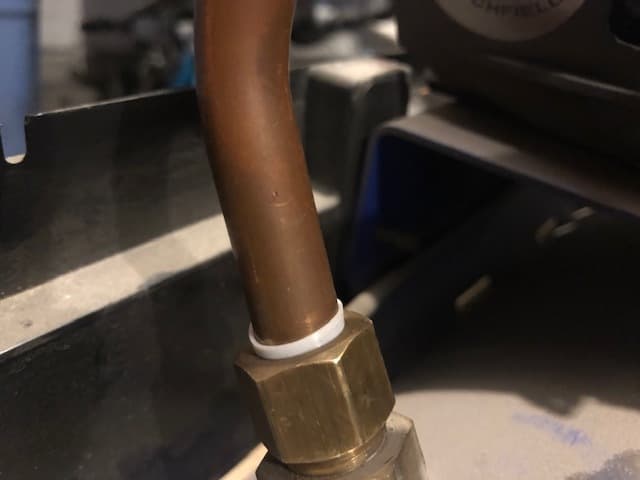
- 3/4" Copper Pipe Type M (source locally)
- 1x 8mm or 5/16' bolt ~1" long
- 2x 3mm x 10-20mm bolts & optional threaded inserts
- 4 x Mounting screws of your choosing
- Shade material of your choosing
- Duct tape/gaffer tape/gorilla tape/blue tape?
- Microcontroller of your choosing
Download includes:
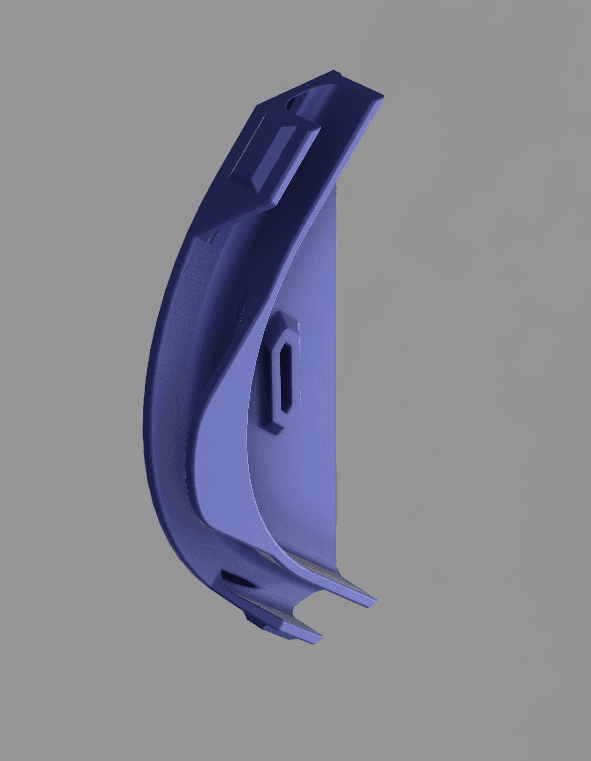
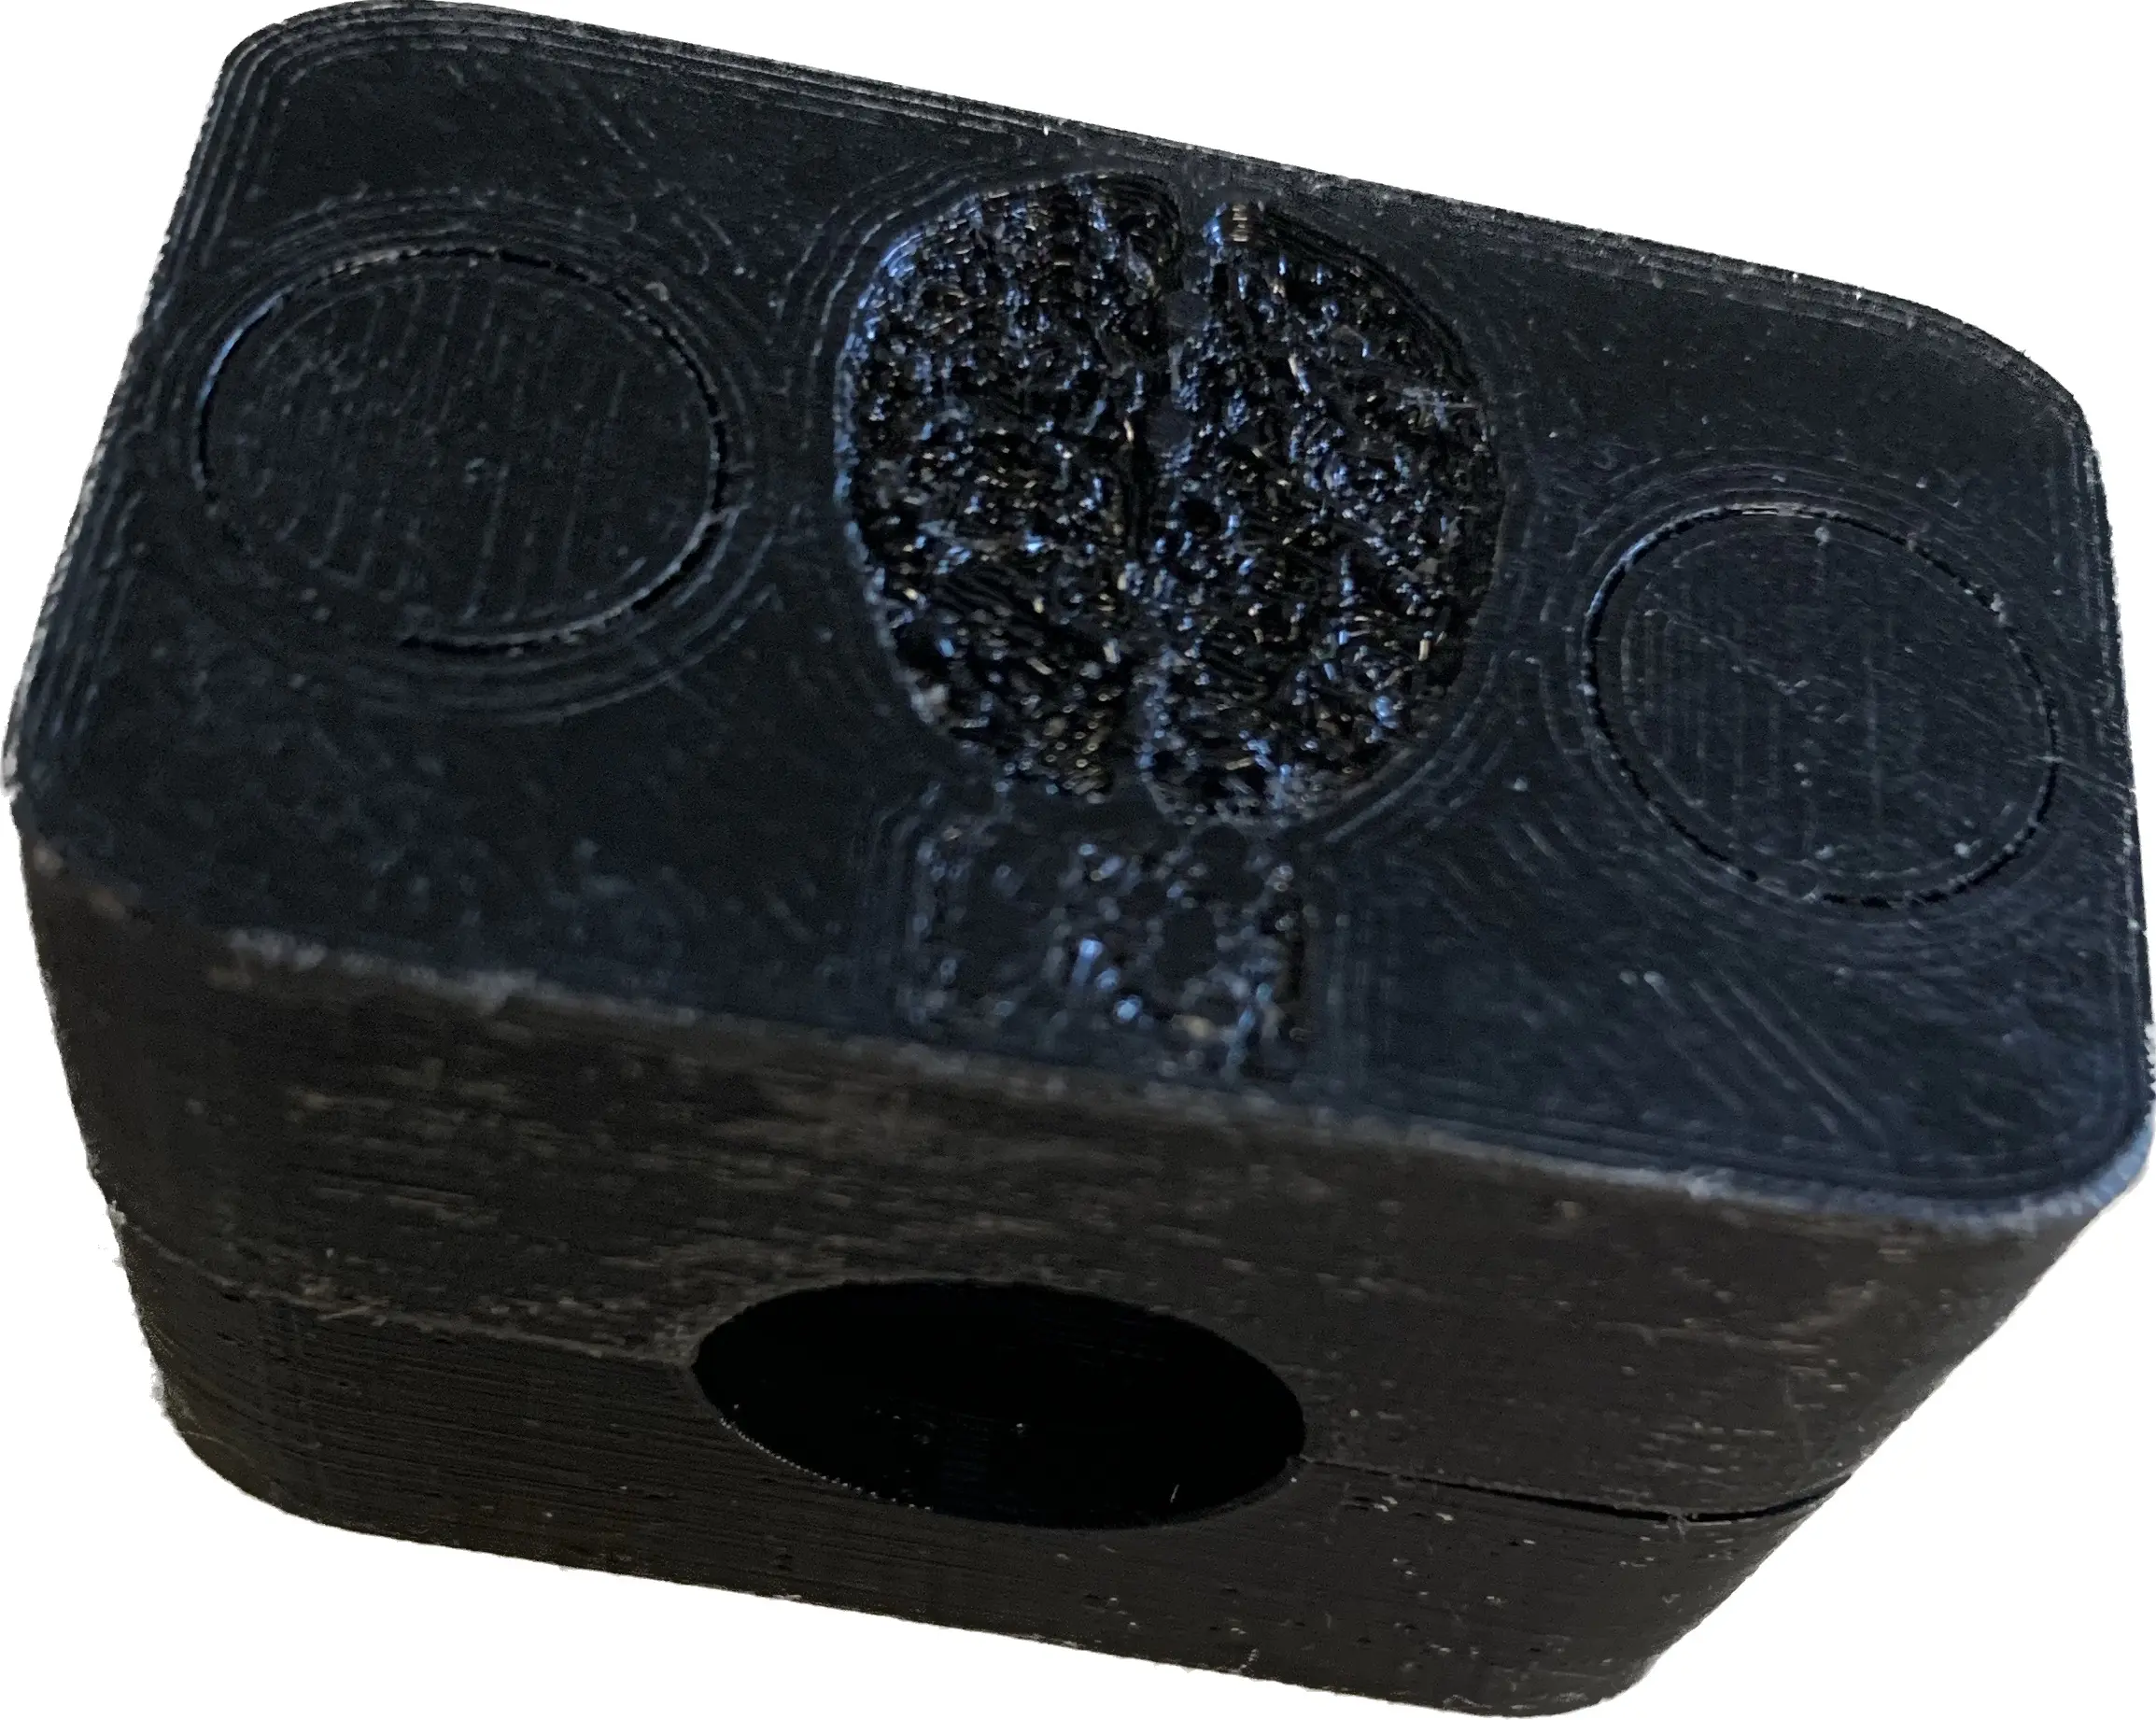
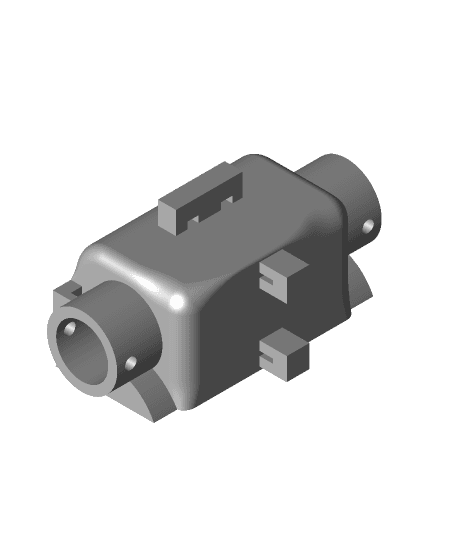
- Motor Mount
- Motor Cover
- Motor Side Pipe Insert
- Idler Side Pipe Insert
- Idler Bracket for 8mm Bolt
- Left & Right Side
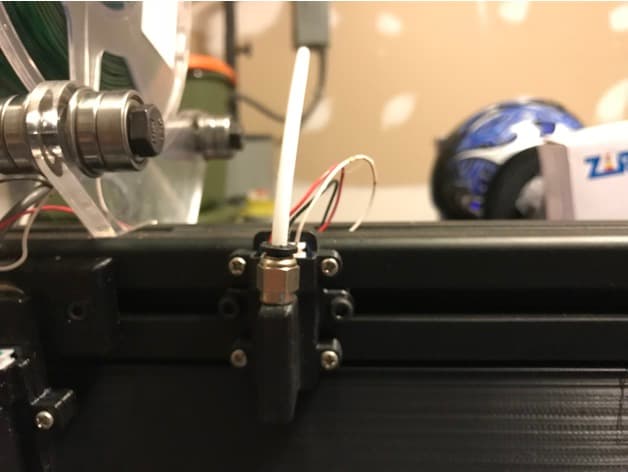
Most roller blind projects assume you are working with an existing commercially available blind, focusing solely on the motor side since they are reusing the idler bearing on the other side. Unfortunately, aside from wite and black vynil, roller blinds can be more expensive than a low end commercial motor shade. Starting with Martin Engström's design for Ikea blinds, I made a motor insert and idler system for 3/4" copper pipe (Type M thin wall)
Copper PipeI cut my copper pipe with a cheap rotary cutter which will push the edge inward at the cut. I did what deburring I could and based my measurments on that. Straight cut pipe may be too loose a fit and might require some adhesive.
28BYJ-48Many designs add an additional gearing on top of the 28BYJ motor that already has a 64:1 gearing inside its housing. There's already enough static torque to hold a decent amount of fabric and even a weight bar in a 'direct' drive configuration, so why not use it as is and gain some speed and space?
The 28BYJ comes in 5v and 12v flavors and for maximum performance, I highly reccomend the 12v version. You will also need to source a controller.
Motor ControllersThe 28BYJ is more natively supported by the ULN2003 motor controllers and you'll find them bundled in many locations, but controlling the ULN2003 is kind of archaic at this point. You need to generate a rolling pulse pattern across 4 pins - which there are libraries for - but then you're out 4 pins on your microcontroller.
Step sticks are the modern way of doing things - give them power, set the current and provide direction & pulse for each step. The only issue is that a step stick generally expects a 4 wire bipolar motor, where as the 28BYJ is a 5 wire 4 phase motor. You can still use them together, though you may need some minor modifications. I have been using a DRV8825 and only had to remove one wire and find where the others go. I'm not using microstepping or smoothing which may conflict with the way the 28BYJ is wired internally, but from my research is something you can mod. (I'll update this with more info when I have a chance, but this is easily googleable.)
Other step sticks: A4988, TMC2208
NotesI have included the Fusion 360 file for my work on this, but I can't promise beautiful parametric design.
All external links are affiliate links.
Design is shared under Creative Commons BY-SA 4.0 Please Attribute and Share Alike
Fully DIY Motor Shade for use with 0.75" Copper Pipe
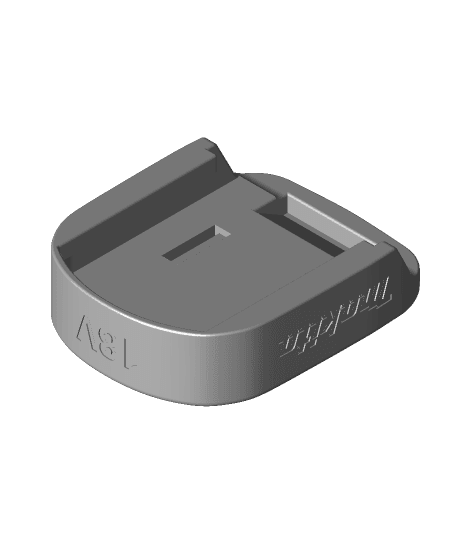
18v Makita Battery to Ozito/Einhell Tool Adapter
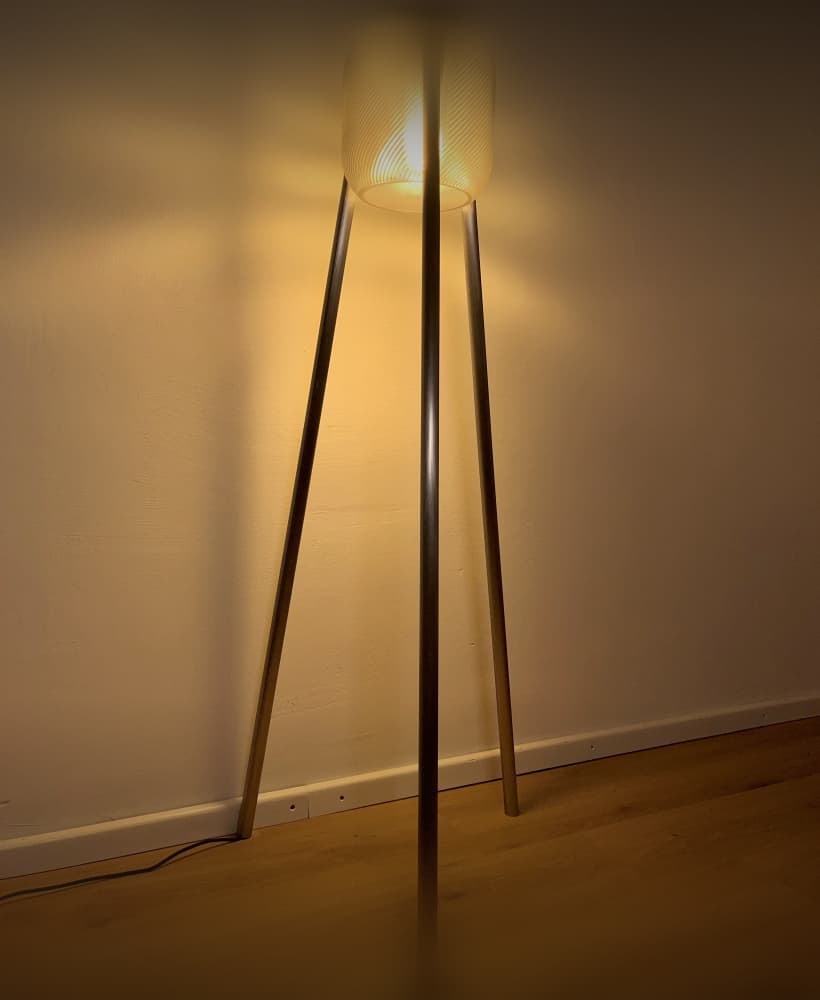
Umea industrial - a floor lamp with steel/copper/aluminum pipes
Gridfinity 1x1 for 42mm pipe

Dewalt Soldering Station
PEX PIPE BEND SUPPORT BRACKET 1/2" 90 DEG
1/2" Pipe Clamp mount.stl
Campbell Hausfeld wl650000aj Compression Seal
LED STAFF - Main Electronics Enclosure Electronics Cradle
Filament feeding system
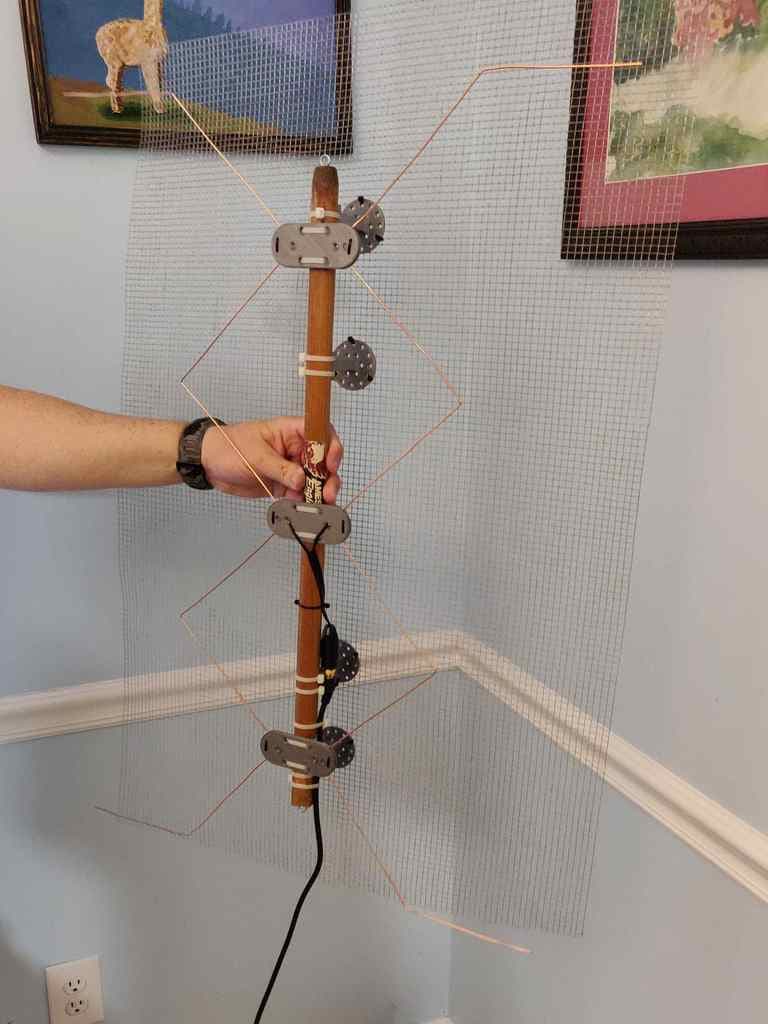
HDTV Antenna (OTA DTV)
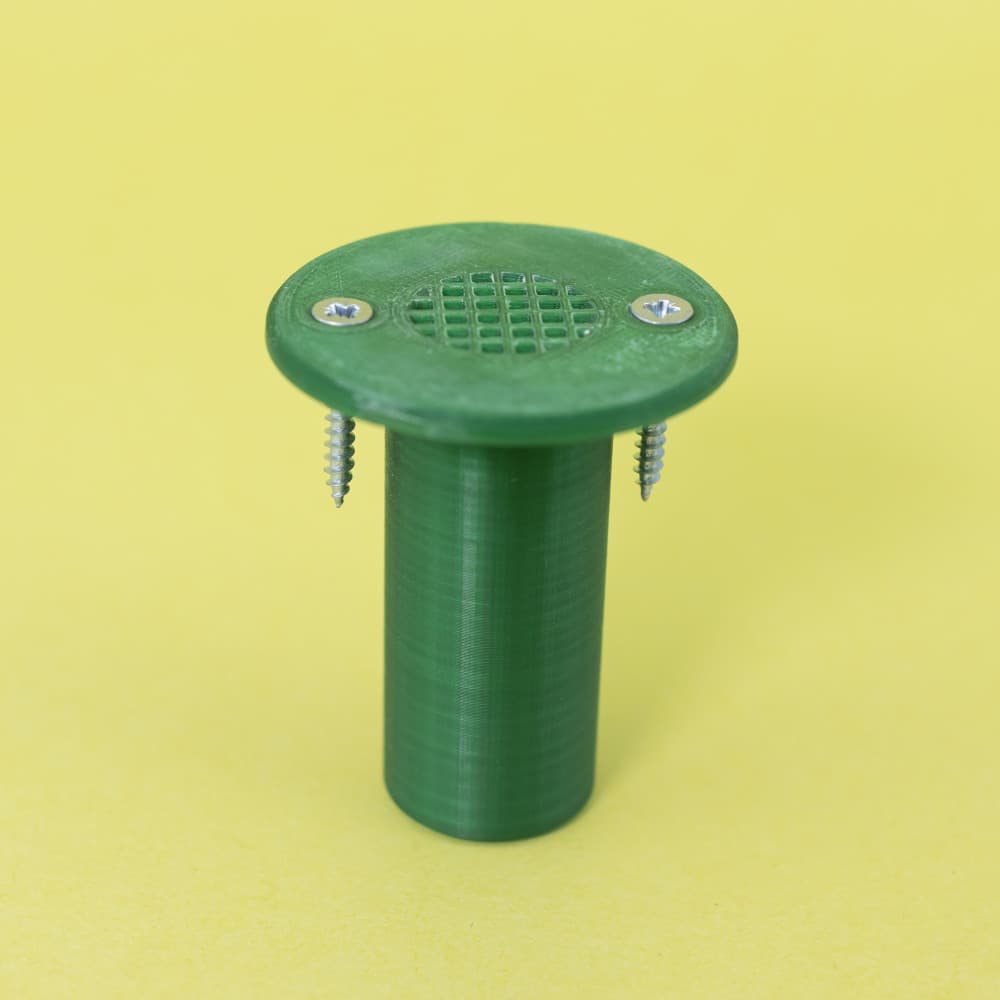
Gas Drop Out Floor Vent for Vans, Campers, Motorhomes

Steampunk Fantasy Castle STL File for 3D Printing
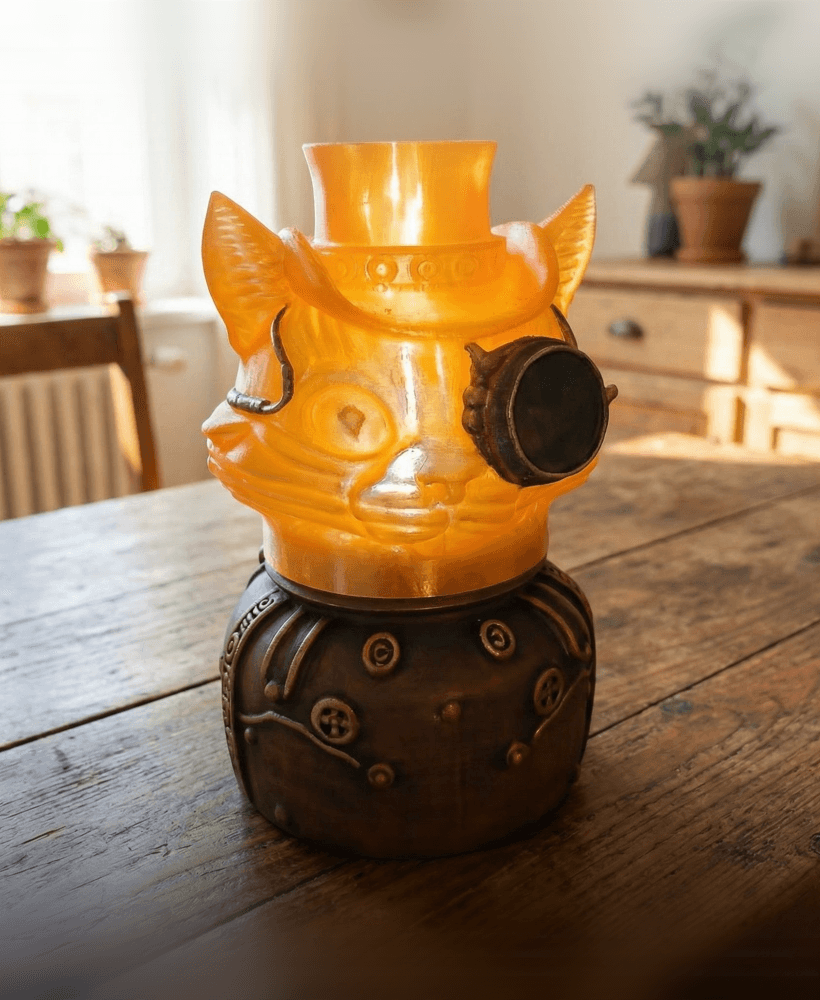
Steampunk Cat Lamp
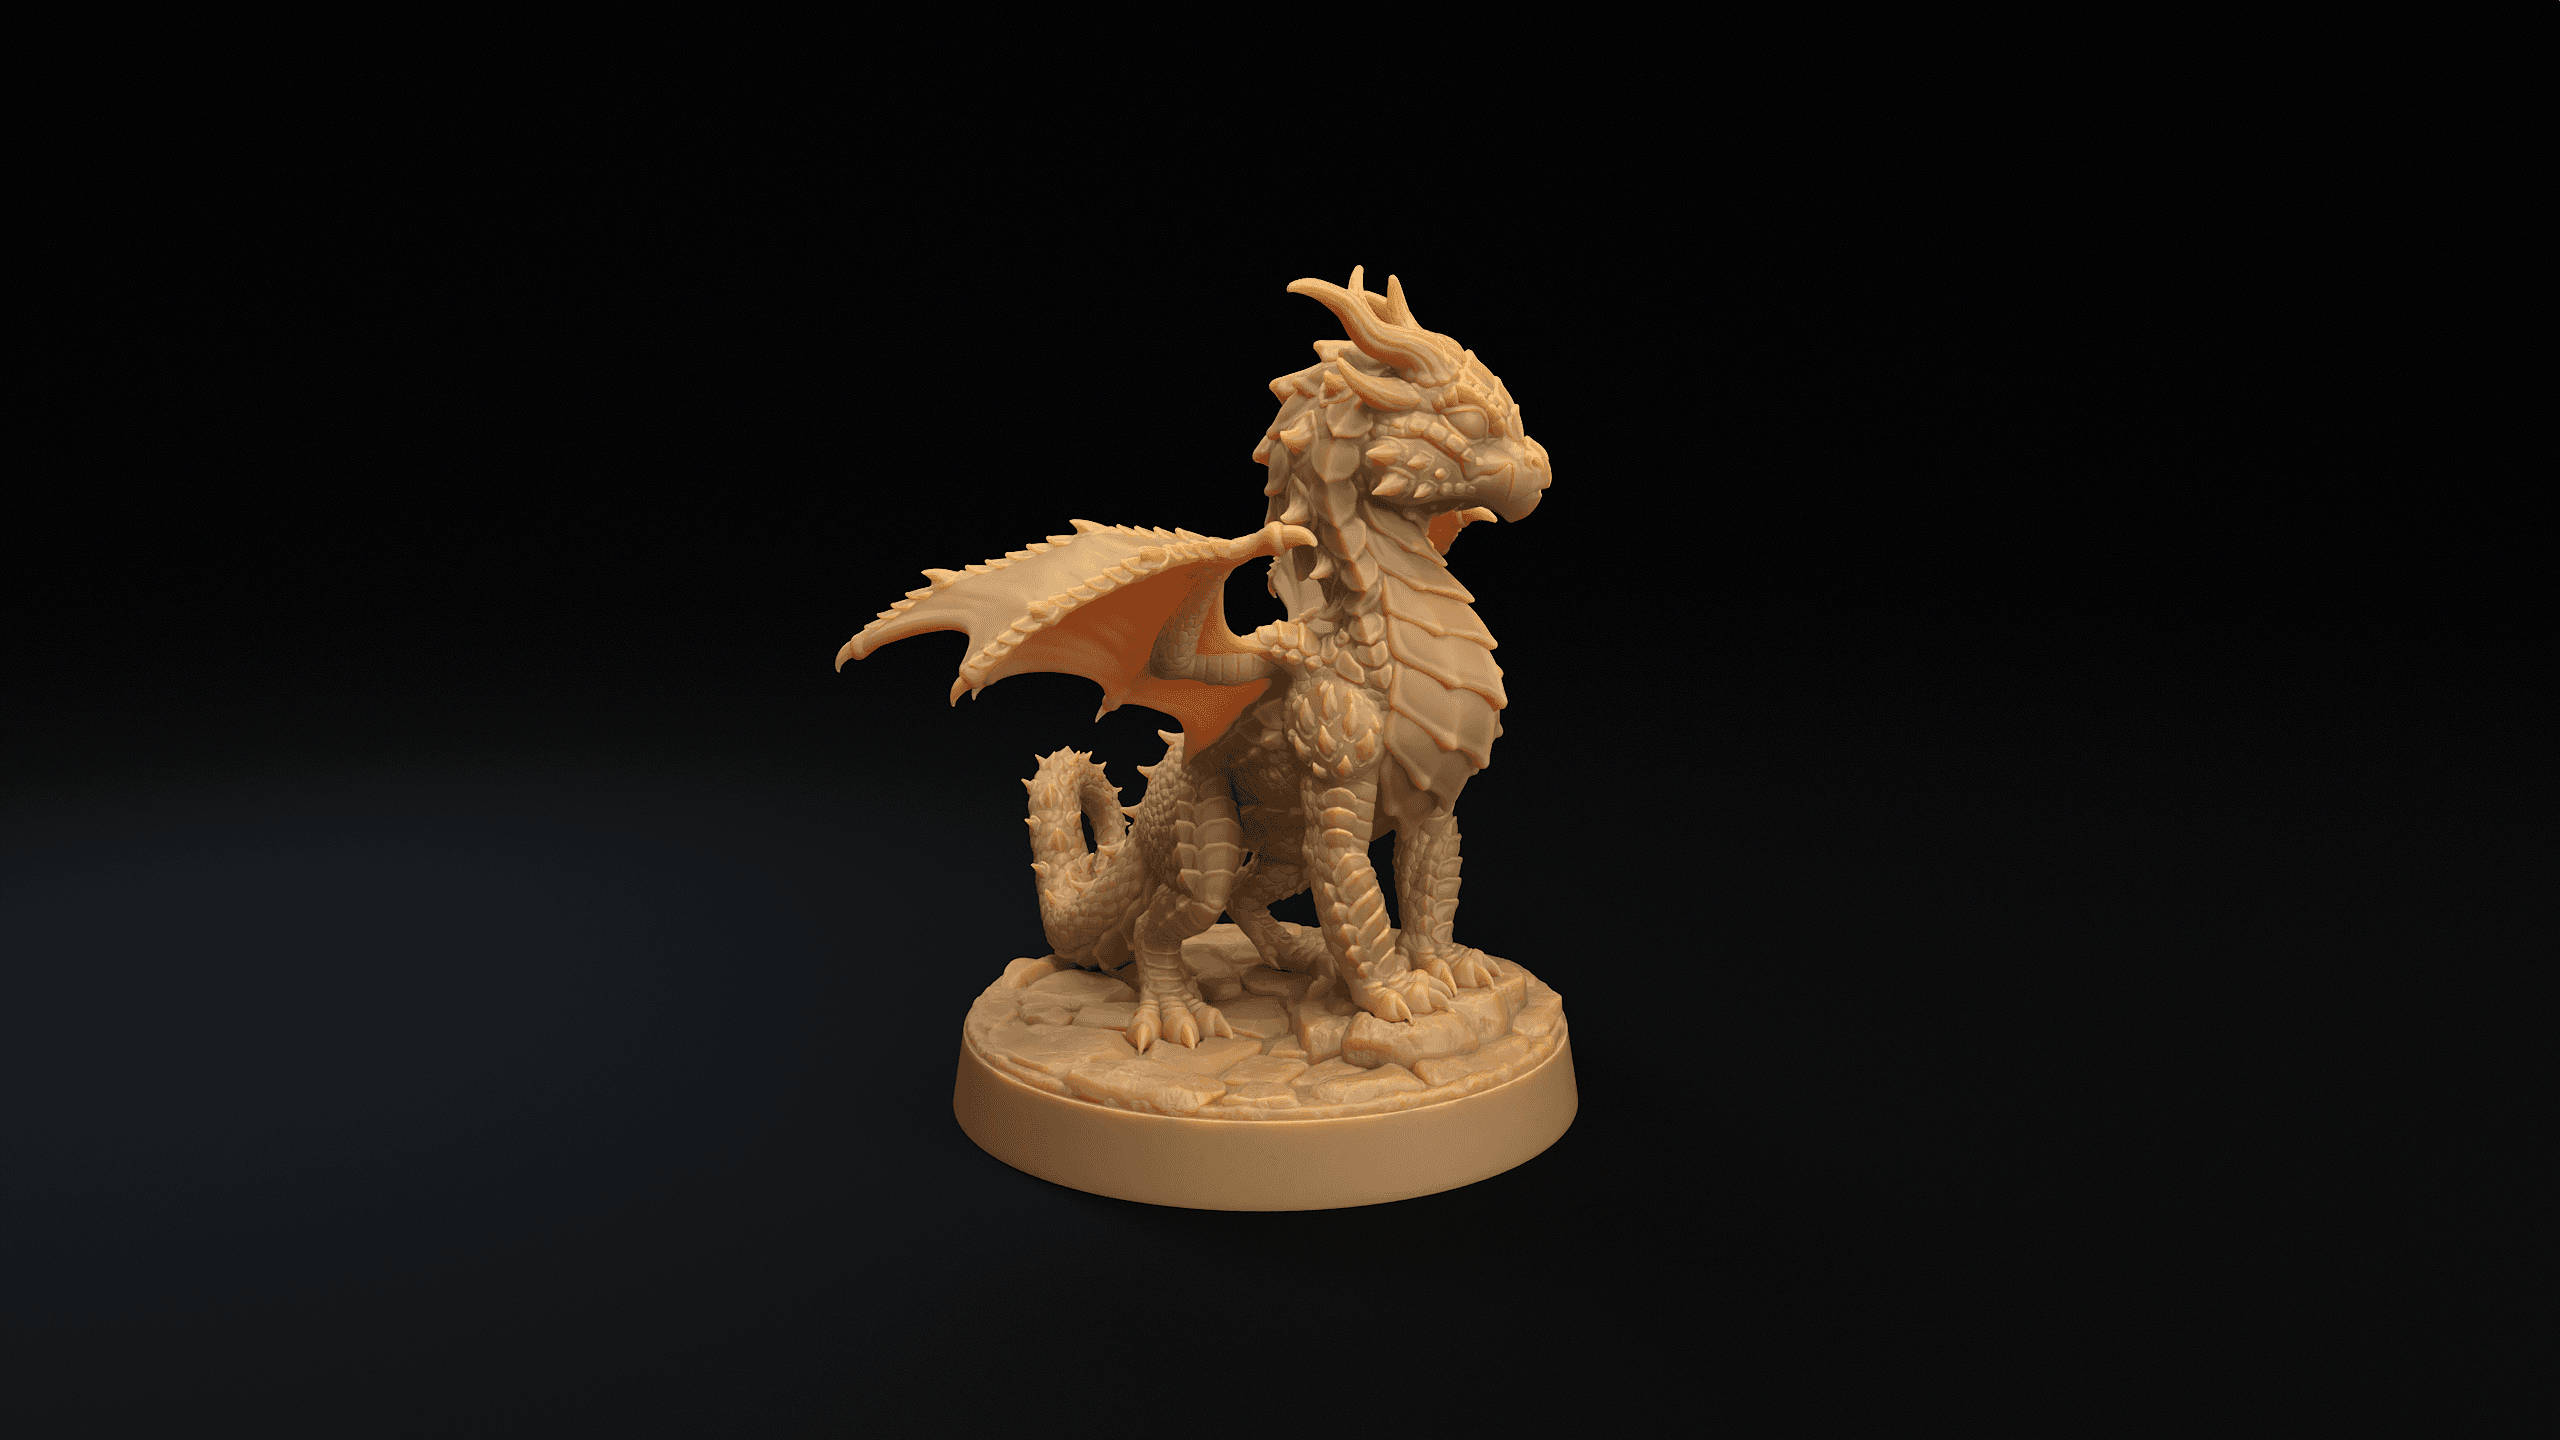
Flamehorn Wyrmling
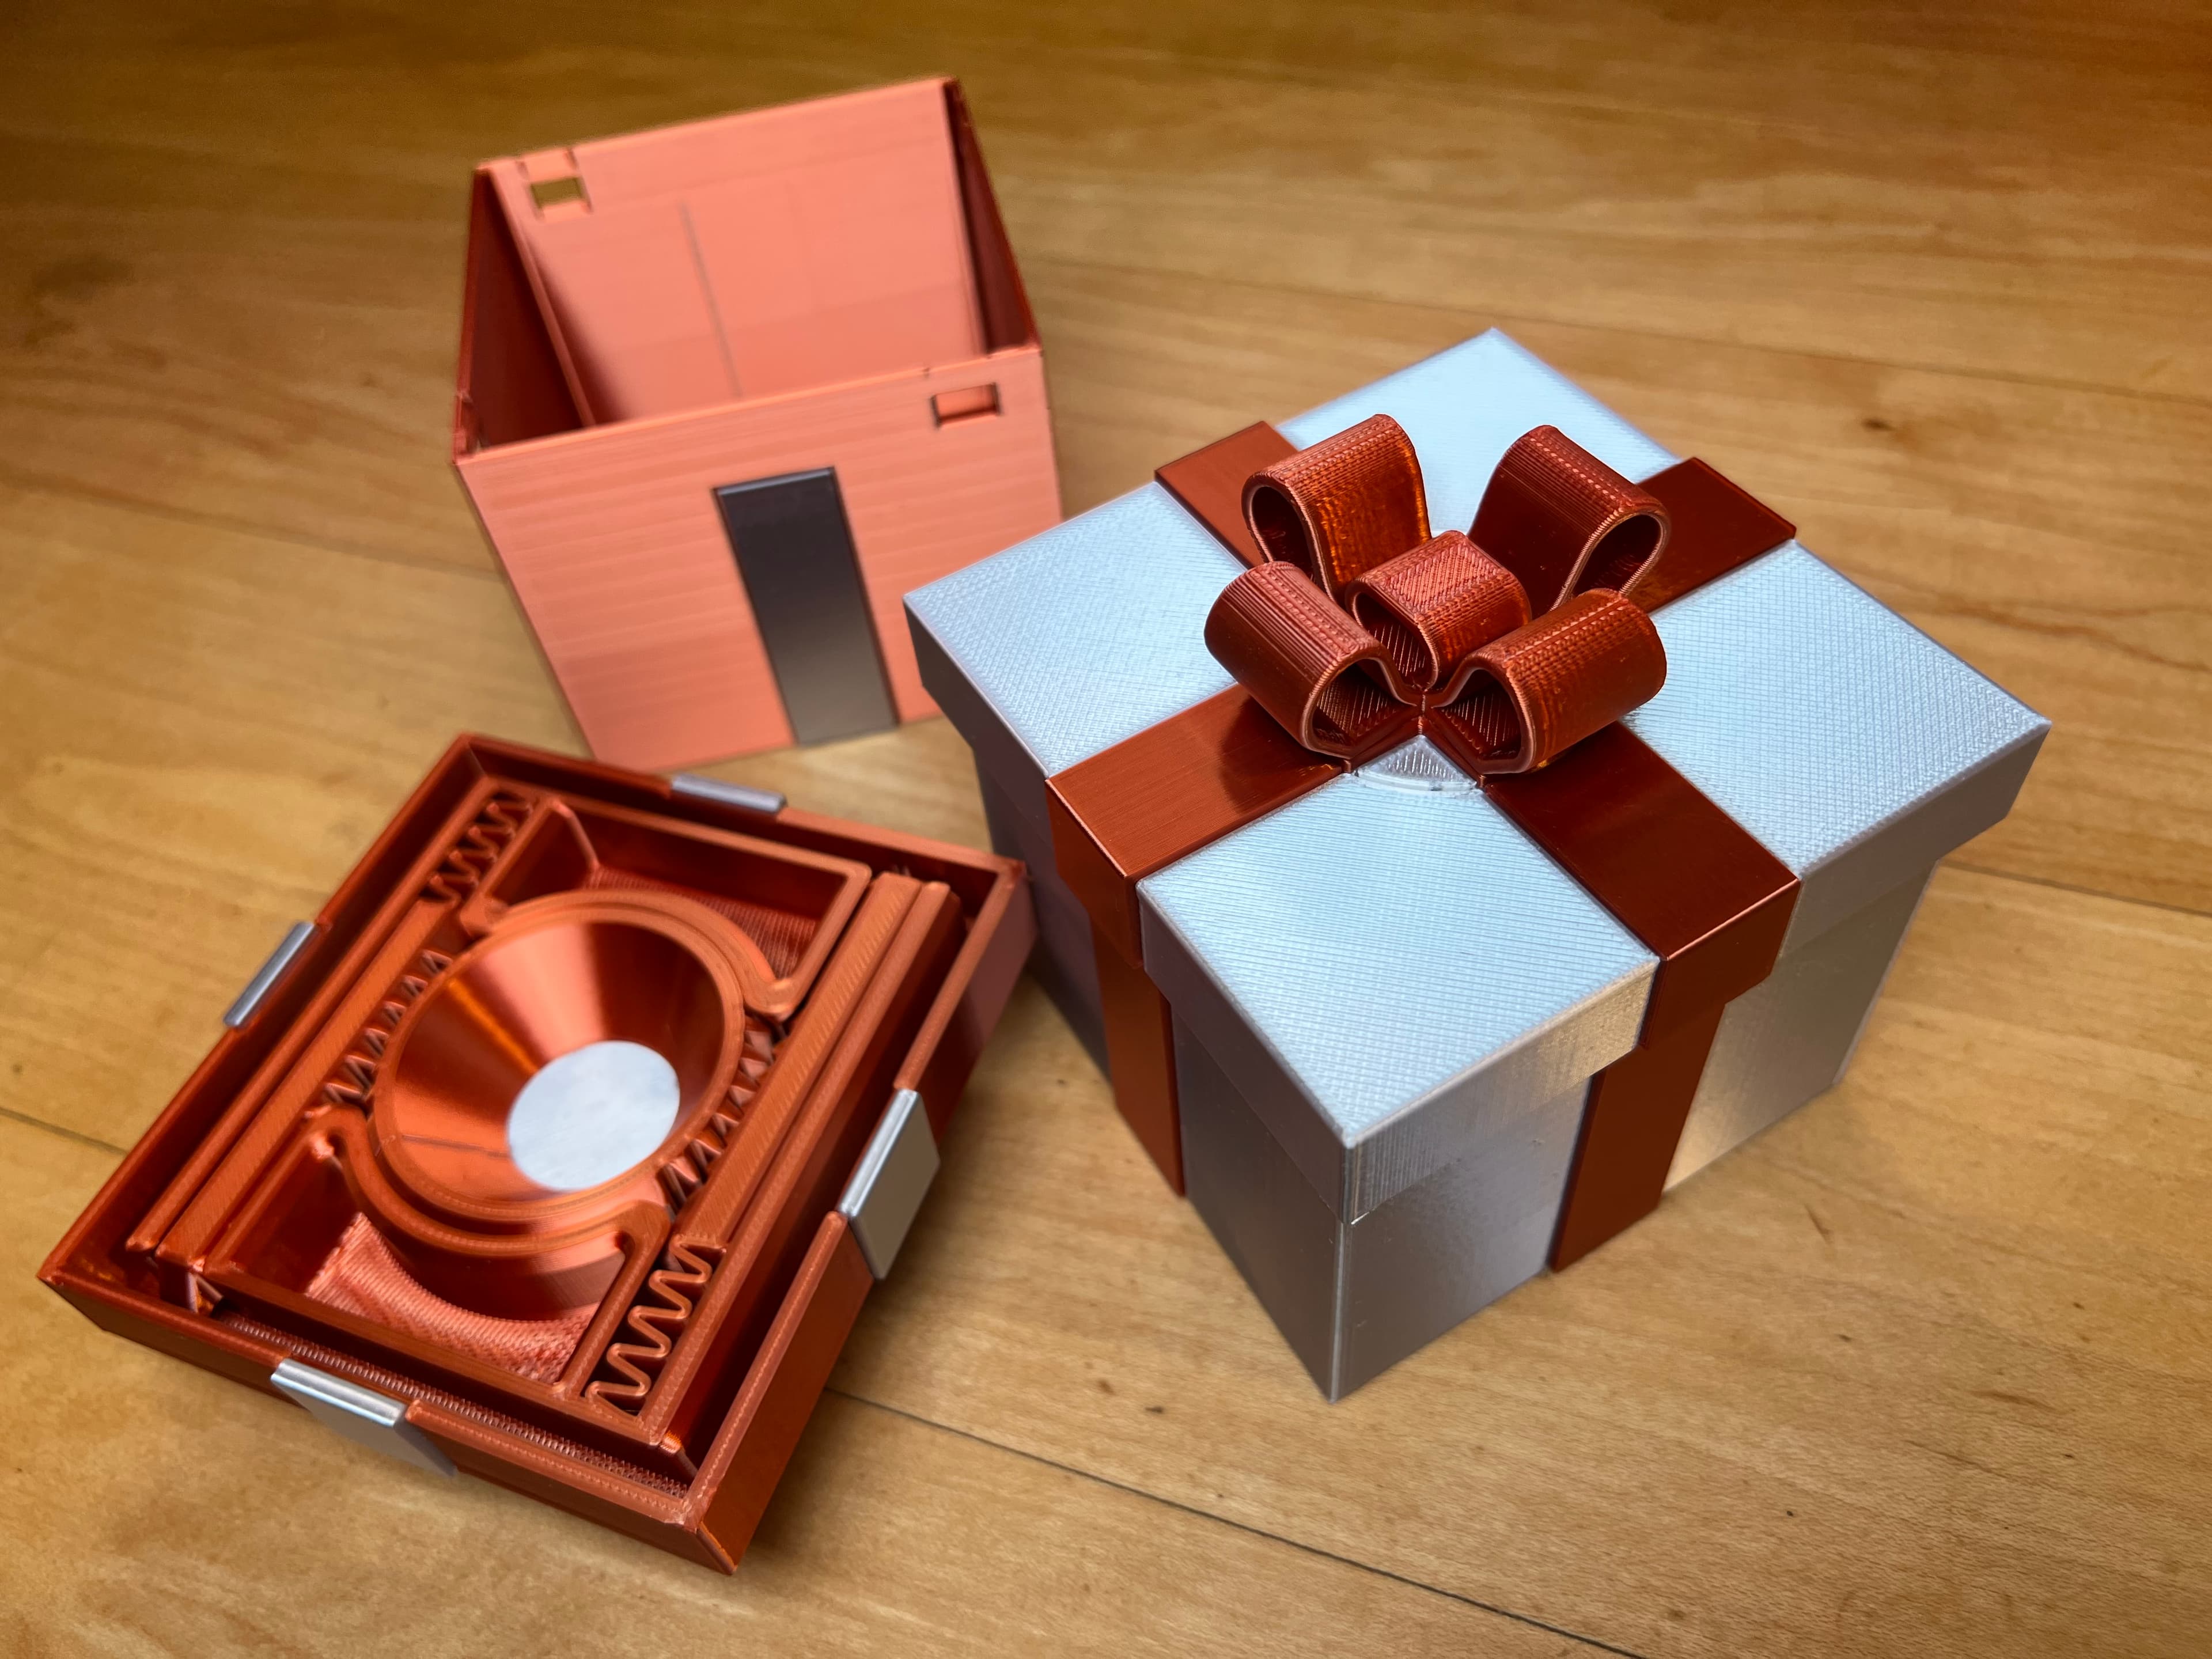
Gift Box #1
.png&w=3840&q=75)
Hextraction Gear Tile
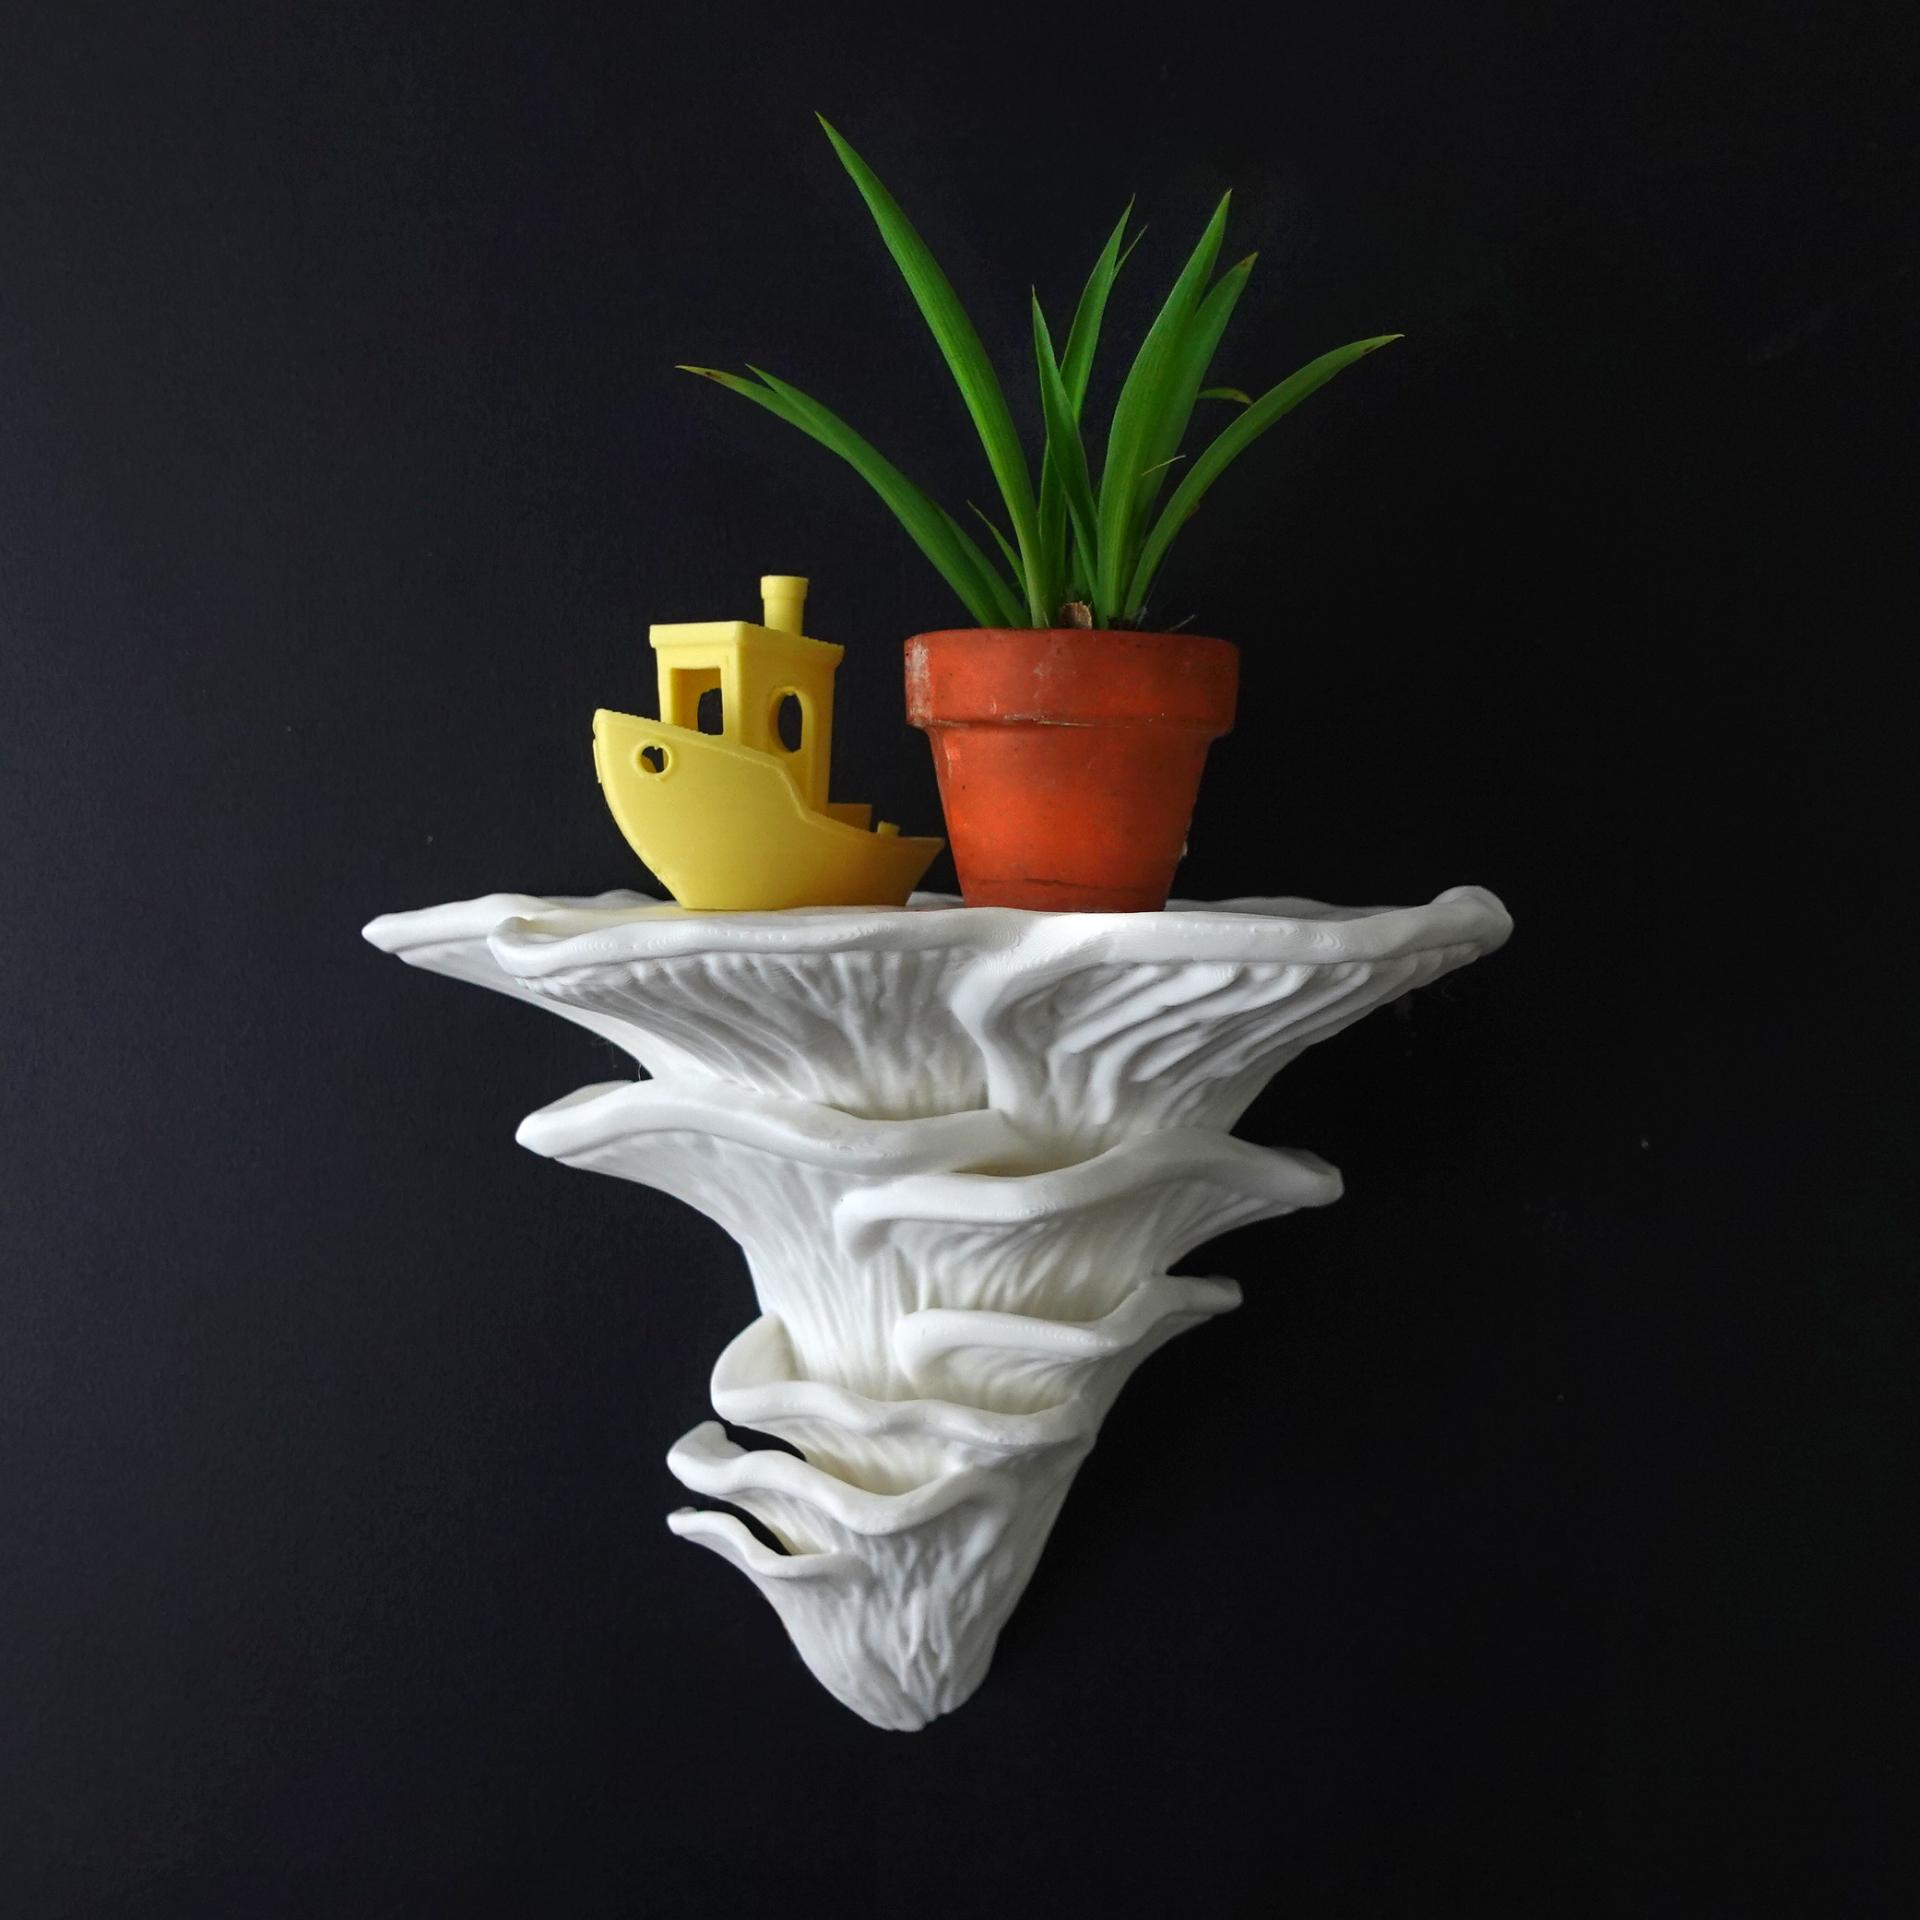
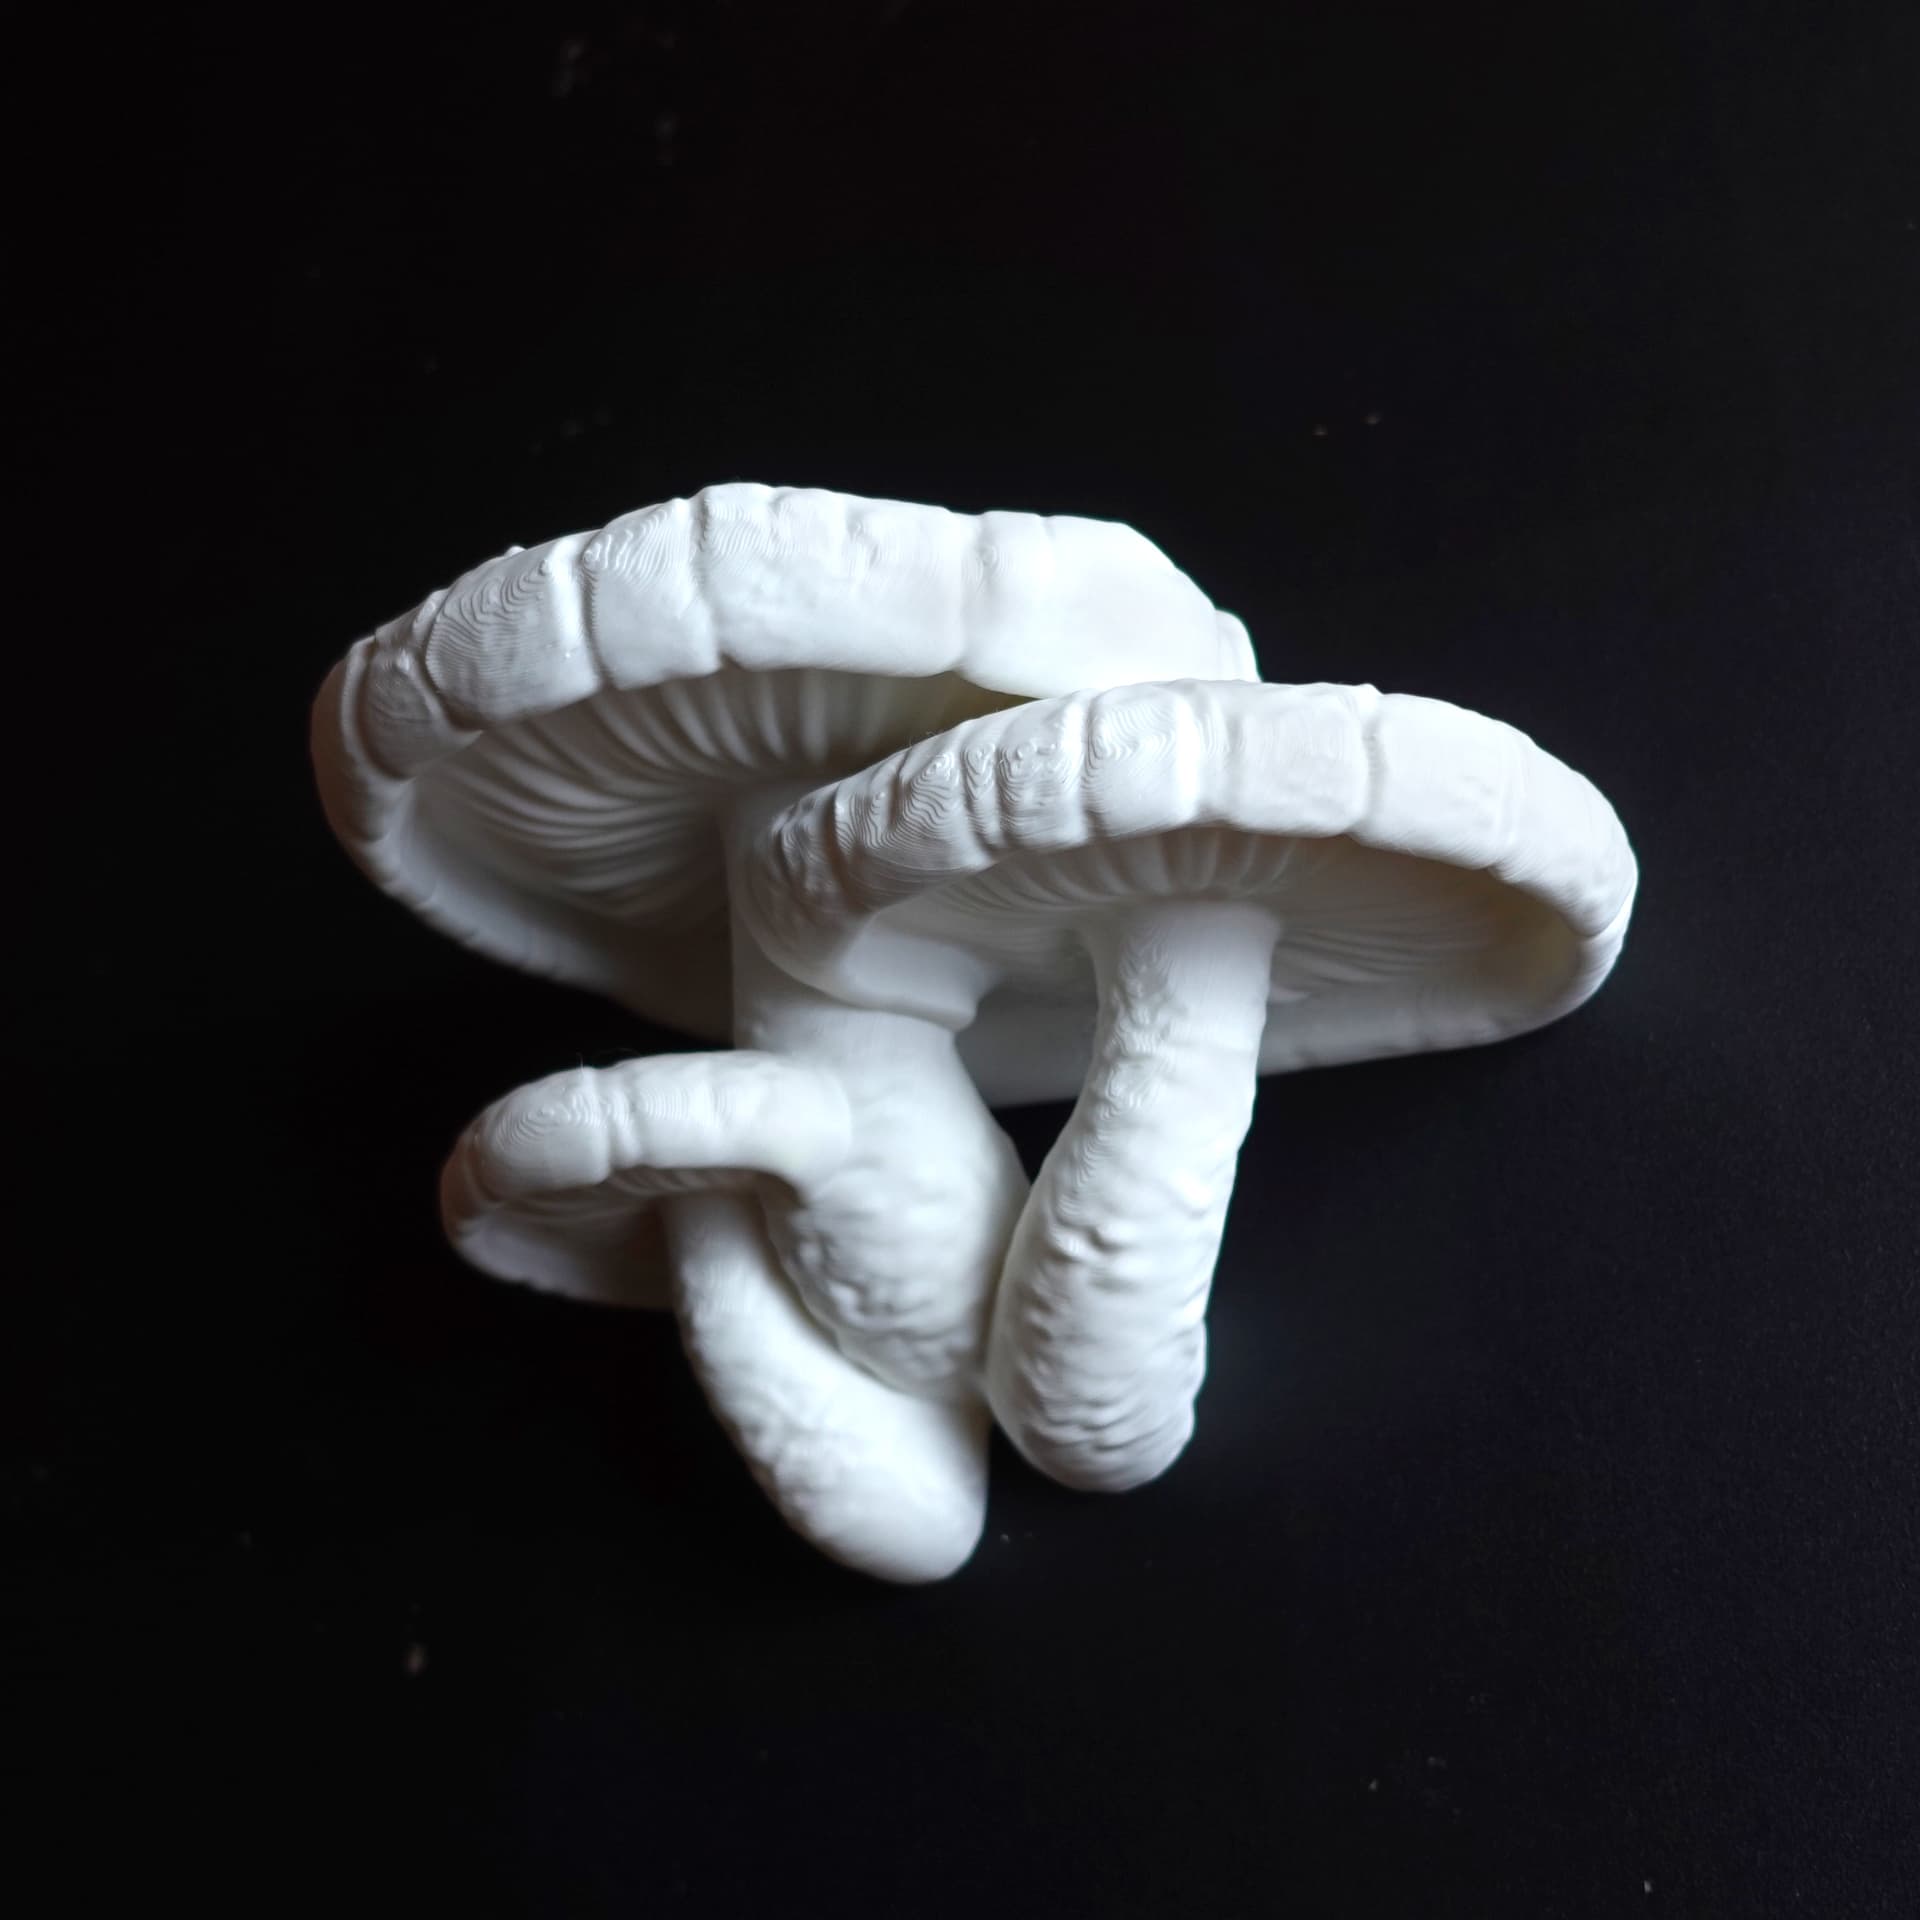
Mushroom shelf “Pleurotus Djamor”

Mushroom shelf “Formitopsis Pinicula”
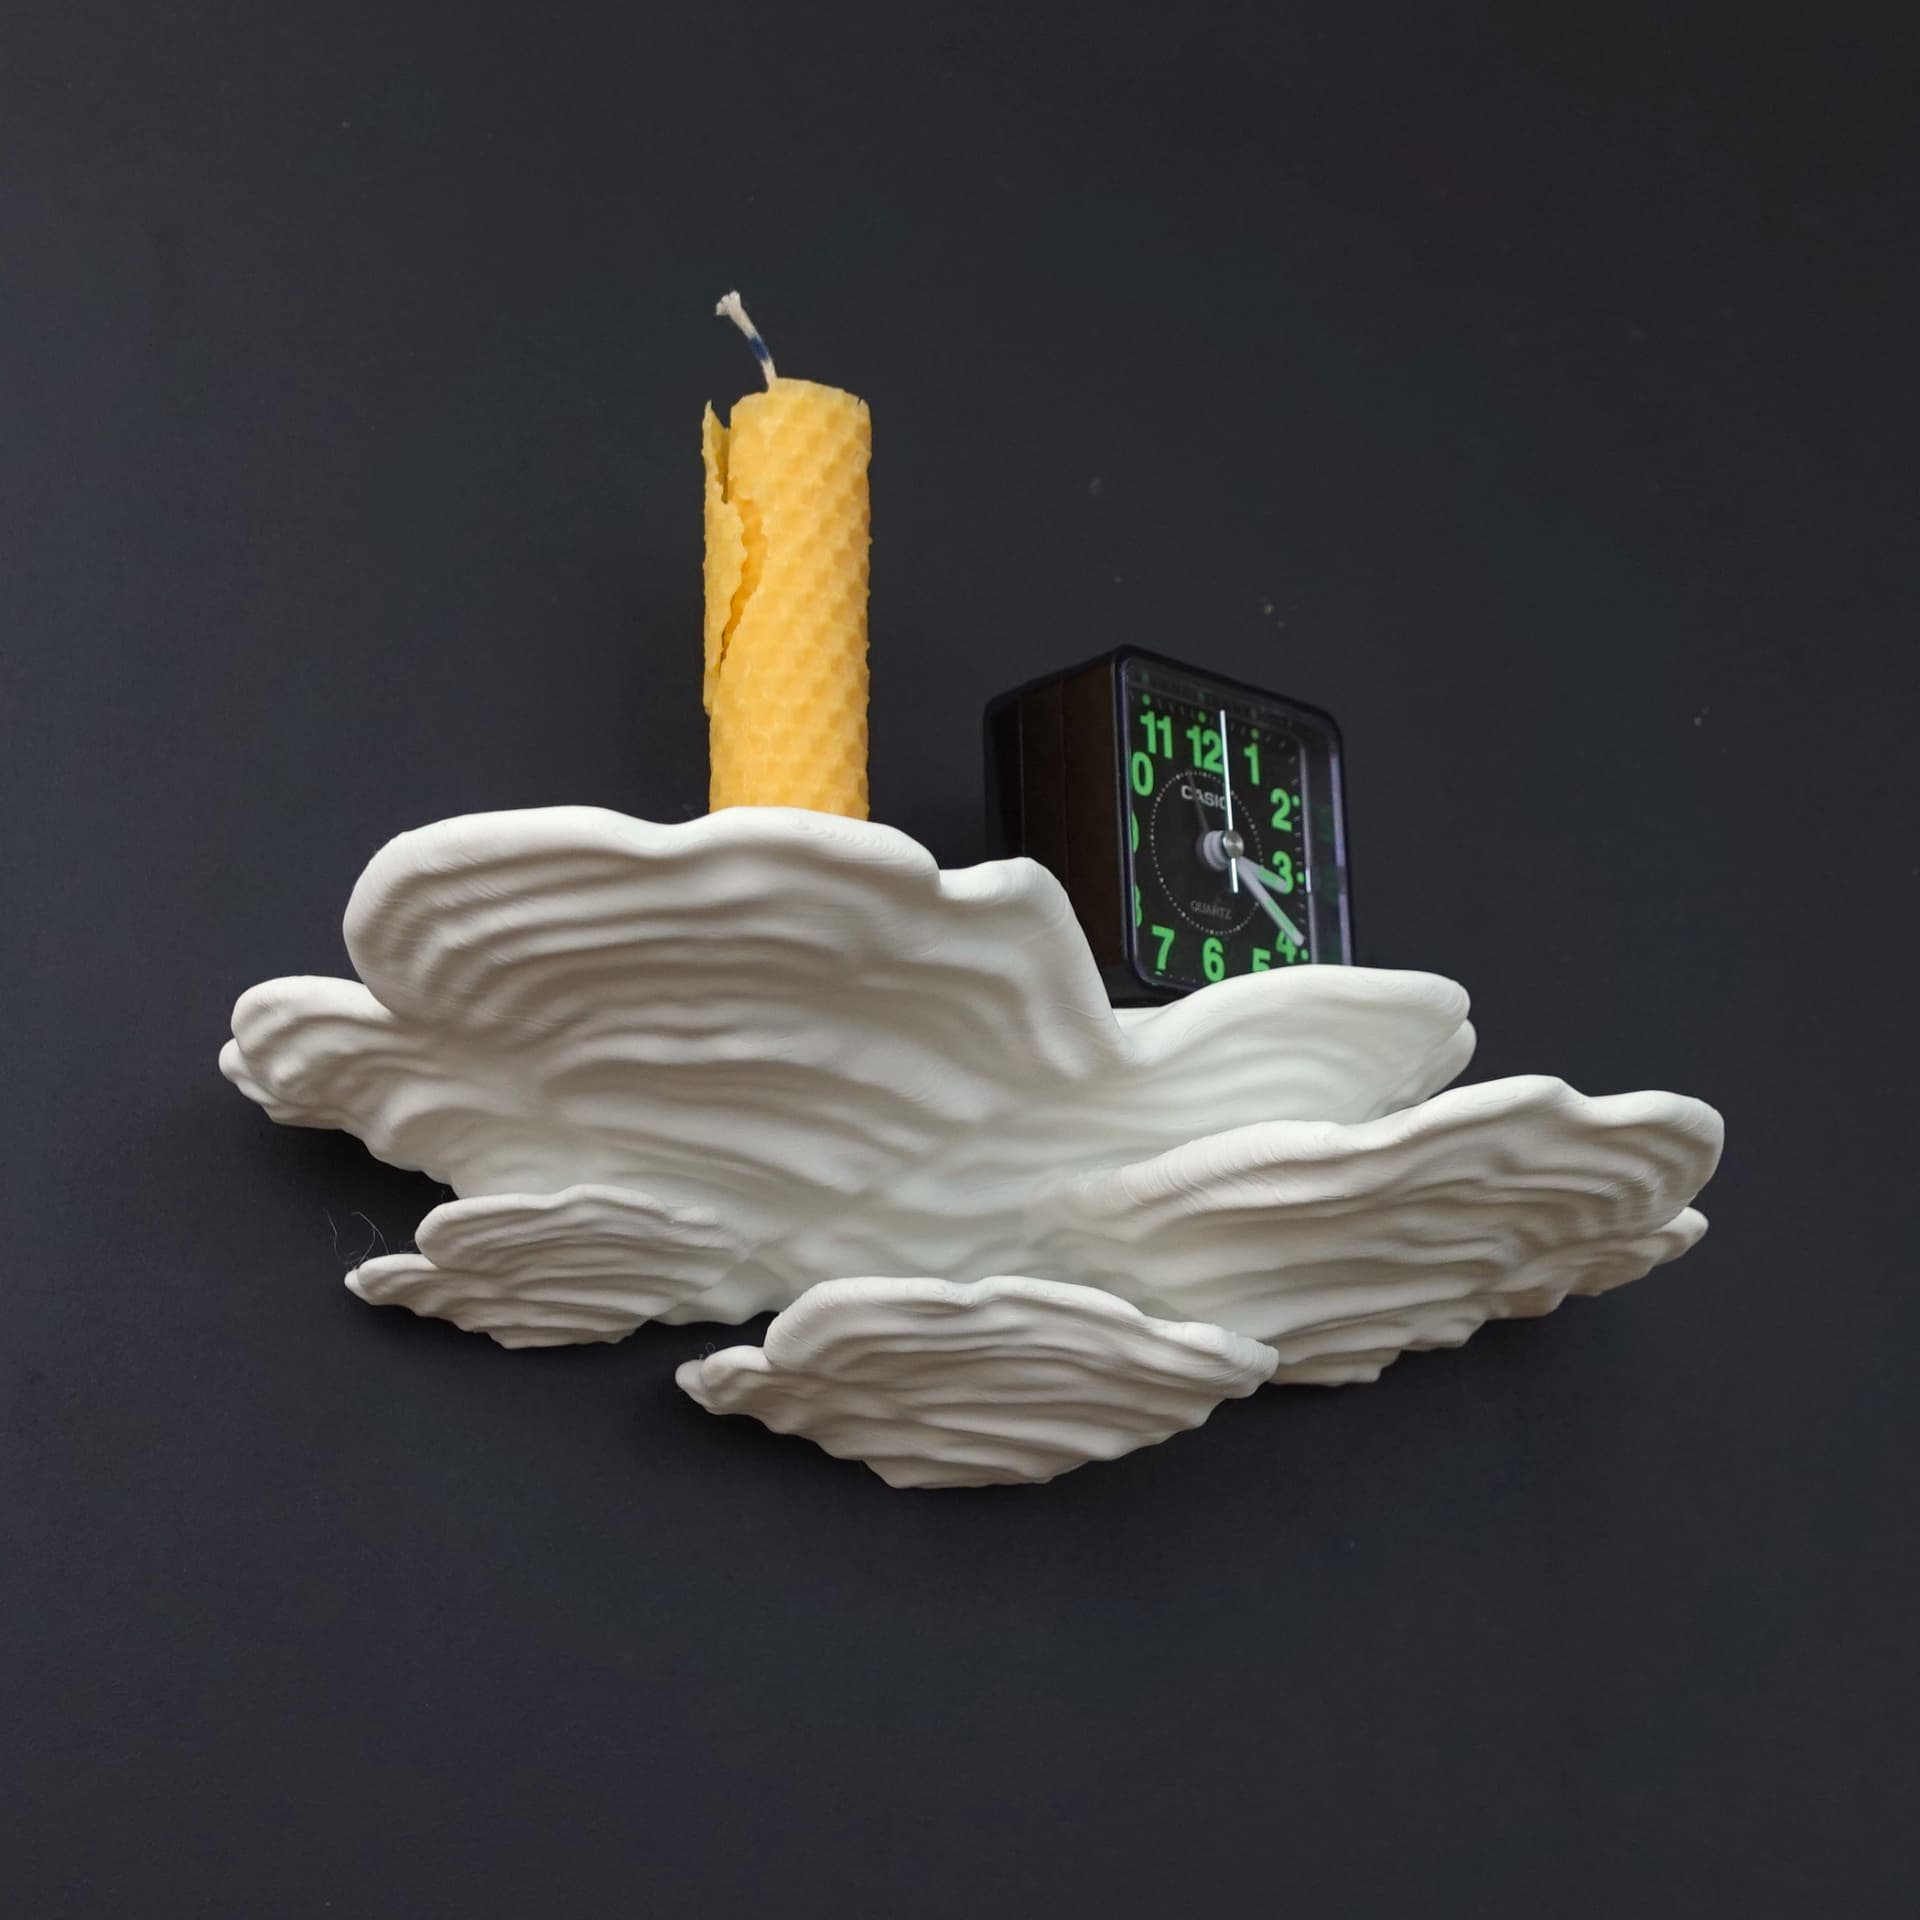
Mushroom shelf “ Stereum Ostrea”