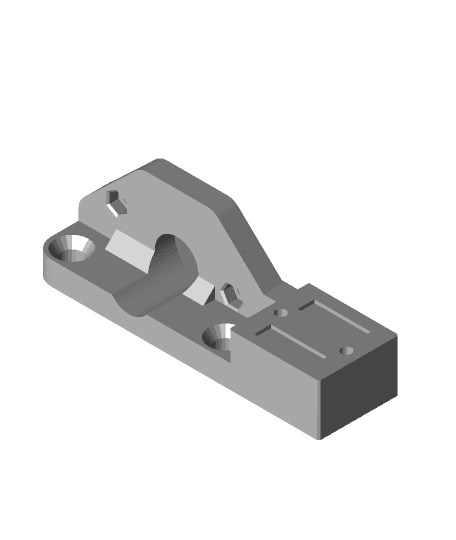
Ender 6 Orbiter v1.5 extruder adapter with strain relief
Model originally uploaded to Thingiverse at https://www.thingiverse.com/thing:4934243.
This version of the Orbiter v1.5 extruder mount pulls from a number of models.
- It avoids the end stop and handles cable management.
- None of the cables need to be disconnected, they can be inserted through the slot in the back of the strain relief mount. The strain relief mount was based on https://www.thingiverse.com/thing:4717506.
- Wire tying the cables to the support keeps them in place and the Creality tube can be inserted easily into the support.
You will need
- 2 M3 20mm Socket Cap Screws
- 2 M2 8mm Socket Cap Screws
- 4 M3 Hex nuts
- 2 M5 40mm Hex Socket Flat Head Cap Screws
- 1 96mm PTFE tube to run between the Hotend and the extruder
Prior to installing the extruder mount on to the printer, carefully press the 4 Hex nuts into position and use a screw the Cap screw to pull the nuts into position. Remove these screws for now.
Remove the existing retaining clips from both ends of the cable tube. Unplug the wires from the distribution board. Remove the PFTE tube. Move the wires to the right of the Hotend.
You will need to mount assembly onto the plate one screw at a time. You don't want the assembly carriage to come completely free of the bar.
Remove the left screw for the top roller, being careful not to lose the stop nut or the spacer. Place the mount against the plate and insert the new M5 screw through the mount and the plate. Put on the spacer. Don't push the screw all the way through, only go as far as the end of the spacer. Place the roller in the correct position, slide the screw through and attach the stop nut. Do the same with the second screw.
Insert the PTFE tube fully into the Hotend,
Feed the other end of the tube into the small hole of the Orbiter. Mount the Orbiter onto the bracket using the the 8mm screws. Route the motor cable through the tube. If need be, you may need to carefully remove pins from connector, making note of the order. I fed a piece of filament through the tube. I bent the end of the filament a bit. I taped the end of the cable to the bent end. I carefully pulled the cable through the tube. Reinsert the pins into the connector if you removed them.
Route the cables to the right and feed through the strain relief. Carefully wire tie the cables in place. Attach to the mount with the 2-20mm screws. Reinstall the the rear cable clip and reinstall the wires from the harness.
