
Ultimate Vase Mode Desiccant Cup
Model originally uploaded to Thingiverse at https://www.thingiverse.com/thing:4740454.
This is a mashup of TempusEdaxRerum's clever dimpled vase-made desiccant cup, and mitchell_cj's equally ingenious screw-together model. I found the dimple holes on the former to be a bit too big, and my cheap desiccant beads would occasionally fall out. I also wasn't a fan of the snap-on lid. The latter only had air holes on the top and bottom. Neither had a particularly efficient (printing-wise) base hole pattern. So I combined the best features of each and added my own slotted bottom. The slots are spaced to slice perfectly with a 0.6mm line width.
Thingiverse is being thingiverse and not allowing my to credit both sources right now for some reason, so here's direct links:
https://www.thingiverse.com/thing:2538528 https://www.thingiverse.com/thing:2843807
Slicing settings:
Vase mode, obviously. It's called "spiralize outer contour" in Cura. Set your line width to 0.6, your layer height to 0.28 (or thereabouts, depending on your ideal Z increment), and your flow rate to 140-150%. Yes, this is overextruding, but that's what you want in a sturdy vase mode print. You'll probably want to crank up your print head temp a bit to compensate for pushing that much filament (I went to 190C for PLA that normally prints at 180C). Print slow - with my CR10 knockoff I printed at 40mm/s with 15mm/s for the first layer. 2 bottom layers is sufficient, but I print 3 just to give it a bit of extra rigidity. Vase mode requires top layers be set to 0, and wall line count is irrelevant.
Print one copy at 100% size, then print another at 105% size. They should screw together perfectly.
Each half uses about 8g (2.5m) of filament and should only take 15-20min to print. Fits in any most spool holes, and it's a great way to use up that last little bit of filament from a spool.
EDIT: I found that one of my spools (TTYT3D silk) was just a bit too small to fit the 105% half of the cup. I logged in to make a note of this, and saw that user Ashnak had already discovered this issue the hard way. Sorry.
At 105%, the larger half is just a hair under 56mm in diameter. If you have a spool with a hole smaller than that, you'll have to scale down the model to fit. The key is to have a 5% differential between the halves. So just scale down the big half until it fits your spool, and then print the small half 5% smaller than that. For my TTYT3D spool, I printed the two halves at 95% and 100% and it fit.
Ultimate Vase Mode Desiccant Cup
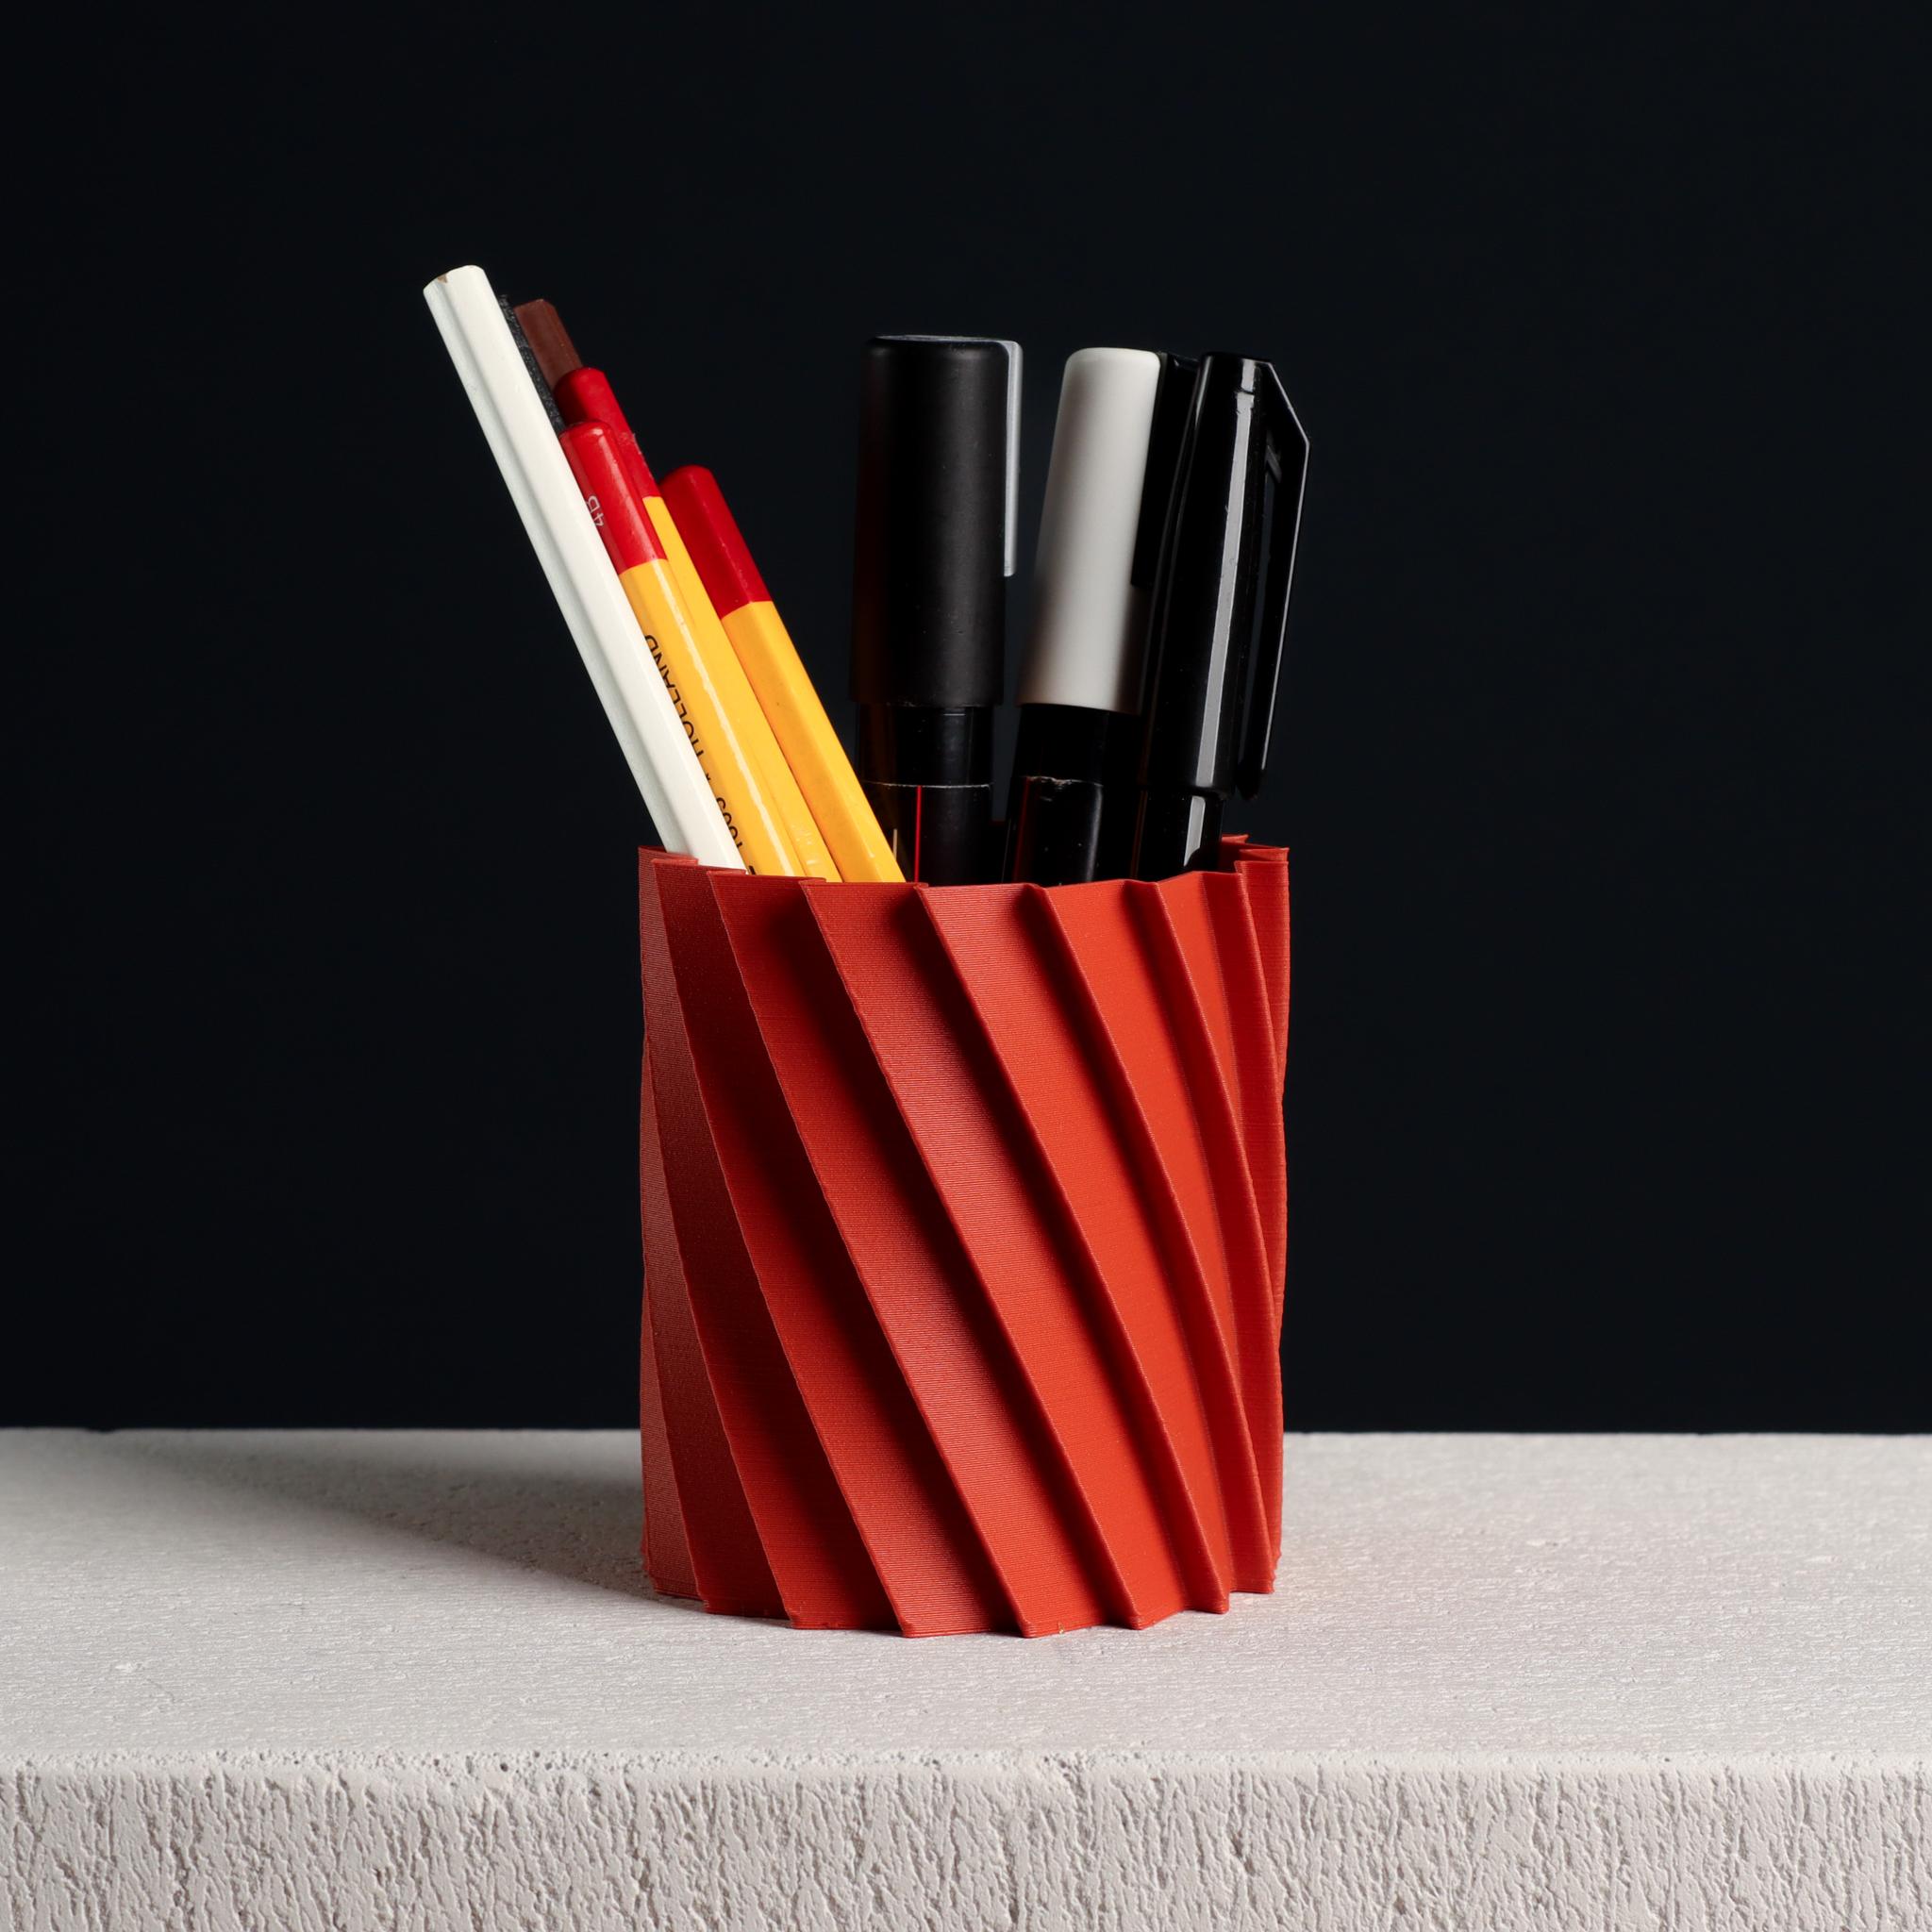
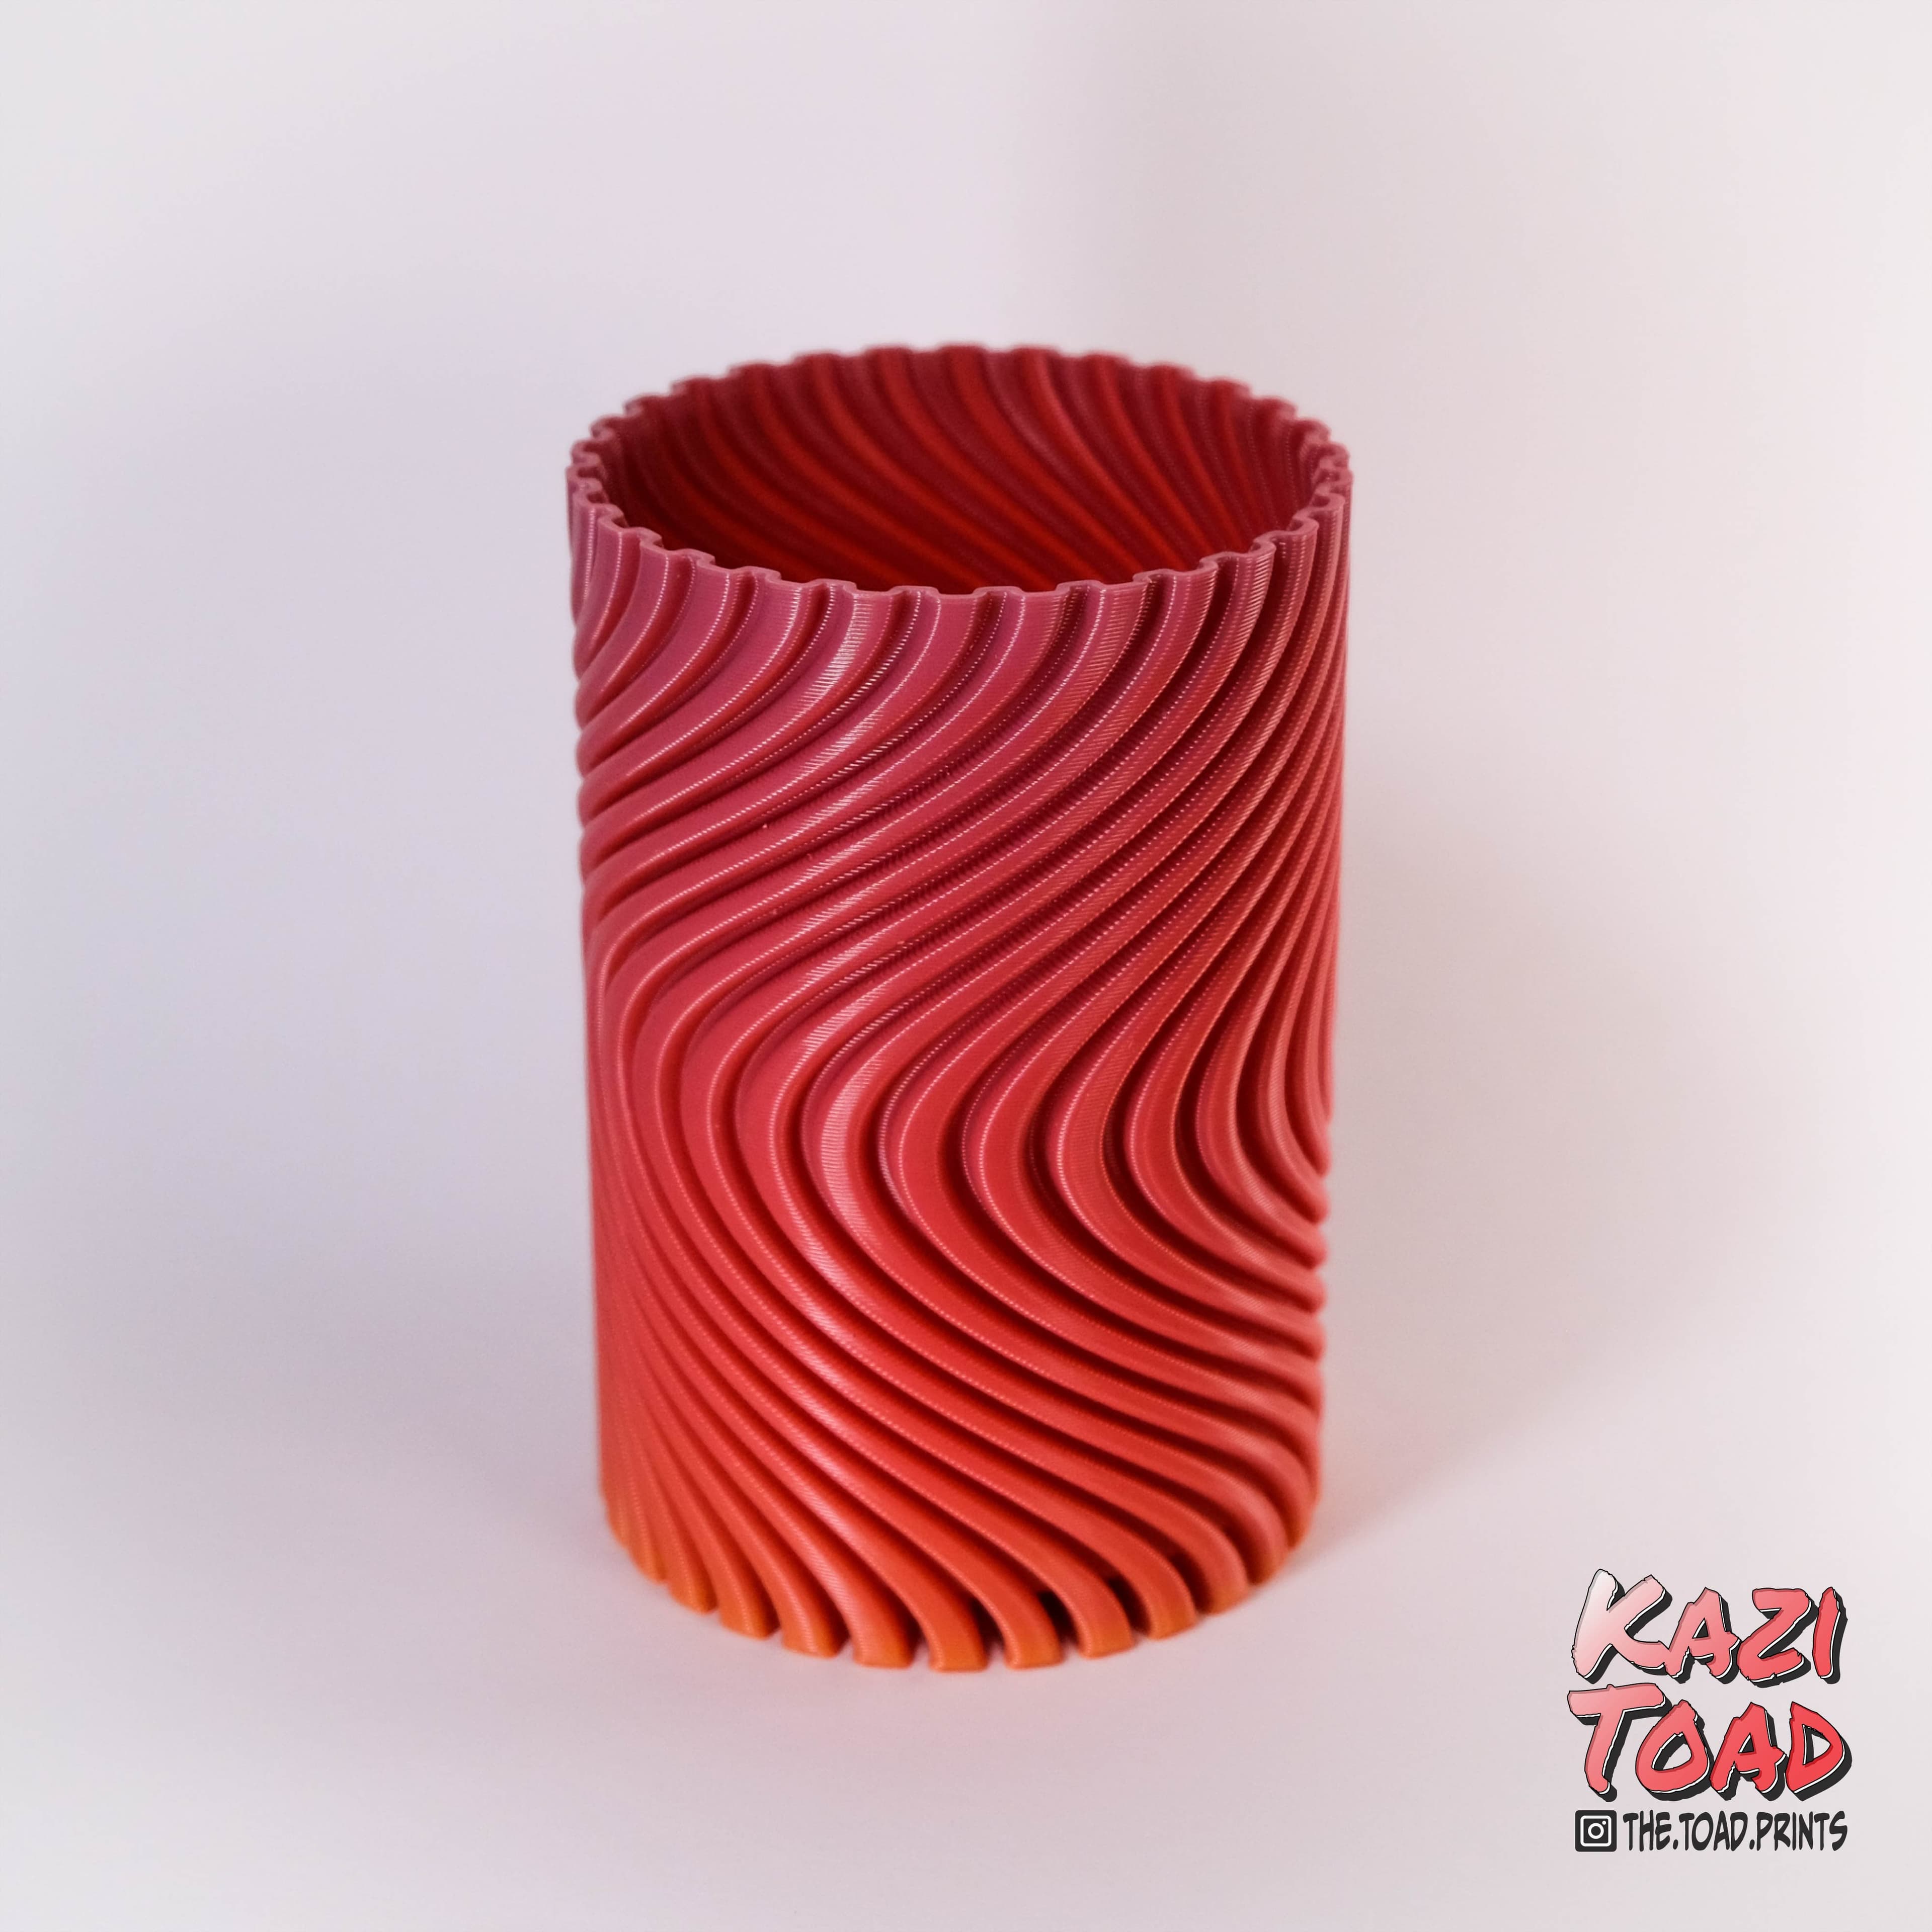
Twisted Pencil Cup, (vase mode & shelled)

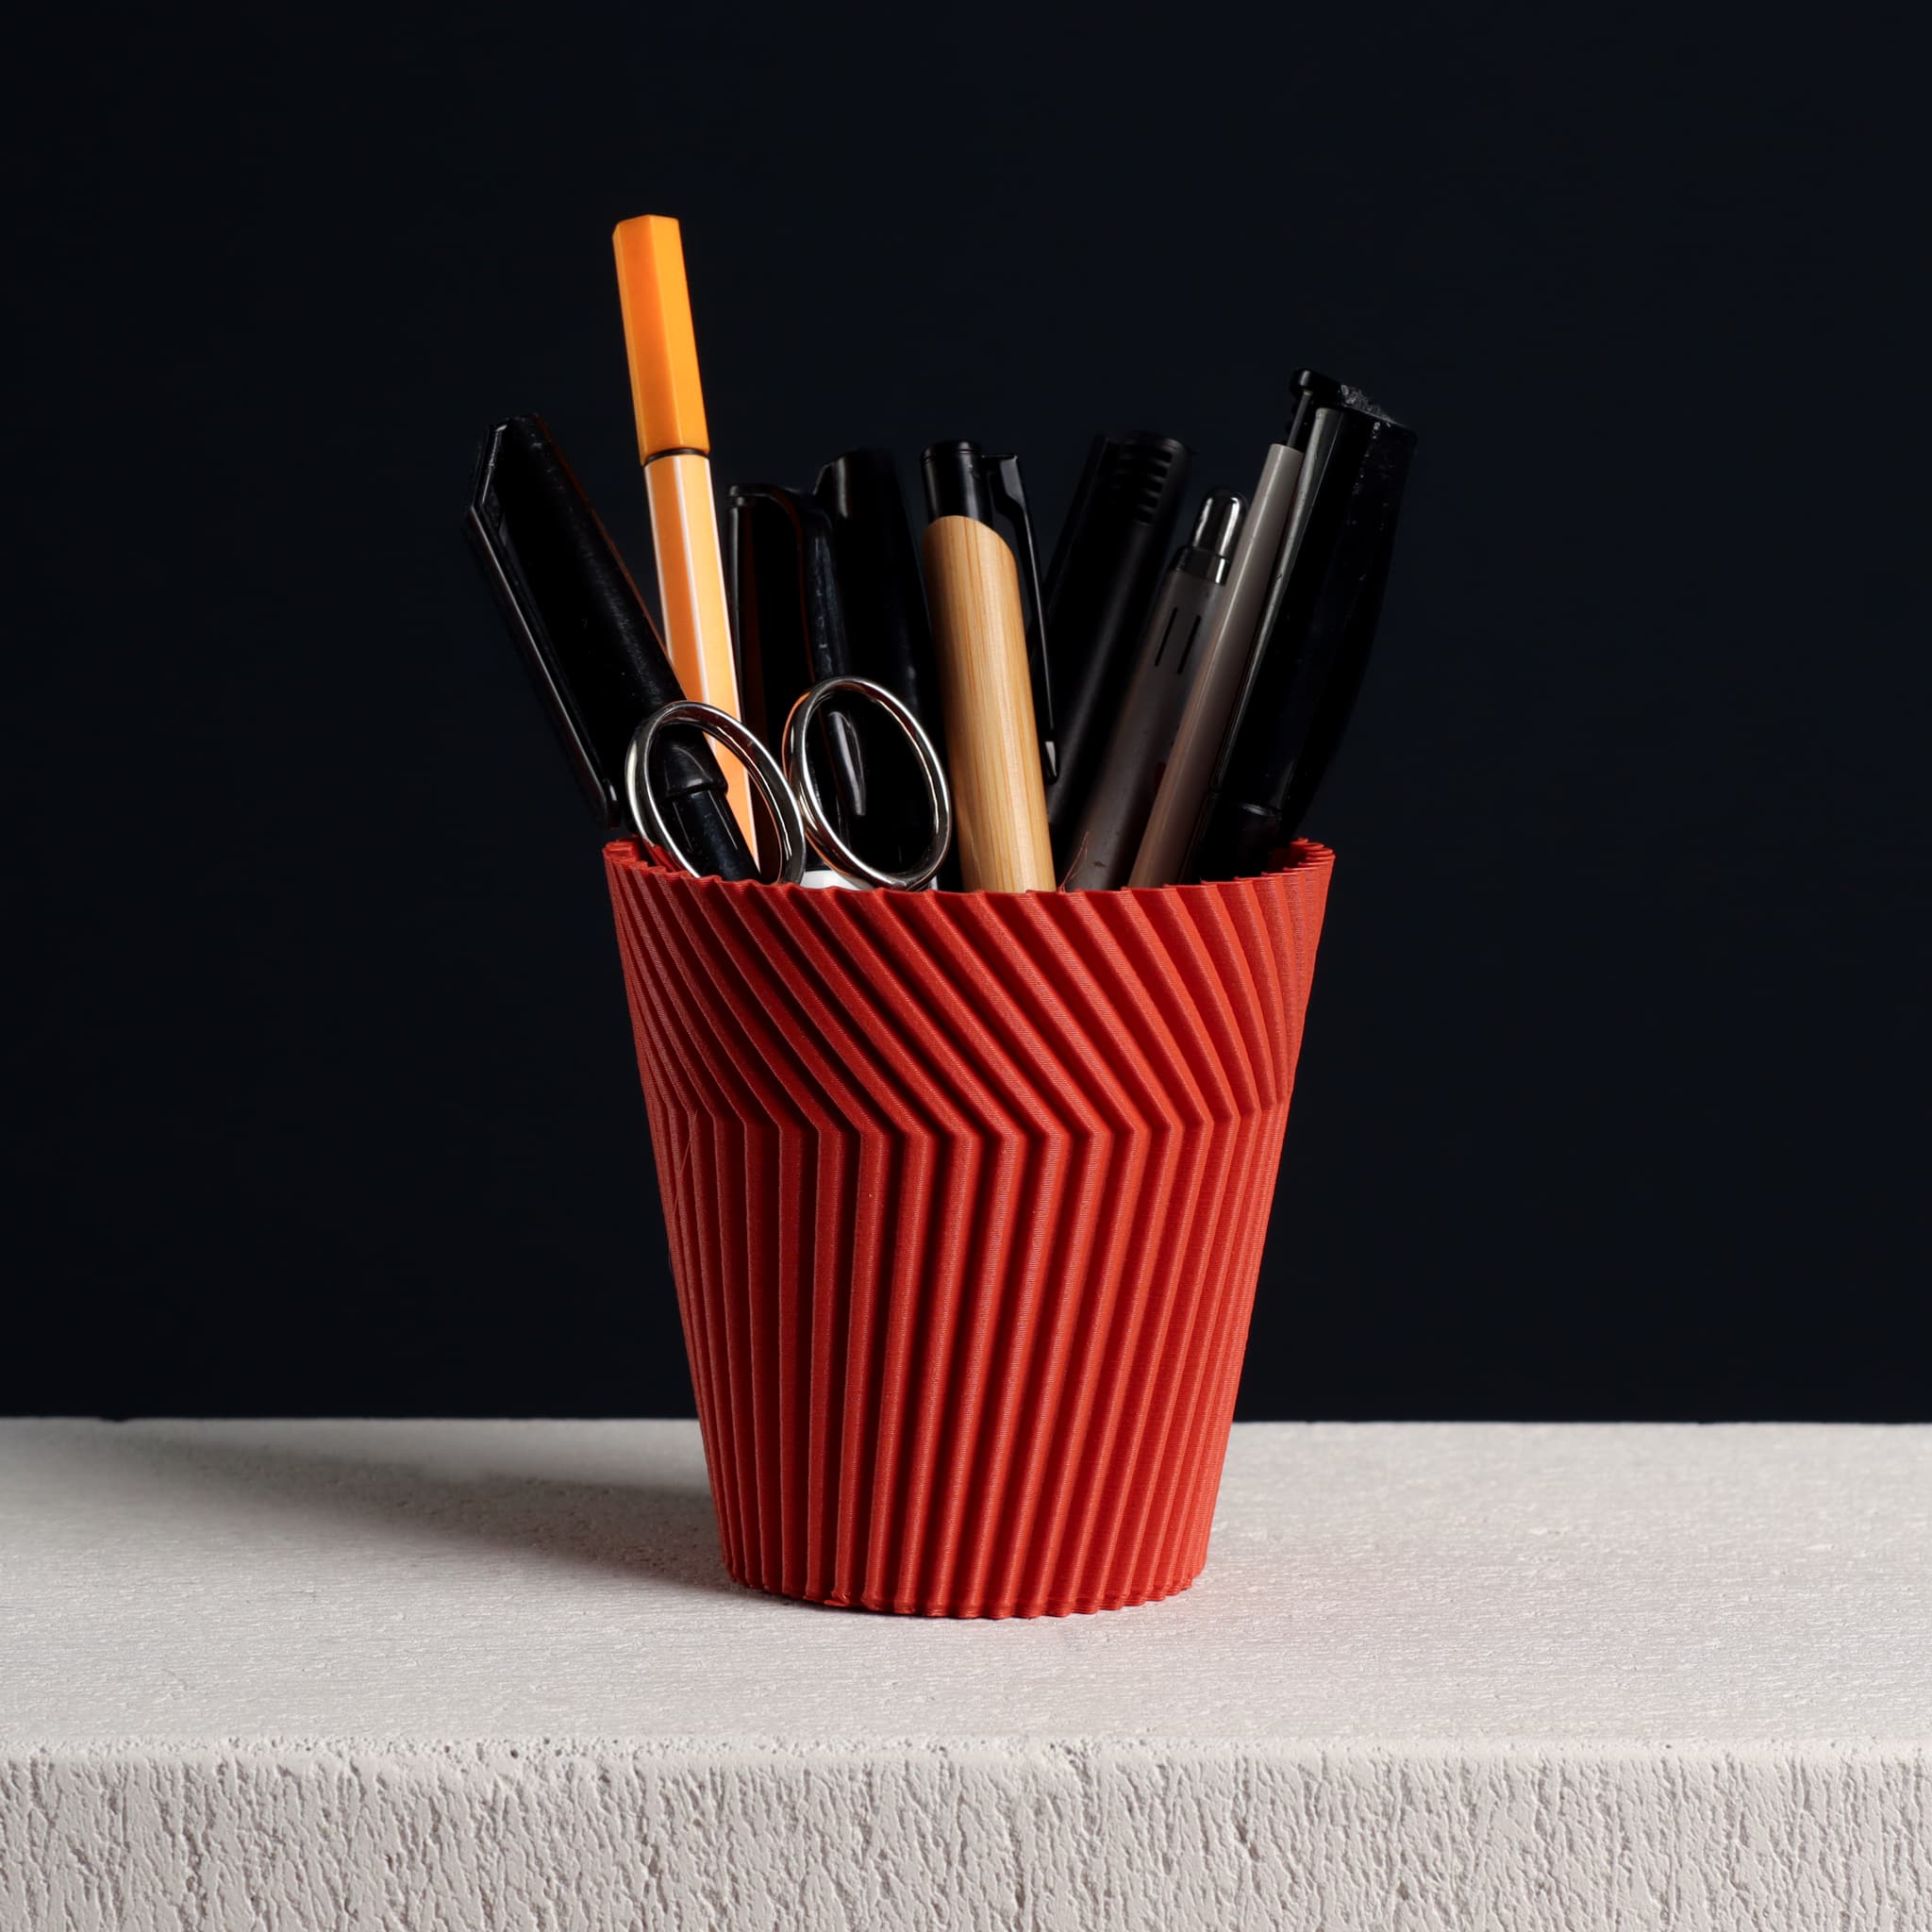
Zigzag Pencil Cup, Vase Mode
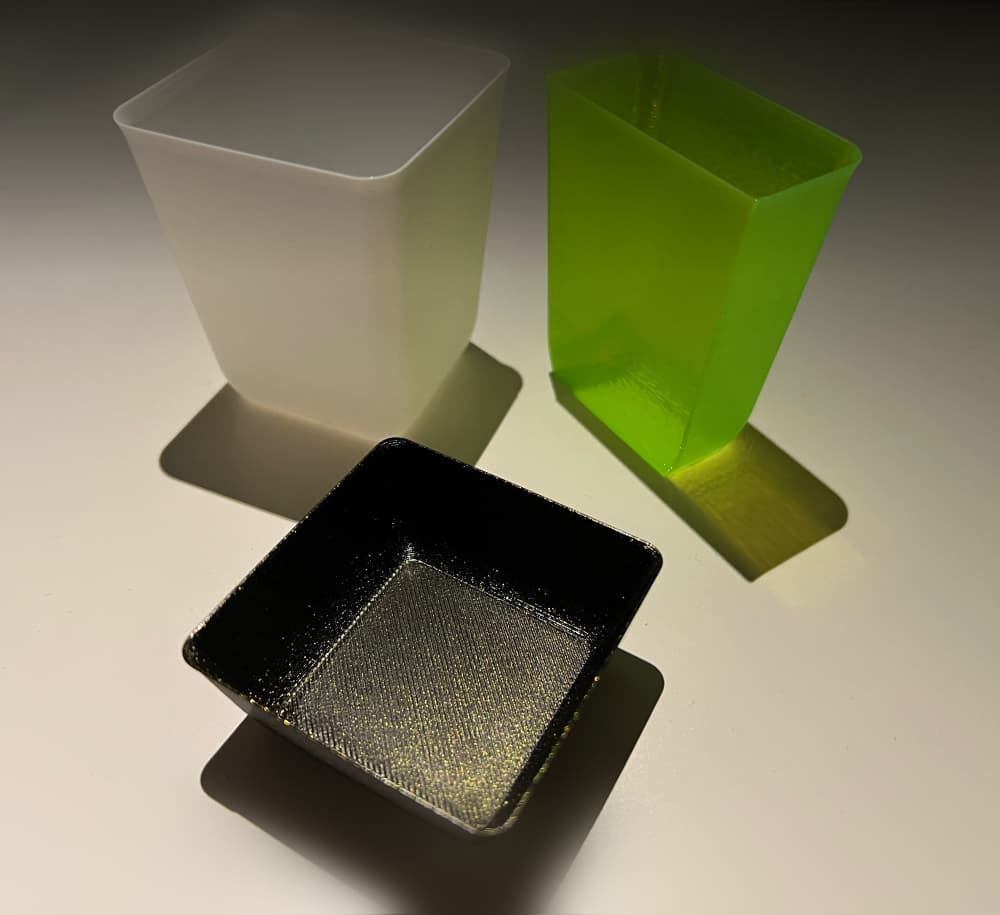
Stackable vase mode cups for sorting and storage
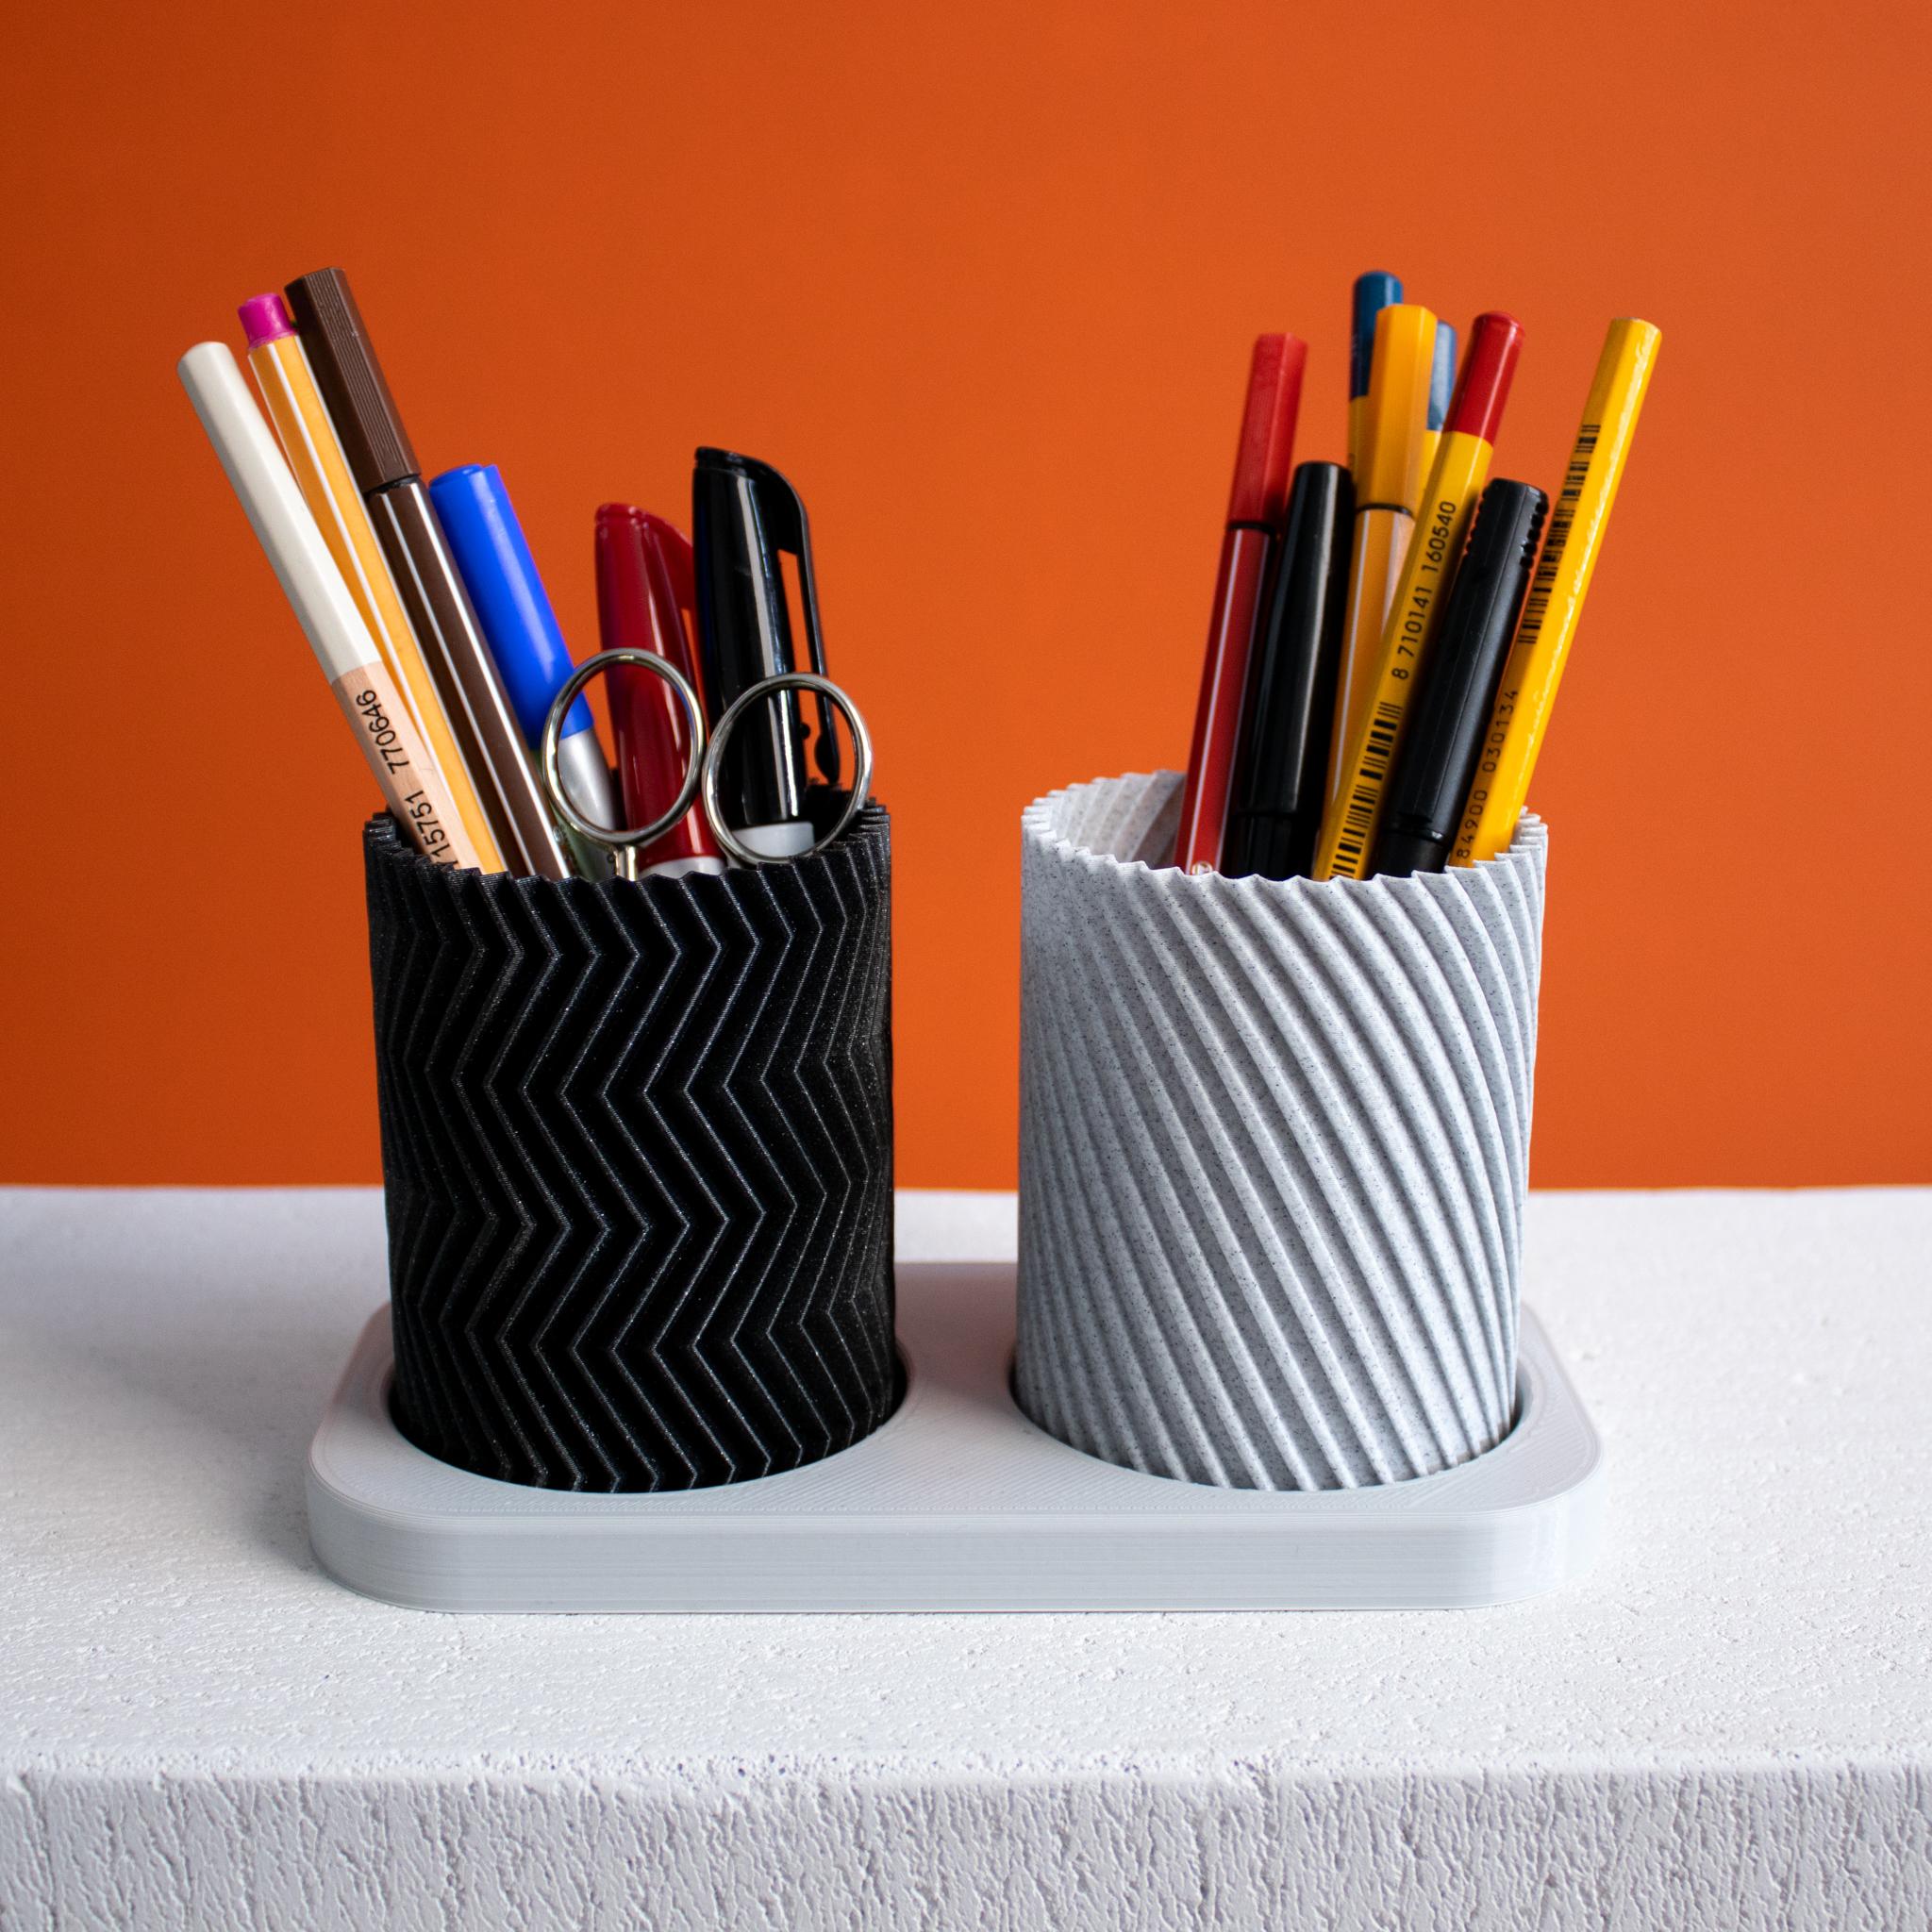
Desk Organizer Set, Twisted & Zigzag Pencil Cups | Vase Mode
Vase Mode Helical Gear Cups

Minimalist Modern Pen Holder, Minimal Desk Organizer, Pencil Cup | Vase mode
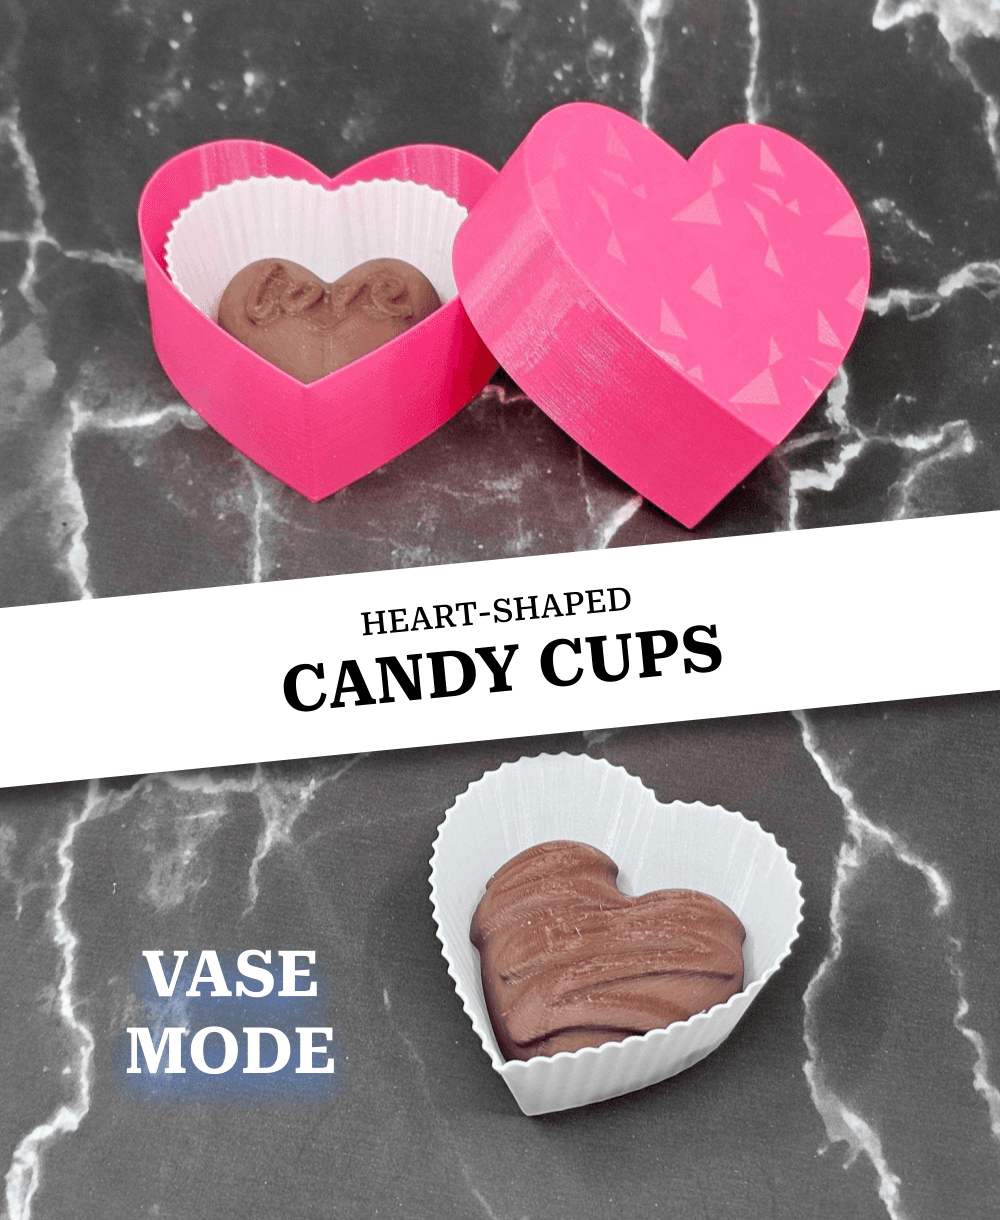
Heart-shaped candy cups (Spiral vase mode) | #Valentines chocolates
Twisted vase mode can cup 12oz
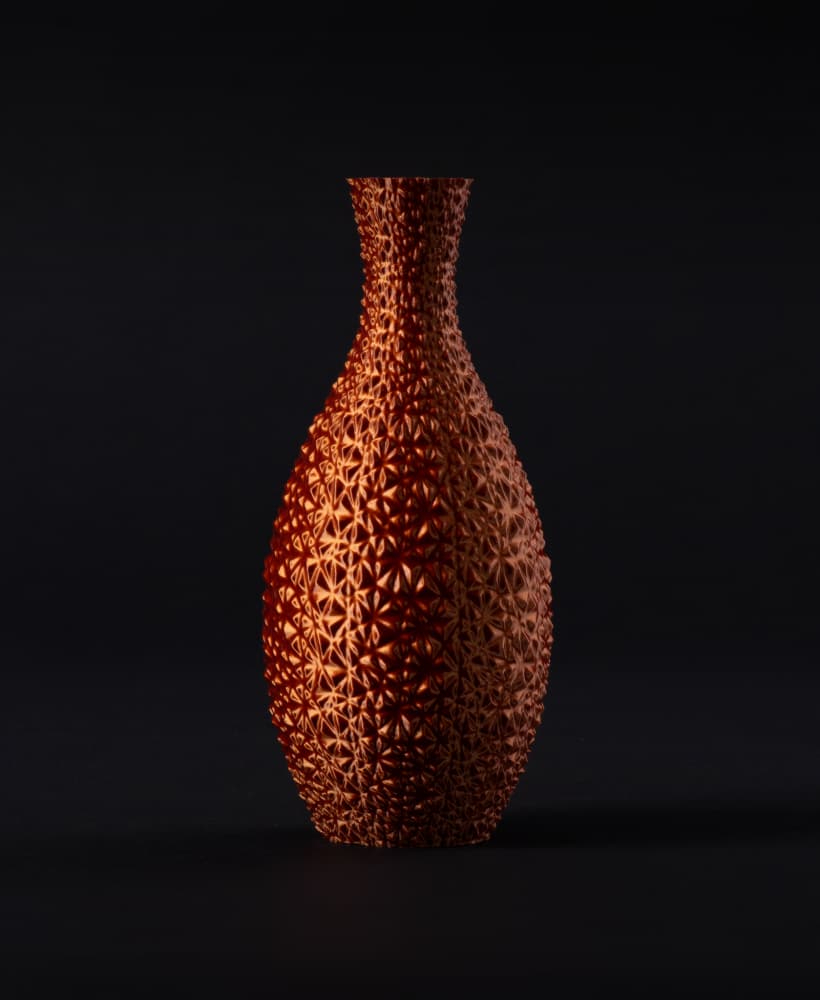
Faceted Mosaic Vase (vase mode)
Angled Pencil Cup, Desk Organizer (Vase Mode)
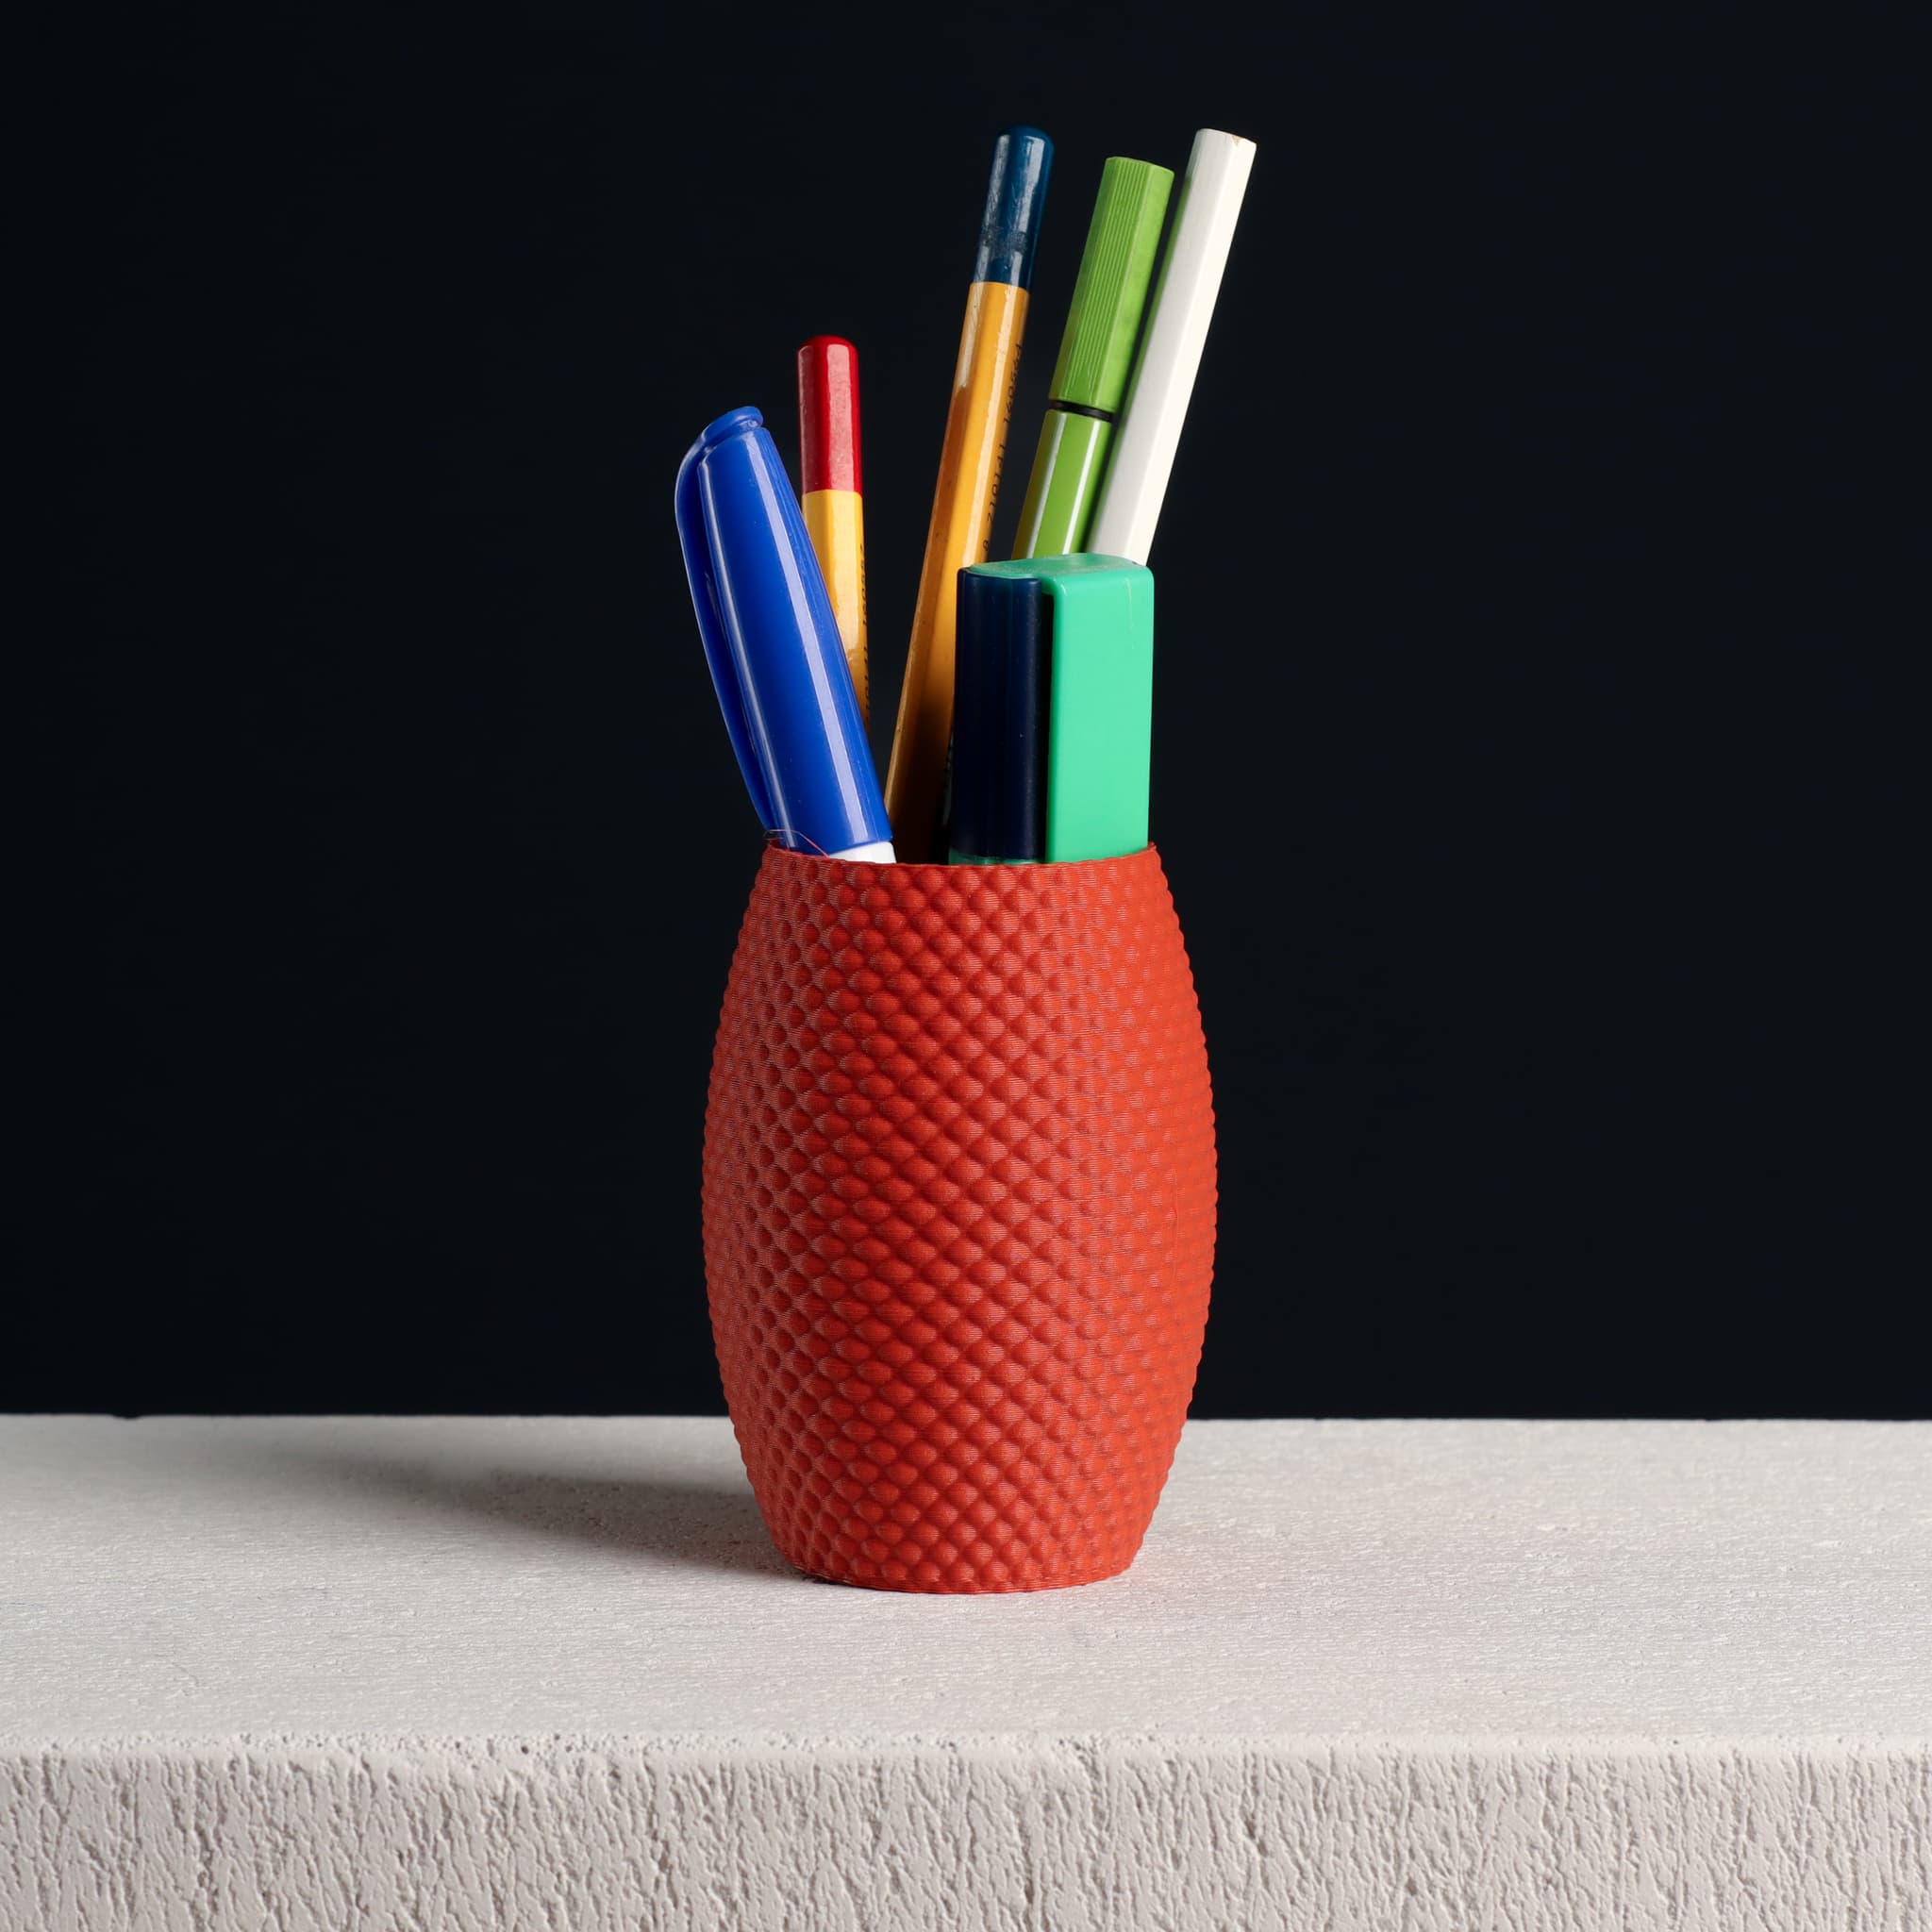
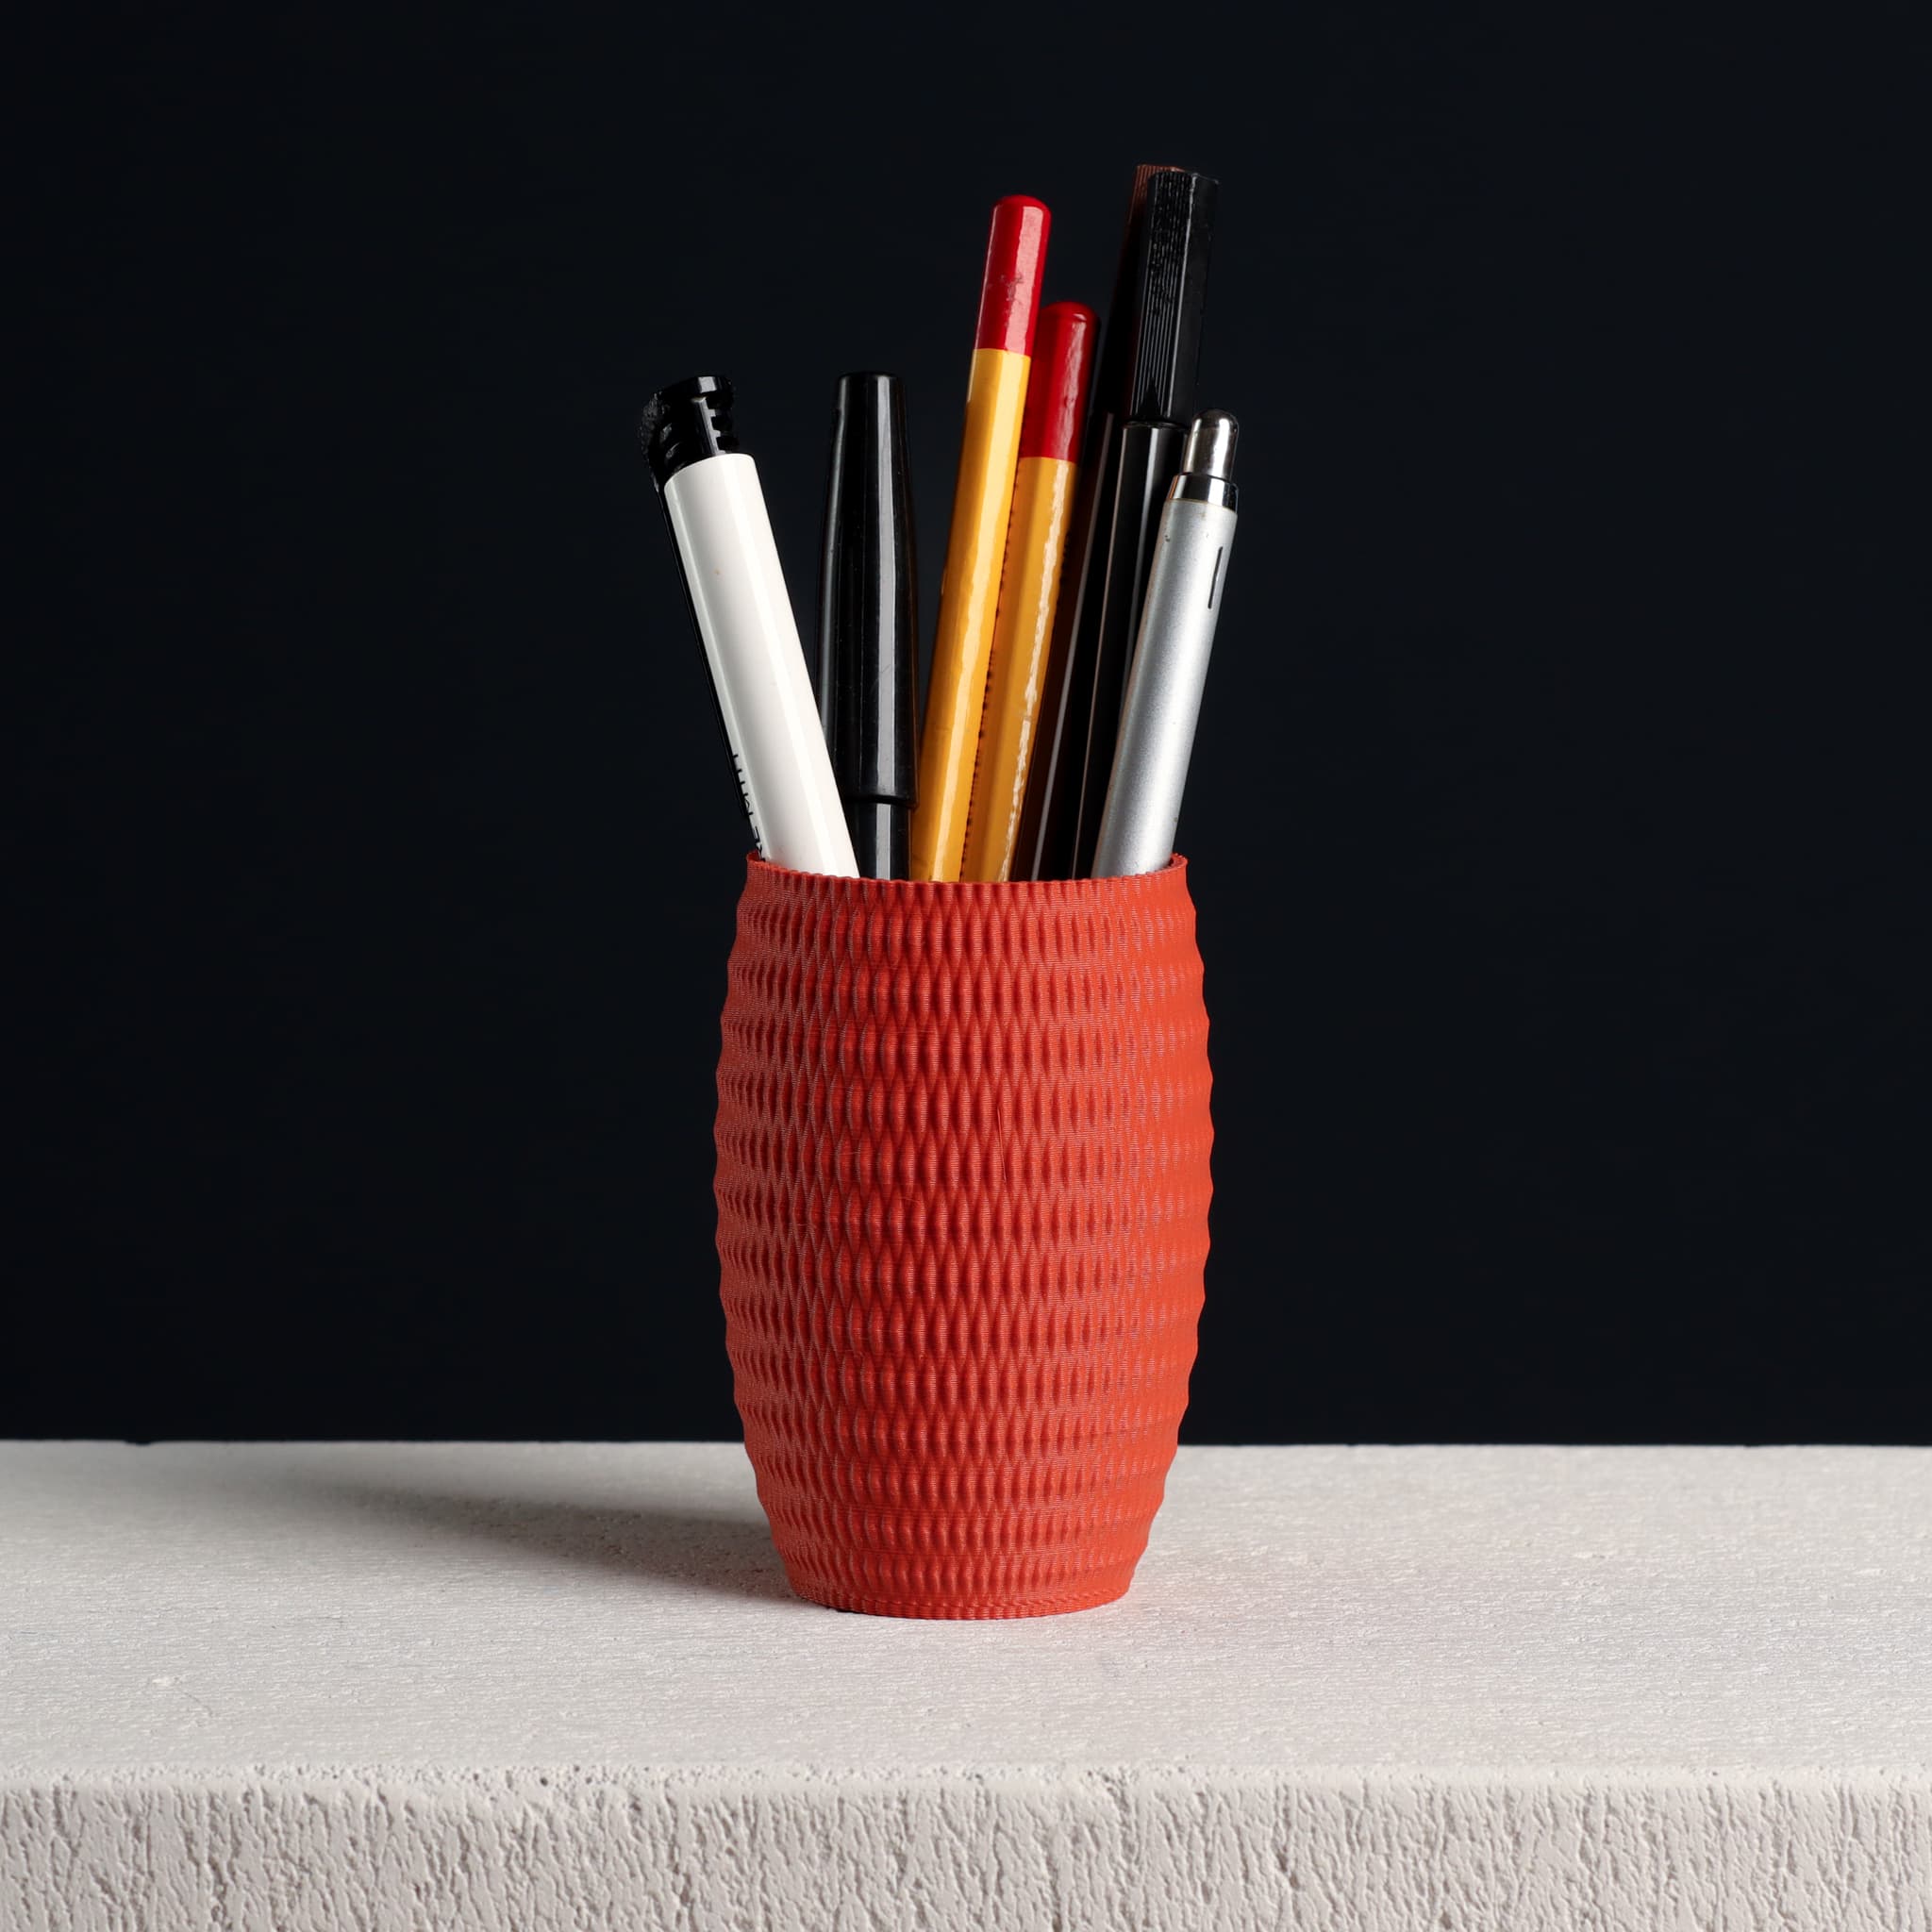
Bubble Pencil Cup, Desk Organizer (vase mode)
Textured Pencil Cup, Office Organizer (vase mode)
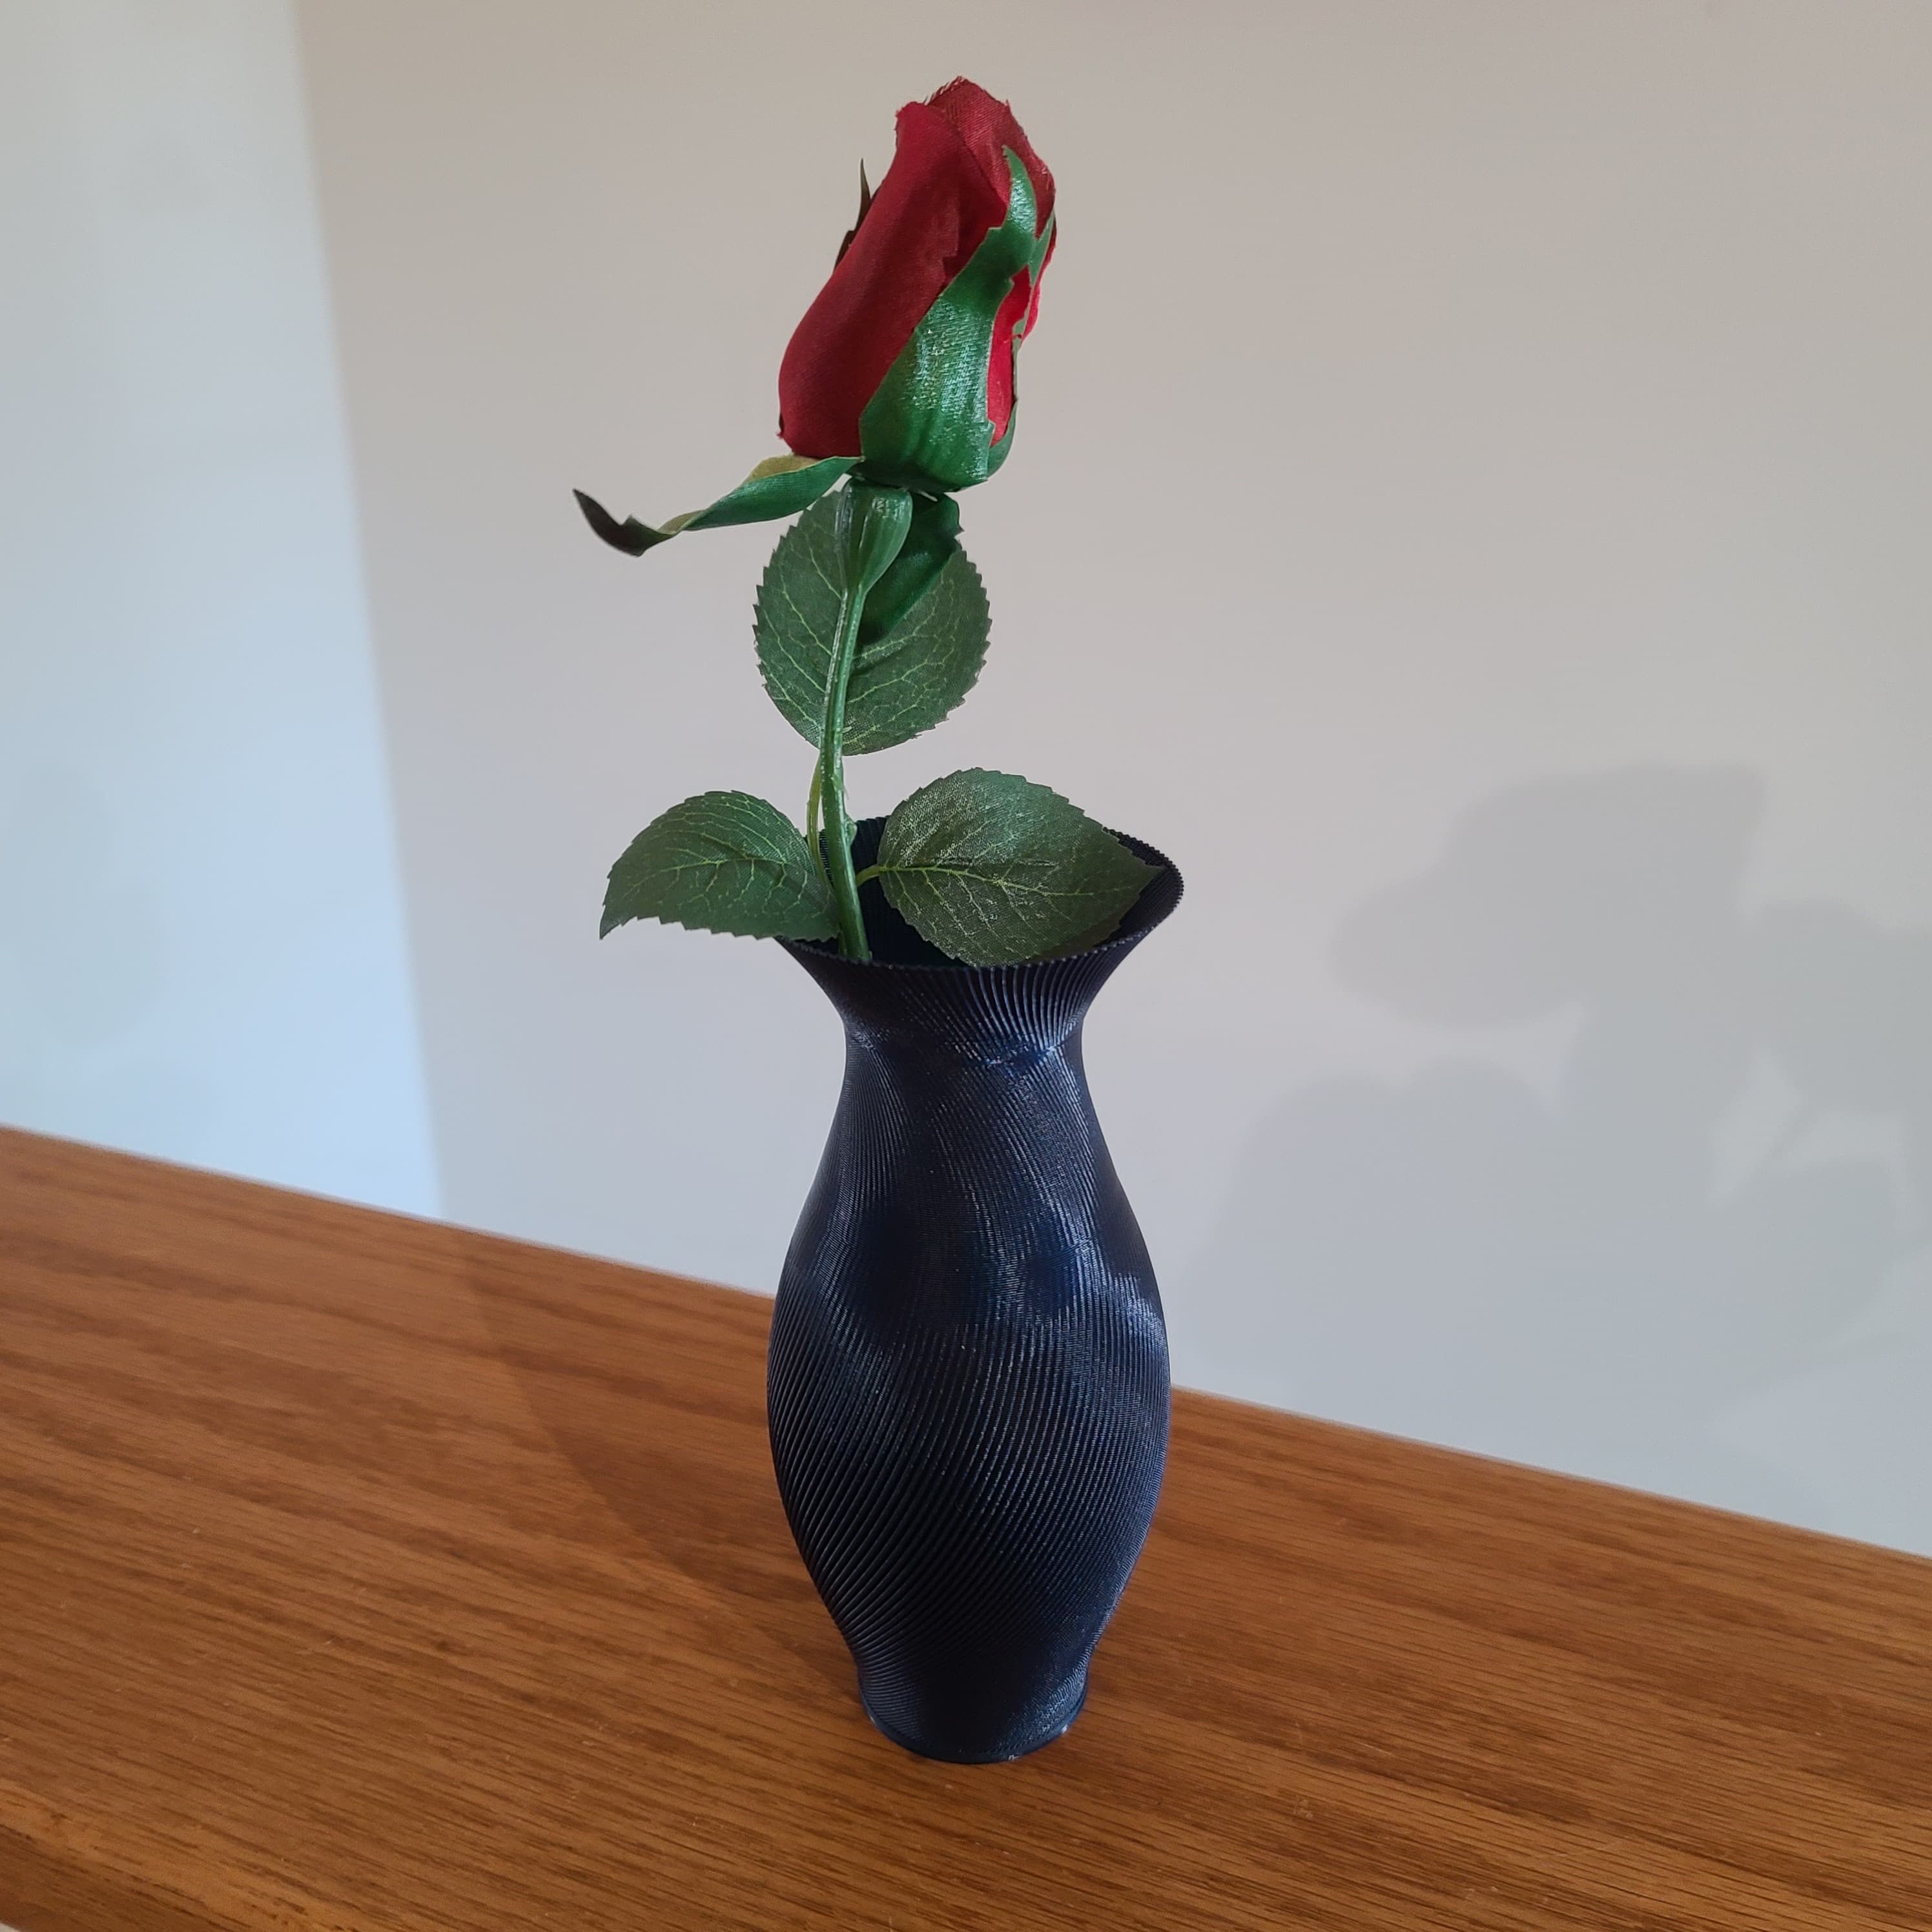
Vibration Vase - Stunning Modern Vase (Vase Mode or Traditional Print)

SPIRAL Vase - Vase Mode

Modern Sculptural Vase (vase mode)
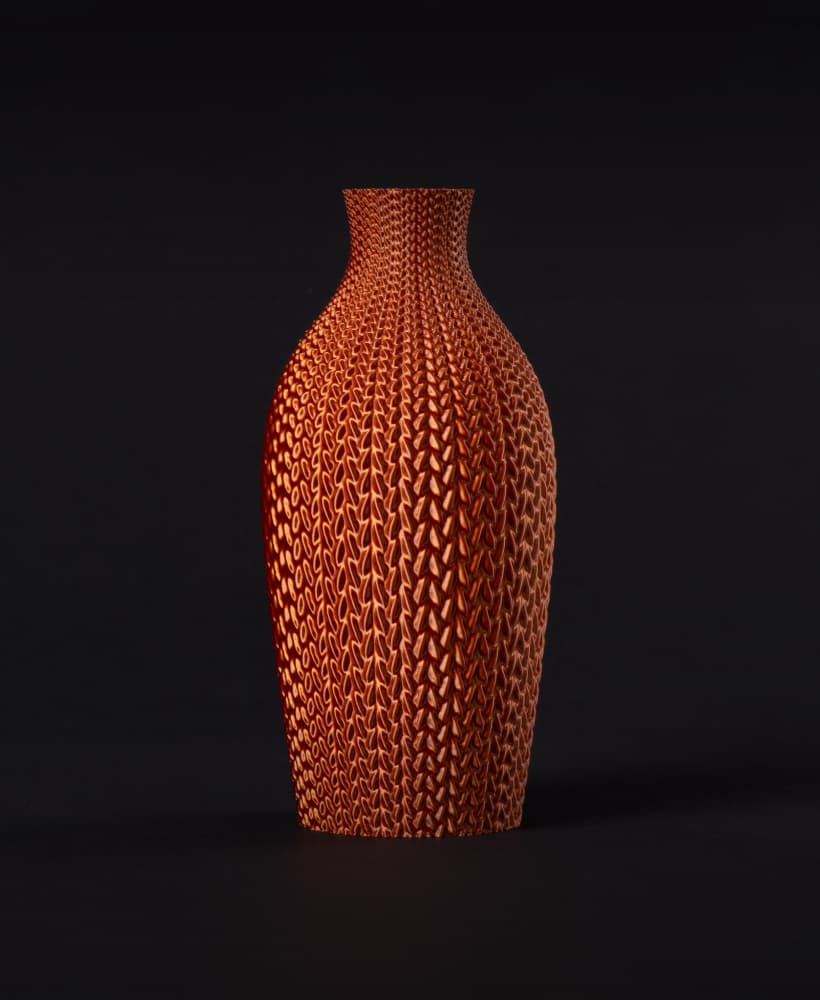
Minimalist Knitted Vase (vase mode)

SPROUT Vase - Vase Mode

SWIRL Vase - Vase Mode
Star Decoration Vase, Vase Mode & Shelled
