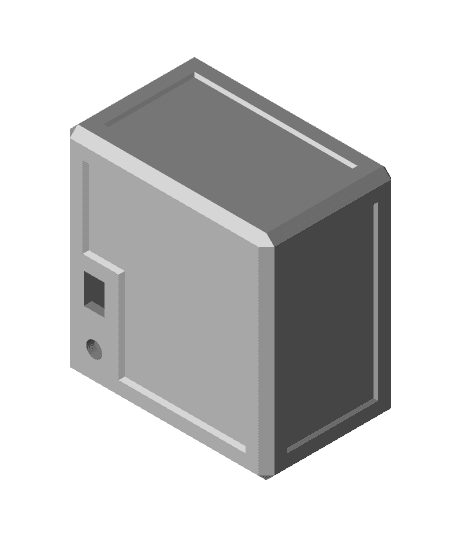
Model originally uploaded to Thingiverse at https://www.thingiverse.com/thing:5313758.
This is a lithophane LED box that I designed so that you were not suck with one picture to use. You swap out the lithophane panel whenever you want. You don't have to be an electrician to wire this box. It's just a simple 12v LED panel with a 12v power supply and a rocker switch. Just follow the diagram in the first picture.
As for the lithophane panel, all you have to do is go to https://3dp.rocks/lithophane/ and create one. For it to fix in the box you have to follow a few easy steps. Take. any picture of your liking and crop it into a square. It doesn't matter the size of the photo cause the software will make it to your settings. Now that you have your square photo uploaded to the site, go to the settings tab on the top and change your Model Settings and Image Settings to the ones I have in the pictures. Now you and download the stl and print it. Almost any white PLA (or even PETG) will do but I prefer a very specific one from ESUNPLA+(link below). It will give you a better looking image that doesn't look like and old western photo. Or maybe that's what you're looking for.
When printing the lithophane you HAVE to make sure to stand the model upright and use a brim. The brim should be 8mm or bigger. Your first layer is key to a successful print. Layer height should be between 0.12-0.18 and keep your speeds low. 40mm/s or lower is good speeds. Infill is set to 100% or just set you perimeters to 20. I prefer using only perimeters cause infill will have a lot of back and forth movement. You can use a .4mm nozzle and have a nice print but the smaller the better. Turn supports off.
Parts needed - LED panel - https://tinyurl.com/kzc63jr5 12v DC power supply - https://tinyurl.com/2wtcaw5x Rocker Switch - https://tinyurl.com/2bsxy9ea Lithophane filament ESUNPLA+ - https://tinyurl.com/mshjjws3
affiliate links above
