Ender 5 Plus Corexy Conversion W/ Static Bed (Voron2 Style)
Model originally uploaded to Thingiverse at https://www.thingiverse.com/thing:5322750.
This all started cause I didn't like how the E5+ has a moving bed. I started filming time-lapse videos and in my opinion it doesn't look as good when the model is moving. Another thing is I wanted my lithophanes look better. With a moving bed in the z or even the y axis would transfer the vibrations into the model. Now the panel will stay still while printing and filming.
While planing this conversion there were 2 must-haves in the design. 1-It has to have a static bed. 2-I have to use as much parts that came with the printer as possible. KEEP IT CHEAP! If you downloaded and built my other corexy conversion for the E5+ (https://www.thingiverse.com/thing:5194386) then you will use everything that you already purchased for that. With the exception of a few additional parts.
Lets start with you parts you will need - (3x) 405mm Linear Rails - https://tinyurl.com/bdzbh7ex Idler pulleys (20 tooth) - https://tinyurl.com/2p884ebw Idler pulleys (smooth) - https://tinyurl.com/3psytbc7 GT2 belt - https://tinyurl.com/2wv6zey3 Stepper motor gear (20 tooth) - https://tinyurl.com/3tmjct2y 2020 Extrusions - https://tinyurl.com/2p8u8fdd - 2 cut at 463mm and 2 cut at 547mm Stepper motor 42-40 - https://tinyurl.com/4upu4dws - only 1 cause you already have 1 M3 screws assortment - https://tinyurl.com/yc3ykdbe M5 screws 20-40mm - https://tinyurl.com/f745f39n M5 screws 10mm - https://tinyurl.com/yjpr8uuj M5 screws 12mm - https://tinyurl.com/2w7xjb6k M5 Tnuts - https://tinyurl.com/5dy3dphr M5 tap - https://tinyurl.com/2p83h9nd 1kg of ABS of your choice
Optional parts to upgrade - Stepper motors - https://tinyurl.com/kxrd2ae2 Idlers - https://tinyurl.com/b362f7mh
Now lets build -
- Dismantle everything on the top of the printer
- Remove the bed from the linear motion assembly
- Remove both side linear motion assemblies
- Remove both upper 2020 extrusions from both linear assemblies and save one of them. That will be your rear 2020 extrusion on the gantry. Keep the lower 2020 extrusions together.
- Mount the linear assemblies outside the printer frame. The lower 2020 of the assemblies that you kept together sit on top of the bottom side 2020 of the frame. Loosely mount it using the corner brackets that you print.
- Now loosely mount the top of all 4 linear rods to the frame. The whole assembly will be adjusted later.
- Loosely mount 2 2020 extrusions cut to 547mm to the bottom of the frame with 4 corner brackets.
- Mount the bed assembly to the 2020 extrusions you just added with the 4 factory M4 bolts and Tnuts that you removed form the top.
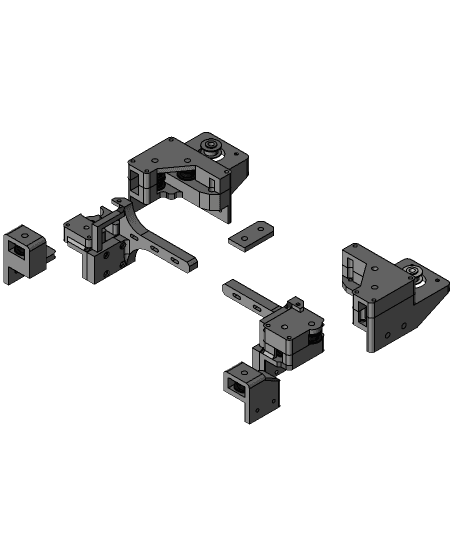
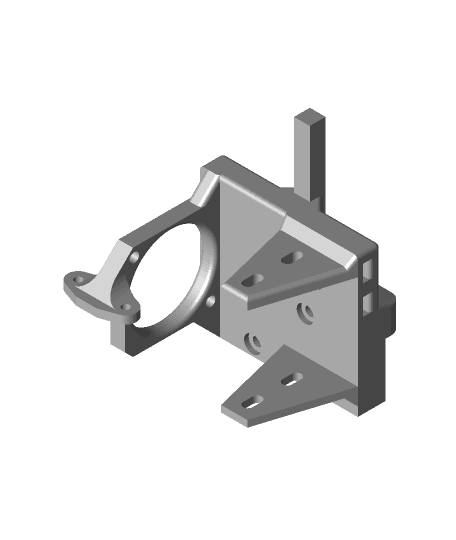
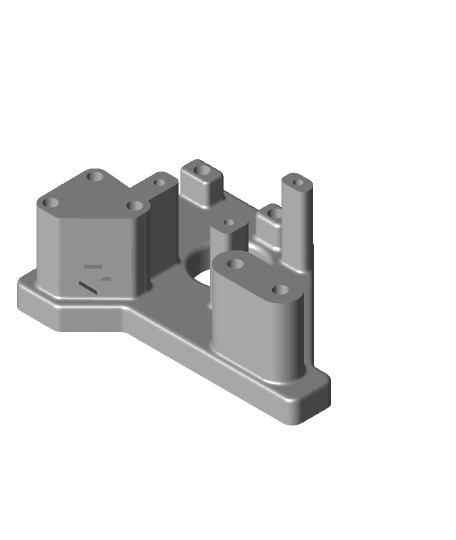
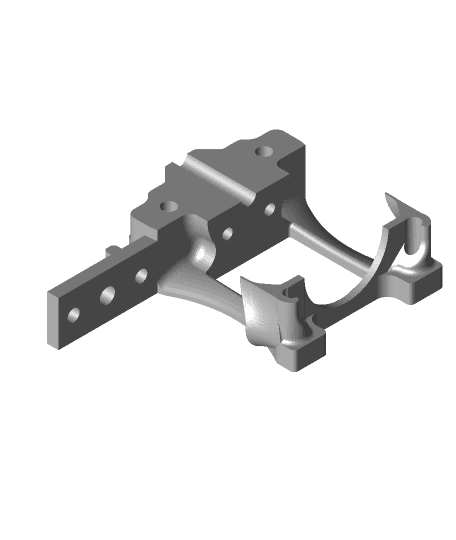
- Use the photos above to put together the gantry with the 2 2020 463mm that you cut and tapped with the M5 threads.
Please message me for any questions you have...
affiliate links above
Ender 5 Plus Corexy Conversion W/ Static Bed (Voron2 Style)
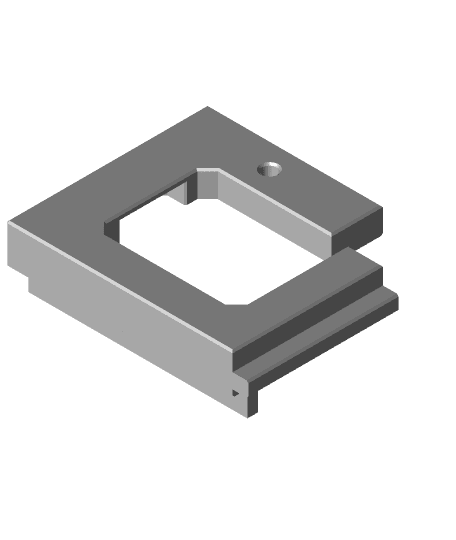
Ender 5 Plus Corexy Conversion

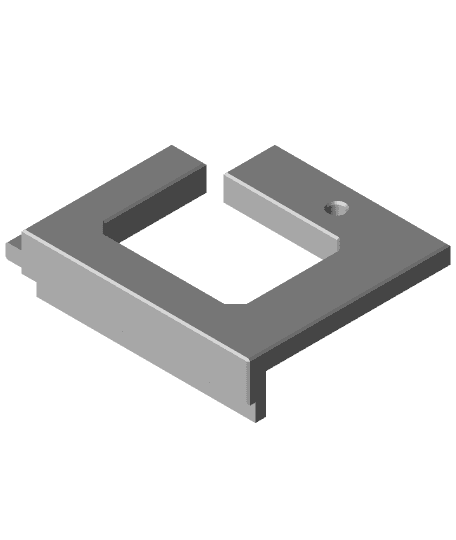
Ender 5 Plus Corexy Conversion
BIQU H2 extruder mount for an MGN12H linear rail
.jpg&w=3840&q=75)
ZIDLICKA V2 Gyroid stool
.gif&w=3840&q=75)
ZIDLICKA gyroid stool
Mercury One - OPEN beta
AB-BN 30 Dragon Hotend BLTouch mount
Motor Surround RH.stl
Motor Surround LH.stl

Monkird

FluidVase.stl
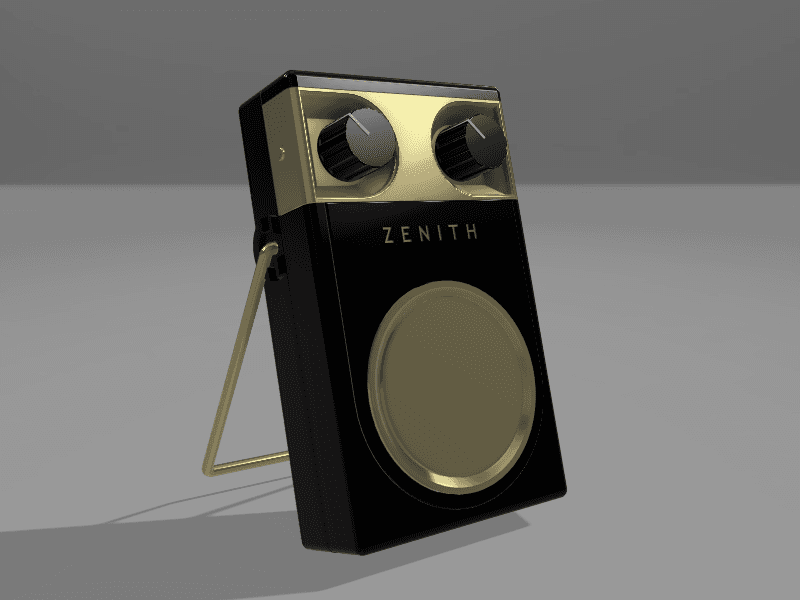
Fallout TV Series - Zenith 500 Transistor Inspired Portable Radio

Bat Balancing Toy
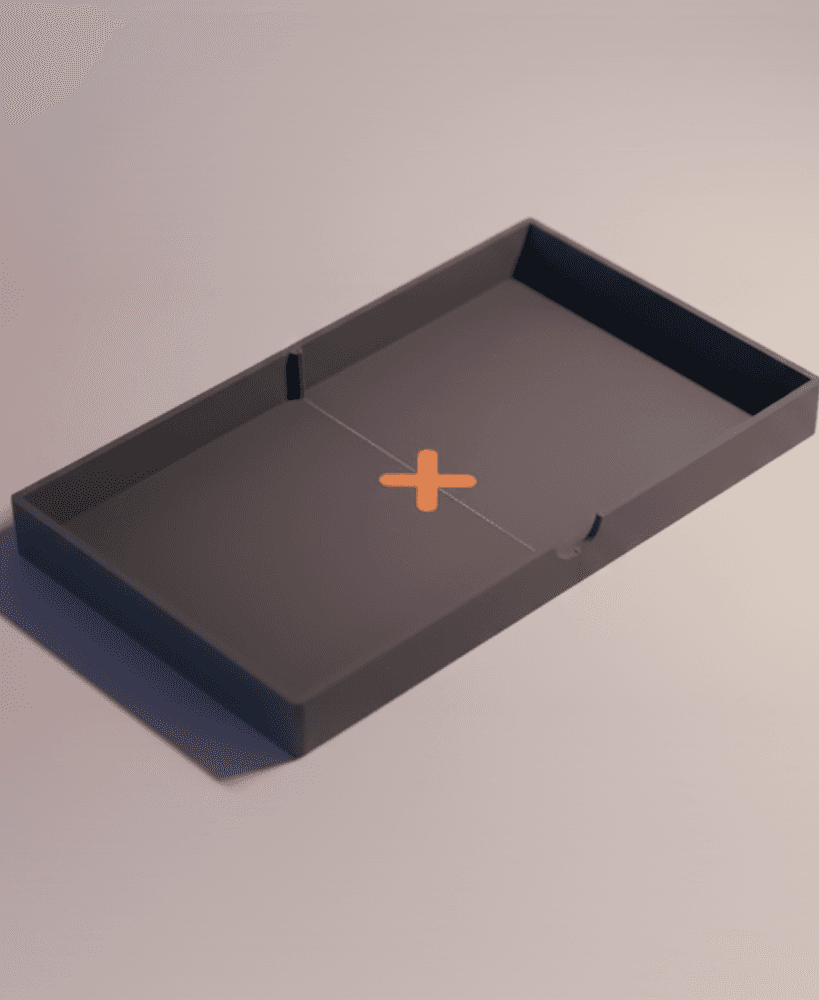
Giant Cross Tray
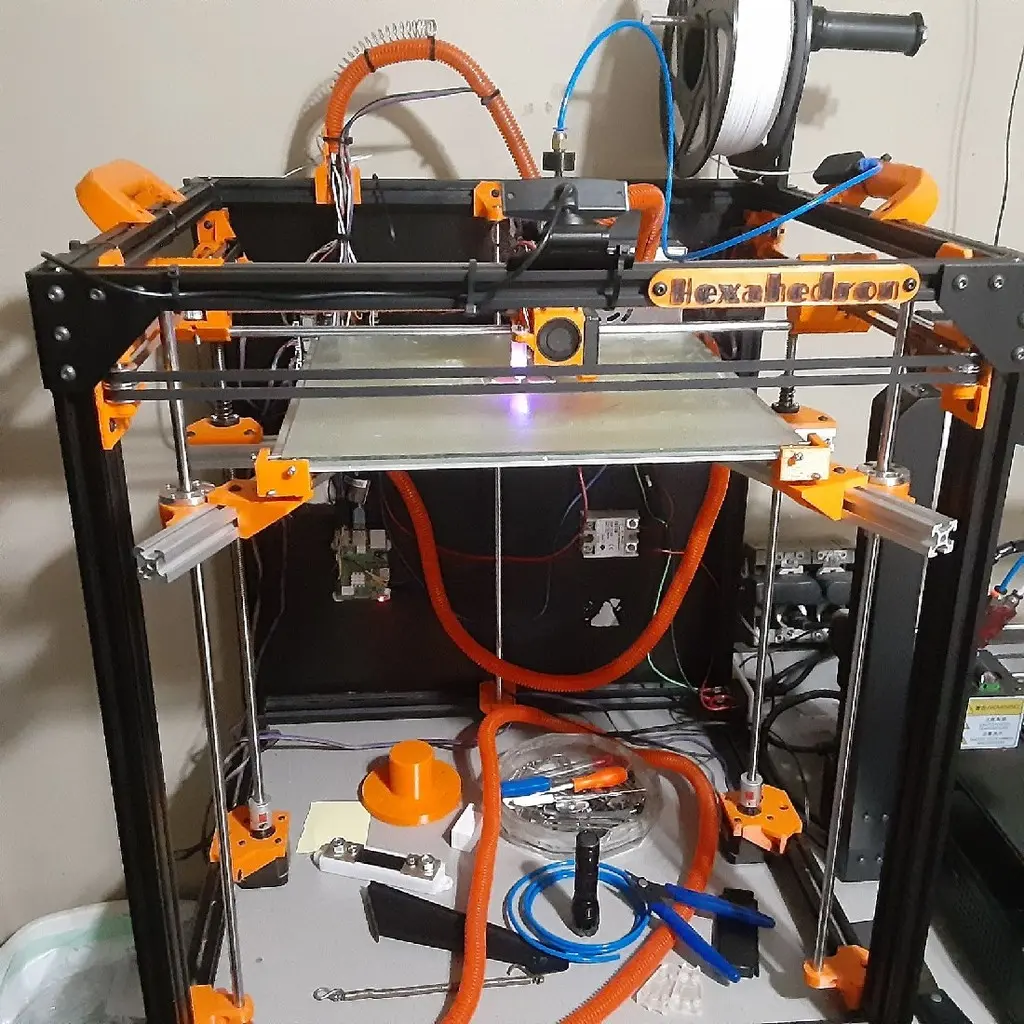
HEXAHEDRON

Skull Phone Holder - Home Decoration
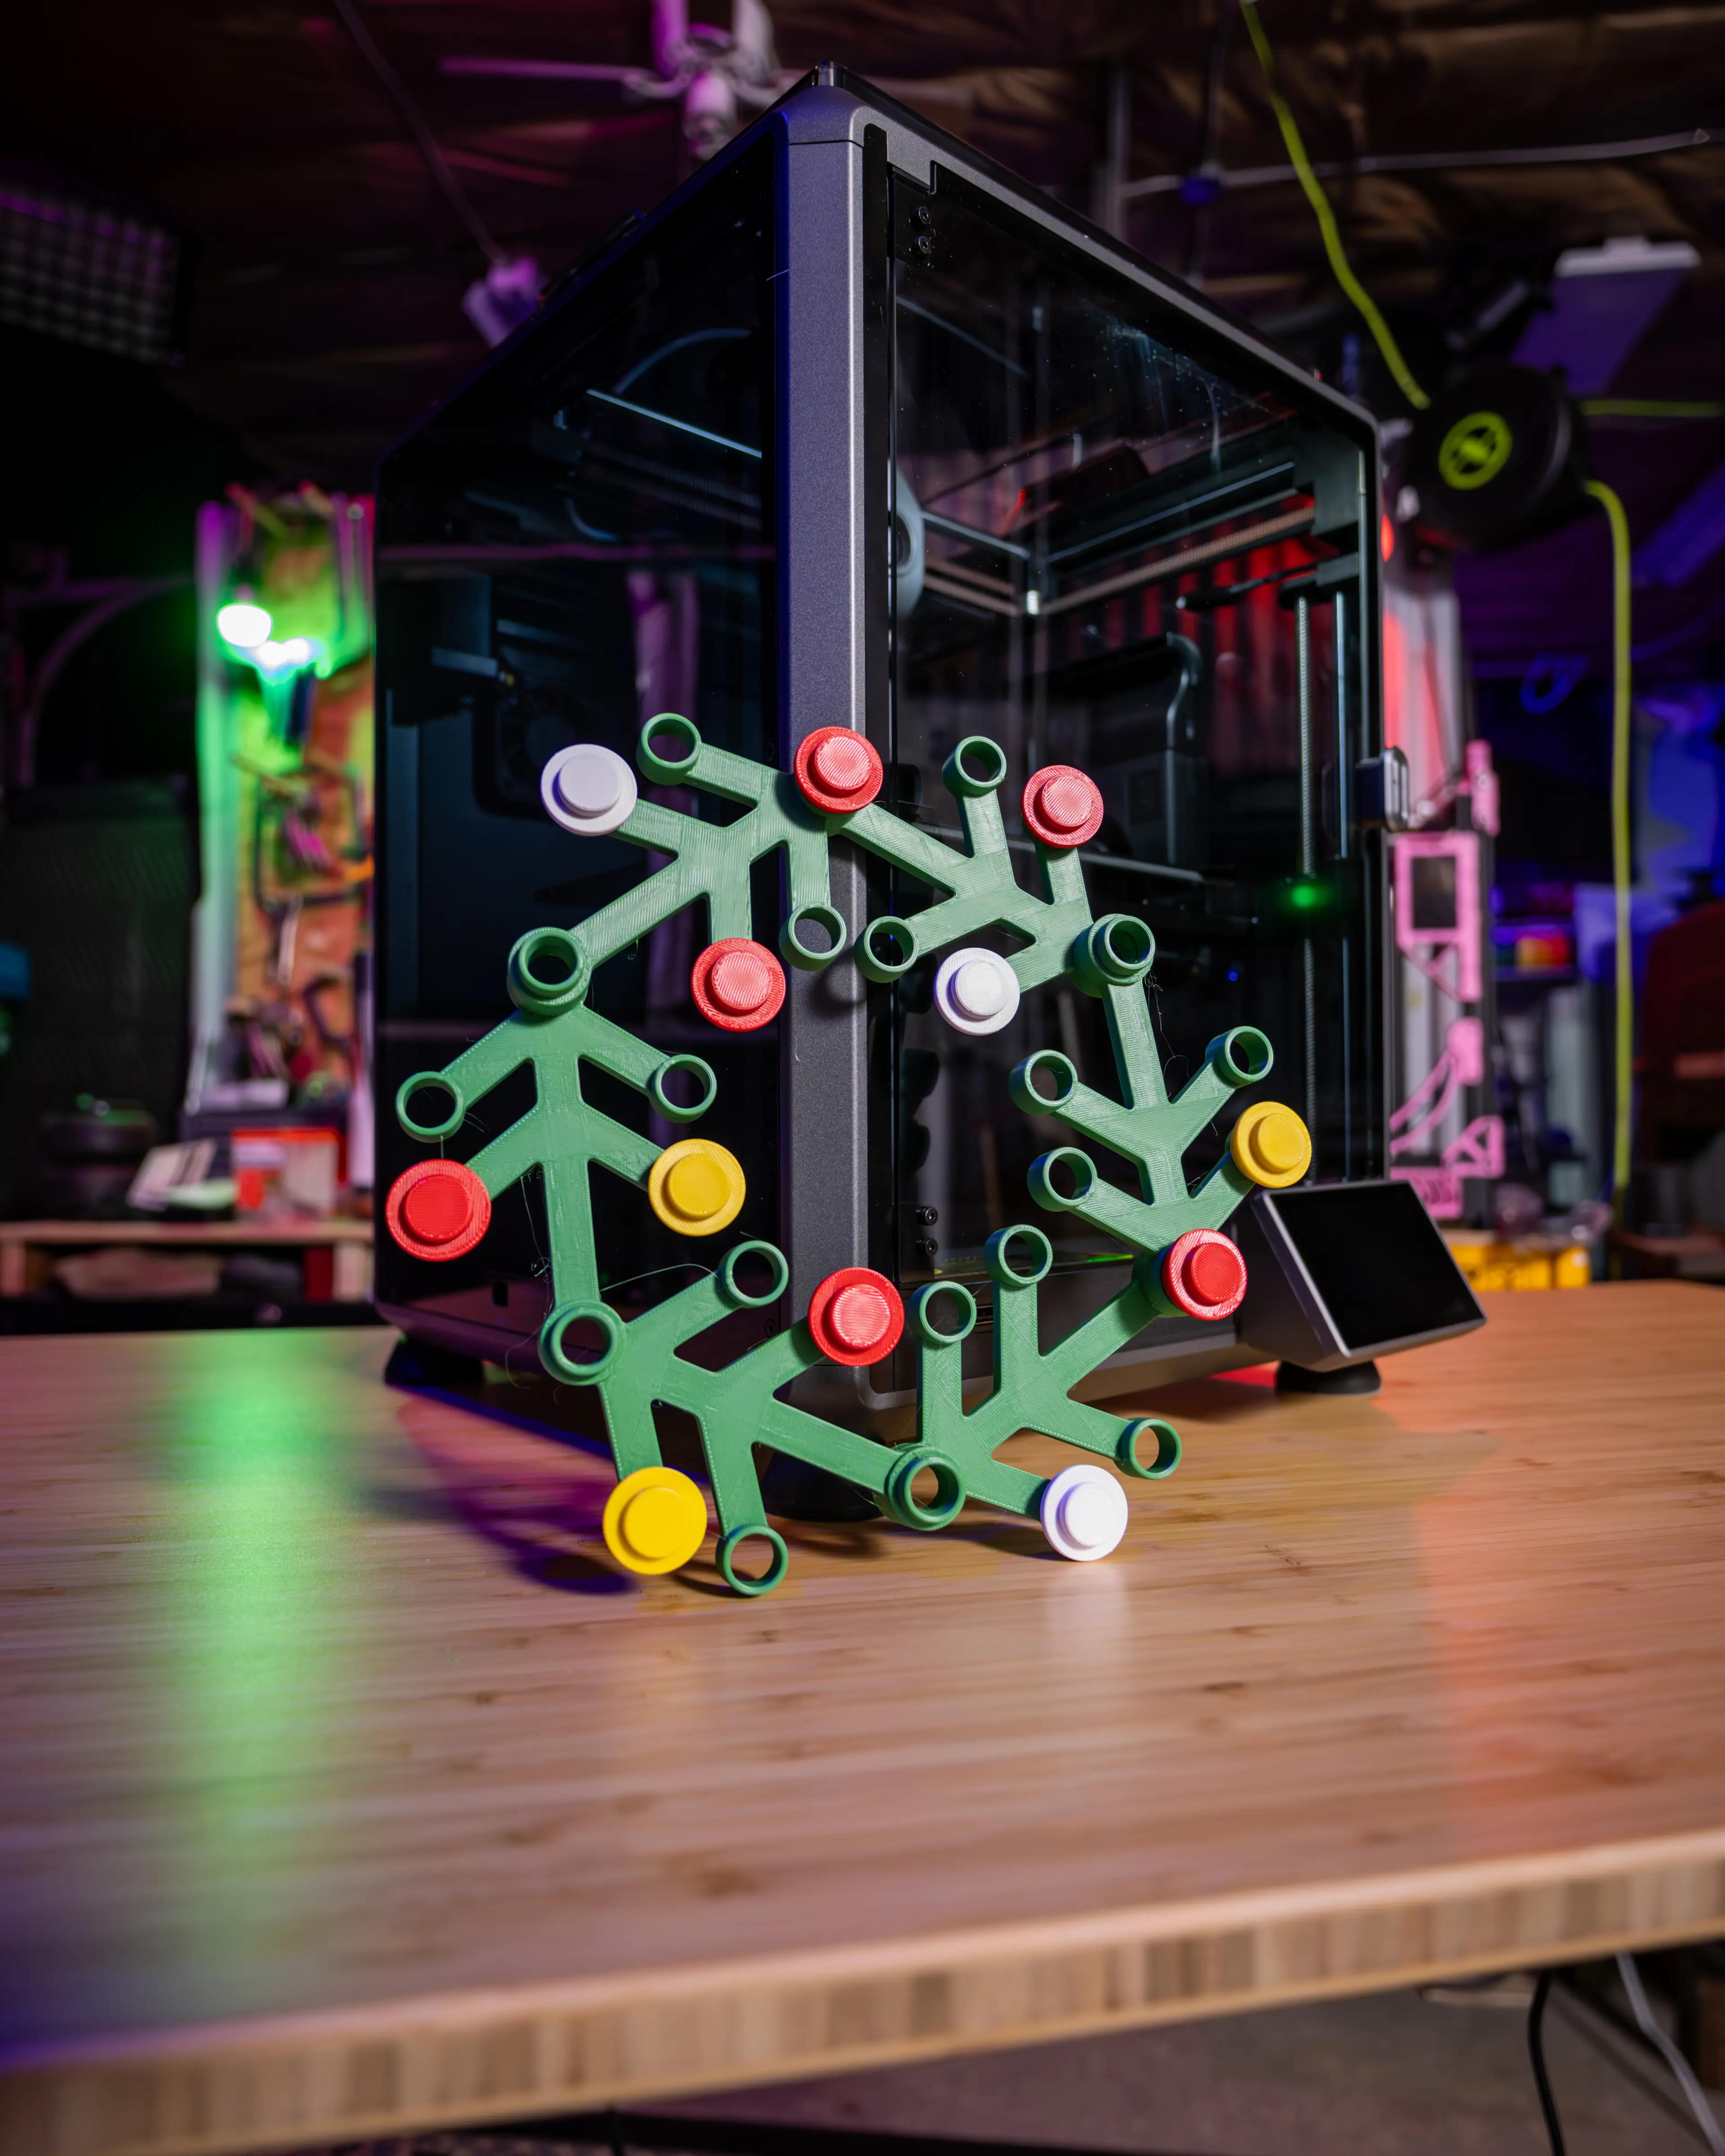
LEt'GO Holiday Wreath - Support Free Interlocking Brick Xmas Cheer!

VinoGrace Elegance Wine Holder smooth version
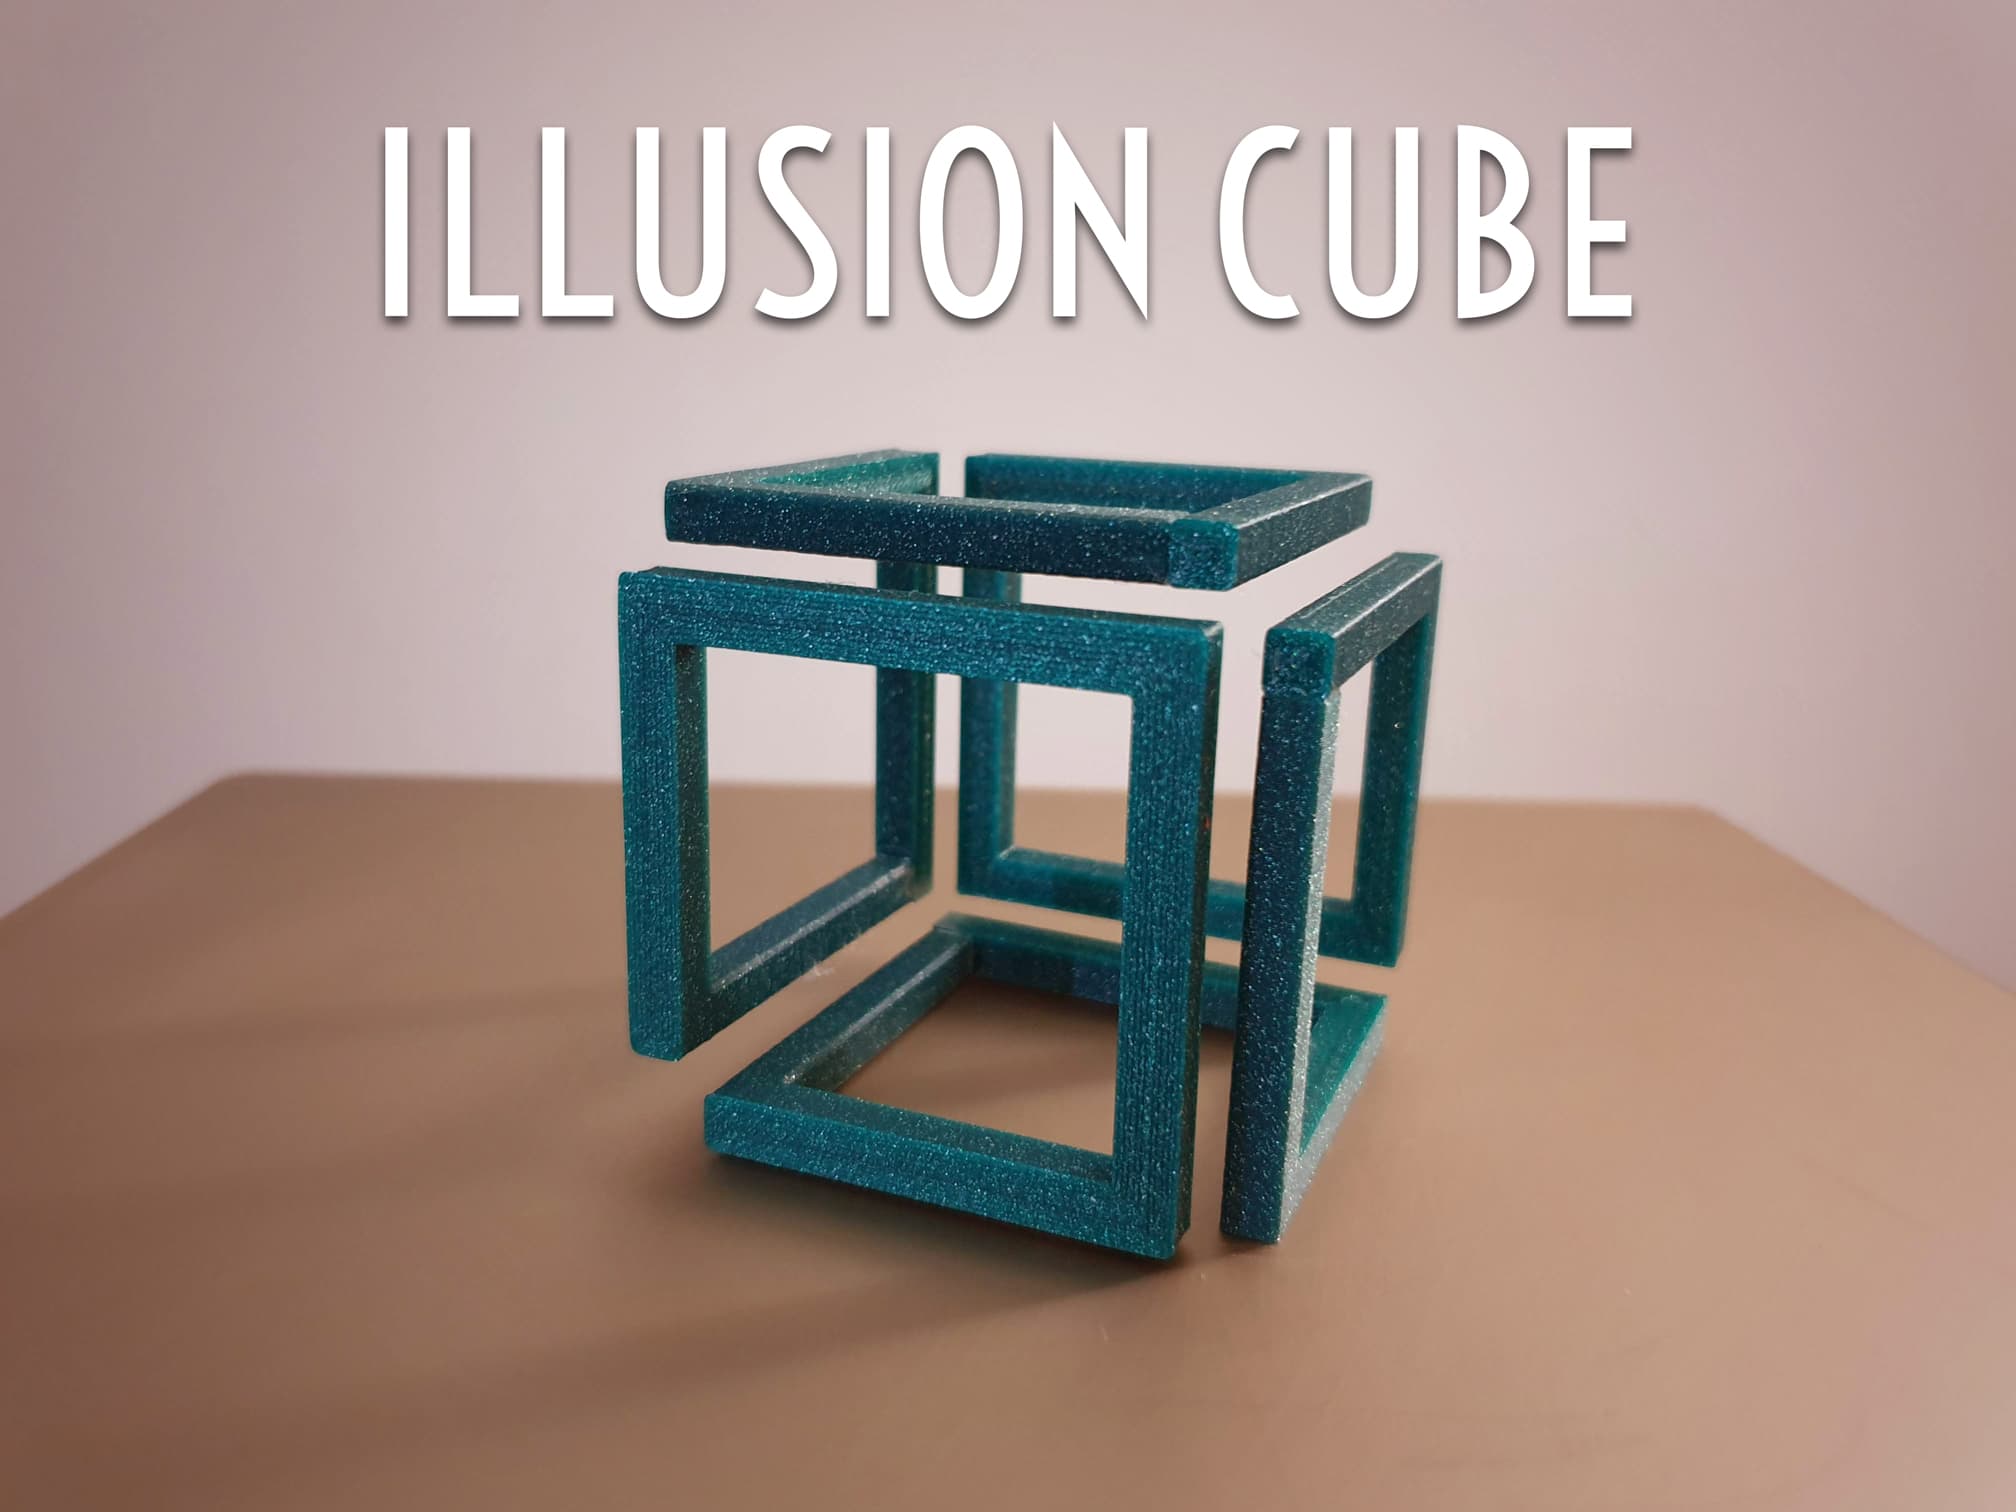
Illusion Cube