Meanwell LRS350 120mm Fan Cover - Quiet Mod!
Practical Printing - REPRAP Edition!
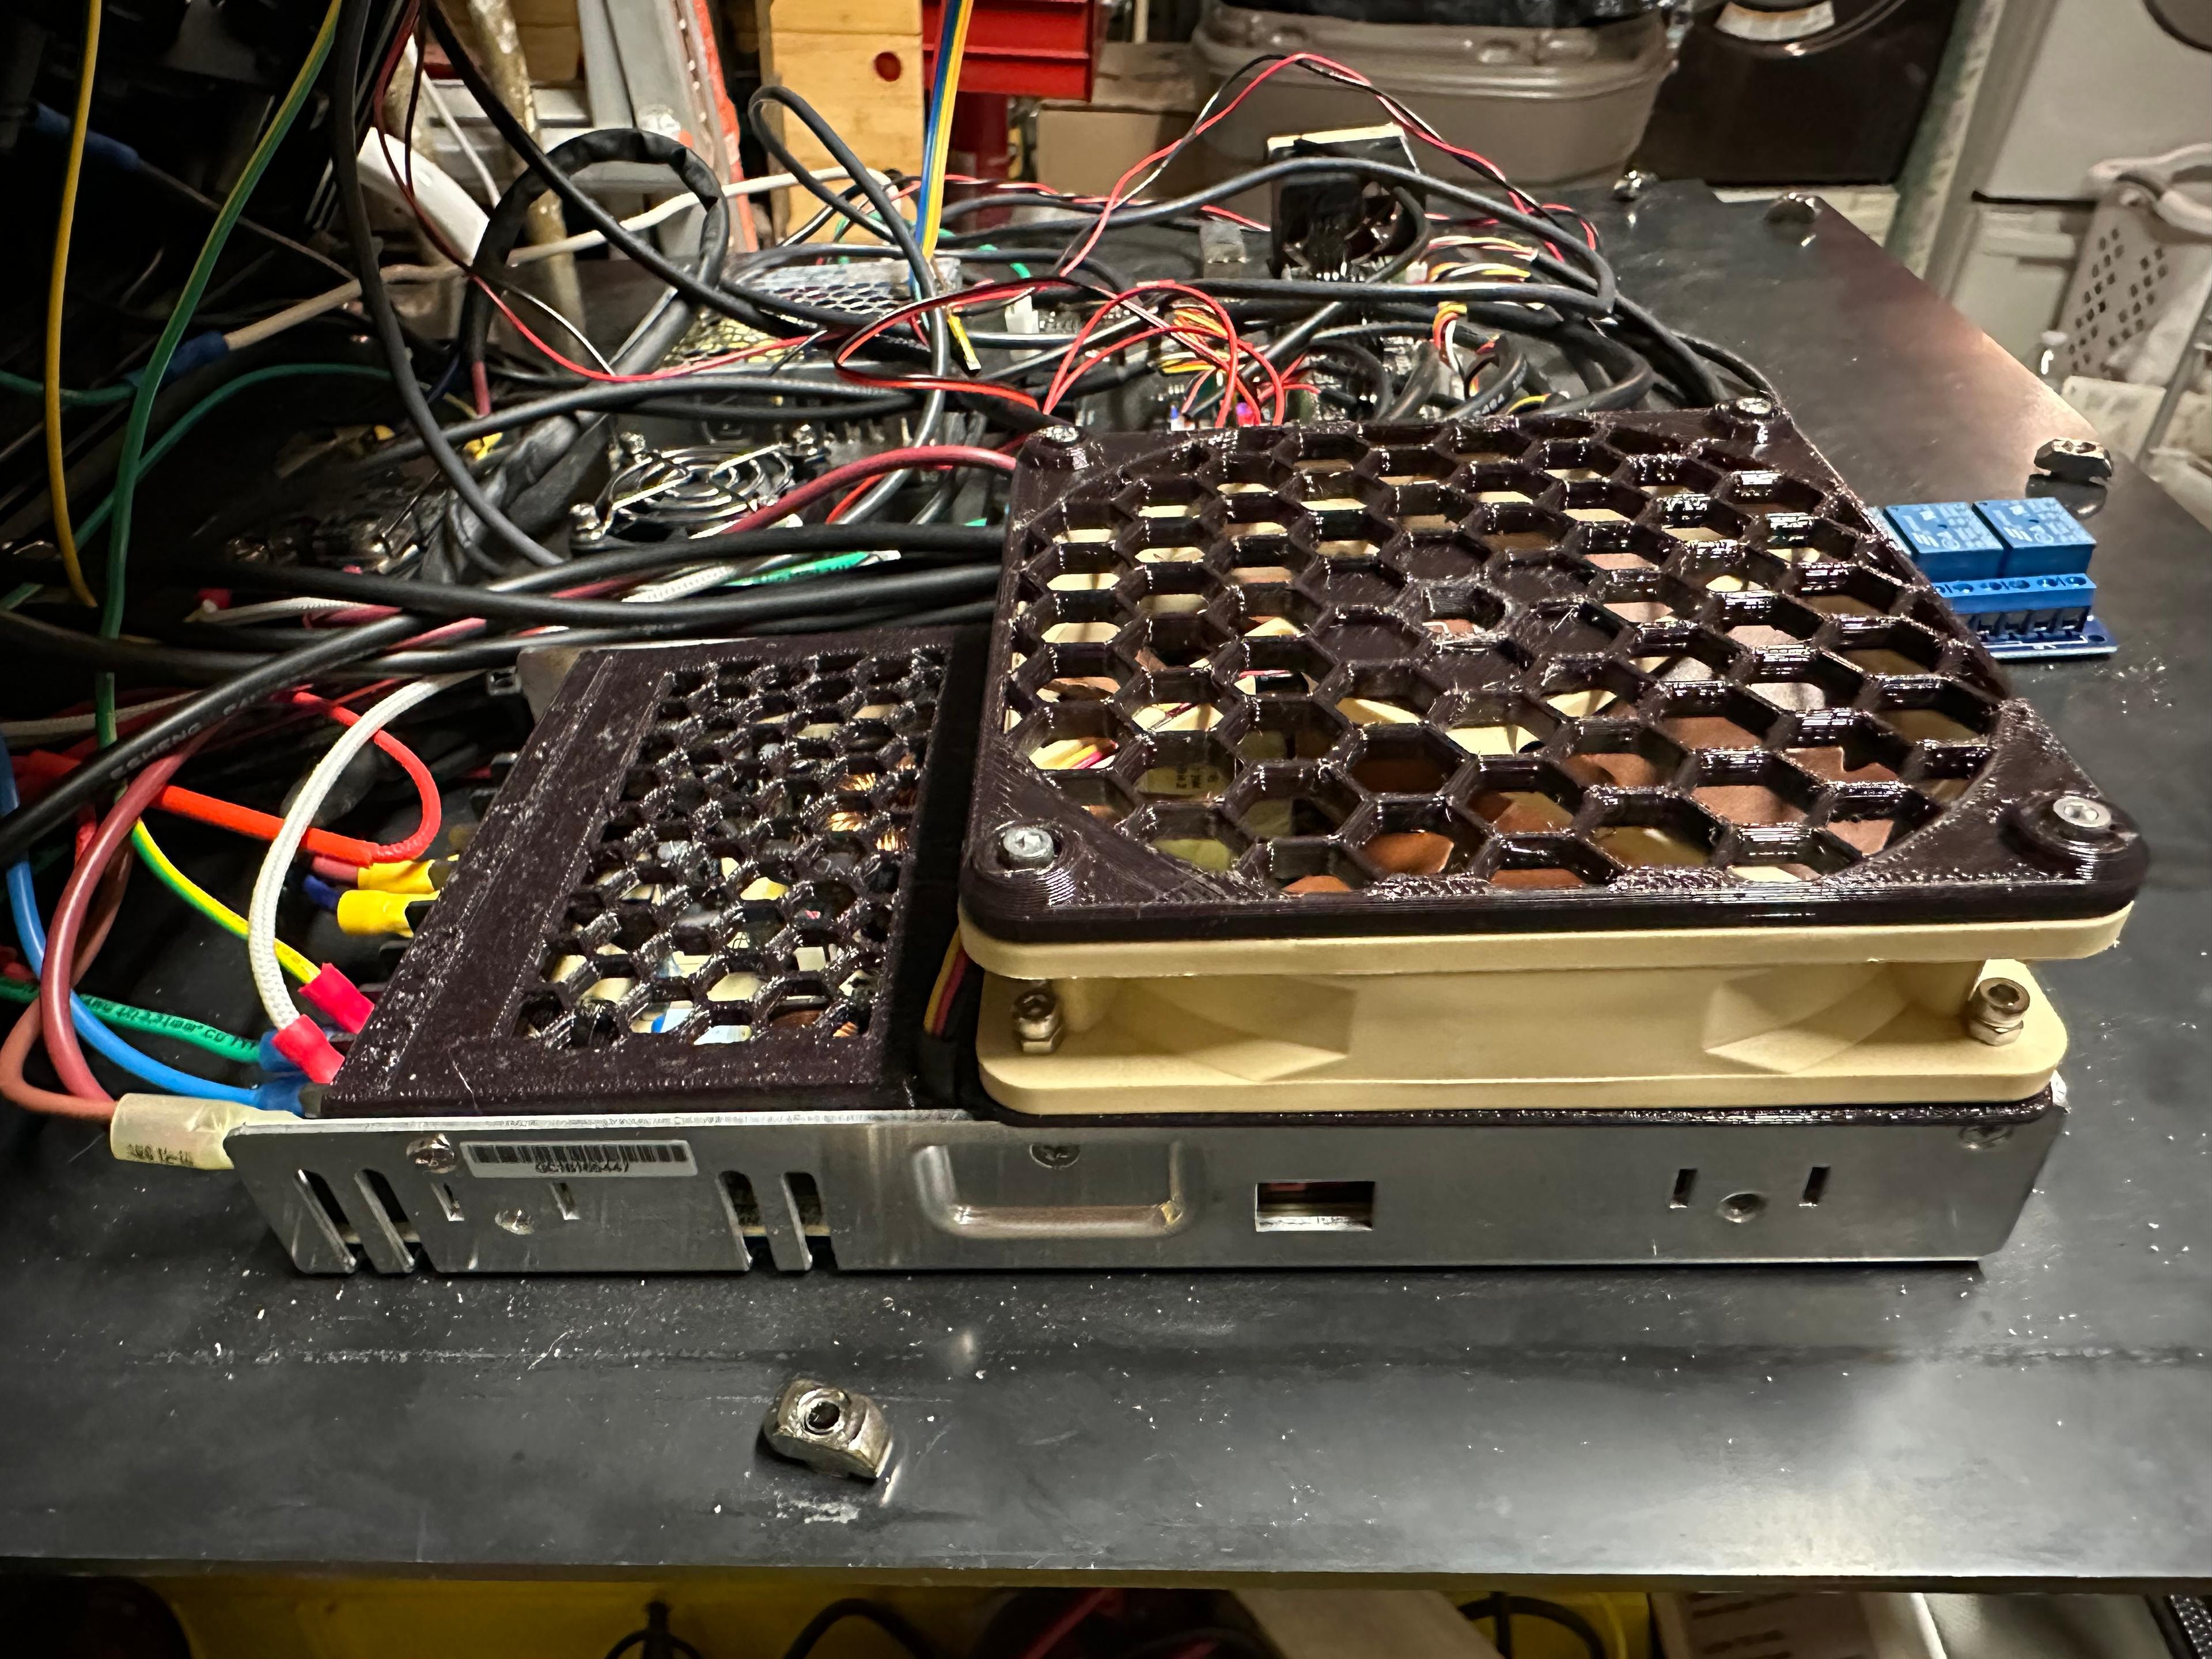
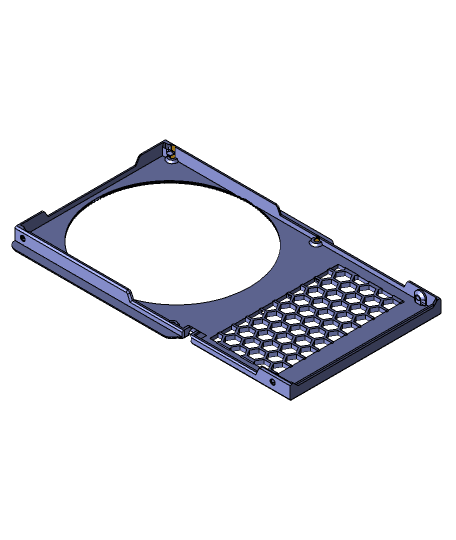
This new Power Supply Cover allows for installing a 120mm Cooling fan on a Meanwell LRS350 power supply unit. This is a revision of my cover for the base model Ender 3 power supply: 120mm Fan Mod
CAUTION: Modifying a Power Supply can be dangerous due to stored voltage in capacitors / transformers. Take caution when installing!
Designed to fit the Meanwell, model: LRS350-24 or LRS350-12 Power Supply that came on Ender 3 Pro and V2 models.
Soldering Required: To connect the fan to the JST connector of the stock PSU fan.
Fan is intended to pull air OUT of the PSU, drawing air in from the PSU vents and the cover venting.
Note: No Buck Converter required as the Meanwell PSU has a 12v fan stock. Just splice your new fan to the old fan's wiring and connector.
Necessary Hardware (Affiliate Links):
- Meanwell LRS350: https://amzn.to/35vr2KV
- 1x 120mm Fan: https://amzn.to/2XAR7EF
- 4x M3x30mm screws: https://amzn.to/3JPkTIz
- 5x M3 Heat Inserts (if using Heat Insert vers.): https://amzn.to/3t6B6SN
Spacer Plate design included is REQUIRED to make this design work. It moves the PSU away from the Z-Axis upright to clear the rollers on the X-Axis Carriage.
PRINT PARAMETERS:
- Recommend minumum of 4 Perimeters and 10% Infill.
- PETG filament recommended, PLA has worked for me in the past though.
- POST PROCESSING:
- Take care when removing part from print surface as the hex mesh can be delicate and the design has a LOT of surface area on the build plate.
Want to Support what I do? Check out my social medias please!
Link Tree: http://www.HotRodHippie.com/links
All of my Designs are covered by a Creative Commons Non-Commercial License. Sale of prints using my designs are the sole right of myself, the designer, and those I license to do so. Please understand every design is hours of work and multiple prototype prints to ensure quality. Unauthorized sales will result in new designs not being made public.
PLEASE Credit any and all Remixes of my designs: MandicReally

