
.png&w=256&q=75)
PET Bottle Cutter
The goal of this project was to create a reliable bottle cutter that was cheaper and more efficient than similar cutters. Bottle Cutter V1 is more efficient than similar cutters because the bottle guide is single sided, making it easier to load.
Parts list:
2 - M3 x 10mm Screw
2 - M5 x 40mm Bolt - https://amzn.to/47DXsOK
2 - 16mm OD, 5mm ID Bearing - https://amzn.to/416uZyC
6 - M5 Nut
4 - M5 Locking Washer
5 - M5 Washer (10mm od, 5mm id)
Assembly:
Print the parts flat with support enabled.
Using a belt sander (or similar), sand flat across the bearings to give one side of each bearing a sharp edge. (Probably the most difficult/important step. Take your time)
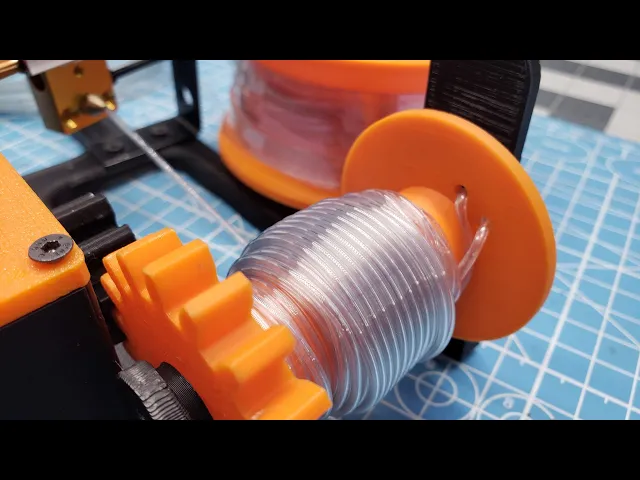
Place an M5 washer in the circular debossed area on the top of BottleCutterBody (Reference Images) and secure GuideR and GuideL in place using M3 screws.
Thread the 2 M5 x 40mm bolts through the bottom of BottleCutterBody. Secure tightly with M5 nuts.
Thread an M5 Nut onto the right bolt, followed by a locking washer, then a washer, followed by a bearing (Reference Images). The top of this bearing should be the sharp side. Line the top of this bearing up with the notches on GuideR and GuideL (Reference Images) . Important These notches indicate a cutting height of 7.75mm. Secure the bearing in place by adding a washer, lock washer, bolt and then counter tightening each bolt. The top of the bearing should still be lined up with the notches.
Add the left side bearing with the same process (The sharp side should be facing down).
Adjust both bearings so that moving one bearing with medium pressure also moves the other bearing. Be sure that the bearings are still lined up with the 7.75mm notch.
Using It:
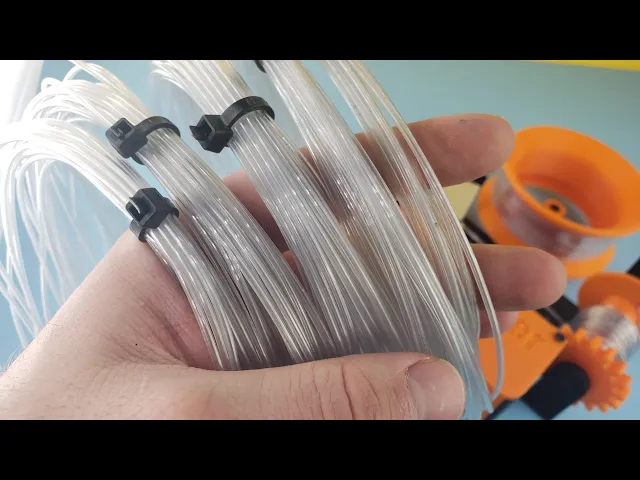
Before using the cutter it is important to note that some bottles need to be cut to different widths. When using thicker plastic bottles, if your cordage is too wide, it may jam the PullStruder. I found that 7.75mm wide cordage made from crystal geyser 1 gallon jugs pullstrudes nicely into 1.75mm filament. For bottles with thinner plastic you may need to increase the cutting height (cordage width) accordingly.
Before cutting a bottle you should first remove its label (heat helps), remove any glue (I use Goo Gone) and inflate the bottle using a heat gun or stove top (to remove any ridges).
Now you can remove the bottom of the bottle (we haven't figured out how to make cordage with that yet). The next step is to cut a thin strip that you can feed between GuideR and GuideL and under the bearings. Now with one hand you can hold the bottle flat against the guide, and with the other hand you pull the cordage through using a pliers. (Reference Images) Once the bottle is started you should be able to ditch the pliers.
Use a calipers to verify your cordage width and adjust if needed.

Yamaha QT50 Oil Tank Cap

Yamaha QT50 Carburetor Gasket

Yamaha QT50 Gas Cap Rubber

Yamaha QT50 Tree Cover

Yamaha QT50 Throttle Grip and Tube

Yamaha QT50 Intake Airbox Boot

Yamaha QT50 Foot Peg Rubber
.jpg&w=3840&q=75)
Yamaha QT50 Kick Lever Rubber Cover

Yamaha QT50 Mud Flap

Universal Inertial Dash Compass

ForkSpoonKnife

Disc Golf Driver - Weighted with Pennies

Crocs Charms

Homebrew Wii GameCube Case
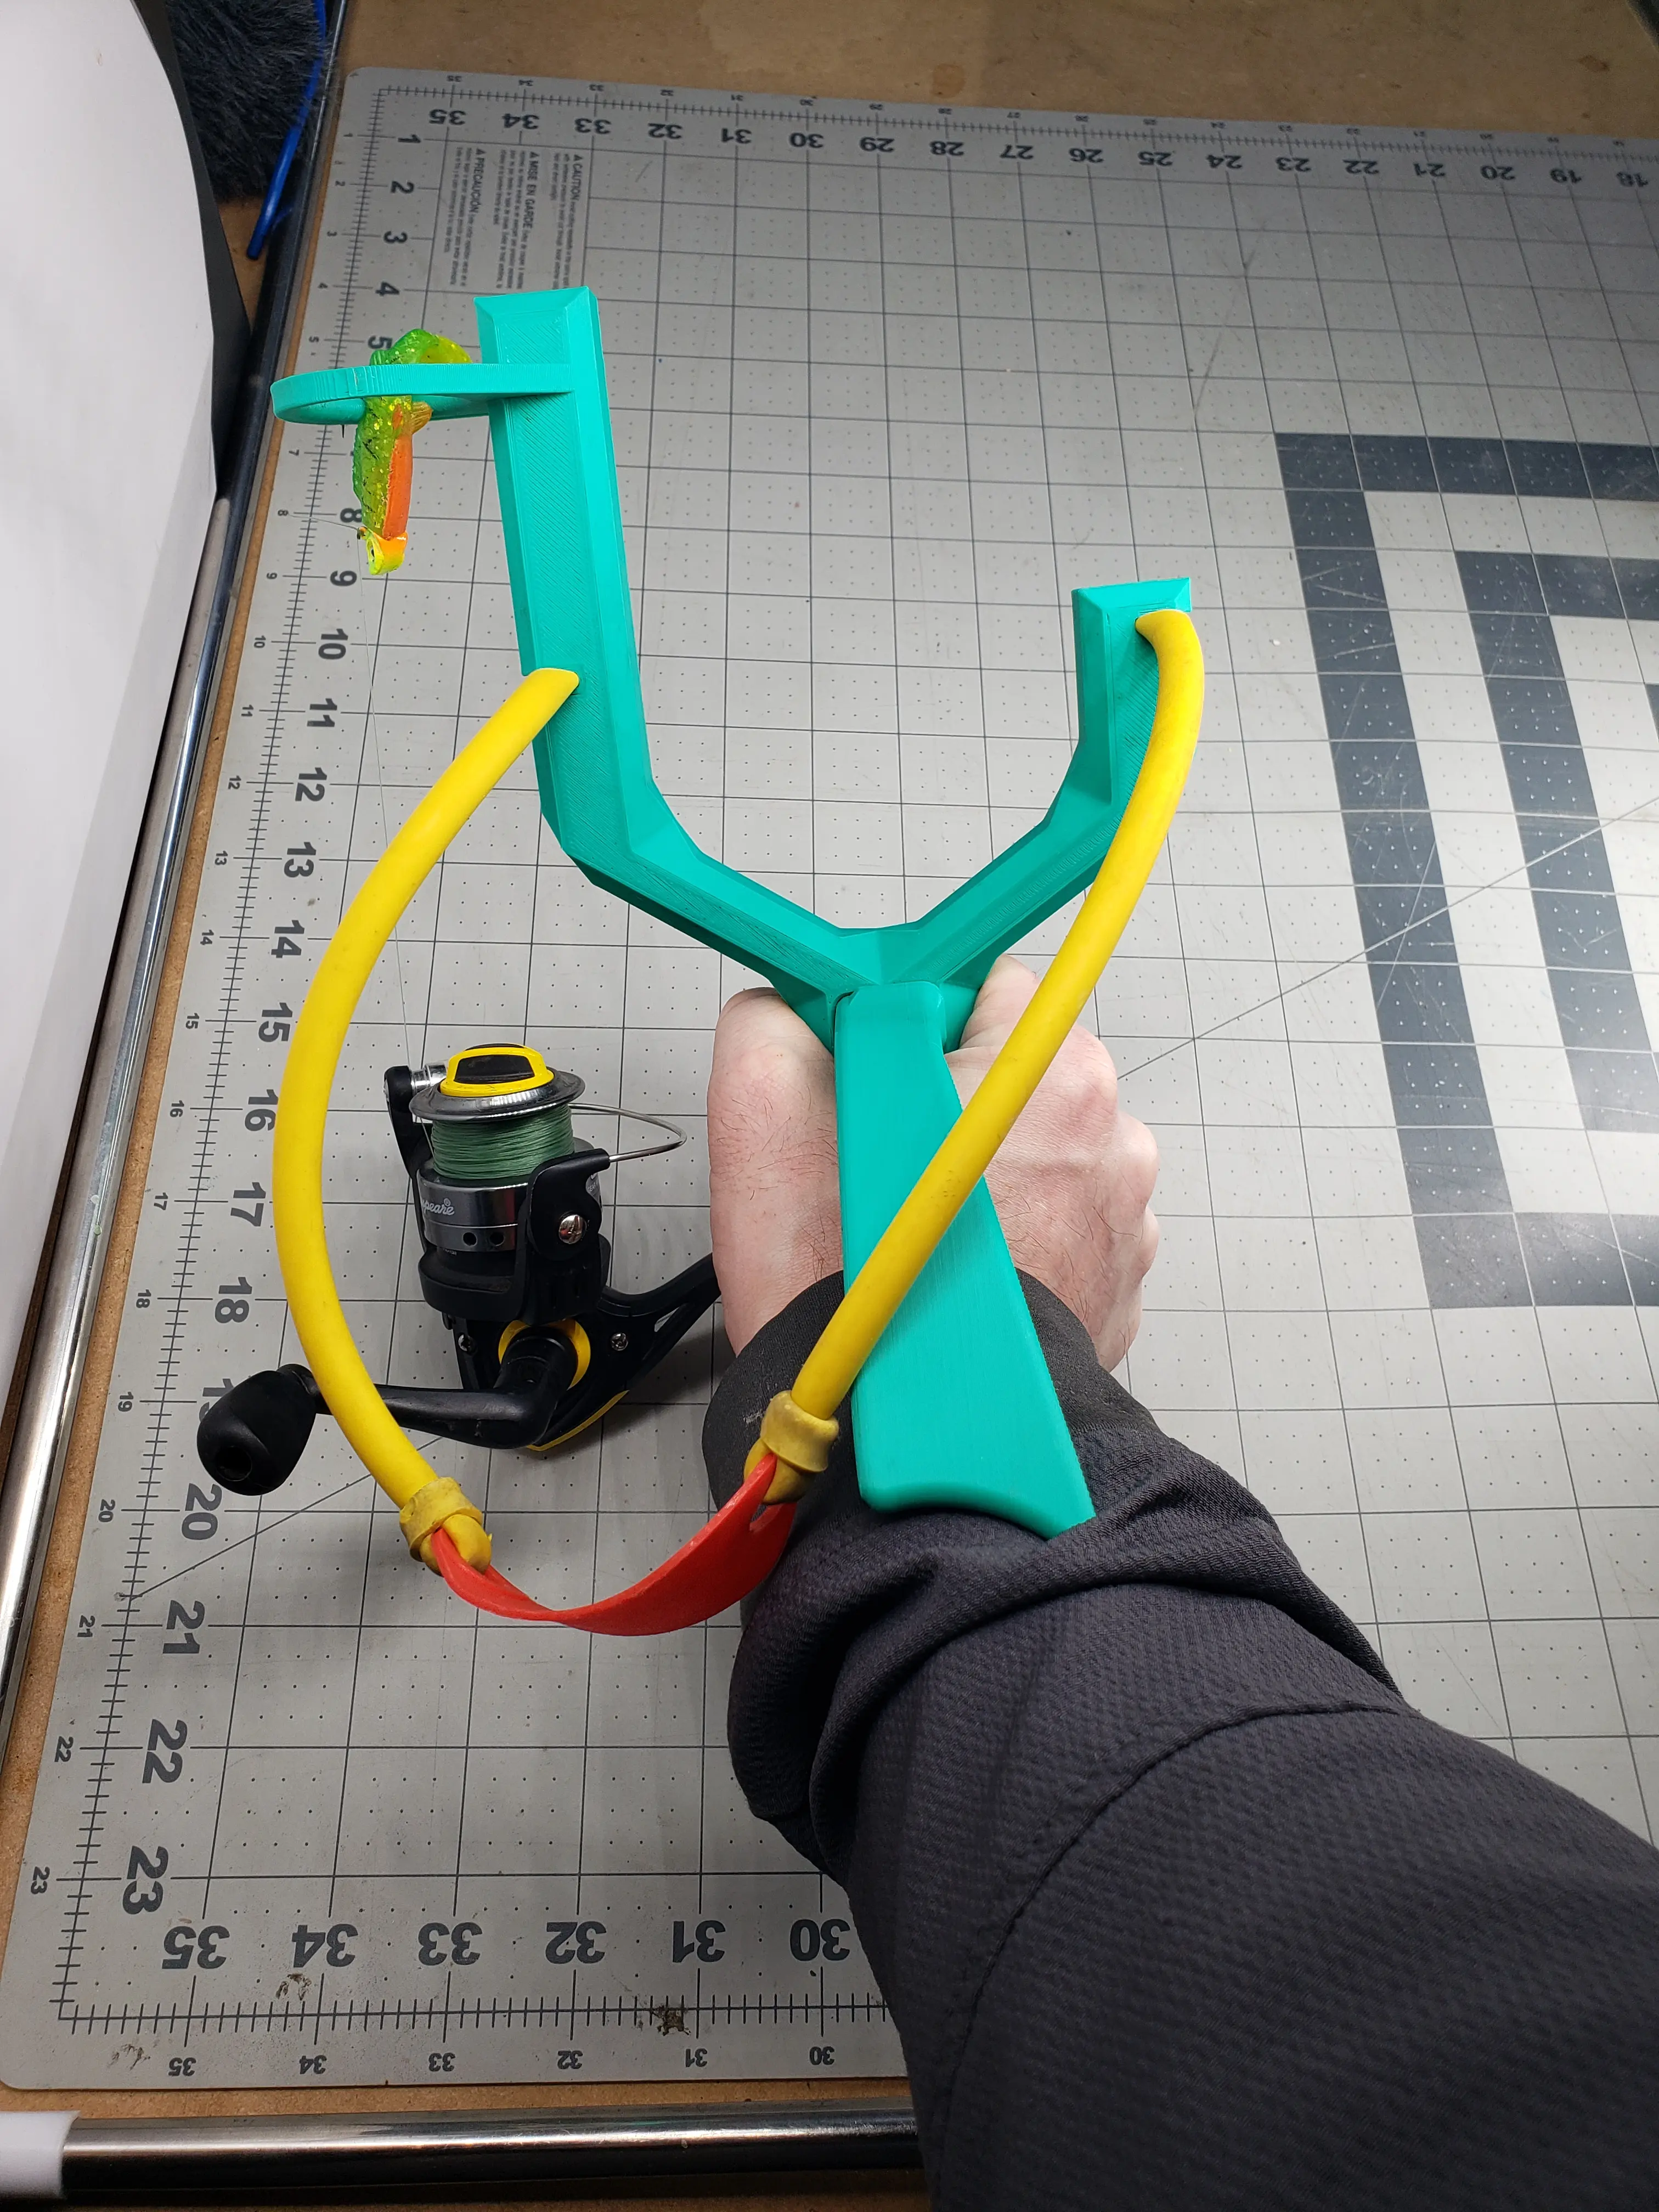
Slingshot Reel
.jpg&w=3840&q=75)
Lighter Balisong (Bic Butterfly Knife)
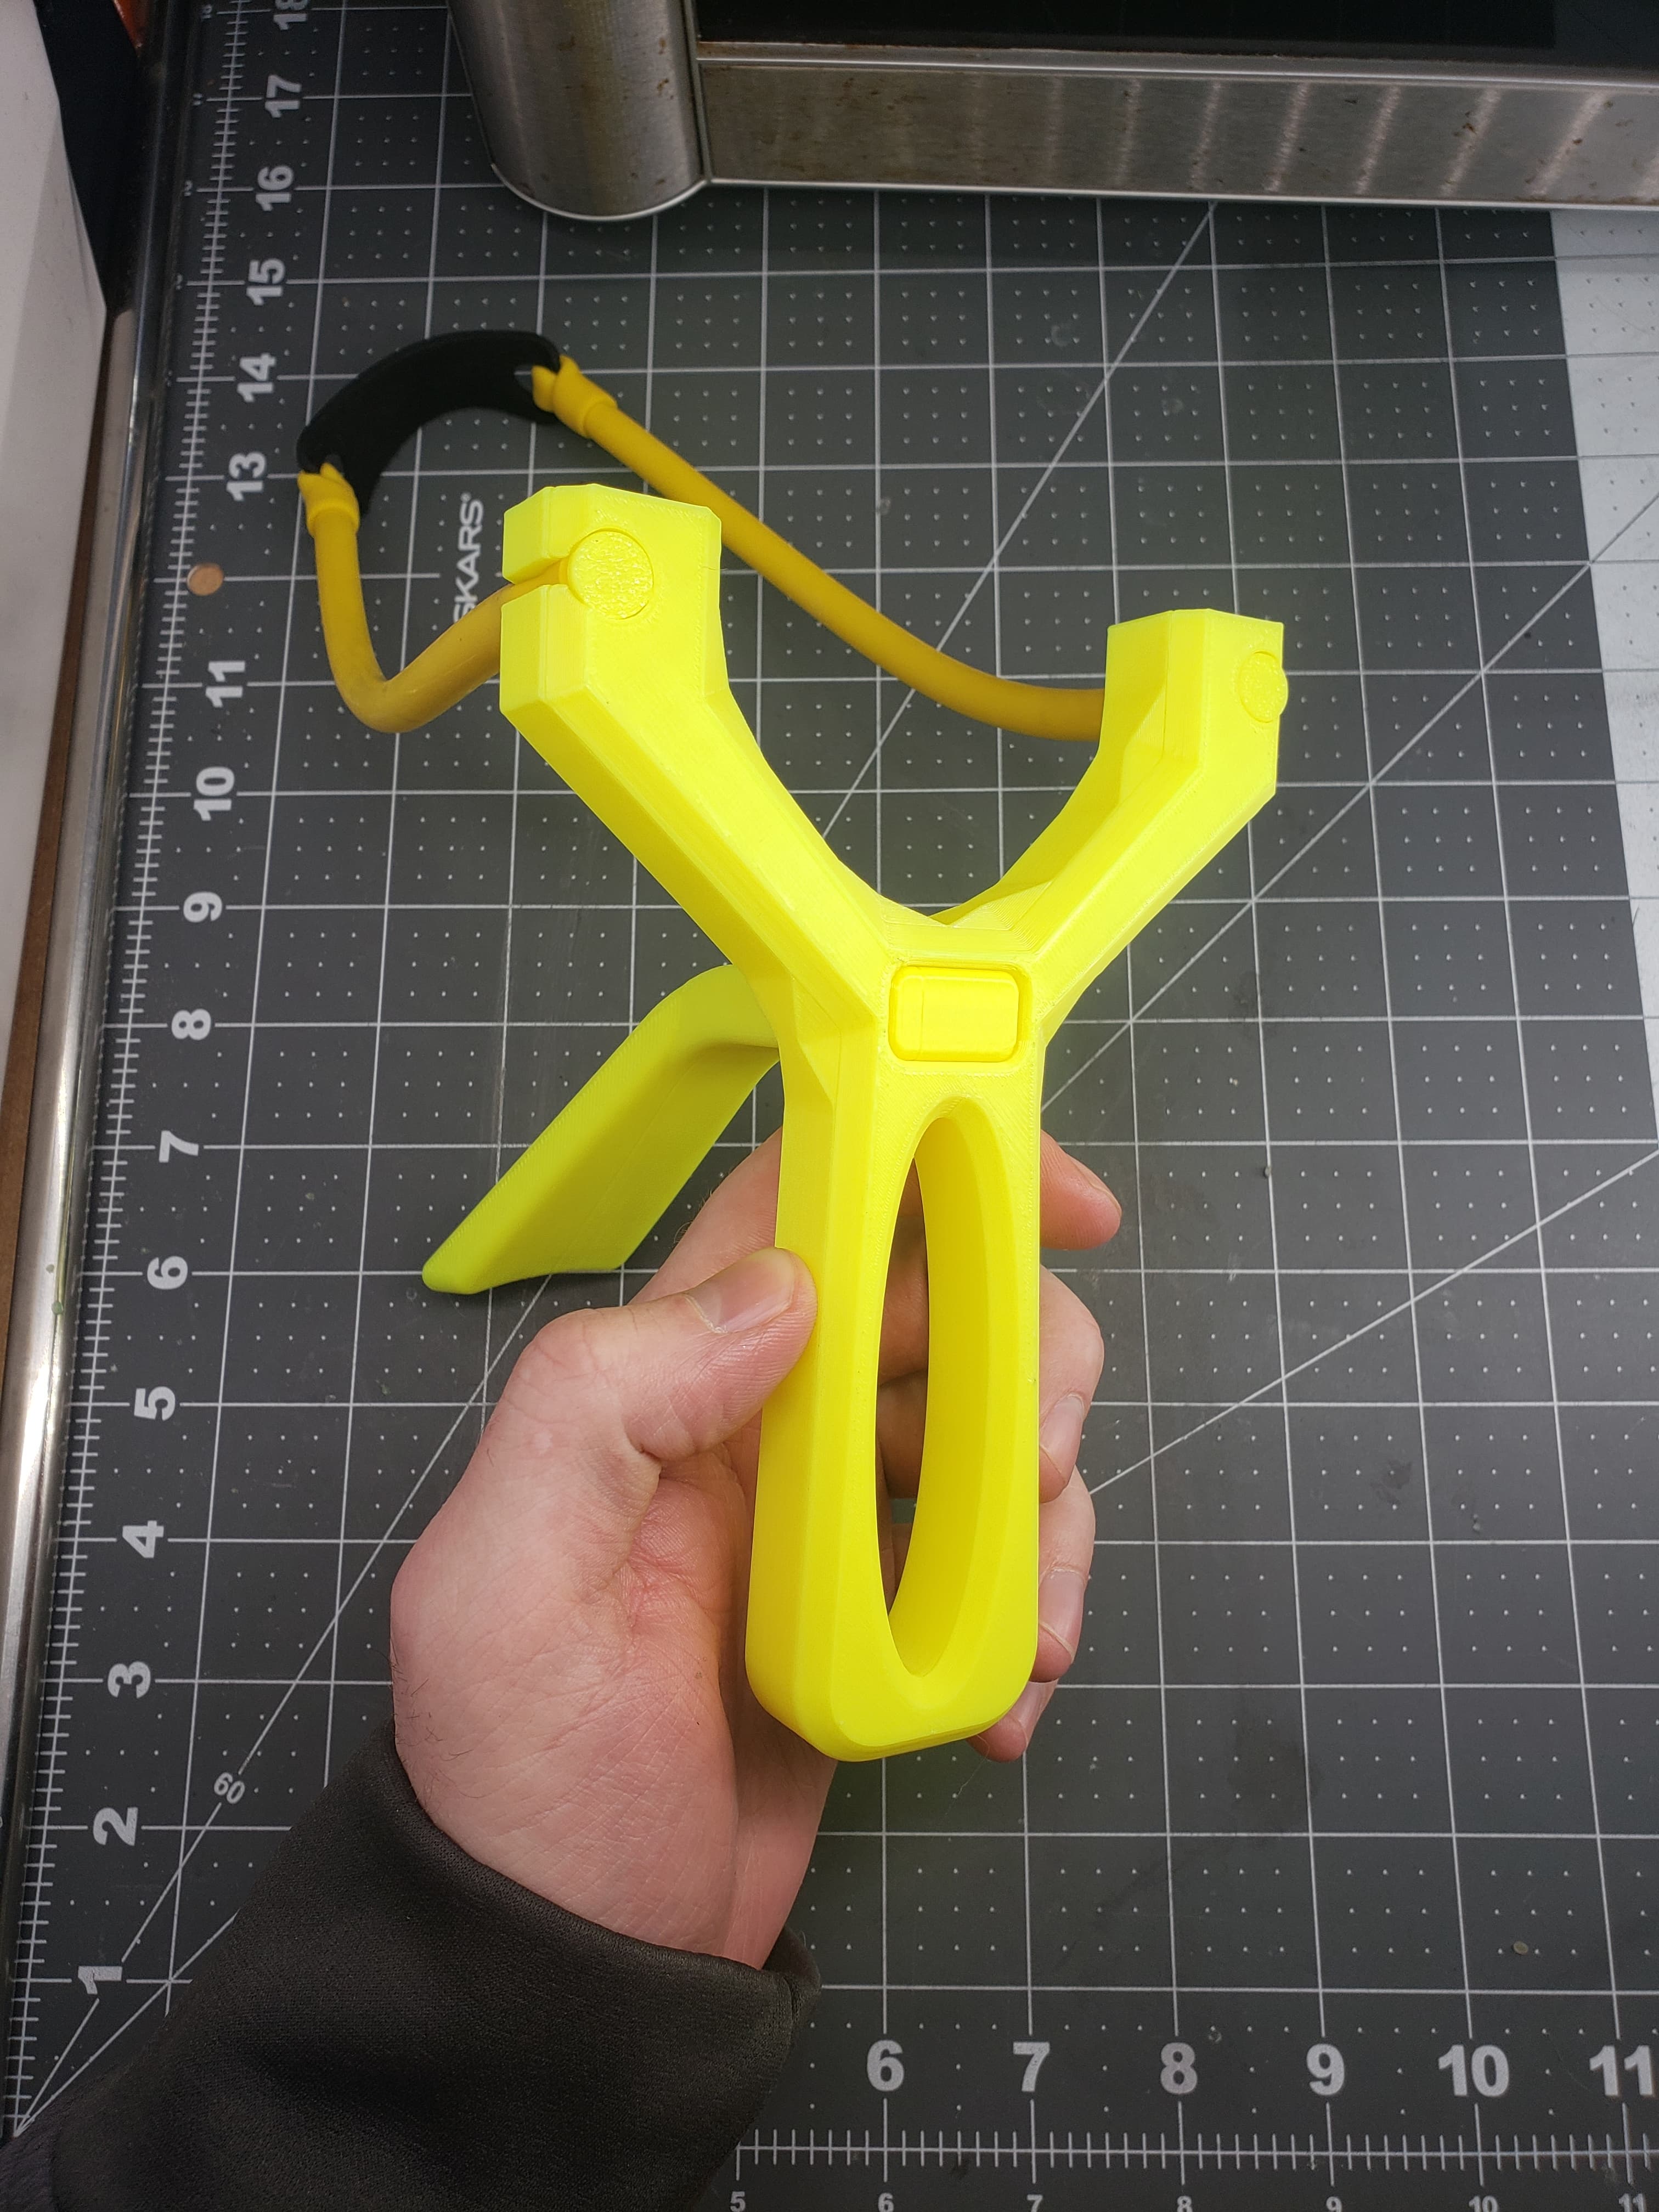
Trusty Slingshot
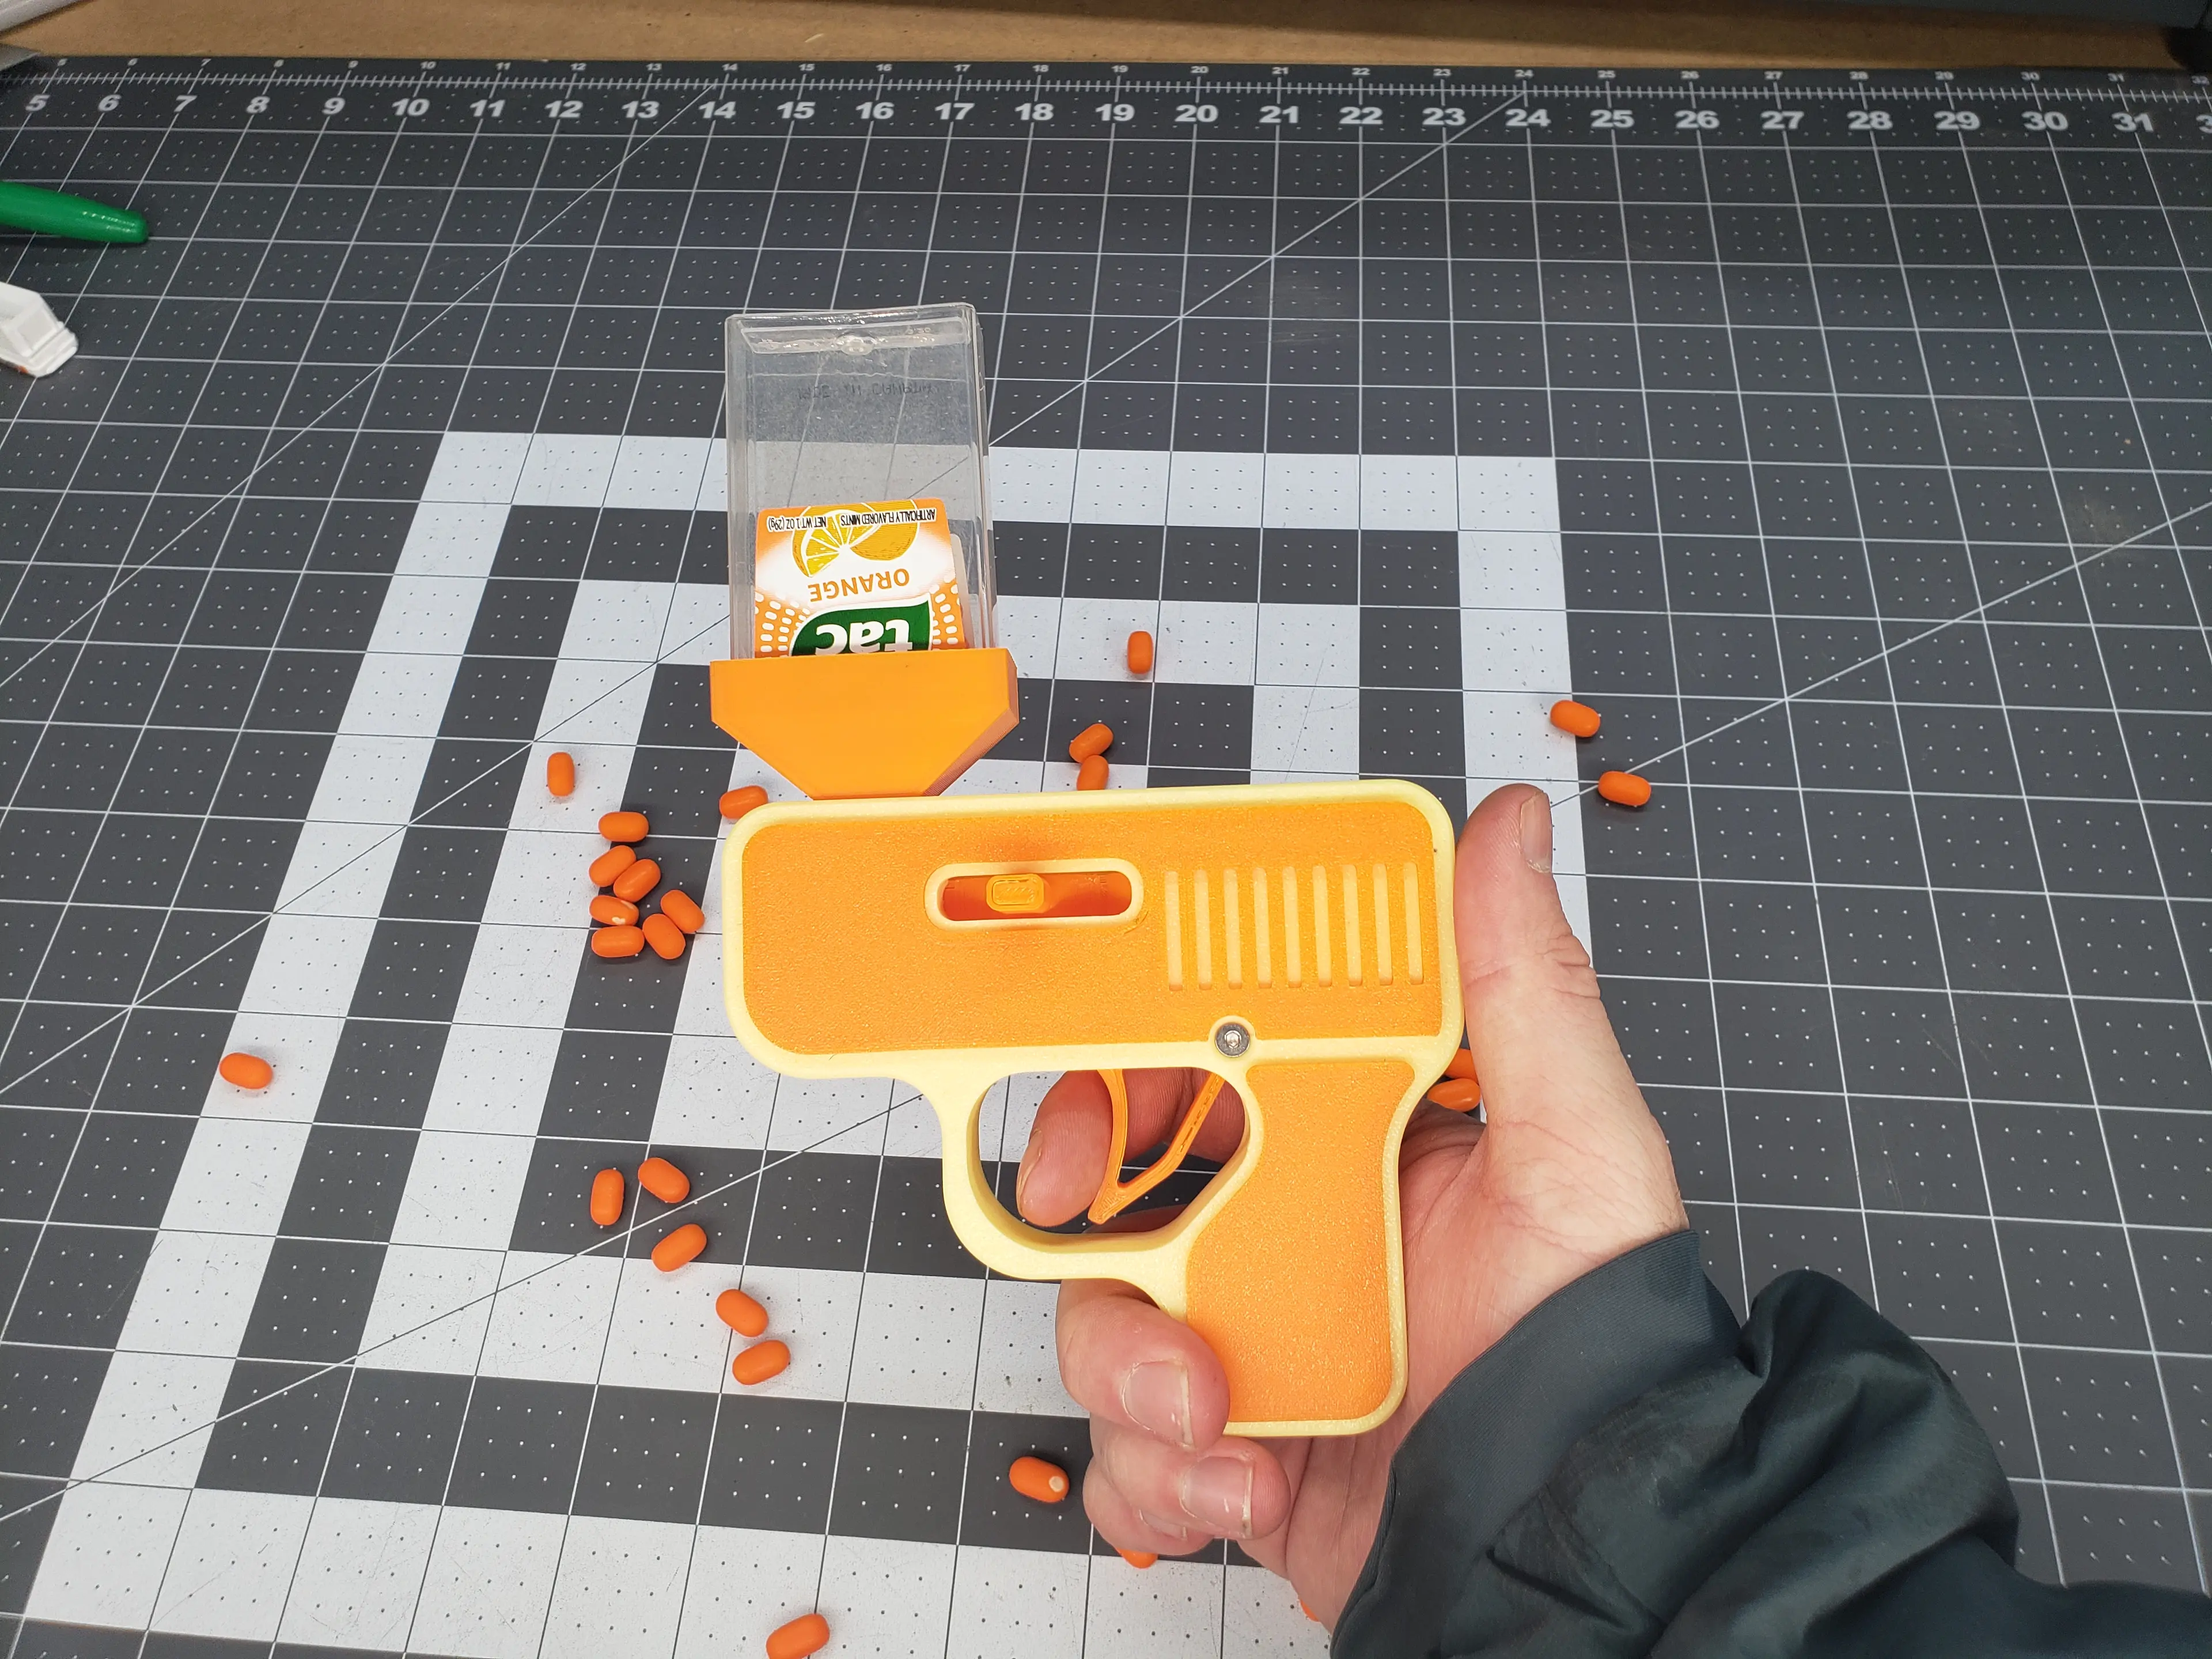
TicTac Blaster (8 Springs)
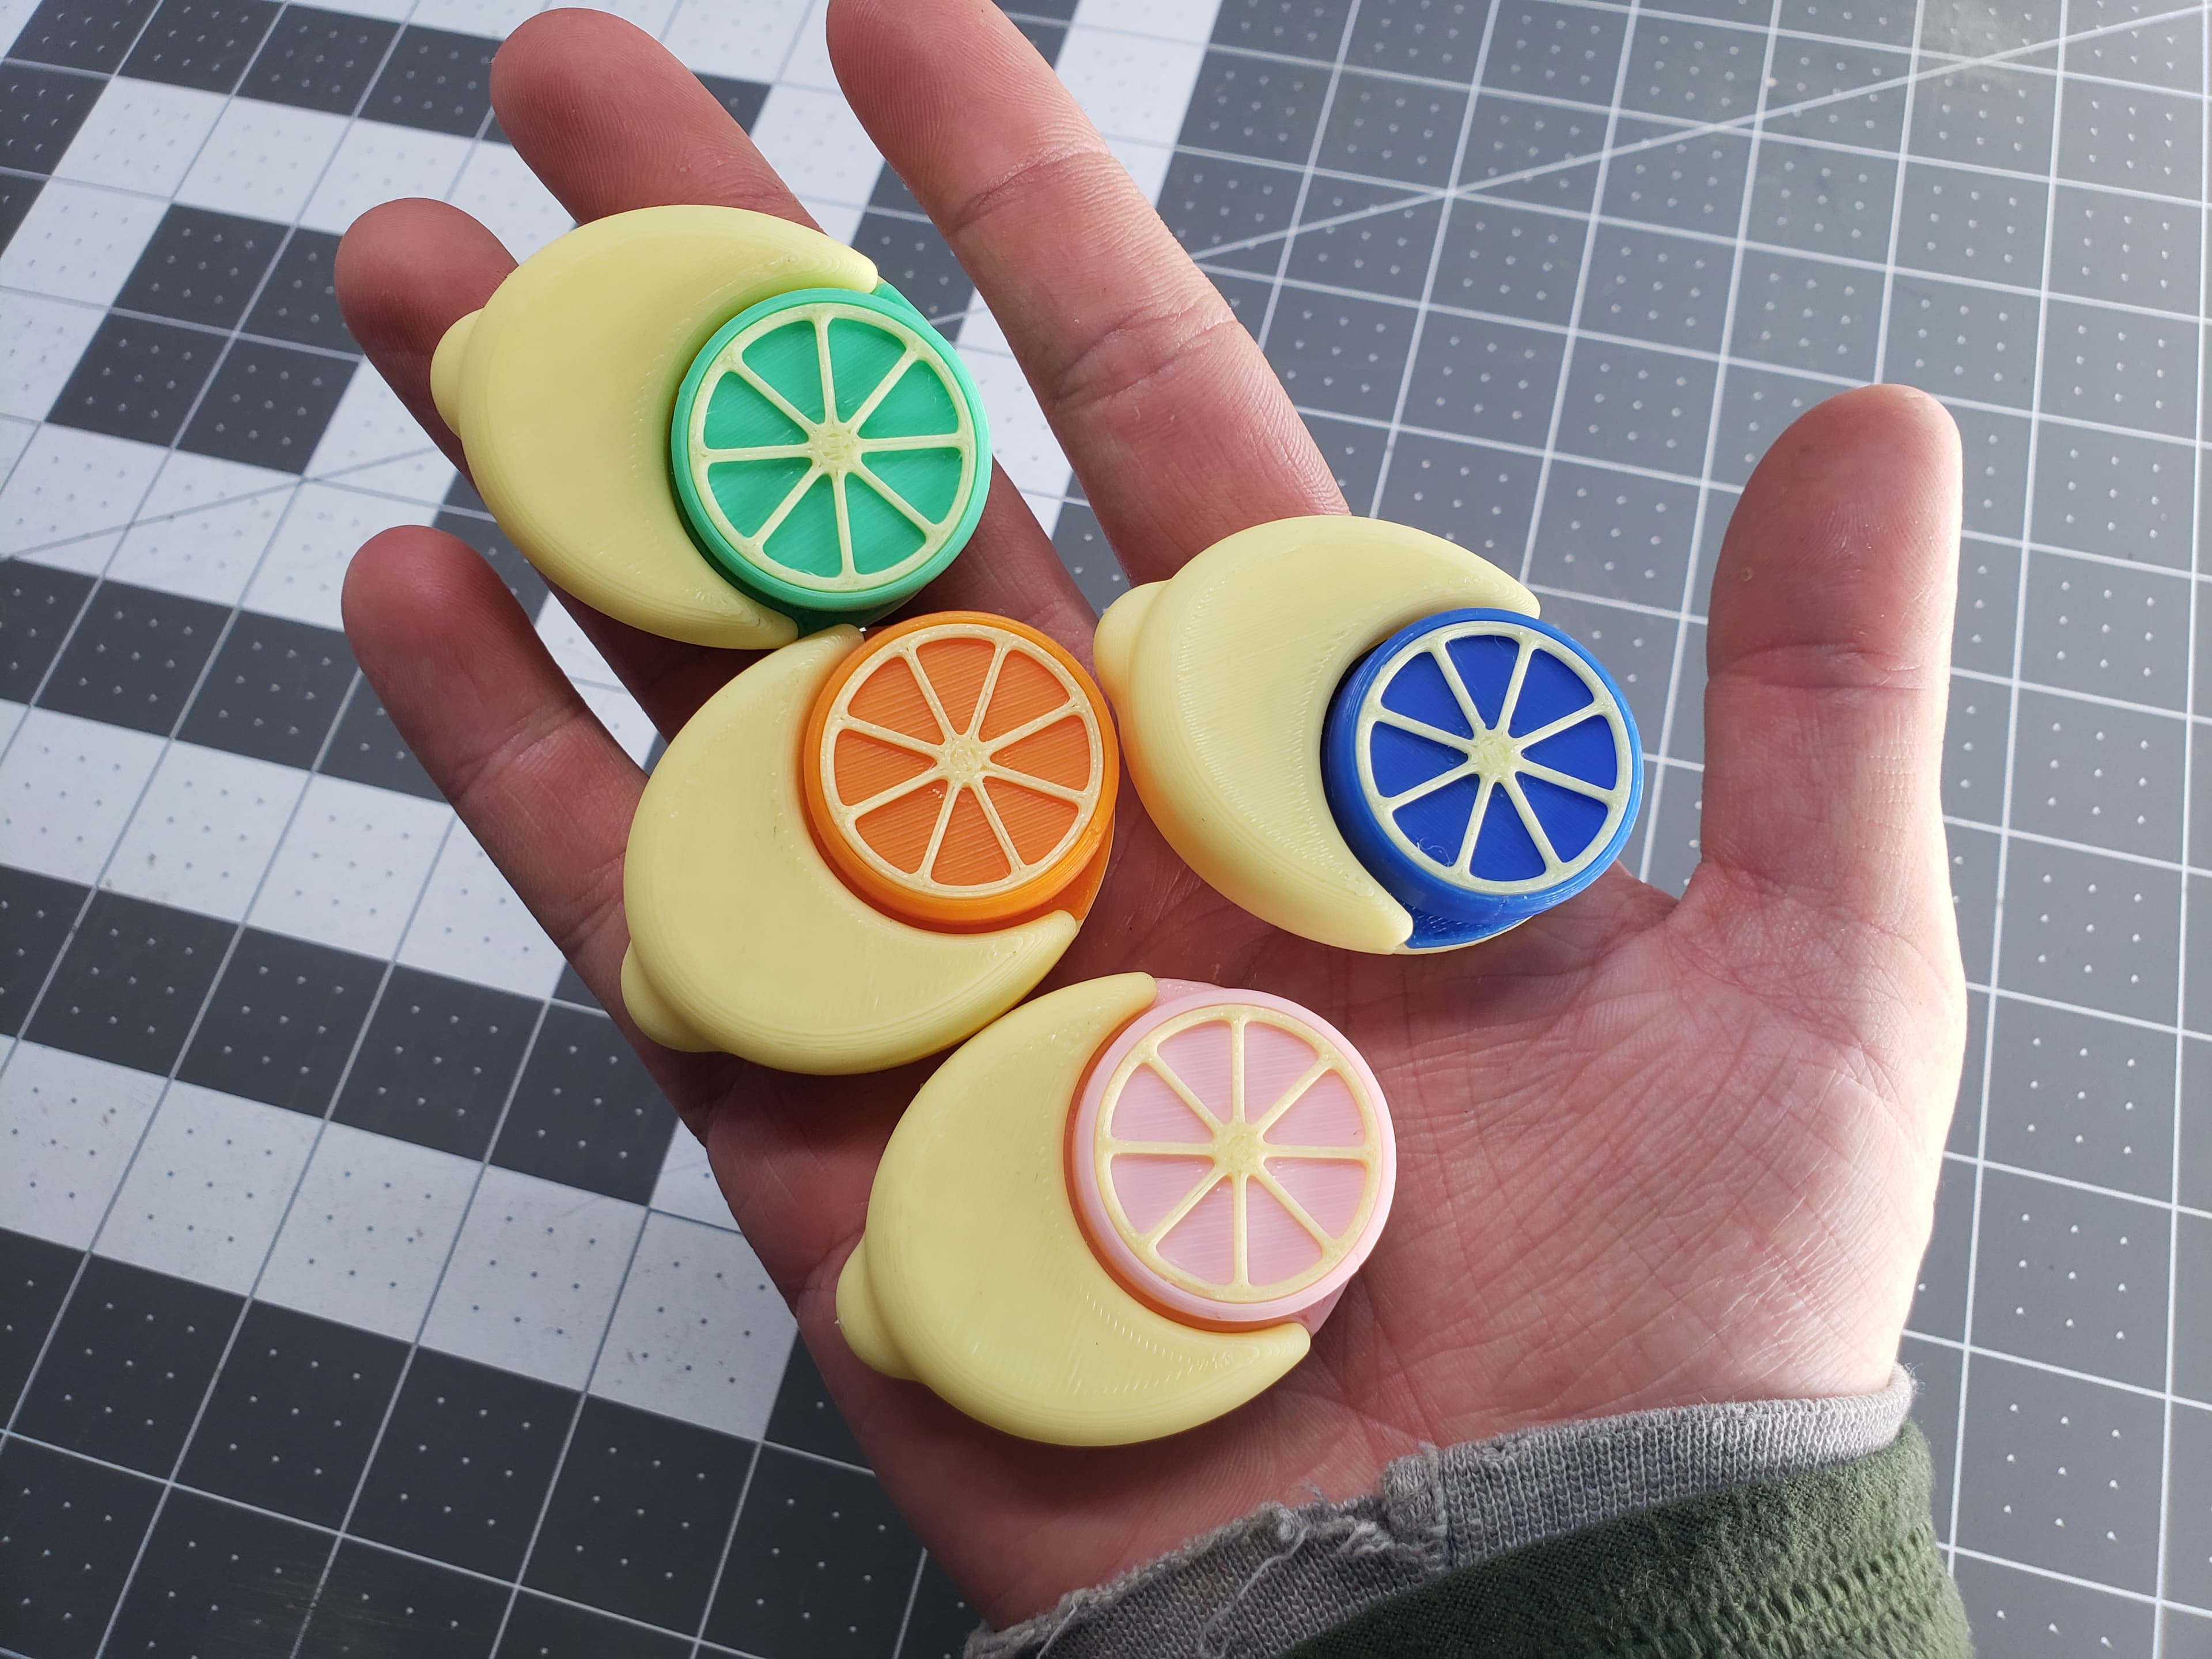
Lemon Flipper Fidget
.jpg&w=3840&q=75)