
T junction for PSU to Relay power cord
Model originally uploaded to Thingiverse at https://www.thingiverse.com/thing:4876047.
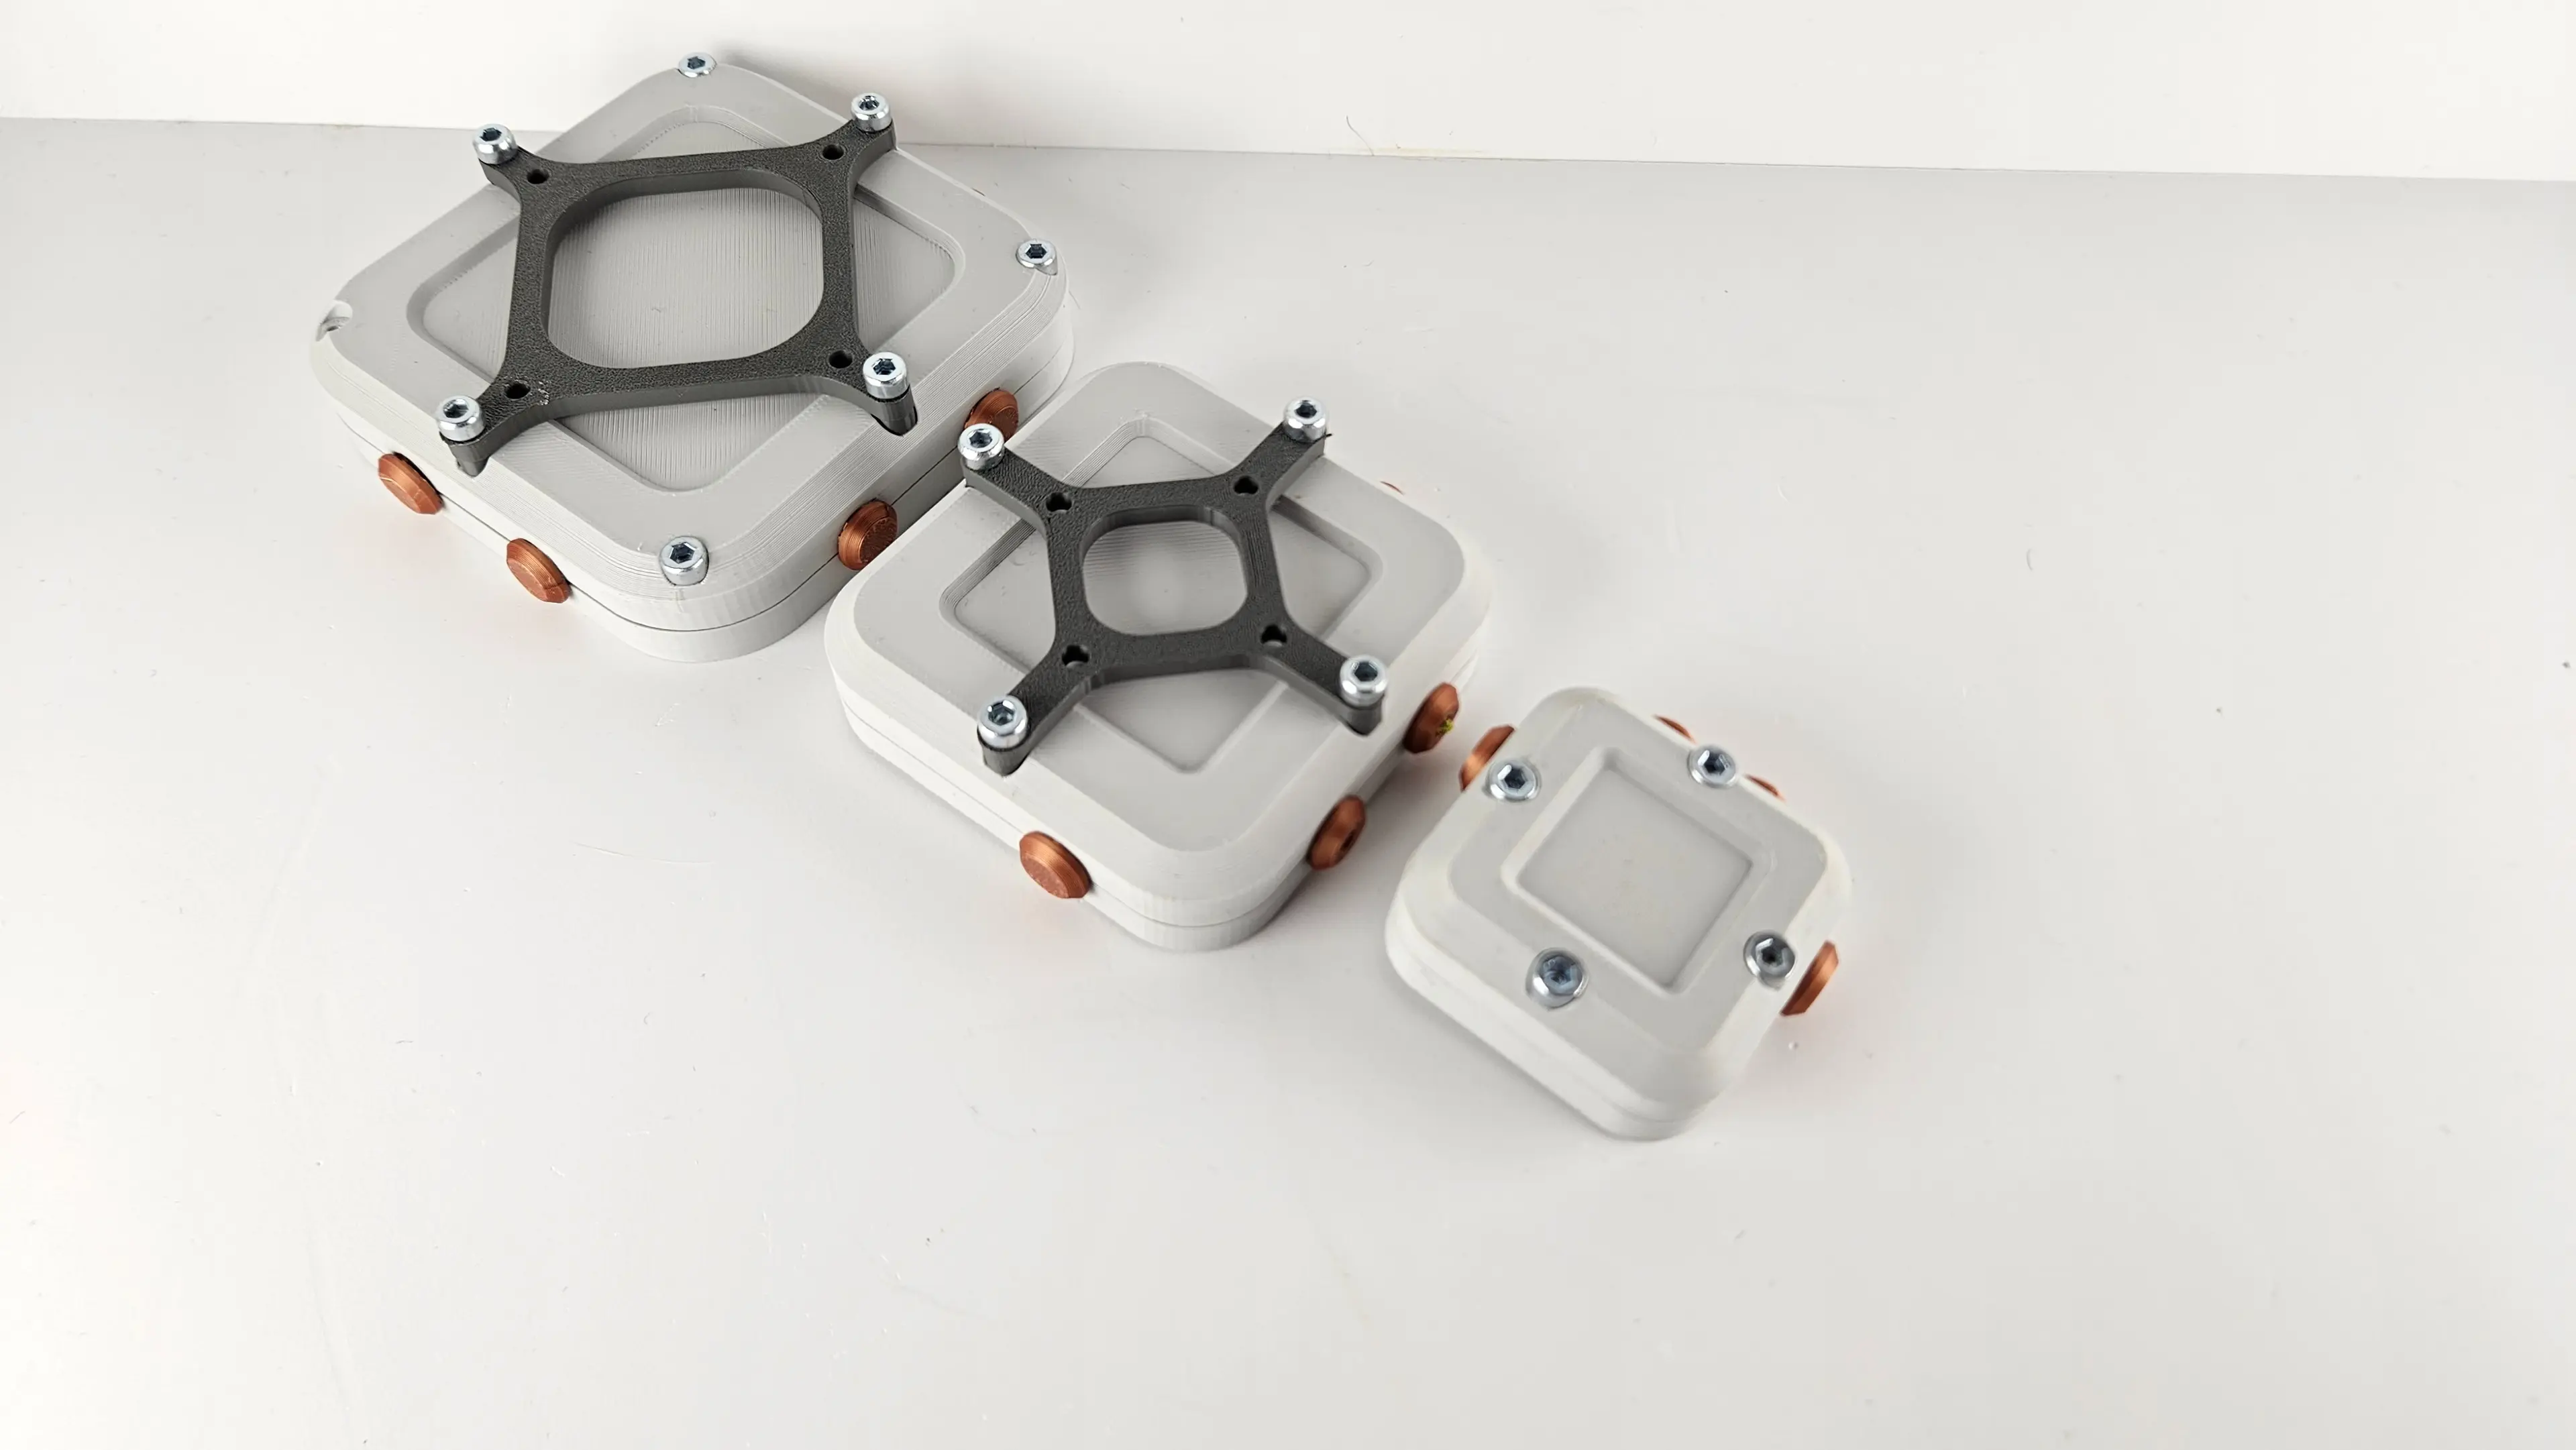
This is a simple "cable case".
I am controlling my 3D printer's PSU with a relay. So I need to derivate the "live" line from my power cord toward the relay and back the the power cord connecting to the # printer.
To make it easier , I use a power cord extension cut half. The "female part" of the power cord extension is connected (welded) to the 3D printer's power cord.
The "male part" of the power cord extension is connected to the relay controlling the PSU.
This allows me 2 things : having a well protected 2 wire power cable and be able to connect and disconnect the Relay from the PSU power cord if I need to do some maintenance.
After printing the 2 halfs of the cable case, cut your PSU's power cord in half, take the sheath away and do the same for all 3 wires. You need actually to shorten the blue and green cable (ground and phase cable) on both ends. The reason is that the brown wire (live) should be longer to reach the other side of the T junction.
Same operation with the power cord extension, cut it in half, and take away the extremal sheath and expose the wires.
I recommend using a 2 wire power cord (the PSU power cord is a 3 wire type).
Now you need to reconnect the cables, I mean weld them. I don't enjoy soldering, welding things so I found this really nice and neat solution to reconnect cables :
It is a welded and sealed wire joints. Really easy to use and not messy at all. I used the red ones.
You need to reconnect:
- the green wire (ground) to the other green wire (ground).
- the blue wire (phase) to the other blue wire (phase)
So far so good we simply reconnected what we cut before.
Now we need to take one brown wire (live) and connect it to on of the wire of the extension cable , in my case white wire. Do the same with the remaining brown cable and the remaining wire on the extension cable.
Once every thing is connected assemble the "cable case " arround the joints.
Use M2.5 screws to assemble to 2 halfs ad you are set.
T junction for PSU to Relay power cord

Sonoff Basic Decora Light Switch Adapter
Hextraction Seesaw Tile
Hextraction Coin Flip Tile
Starship
Hextraction Gear Spinner Tile
NODES (Deco Junctions)
Lilygo T-Relay H516 Enclosure

Hextraction Neo King Tile

Dadidol - Treasure Worthy of a Thousand Groans - Dad Idol | Treasure | Puzzle | Pirate Life

Hextraction Lazy Susan Tile

Grumpy Tree Christmas Ornament

Hextraction Tile - Spaghetti Junction
Shelly 1 PM mini housing
ESP12F_RELAY_X4 4-CHANNEL RELAY CASE ESP8266 87X93

Automated Air Filtration System for Cat Litter Boxes - Universal Fit - Customizable

1:8 BTTF DeLorean Flux Capacitor WITH gasket
16-Channel Relay Board Mockup

Alakazam (3mf included)

Hextraction Relay Tile
