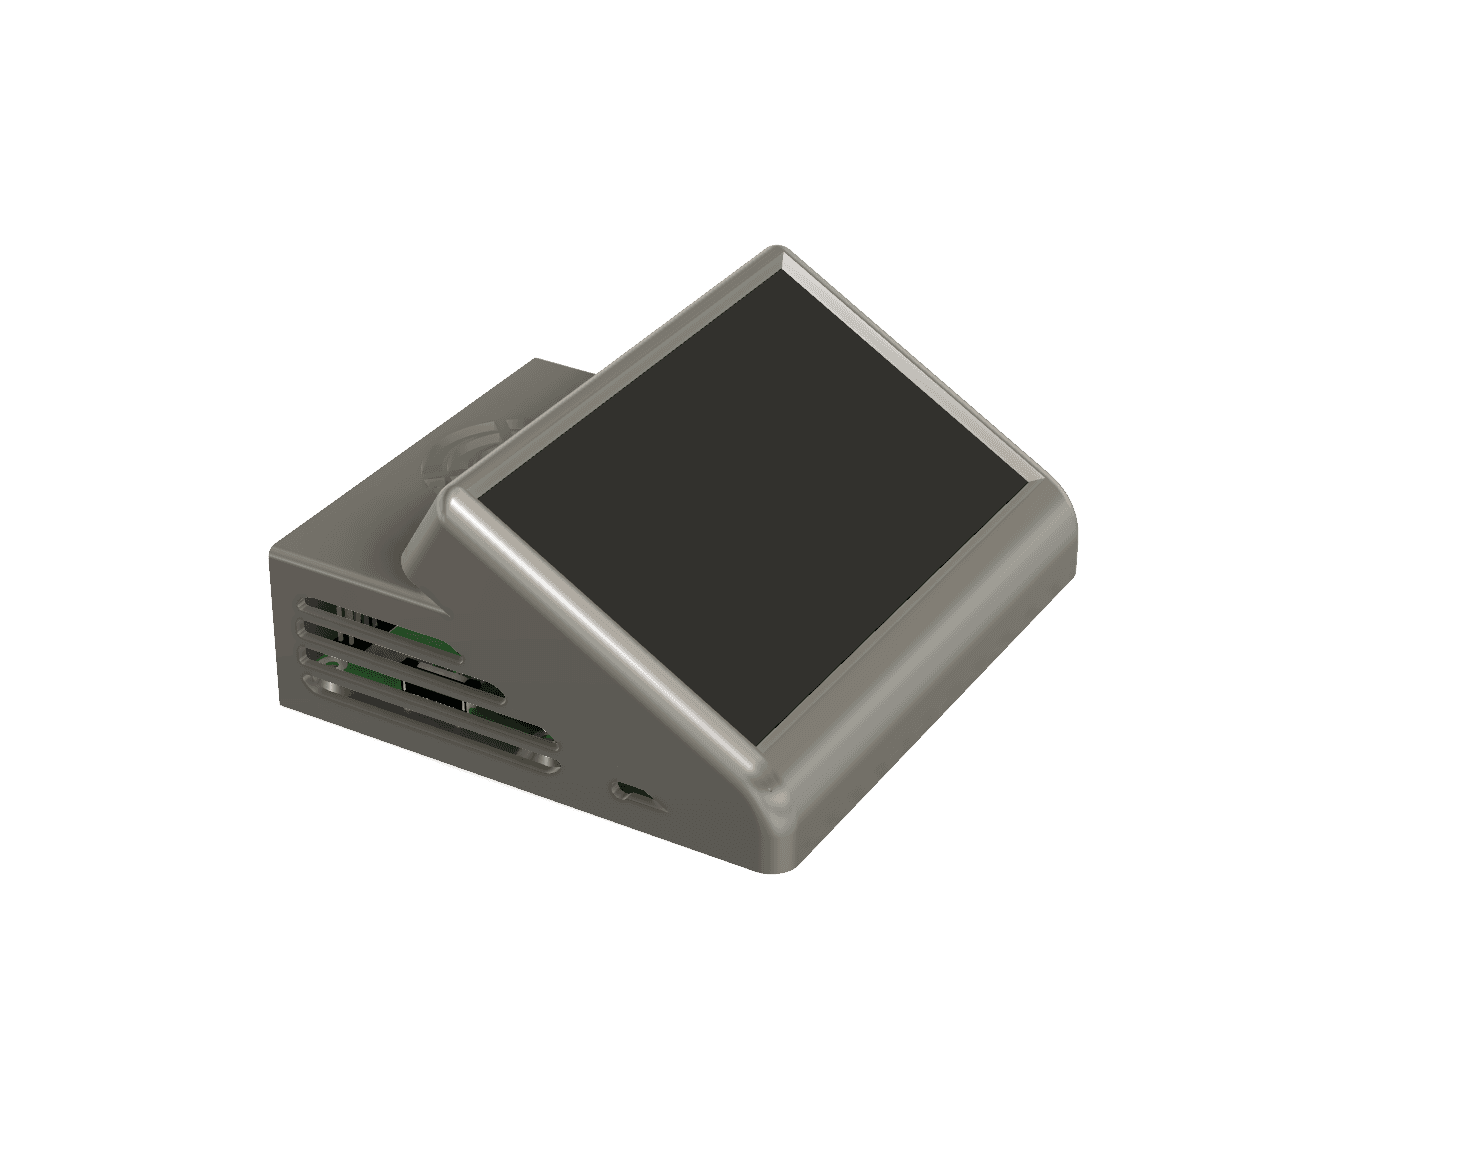
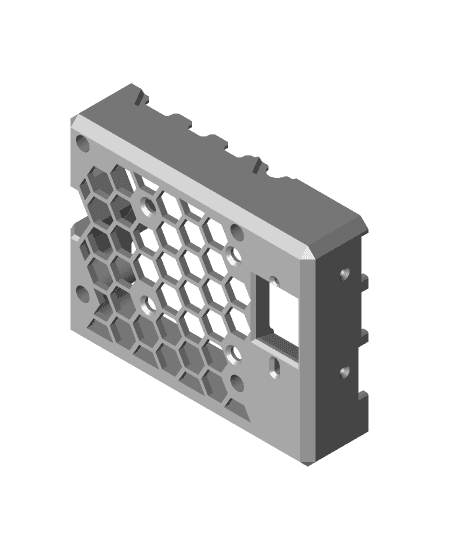
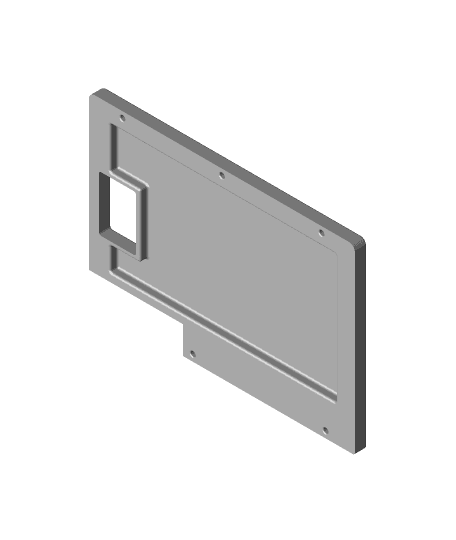
PRUSA MK3S Front panel for DSI OSOYOO 3.5" touch screen
Model originally uploaded to Thingiverse at https://www.thingiverse.com/thing:4783427.
I loved the idea of using Octoprint along with a UI accessible from a touch screen. Though, all available solutions I found for the front panel are considering touch screens using Raspberry Pi’s GPIO interface. For me this was inconvenient for many reasons.
Using available solutions would force me to attach the screen directly behind the screen and therefore in the LCD panel. This is for me problematic because this way I lose the possibility of using the GPIO interface for other purposes (such as enclosure control application) and also I would have many cables popping out of the front control panel.
Secondly, I wanted to have the Raspberry Pi elsewhere. Typically, I have it located above the RAMBO board.
To tackle this, I wanted to use the DSI interface to be able to connect a touch screen trough this interface. Benefit from my point of view is that with the help of a DSI ribbon cable I could basically uncouple screen and raspberry pi and have my GPIO free. Also a nice advantage is that these types of screens are plug n play solutions.
So, I chose this screen a 3.5” touch screen from OSOYOO with DSI interface. https://www.amazon.com/gp/product/B08634Y16L/ref=ppx_yo_dt_b_asin_title_o00_s00?ie=UTF8&psc=1
Doing so I also notice that I could not directly use any Ribbon cable connected to the screen, I need to use ribbon cable from the same supplier. As said before, my raspberry Pi is located “far away” from the control panel, therefore I need either to purchase a longer ribbon from the supplier or use a DSI/CSI extender and be able to use any cable I wanted. I went for the second option and purchased from Adafruit such device: https://www.adafruit.com/product/3671
Starting from the original panel I extended it to right and created a slot for the touch screen.
To compact the setup, I am not using the 11mm hexagonal spacer that comes with the screen but instead replace it by a 5mm hexagonal space with a 4mm M2.5 screw. The supports used to attach the panel to the frame of the Prusa is directly merge to the panel. There is no need to add any bigger foot to the printer to fit the panel. For cable management basically I am following the same path as the LCD ribbons. So it’s neat.
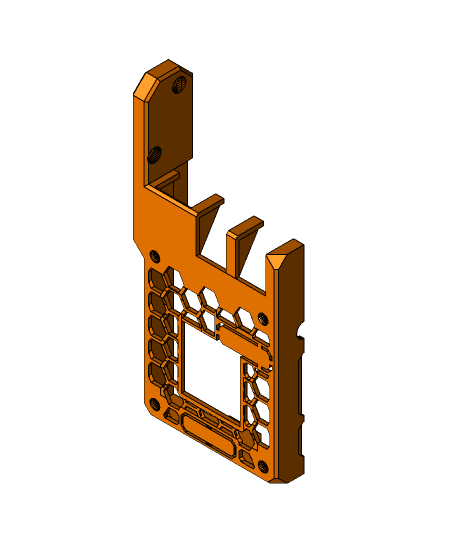
In the available file you will find also the letters if you want to have a 2 color print.
Bill of Material: • OSOYOO 3.5” touch screen https://www.amazon.com/gp/product/B08634Y16L/ref=ppx_yo_dt_b_asin_title_o00_s00?ie=UTF8&psc=1 • CSI/DSI extender https://www.adafruit.com/product/3671 • M2.5 hex Brass spacers size male to female spacers are 5+4 mm. o I got mine from the Heatsink shield I am using for the Raspberry Pi. https://www.amazon.com/gp/product/B07Z3Q417K/ref=ppx_yo_dt_b_asin_title_o01_s00?ie=UTF8&psc=1 o You can check my case using this shield by clicking this link. • Long DSI/CSI cable, function of your needs. • 4 M3 6mm screws. • 4 M2.5 hexagonal nuts. • 2 M2.5 6mm screws to attach the DSI extender (Optional). • 2 M2.5 nuts for the DSI extender (Optional).
PRUSA MK3S Front panel for DSI OSOYOO 3.5" touch screen
Raspberry Pi + Osoyoo 5 DSI screen case - Klipper screen
Case for Raspberry Pi 4 + GeekWorm P165-A + Osoyoo Screen 3.5"
Raspberry Pi4 case for Prusa MK3S+ with DSI opening
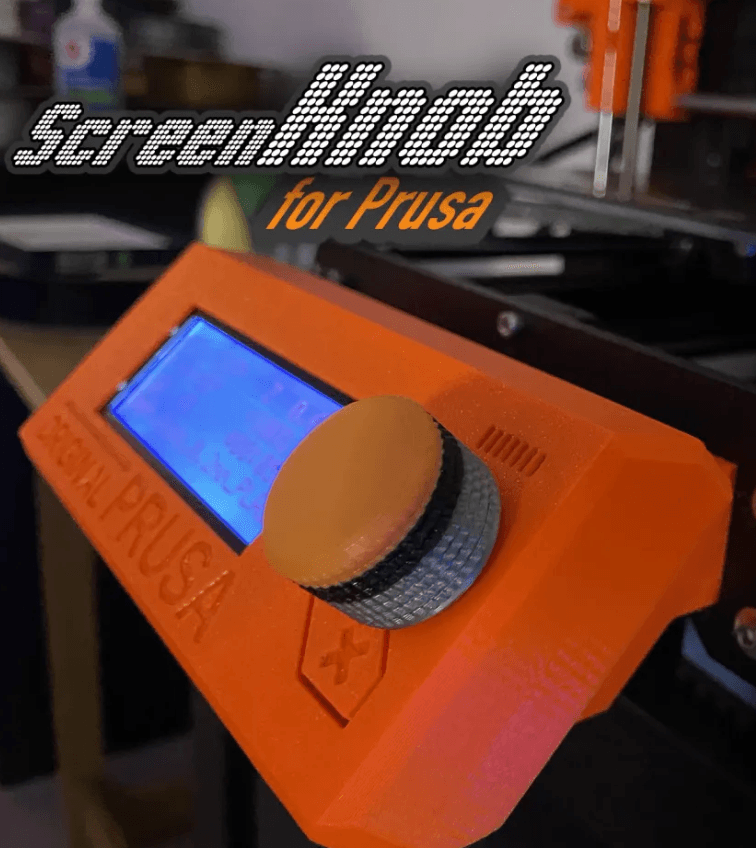
Prusa Knob - Screen

CyberDeck V2

Weyland Yutani CyberDeck

CyberDeck V1
Octoshield Case for Raspberry Pi 4 for Prusa Mk3
Ender3 V2 Pi Screen
Thon Case BM AME/-ISO 5U Display Mount
HMTECH 10in Touchscreen case

LED RGB Matrix WS2812B ESP32 WLED 32x32 round square grid screen IKEA picture frame diffusor sound active
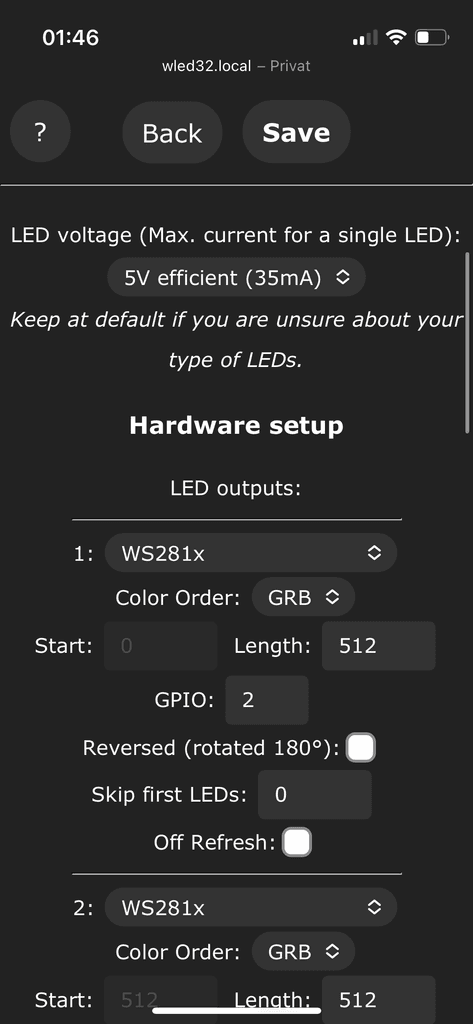
LED RGB Matrix WS2812B ESP32 WLED 32x32 round square grid screen IKEA picture frame diffusor sound active
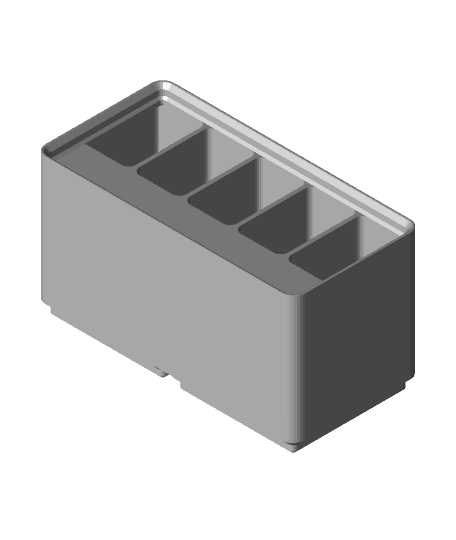
Gridfinity Divider Bins
.jpeg&w=3840&q=75)
Spooky Controller Stand

M3D - Fantastic Vending Machine
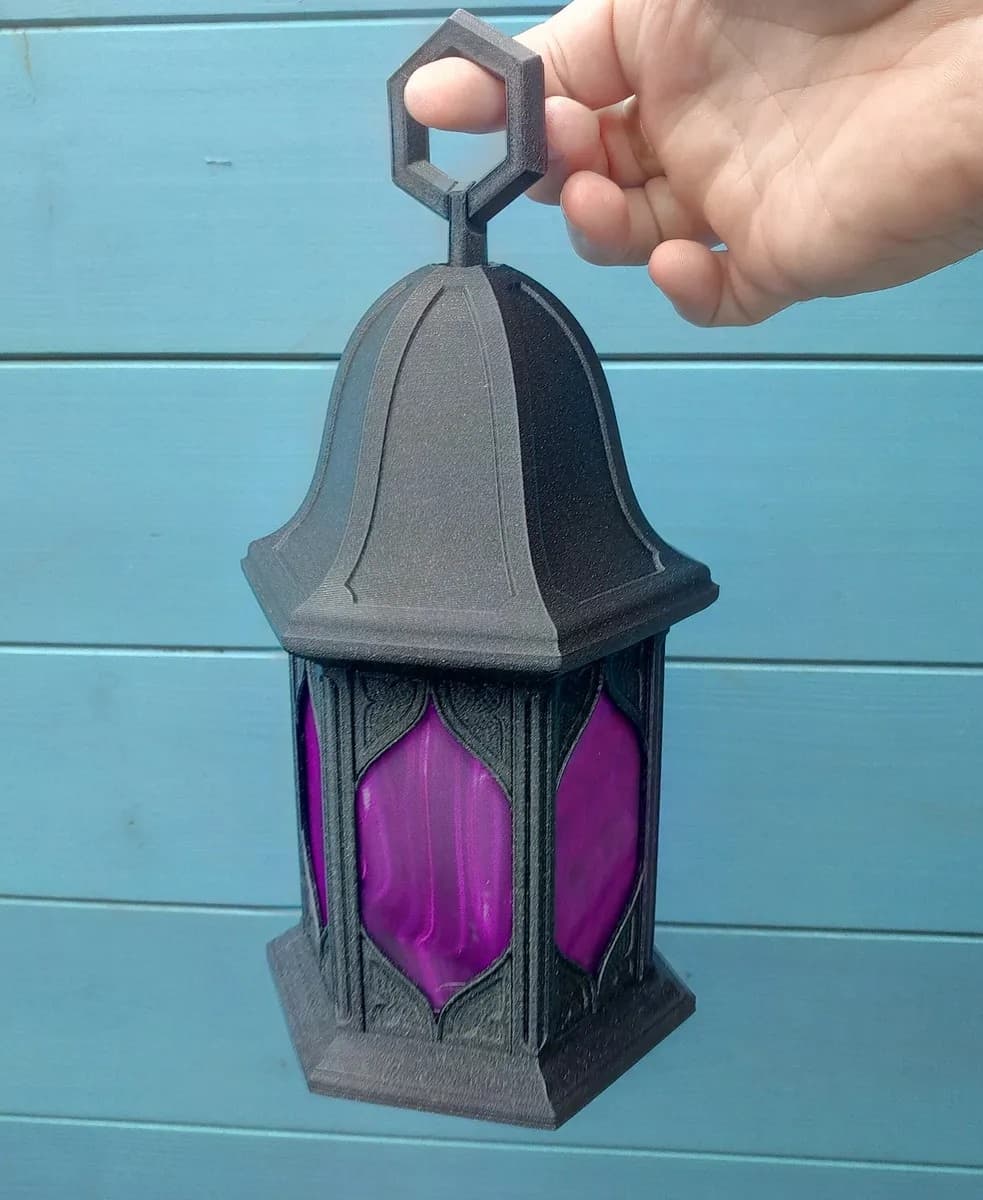
Gothic Lantern - Hanging Version

GAMES BOOK V2 | SWITCH, DS, 3DS, SD CARD & MICRO SD

STEPH – Screen Top Edge Phone Holder (Print-in-Place)