Hextraction: The Pendulum Tile
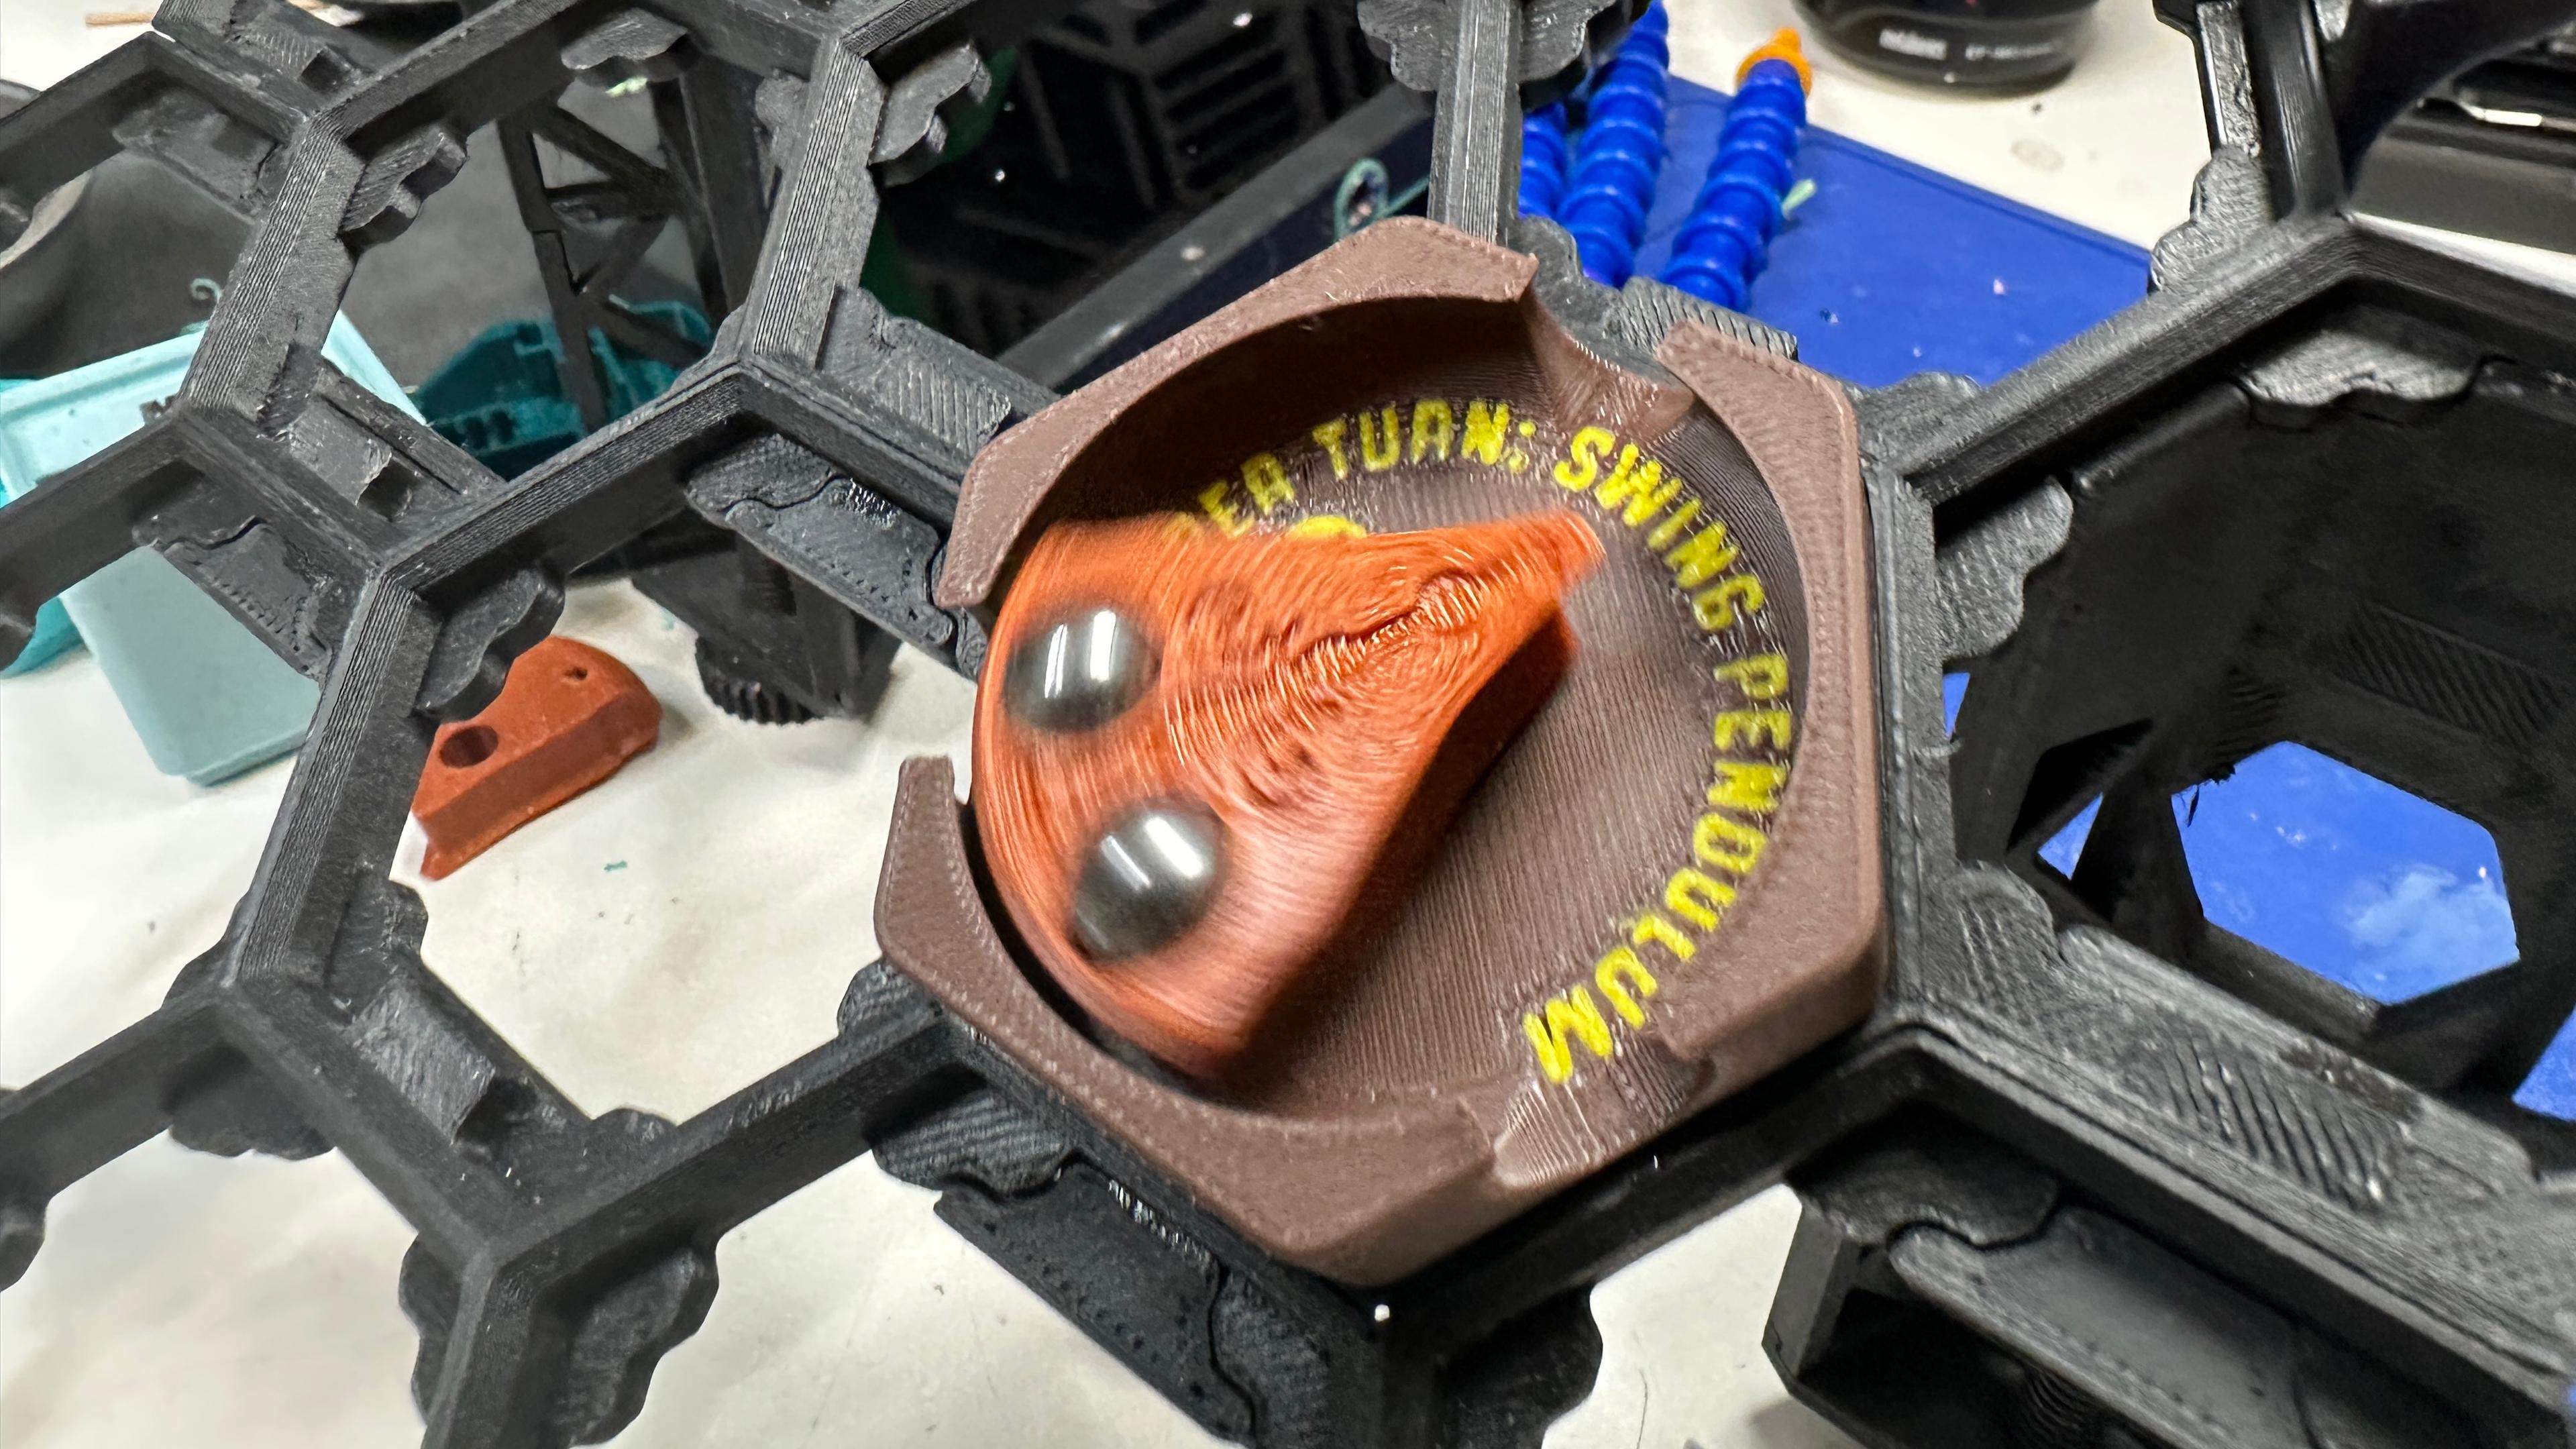
When this tile starts rocking, you best start knocking... your ball one way or the other. Goose your gameplay with this dynamic tile for Hextraction, the hackable, 3D-printable board game. The third tile in Booster Pack 2: Time is of the Hexes combines a skill-testing physical challenge with the game's very first activated effect, and a heaping helping of pure chaos!
When I set out to make a time-themed booster pack, I knew it needed a temporary effect, and not temporary like a few turns - temporary like a few SECONDS. But making a delayed effect was harder than it seemed. Clockwork was too finicky, hourglasses too large, electronics too complex. I found the solution as I was tossing old projects - a prototype Sozu Tile without the limiting peg. After dumping the balls, this version would rock back and forth, often settling slightly misaligned. I added the peg to cut that motion short, but what if I did the reverse? What if I made the flipper even heavier and even less balanced?
This is the result. When still, it's basically MrPancake's Left/Right Randomizer Tile, a fork in the road that randomly sends balls left or right. But it's got an effect printed right on - once per turn, you can set the pendulum swinging. Time it right and you've got a Flip-Flop Tile you can adjust at will to send the ball where you need it. Time it wrong and it's got a mind of its own, or worse - the ball can jam the mechanism when the pendulum is hanging still at the edge of its swing. Since it uses two balls for weight, you're not going anywhere - that tile is going away, giving the next player an opening.
As for strategy, it's all about the timing and preparation. Hold a ball near the ramp as you swing the pendulum, so you can roll immediately and boost the odds of hitting your sweet spot. If the tile is far away, you might want to flick the pendulum hard enough to do full rotations, to ensure it's still in motion when the ball arrives.
Note that it's not physically possible to make this pendulum swing slower - the rate at which a pendulum swings is proportional to the distance between the weight and the fulcrum, and the 50mm tile constrains that length. Adding more weights won't help - the reason I added a second ball was to kick more balls back onto the track. If you want to make a slower version of this tile, you'll need to make the pendulum hang UNDER the board.
This tile and its pendulum can be printed in any rigid filament, though I recommend smooth PETG or nylon. To print the single-color version, just run off the Pendulum Tile. For multi-material fun, drag Pendulum Tile and 2-Color Lettering into your slicer simultaneously, and when prompted, select "Load these as a single object with multiple parts" and assign filaments as desired. I've prepared a ready-to-print 3MF file with three Pendulum Tiles that should work in PrusaSlicer, SuperSlicer, and Bambu Studio. Note that these do NOT include the Pendulum - to reduce the number of filament swaps, I recommend printing this separately.
As for the Pendulum, print the one that fits the balls you're using. Assembly is just like the Sozu Tile, but with two balls instead of one - snap them into the spherical voids BEFORE installing the pendulum! Then, use an M3x8 screw to mount a 3x7x3mm ball bearing to the base, and GENTLY press the Pendulum down. It should swing freely at a light touch, then gradually come to rest. It might need a little grease .
If you'd like to edit the tile, the source is here: https://a360.co/3NDfQi6 While you're free to re-distribute the tile outside Thangs' paywall, I'd like to ask that you at least modify it a bit. The fewer people buy Booster Packs, the less time I can devote to making more.


