


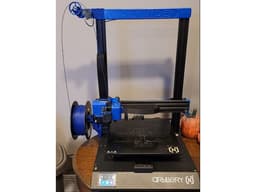
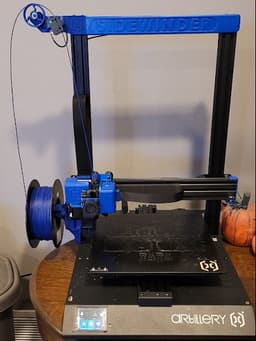


Side Spool System for Artillery Sidewinder X2
Model originally uploaded to Thingiverse at https://www.thingiverse.com/thing:5157102.
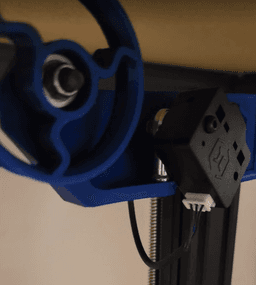
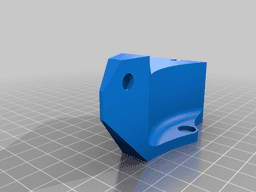
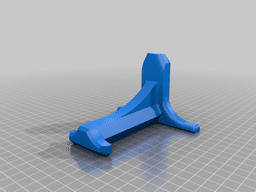
Remix of Atoban's Side Spool System for Sidewinder X1 updated for the Sidewinder X2. Artillery added the plastic across the top of the gantry so the X1 design doesn't fit. Additionally, the frame piece spool holder needed trimming so the extruder rail doesn't run into it at Z=0. I also added some clearance into Atoban's design of the spool holder and bottom frame piece since I could never make them fit together and onto the frame without sanding.
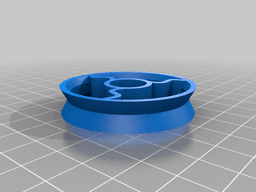
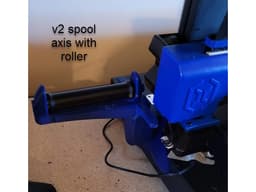
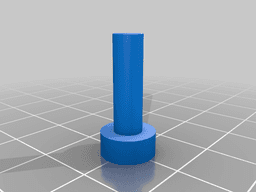
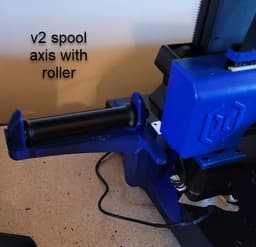
2 versions are available: v1- Plain Spool Axis. I've been using this design on my X1 for over a year with no issues. v2- Spool Axis with roller. This is similar to Atoban's Side Spool System V2 for Sidewinder X1 but uses one of the rollers that comes with the X2's spool holder. I personally find this design rolls too much, so too much filament comes off the spool and can get tangled.
No additional hardware needed! You will need an 8mm socket wrench though. This design uses a bearing and 3 of the screws from the stock spool holder. 1 screw is used for the bearing in the the pulley and 2 screws replace the 2 in the top of the gantry. The original ones in the gantry end up being a little short with the new piece added so the threads in the gantry could strip easily. Edit 12/26/21: Sounds like some of the X2's aren't coming with the bearings, instead they come with rods inside the rollers. If that's the case, you'll need a 11mm OD bearing with a 12.5mm flange for the pulley. These uxcell F685ZZ Flanged Ball Bearing 5x11x5mm Shielded Chrome Steel Bearings 2pcs by uxcell should work. You will need 3 bearings if you want to use the v2 axis with the roller.
No supports should be needed. I printed in blue PLA with 4 walls and 20% infill.
v1 Assembly instructions:
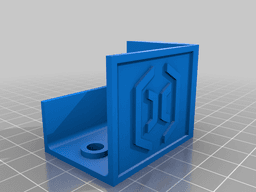
- Print one of each piece as oriented (besides those labeled v2)
- Fit the top 2 pieces together as well as the bottom two pieces
- Remove the gantry by unscrewing the 4 screws on the bottom of the printer, slide the bottom frame piece in, and reattach the gantry
- Remove 3 of the screws and bearings from the stock spool holder
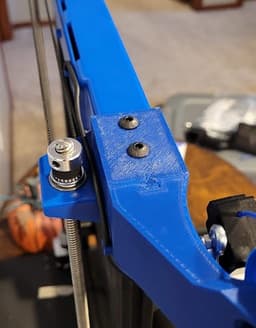
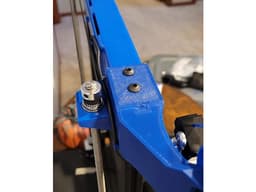
- Remove the 2 screws from the top left of the gantry, align the printed top frame piece to the holes, and use 2 of the screws from the stock spool holder to secure
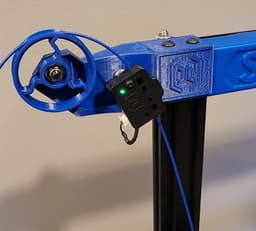
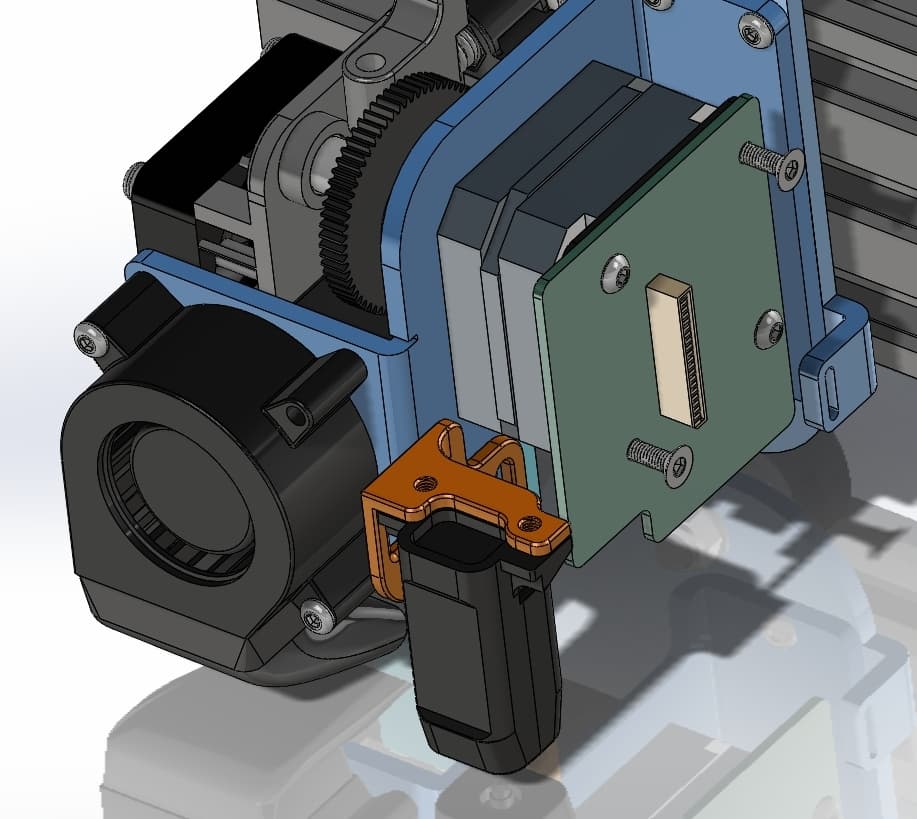
- Attach the filament sensor and route the cable as pictured. Make sure the cable is pulled tight between the clips so it doesn't rub on the z-axis belt.
- Insert a bearing from the spool holder into the pulley from the side of the pulley with the larger center opening. The lip of the bearing should be facing the larger opening side so it stays seated. This way the pulley won't fall off.
- Insert a screw from the spool holder into the top piece from the back. Slide on one of the washers from the spool holder, the pulley with bearing, and then the locknut. Tighten with an 8mm socket.
v2 assembly instructions:
- Print one of each piece besides the spool axis labeled v1. 2 of the M5x16 printed bolts are needed.
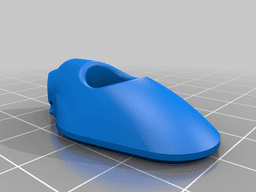
- Fit the top 2 pieces together.
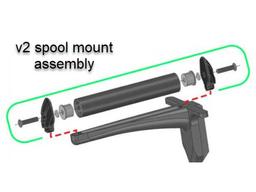
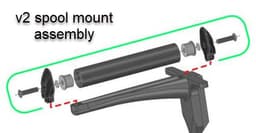
- For the spool mount, see the v2 spool mount assembly picture. Credit goes to Atoban for the picture. 2 of the bearings and brass washers from the stock spool mount are used. The bolts are the the printed M5x16 bolts since you'll need 3 of the real M5x16 bolts from the stock spool holder for the top assembly.
- Continue with step 3 on the v1 instructions.
Side Spool System for Artillery Sidewinder X2

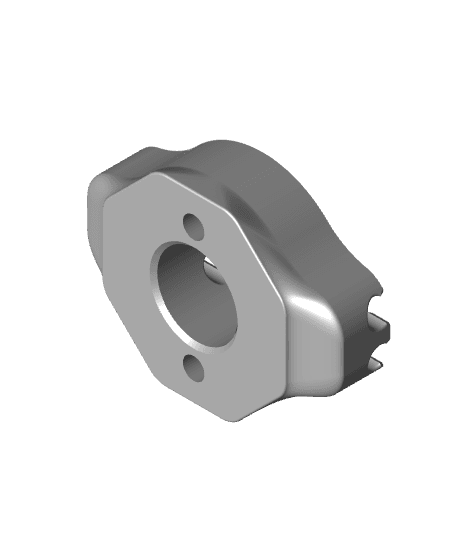
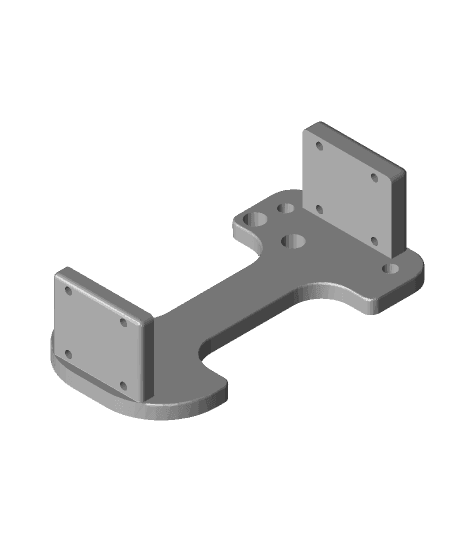
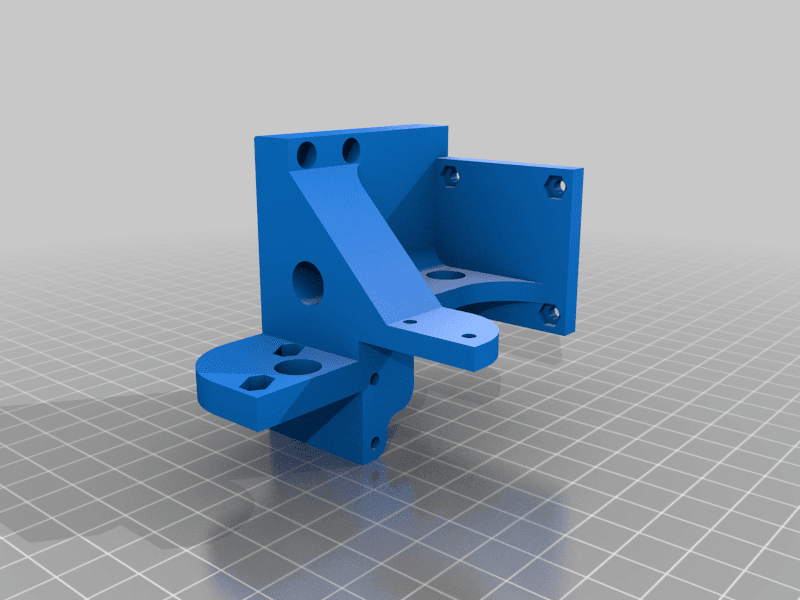
Sidewinder X2 & Genius Pro Spool Holder.STEP
40mm Cover Fan Artillery Sidewinder X2 and Genius Pro

Artillery Sidewinder X2 Gridfinity Baseplate 3x7
Automatic nozzle brush cleaner for Artillery Sidewinder X2
HMG7.4 Artillery Sidewinder X2 Gantry Adapter.stl

HMG7.4 Artillery Sidewinder X2 Gantry Clip.stl
Artillery Sidewinder X2 Linear Rail Conversion
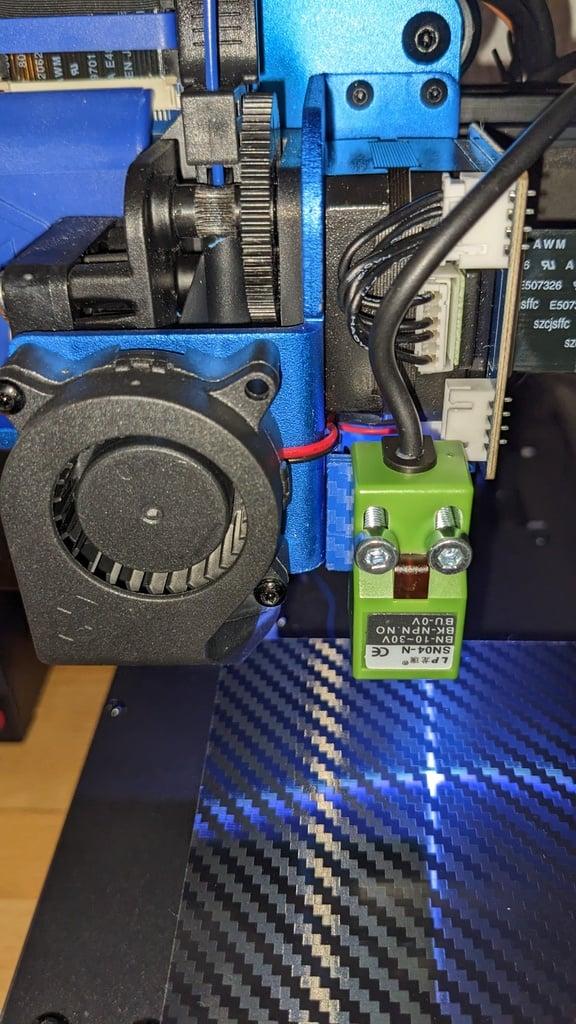
SN04 mount for Artillery Sidewinder X2

Artillery Sidewinder X1 and X2 5015 part cooling fan duct.

Spool Holder bridge for Artillery Sidewinder X1
.jpg&w=3840&q=75)
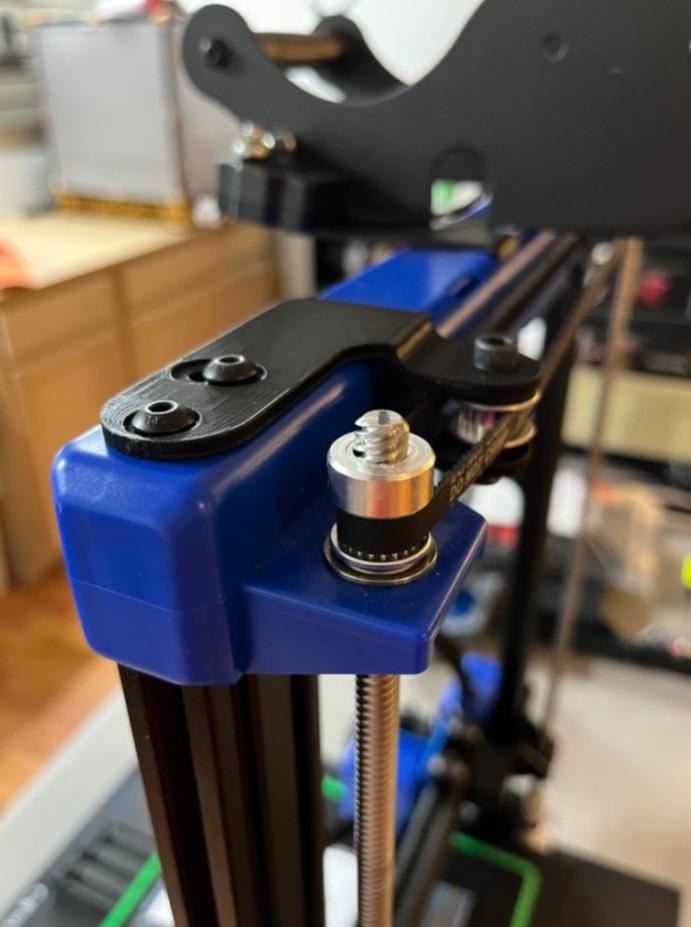
Sidewinder X2 Gantry Supports
Sidewinder X2 Z-Sync Belt Tensioner

LCD cover for Artillery Sidewinder X1, screen cover for ASX1
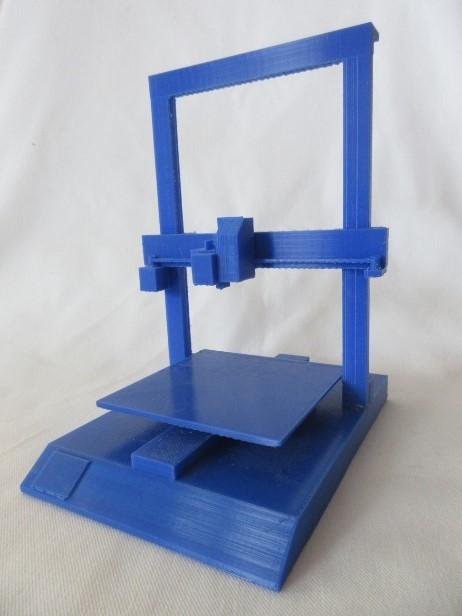
1/4 Scale Artillery Sidewinder X1
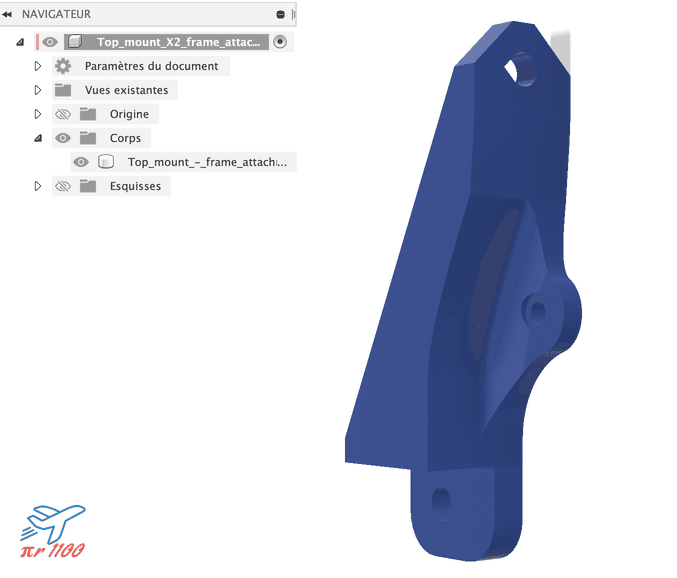
Filament Top mount frame attachment Sidewinder X2
Biqu H2 Artillery Sidewinder X1 v4 mount
BIQU H2S Breadout Board Adaptor for Artillery Sidewinder and Genius Printers
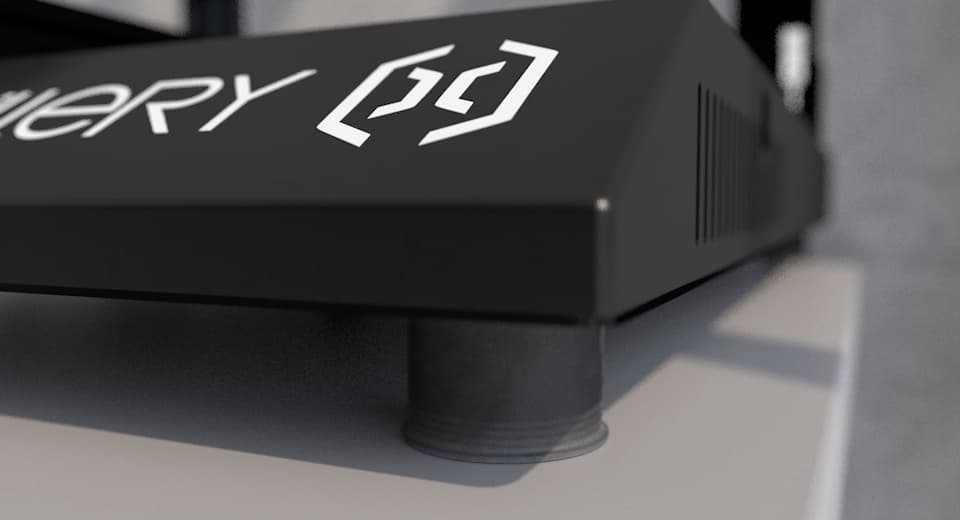
Artillery Sidewinder - Damper / Feet
Sidewinder X2 and Genius Pro BL-Touch-CR-Touch Mount