
FT5 aero setup for Volcano with partcooler
Model originally uploaded to Thingiverse at https://www.thingiverse.com/thing:2268567.
A redesign for the Aero on the FT5. All parts are designed to limit as much as possible the need for printing support. I tried also to get the maximum flat area on the bed. The partcooler with the 40mm fan can be reused from that design.
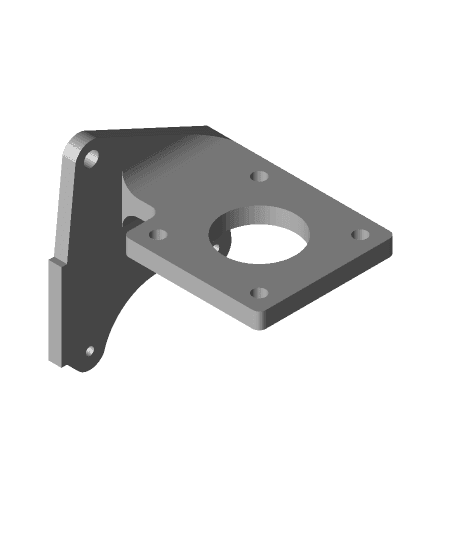
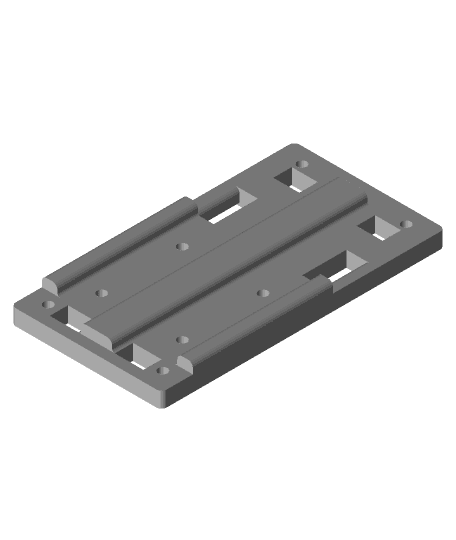
Changes New front with a larger support area to attach a BLTouch, IR or inductive and other sensors (will post a new mount for the BLTouch optimized for the 8.3mm Z-distance to the nozzle for both Volcano and V6) 3 new backs 1- just a back without anything extra 2-Back with new support for partcooler with 40mm fan as in the first design 3-Back with support for a standard blower
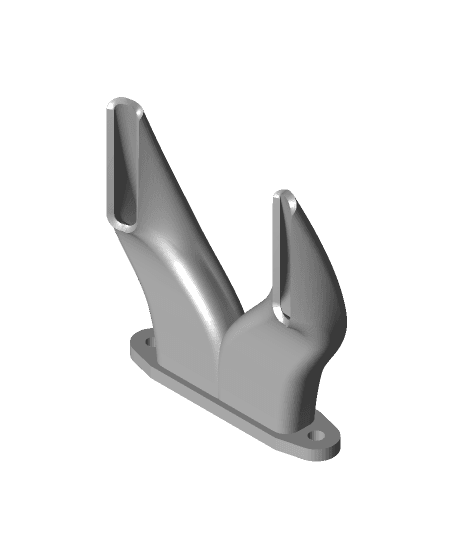
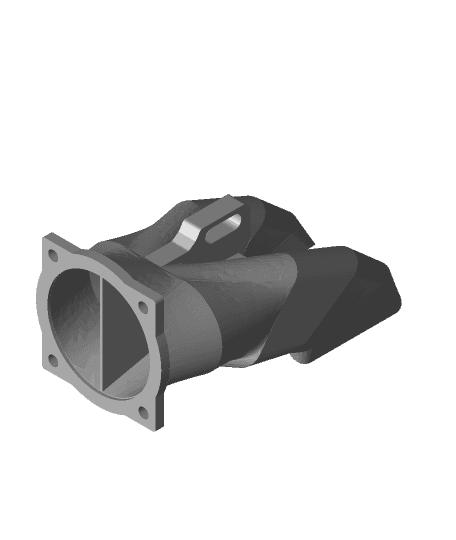
Blower Blower sits in a seat integrated in the backpart (Aero_back_with_blower_support_v2.stl). The blower is attached with the blower outlet part (Aero_Blower_outlet_v1.stl) : 2 bolts (M3 30mm) are needed. The nuts slide in the pockets in the backpart. The outlet part sits also in a pocket in the backpart. Stepper has to be mounted before the blower is assembled! There are 2 shrouds available : one for the Volcano, one for the V6. They are connected with bolts and nuts to the blower outlet part.
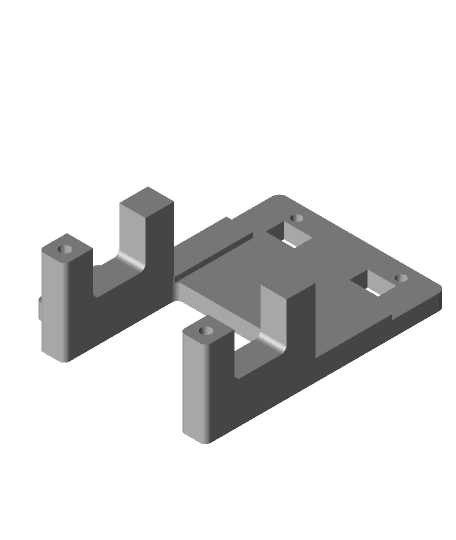
Partcooler with 40mm fan The partcooler is mounted with 2 bolts&nuts on the 'back with partcooler support'. See previous design for pictures and STL.
Attention I don't use a V6 anymore. I will not test this configuration. See for a compatible cooler here
Printing Support will be needed for the back : -blower support for the pockets holding the M3 nylocks -Beltlocks The Blower Outlet part will need more support. This should be quite easy to remove from the internal channel as it is quite large, short and accessible. Print the partcooler shrouds vertically then I do not expect you will need support.Only the shroud with the 40mm fan needs a bit of support.
All parts in the pictures are printed in ABS with a 0,6mm nozzle, 0,32mm layer, 5 perimeters (I want a bit of extra around the bolts if I need to clear the holes), 3 top- and bottom layers, 50% infill Pay attention for the belt lcks. Since the dents are quite small, this has to be printed with a 0,4mm nozzle (or smaller). Print the locks on their side with the dents in profile.
Testing remarks 20170501 Back(s), front, and BLTouch mount are ok. I will modify the blower mount a little bit on two places :
- the pin fixing the upper part has to be a little bit higher
- I will make the connection to the shroud flat instead of with a small profile. Shroud (at least for the Volcano) has to be a bit lower and more near and aside of the nozzle. It now blows too much on the Volcano itself.
I must say that I am a bit disappointed on the airflow the blower generates. This was better with the 40x40x25mm axial fan.On the other hand, the design is a little bit shorter and more compact on the back.
20170504 Added a new blower mount. Changes : larger outlet, thicker connection for fixing the shroud and an adjustment on the pin holding the upper part of the blower Made a new shroud. Going back to my old model with two outlets on both sides of the block. Total surface of the air channels is at least the outlet surface of the blower with a larger chamber just before the split in 2 shrouds. The shroud should be printed outlets up and does not need support anymore.
20170505 Removed Work-In-Progress tag. Happy with the result. Go ahead. The latest version of the shroud is doing its job well. The focus of the air beams is around 8mm under the nozzle and the flow is much better then with the first version.The overall section is better.
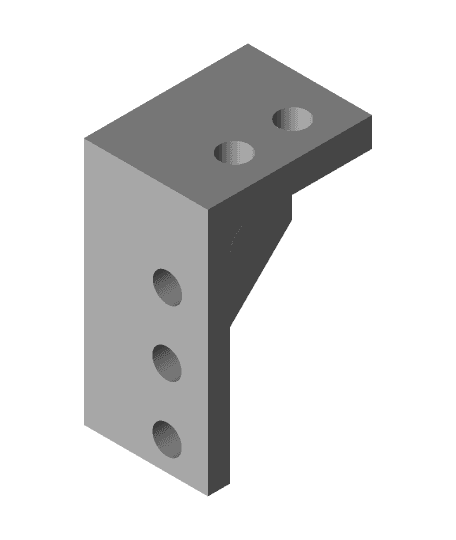
20180227 I got the remark that the belt cannot move freely. I recommend using my X-pulley and X-stepper mount&X-endstop as these go together. Sorry for any inconvenience by not mentioning this. See the extra pictures added. I do not use a cable chain neither.
Partcooler for FT5 Aero setup with E3D V6
FT5 Blower partcooler for Aero
FT5 E3D-Titan Aero Volcano combination
FT5 Aero front with right BLTouch
No nonsense part cooler for FT5 Titan Volcano BLTouch combination
New rigid header for FT5
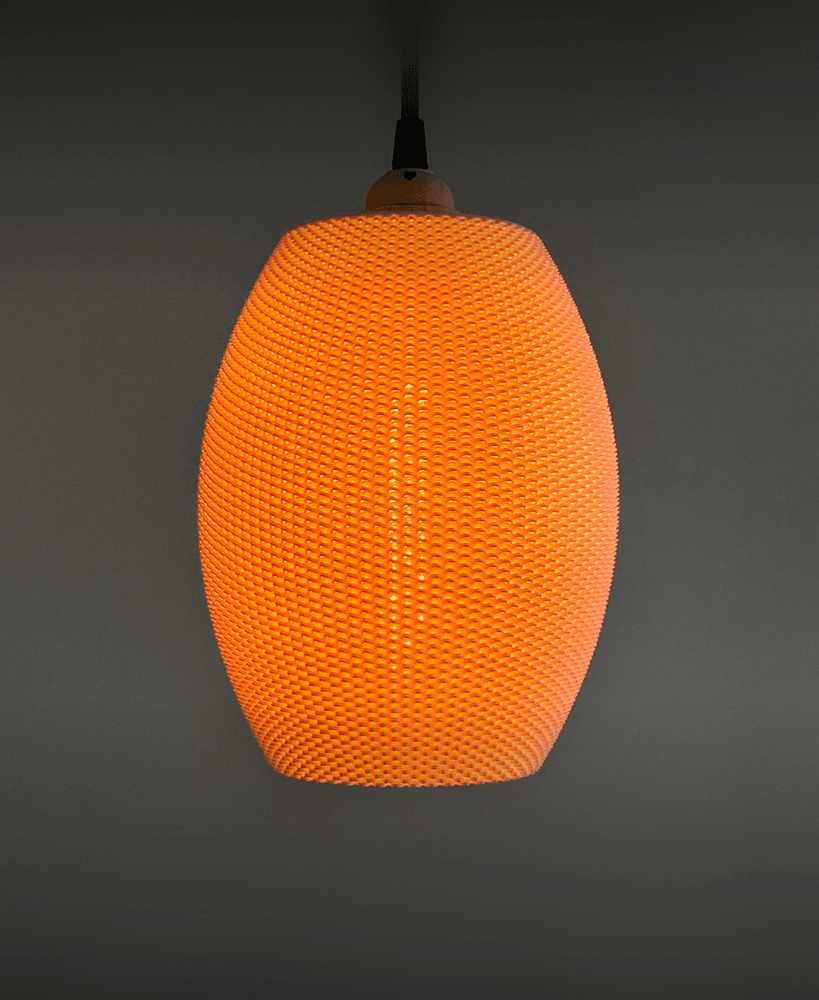
Ovo Pendant Lamp - Lamps & Lighting by Lunfardo
Valo Lampshade - Adaptive E27 Pendant Lamp & Table Lamp by Lunfardo
Eva Lampshade - Adaptive E27 Pendant Lamp & Table Lamp by Lunfardo
Hero Me Documentation - Details.stl
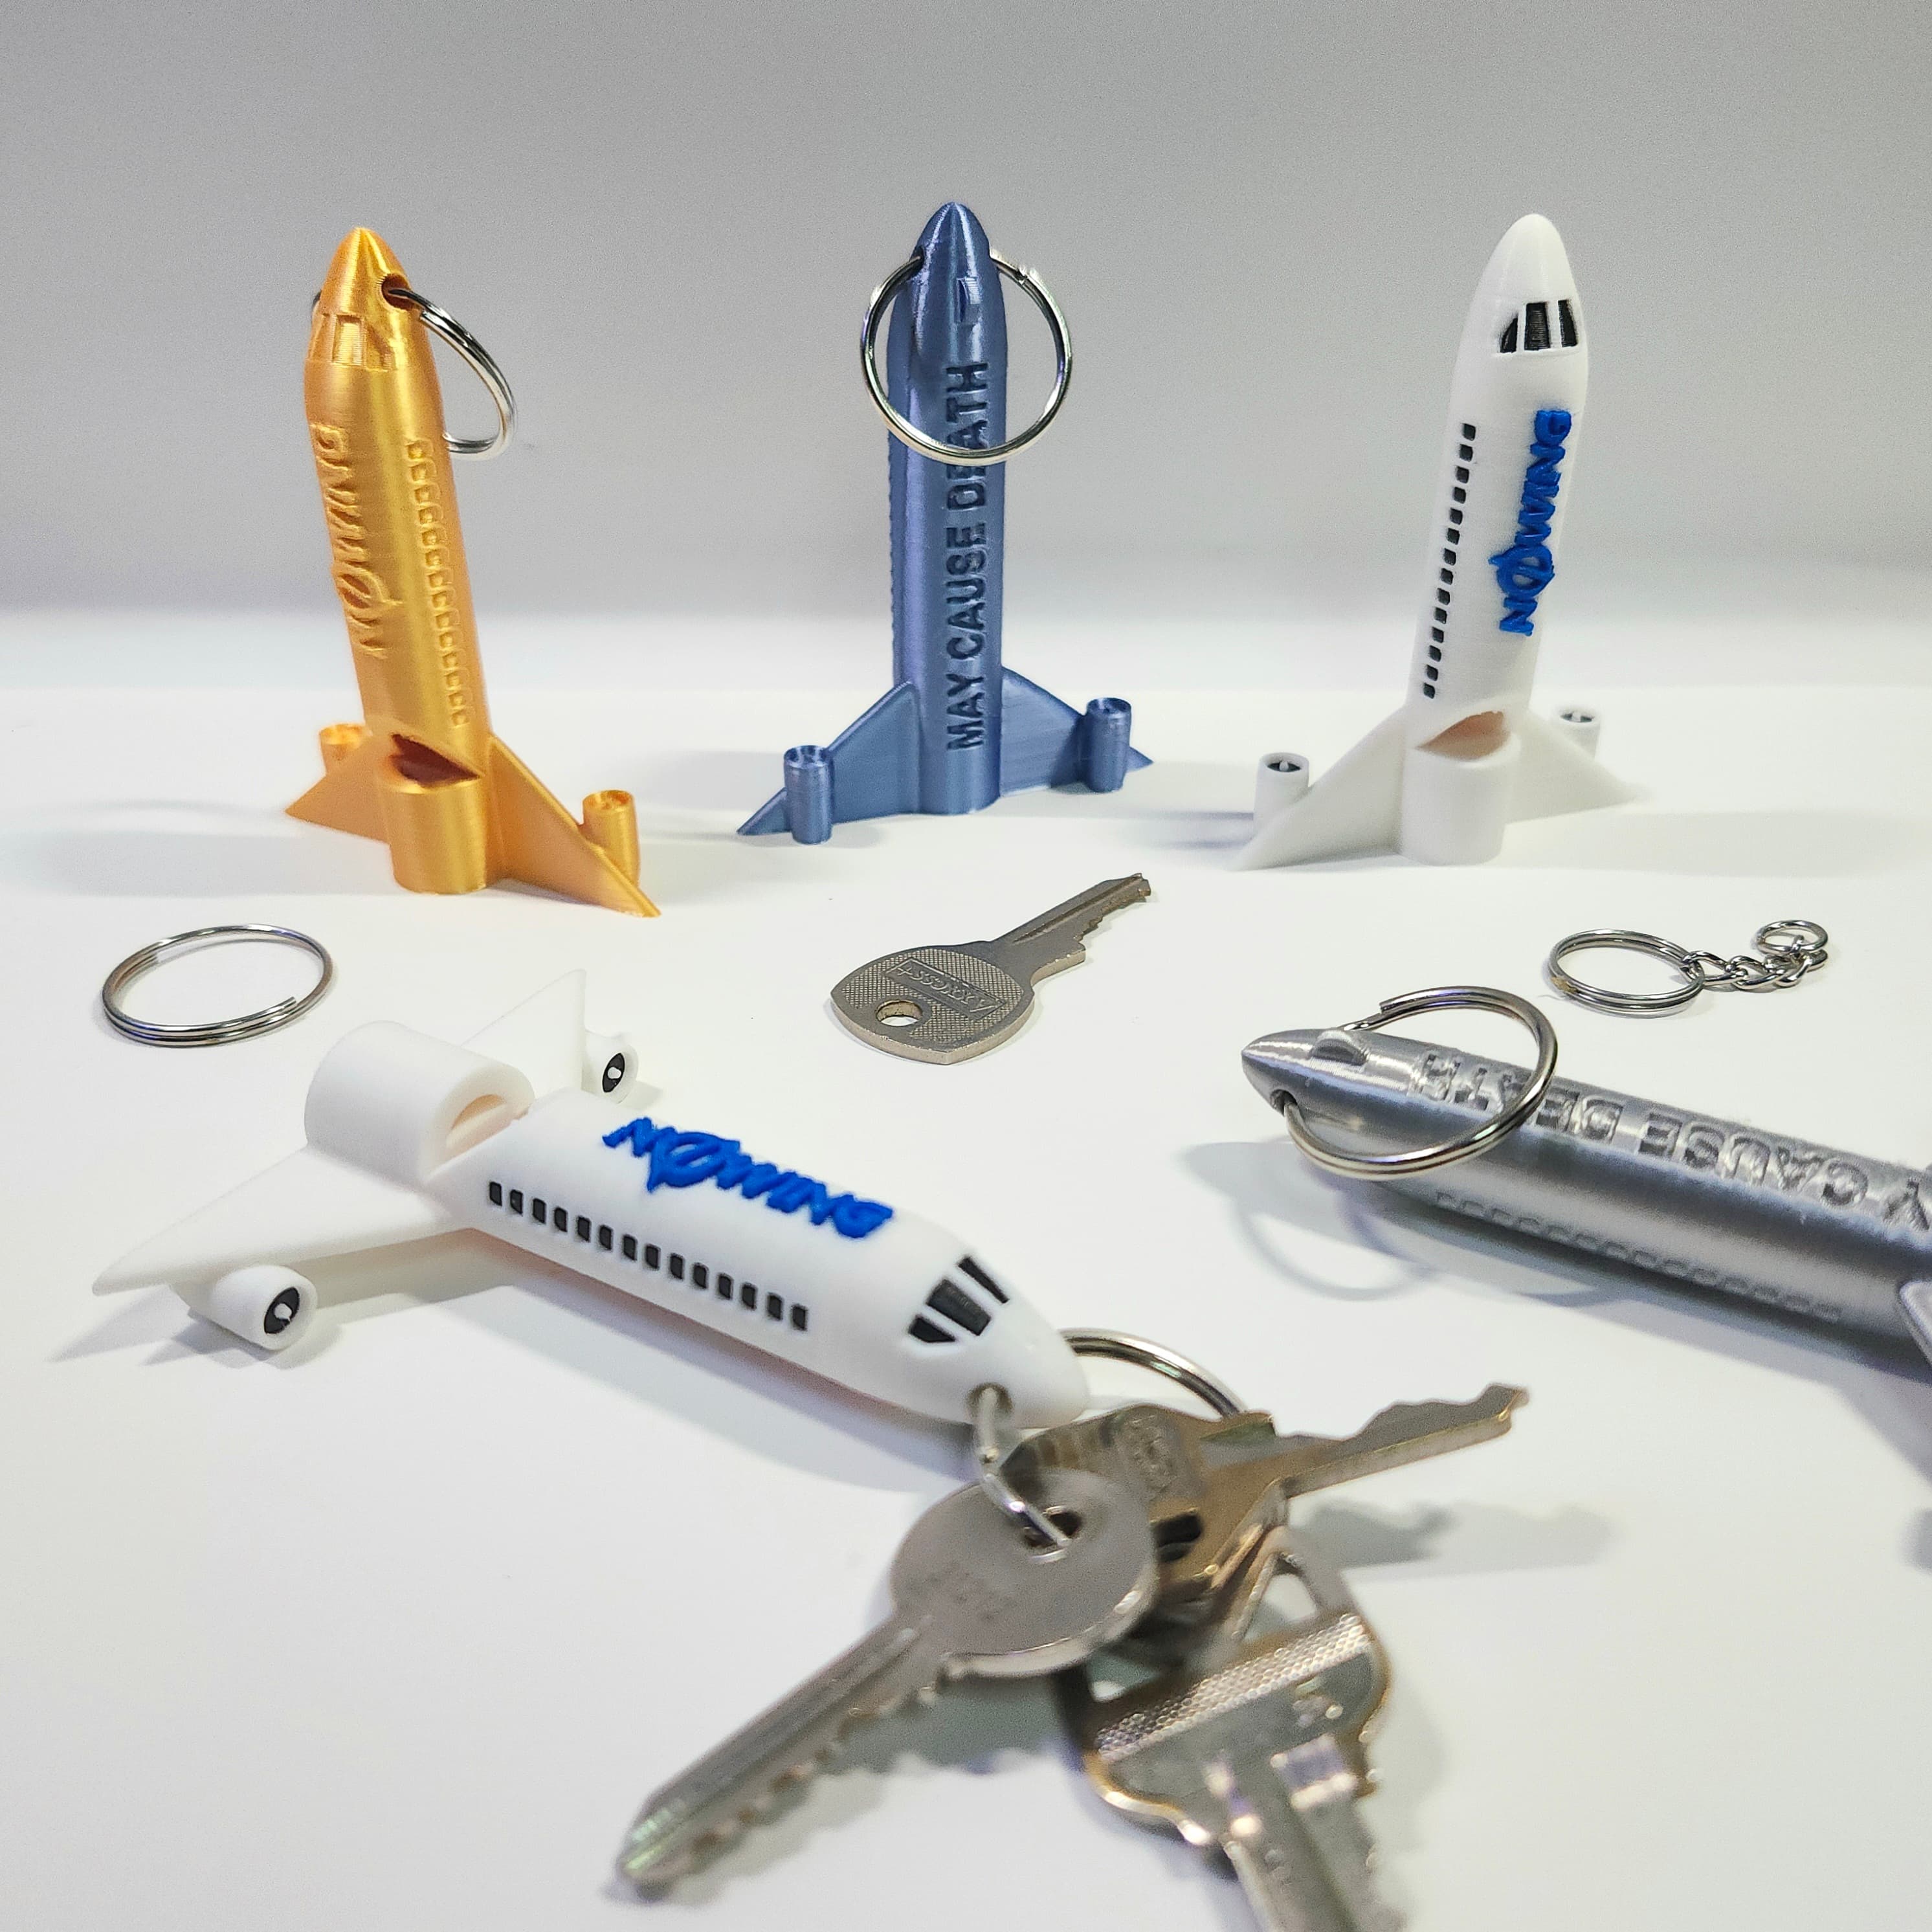
The Aviator's Keychain Airplane Safety Emergency Alert Whistle

Eve Lampshade - Adaptive E27 Pendant Lamp & Table Lamp by Lunfardo

Aero bike handlebars

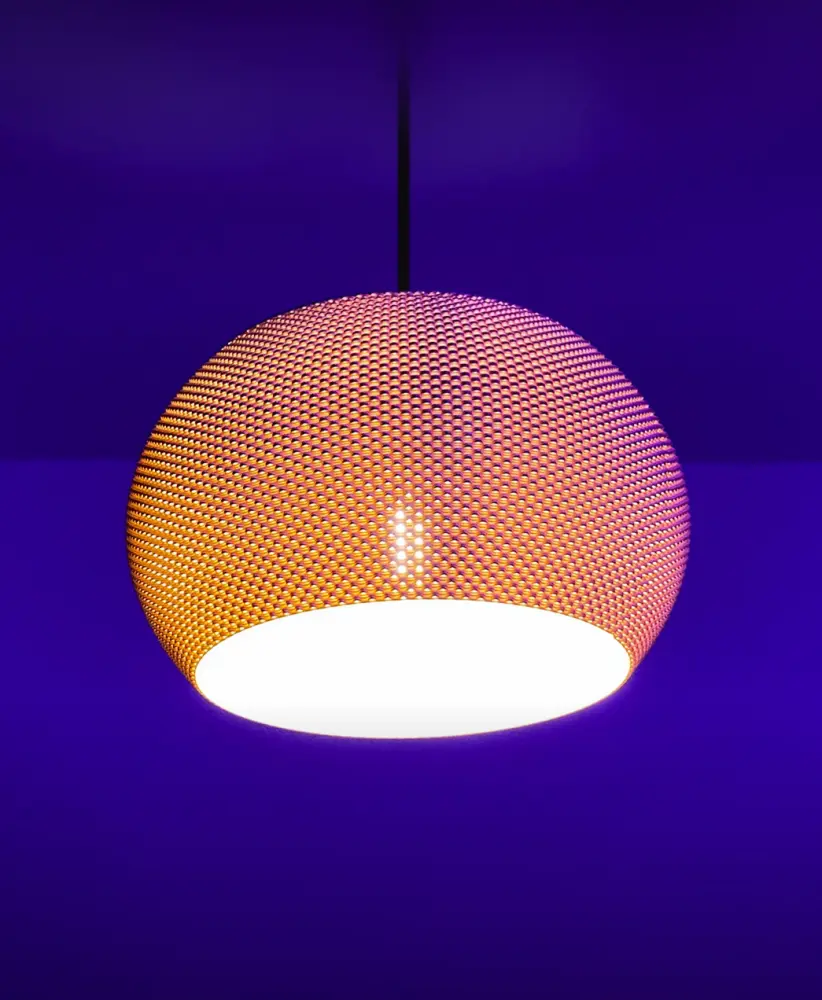
Aero Pendant Lamp - Lamps & Lighting by Lunfardo

Tiara Pendant Lamp - Lamps & Lighting by Lunfardo

GT3 RS Rear Desk Organizer
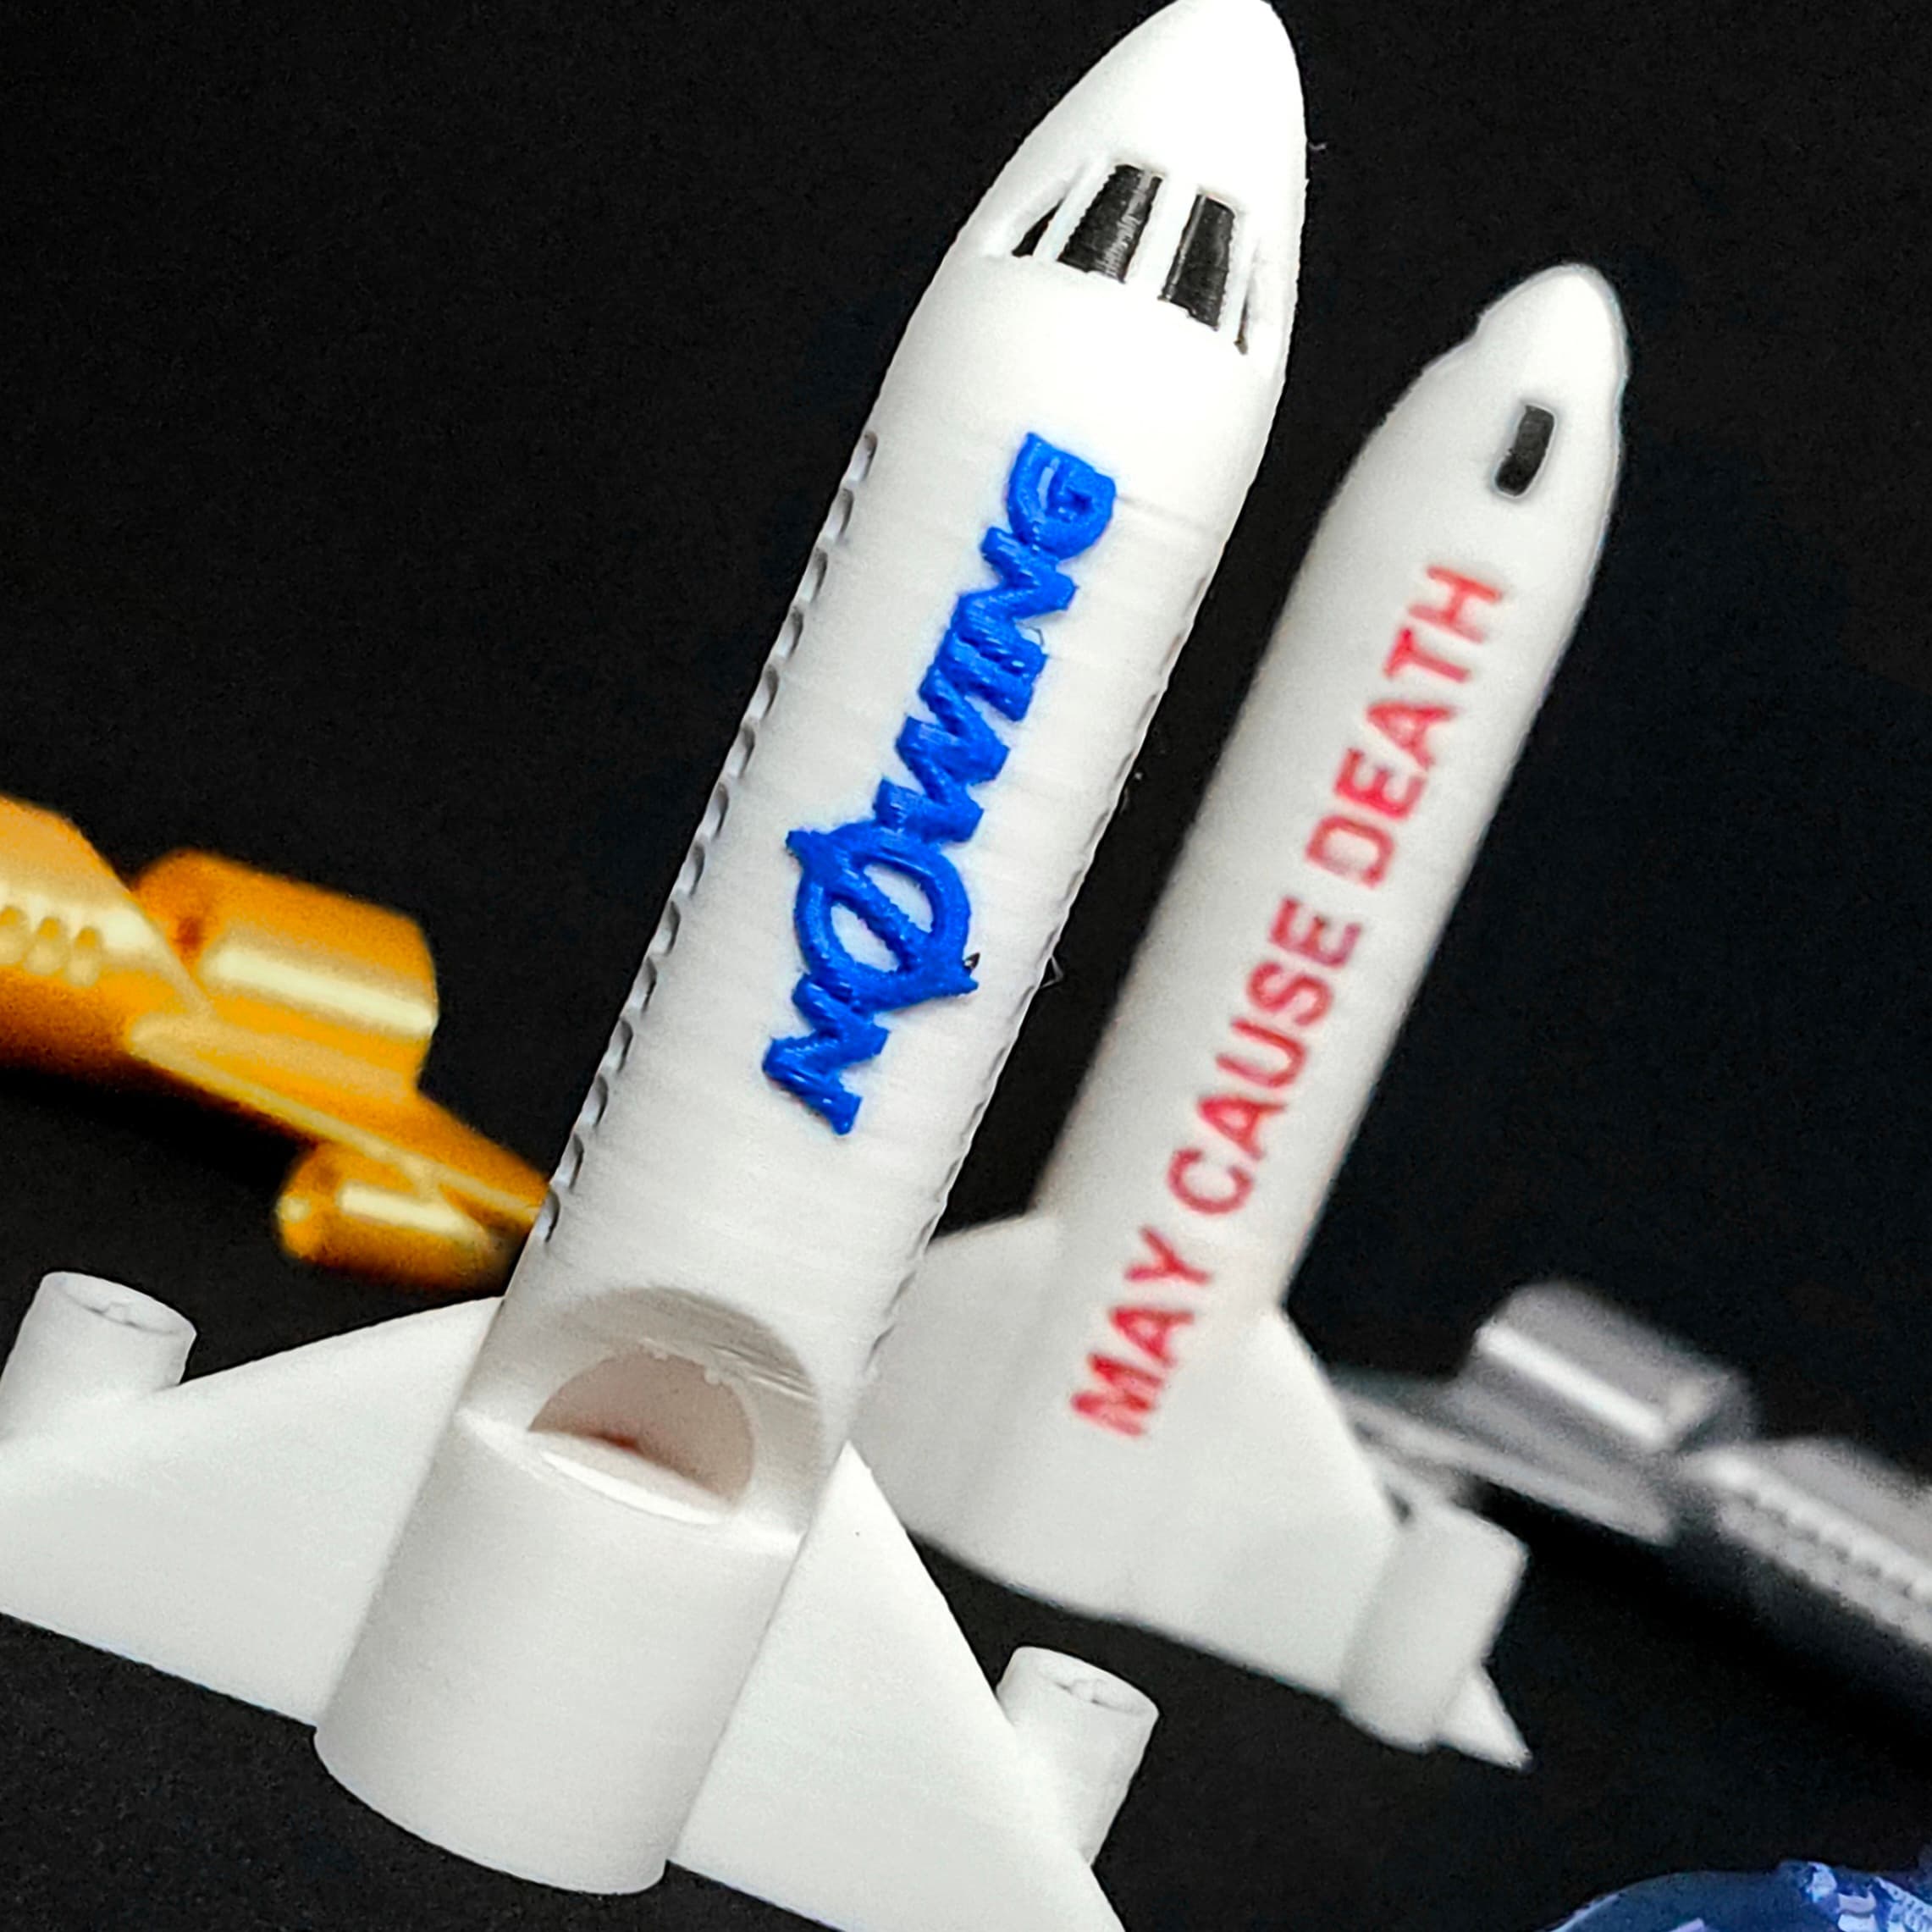
The Aviator's Airplane Safety Emergency Alert Whistle

Lancer Evolution VI | Model Kit Car

X5S MGN12H Linear X & Y-axis with modular hotend mount
