

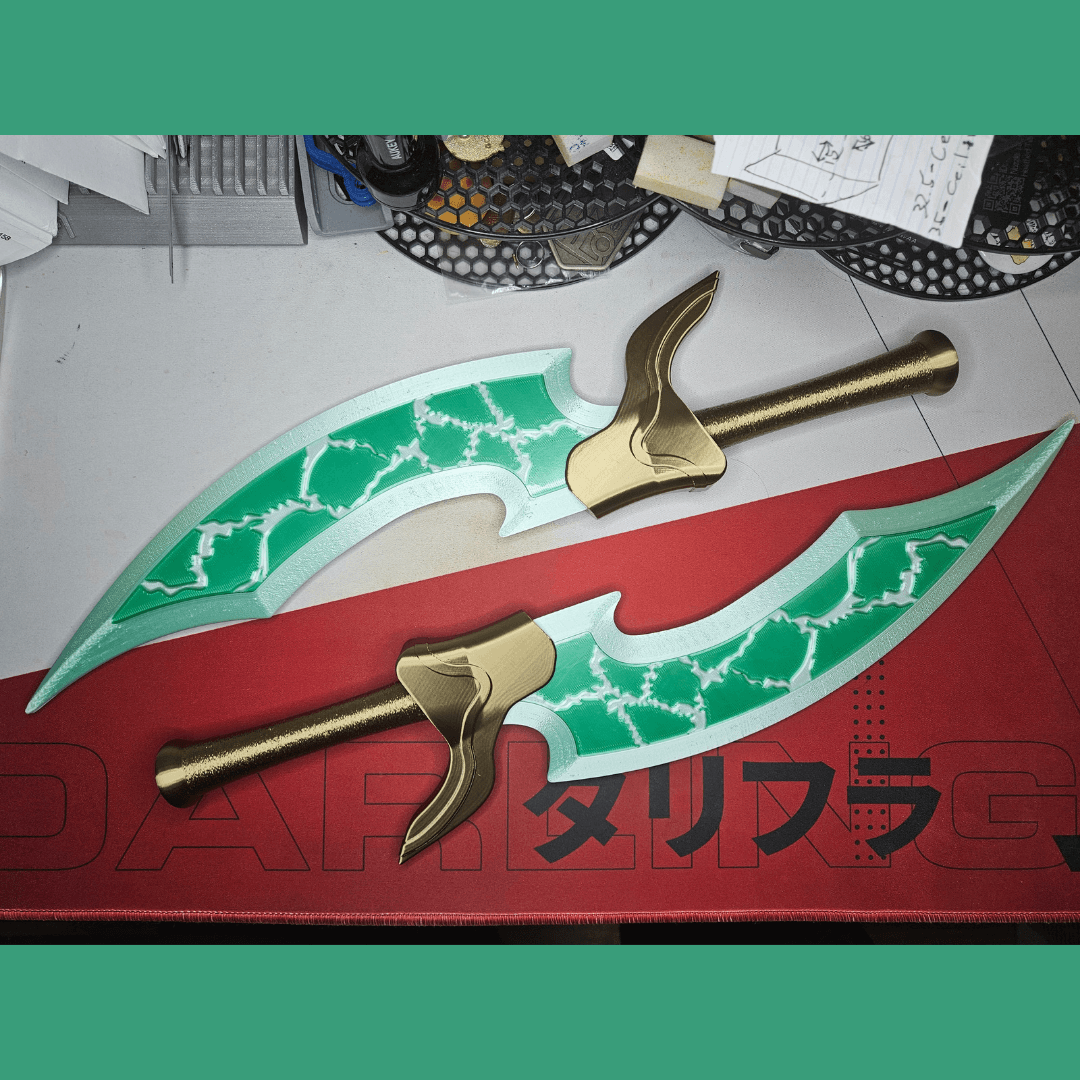
Mithril Bear Knife Assembly Ver.
A cosplay replica for Yuna's weapon, as seen on the "Kuma Kuma Kuma Bear Punch" series. You can print the inidiviual parts in their final colors, plus dual color for the blade is an option!
The parts are oriented for the average print bed. If scaling, scale everything evenly.
Two dowel pins are included to line up everything before gluing together. If the dowels are too tight, either sand them or scale down equally on X and Y.
Test fitment of the parts, as you may want to sand some of the surfaces before applying adhesive. This can ensure a better bond. Always use PPE when handling harsh chemicals or strong adhesives.
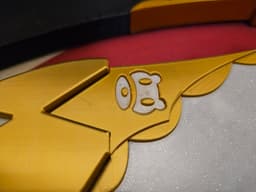
Included are a pair of "bear face inlays". You can print these in a different color from the guard to make the Bear logo pop! Just add a small drop of glue in the center, that's all it should take. For a cleaner application, add a drop of glue to the tip of a toothpick and use as an applicator.
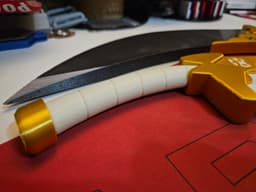
Depending on the settings of your printer, the handle should press fit into the guard piece. worst case, it might need a little sanding and a small drop of glue. Same with the pommel.
You can print the blade in two separate halves or print it in one piece. Both options can be printed in dual color like the original. Dual color will require an AMS/MMU system or SEVERAL manual filament swaps.
For the full blade there is an included "blade color swap modifier". I added this so it would be easier print the spine of the blade in the same color as the face. Updates to the slicers could make this step unnecesary in the future, but here's how to use it if necessary:
- Load "blade color swap modifier" and "blade full" together into the slicer. (hold CTRL key when choosing both)
- When asked "Load these files as a single object with multiple parts?" click YES.
- Change the color of the color modifier STL to the secondary color of choice.
- Right click the color modifier STL, click on "change type" and choose "modifier".
- Slice and check the layers are changing colors as desired.
Mithril Bear Knife Assembly Ver.

Nanashi Mumei's Lantern

AZKi's Microphone Lightsaber (HO58)

Nanashi Mumei's Rune Hairpin and Broach

Nanashi Mumei's Dagger and Sheath

Sunraku's Ducusram
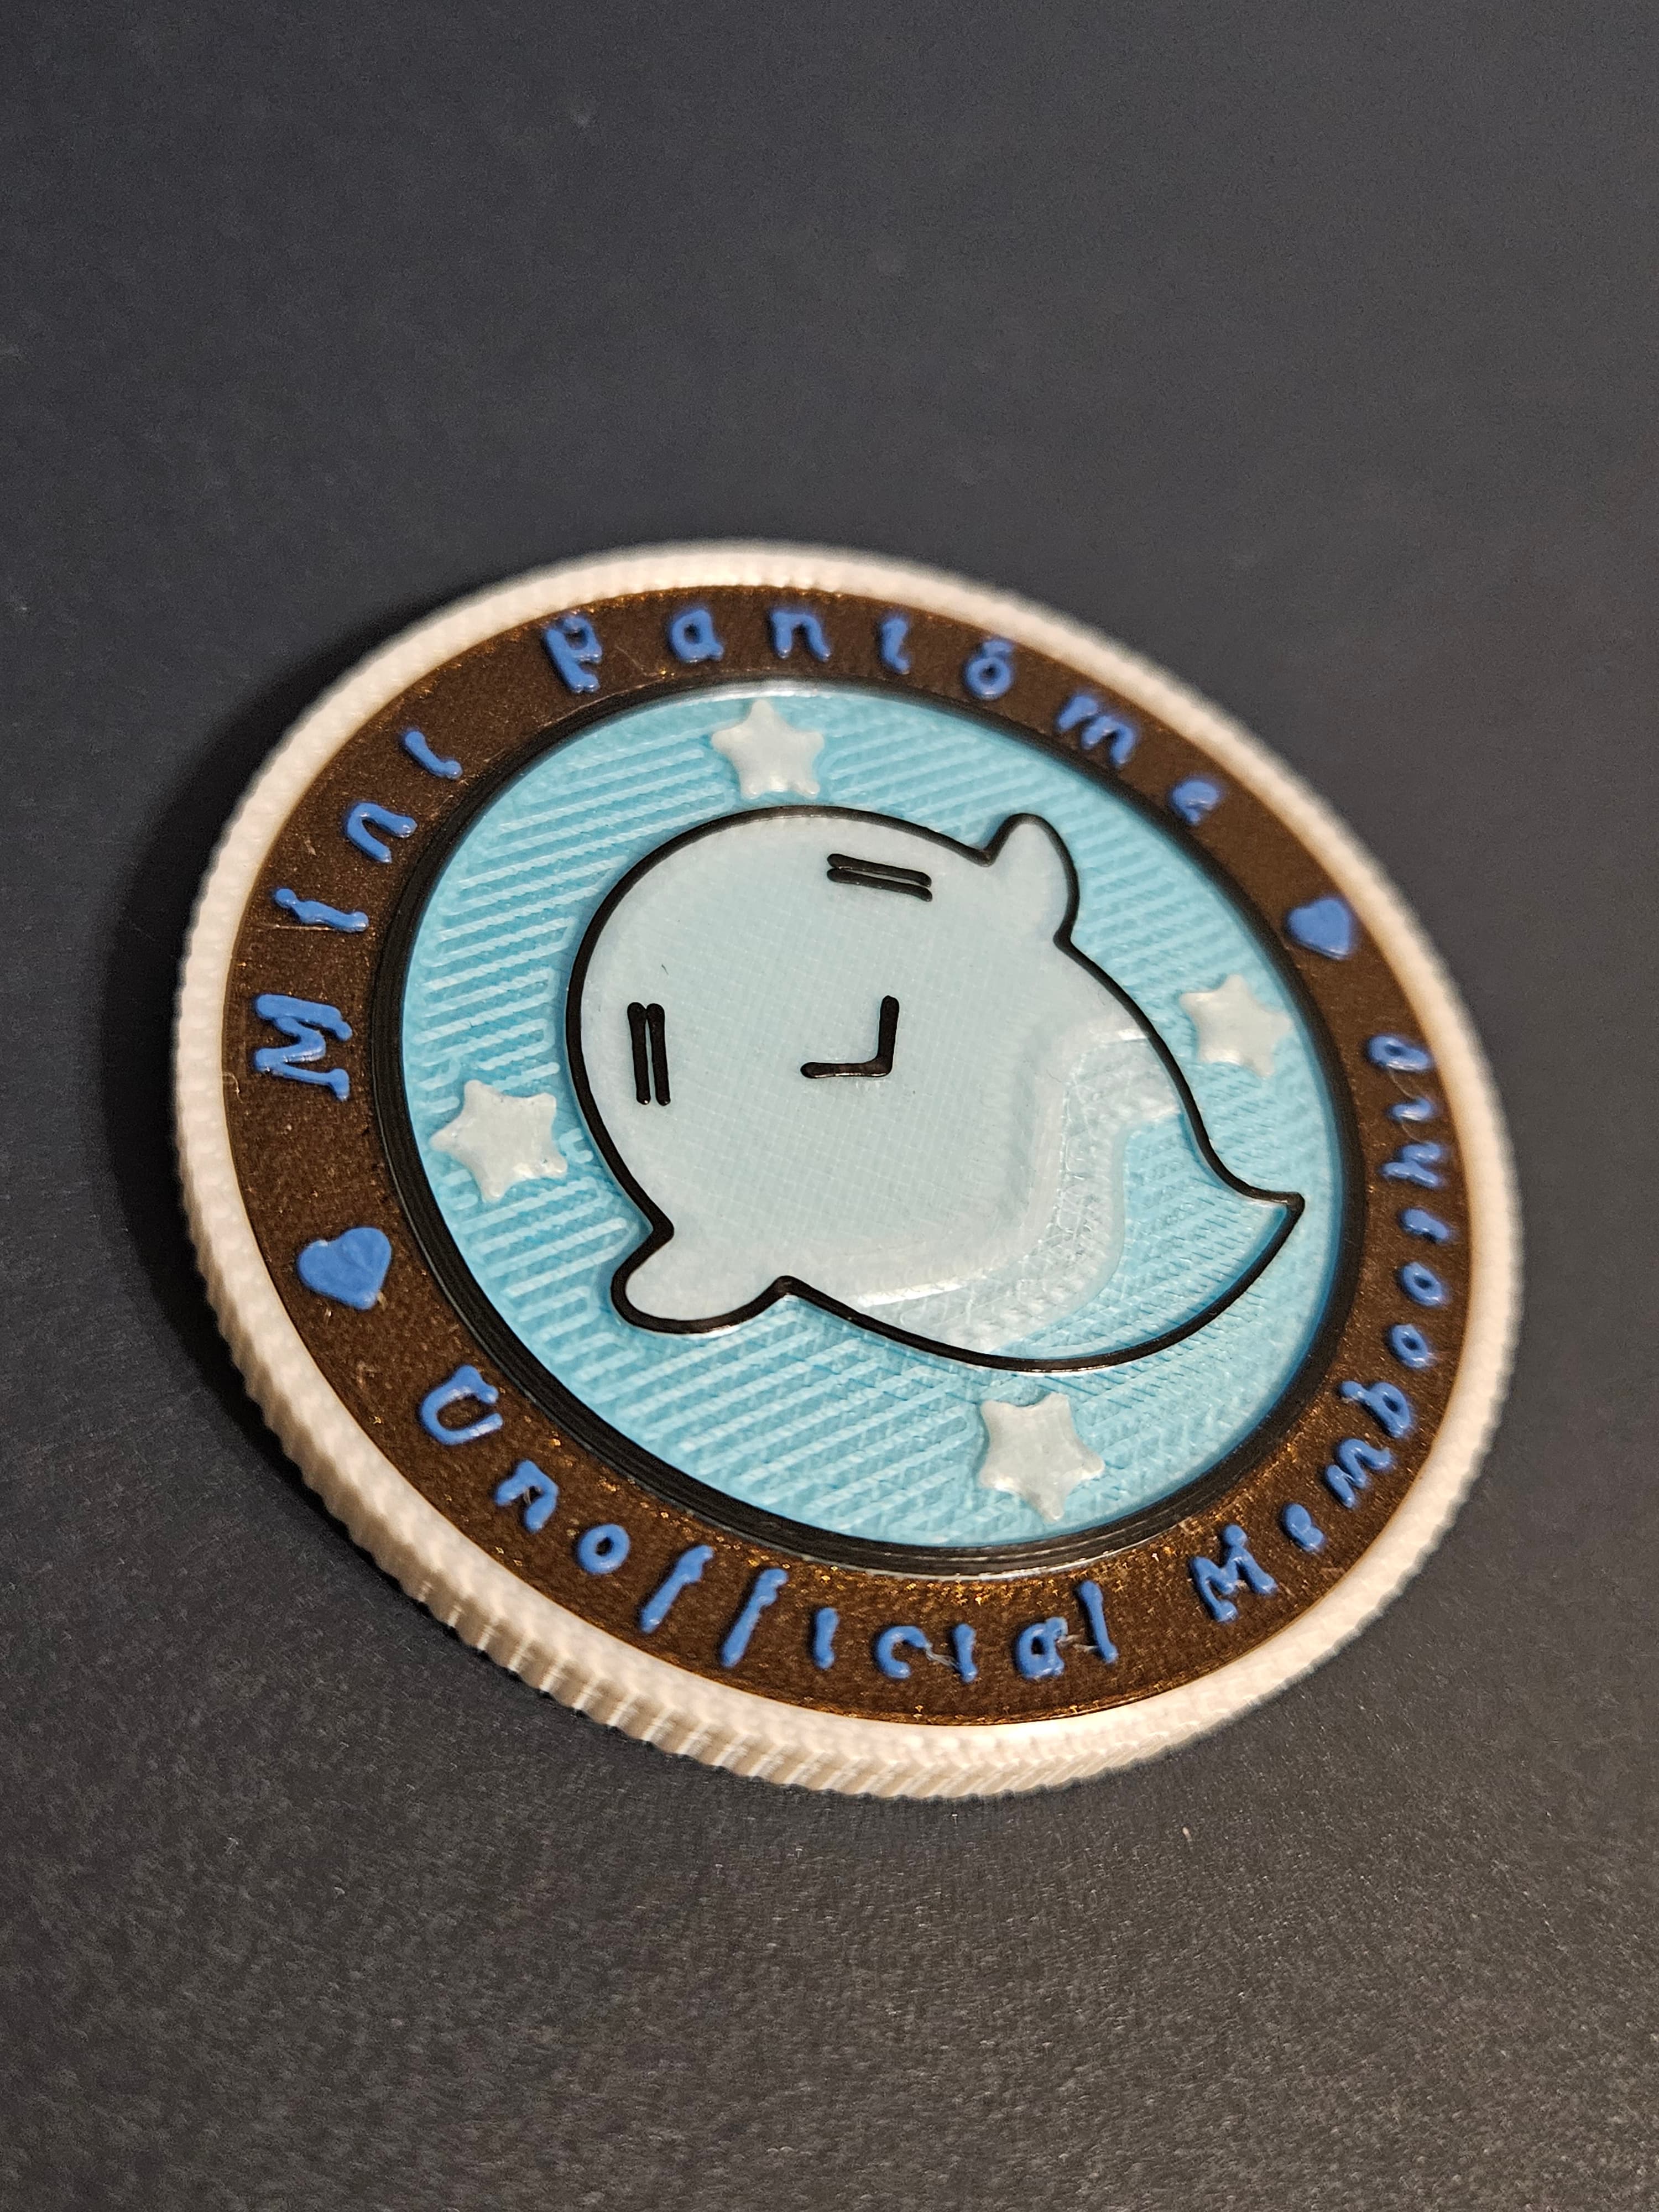
Mint Fantôme Challenge Coin

VShojo's Gecko Ball Token
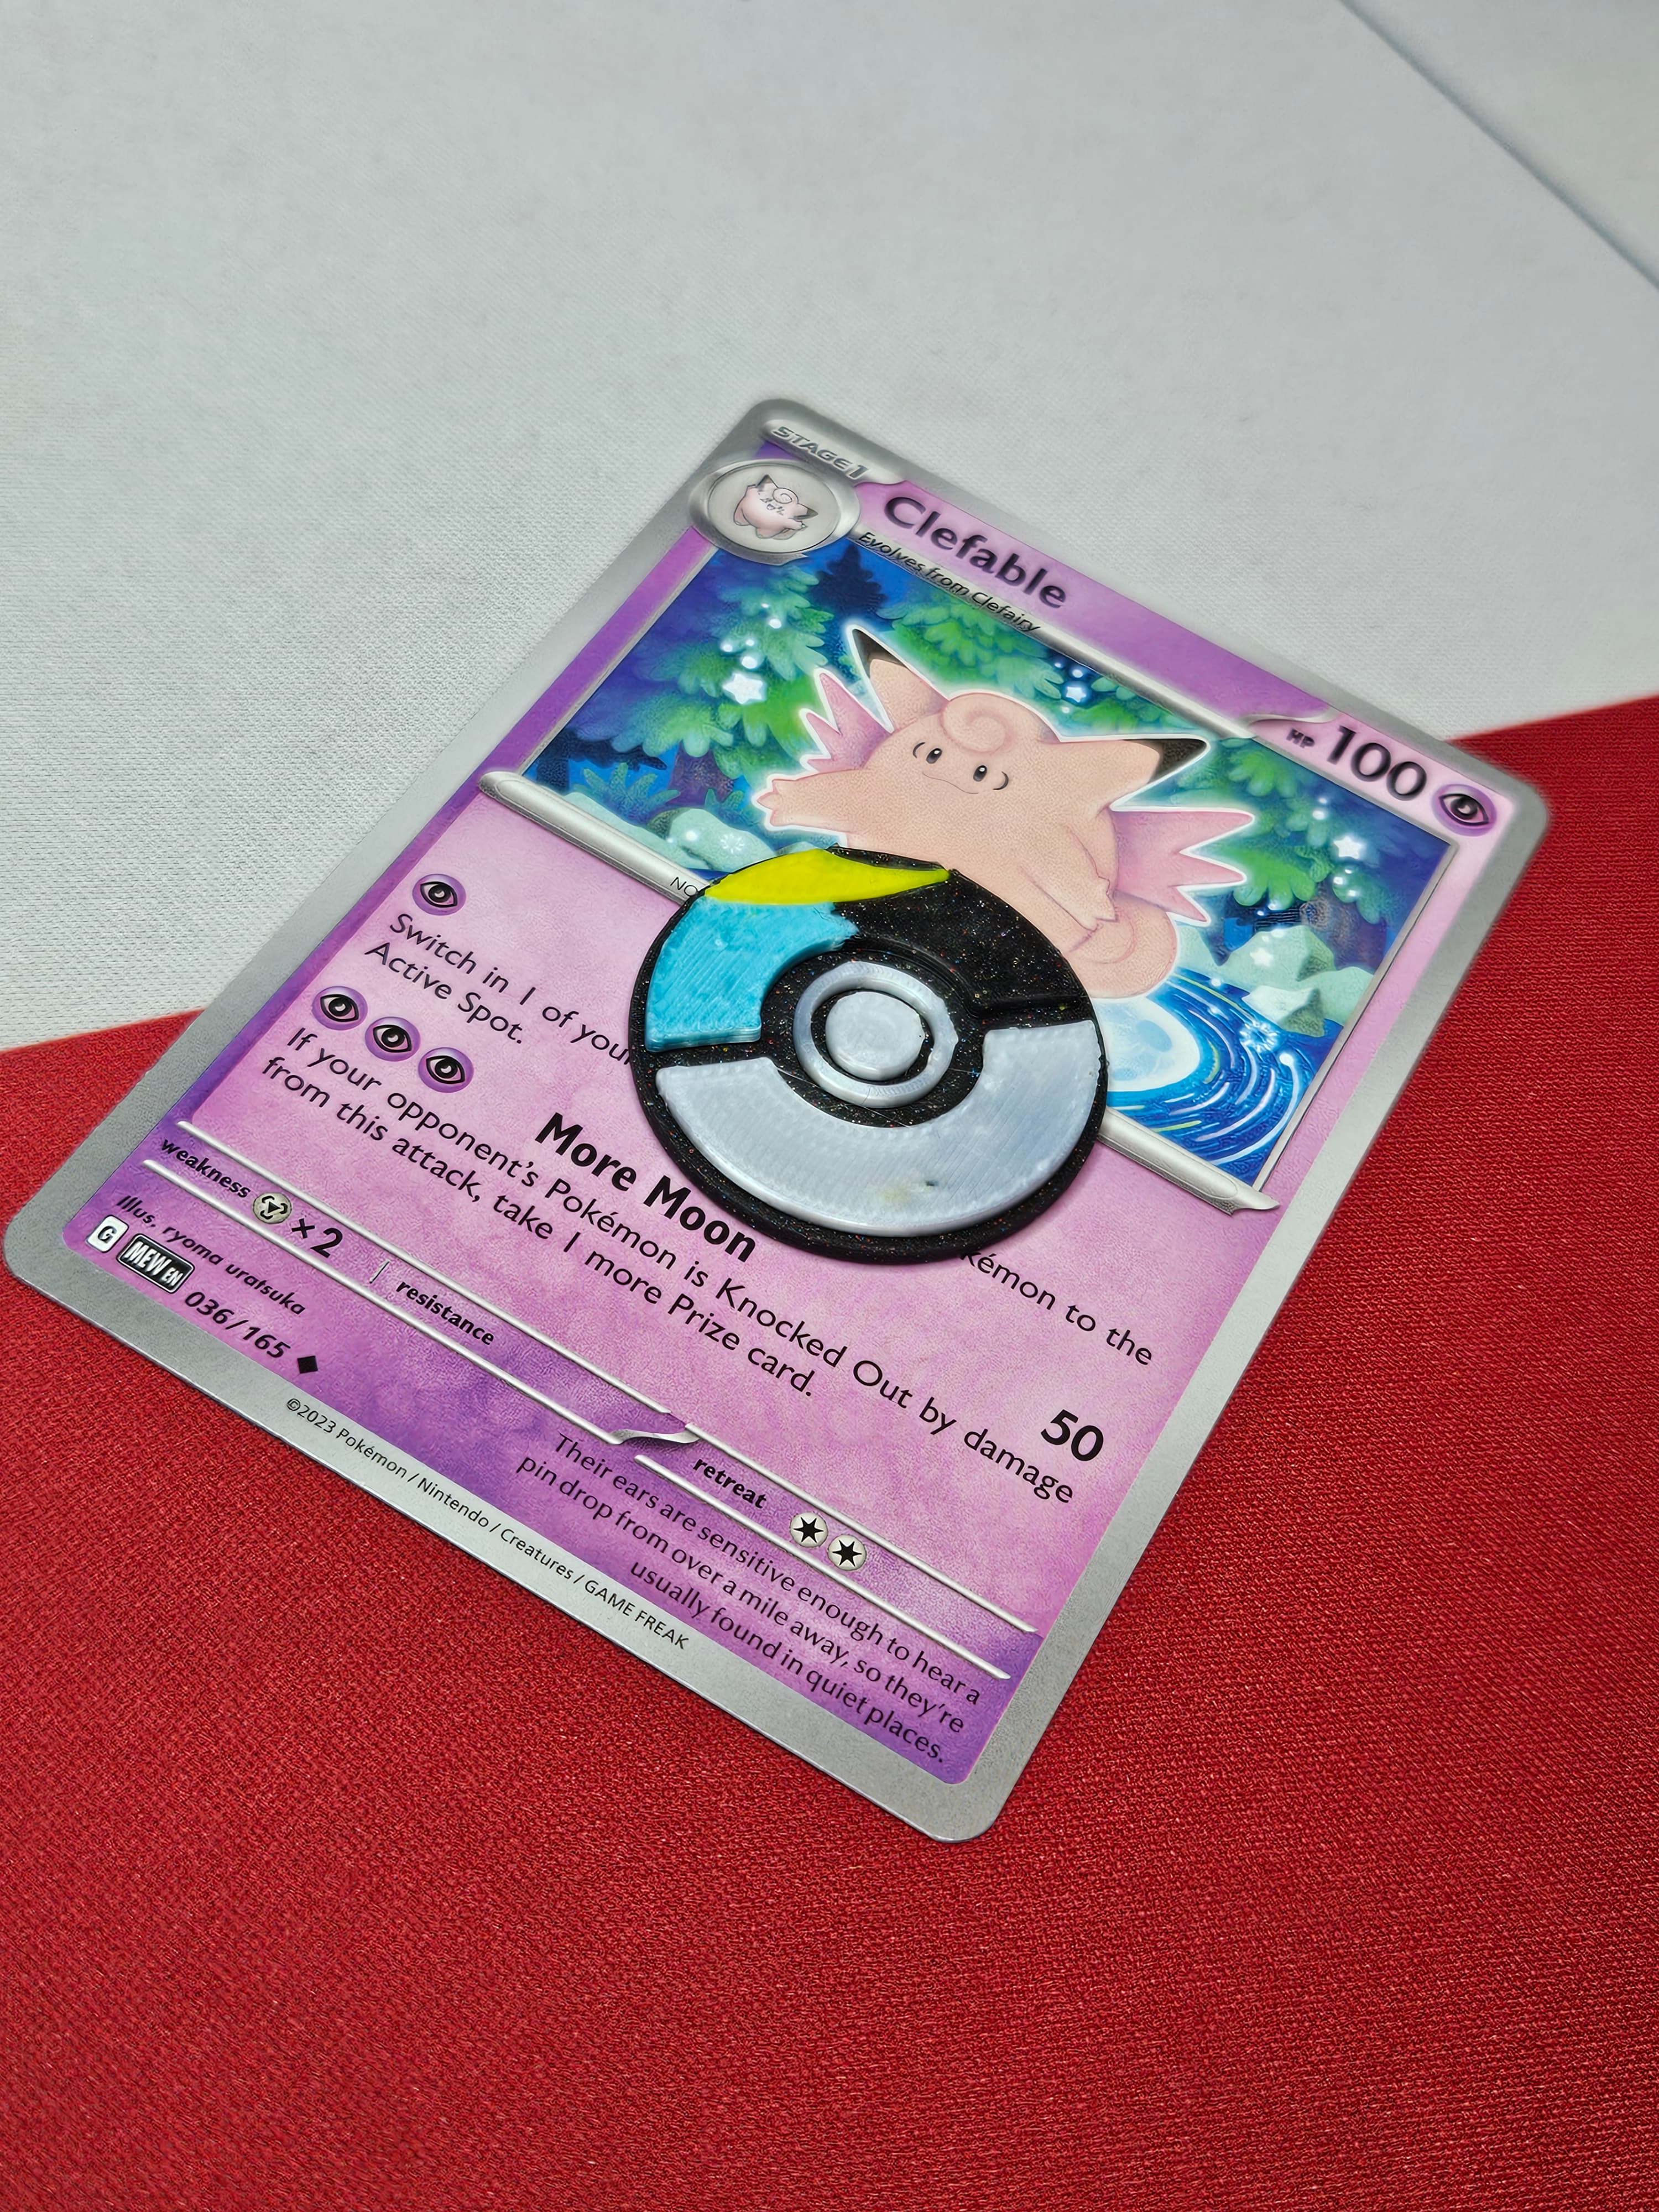
GS Ball Token
Heavy Ball Token
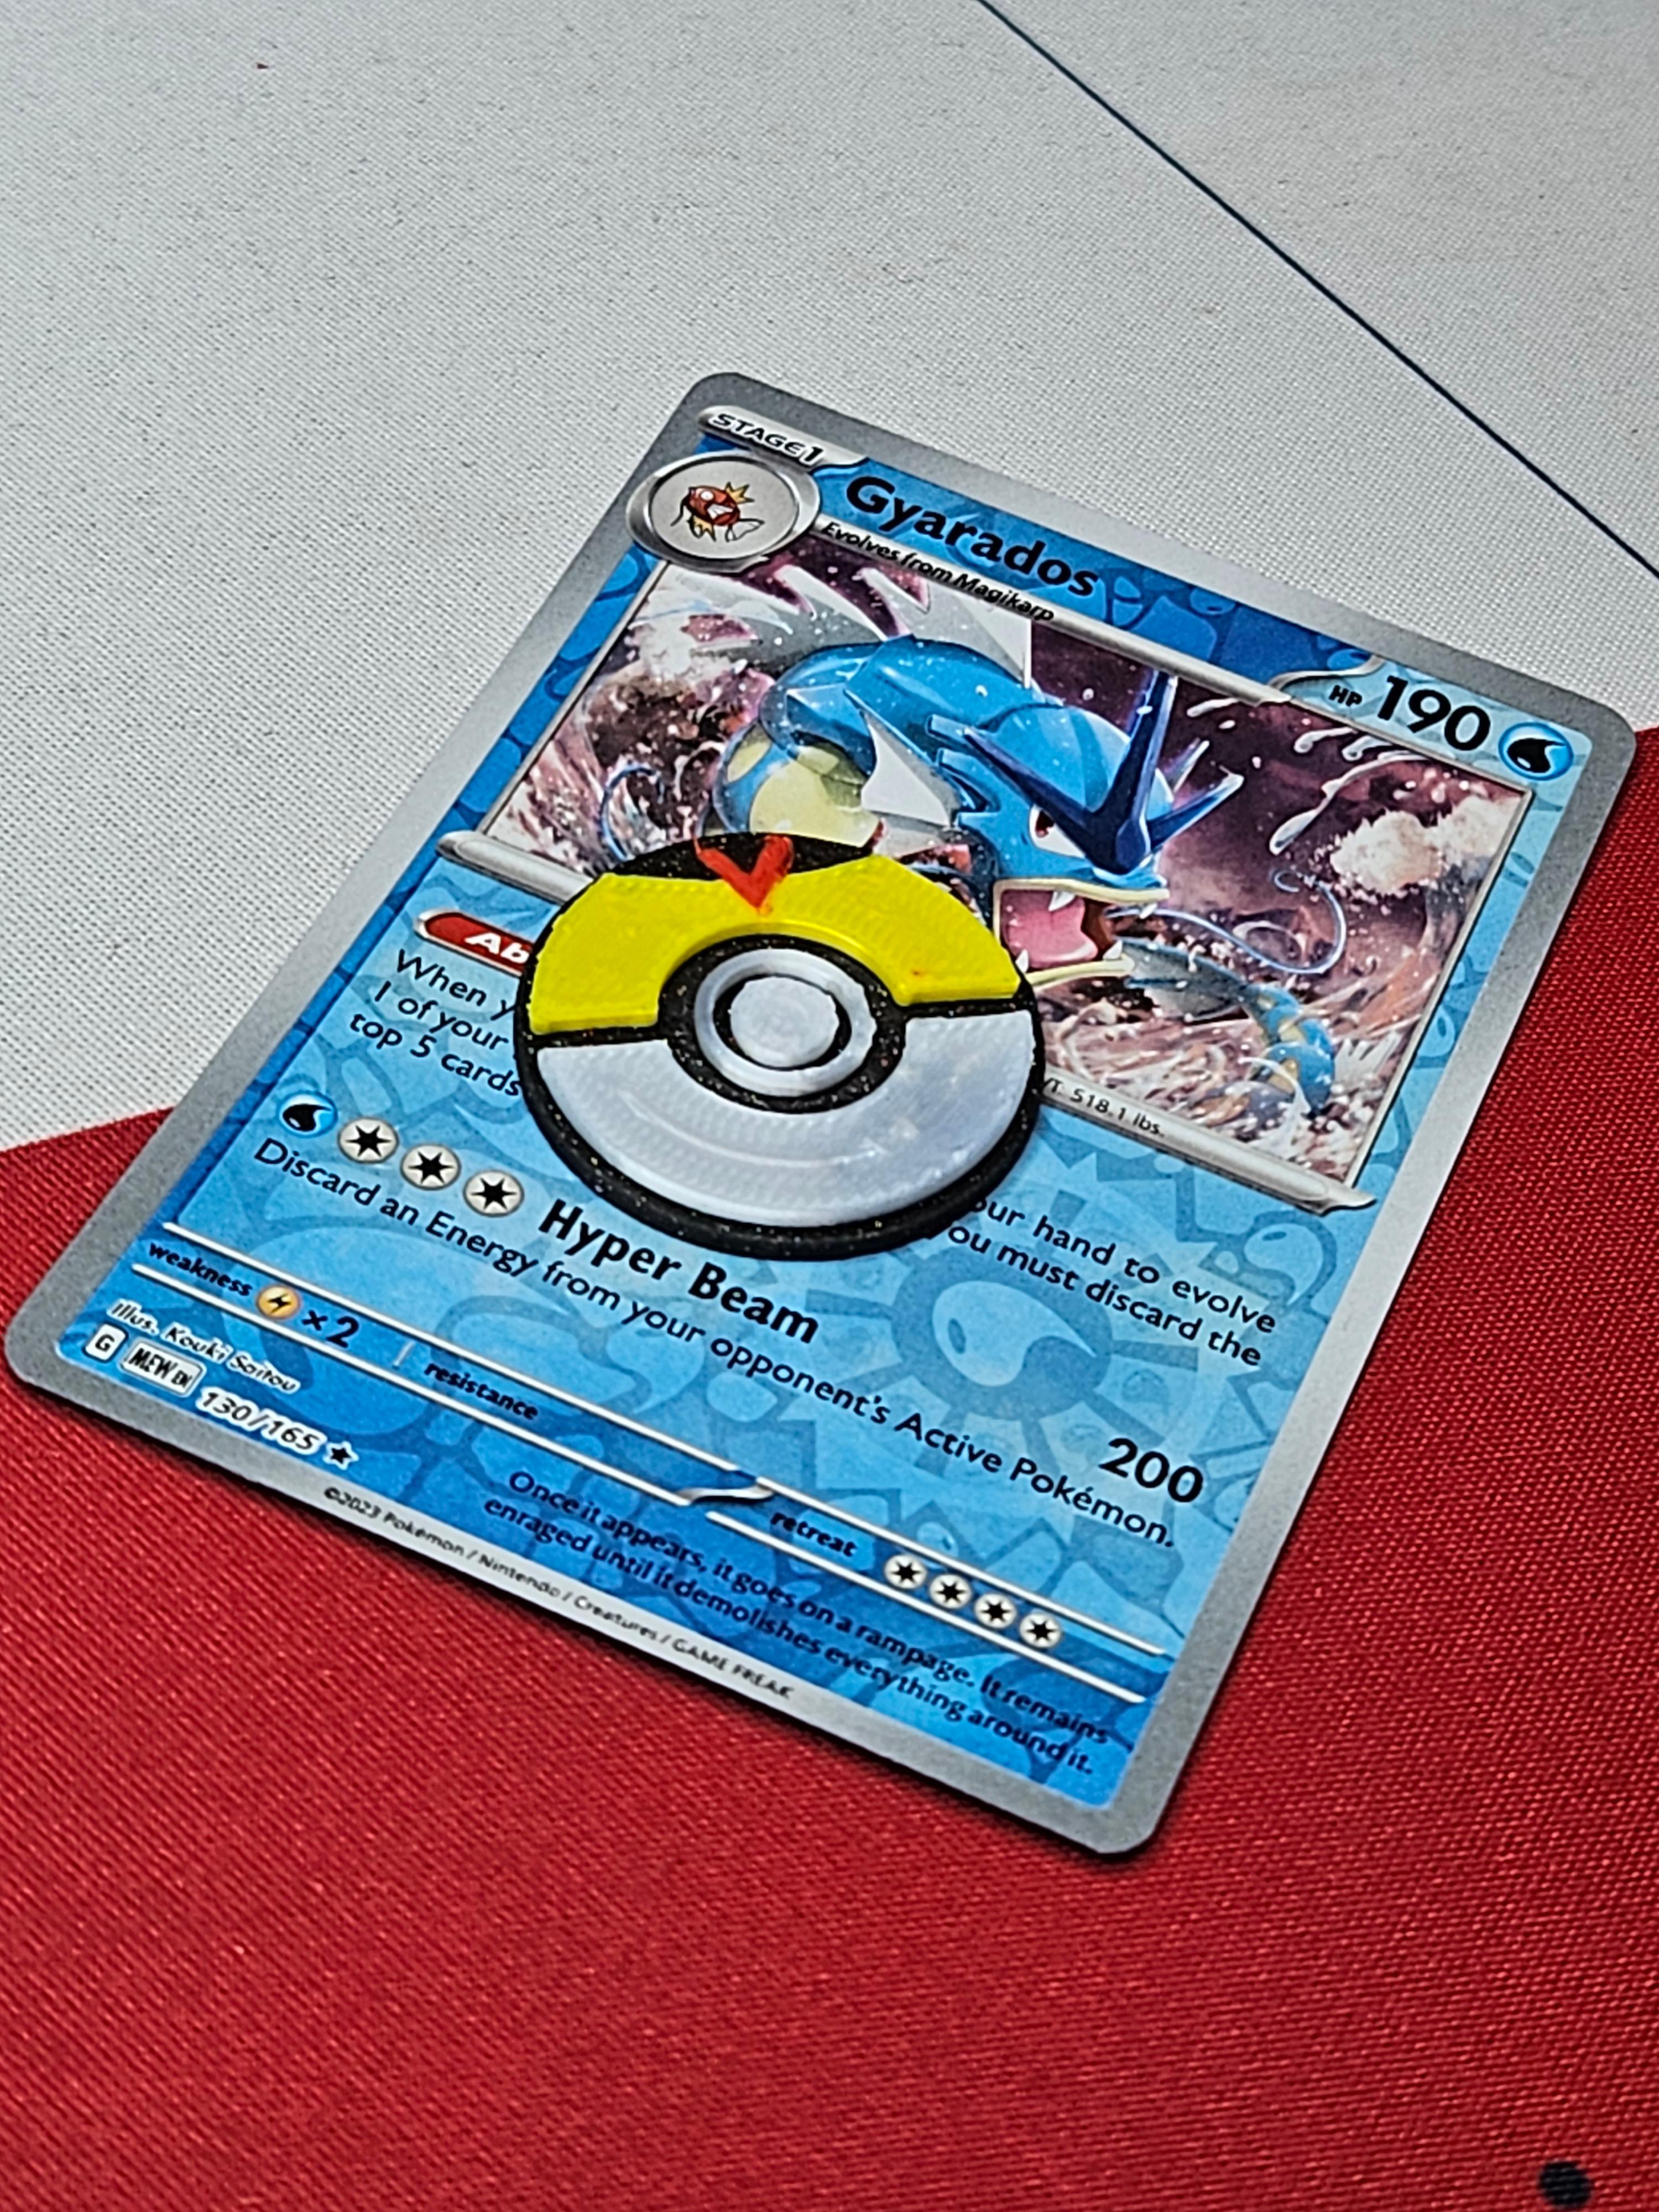
Lure Ball Token
Fast Ball Token
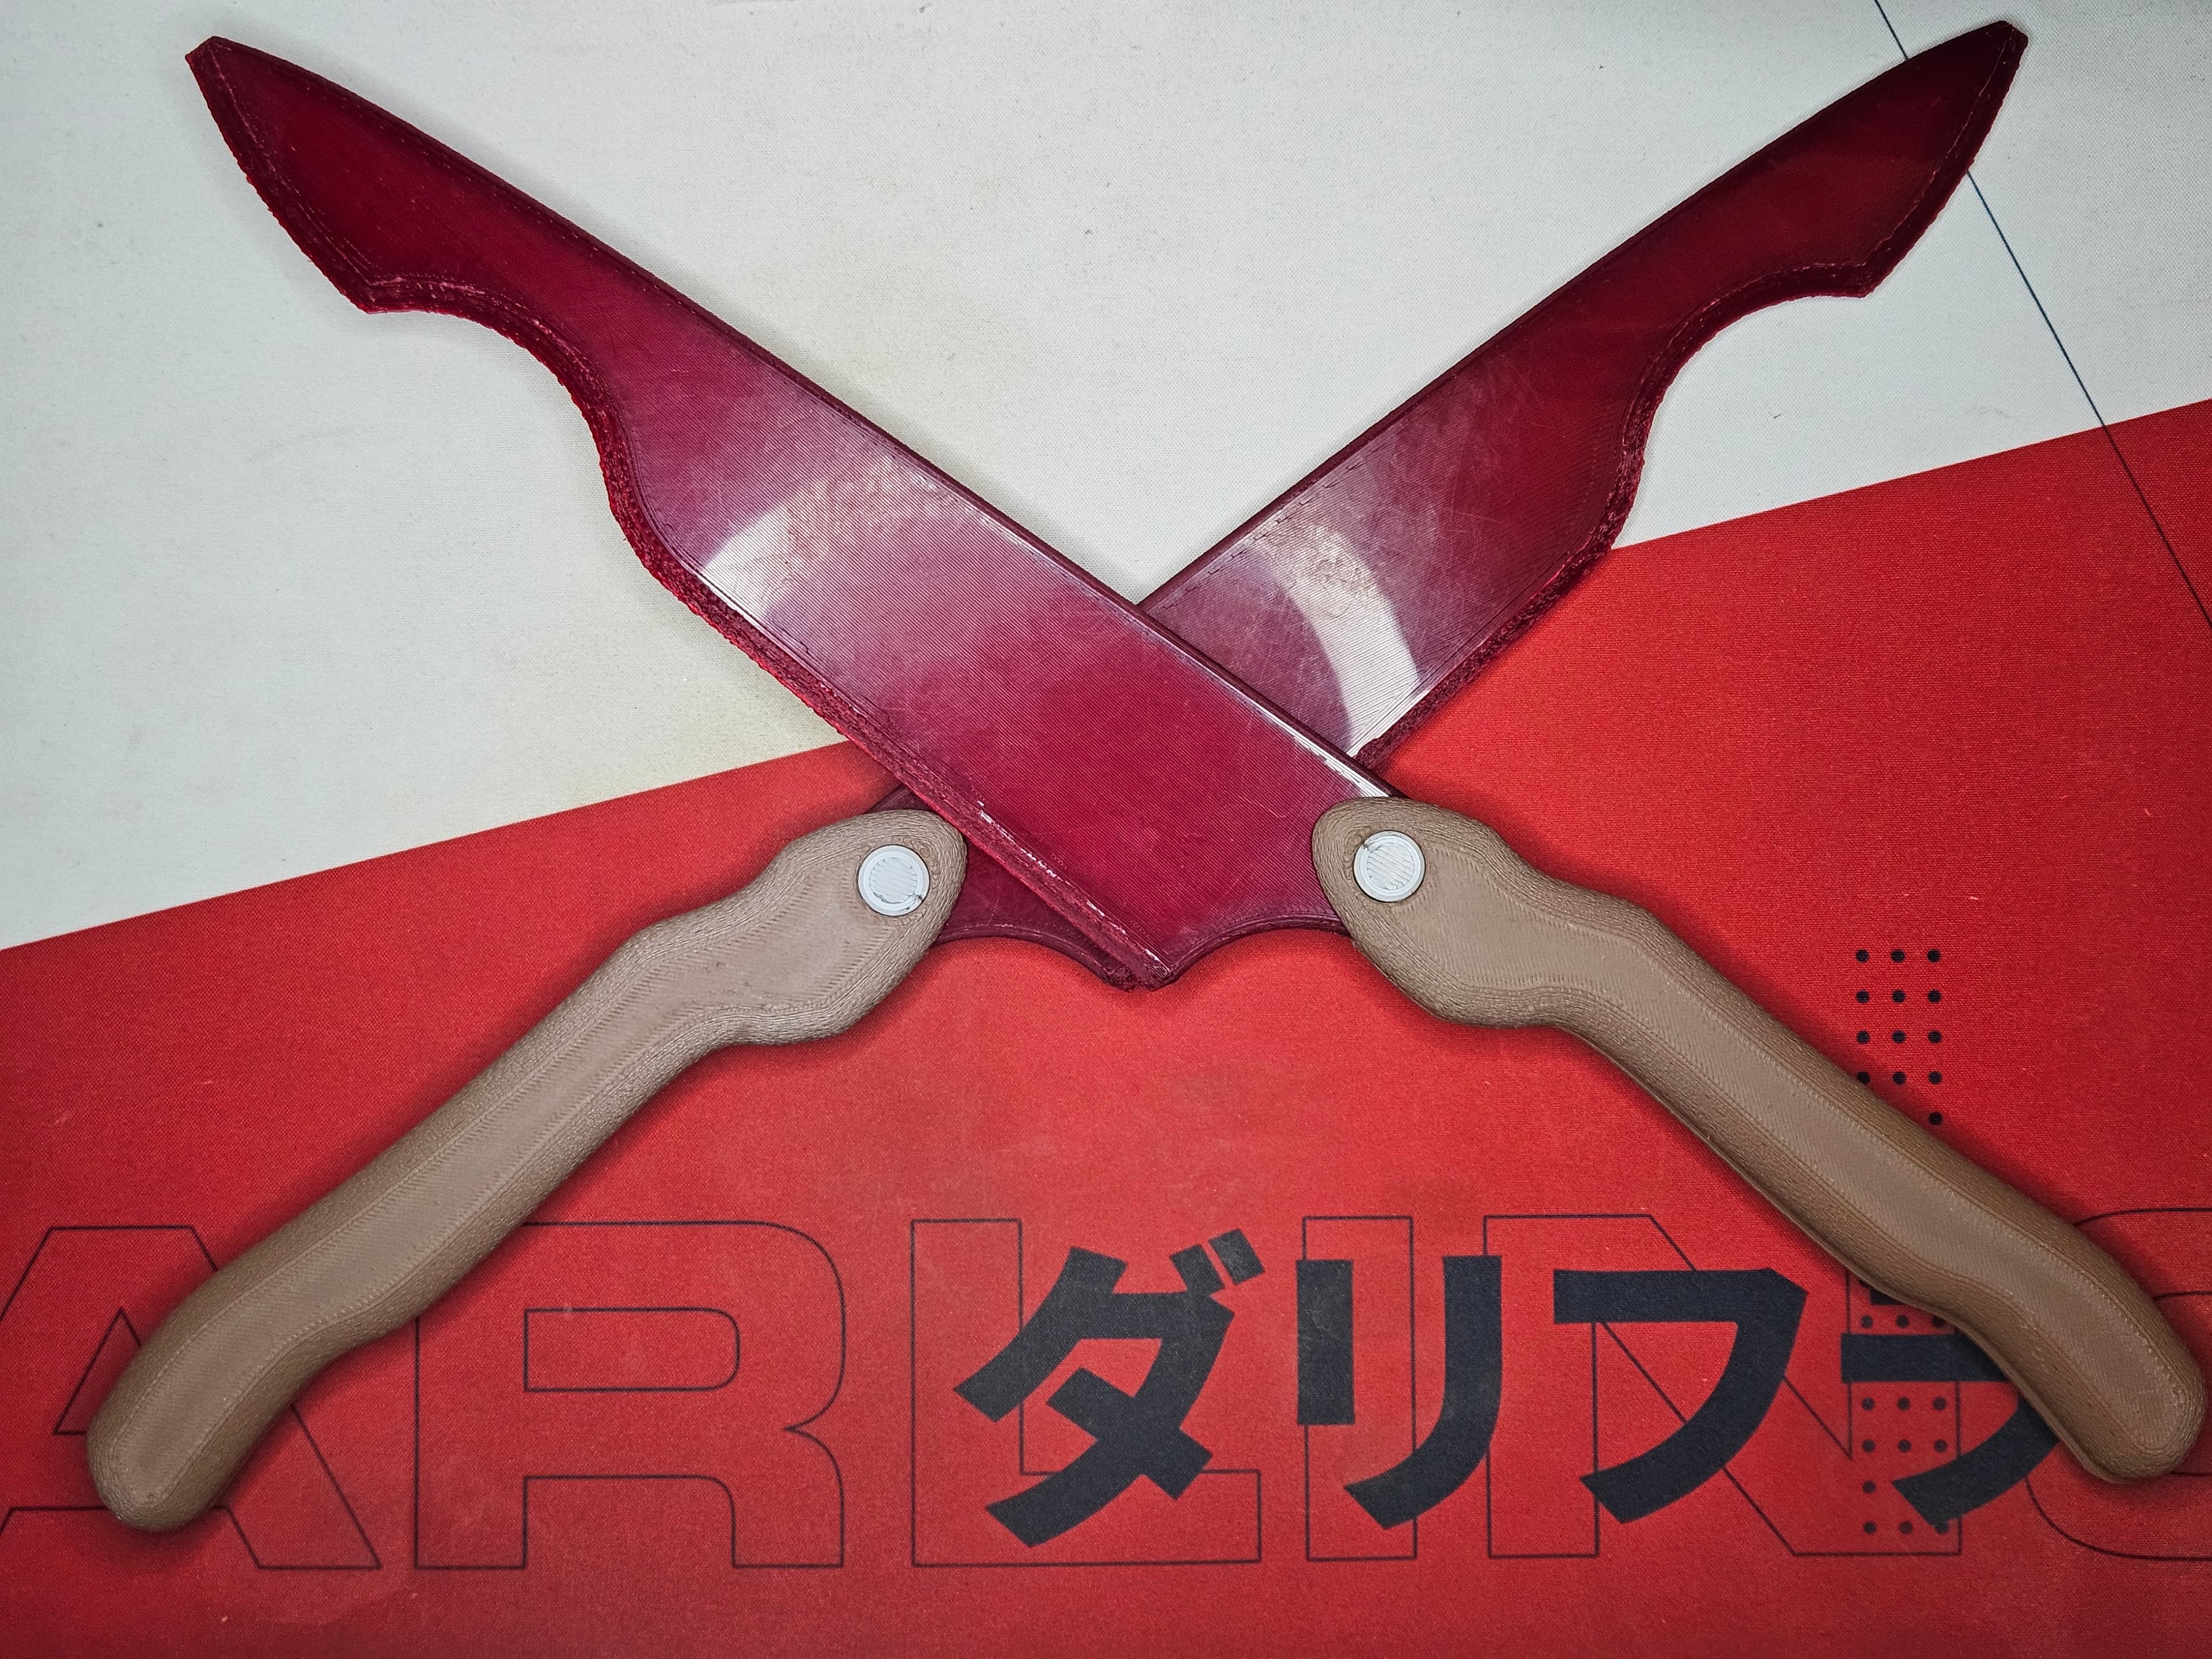
Sunraku's Marsh Daggers V3
Luvdisc Token
Friend Ball Token
Love Ball Token
Moon Ball Token
Level Ball Token
Sunraku's Vorpal Choppers
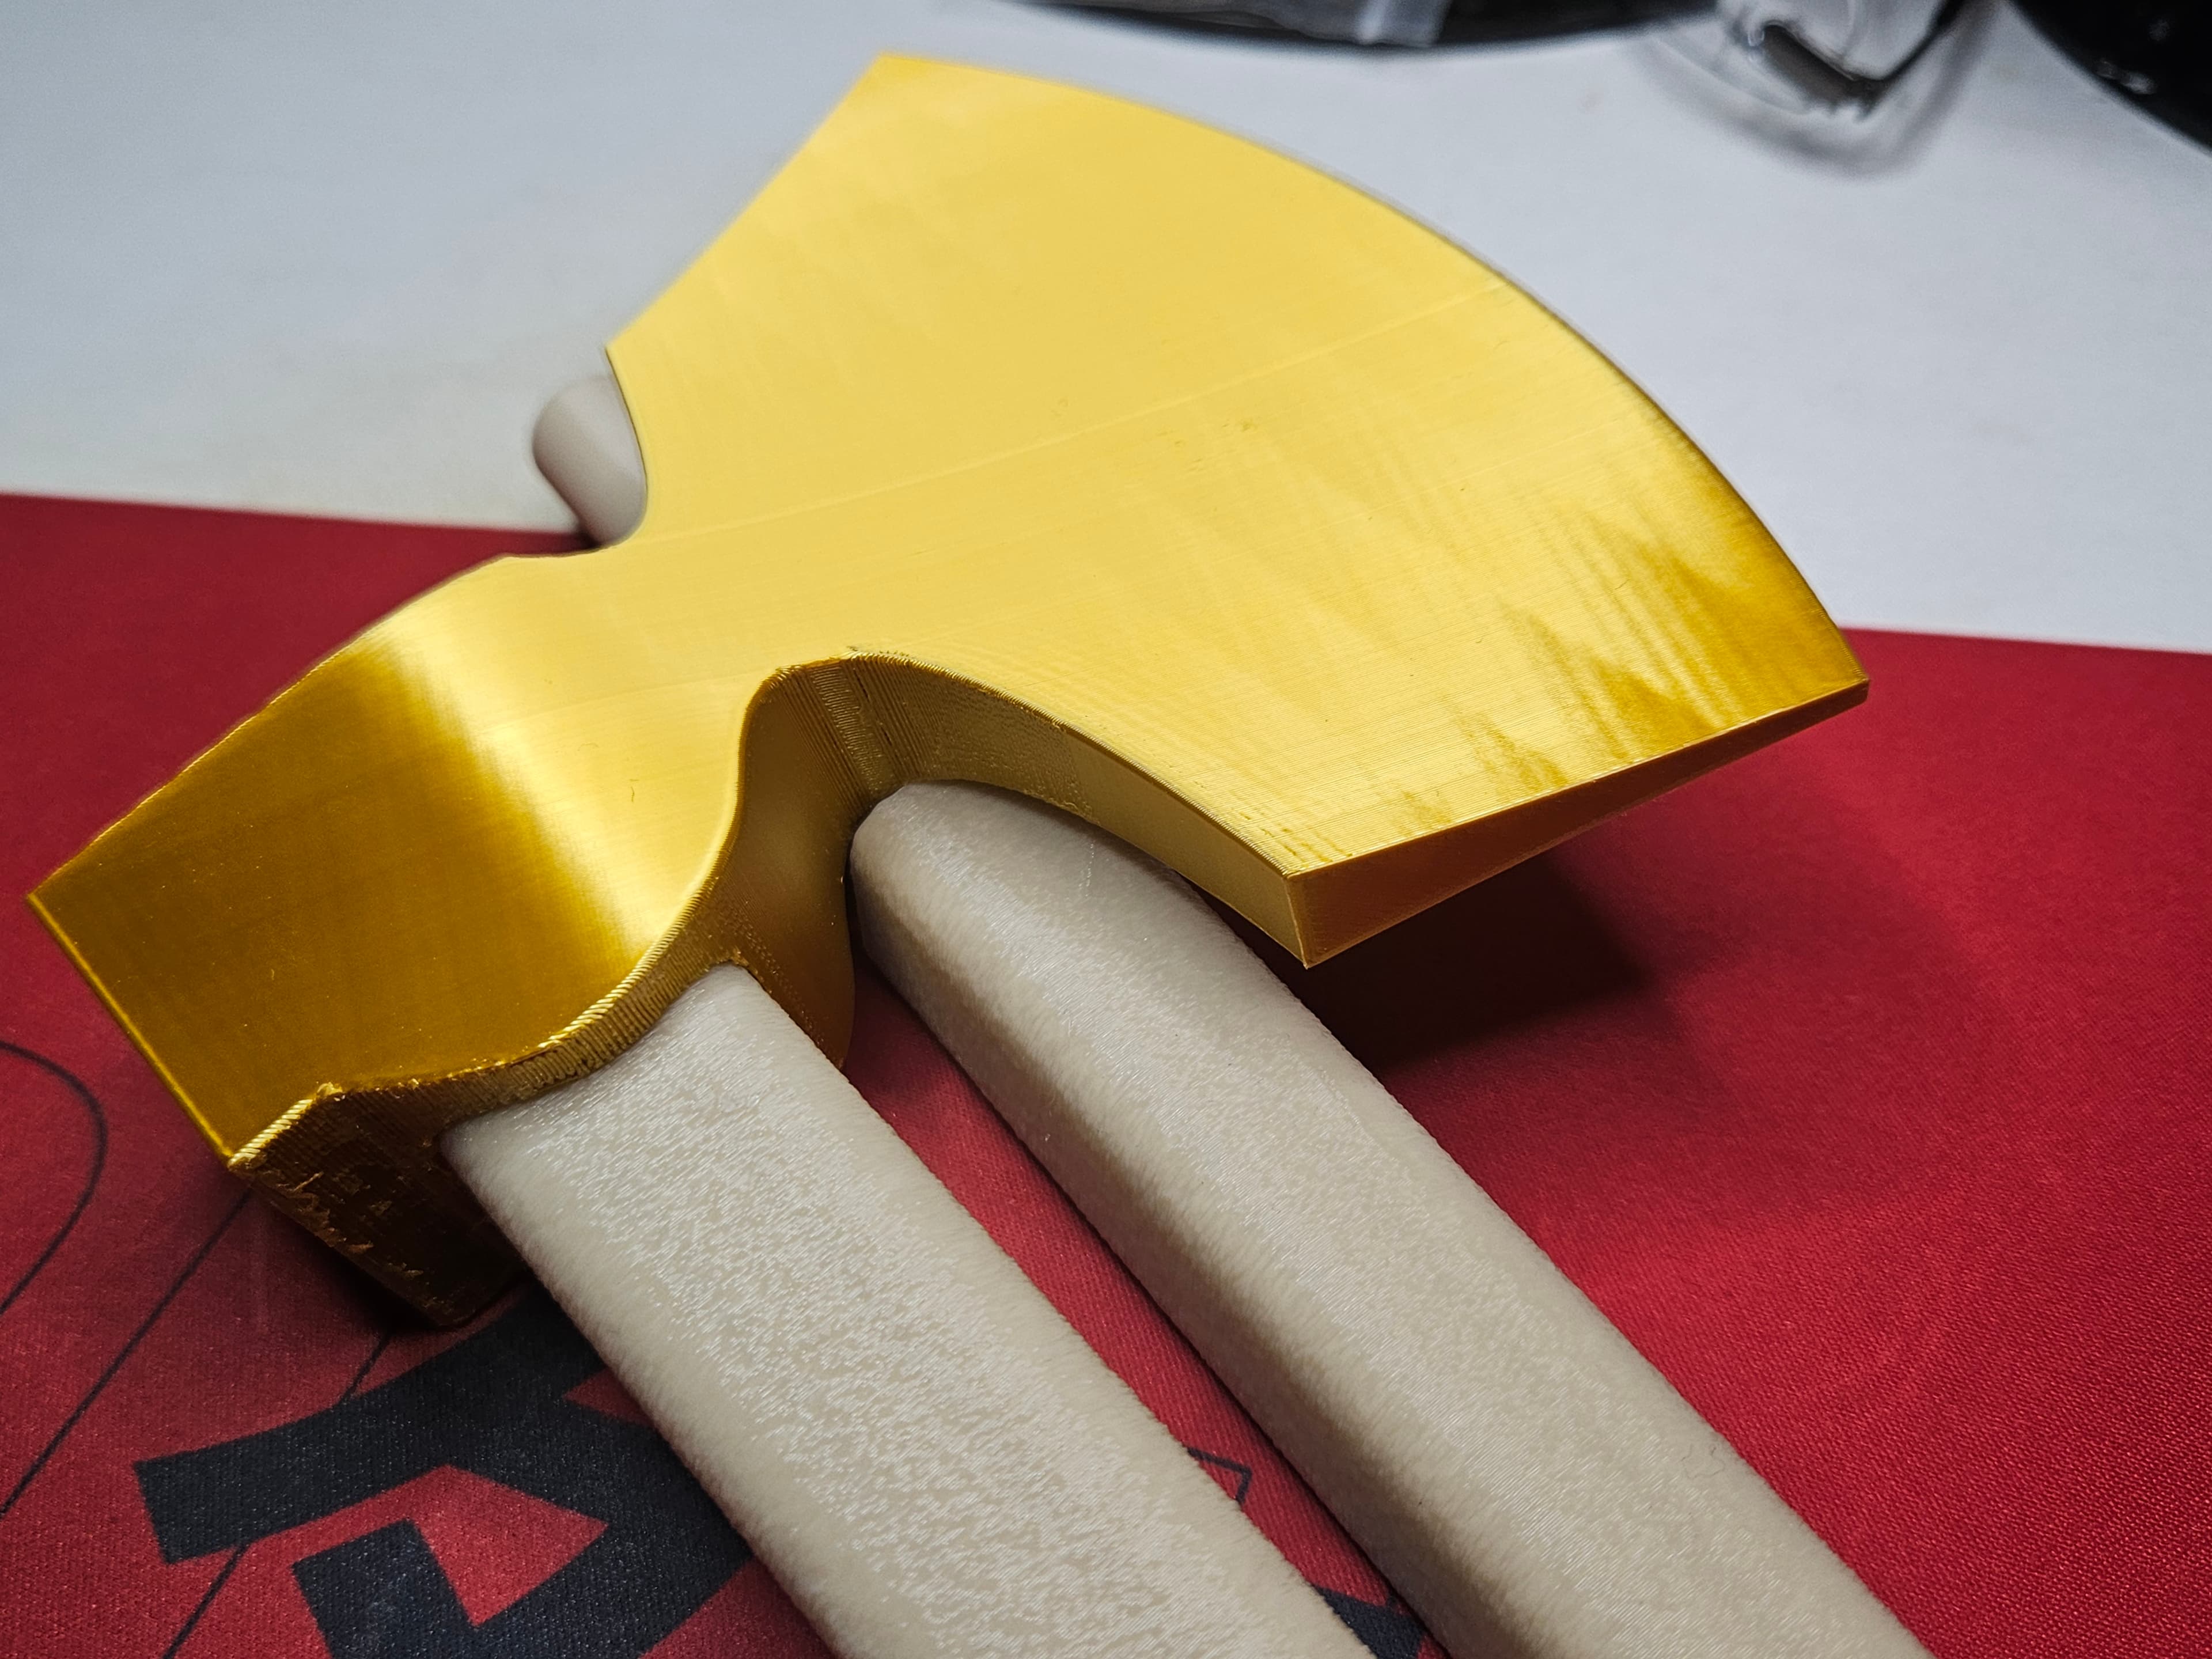
Suisei Hoshimachi's Project Winter Golden Axe